
The first time I encountered and tasted chocolate with chili was a muffin in Stockmann bakery in Helsinki. It was 7 years ago. I didn’t even think of the combination before. I liked it when I tasted that time but I wasn’t in love with it. Over the years, I grew to like it more.

Recently I got more and more interested in combining sweets with spices and so I got back to chocolate and chili combo once again. I worked on several recipes and each time I increased the spice amount. I also experimented with both dark and white chocolates and tried to see the differences.


In the end, I came up with this recipe, which works great both with dark chocolate or white chocolate, that’s why I give instructions for both. I adapted the dark chocolate one from local milk blog but I changed the amounts a little according to my taste. The white chocolate version is based on that recipe too. If you are to try only one of them, try white chocolate!
What happens with spiced chocolate cookies is the feeling of “hot and burning” left in your mouth after you eat the cookie. It stays there for a while and it’s a great after taste.

These cookies are not very hard to make, however it takes time to make them because it is good to keep them in the fridge for a while to control the spreading of them in the oven. So you’d better plan your baking accordingly. However, it’s ok to bake the cookies right away too if you are ok with spreading. So this is up to you.
Go on then, bake your cookies! Enjoy!
—
Ingredients:
Difficulty: ★★☆ (Medium)
(makes about 40 cookies, each about 25-30 gr. or walnut size)
Printable PDF-recipe (no photos)
1 1/2 cups / 3.6 dl. all-purpose flour*
1 tbsp cornstarch
1 cup / 2.4 dl. cacao
1 tsp coarse sea salt
3/4 tsp baking soda
3/4 tsp baking powder
2 tsp vanilla sugar
2 tsp ground cayenne pepper (use less if you want less spicy)
225 gr. butter, softened in room temperature
1 cup / 2.4 dl. light brown sugar
3/4 cup / 1.8 dl. granulated white sugar
1 tsp molasses
2 eggs
60 gr. chili dark chocolate, coarsely chopped (but not too big pieces)
150 gr. dark chocolate (70%) coarsely chopped, or white chocolate coarsely chopped
(if you are making white chocolate version) about 50 gr. white chocolate extra, coarsely chopped in squares, to put on top before baking
*To make it gluten free, use 4 dl (or 1 1/2 cups + 4 tsp) brown rice flour (Finnish: täysjyväriisijauho). In this case, skip step 1 and just whisk ingredients in the list above from rice flour to cayenne pepper in a mixing bowl. Then go to step 3.

—
1. Take away 1 tbsp of flour and replace it with 1 tbsp cornstarch. Whisk a little and put aside.


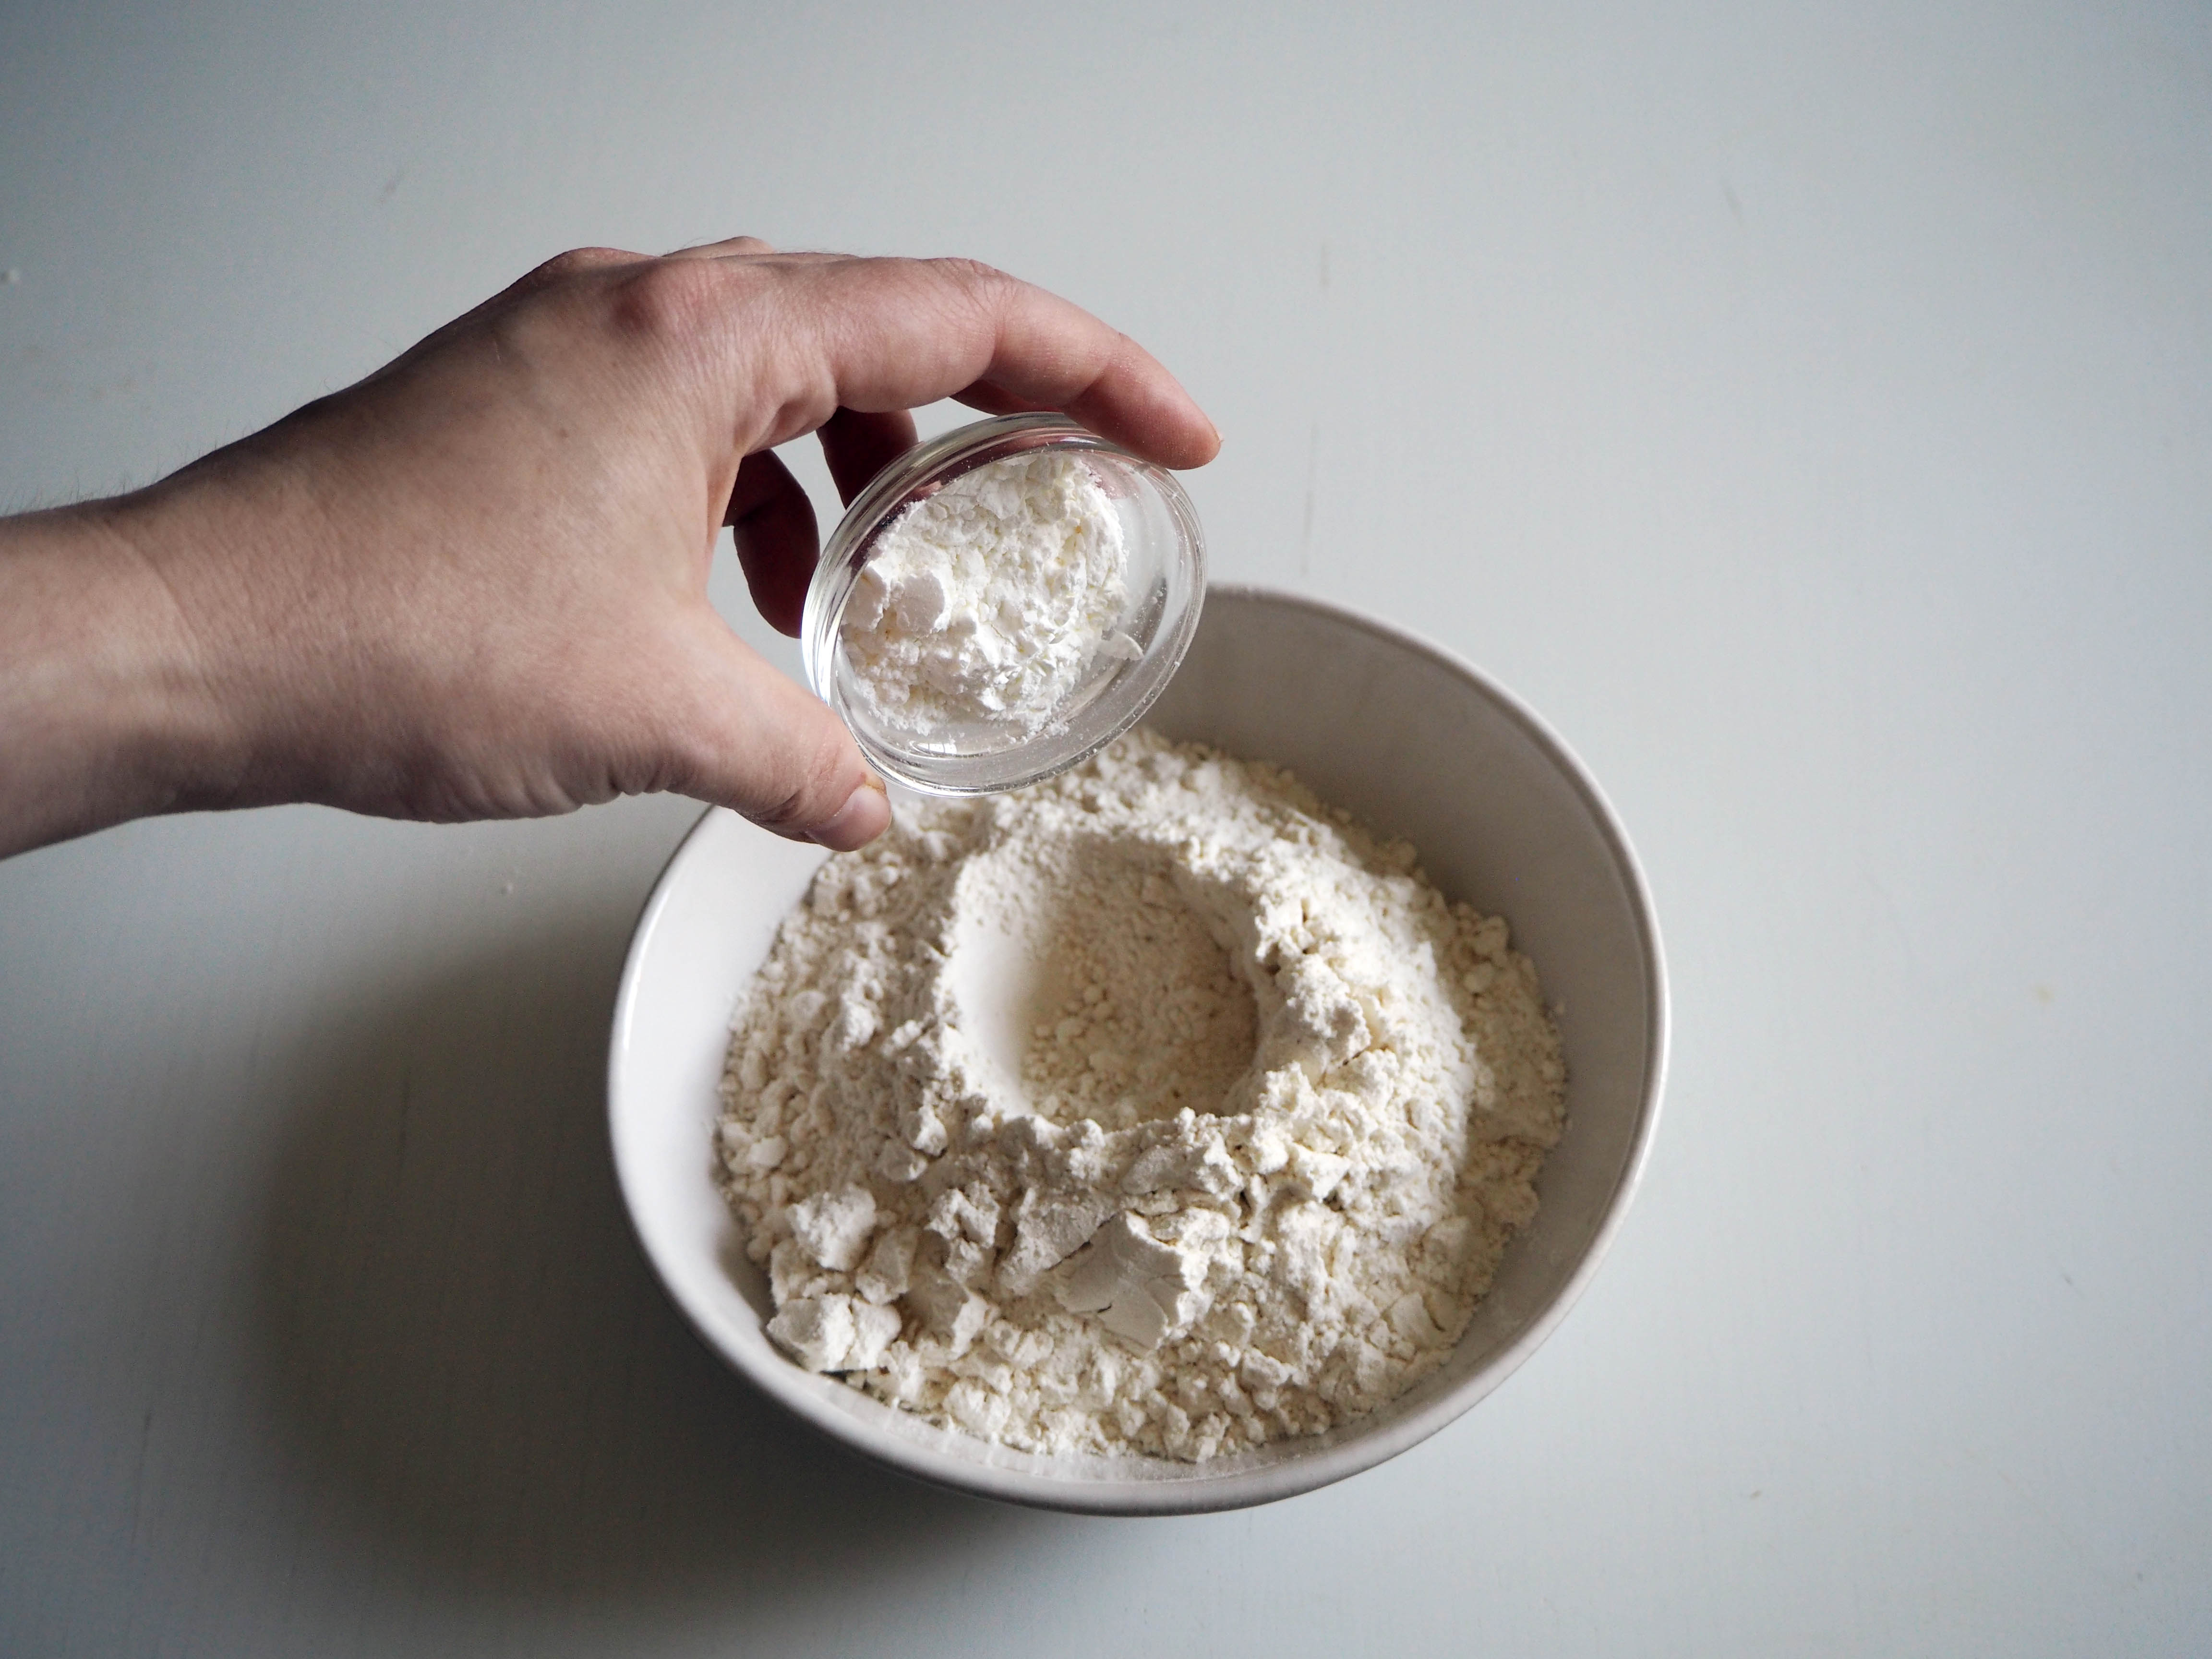

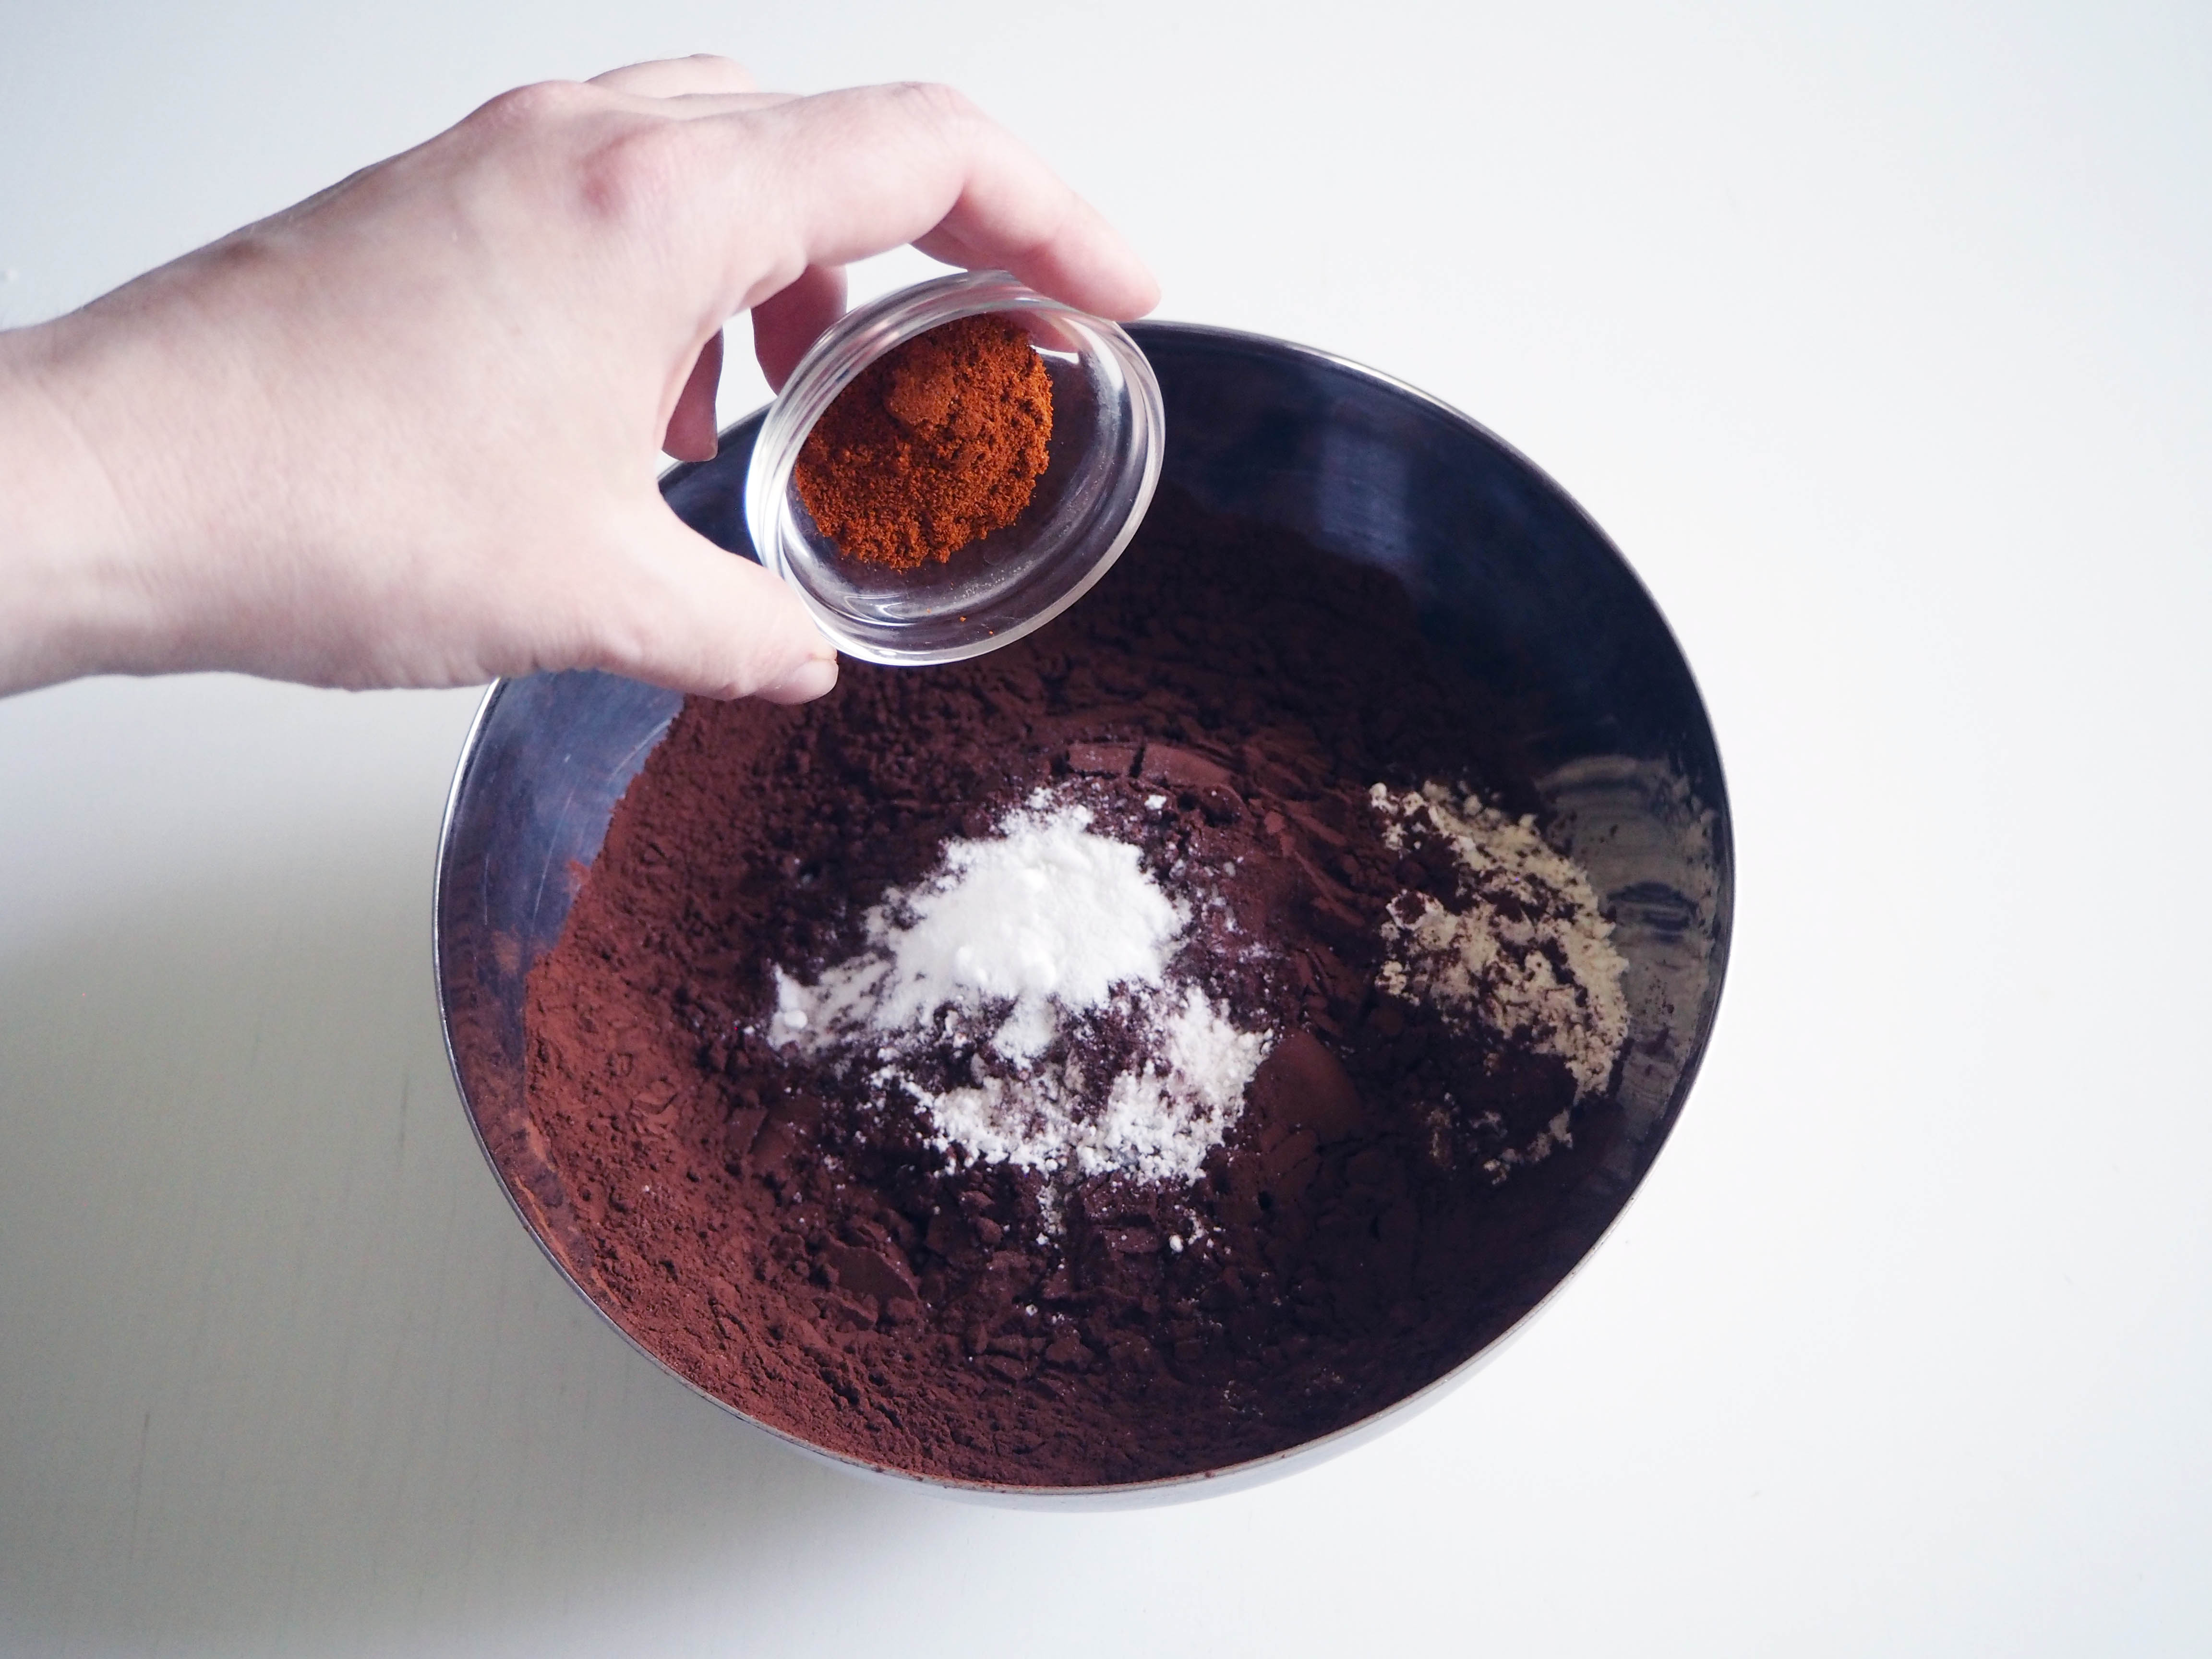
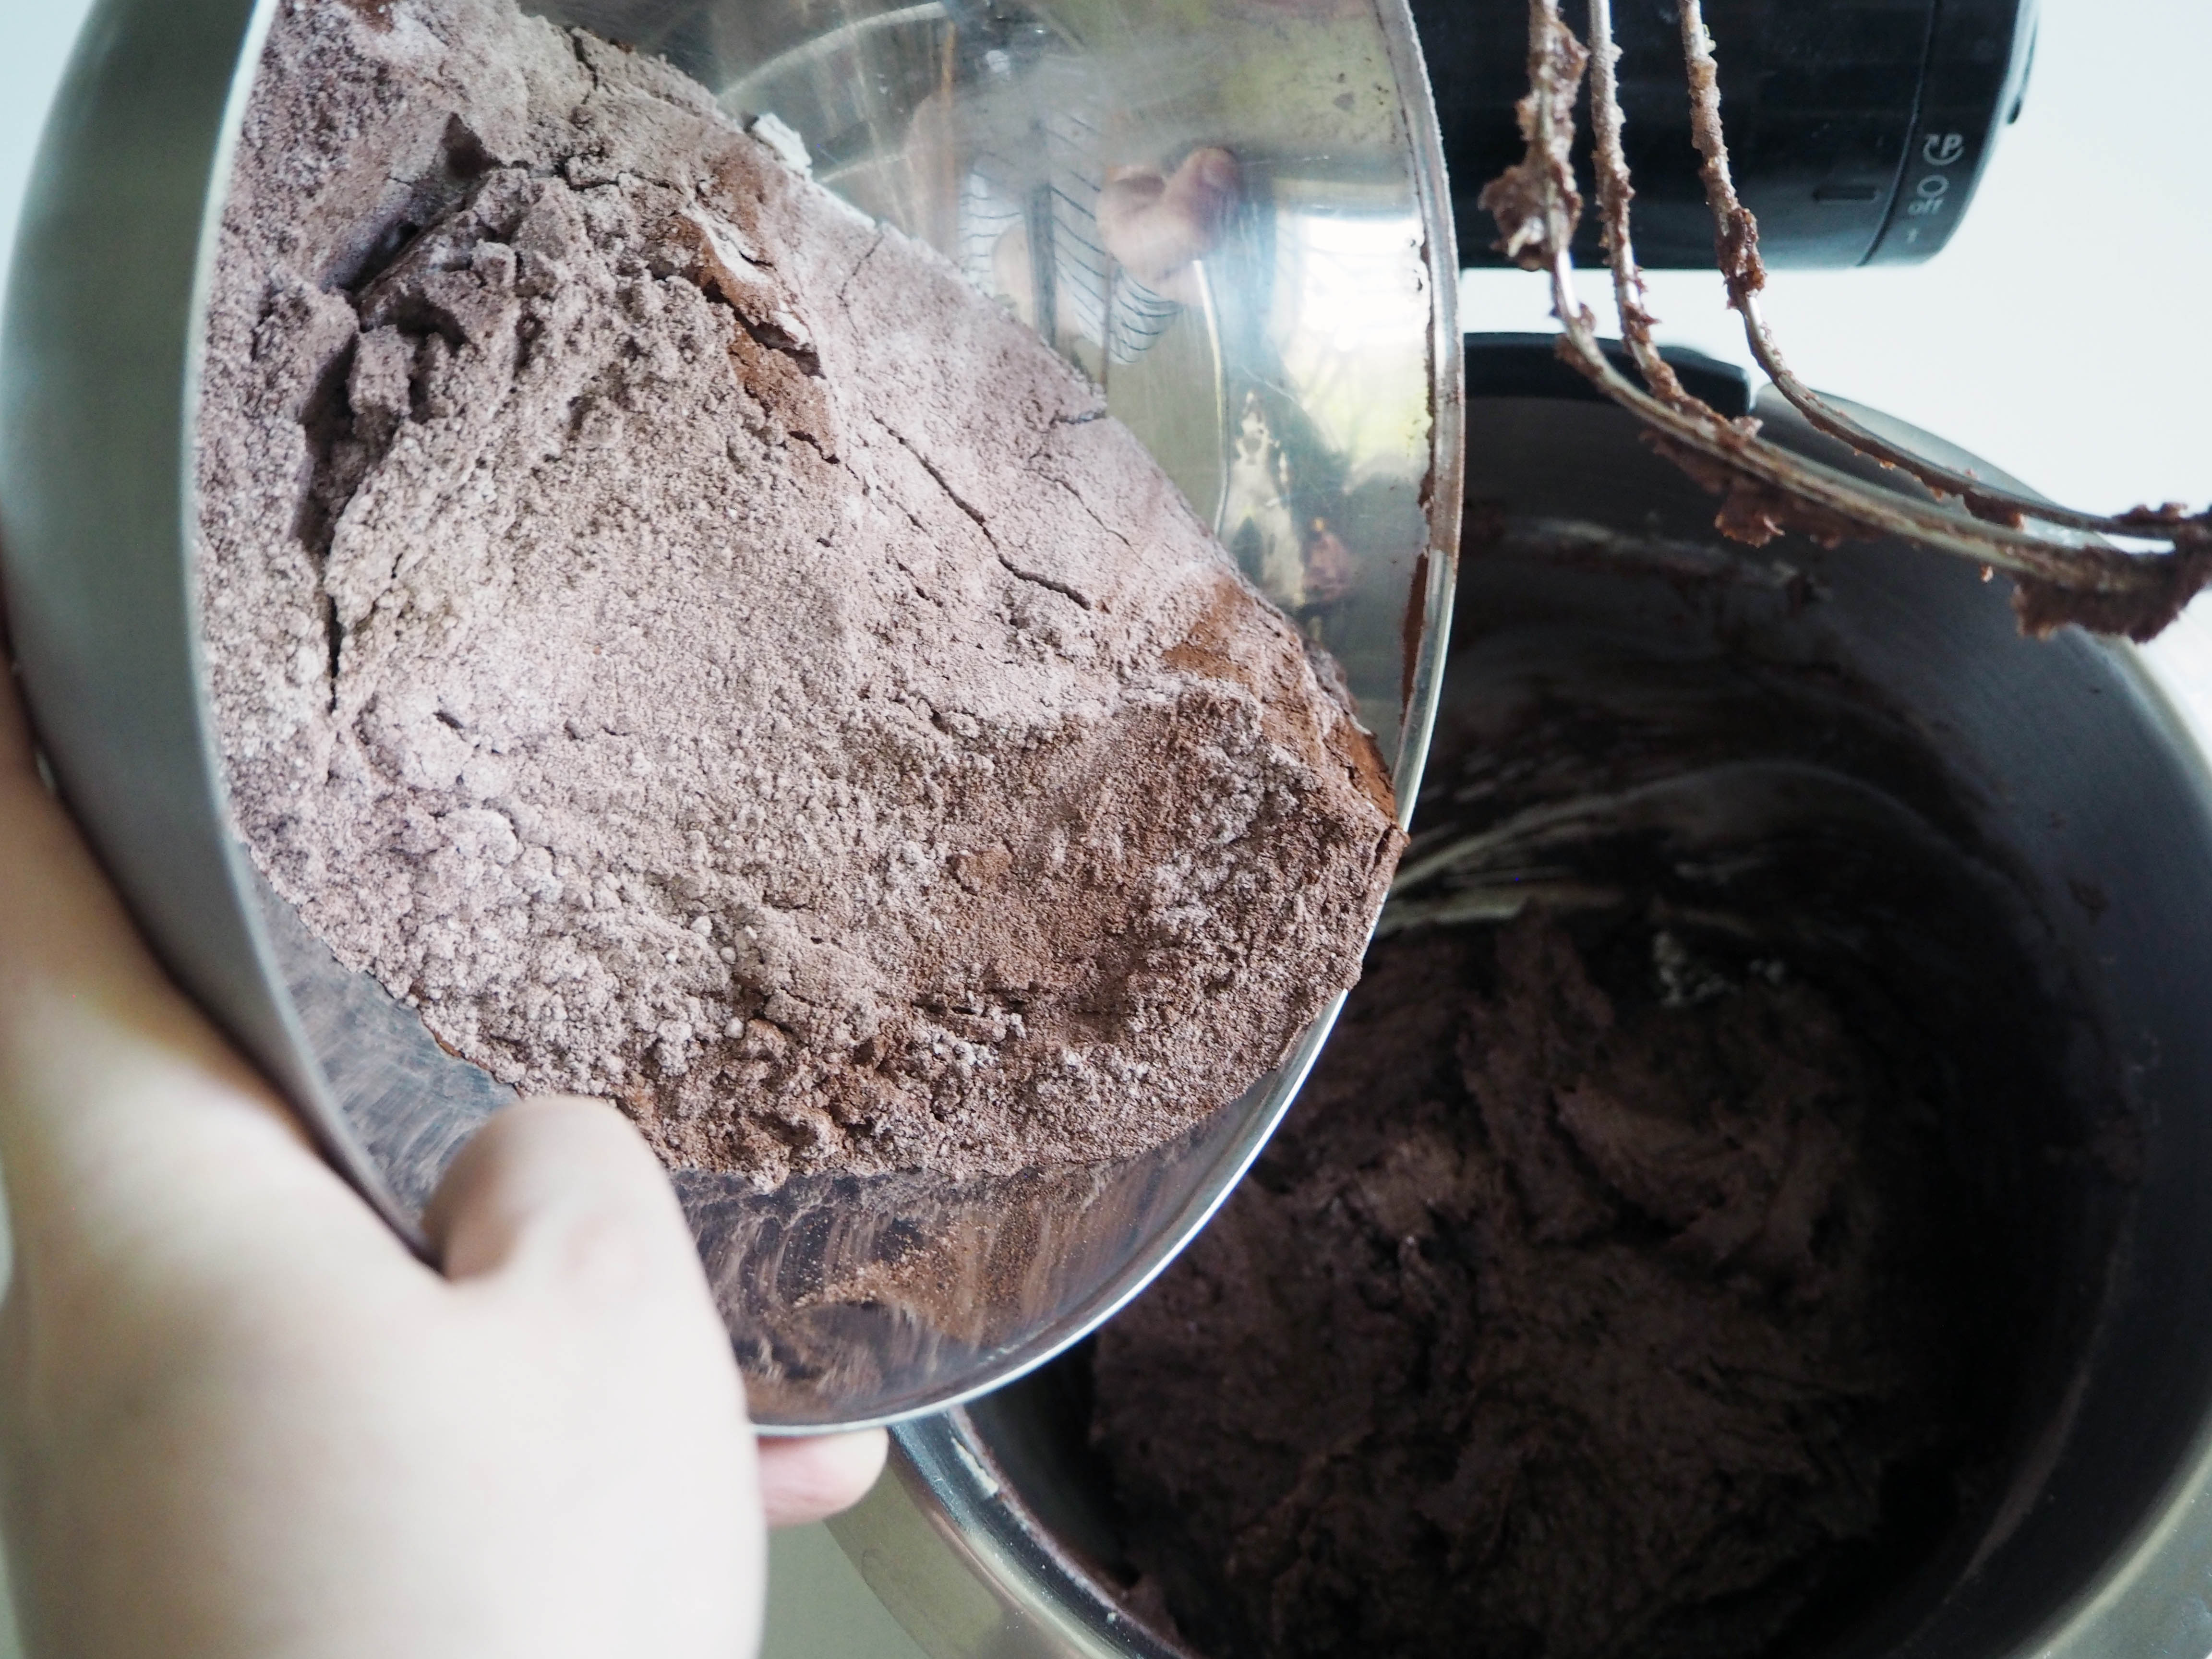
2. In a medium bowl, put flour with cornstarch, cacao, salt, baking soda, baking powder, vanilla sugar and cayenne pepper and whisk. Put aside.

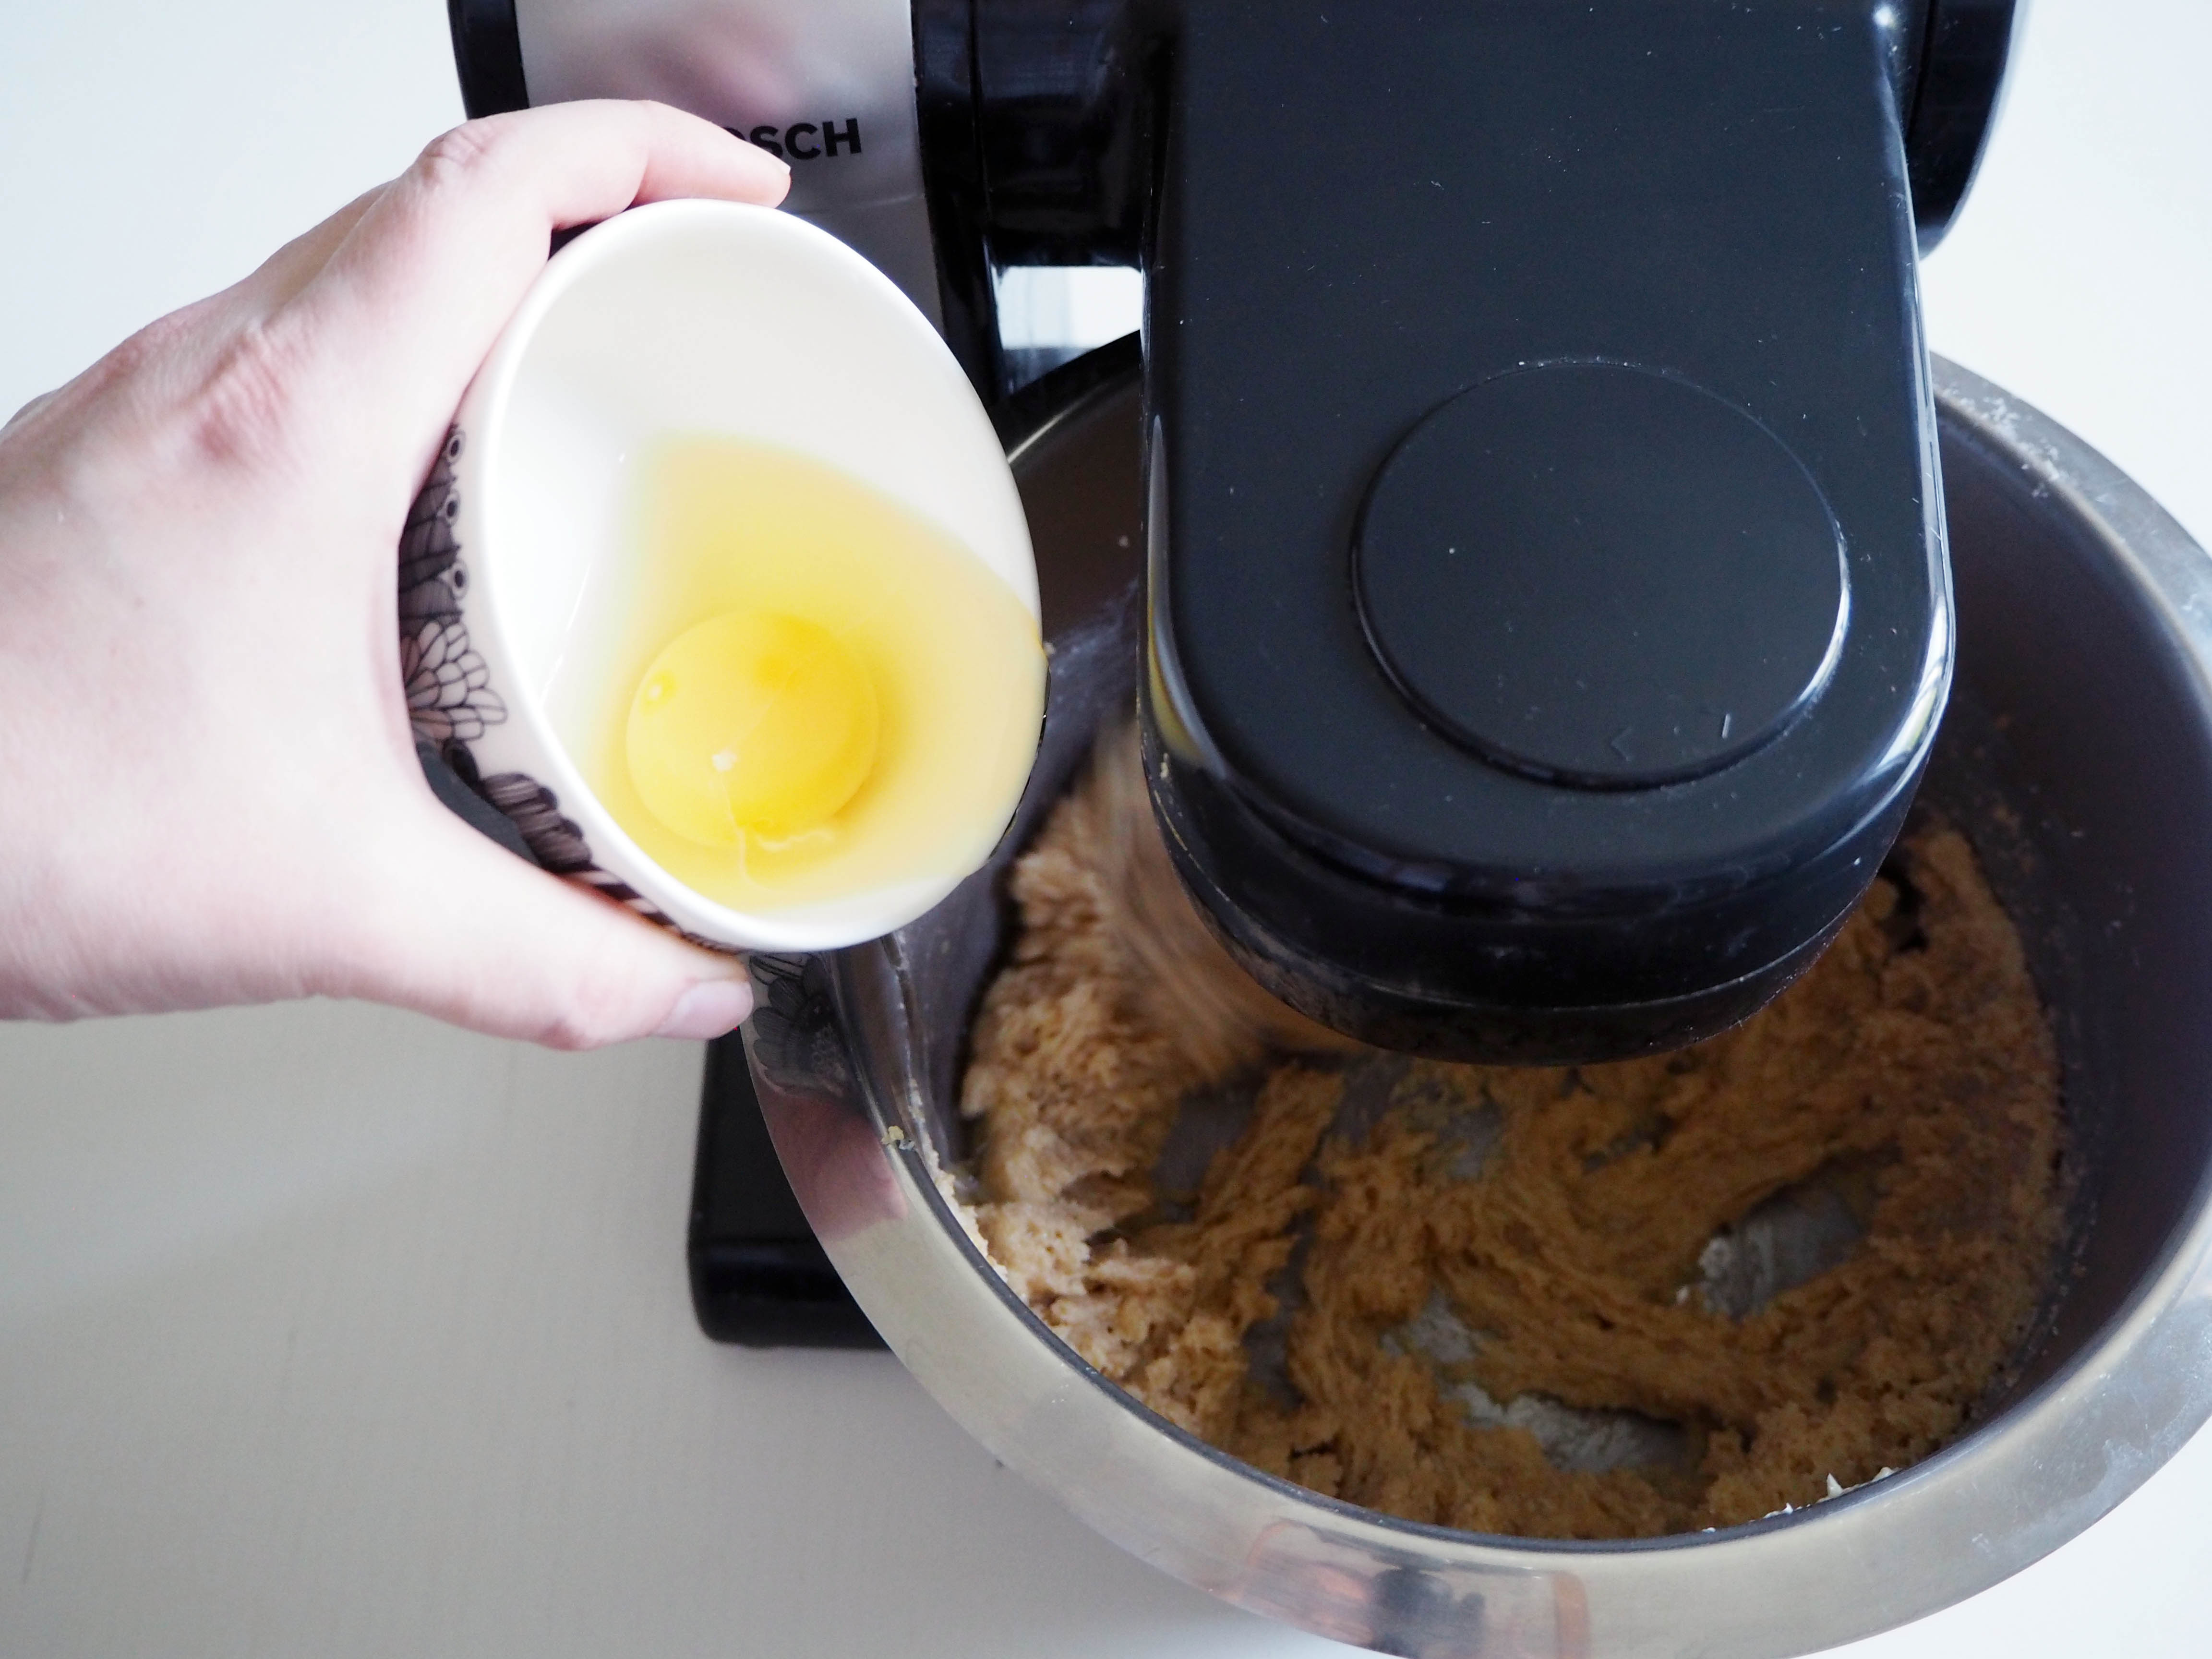
3. In a mixing bowl, put soft butter, light brown sugar, white sugar and molasses and beat in medium to high speed until it gets creamy and smooth.


4. Add eggs, one at a time. Scrape the sides if needed.


5. Add half of the flour mixture and beat until it gets well mixed. Scrape the sides and add remaining half. Continue beating and mixing well. Scrape sides again if needed.


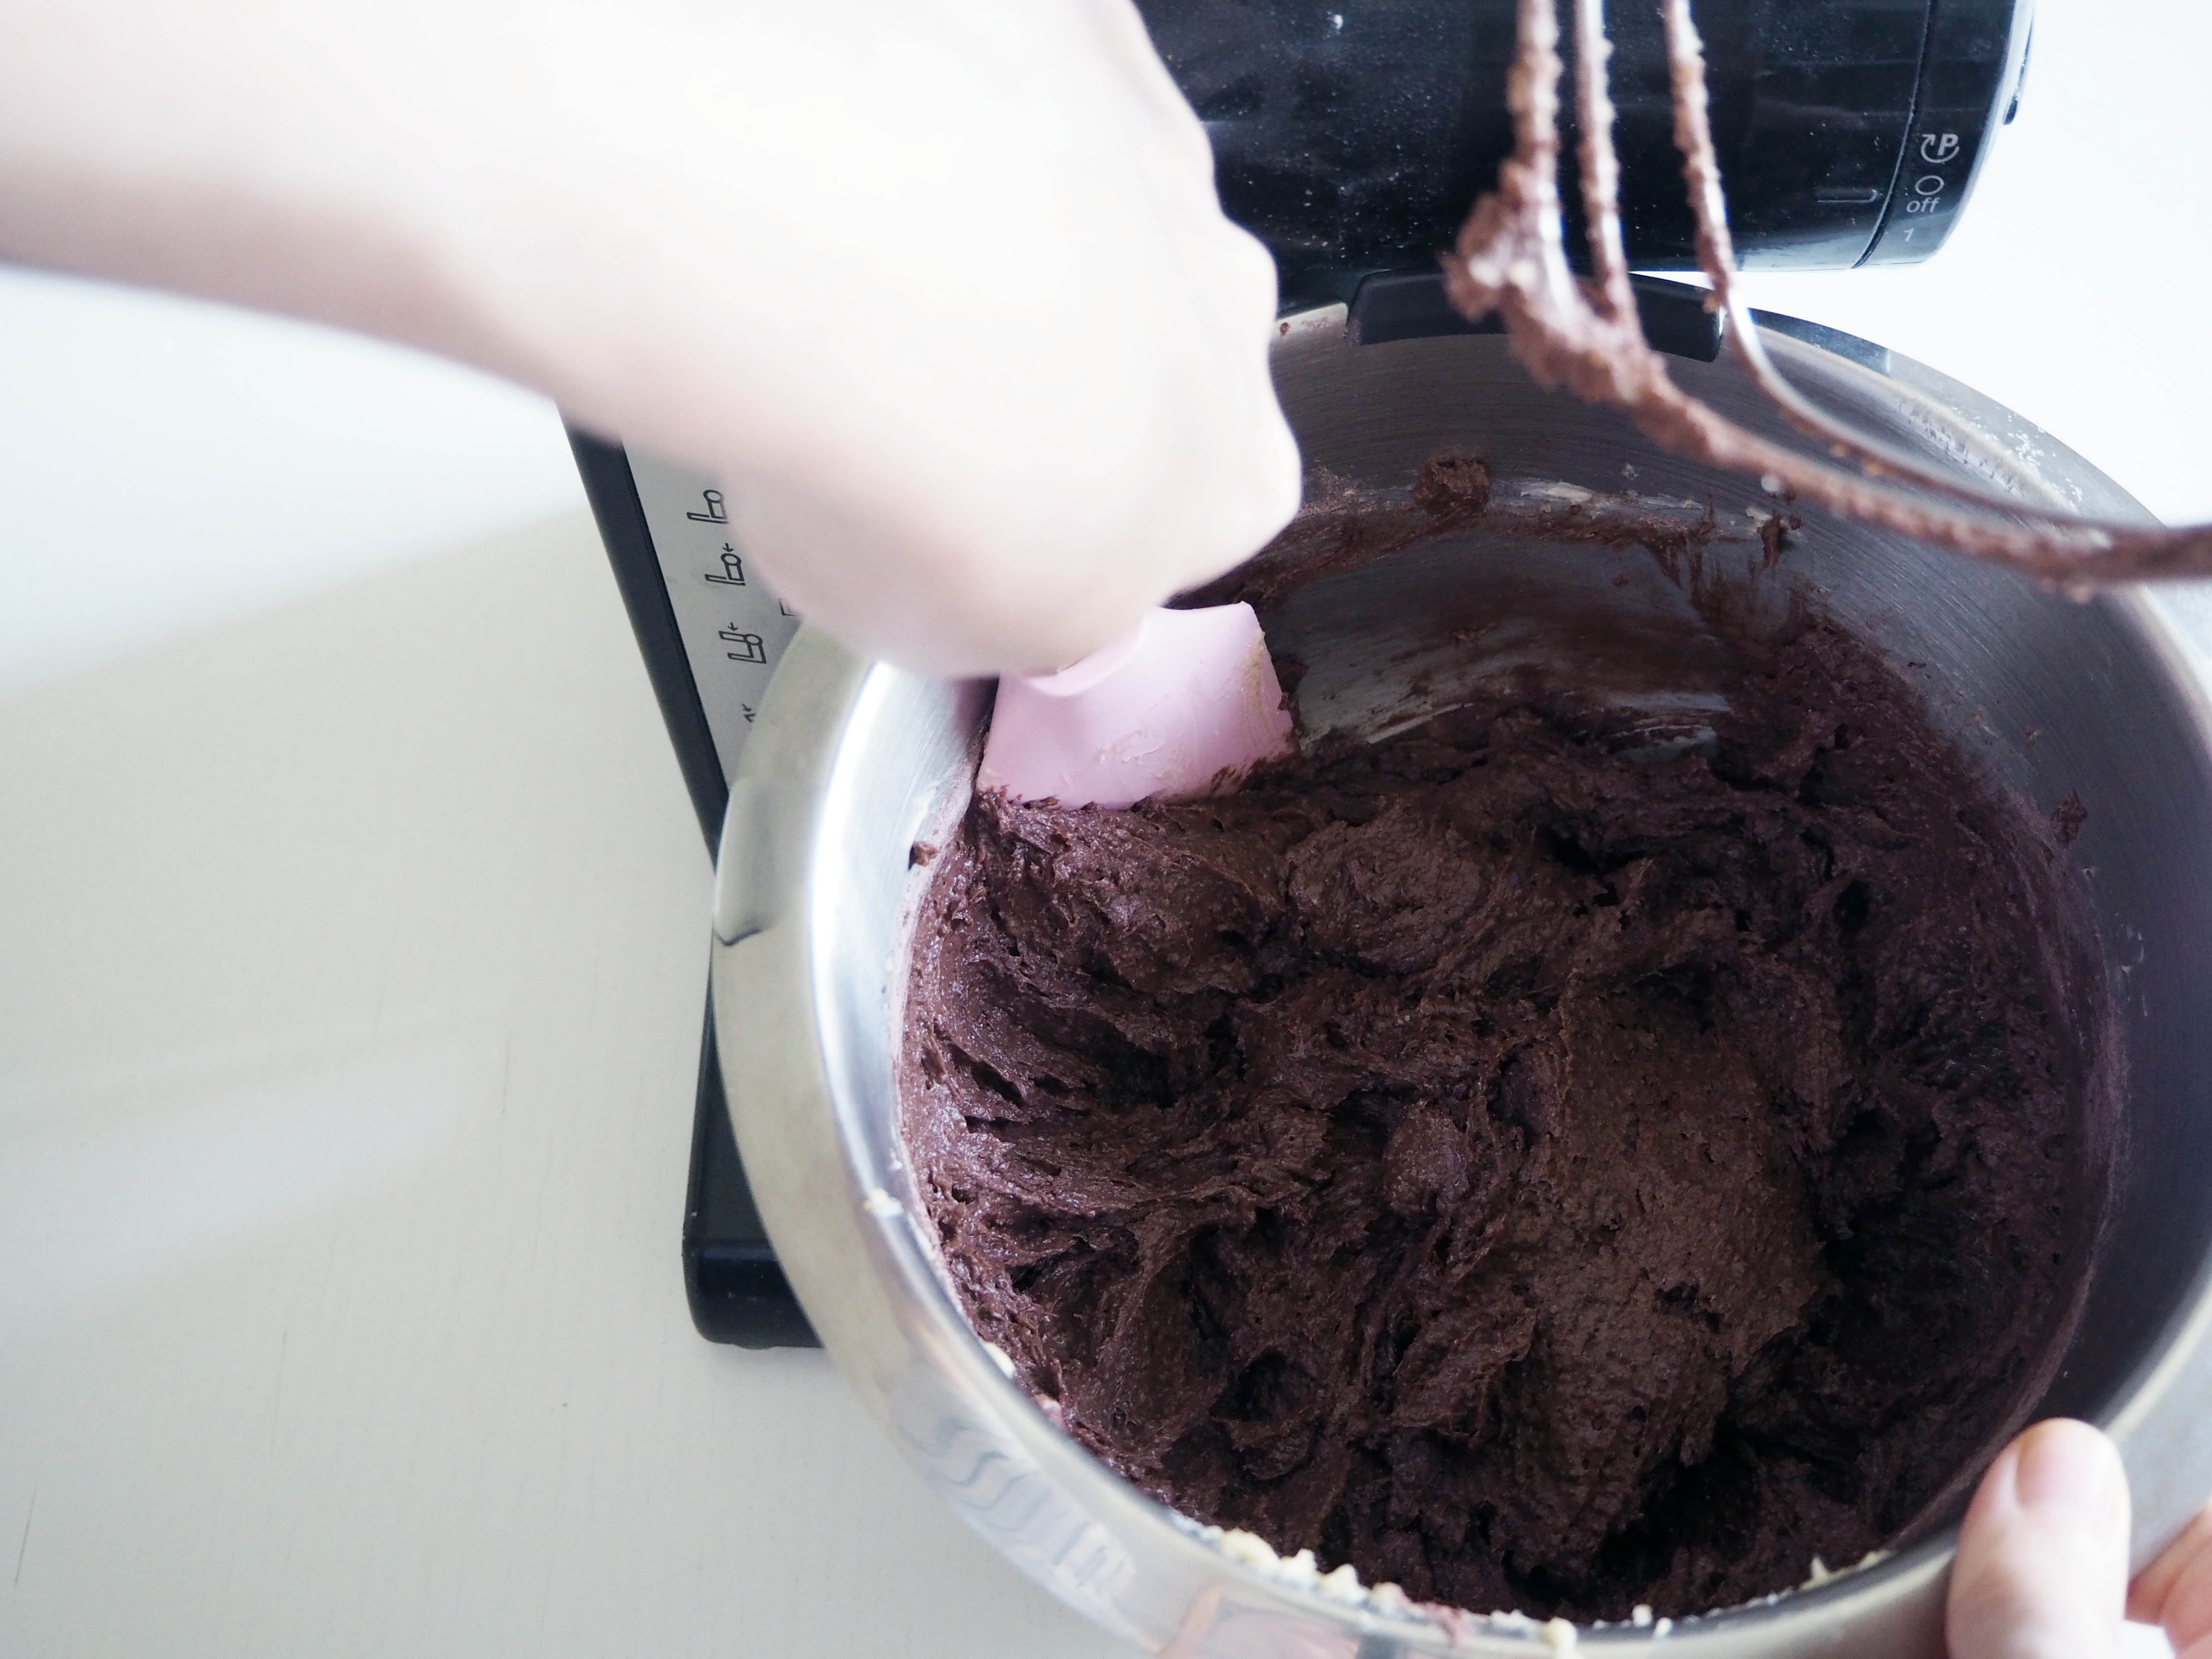

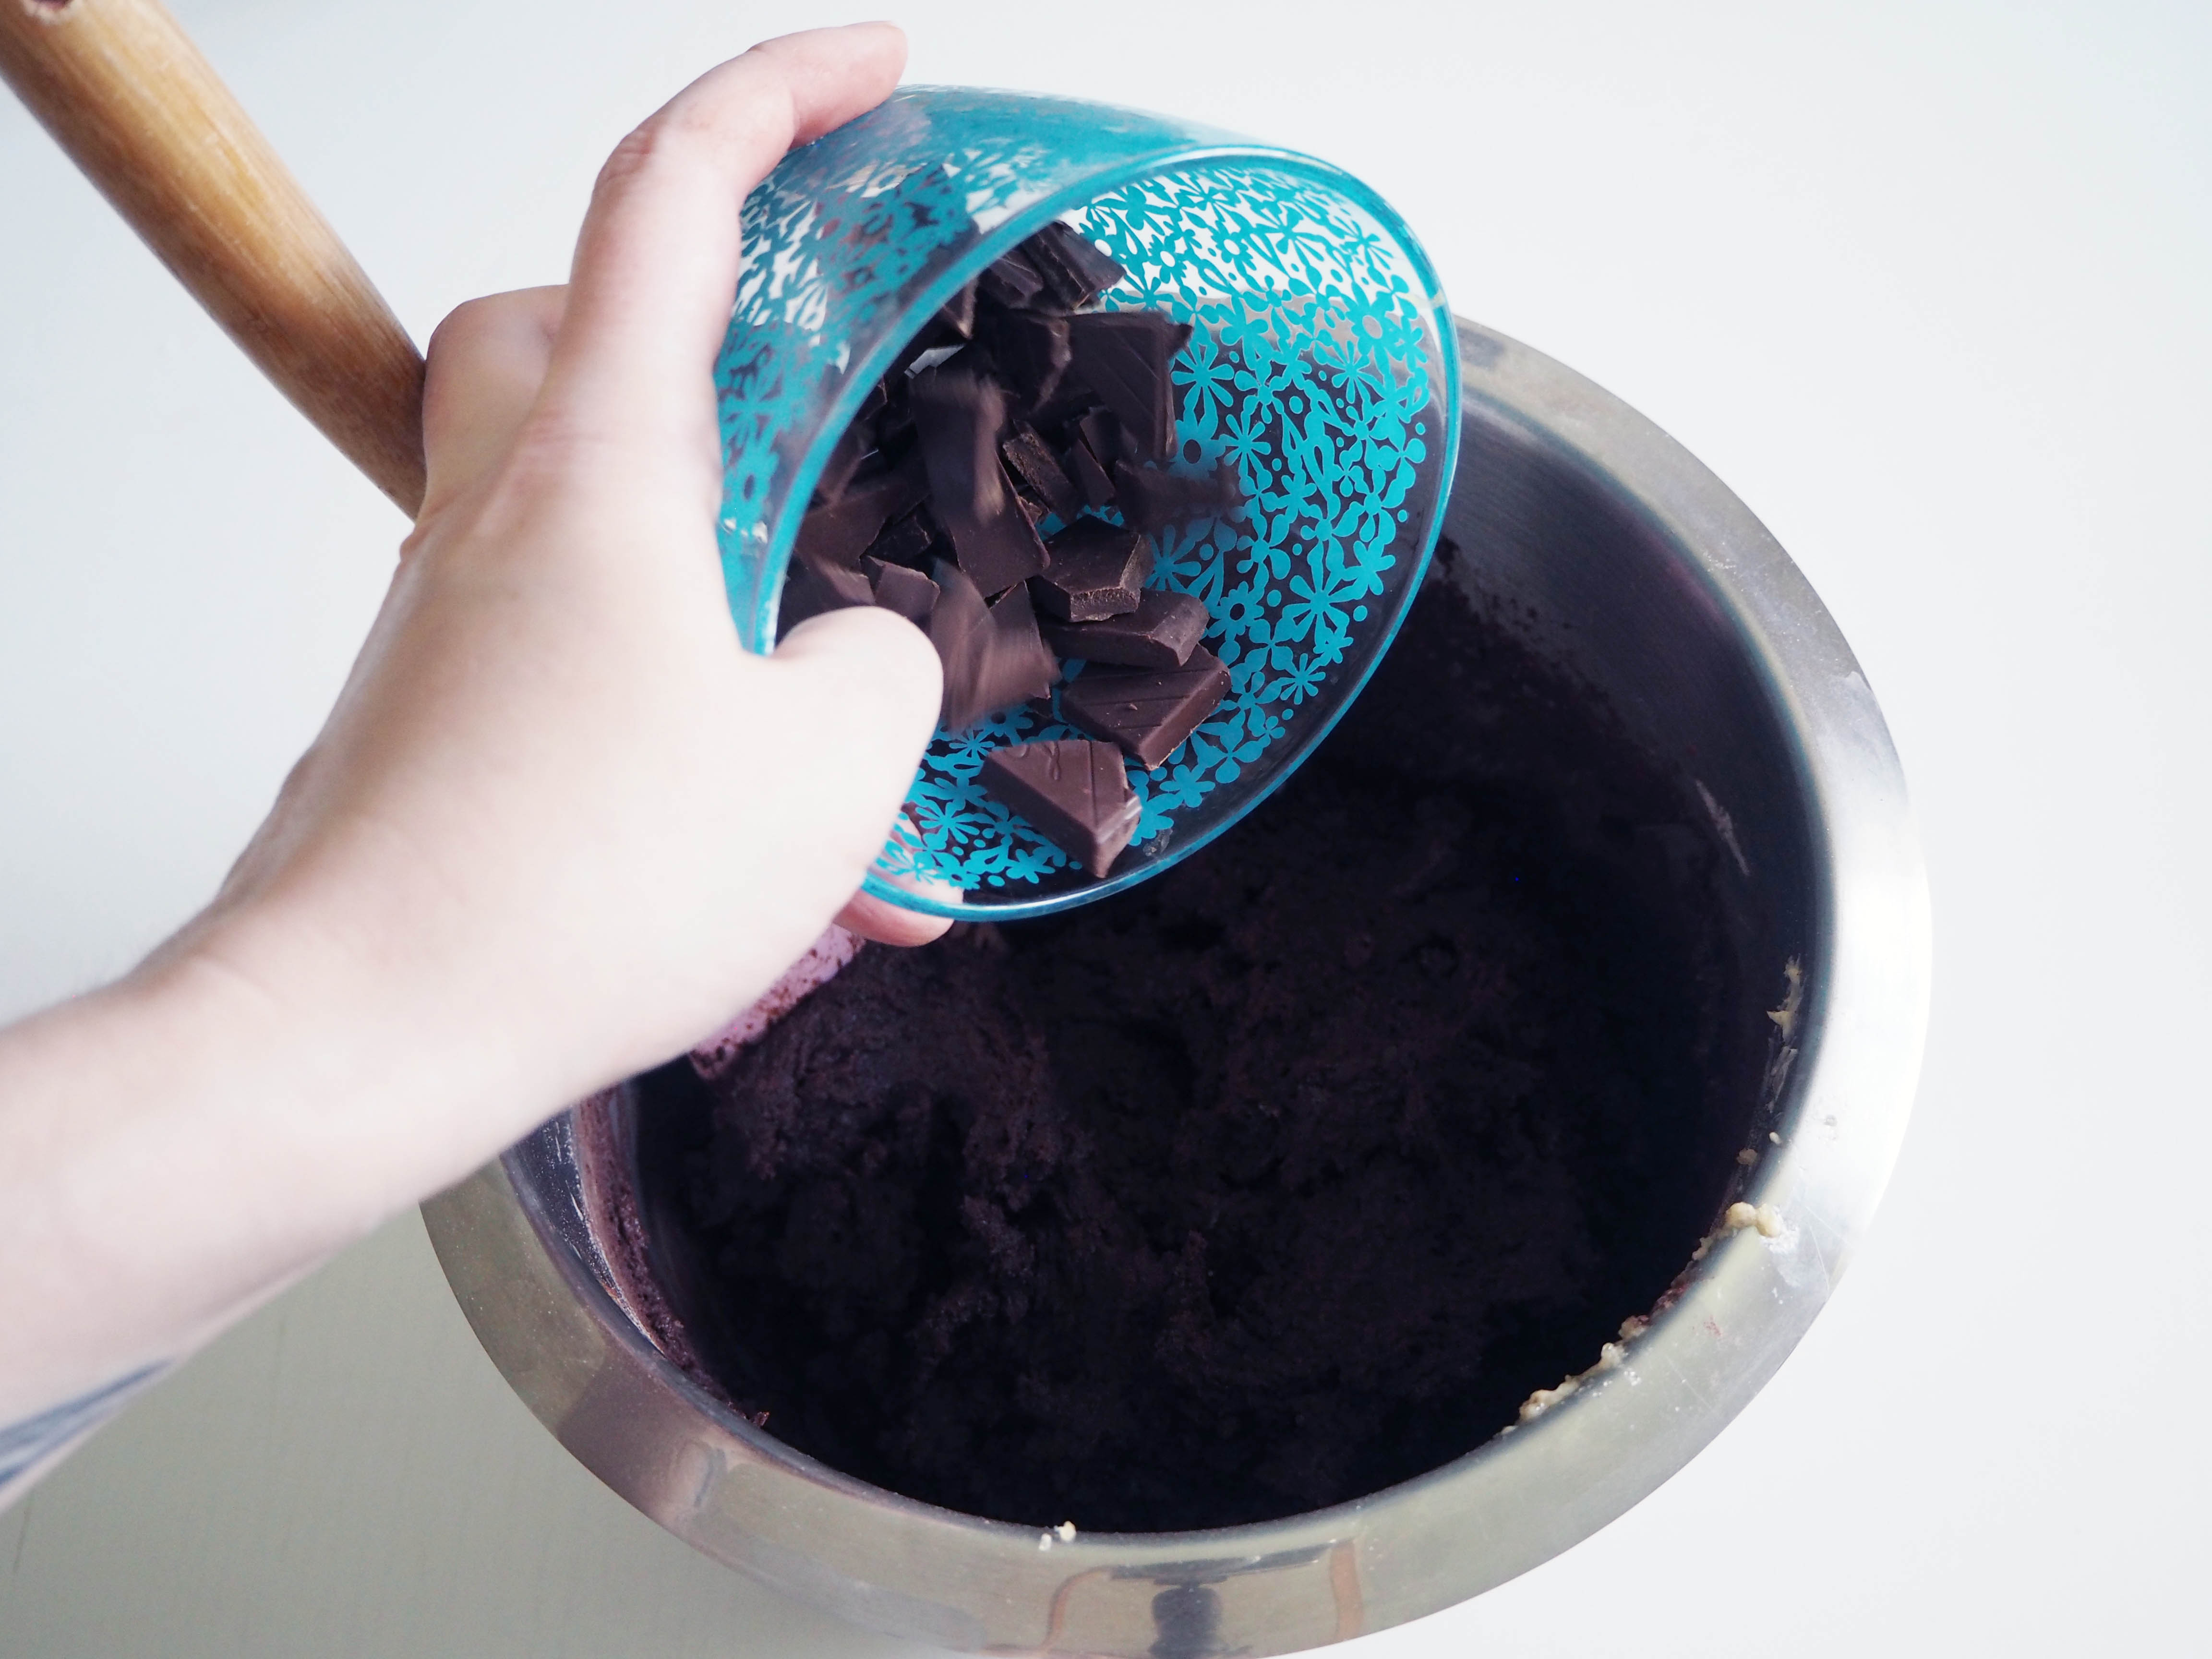
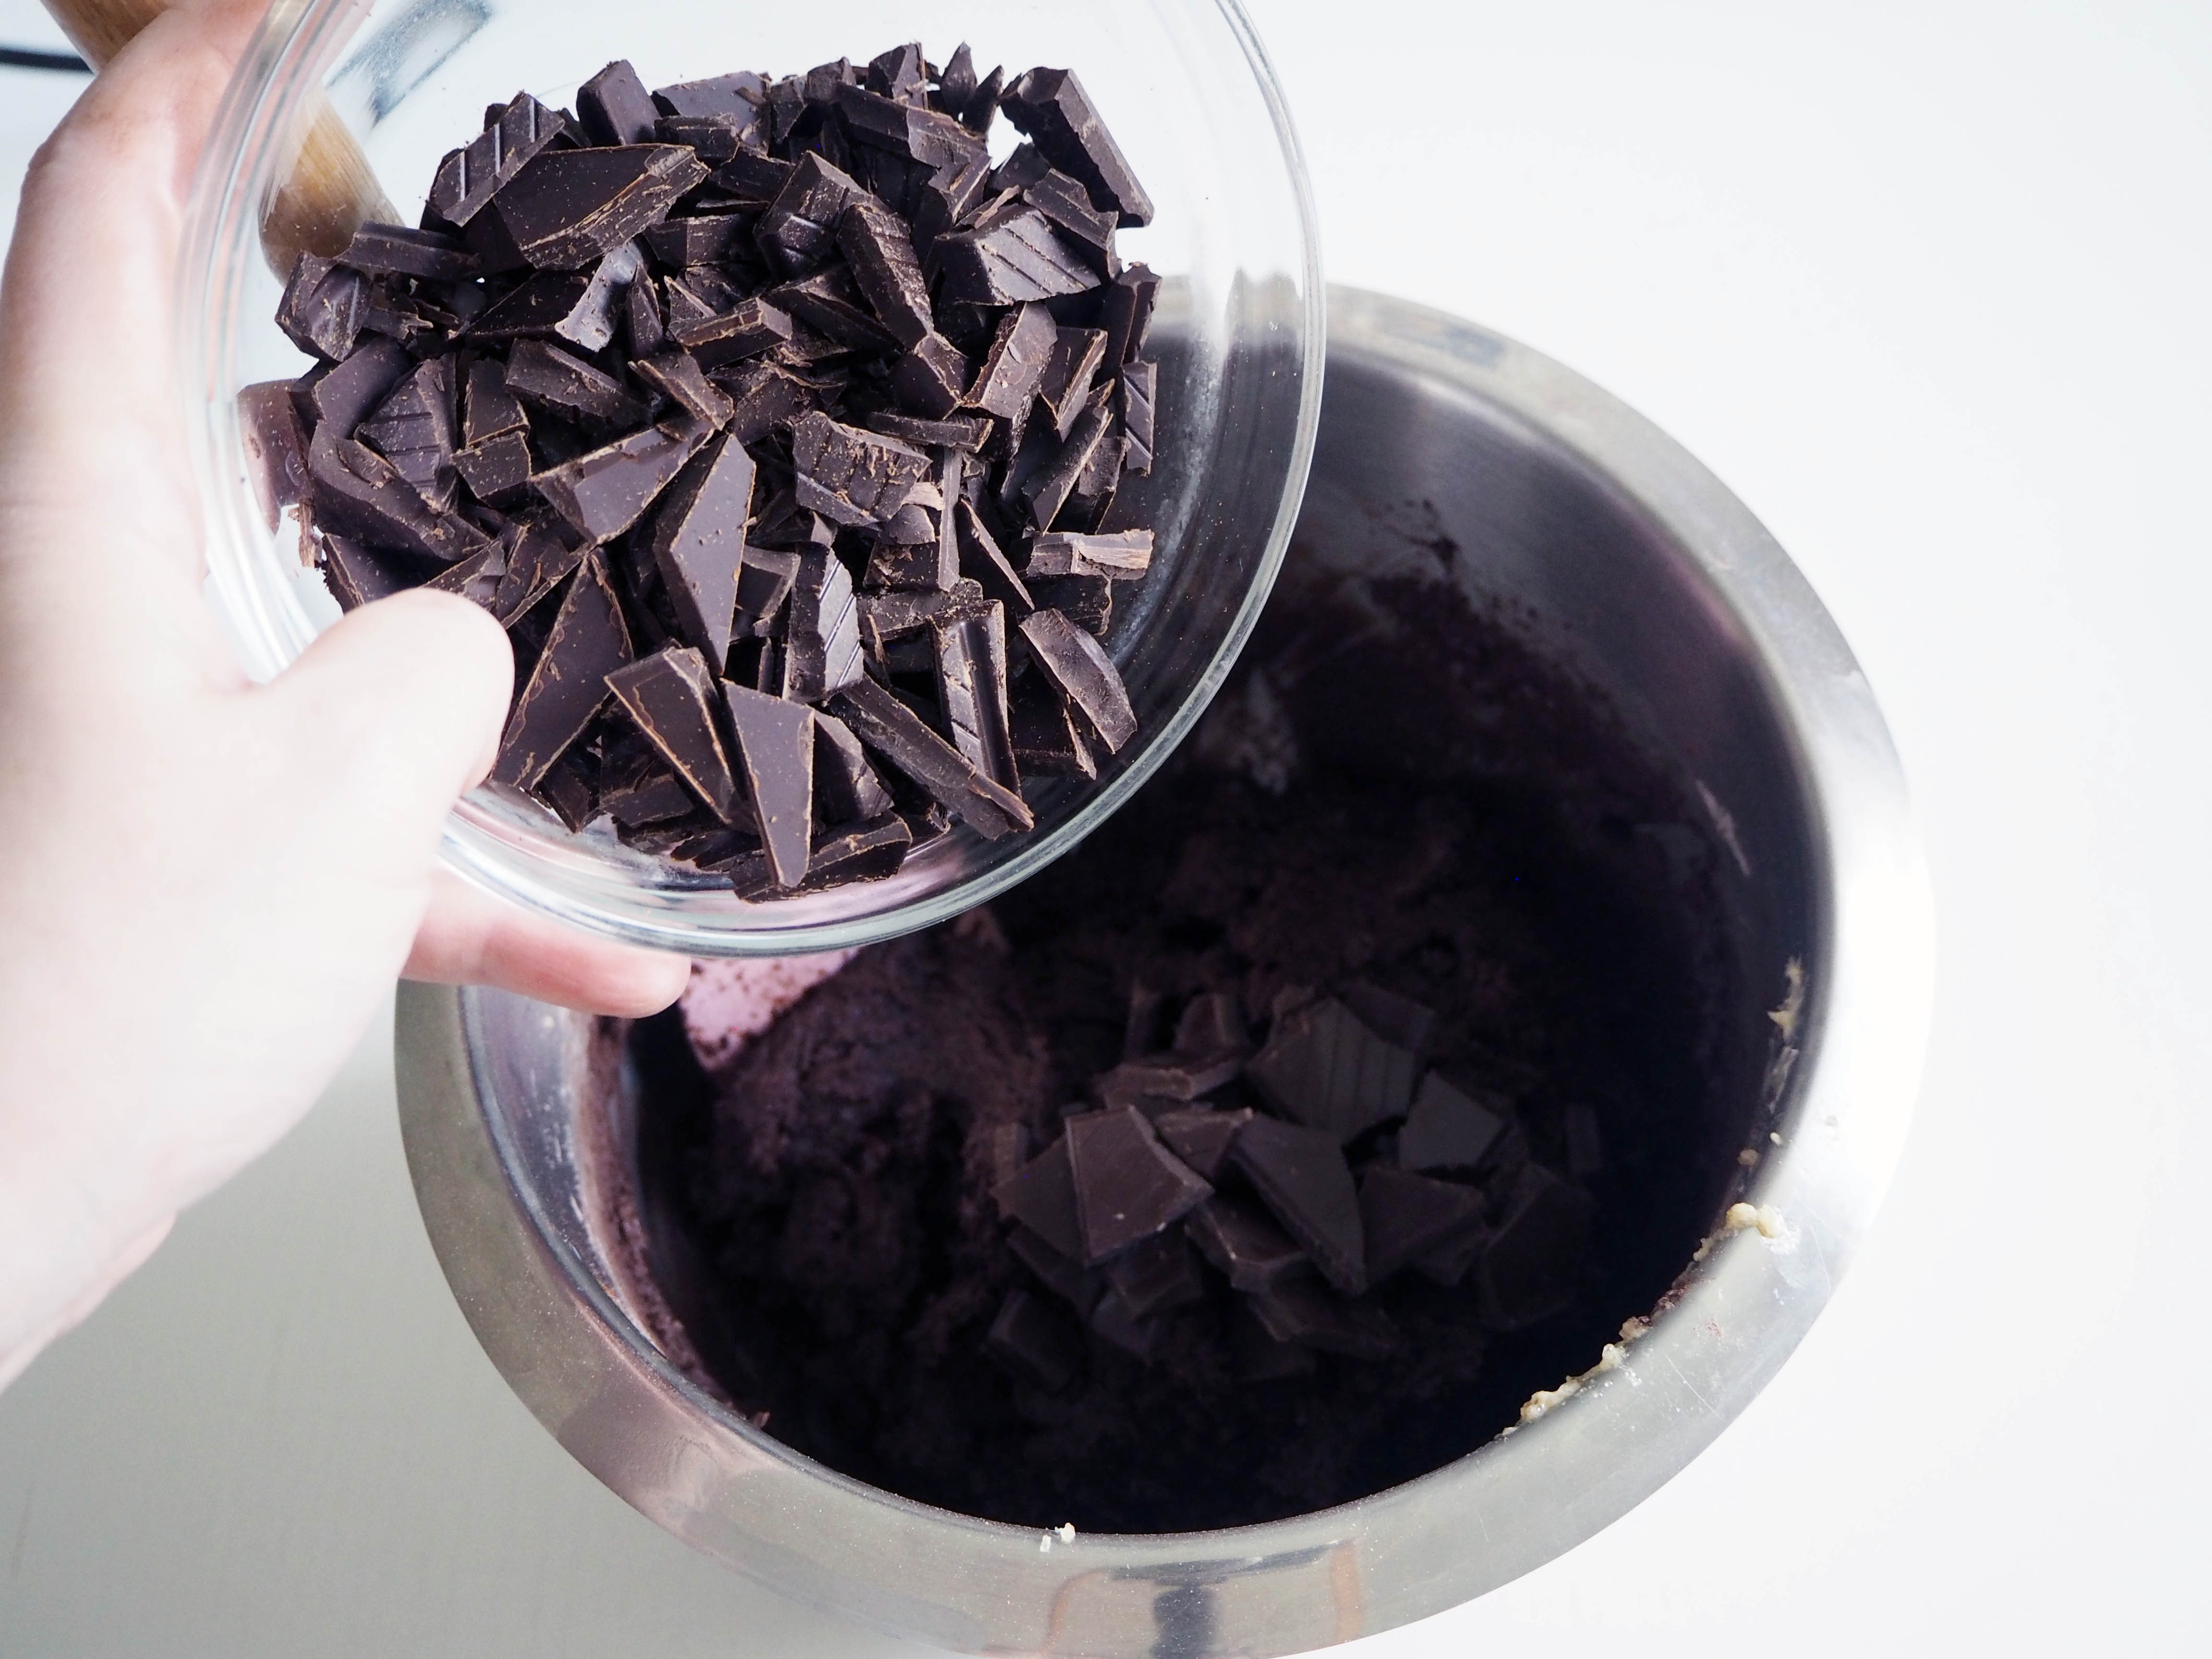
6. Fold in chili chocolate and dark chocolate (or white chocolate).

7. Make balls about walnut size put on a baking tray with a baking paper on, leaving some distance (about 2 cm) in between to allow for spreading. If you are making white chocolate version, then press 1 extra chopped chocolate square on the ball so that you can see white chocolate piece from outside after your cookie is baked. Put ready balls in the fridge to chill for an hour.

8. When the cookie balls chill enough, preheat the oven to 180C.
9. Bake the cookies in the oven in medium rack for about 12-14 minutes. After baking, let them cool before you start eating them (if they are too puffy after the oven, you can gently press each cookie with the back of a spatula to keep them relatively flat – this is completely optional). Enjoy!


Loved your yummy recipe :)
Thanks!