If there is one thing I don’t actually like in French cuisine, it is the famous French macaroons. Even if text edit insists on correcting the word as macaroons, I want to write it in French: macarons!
However, apart from the taste that is too sweet and candy-like for me, it is a great pleasure to bake them. This is probably because baking them in the right consistency is quite a hard work and you do feel a big accomplishment when you get it right. I have to say, I was jumping up and down in front of the oven when the very first batch started to shape just as it should be.

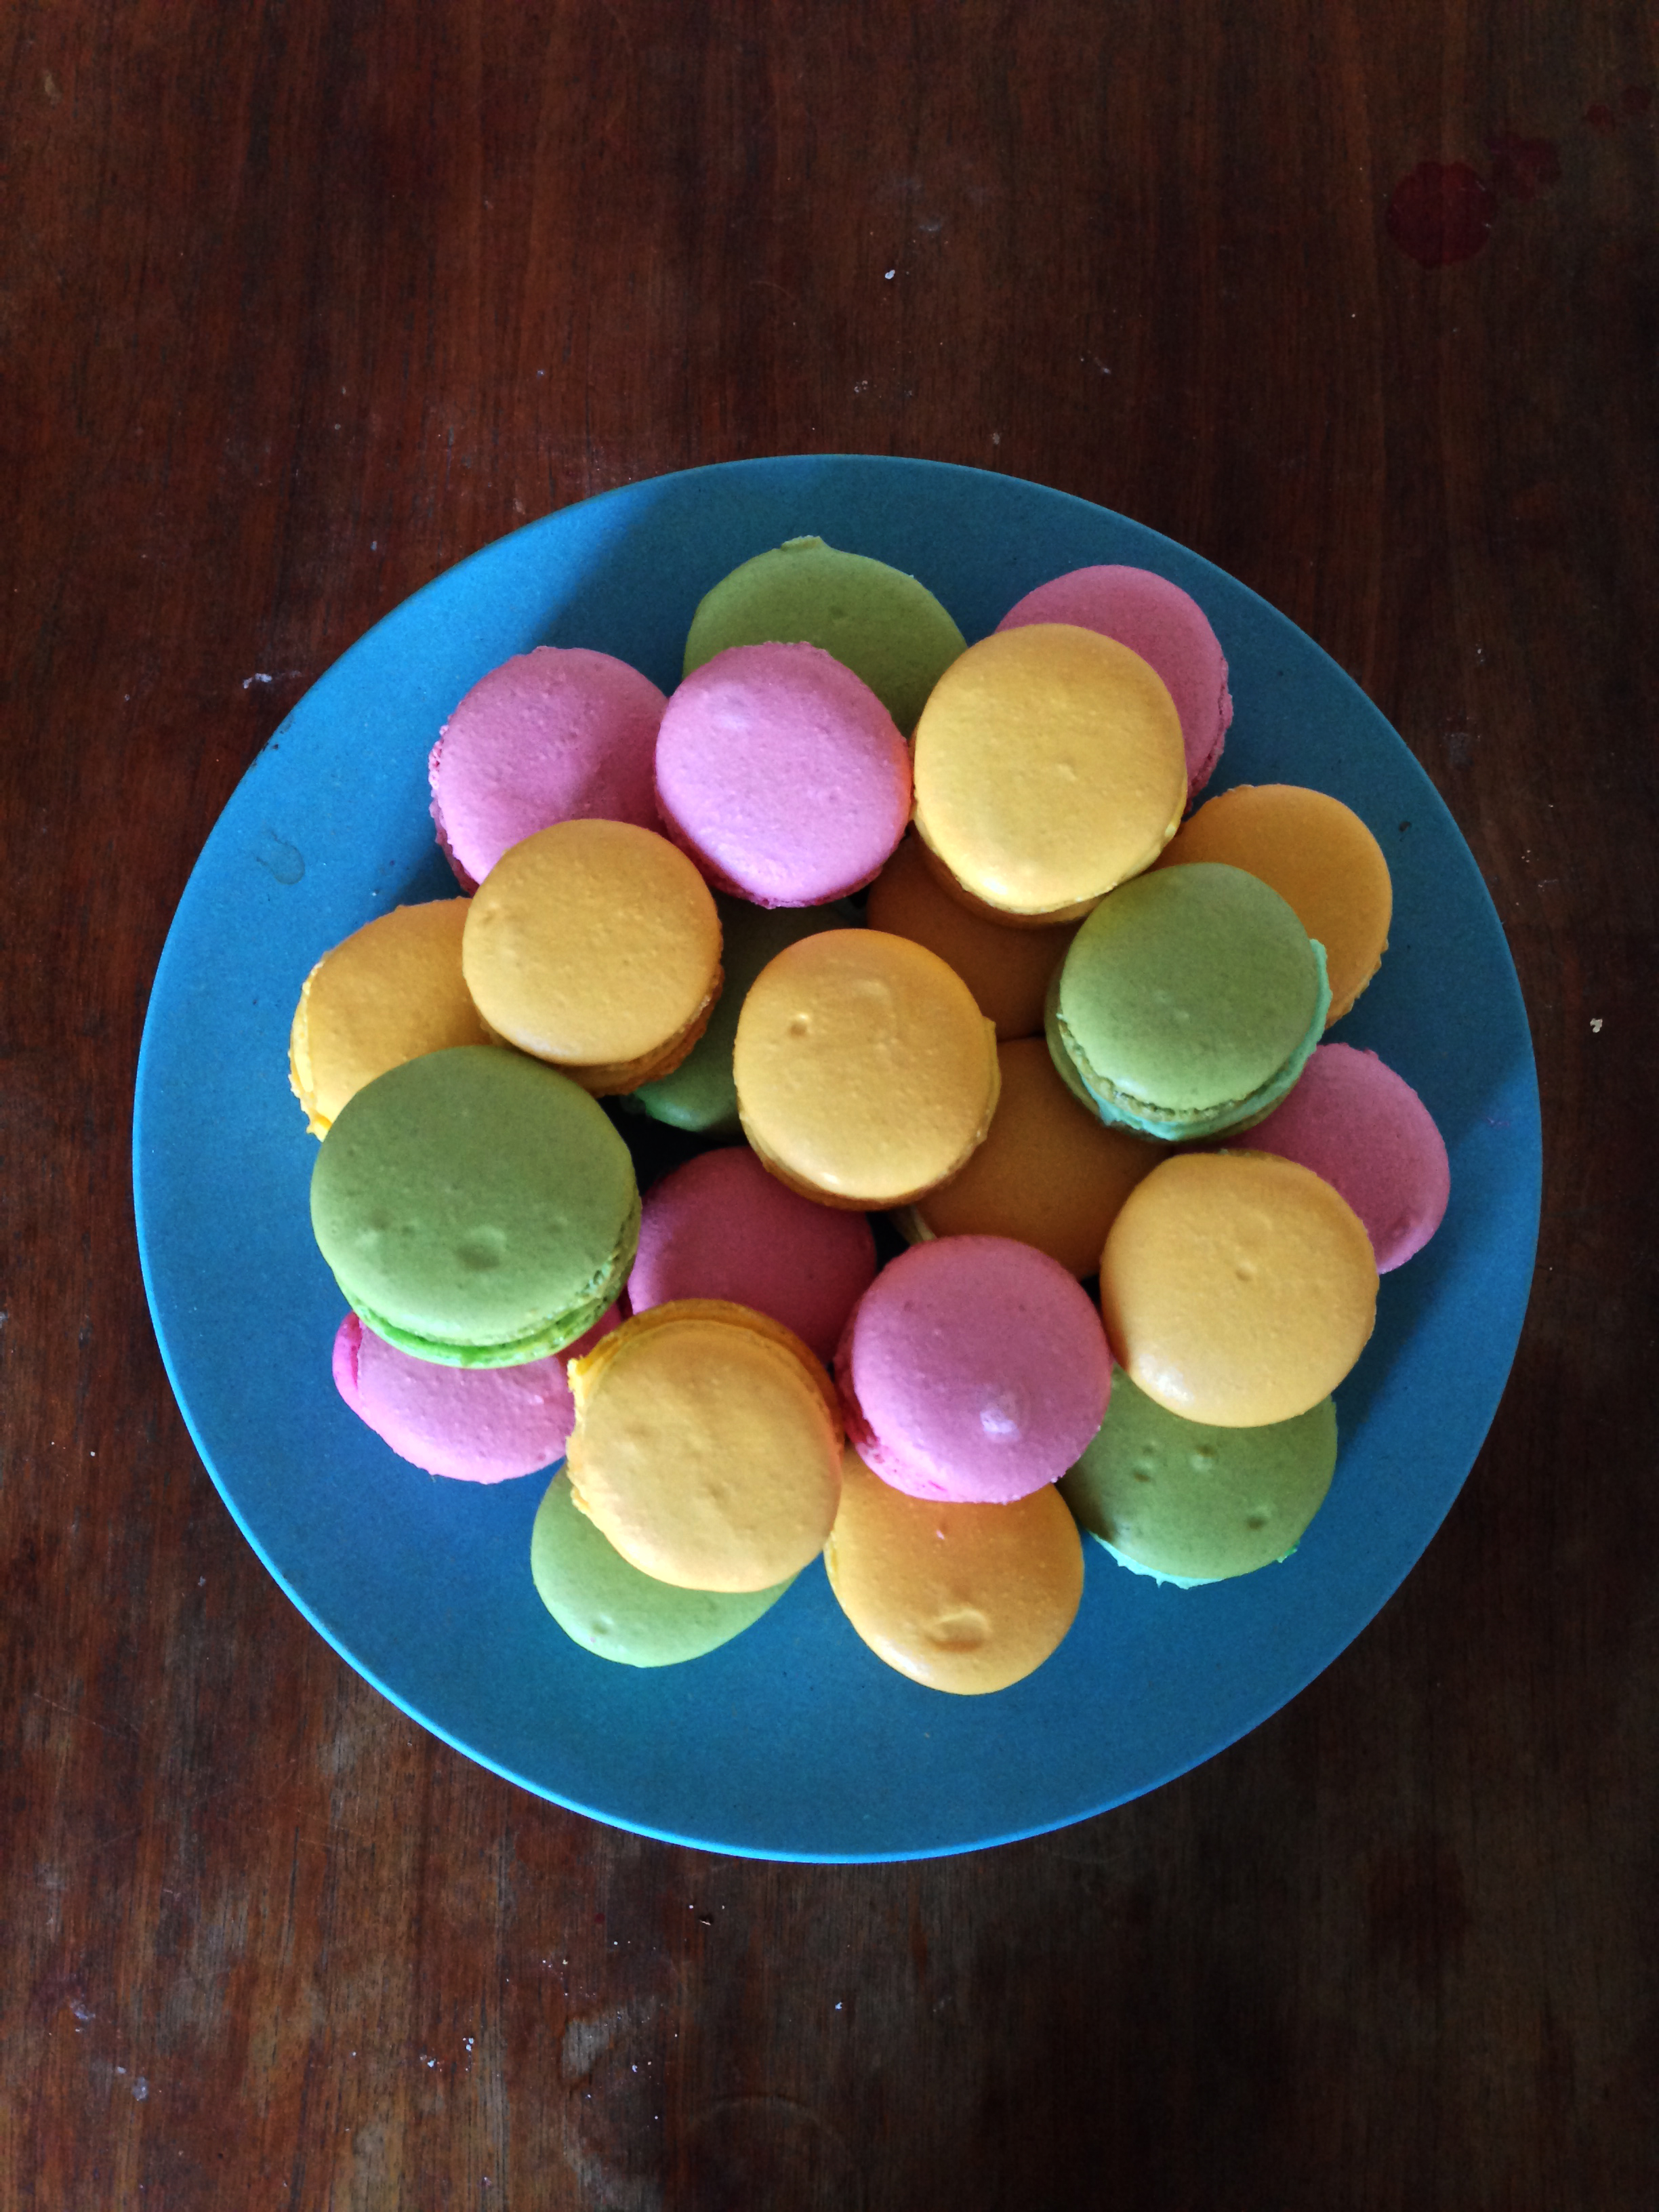
Since my flatmate is not a big fan of these macarons either, the three coloured macarons stayed in quite big amounts for a long time in the kitchen on top of the cake stand. So much so that 6 days later, people could still eat some in the big 60s party we had at home.

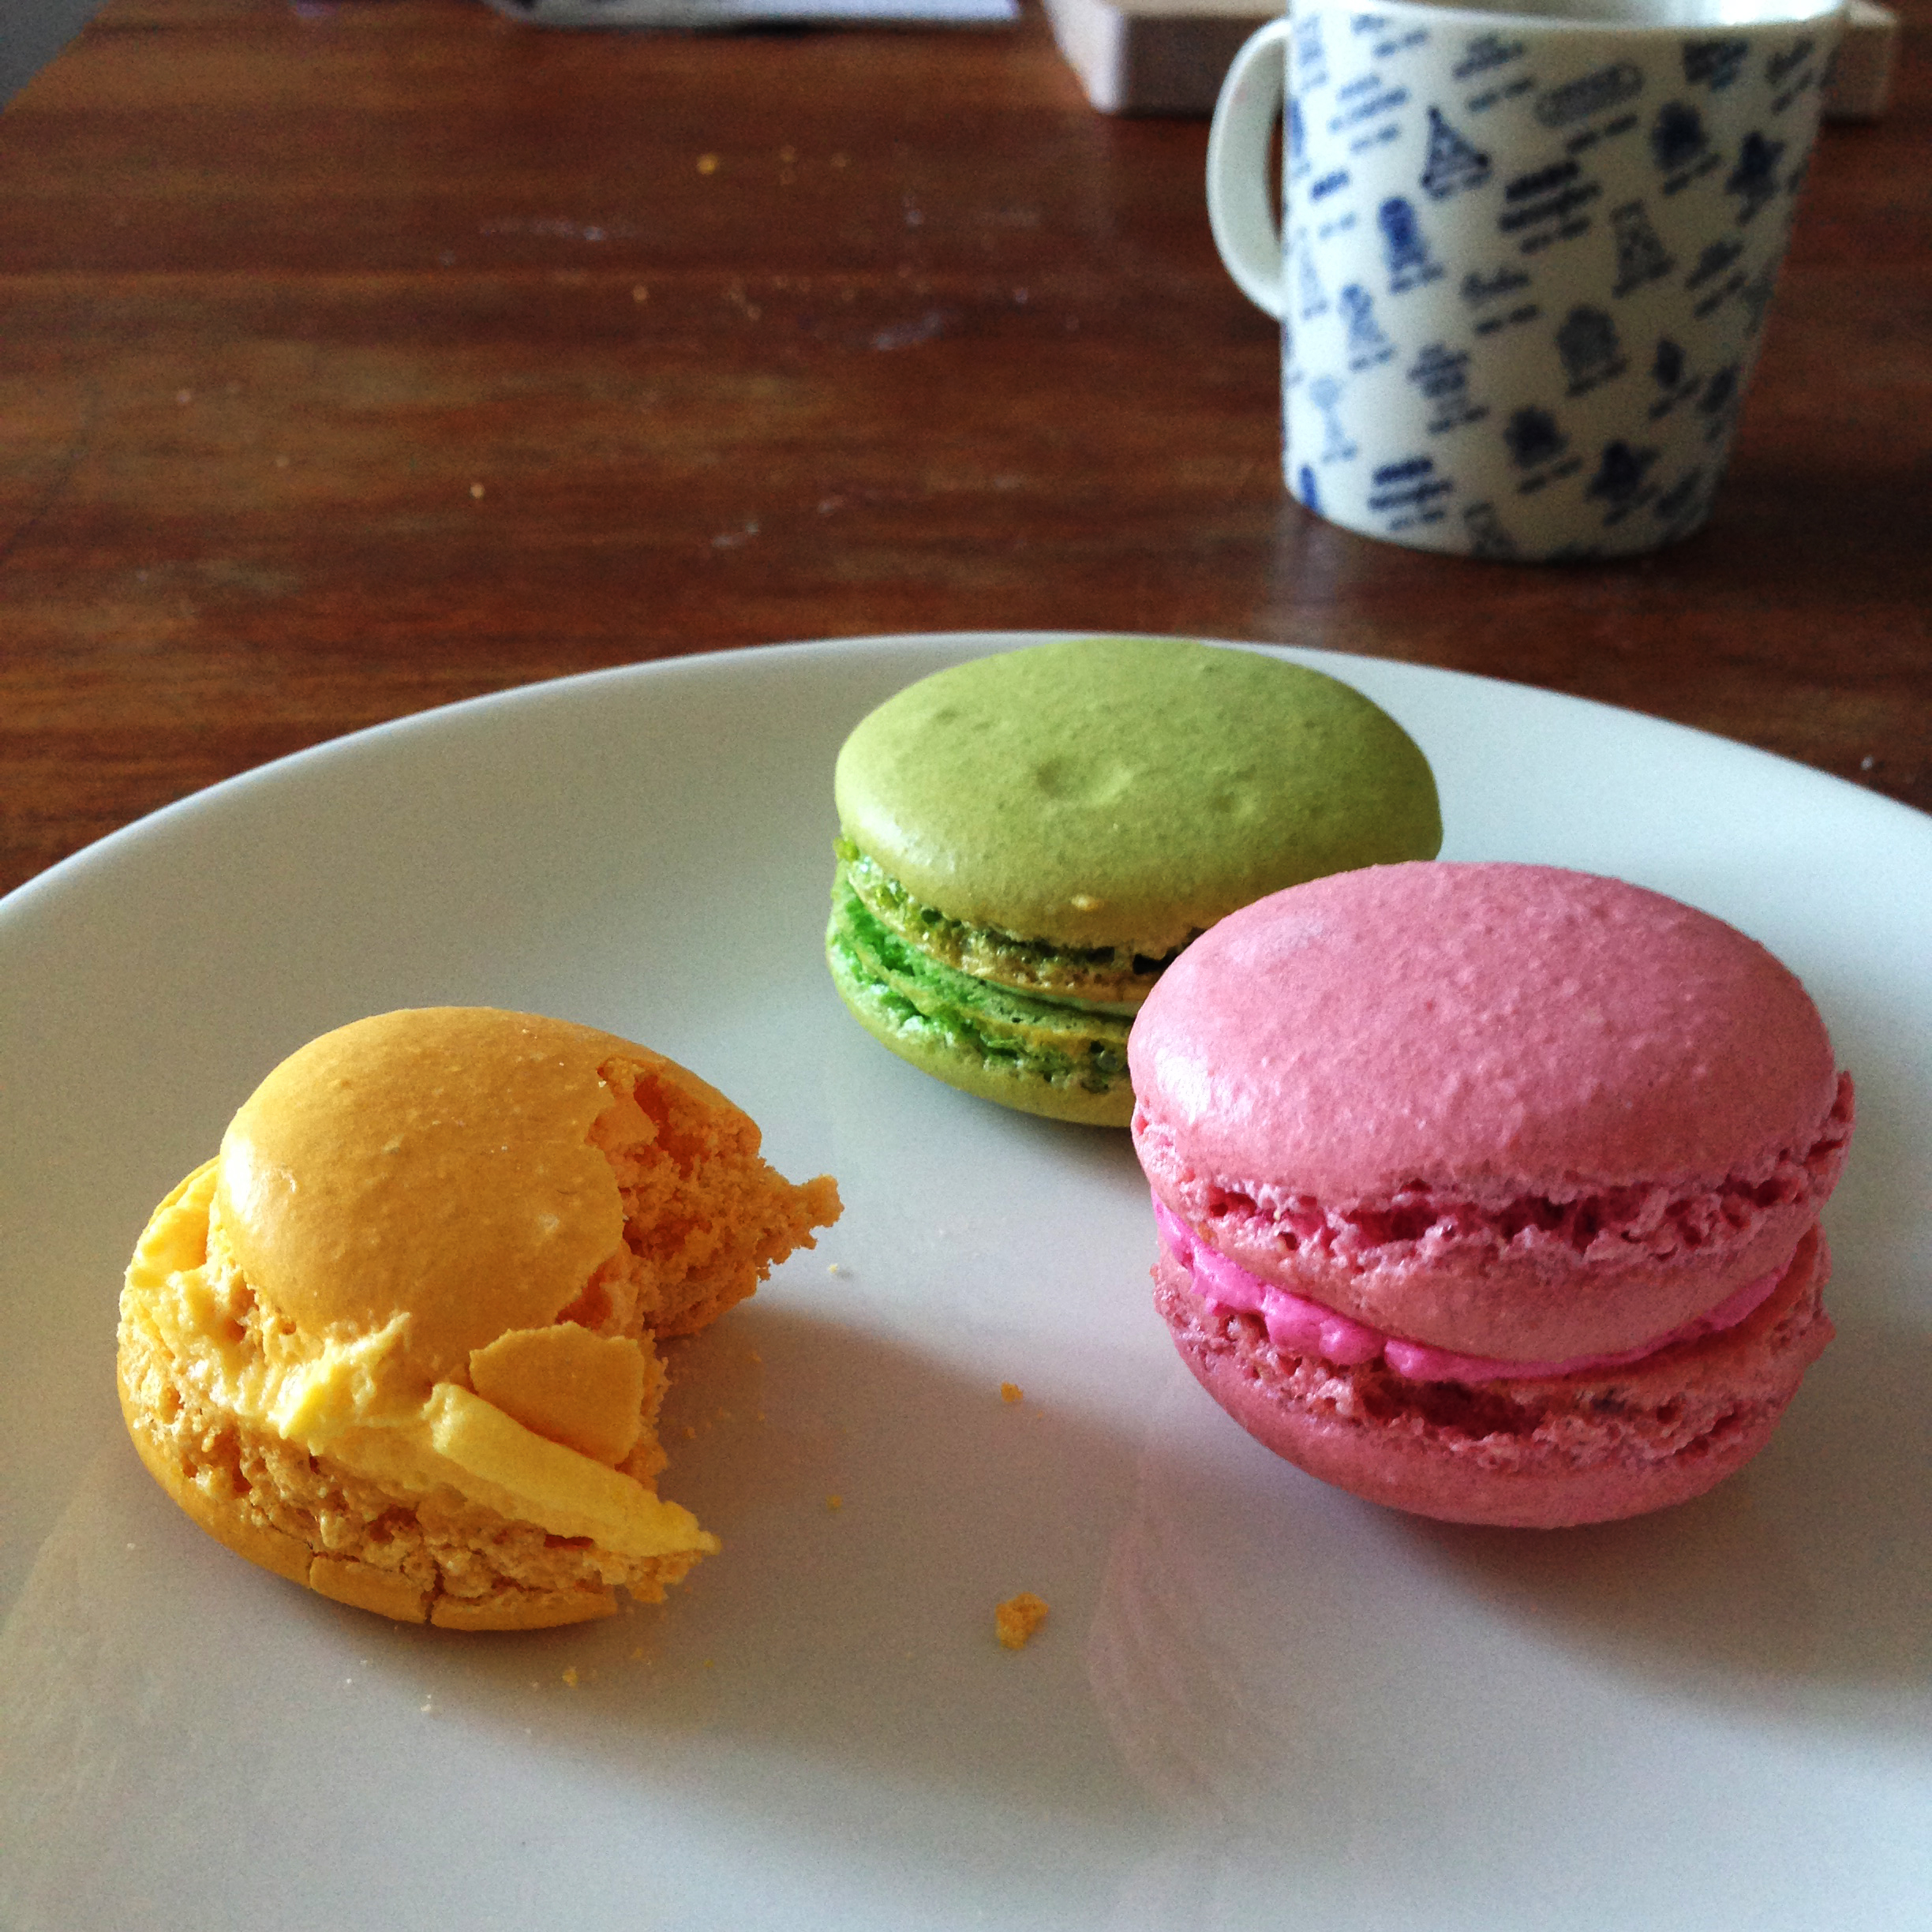
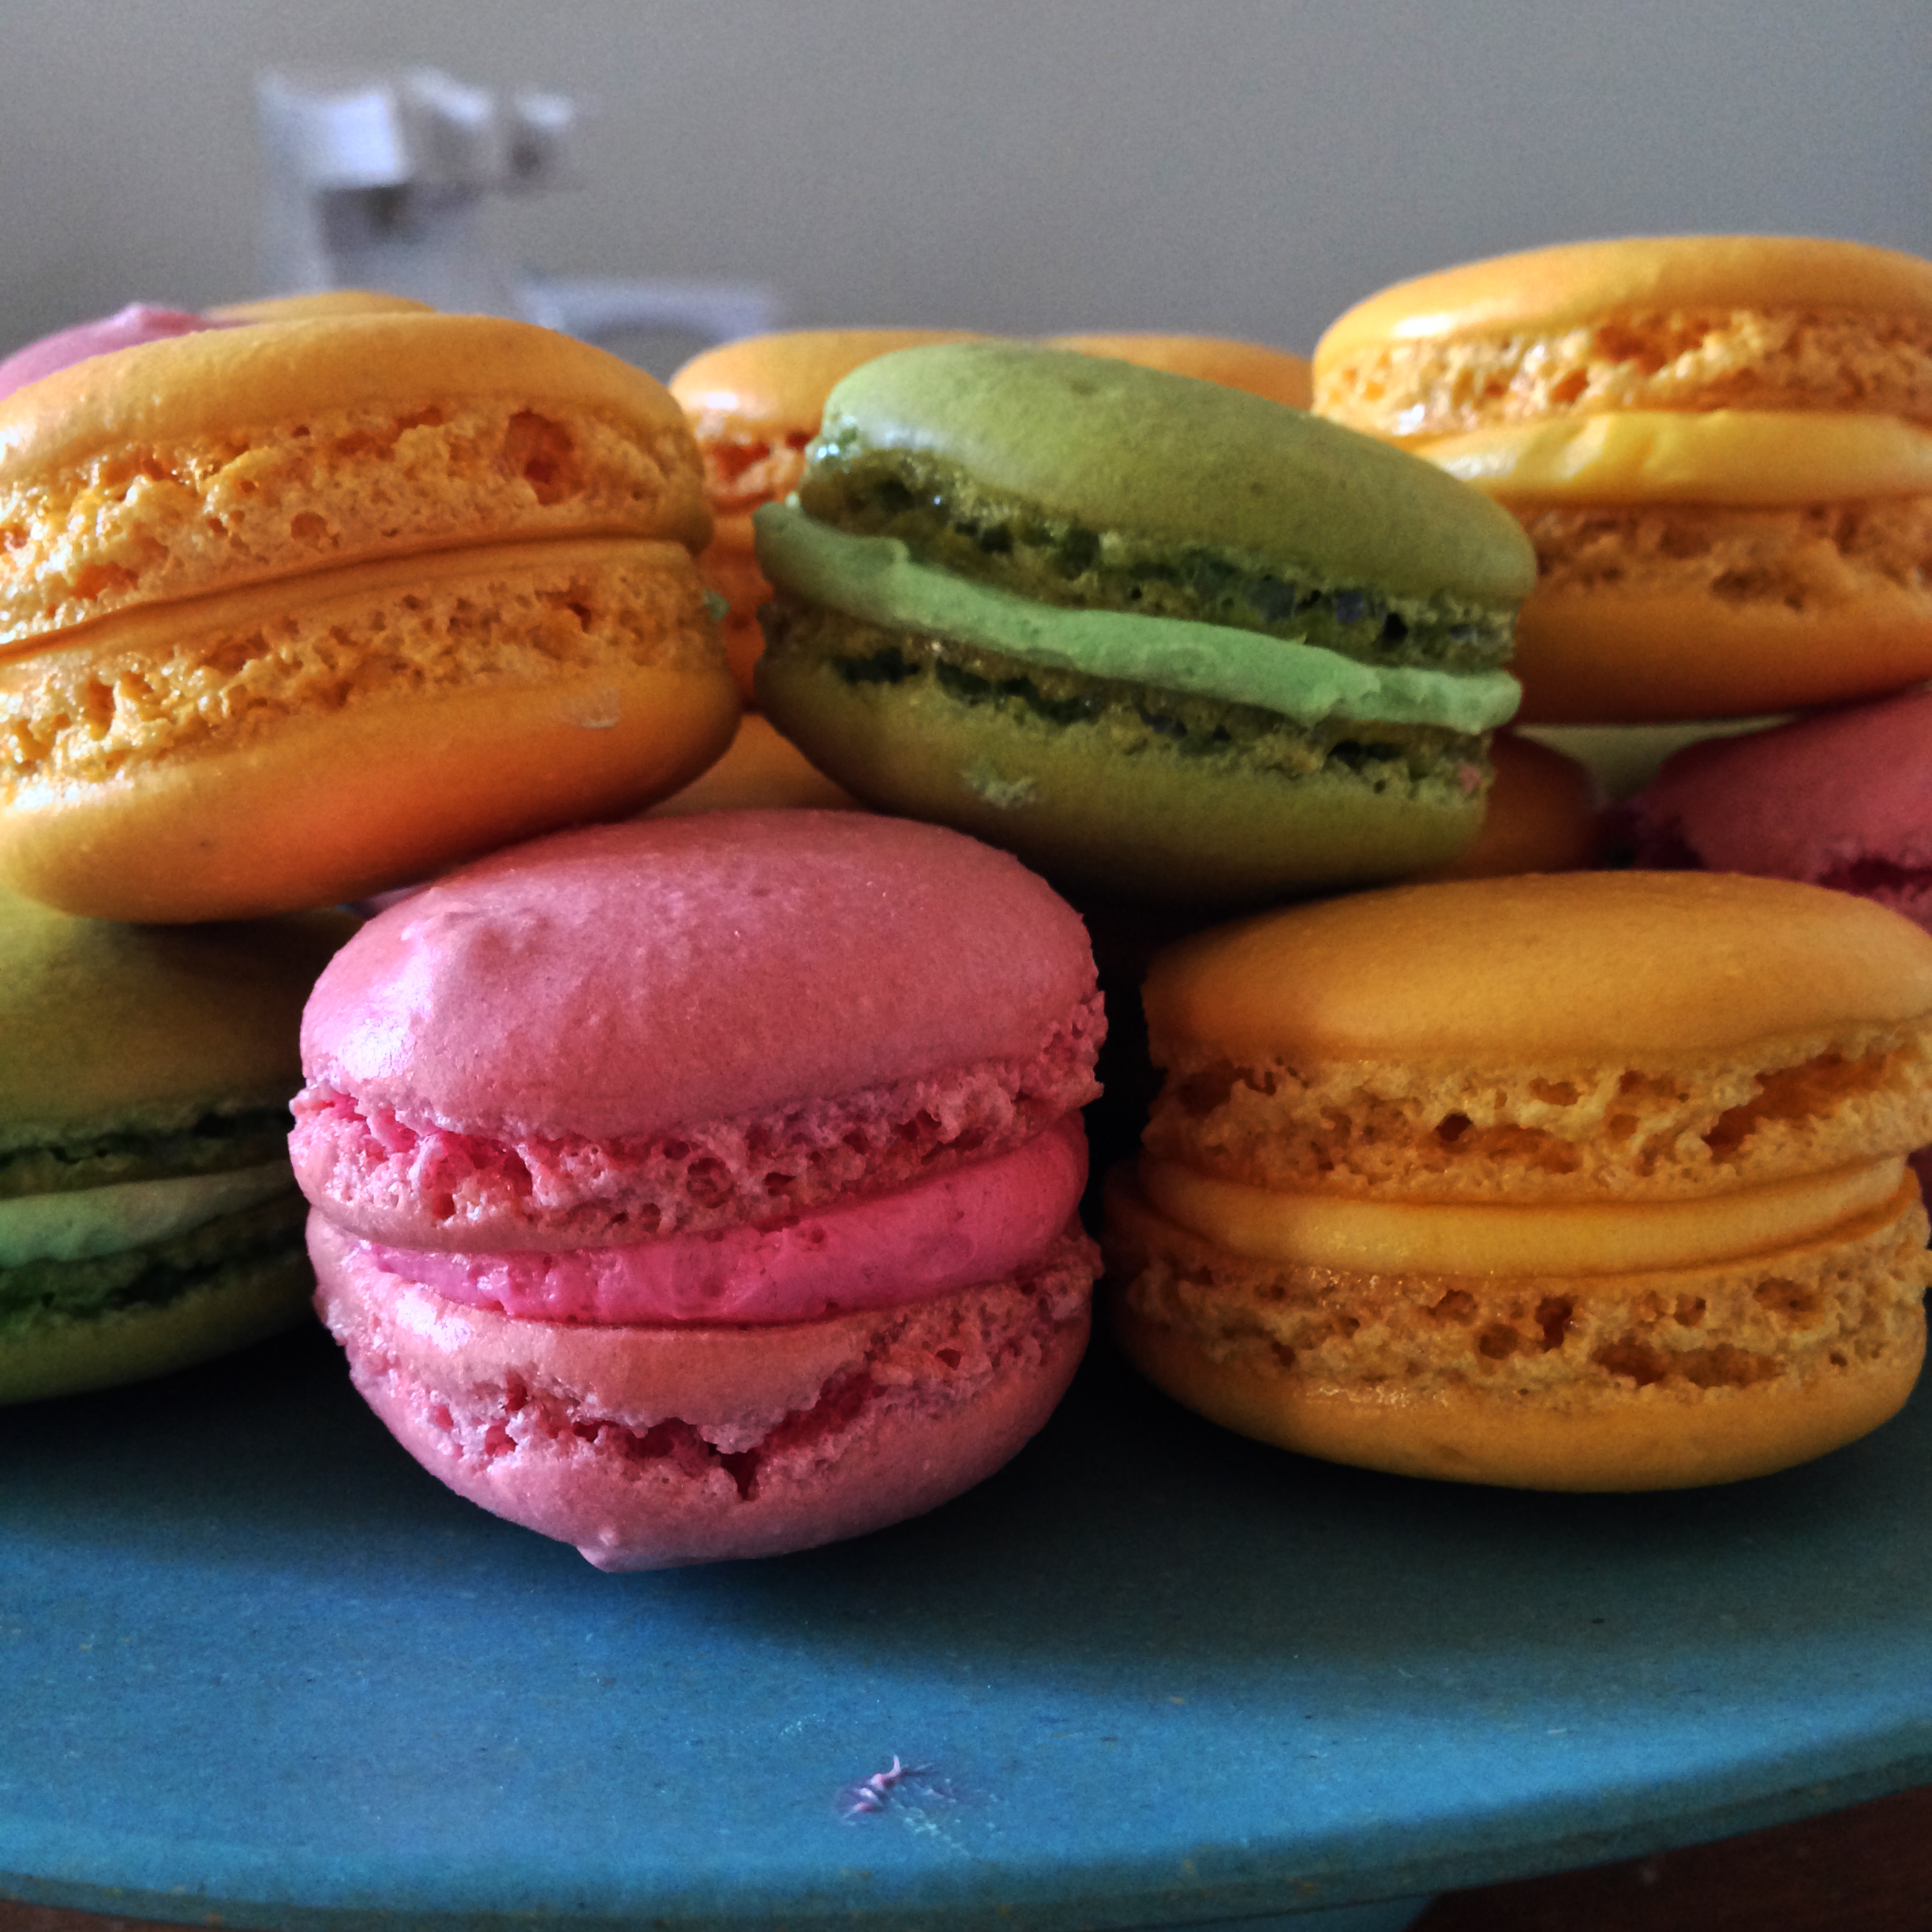
I made three colours to start with, but you can make many other colours as well – I have seen many different versions! In my version, pink ones have raspberry filling, green ones have peppermint filling and yellow ones have citron filling.

I made these macaroons by watching Beth’s Foolproof French Macaron Recipe on youtube – if you prefer a video.
So, are you ready?
—
Ingredients:
The macarons:
3 egg whites
1/4 cup white sugar
2 cups confectioner’s sugar
1 cup almond flour (mantelijauho)
pinch of salt
food colour (I used Dr. Oetker’s liquid food colours, which you find easily in many markets)
1/4 tsp cream of tartar (I did not use it this time, since I hadn’t found it at that time. But afterwards, I found cream of tartar accidentally in Behnford’s, so if I bake the macarons ever again, then I will use it.)
Raspberry Filling:
1/4 cup butter
3/4 cup confectioner’s sugar
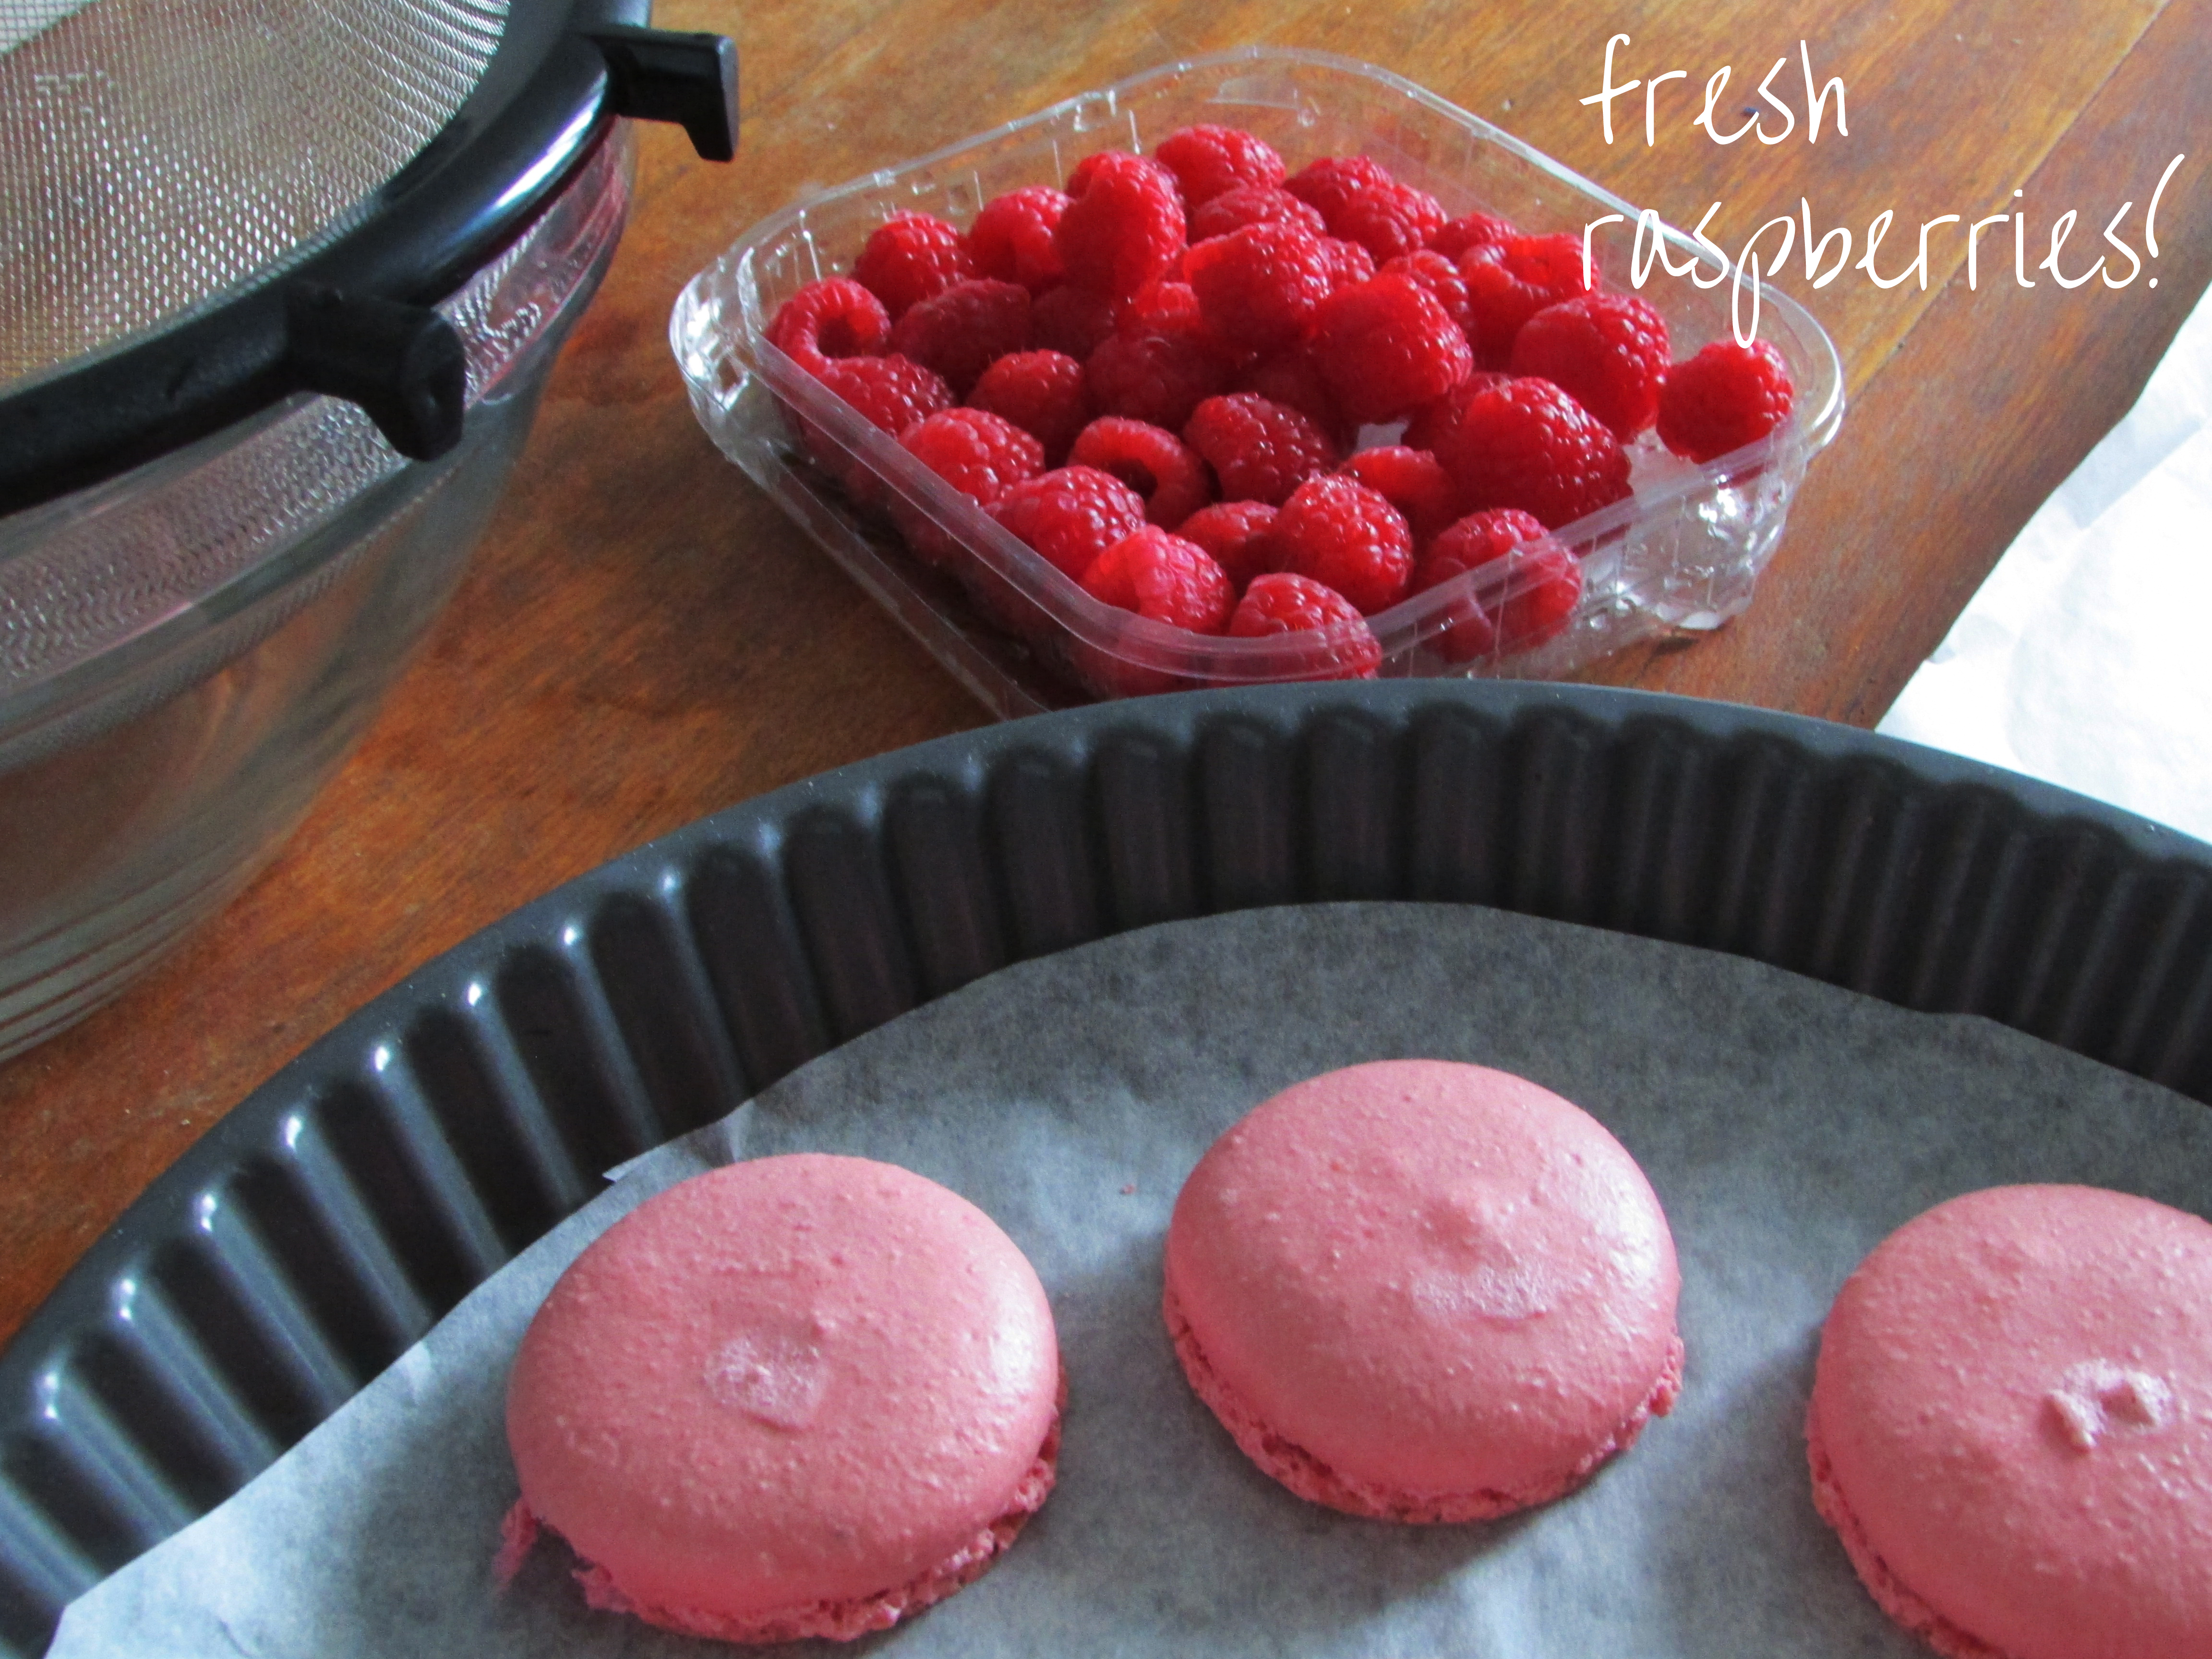
150 gr. fresh raspberries to make 3 tbsp raspberry juice
(you can also add 1 tsp red food colour to have a bit smoother texture – I did)
Peppermint Filling:
1/4 cup butter
3/4 cup confectioner’s sugar
1 tsp peppermint aroma (Dr. Oetker)
1 tsp green food colour
Citron Filling:
1/4 cup butter
3/4 cup confectioner’s sugar
1 tsp citron aroma (Dr. Oetker)
1 tsp yellow food colour

—
1. Preheat the oven to 150C.
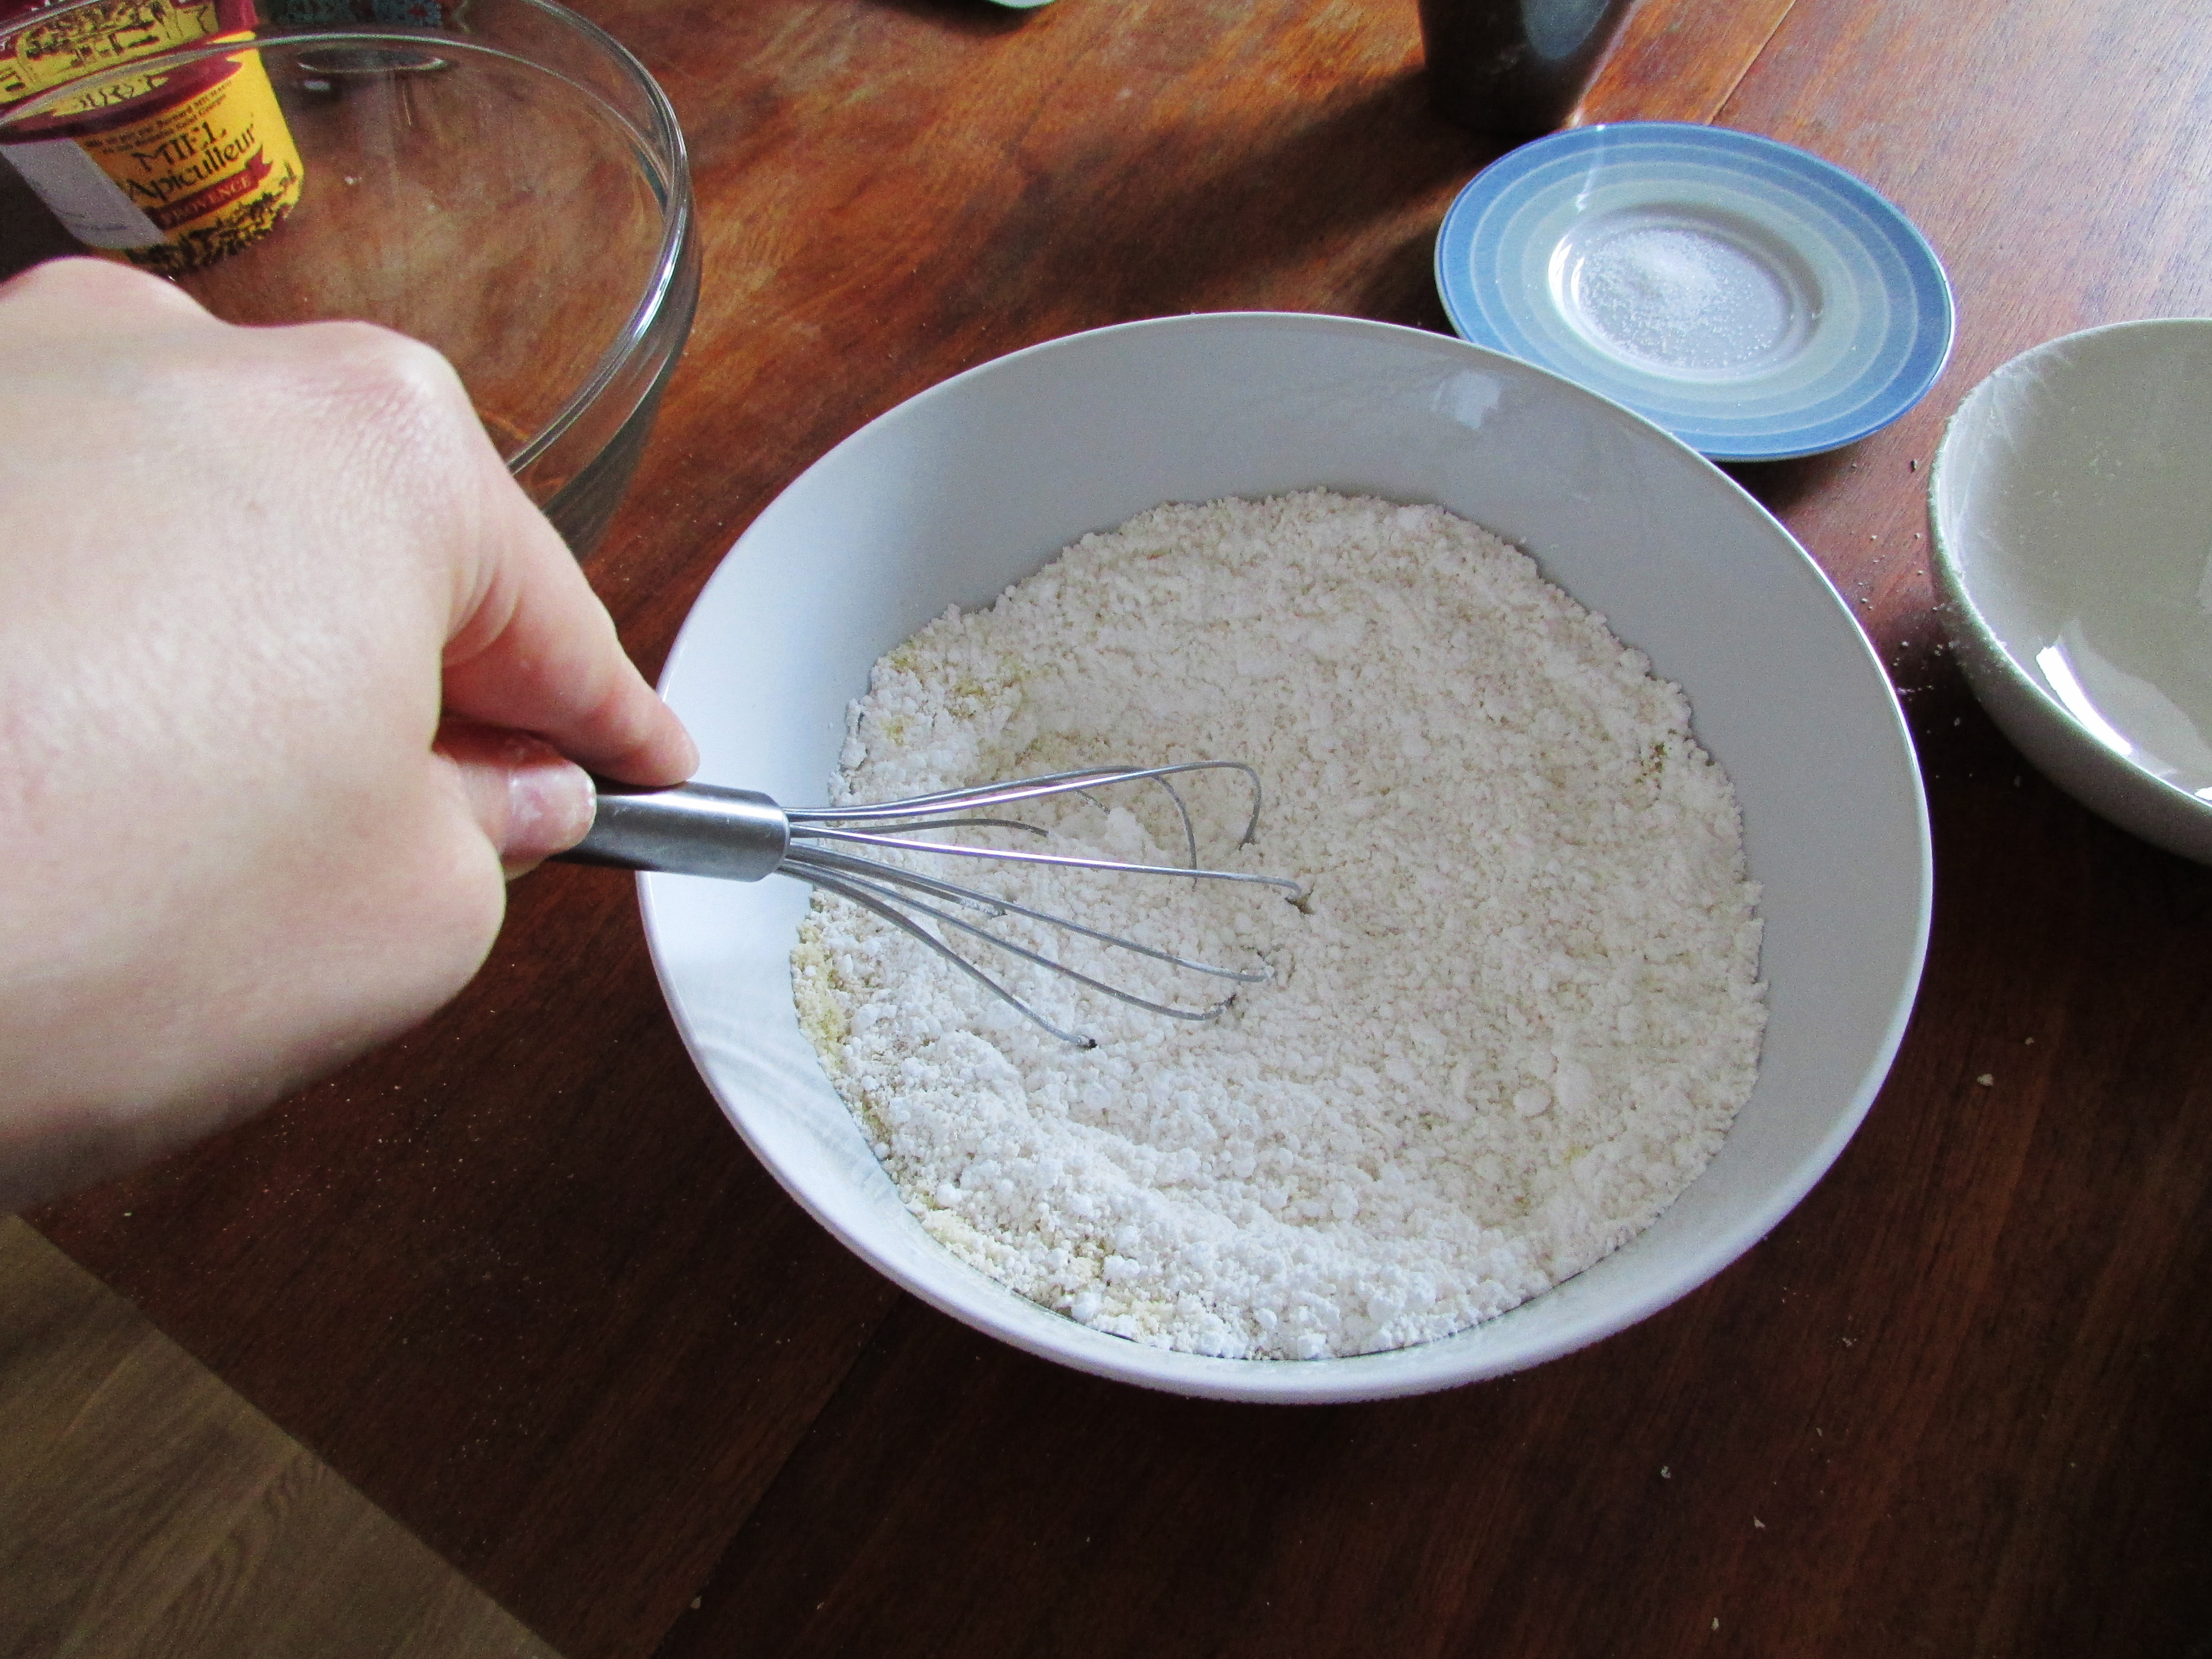
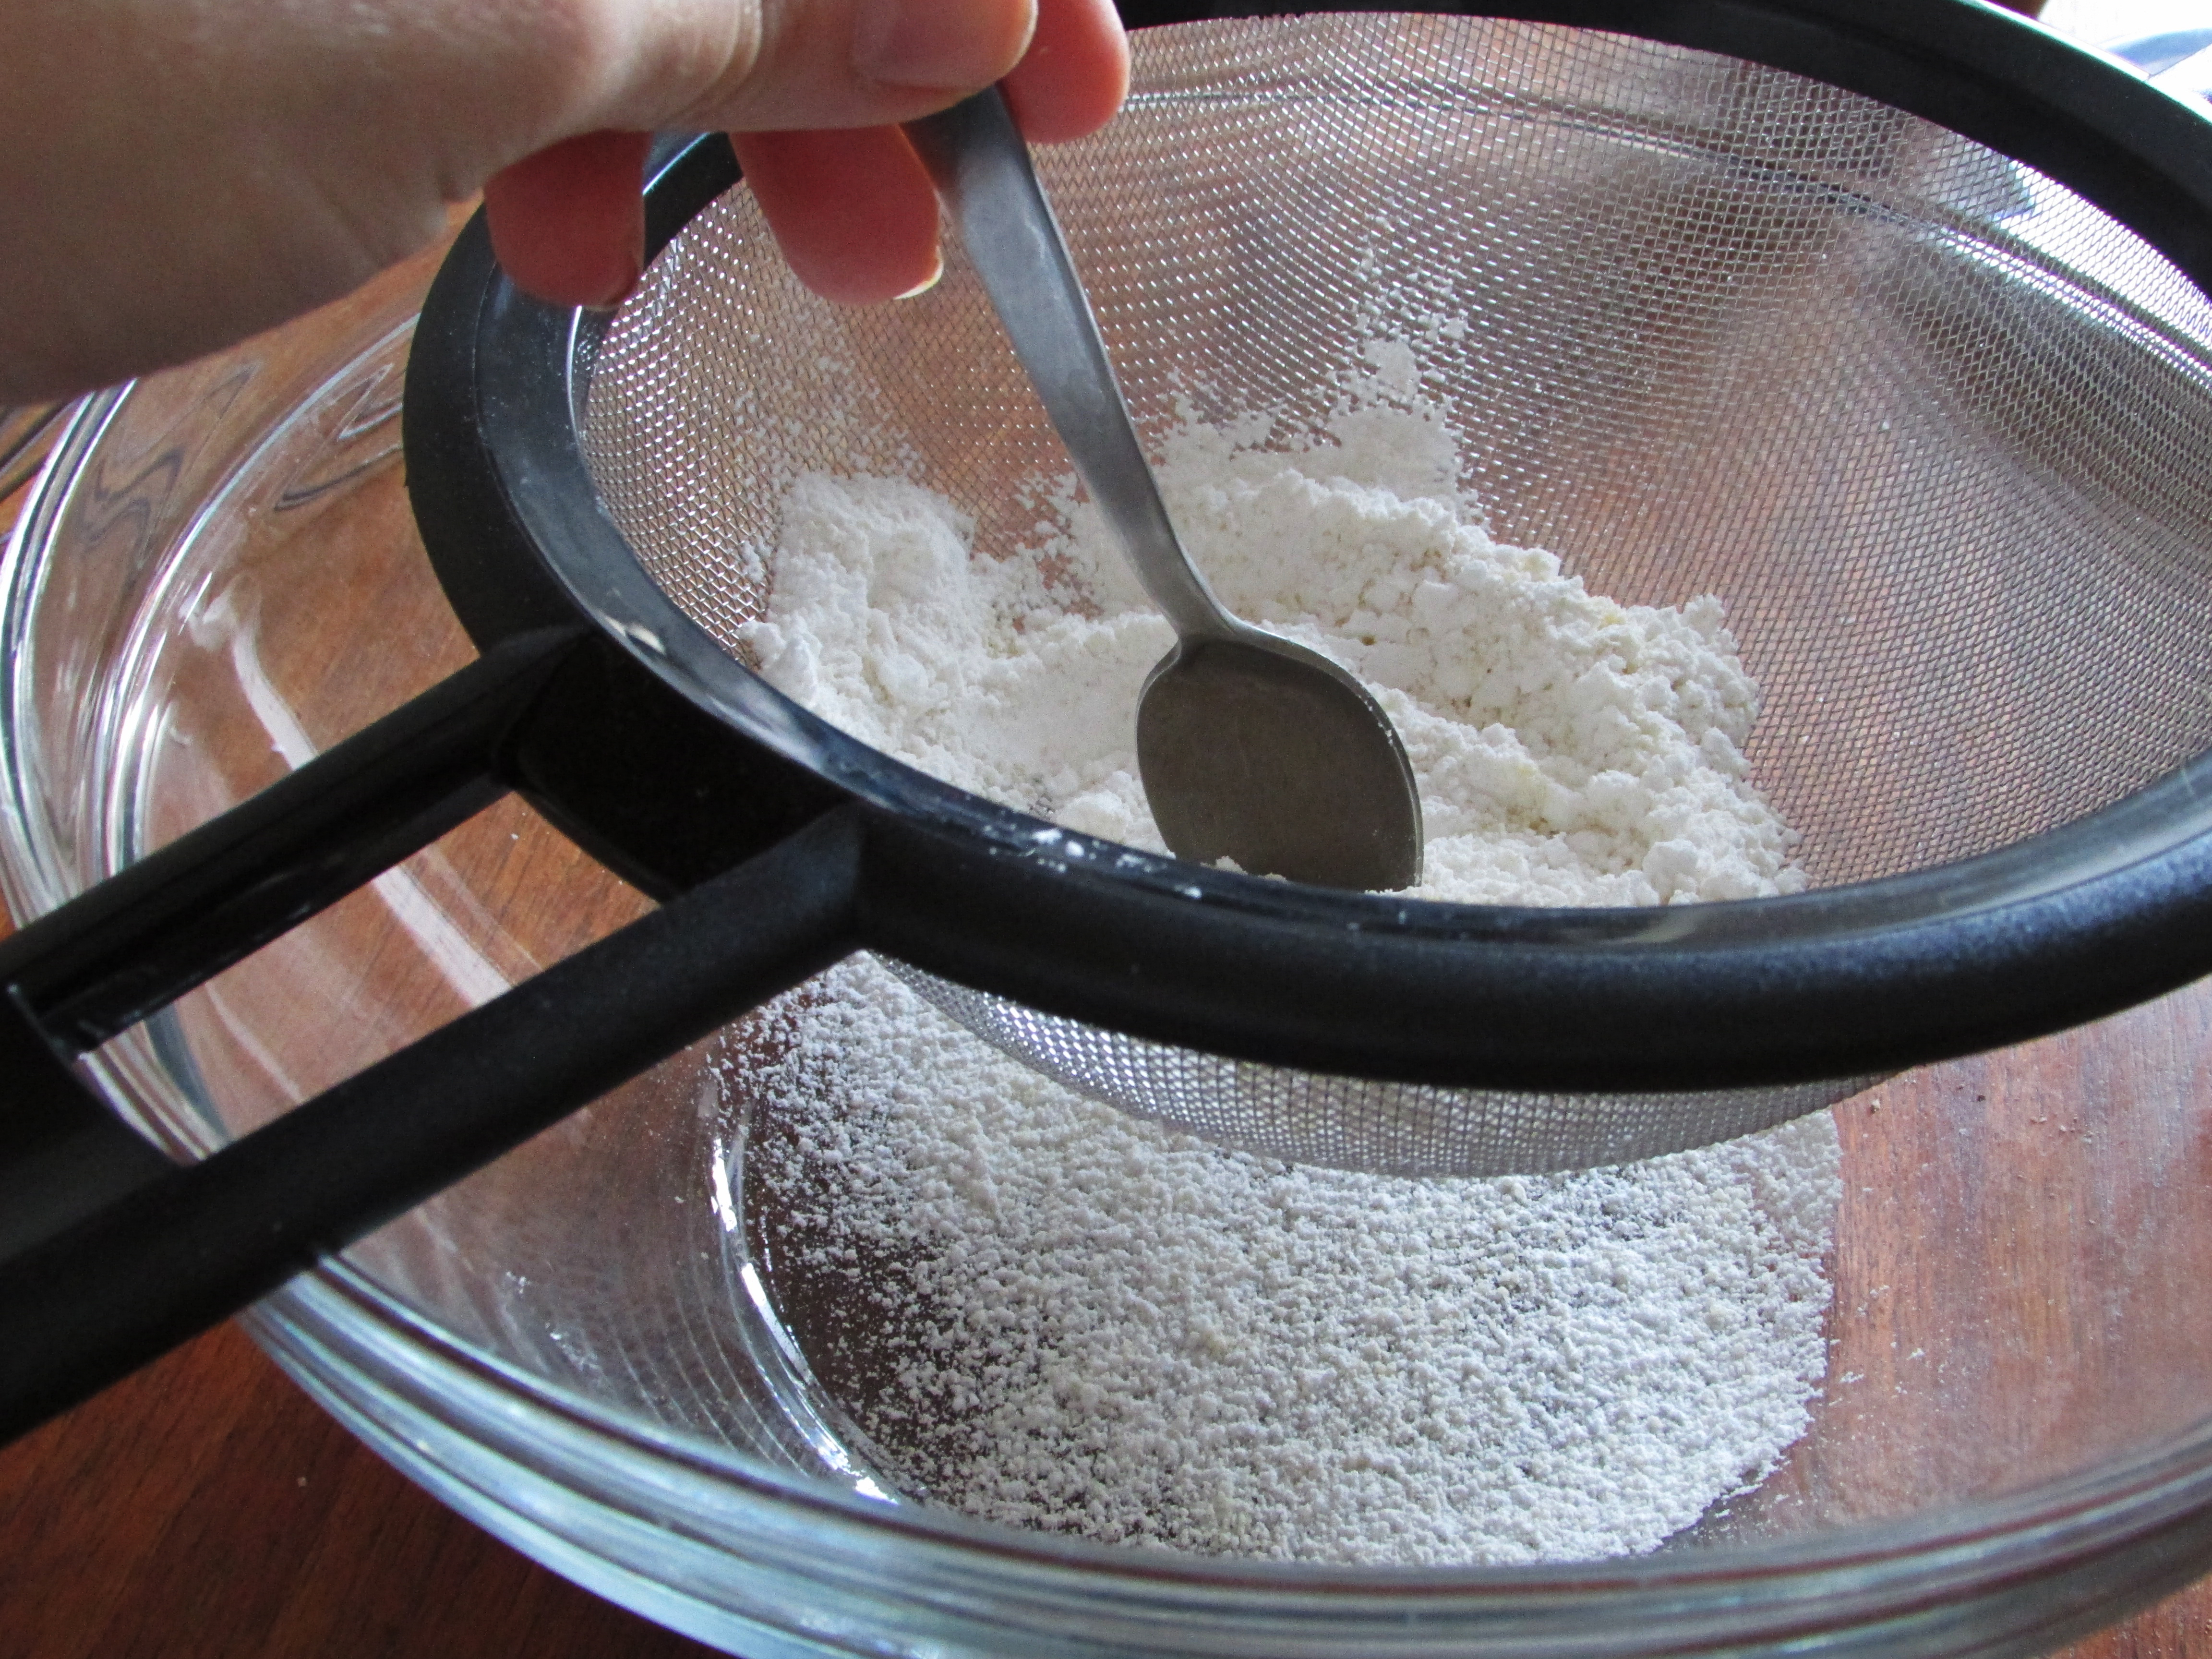
2. IMPORTANT: Put confectioners sugar and almond flour in a bowl and whisk it a little. Take a bigger bowl and sift the sugar-flour mixture. You should get a really fine powder mixture to have a smooth top of the cookies.

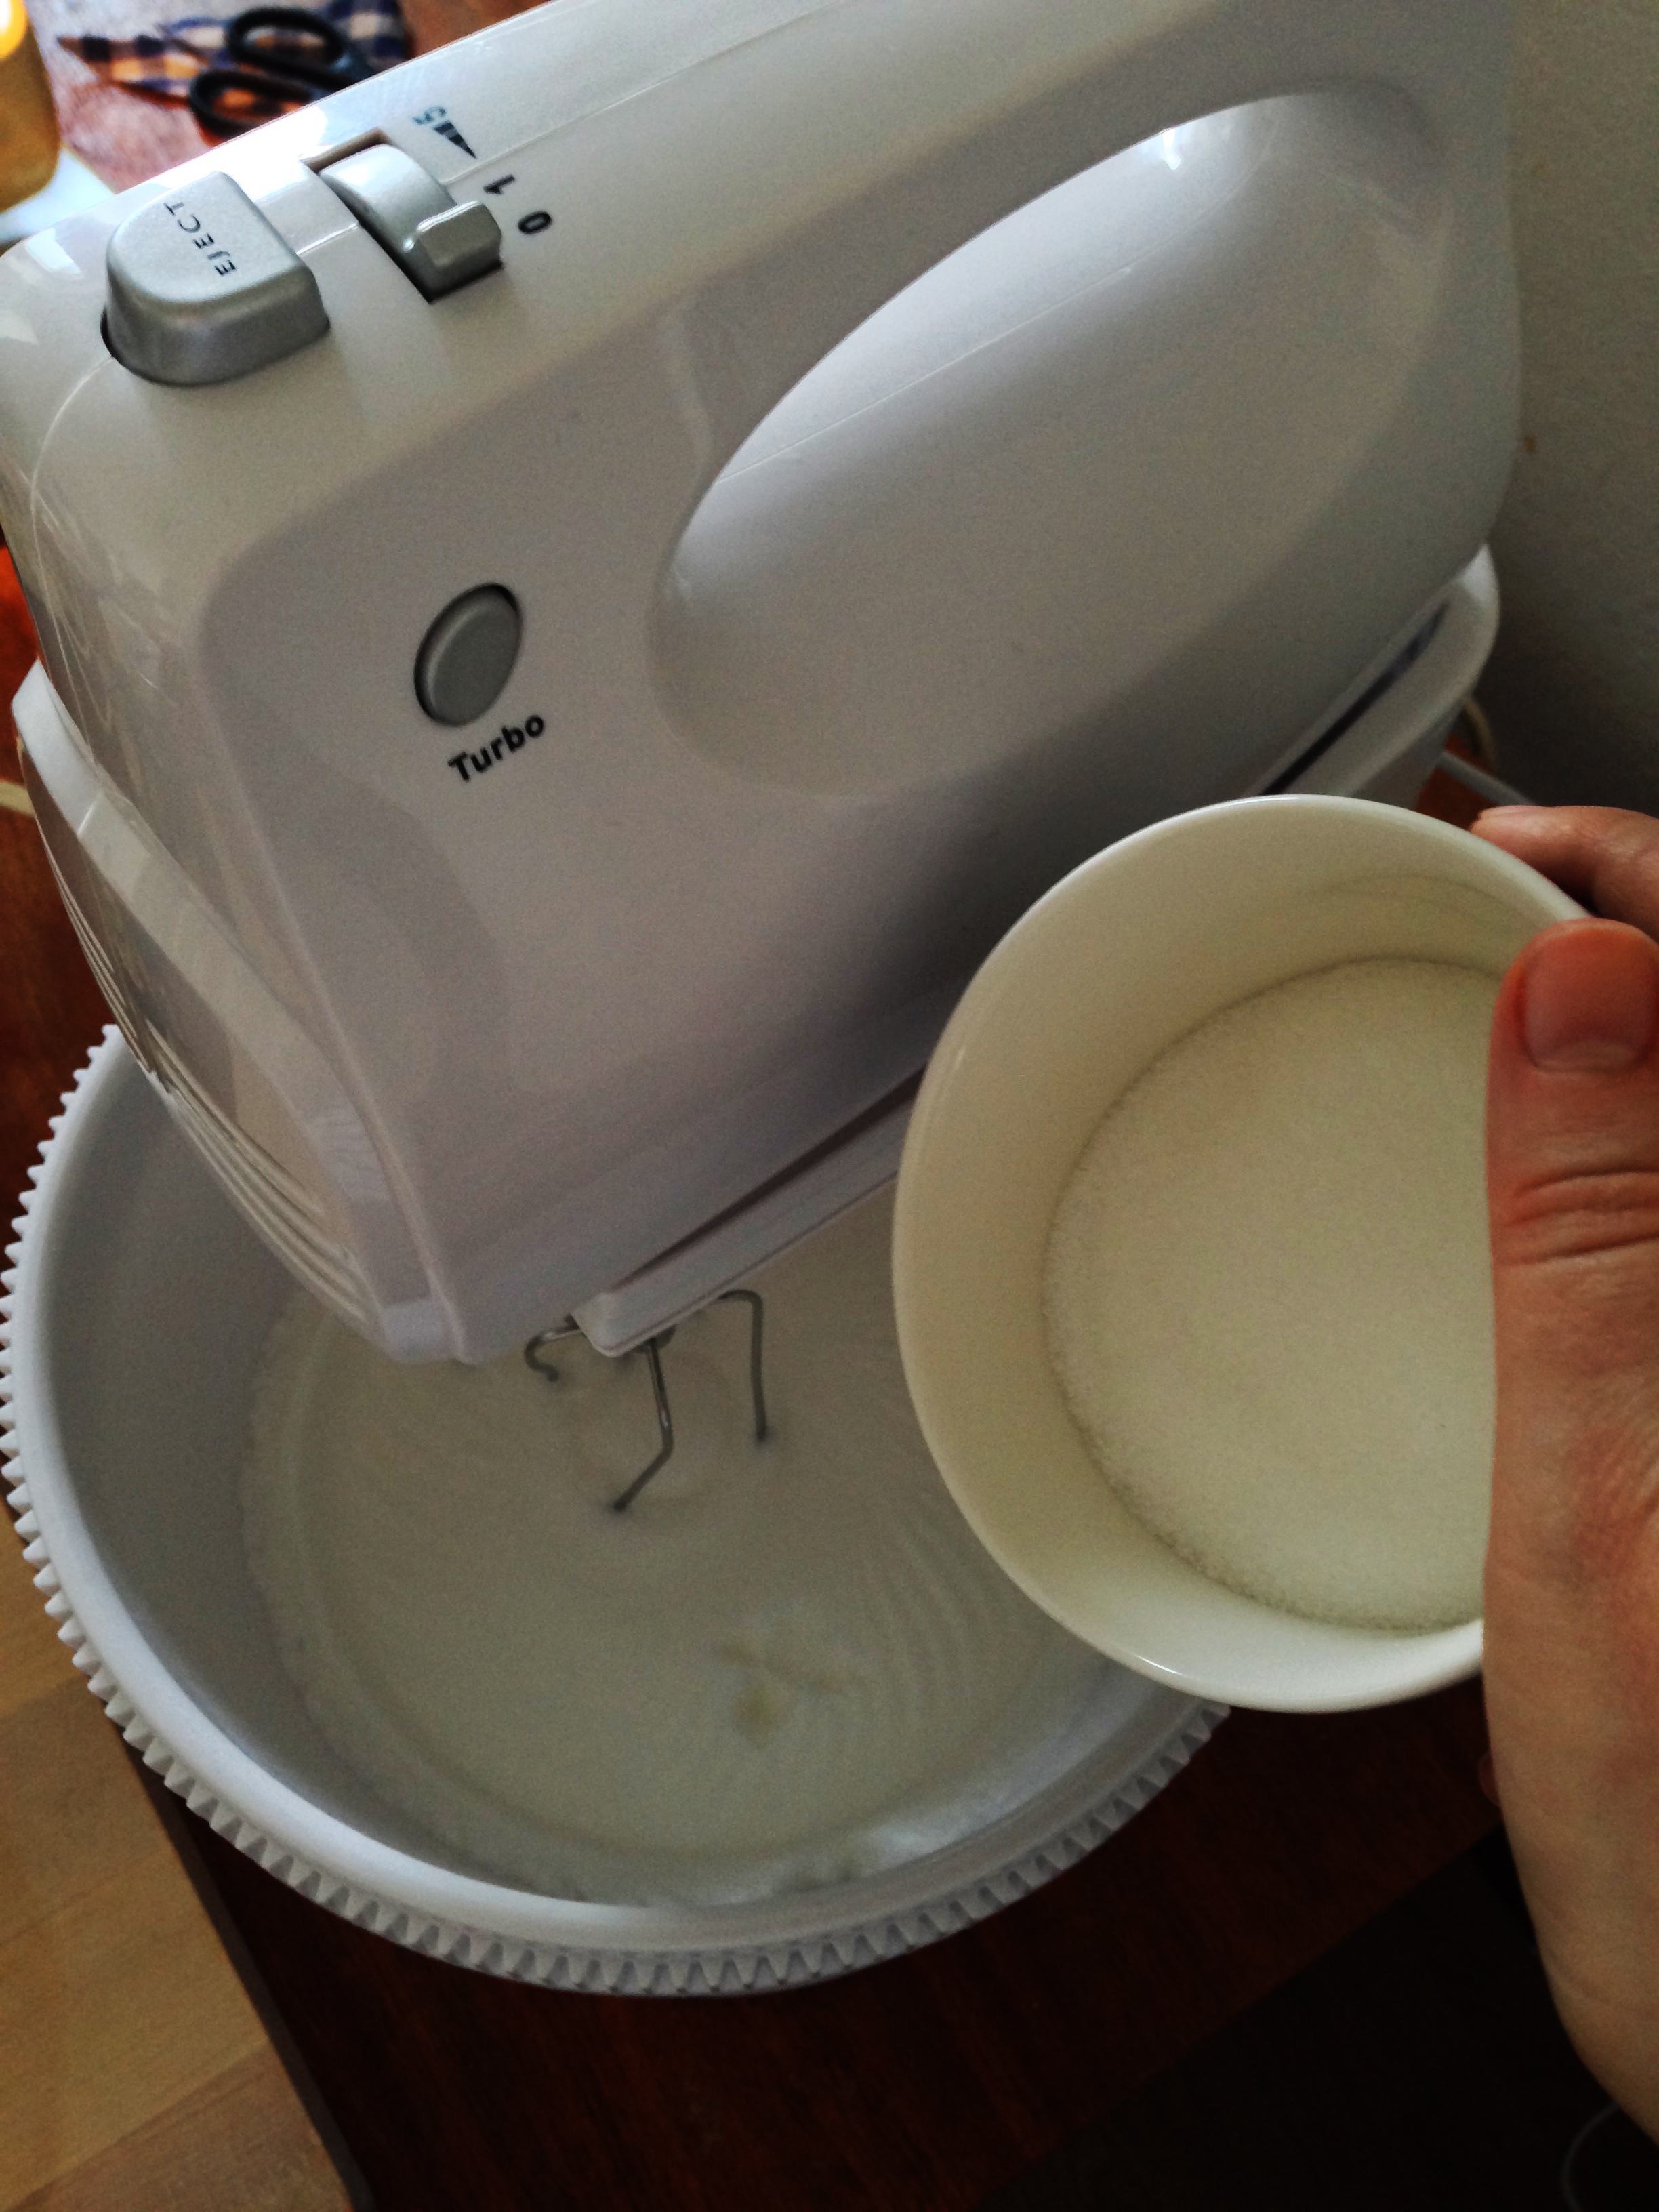
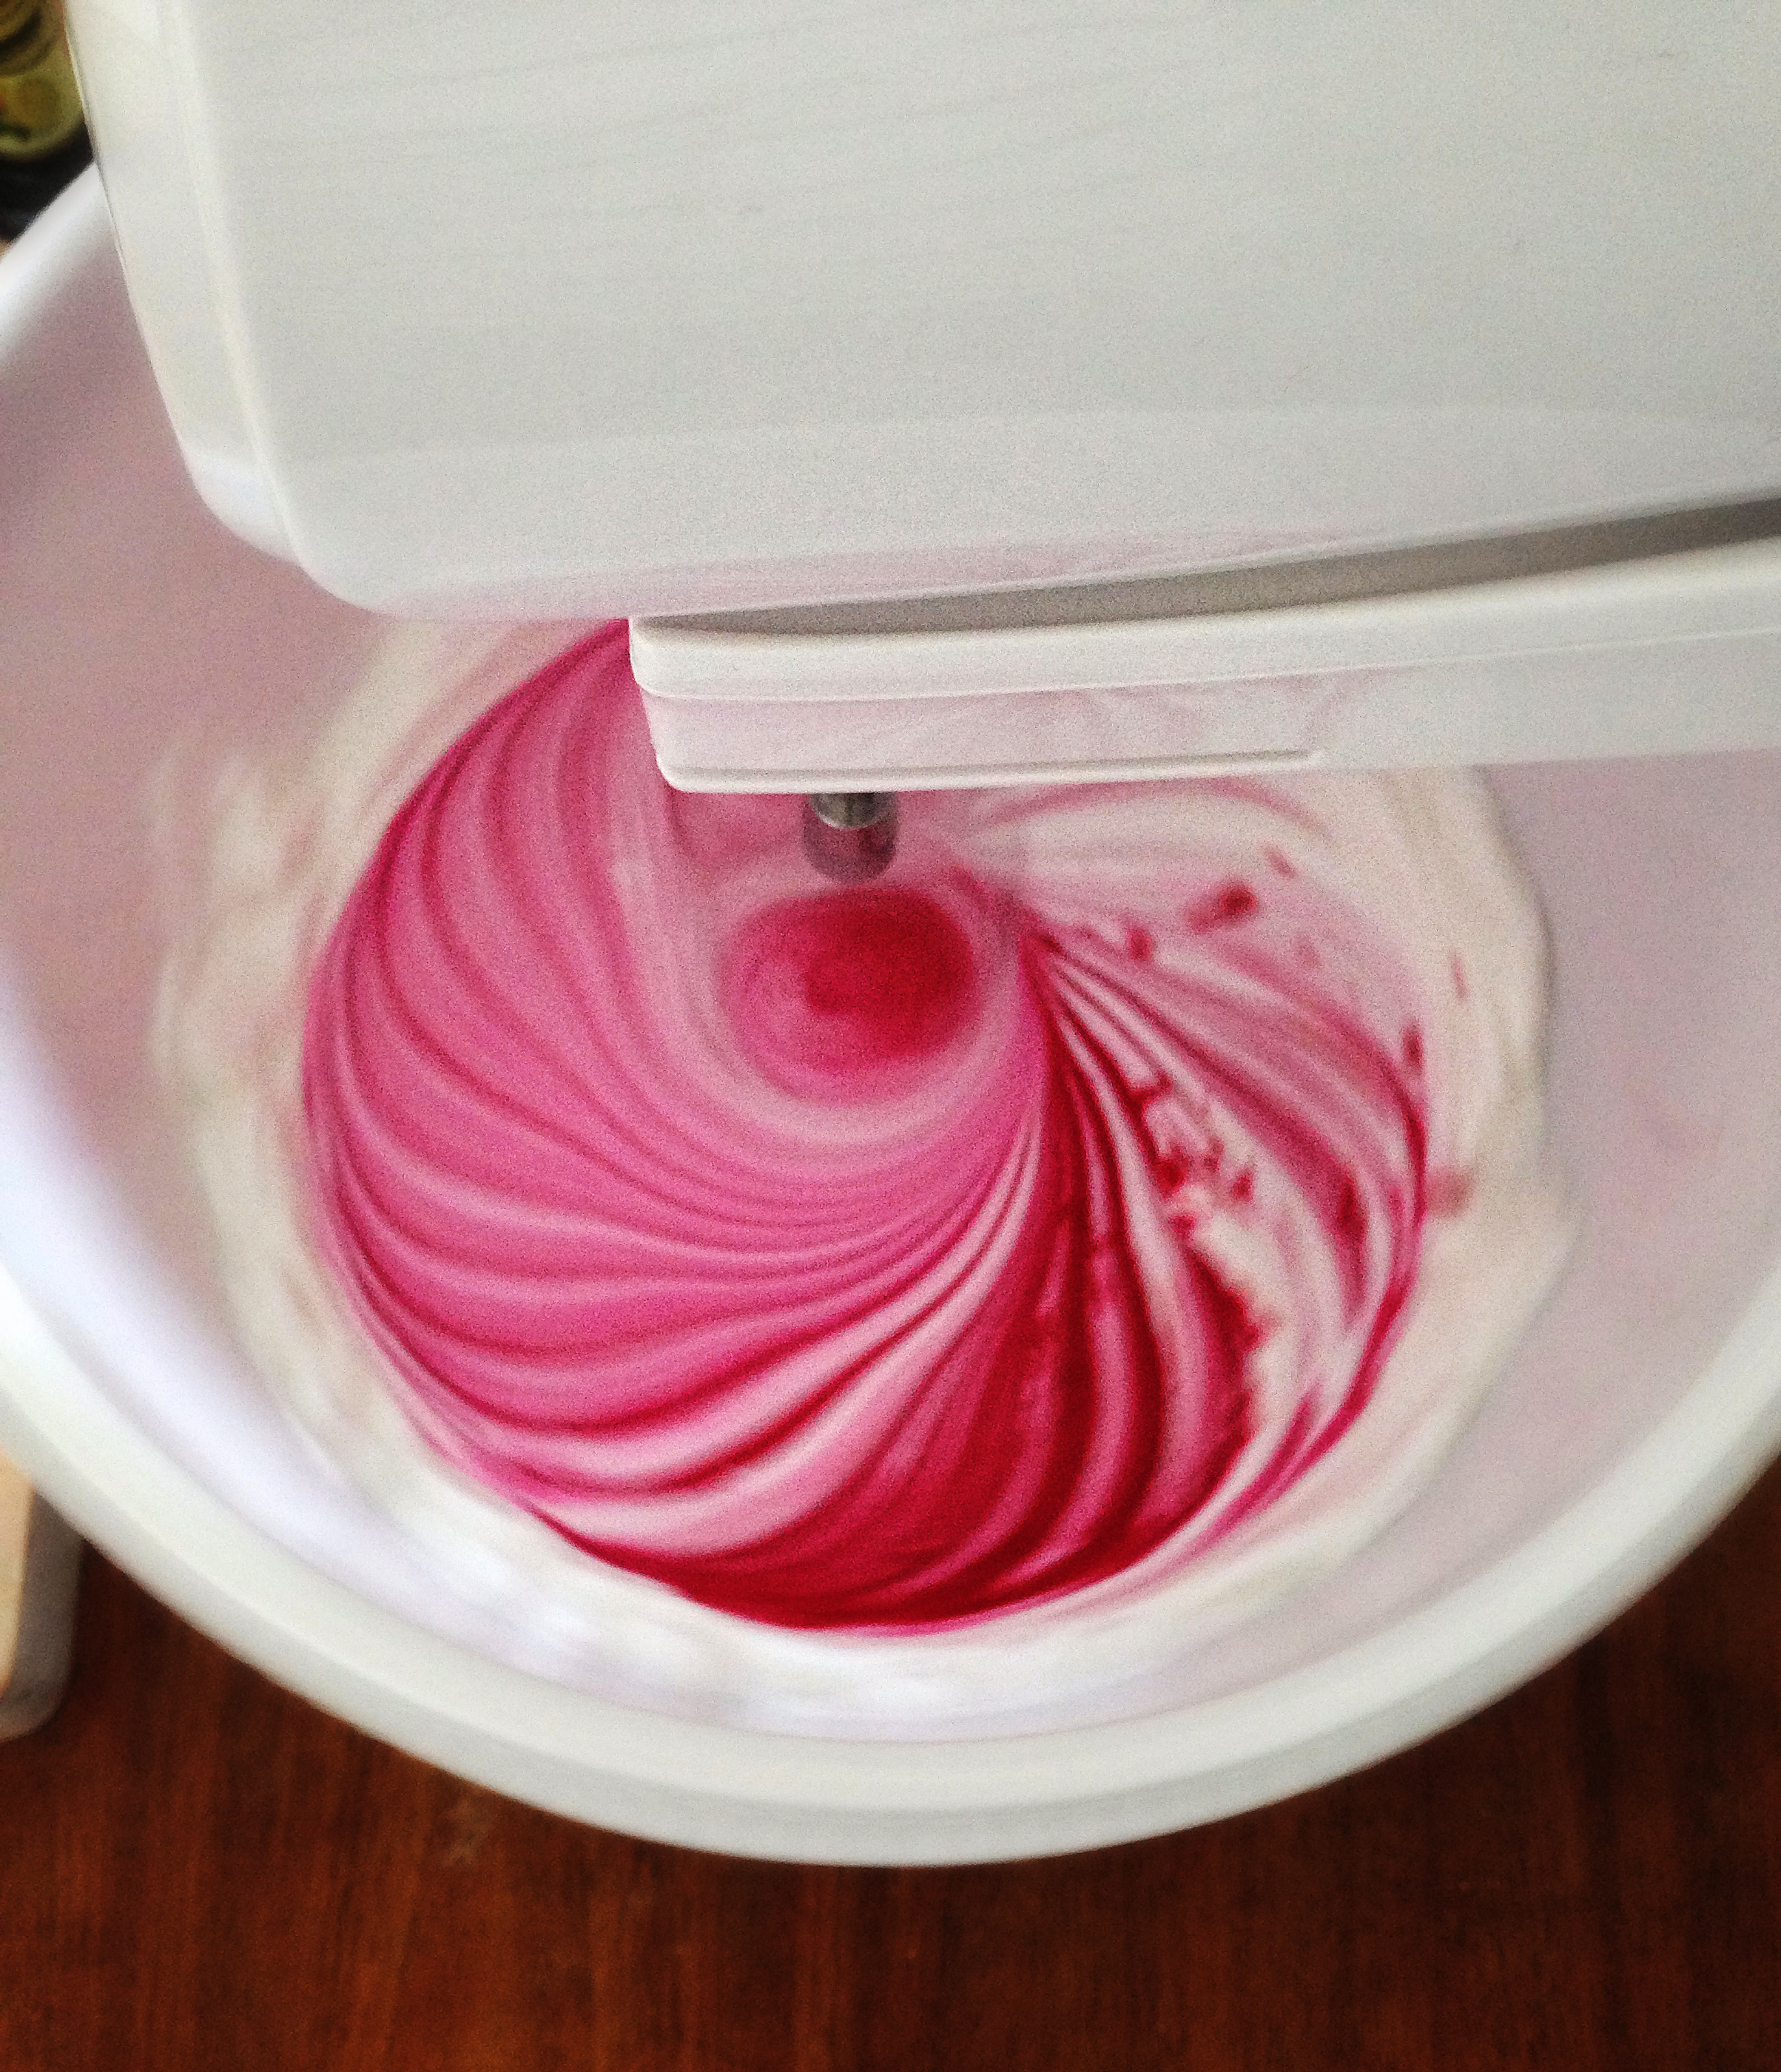
3. Put the egg whites in a mixer (if you have electric stand mixer this would be really good because it takes a lot of time to mix…) and beat them until they are foamy. IMPORTANT: The egg whites have to be in room temperature.

4. Add sugar and salt (and if you are using it, cream of tartar) in the egg white foam and continue beating for about 10 minutes. In the end the whipped cream should be so thick that if you take a piece with a whisk, the peak of the piece should be able to stay standing.
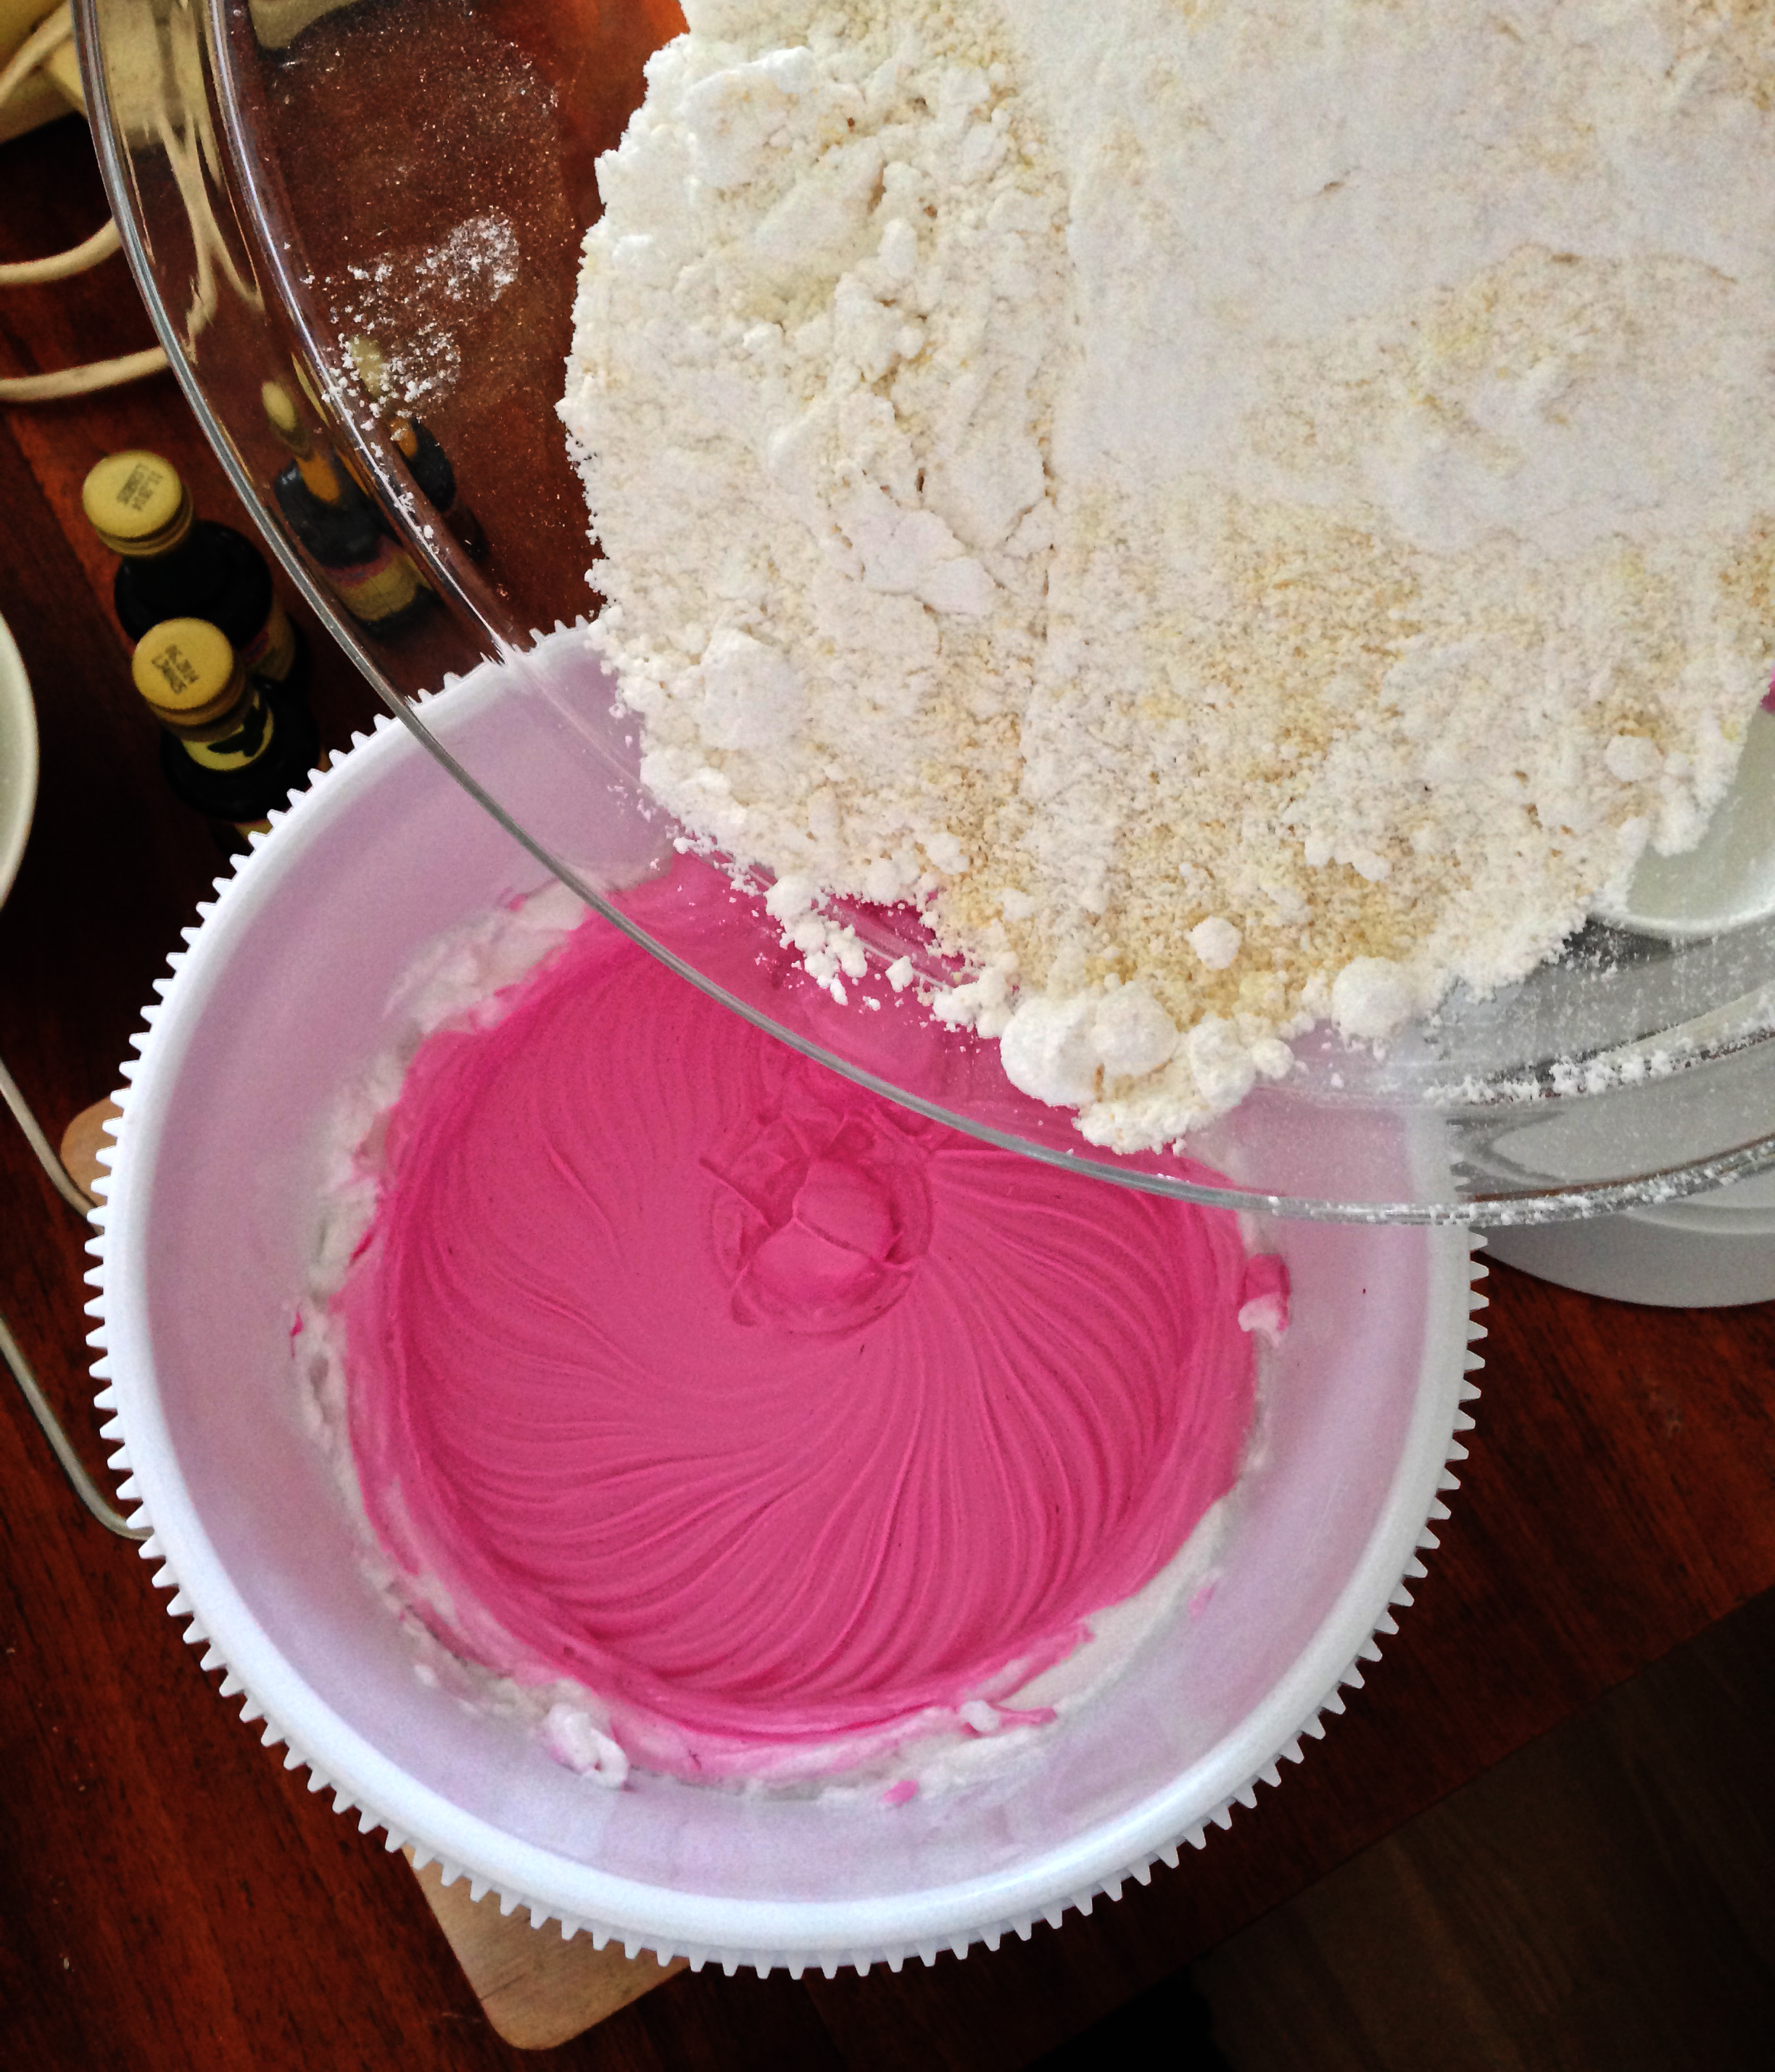
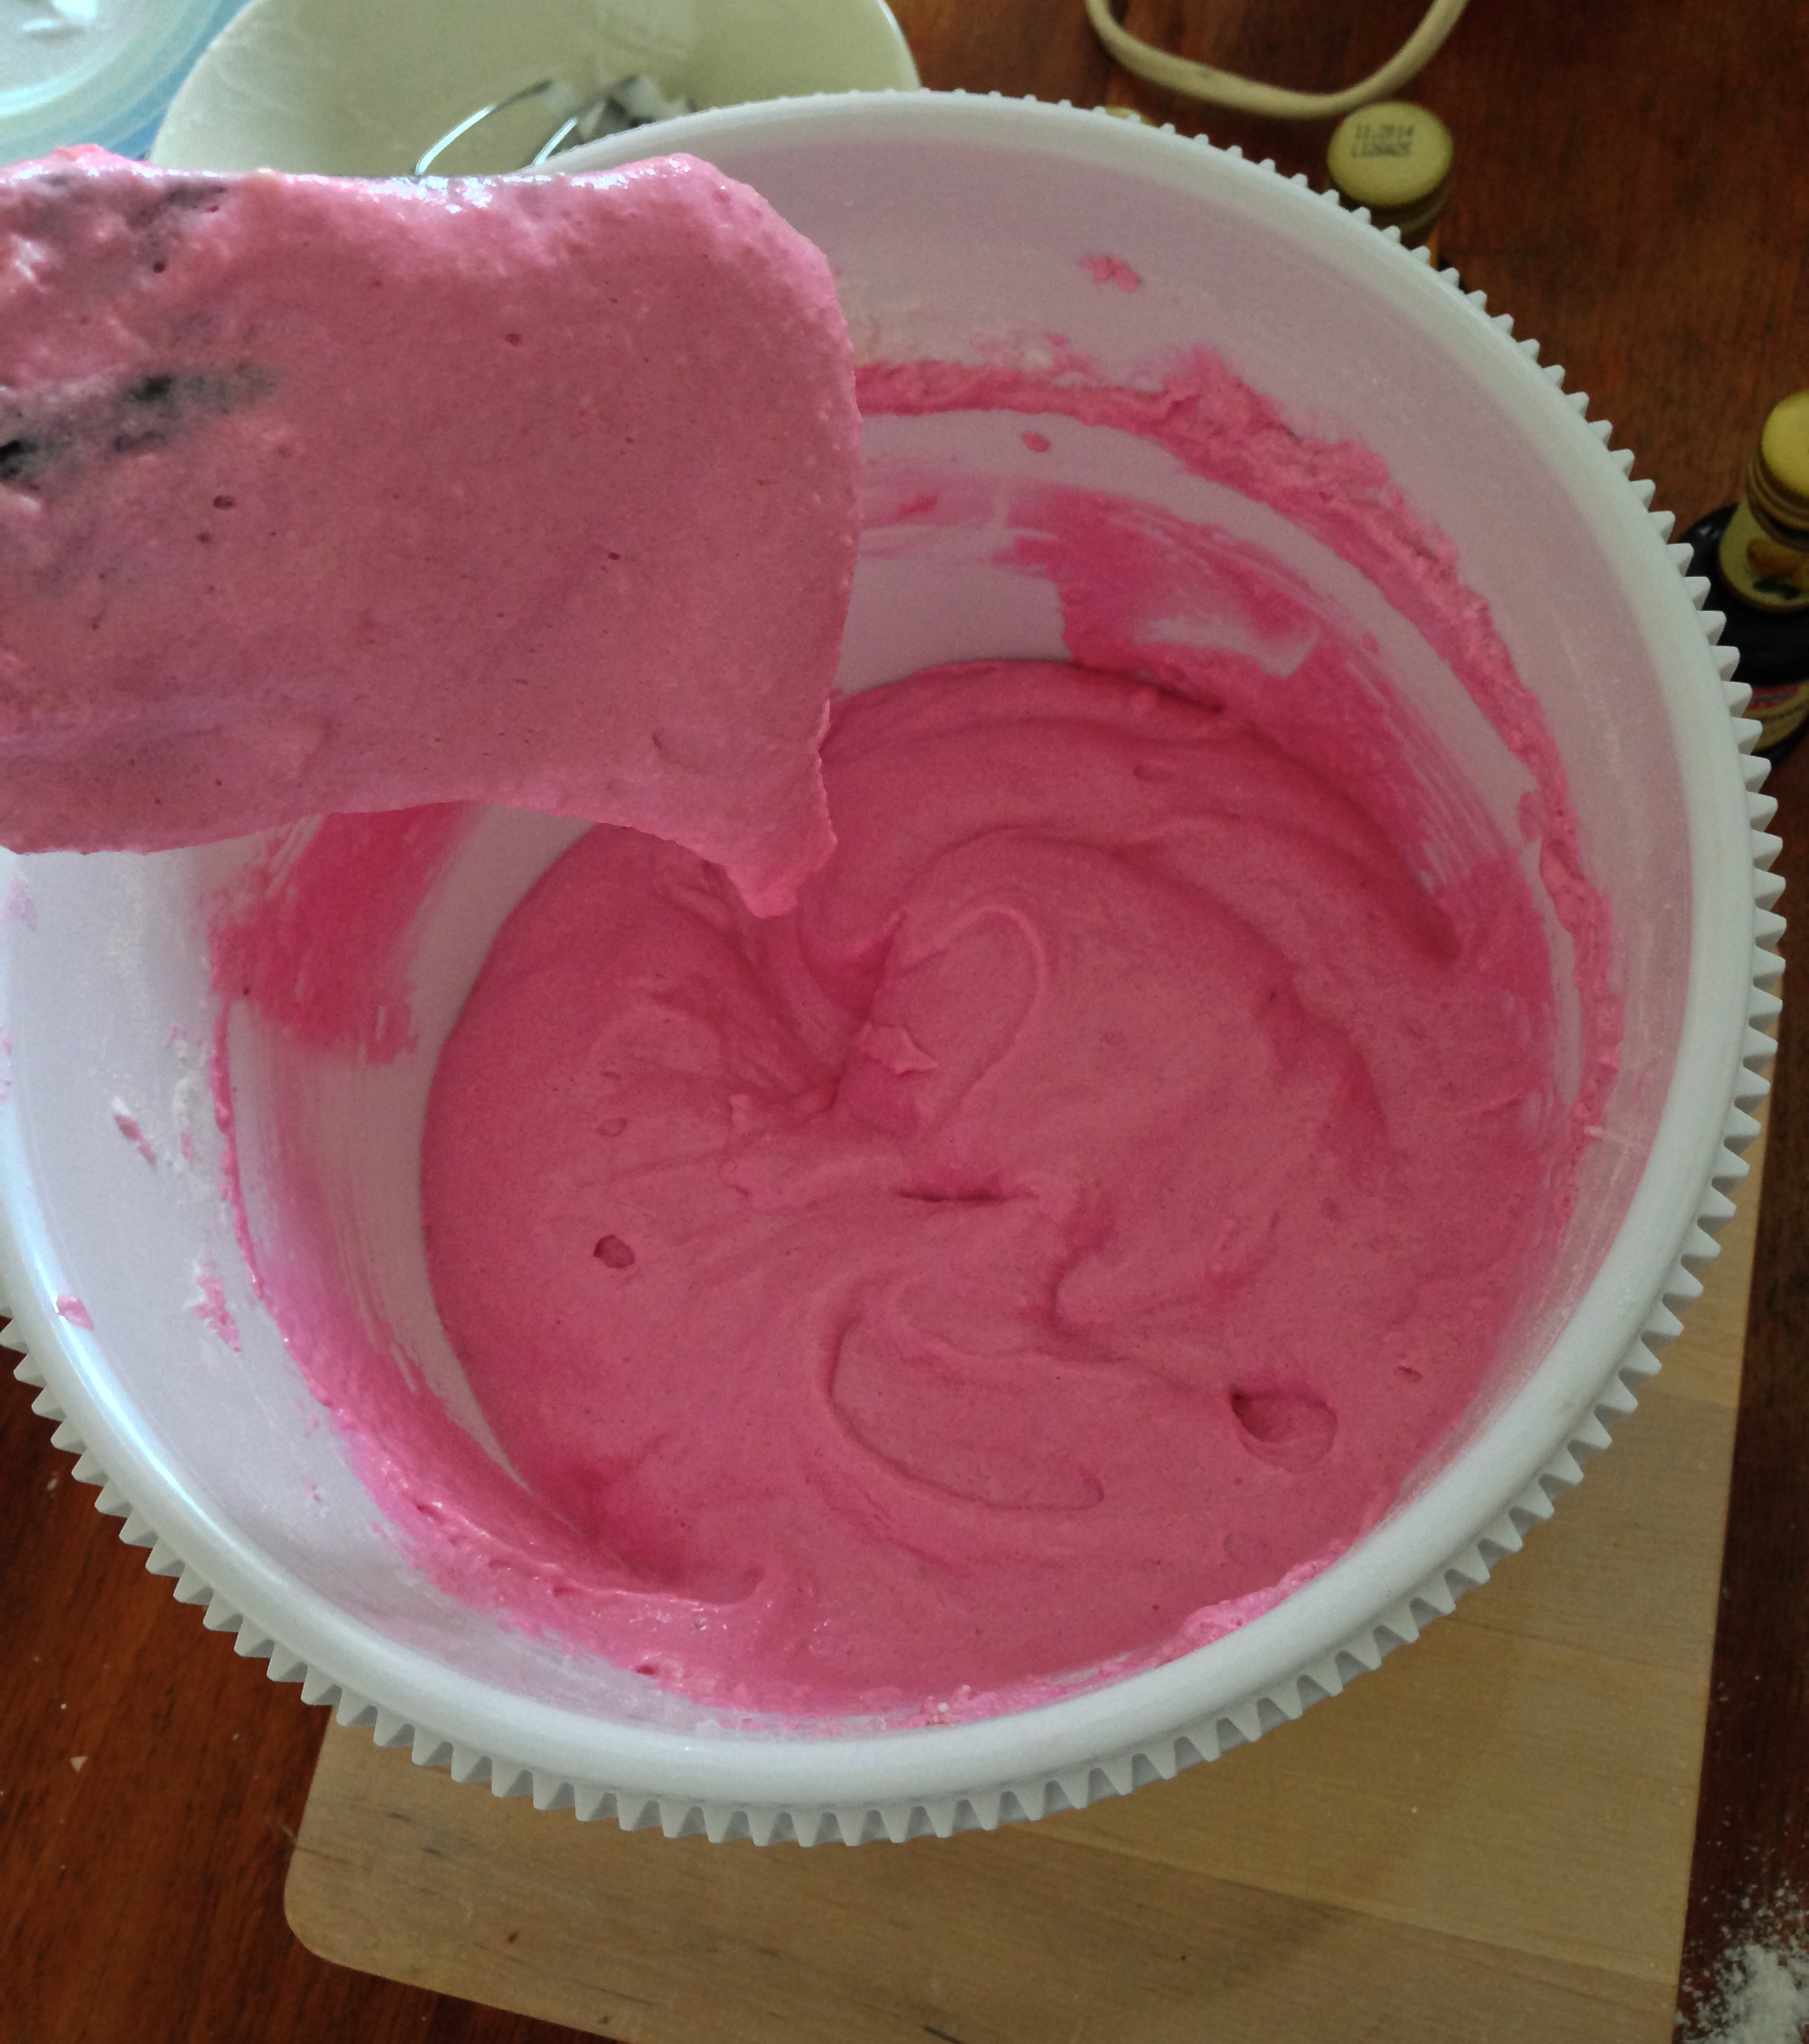
5. If you are using food colour, add it in this step. The colour gets a little pale than how it looks in raw batter so you might want to add a little bit more than usual.

6. To your coloured creamy mixture, add sifted almond flour-sugar mixture and start folding. Use a rubber spatula or a wooden spoon. IMPORTANT: You have to fold it in right amount. If you fold less than you should, then the cookies will crack while baking. If you overfold, then you will not get the rings at the base of each cookies, which is the sort of trademark of these cookies – you HAVE TO get the rings. It takes about 60 times folding. In the end, you should have a bit textured but still sort of flowing batter.
7. Transfer the batter into a pastry bag with a large nozzle (I used a nozzle that was 14 mm in diameter). On a tray with baking sheet on, squeeze the batter to create circular pieces, as big as you like. Unfortunately, since I have only 2 hands and it takes both of them to squeeze the batter for me, I could not take a picture while I was doing it. But, I got the best results by holding the pastry bag perpendicular to the sheet surface.
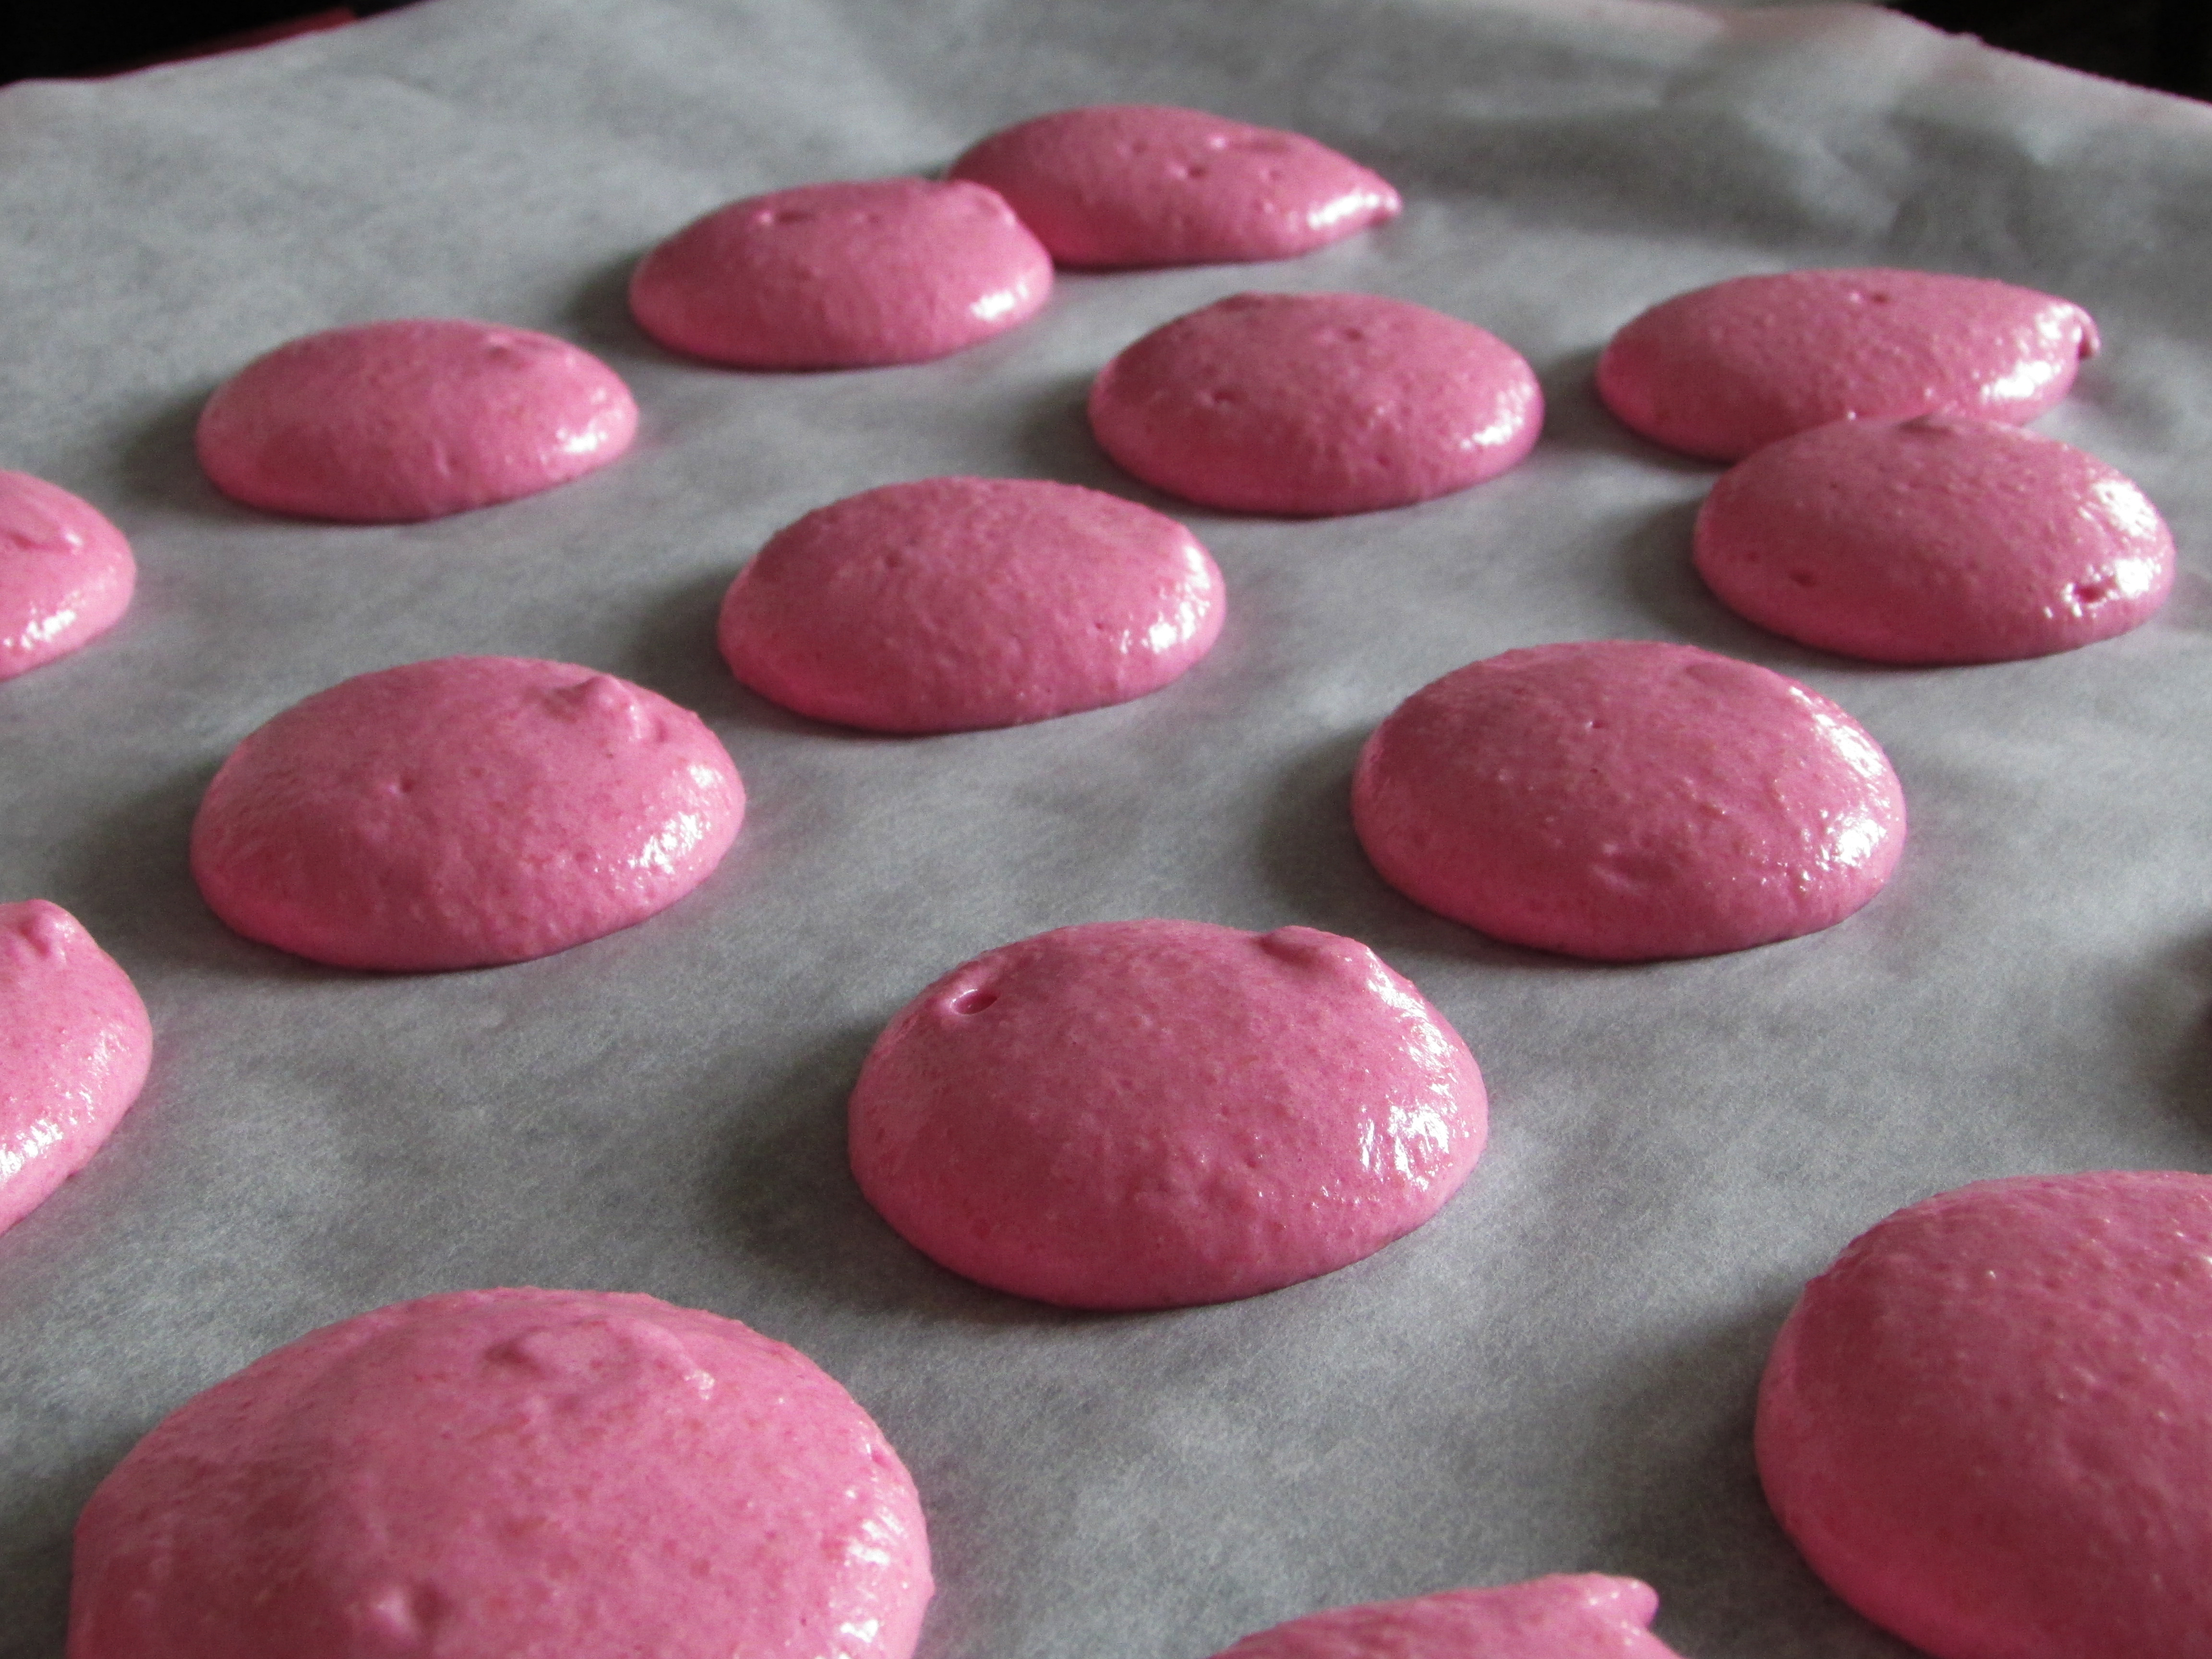
8. IMPORTANT: When you are done squeezing the pieces, tap the tray a few times on the counter to release the air bubbles.
9. IMPORTANT: Let the ready trays sit for about 20 minutes – even up to an hour if you want. This will let them dry out before they get into the oven, and this will help them to have their rings.
10. Bake the cookies for 20 minutes, no less! They may look like they are done, but still wait for 20 minutes – otherwise they will stick to the tray. When 20 minutes are over, take them out let them cool on a cooling rack or just on the baking sheet.


And now it’s time to prepare the filling and assemble the macarons!

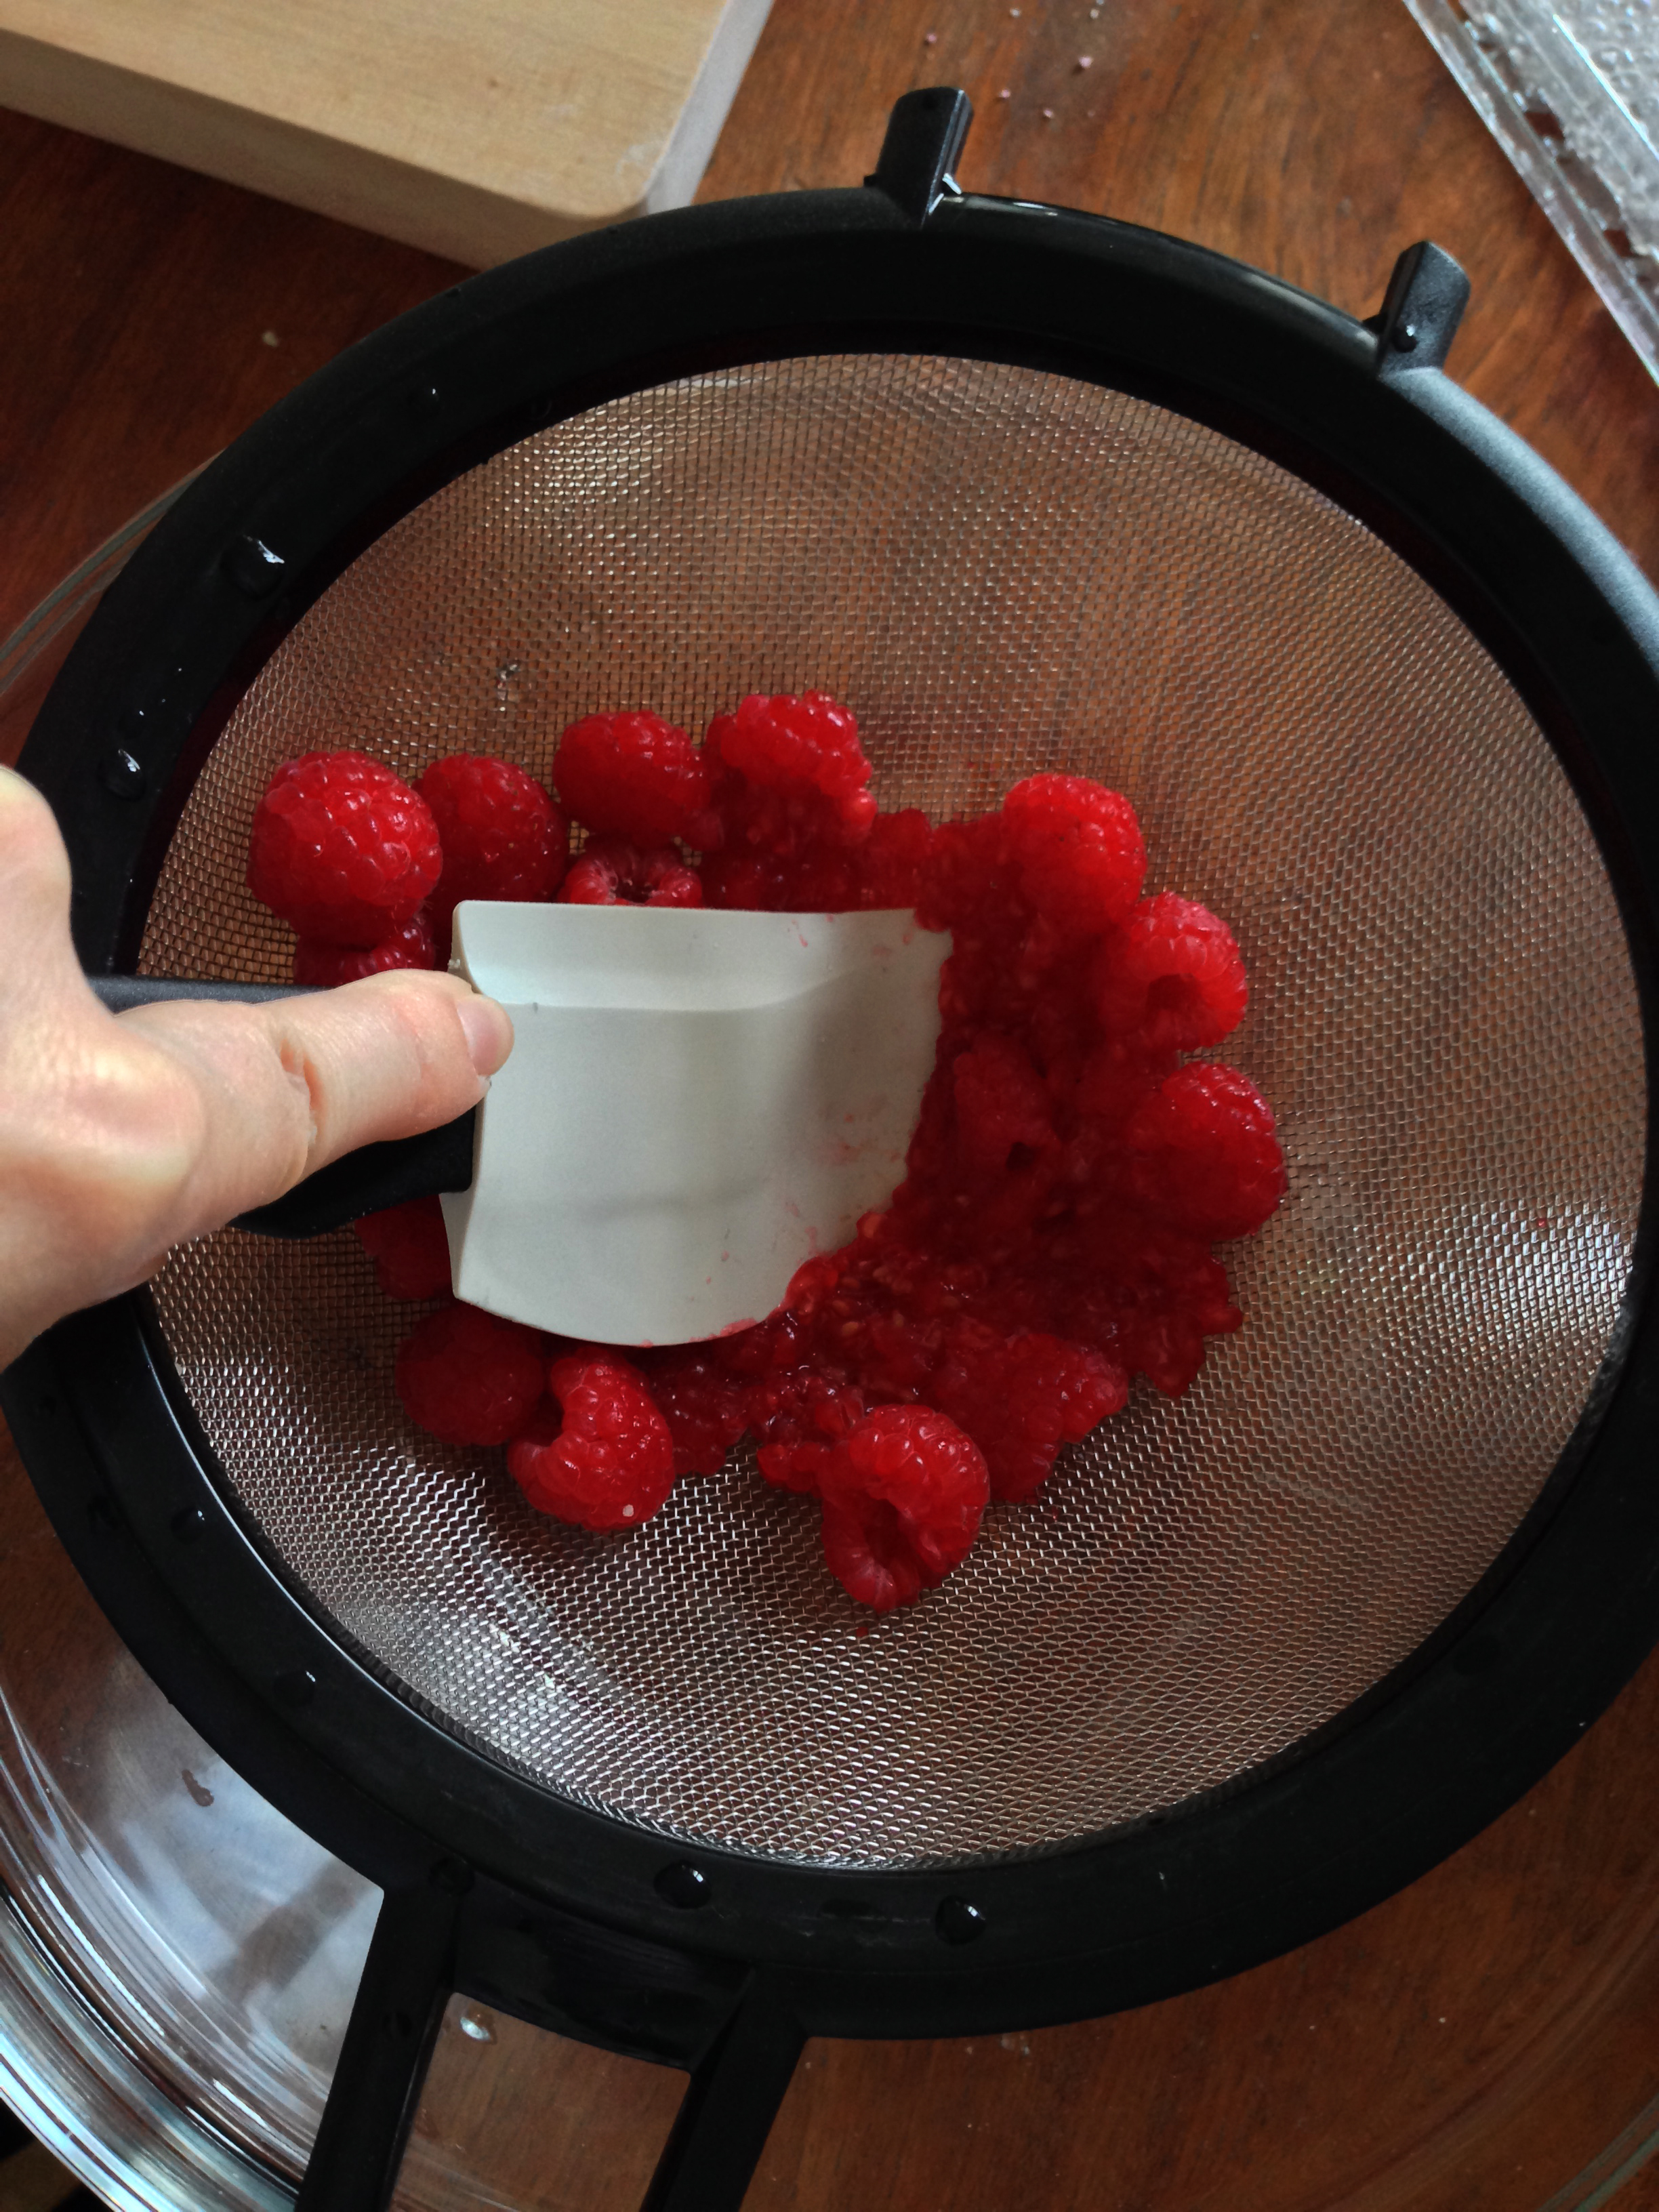
11. (If you are making raspberry filling) Put fresh raspberries on a sieve and squeeze them to get the juice using a rubber spatula (or any other tool you have that might do the job without damaging the sieve). You should be able to get 3 tablespoons of raspberry juice.

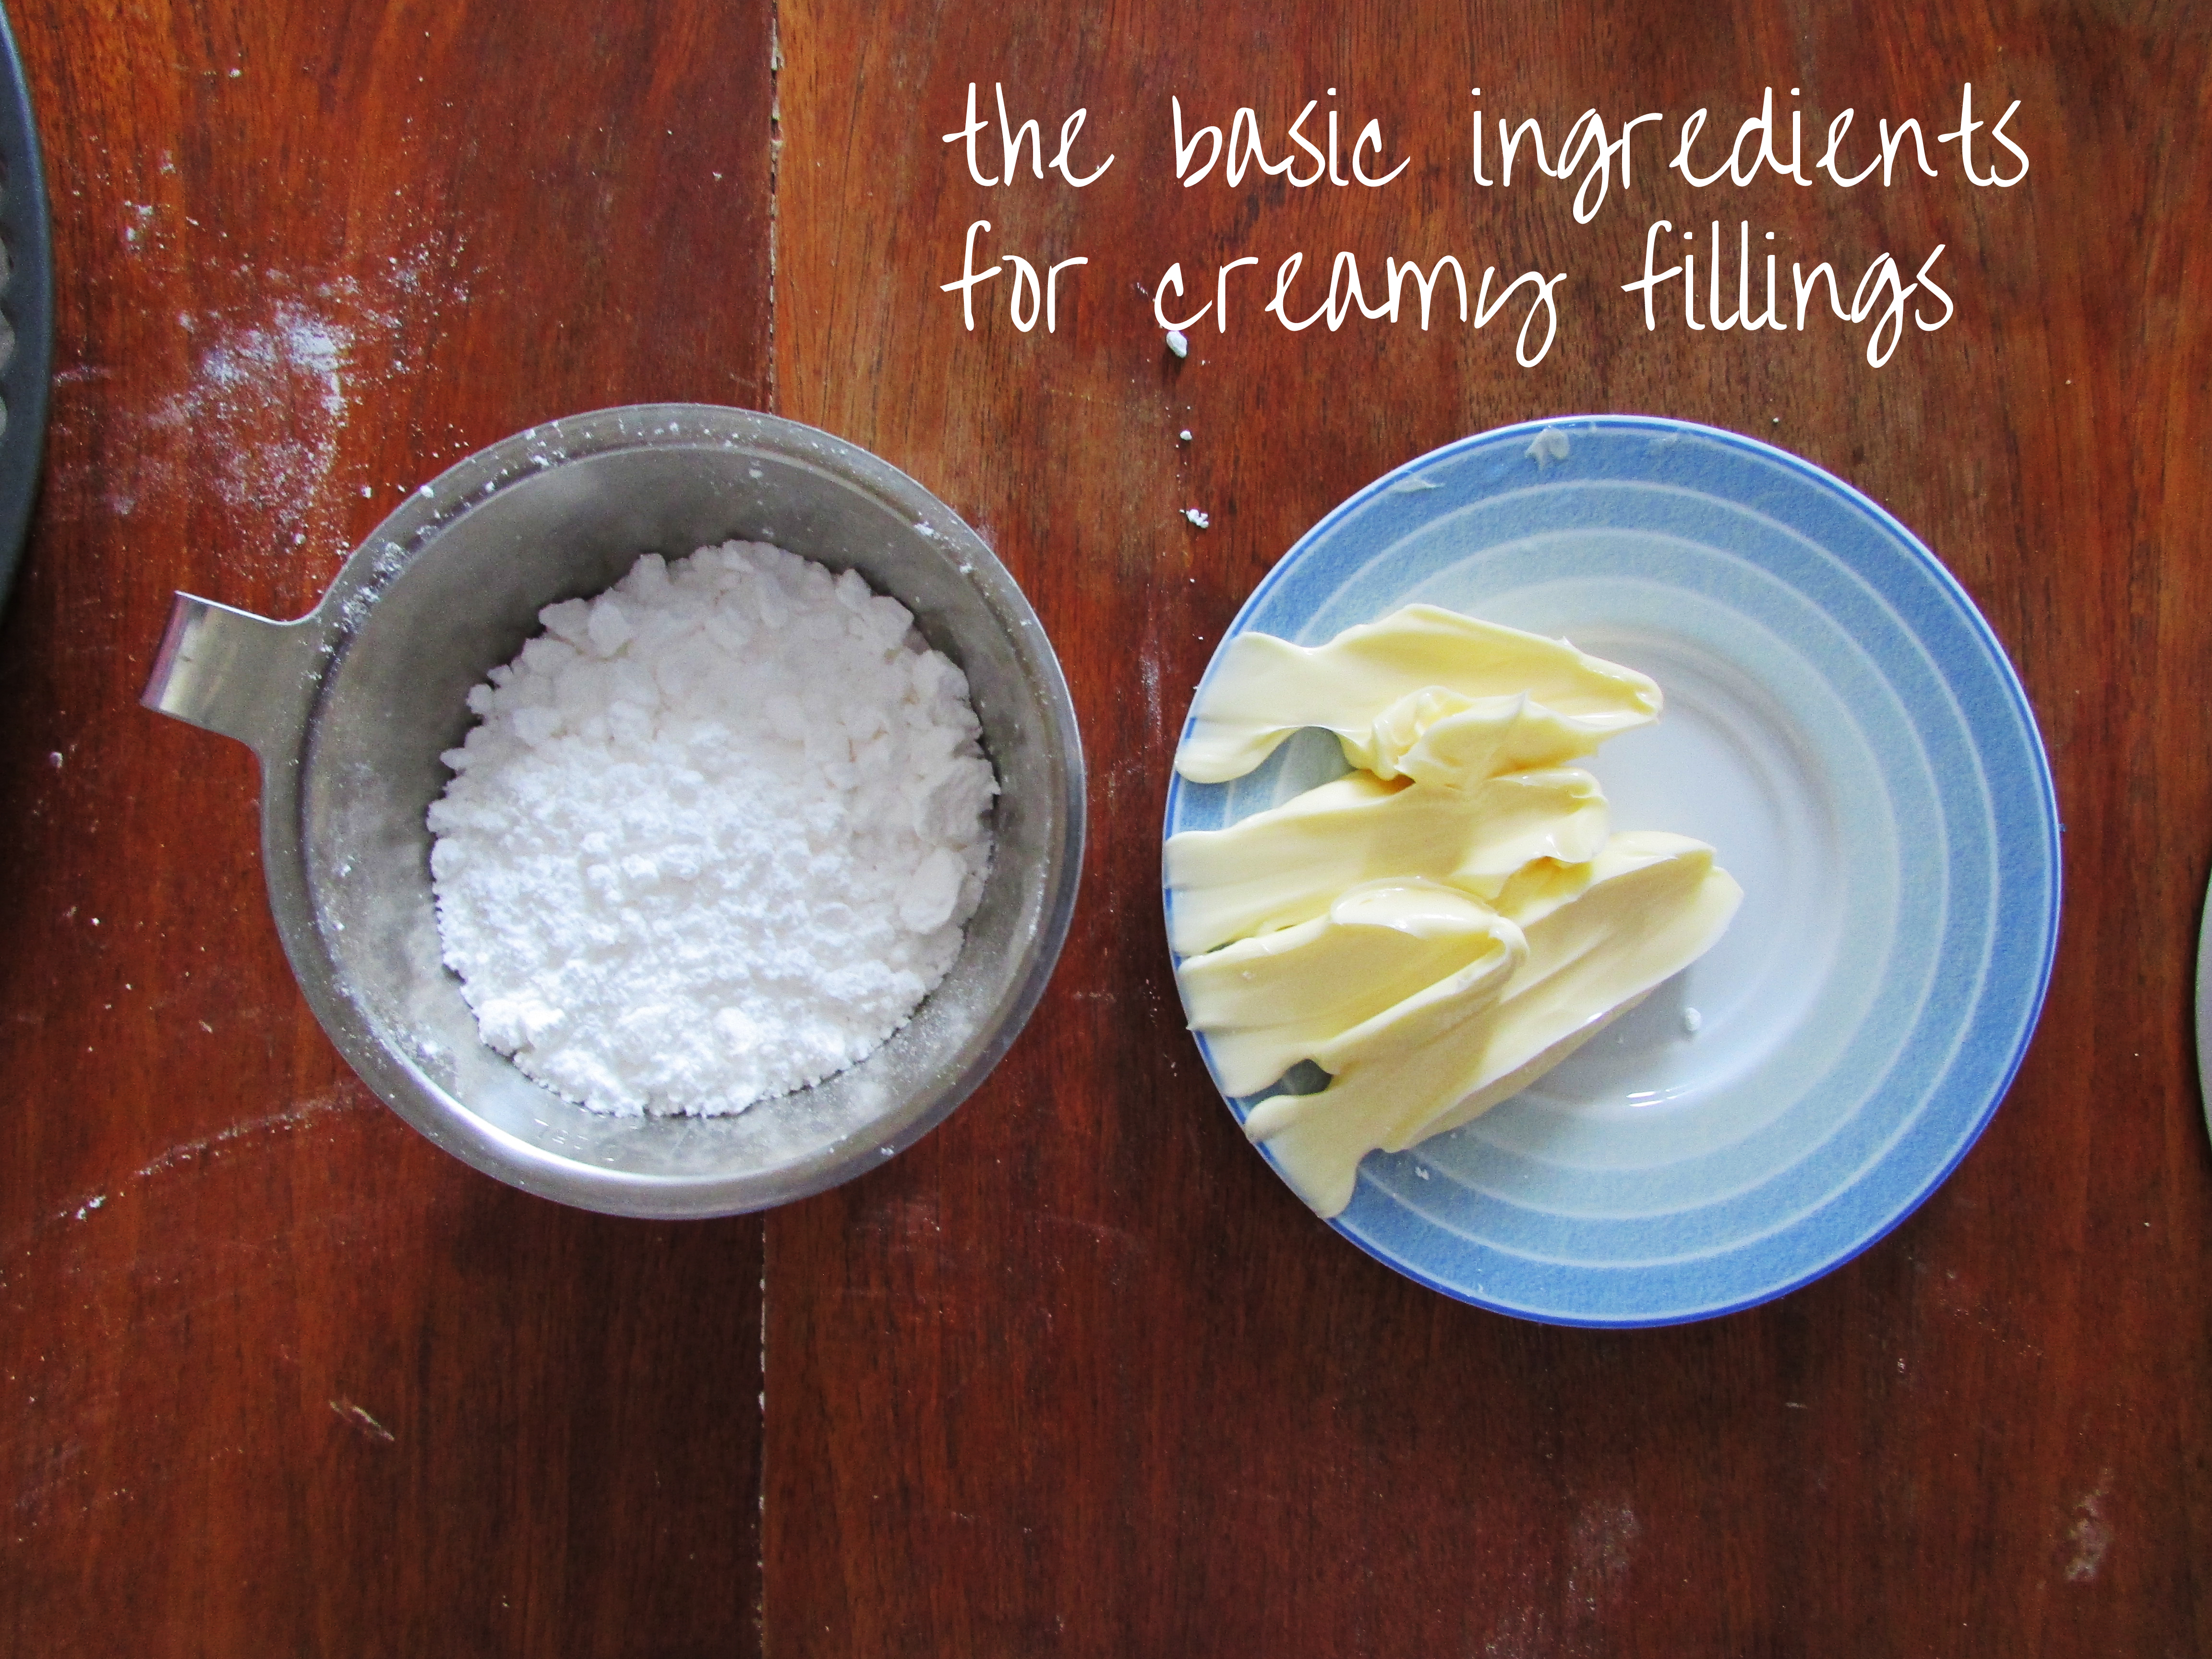
12. In the electric mixer, put the butter and whip it until pale and fluffy. After that, add confectioner’s sugar gradually and continue whipping until you get a buttercream.
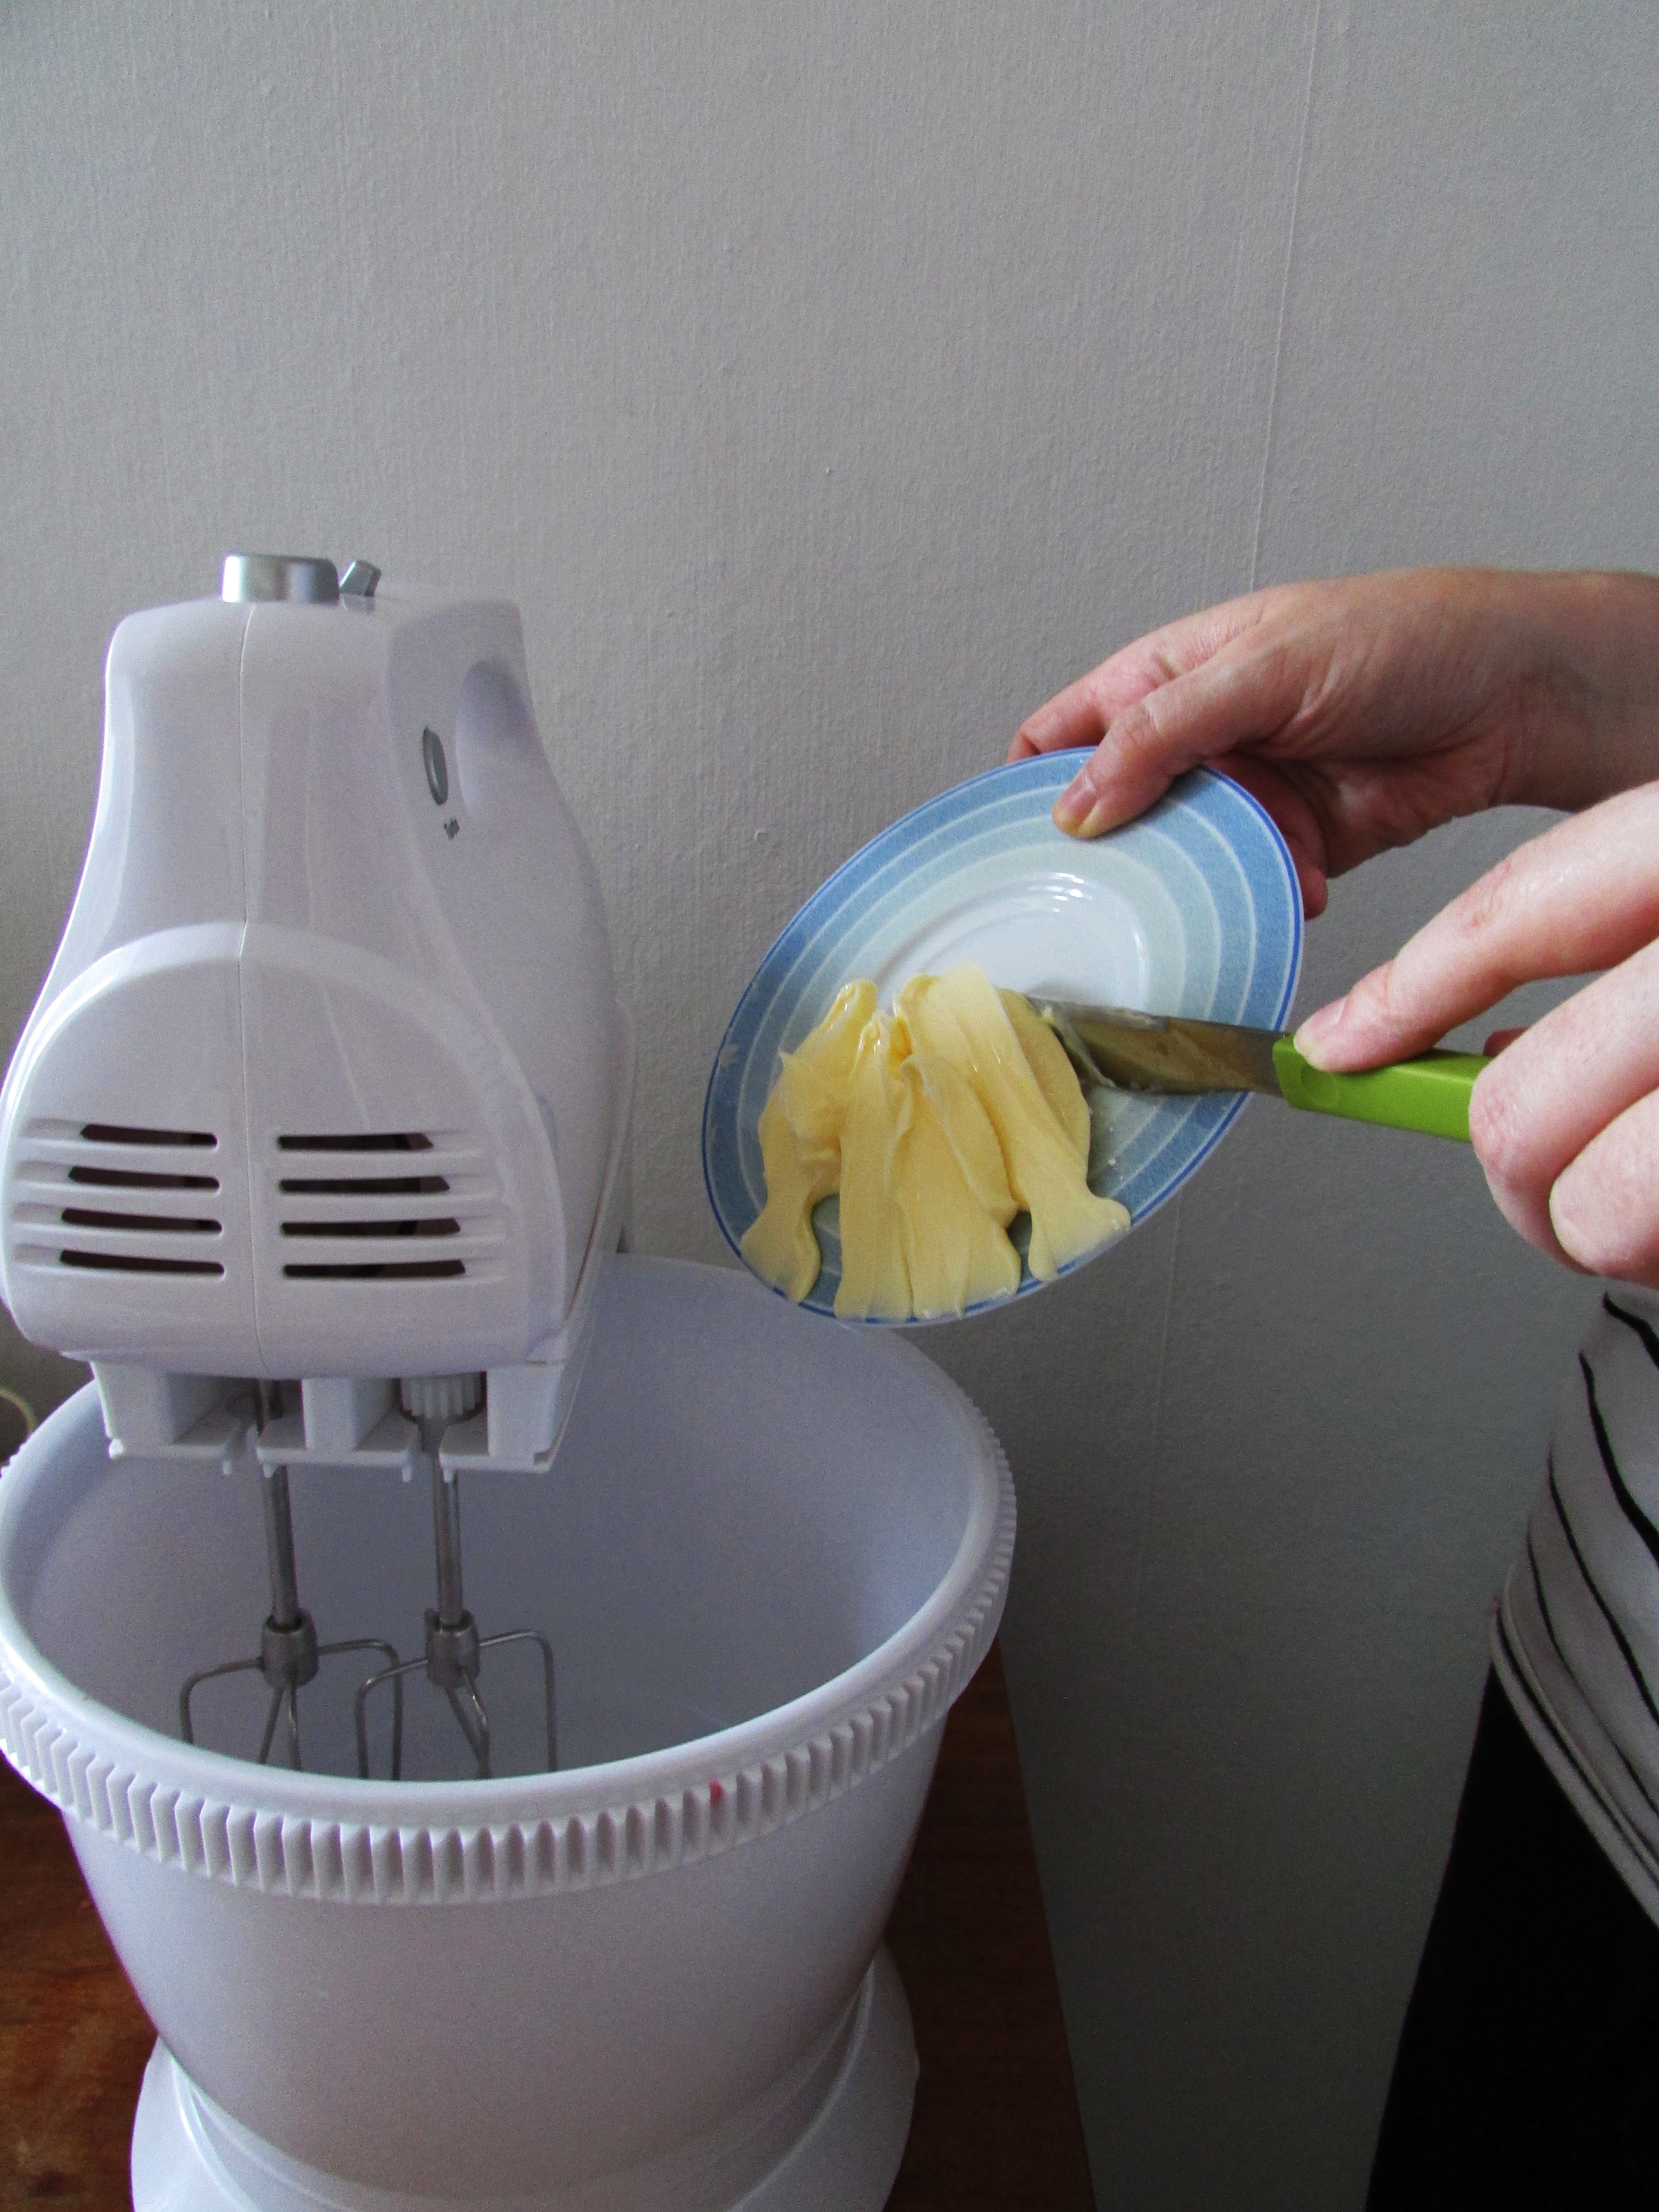

13. Add the raspberry juice (and red food colour, if you like) to buttercream and continue whipping, until you get a smooth texture. If you are doing other kinds of fillings (like peppermint or citron), then in this step you will add the related aroma and food colour, instead of raspberry.


14. Put the cream in a piping bag, again using a large nozzle (I used again 14 cm nozzle). Prepare the cookie pieces on the counter, match the ones that are equal in size.


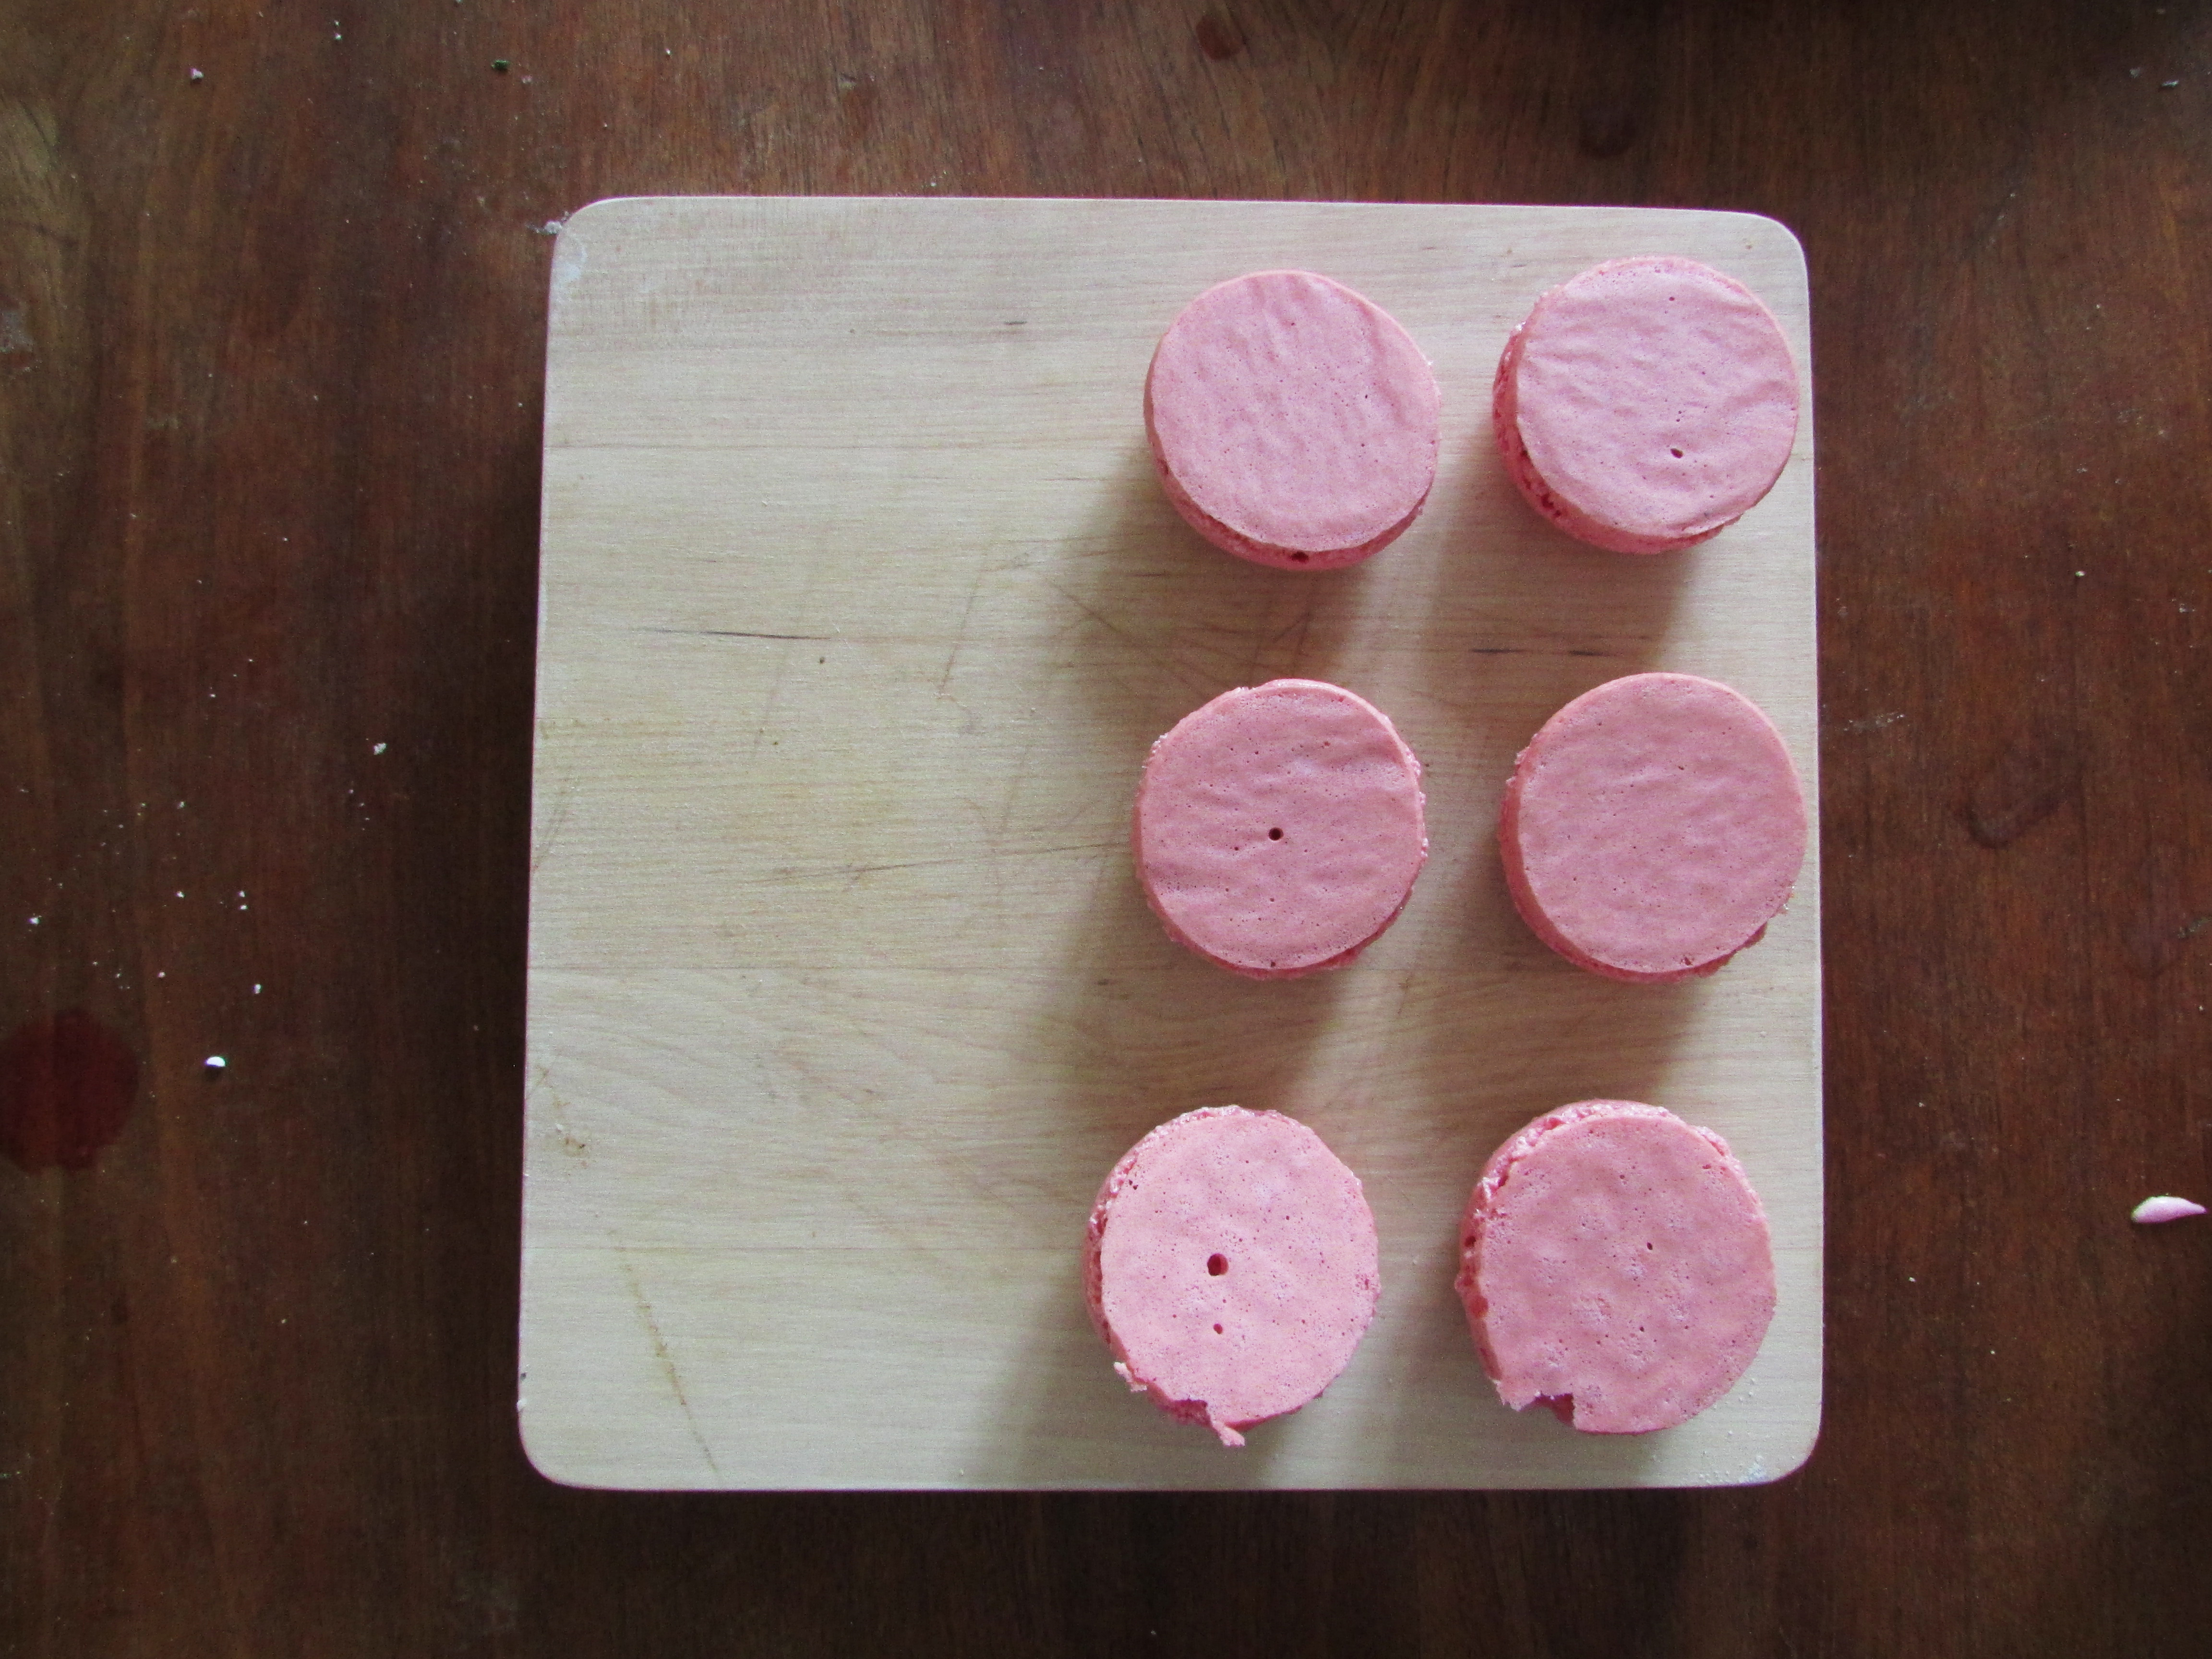
15. Pipe the cream on one of each cookie pair and put the other cookie piece on top of that one. While you are piping the cream, leave some space in the edges, so that when you assemble the cookie, the cream will not spill over.

Voila! You have the macarons! Now go and take a photo of your macarons and post them in instagram, apparently they are the best instagram material – you cannot imagine how many macaron photos everyone posts each minute on instagram!!

Pingback: Matcha Green Tea Swiss Roll – with Raspberry Buttercream Filling | My Dear Kitchen in Helsinki