
Scones.. Well, I actually do not have a very big personal connection to them. Therefore I do not have any specific story to tell, related to what led me to bake this recipe. But I can write about how they turned out though. And how photogenic they are.

I adapted this recipe from the wonderful food blog “Joy the Baker”. You should have a look. There are also recipes other than bakery goods.
These scones are really easy to make. The thing is, it does not require too much of kneading and also you do not need to end up with a perfectly smooth dough. It is so soft that it actually feels very nice to touch it.
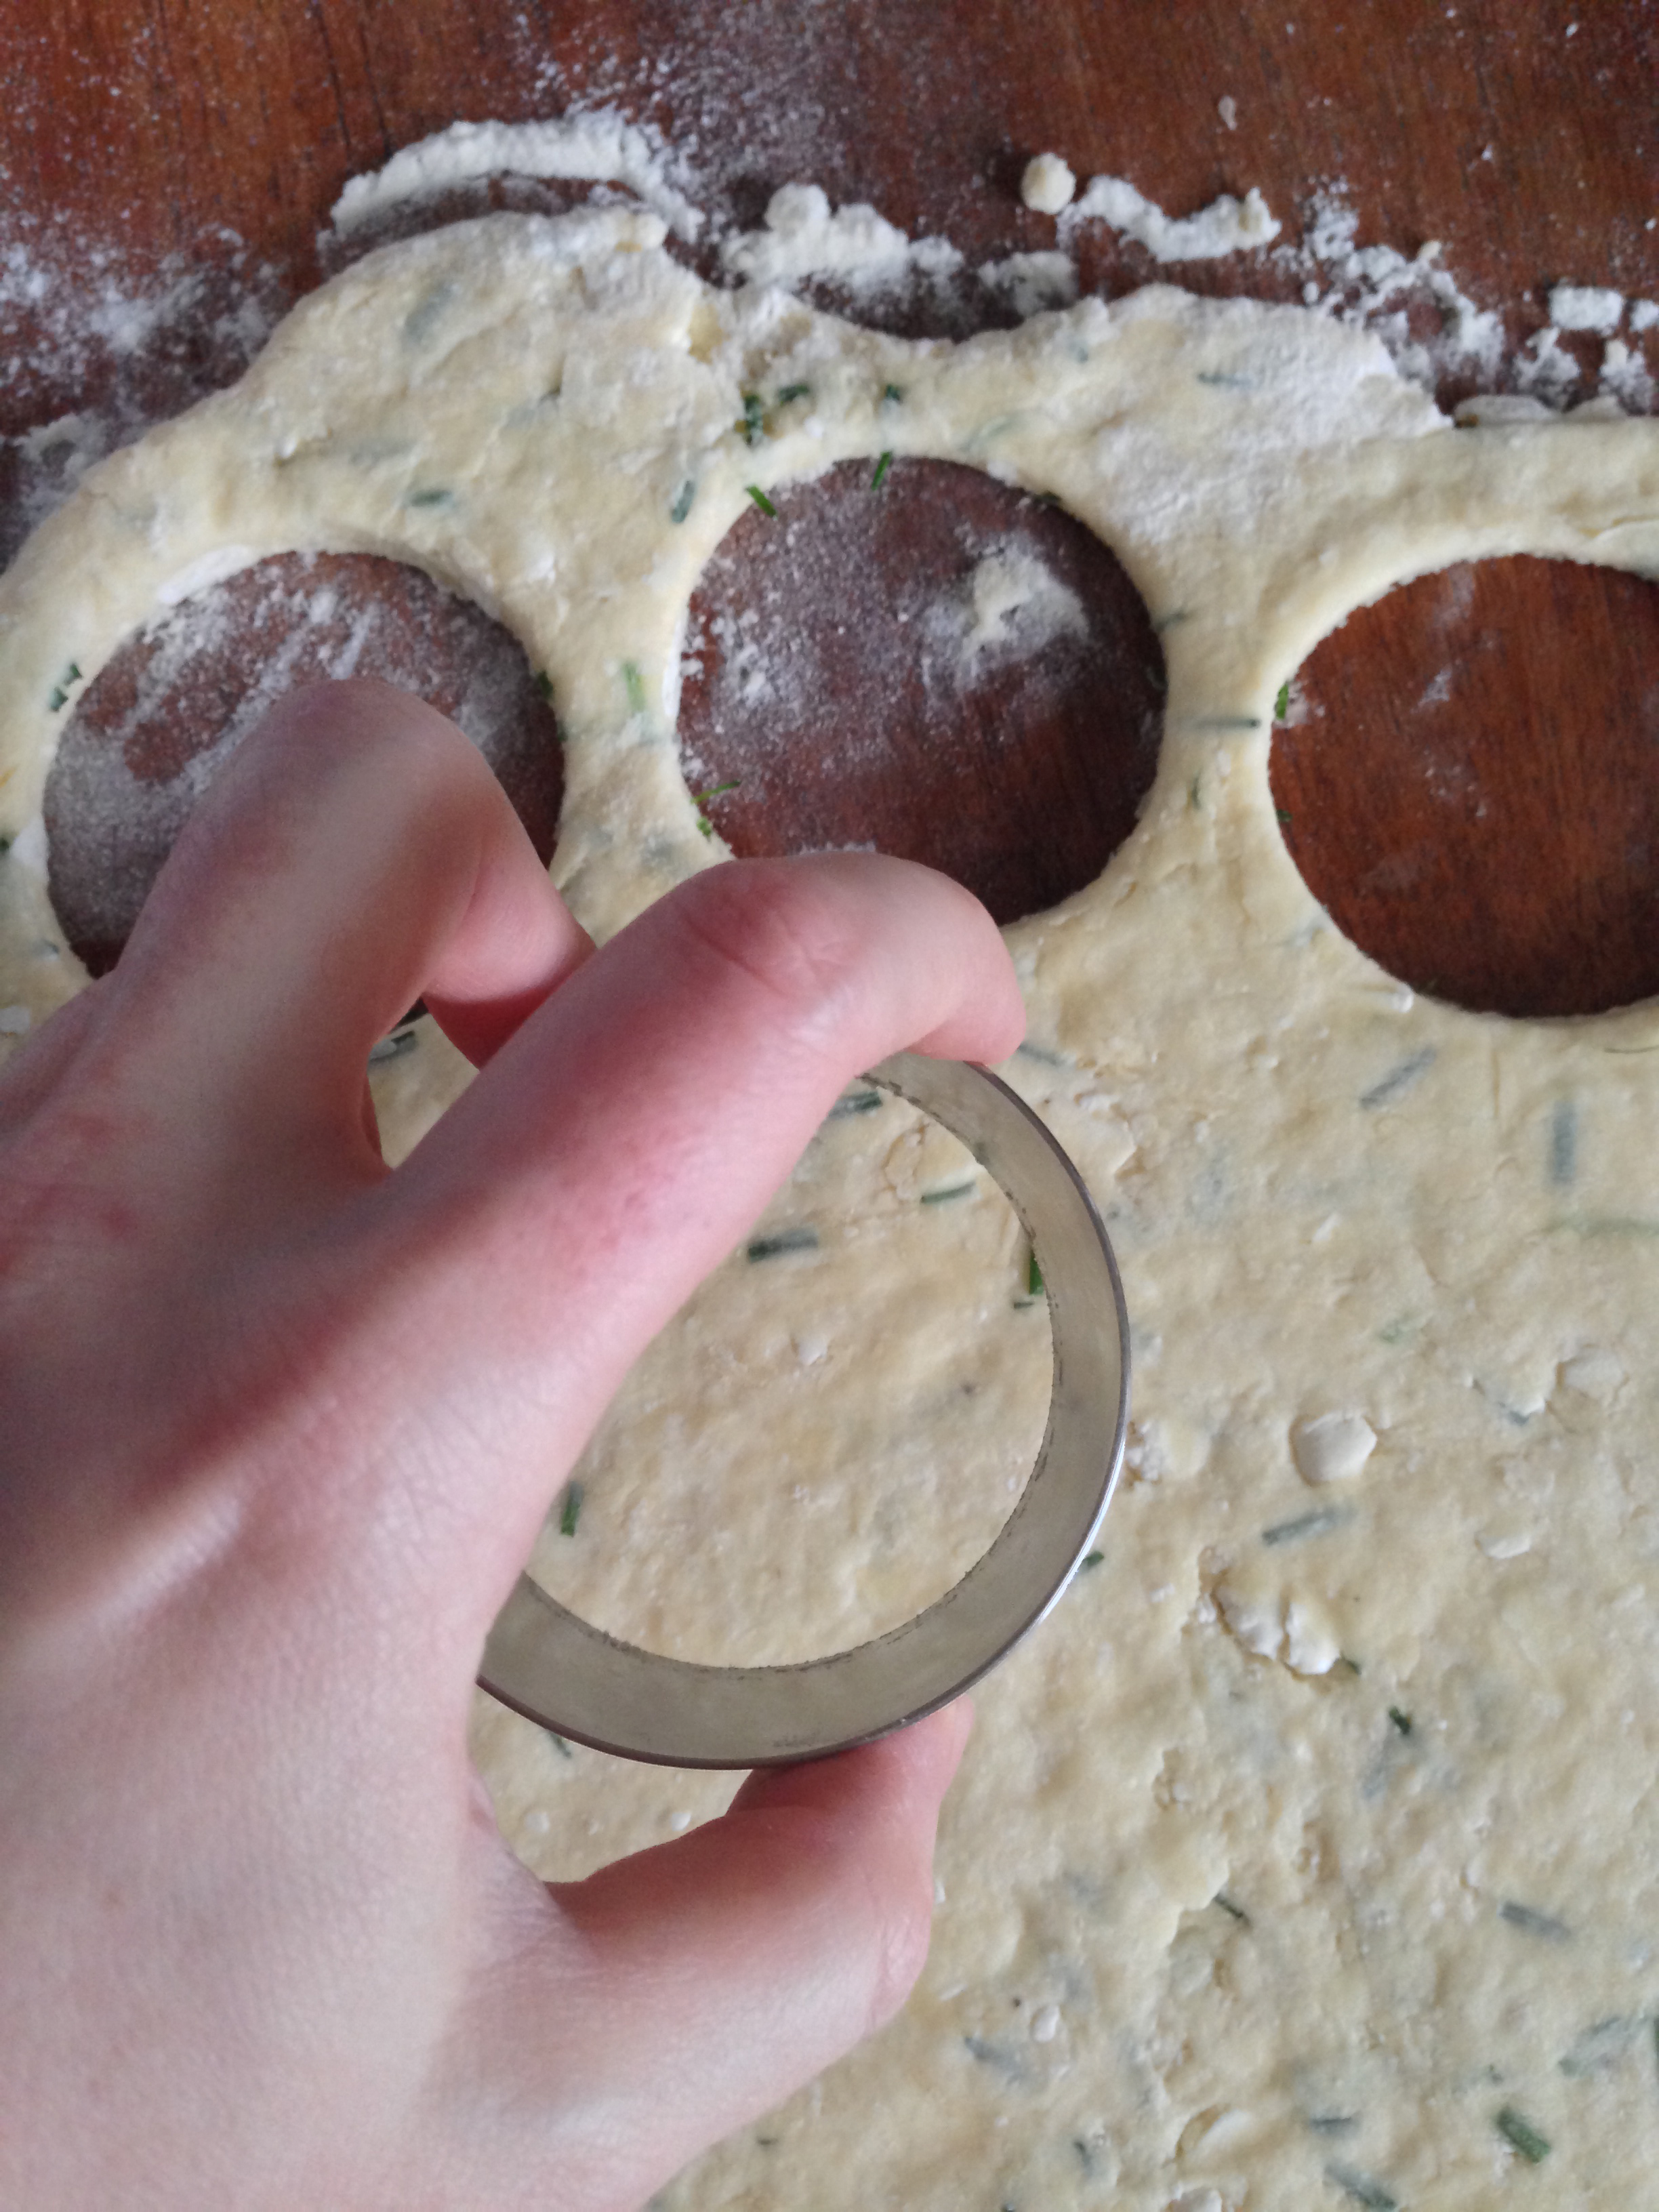
In order to cut the scones in circles you can get circular cutters like I did, or you can also simply use a proper-sized glass. It is very easy to cut this dough.
The scones can also stay fresh for quite a long time in room temperature, with a good cover. What I mean by long time is not weeks though, I mean a few days (4-5 days).
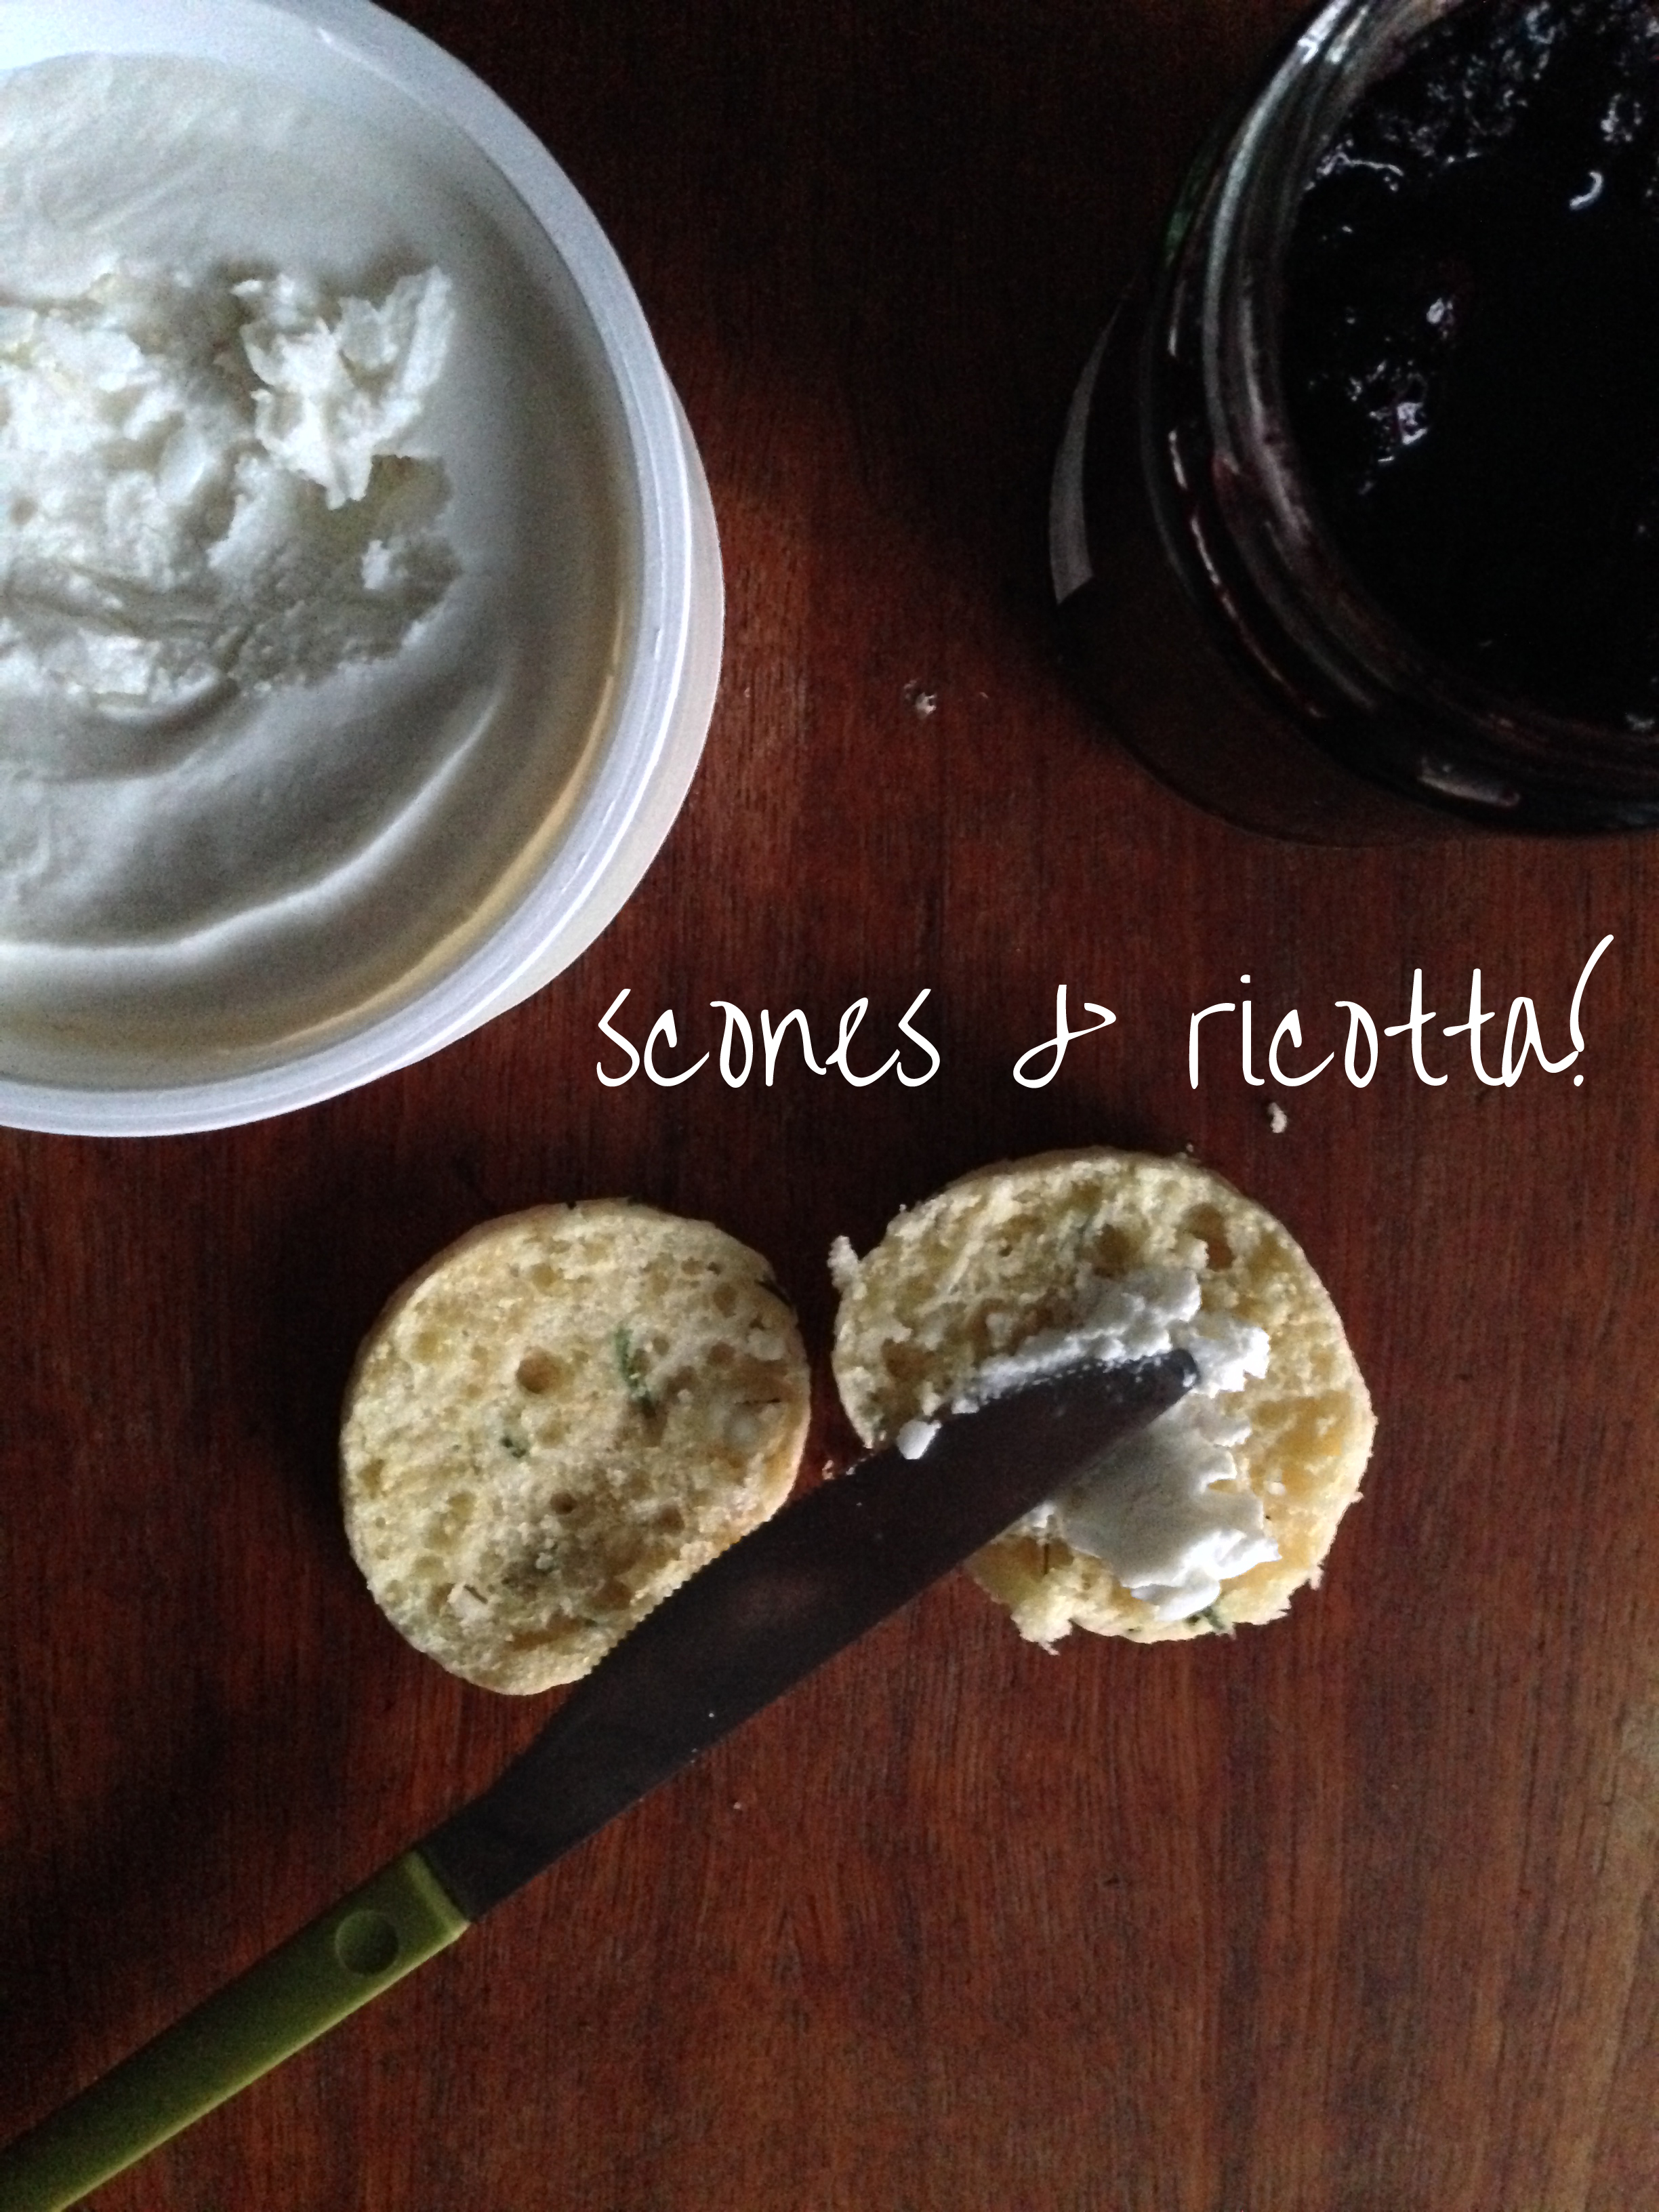
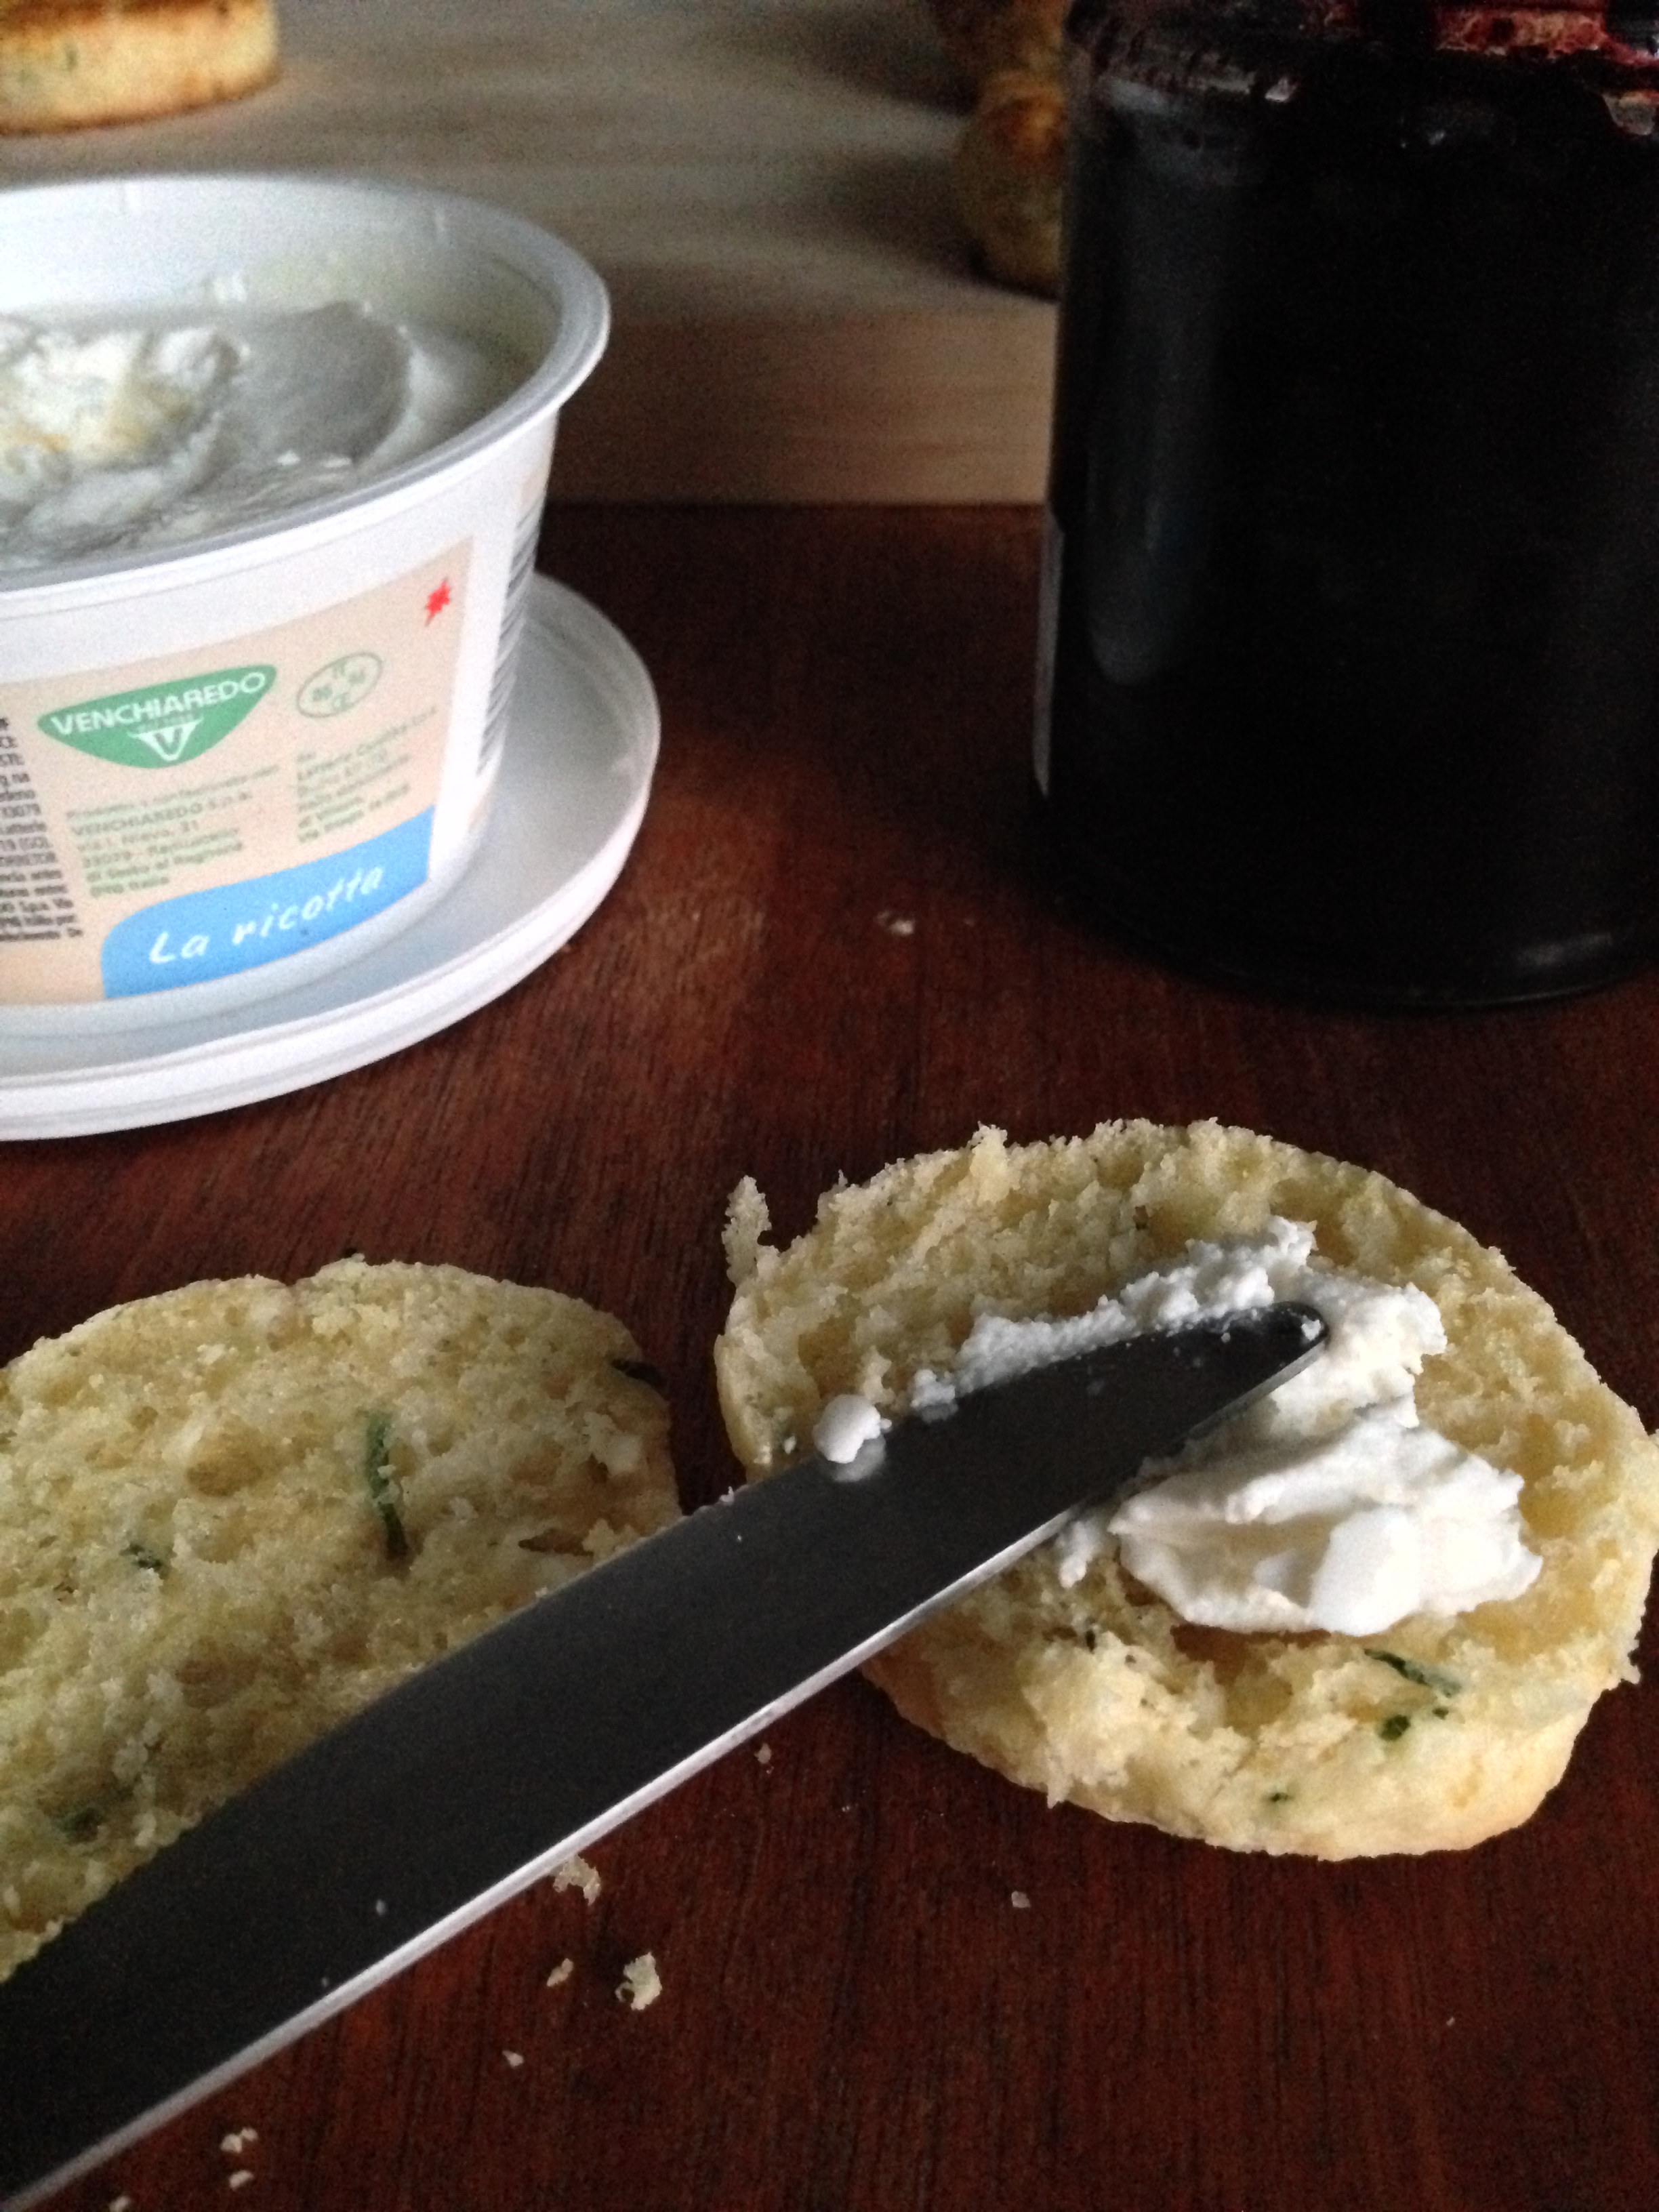
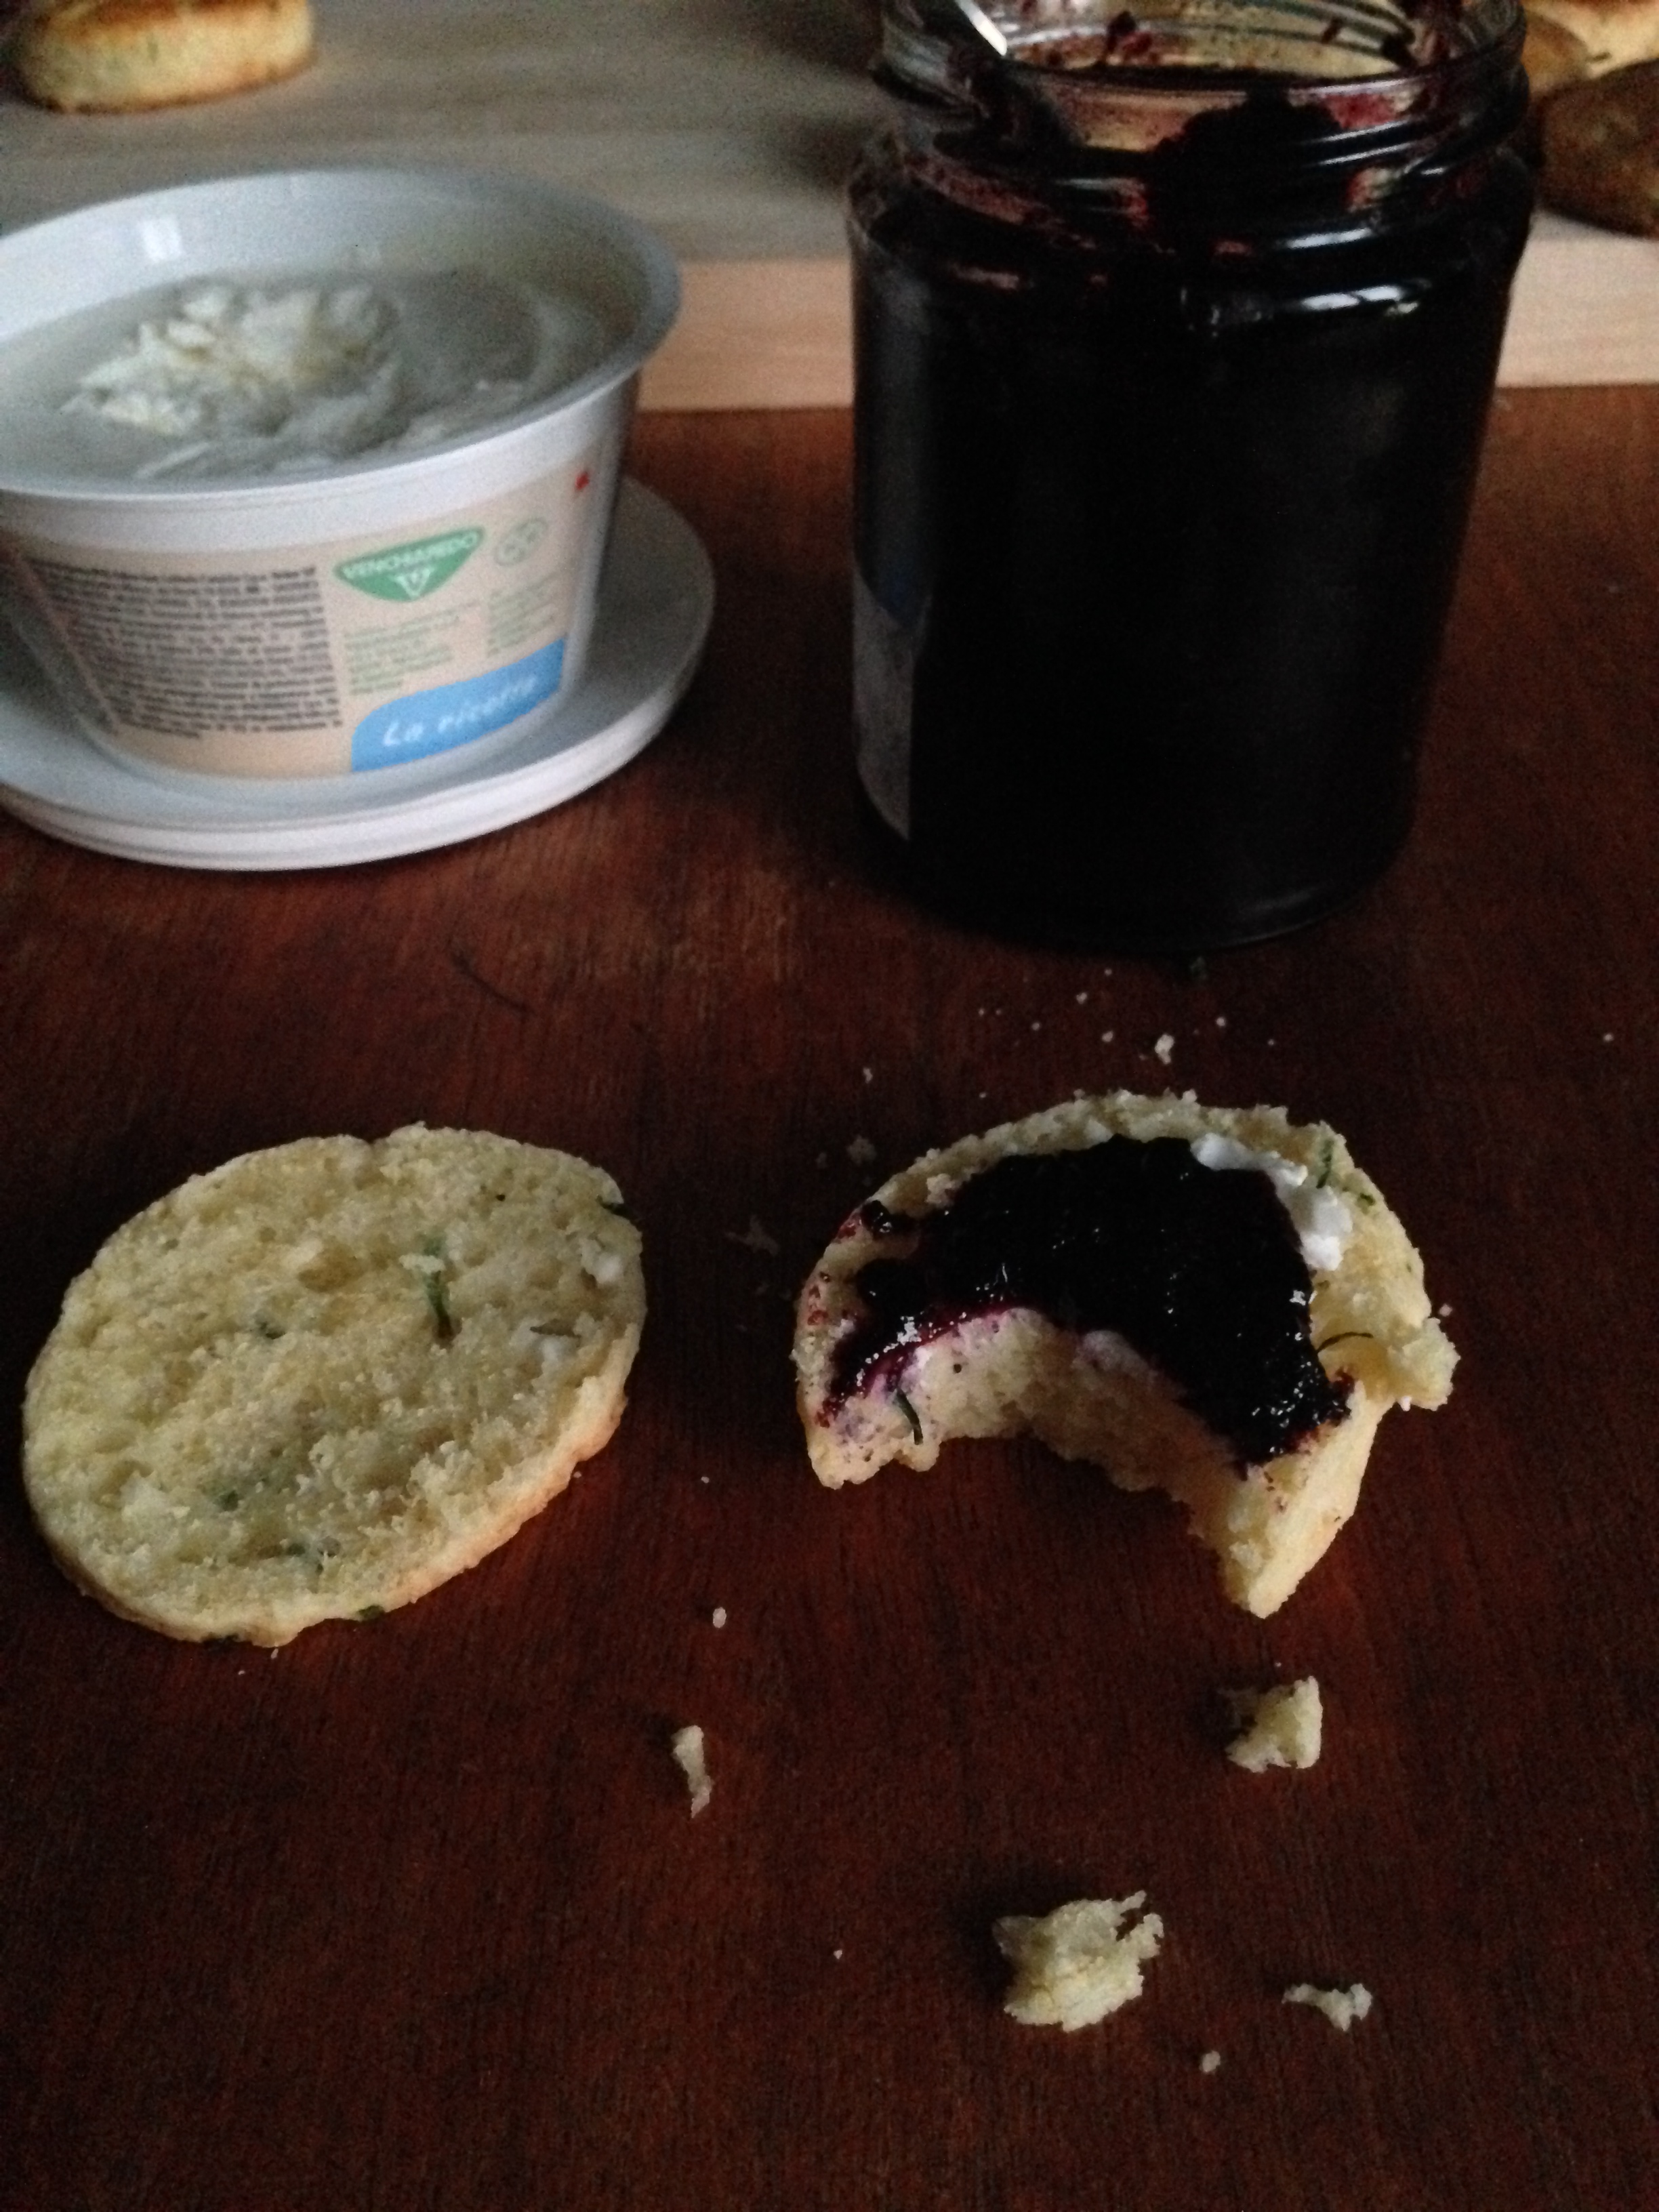
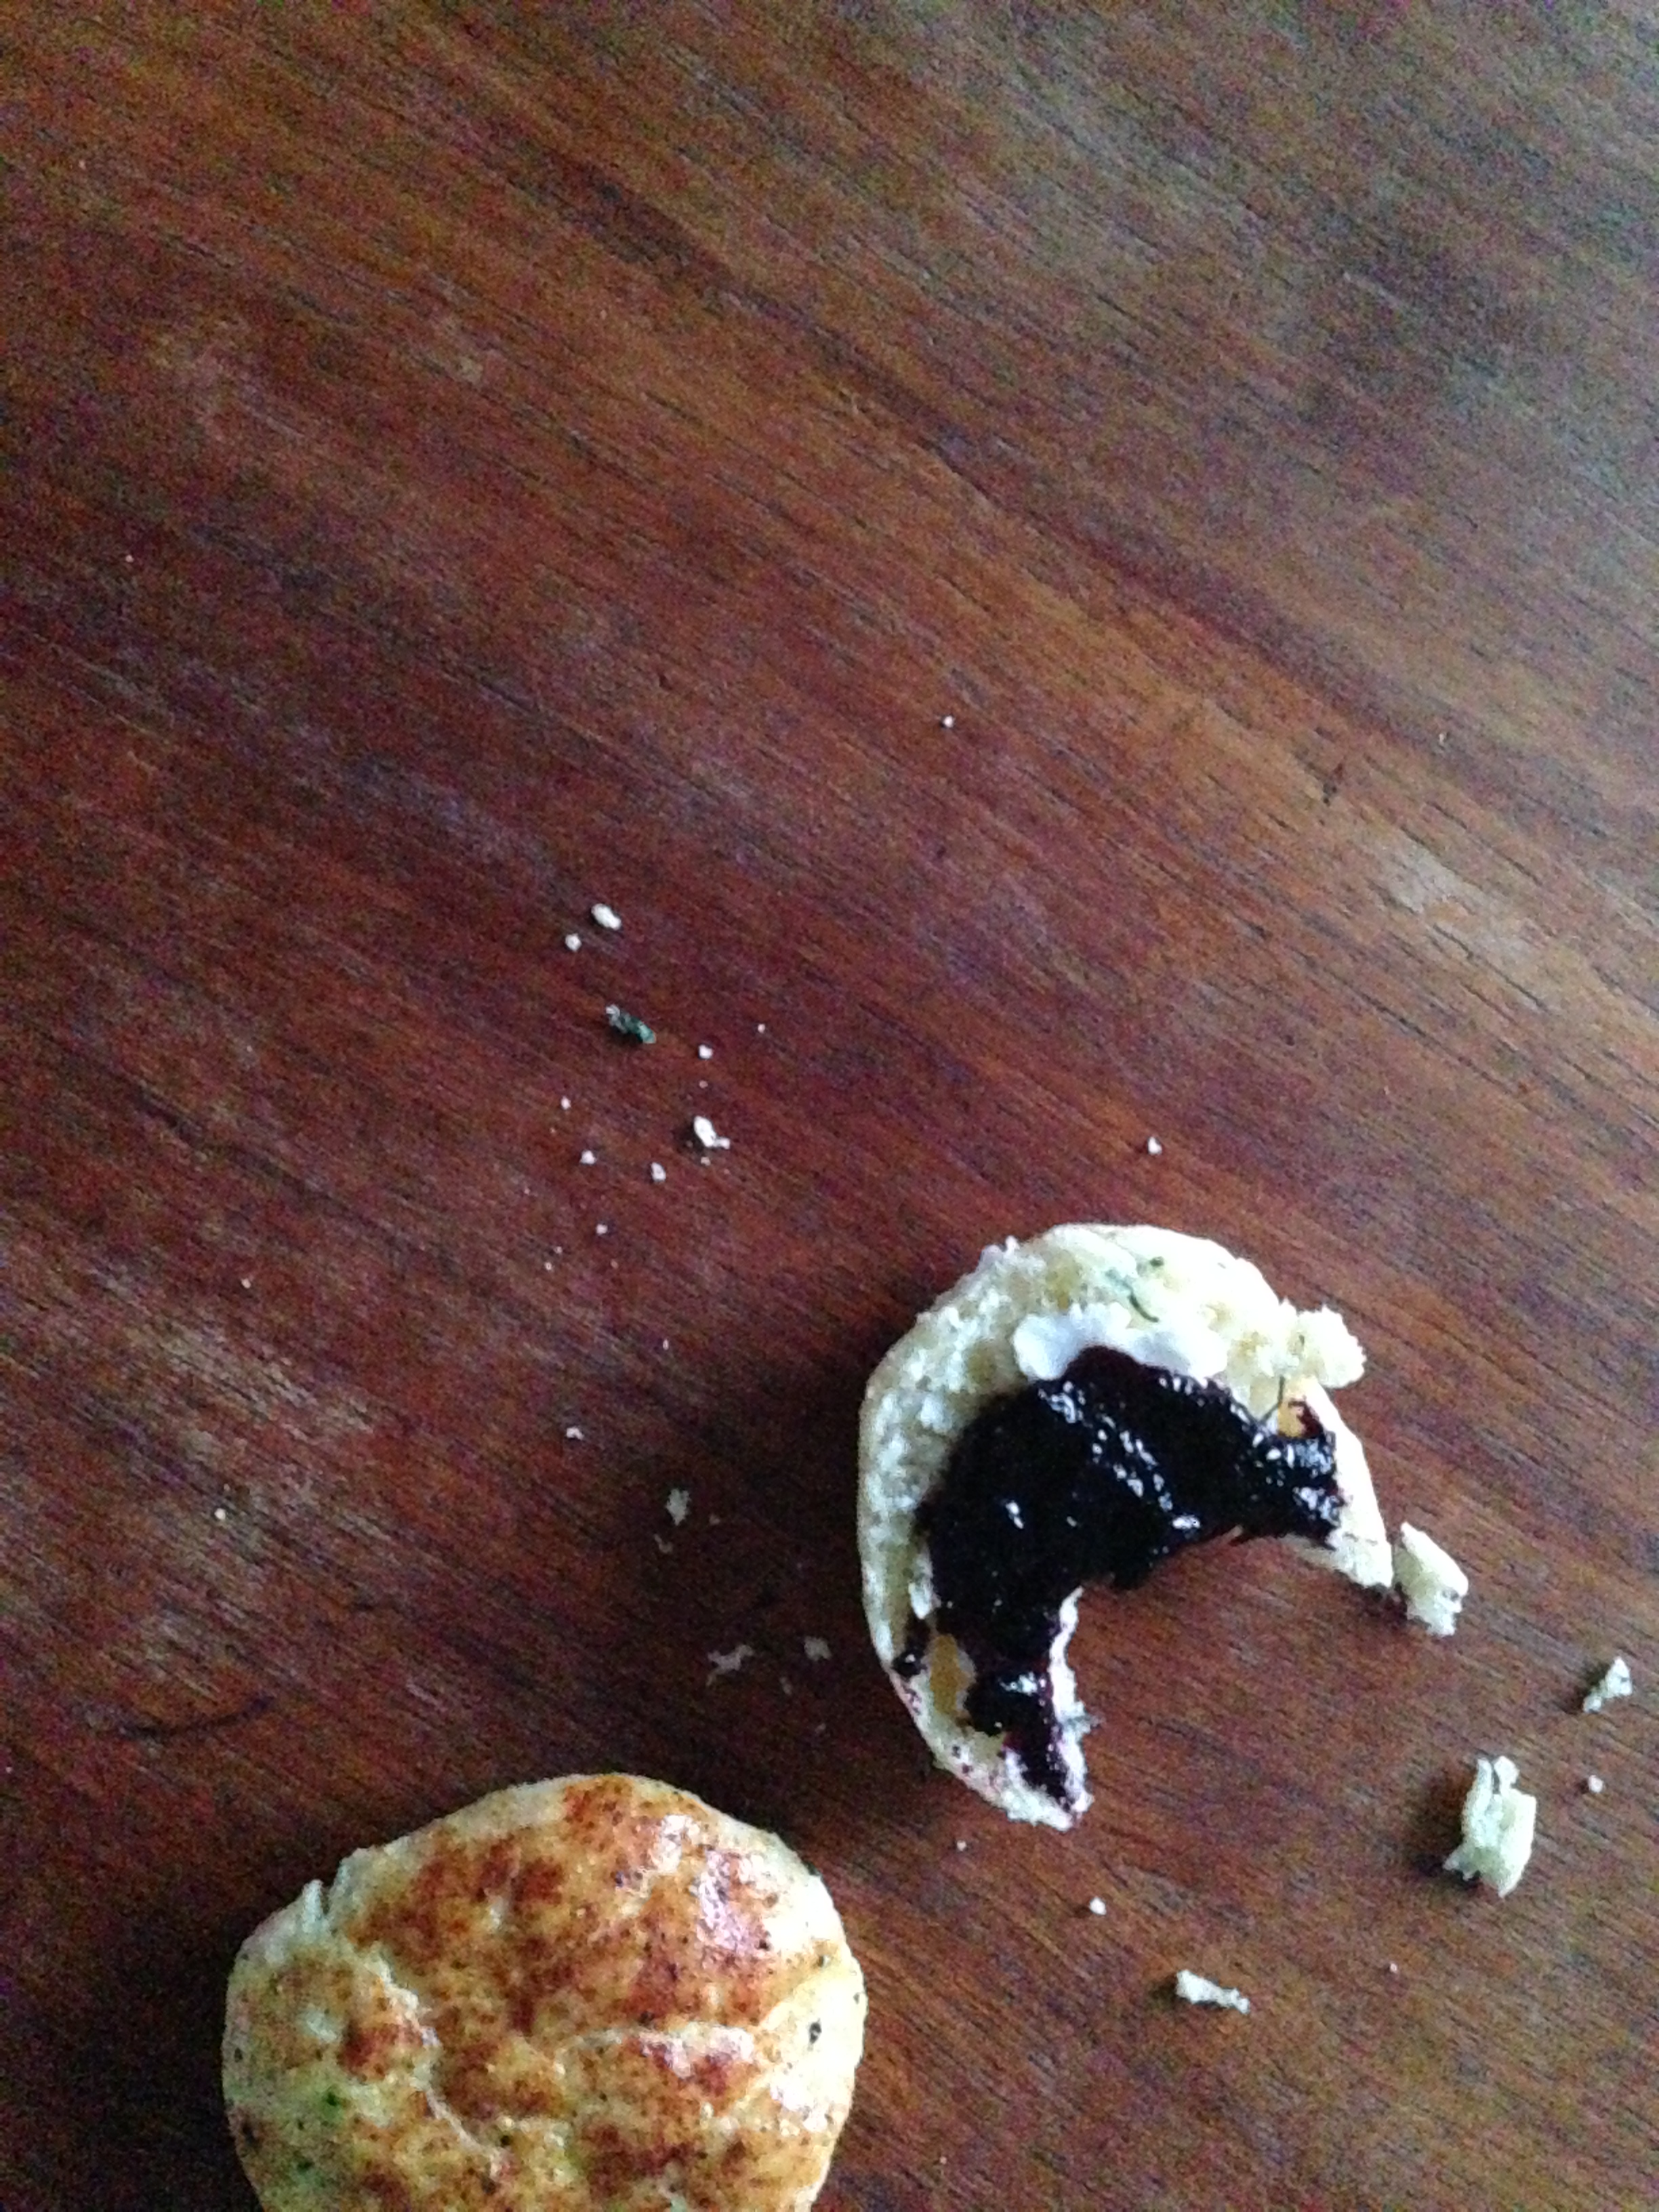
You can eat the scones with something else, such as cutting in half, spreading cream cheese and making a sandwich, or you can also eat them just by themselves, they have quite a strong flavour all by themselves.
Here we go!
—
Ingredients:
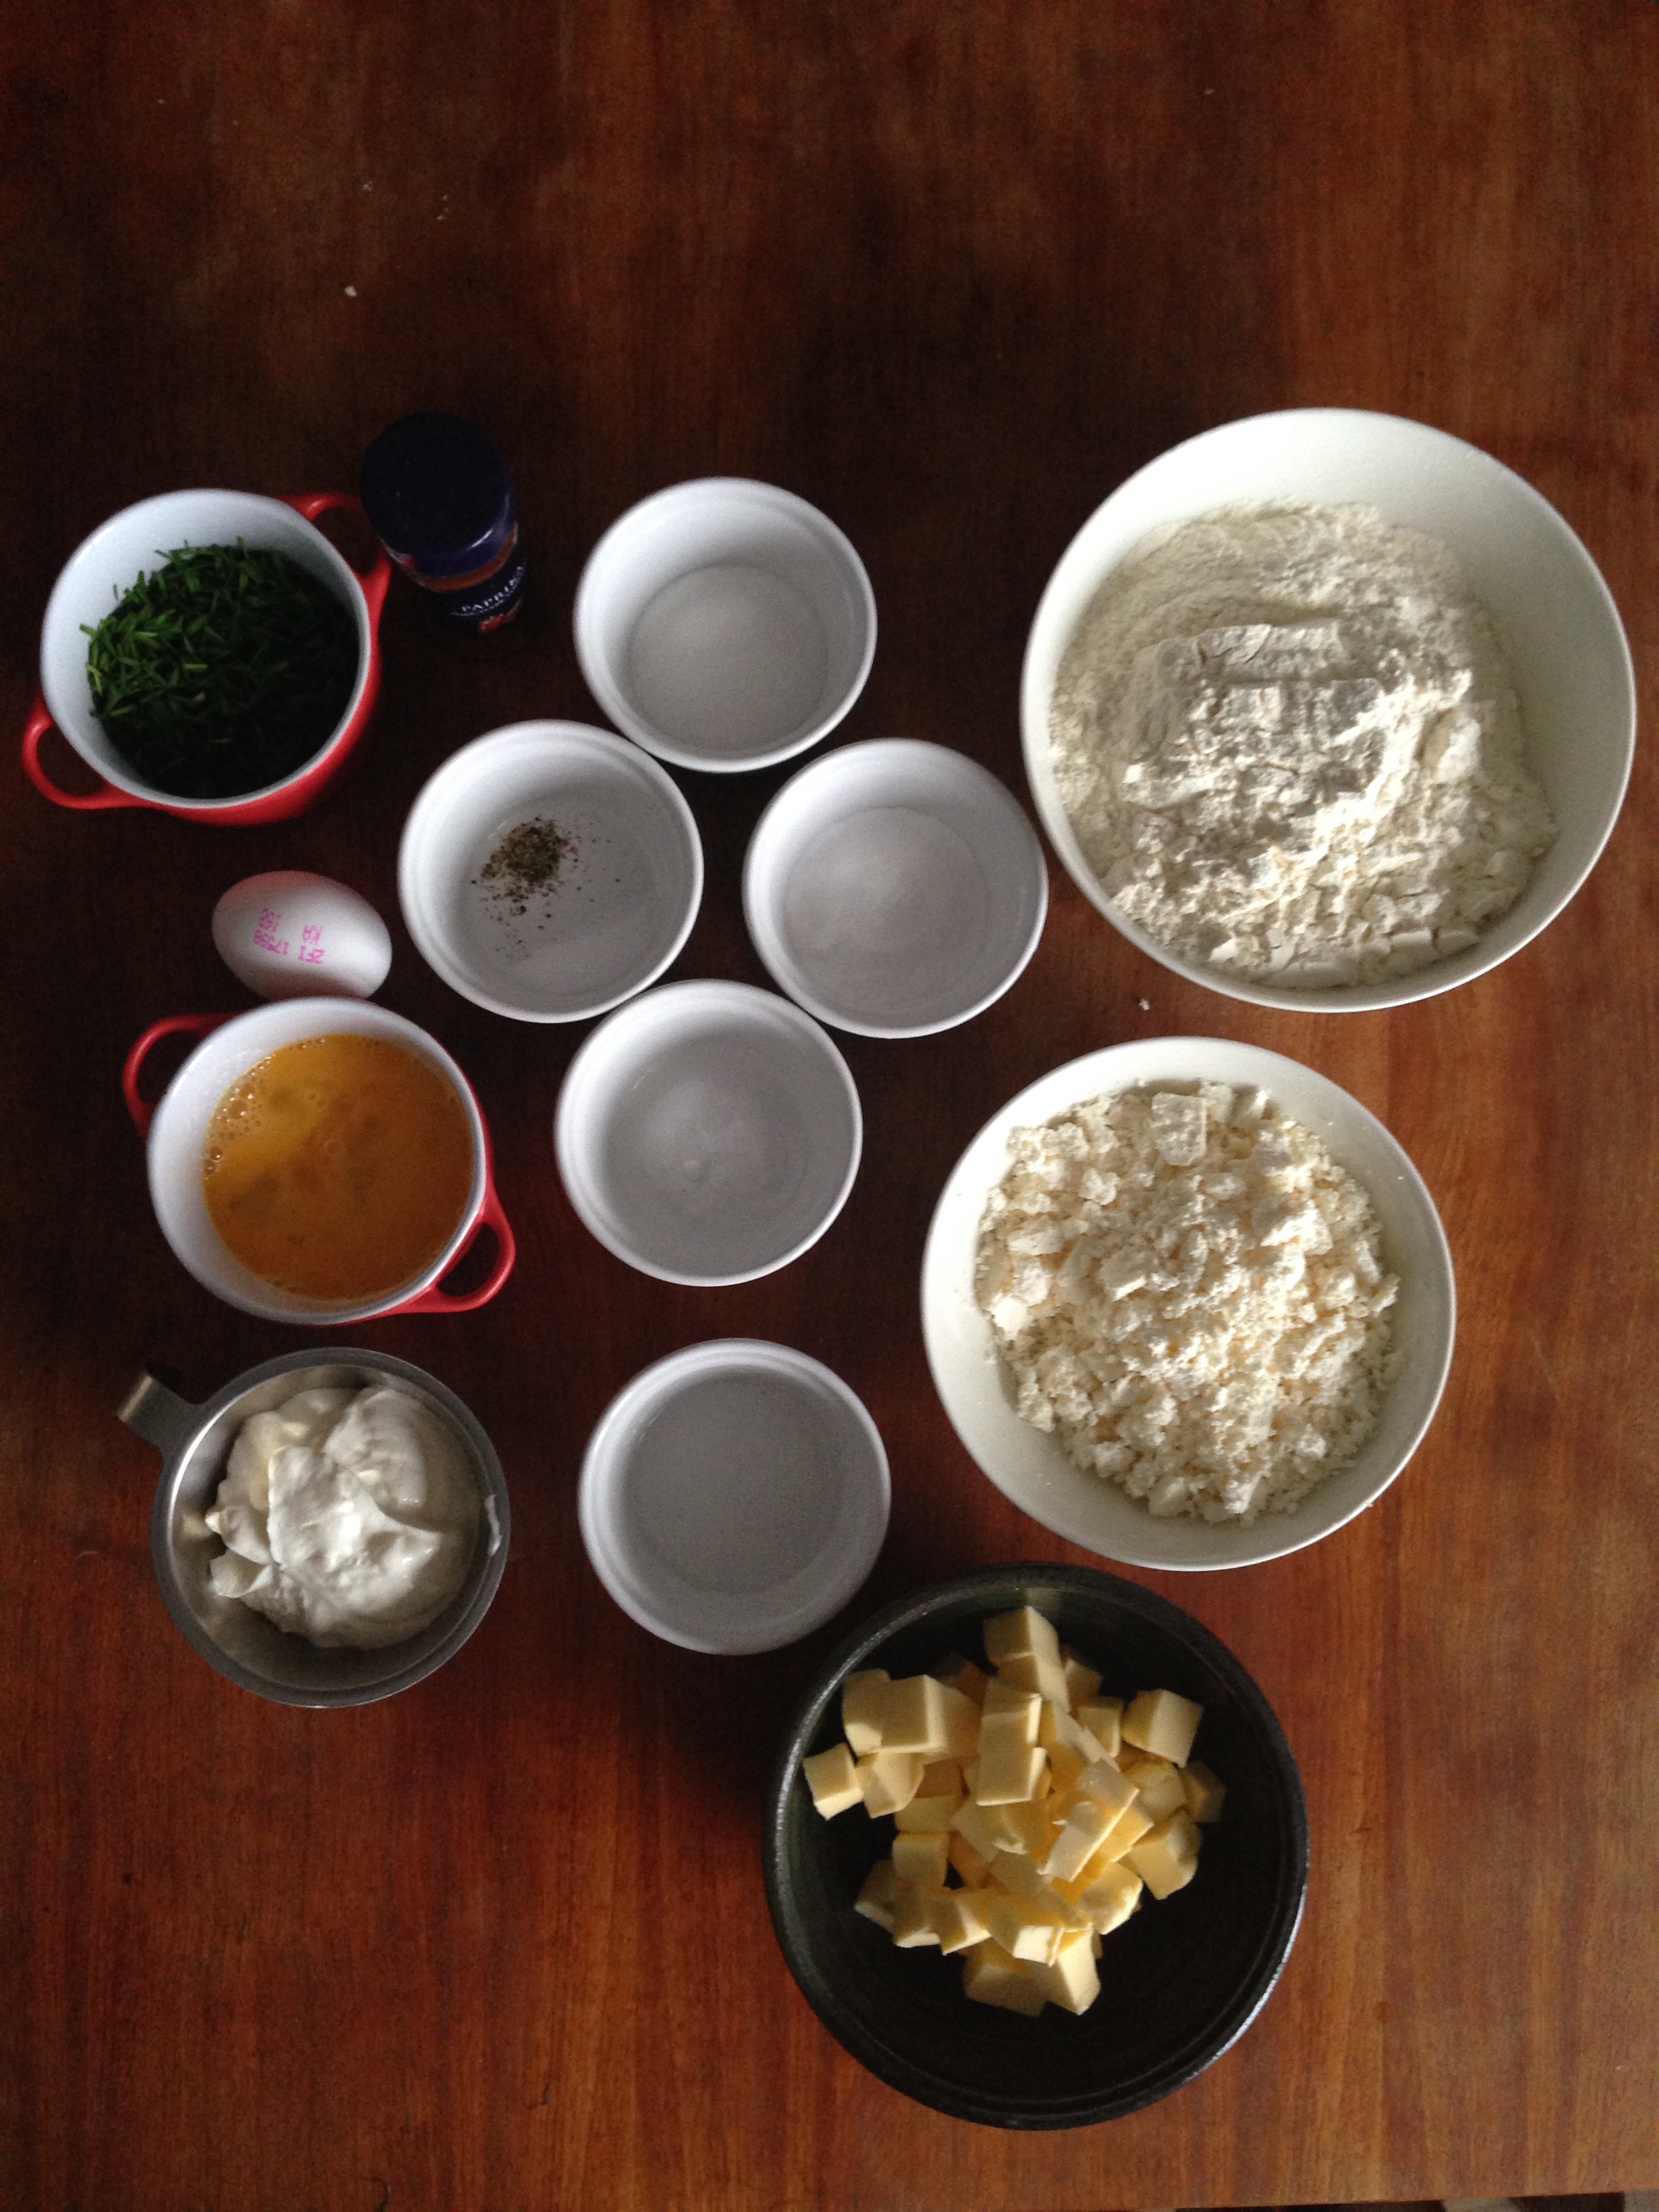
3 cups flour (I used regular white flour)
1 tbsp granulated white sugar
2.5 tsp baking powder
1/2 tsp baking soda
1/2 tsp salt
1/4 tsp black pepper
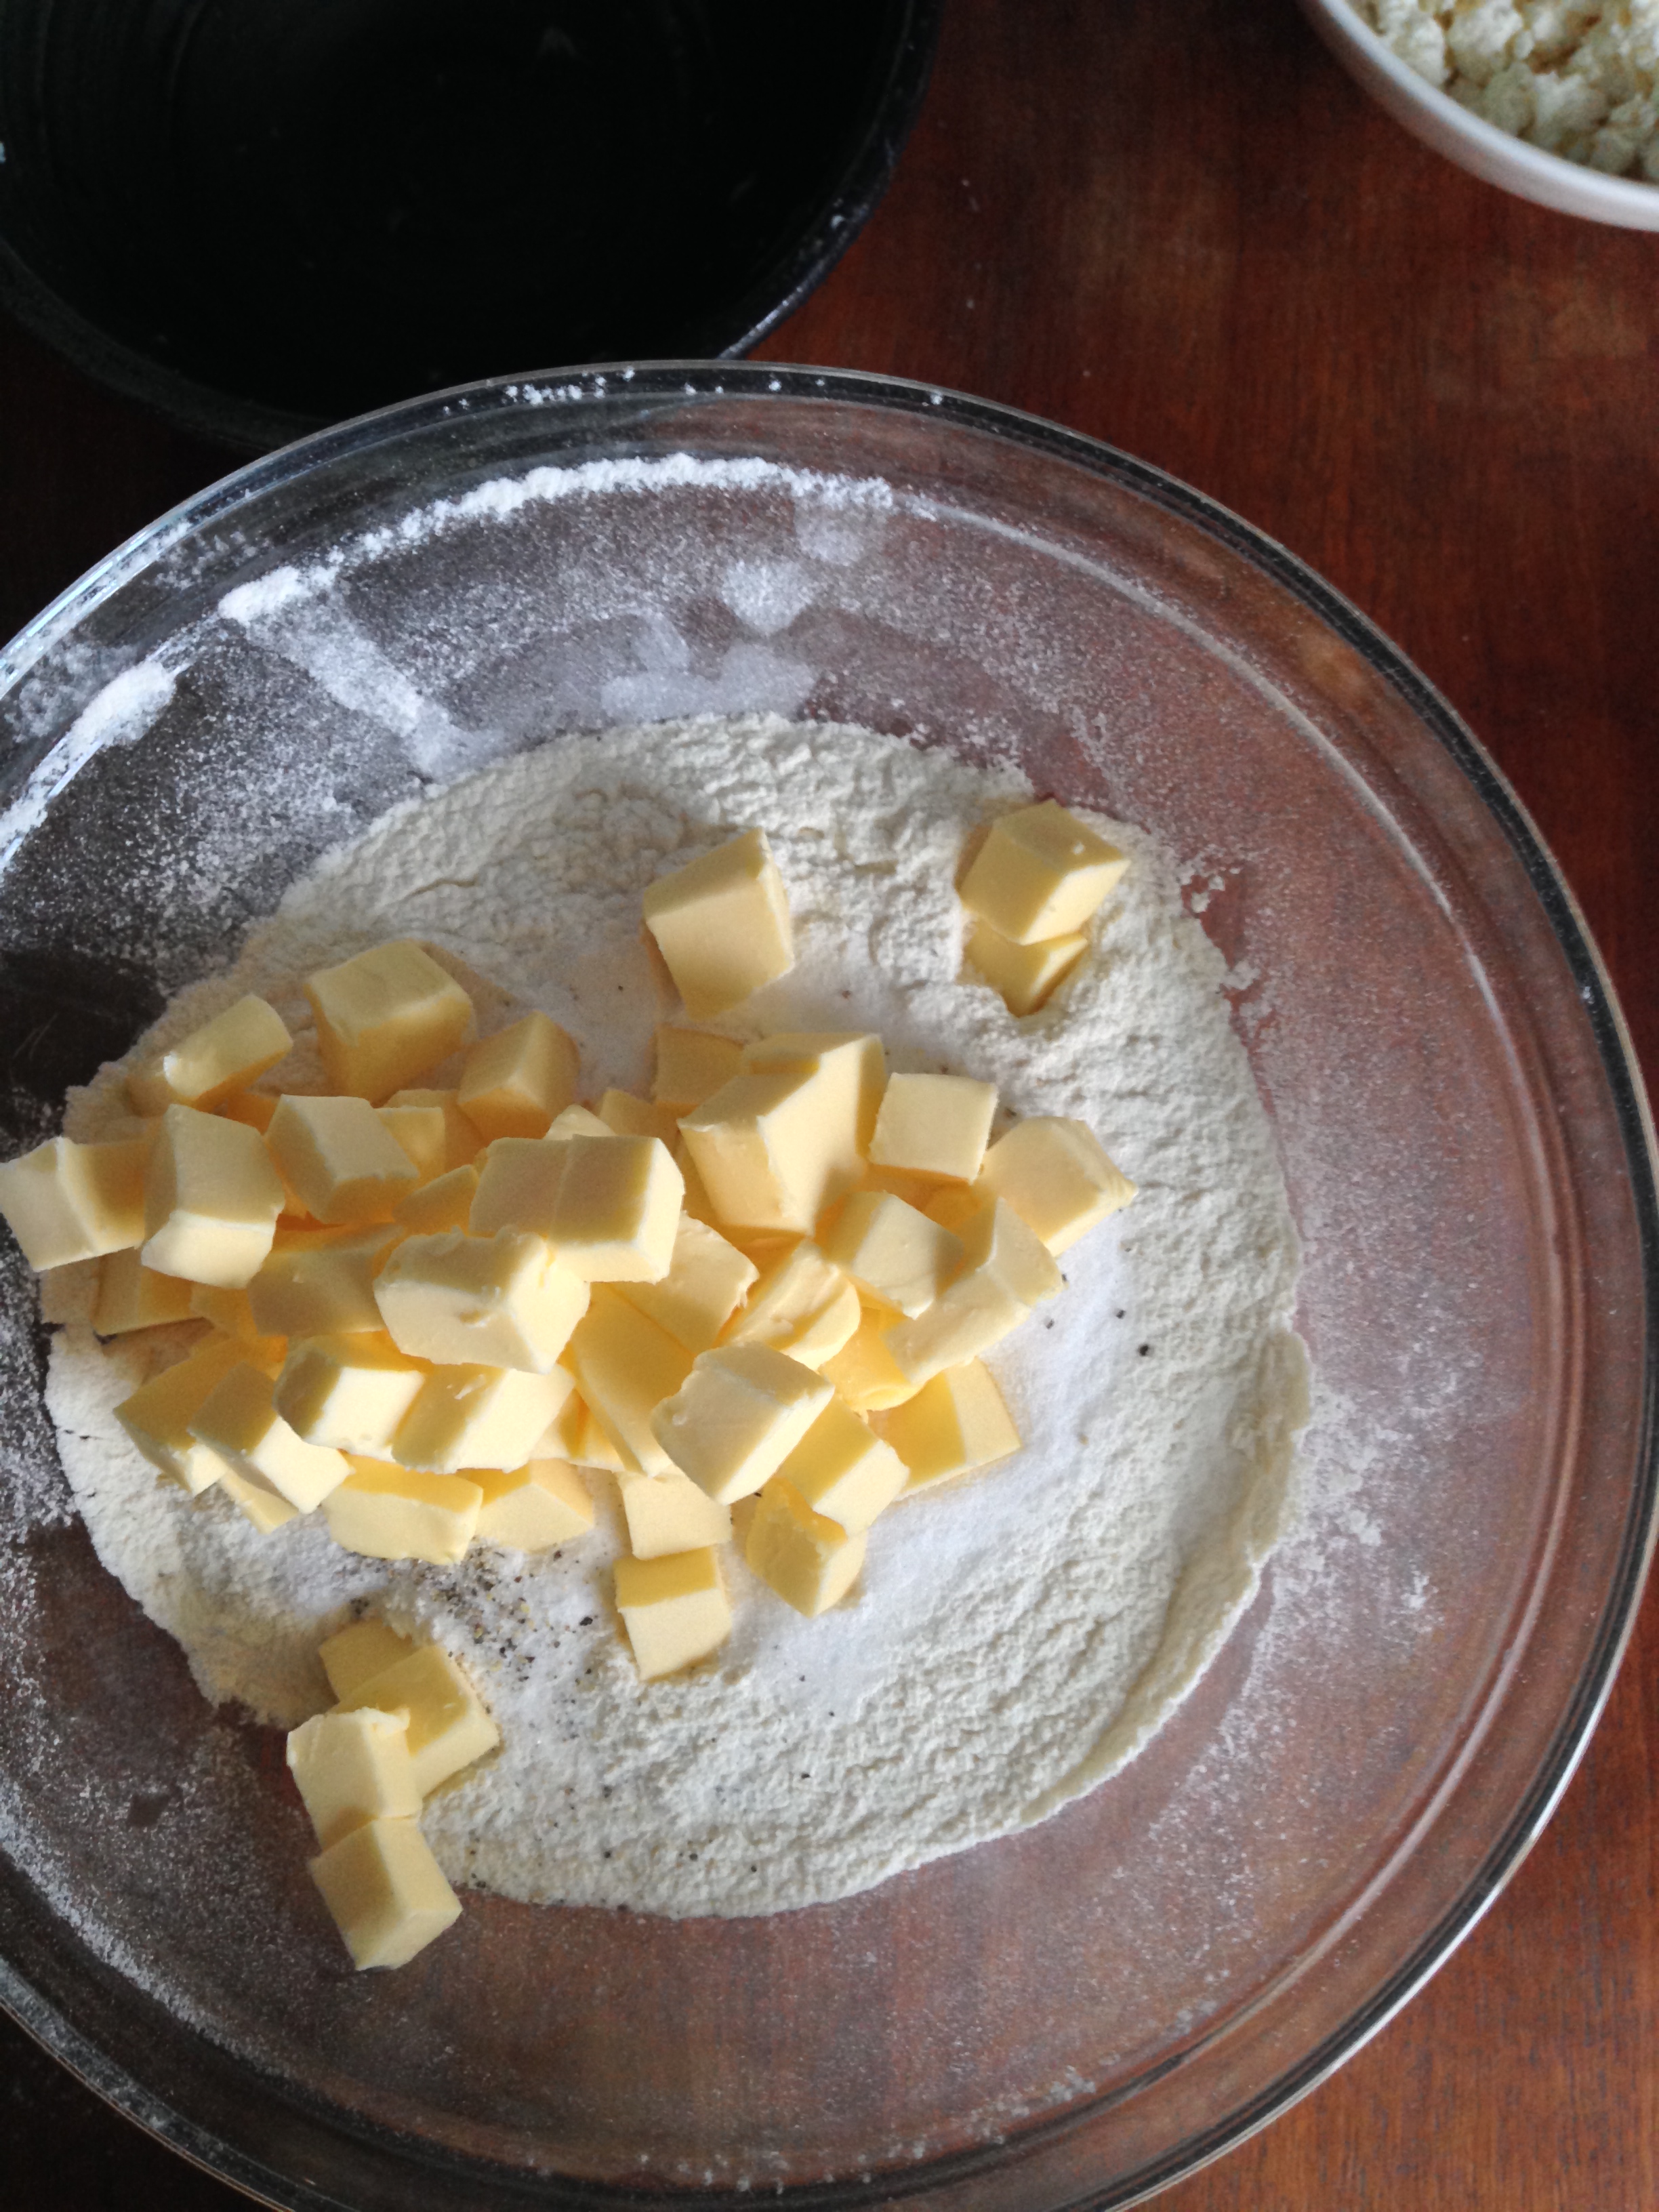
3/4 cup butter (cold and cut in cubes to make your life easier)
1 egg (slightly beaten)
3 tbsp cold water
3/4 cup cold sour cream
1/3 cup chives (chopped)
3/4 cup feta cheese (crumbled into big pieces)
1 egg (for egg wash)
Extra black pepper and paprika for extra flavour on top (optional)
—
1. Preheat the oven to 200C.
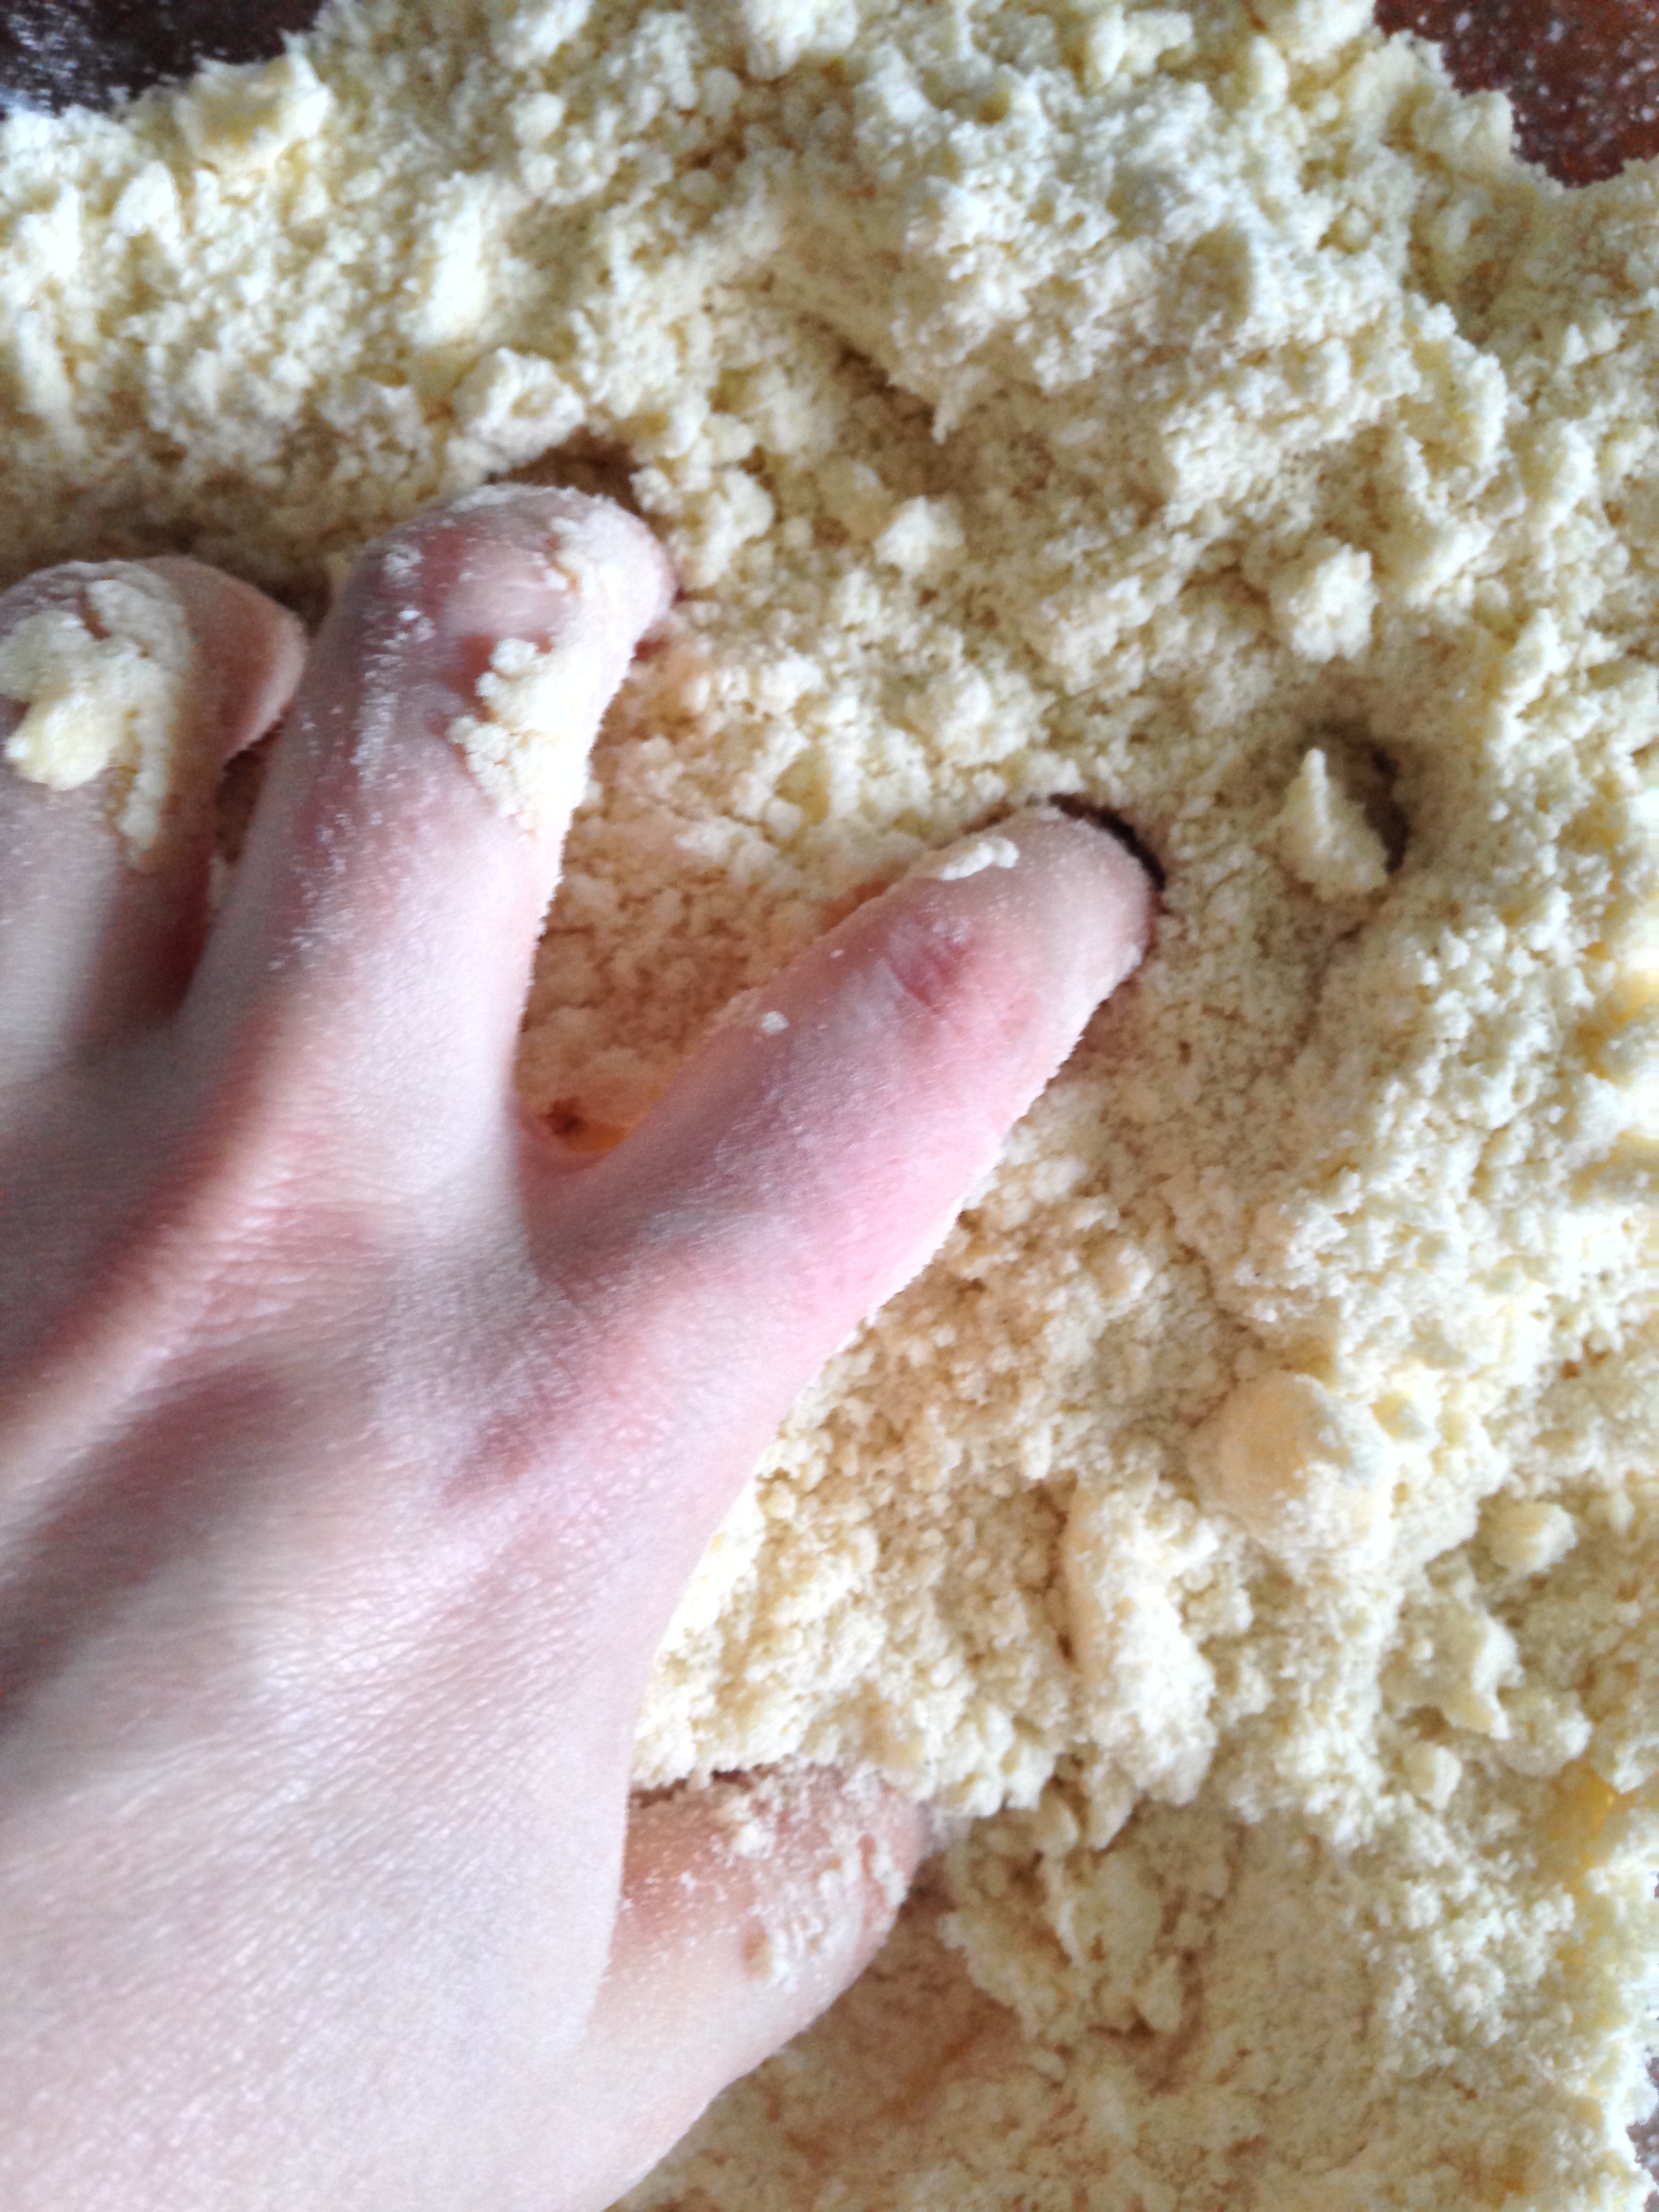
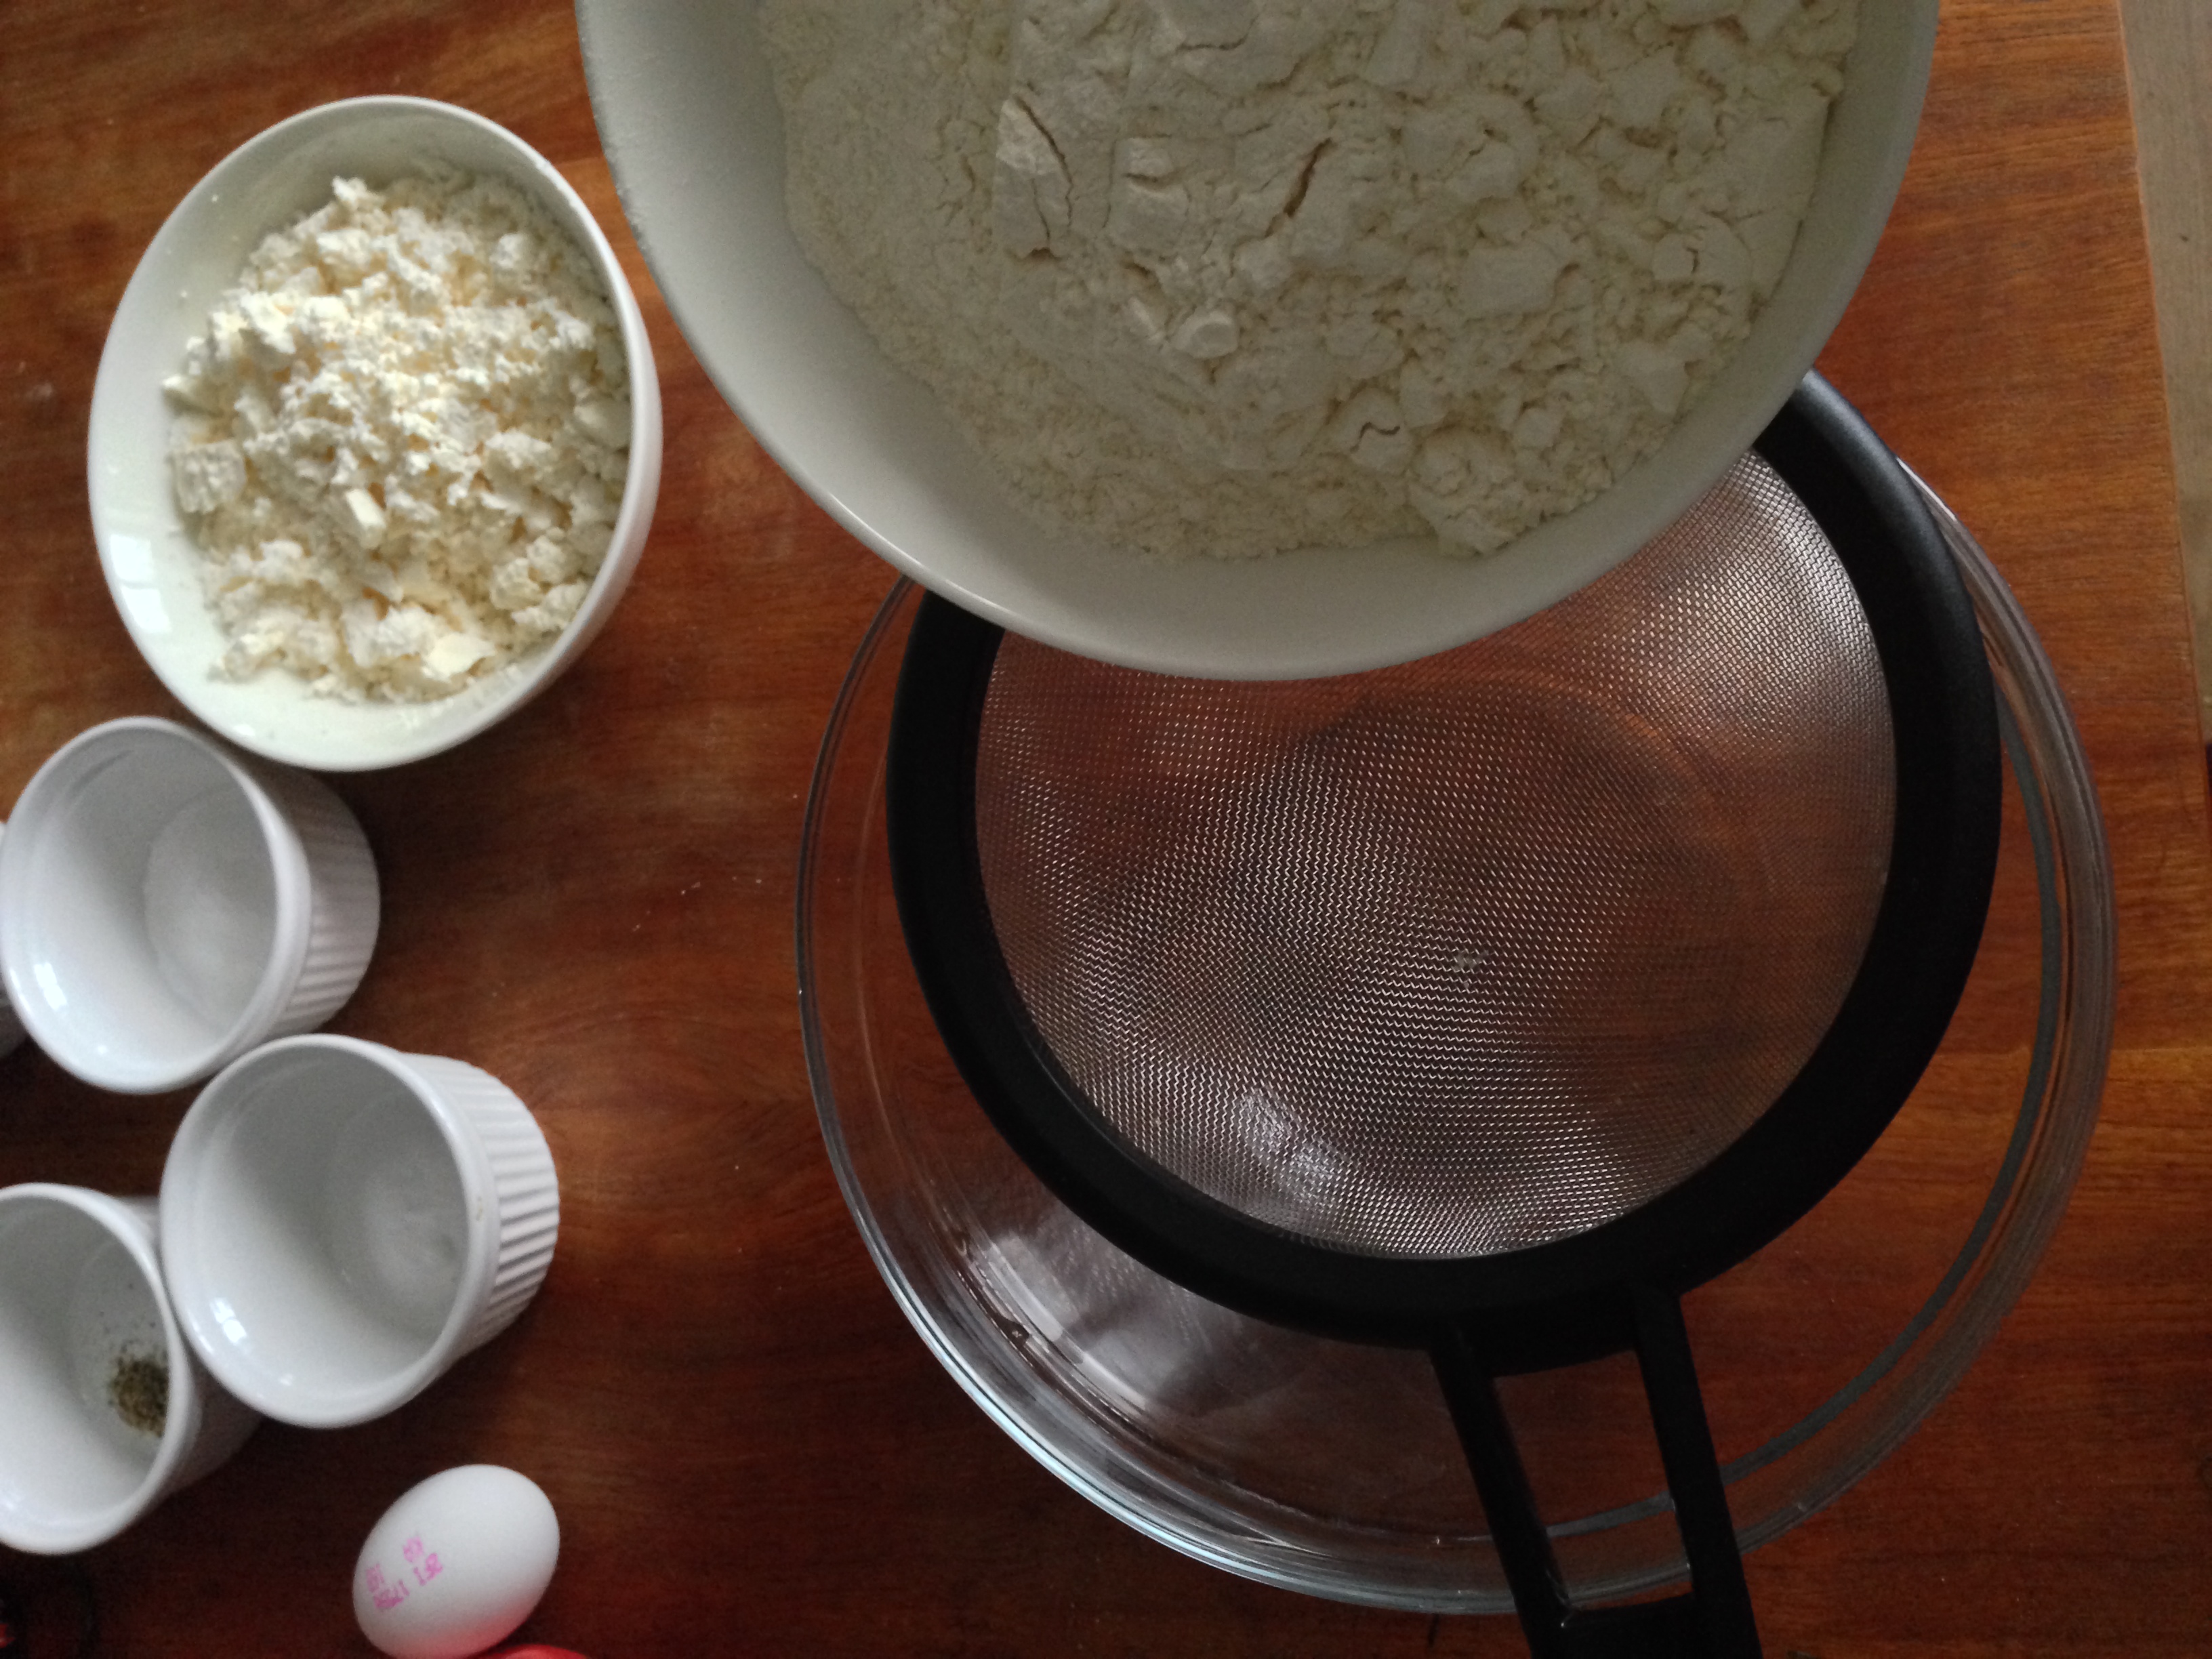
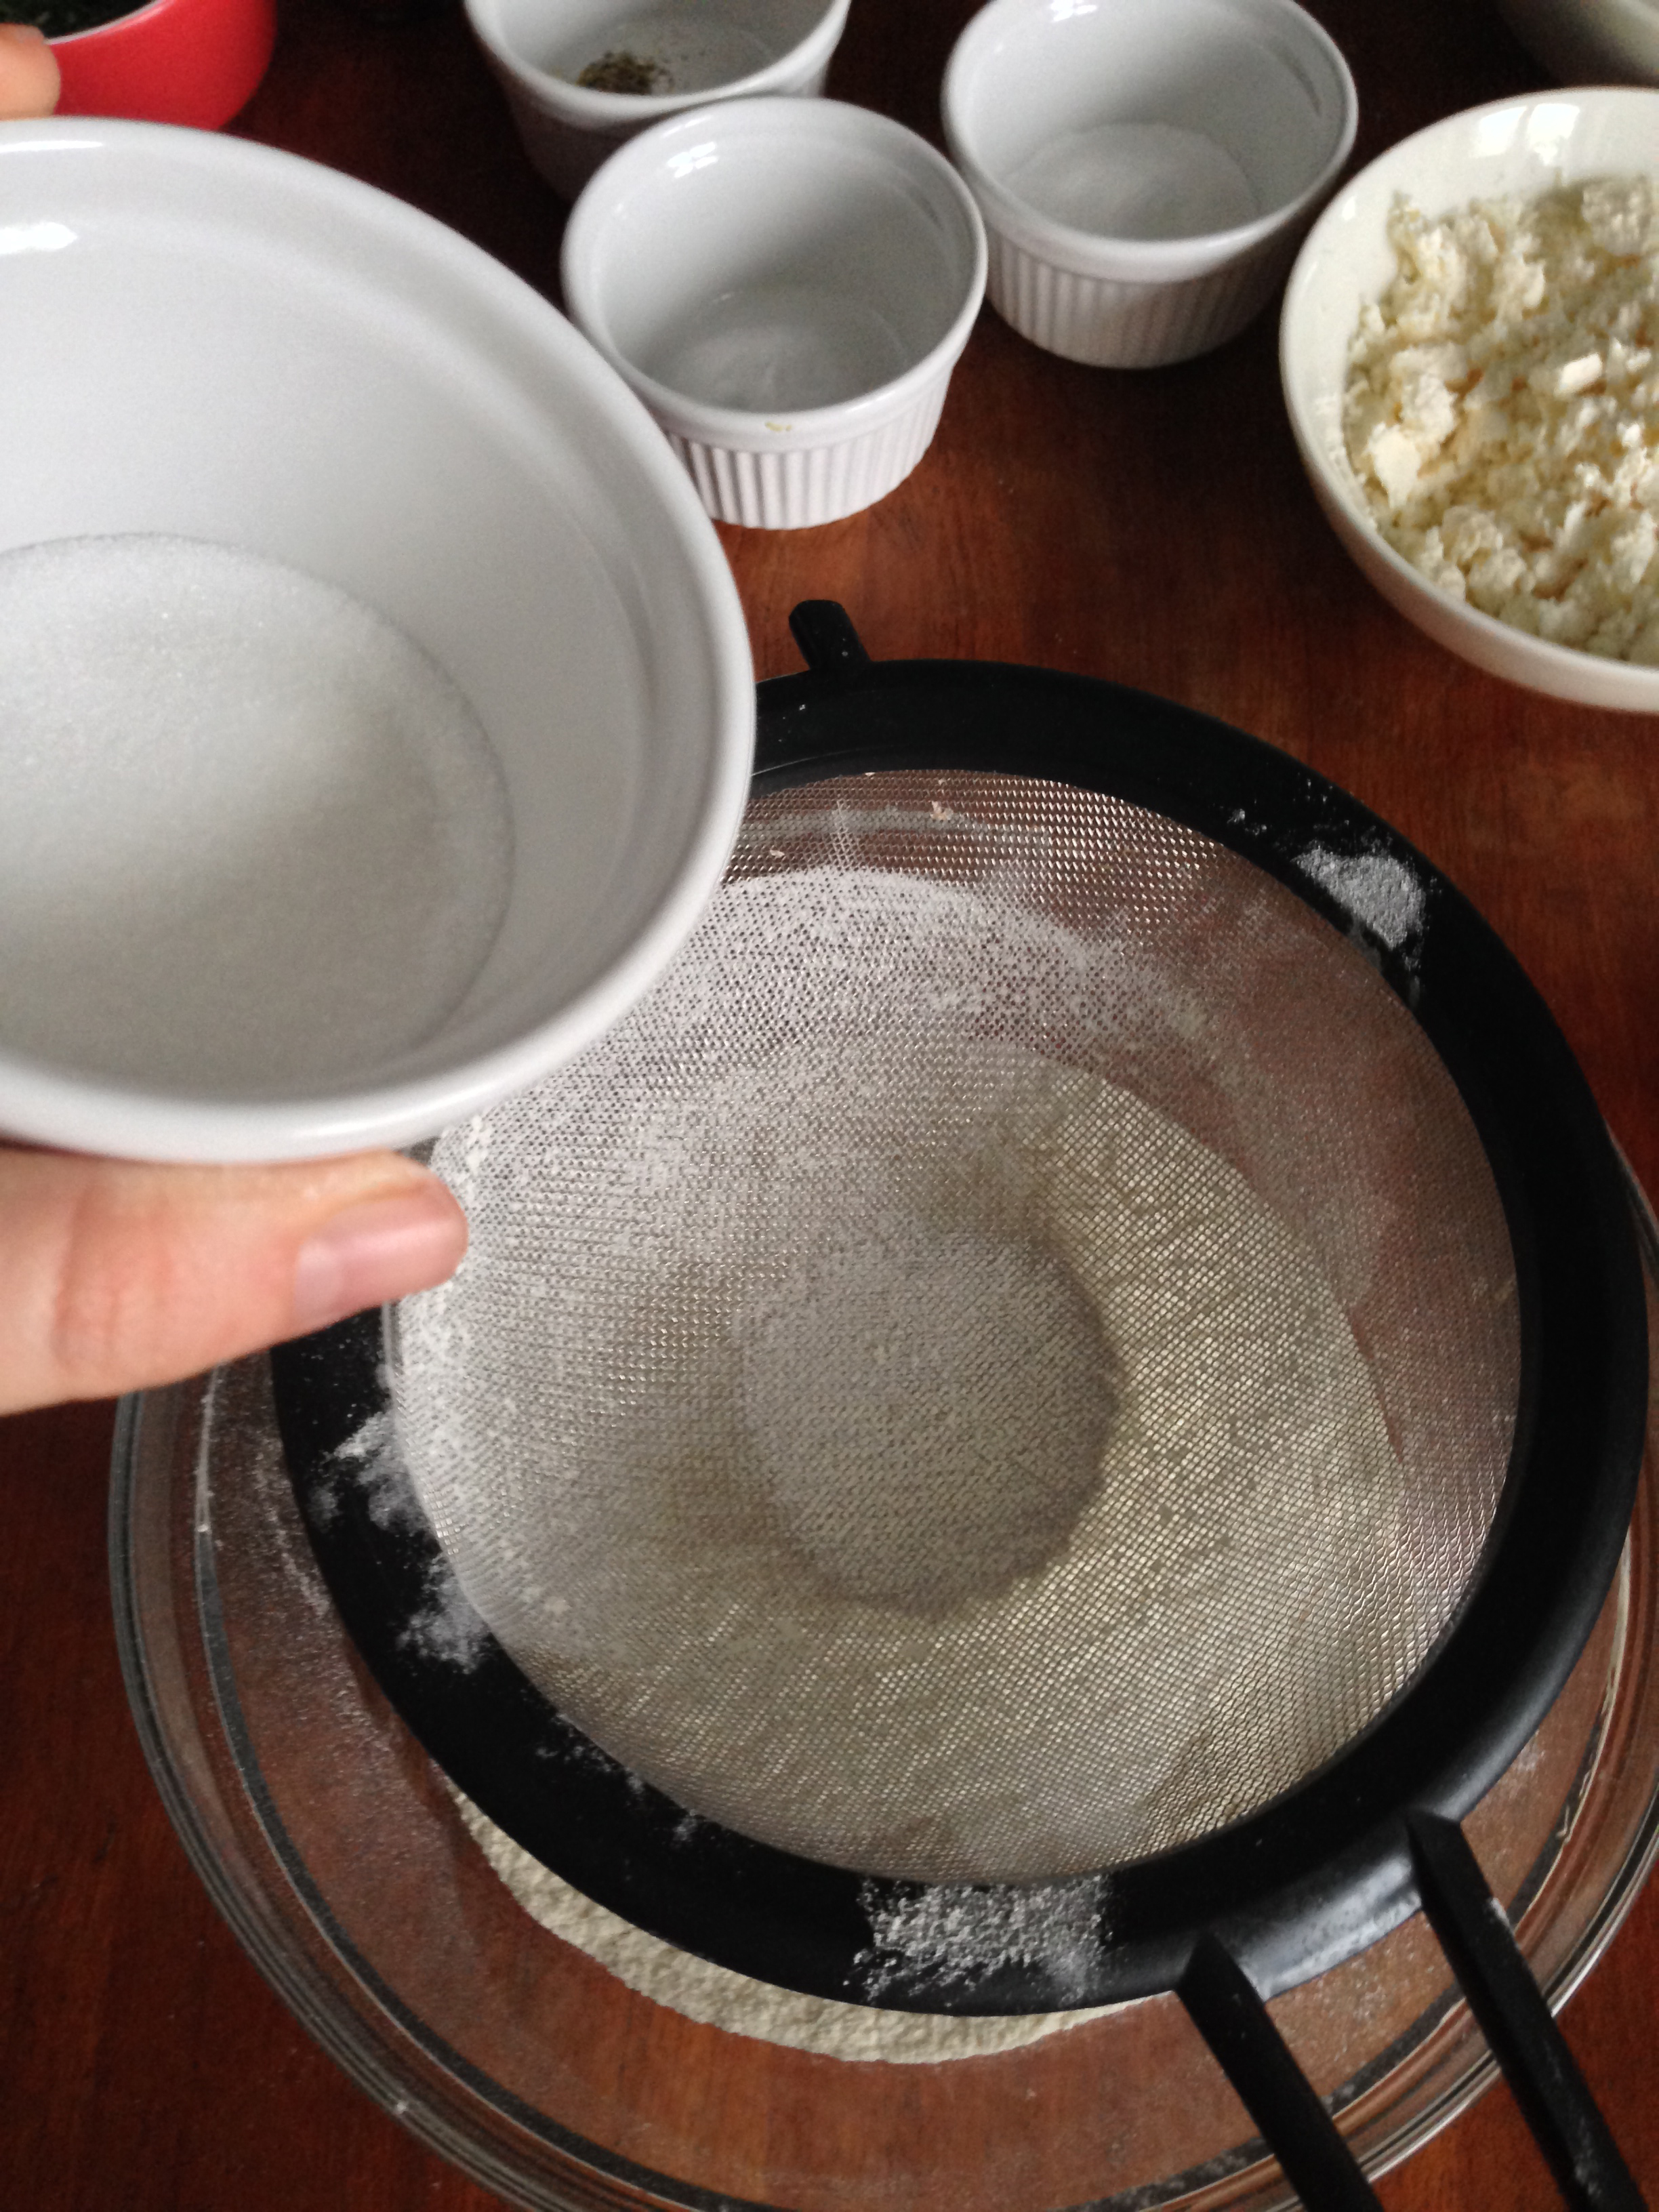
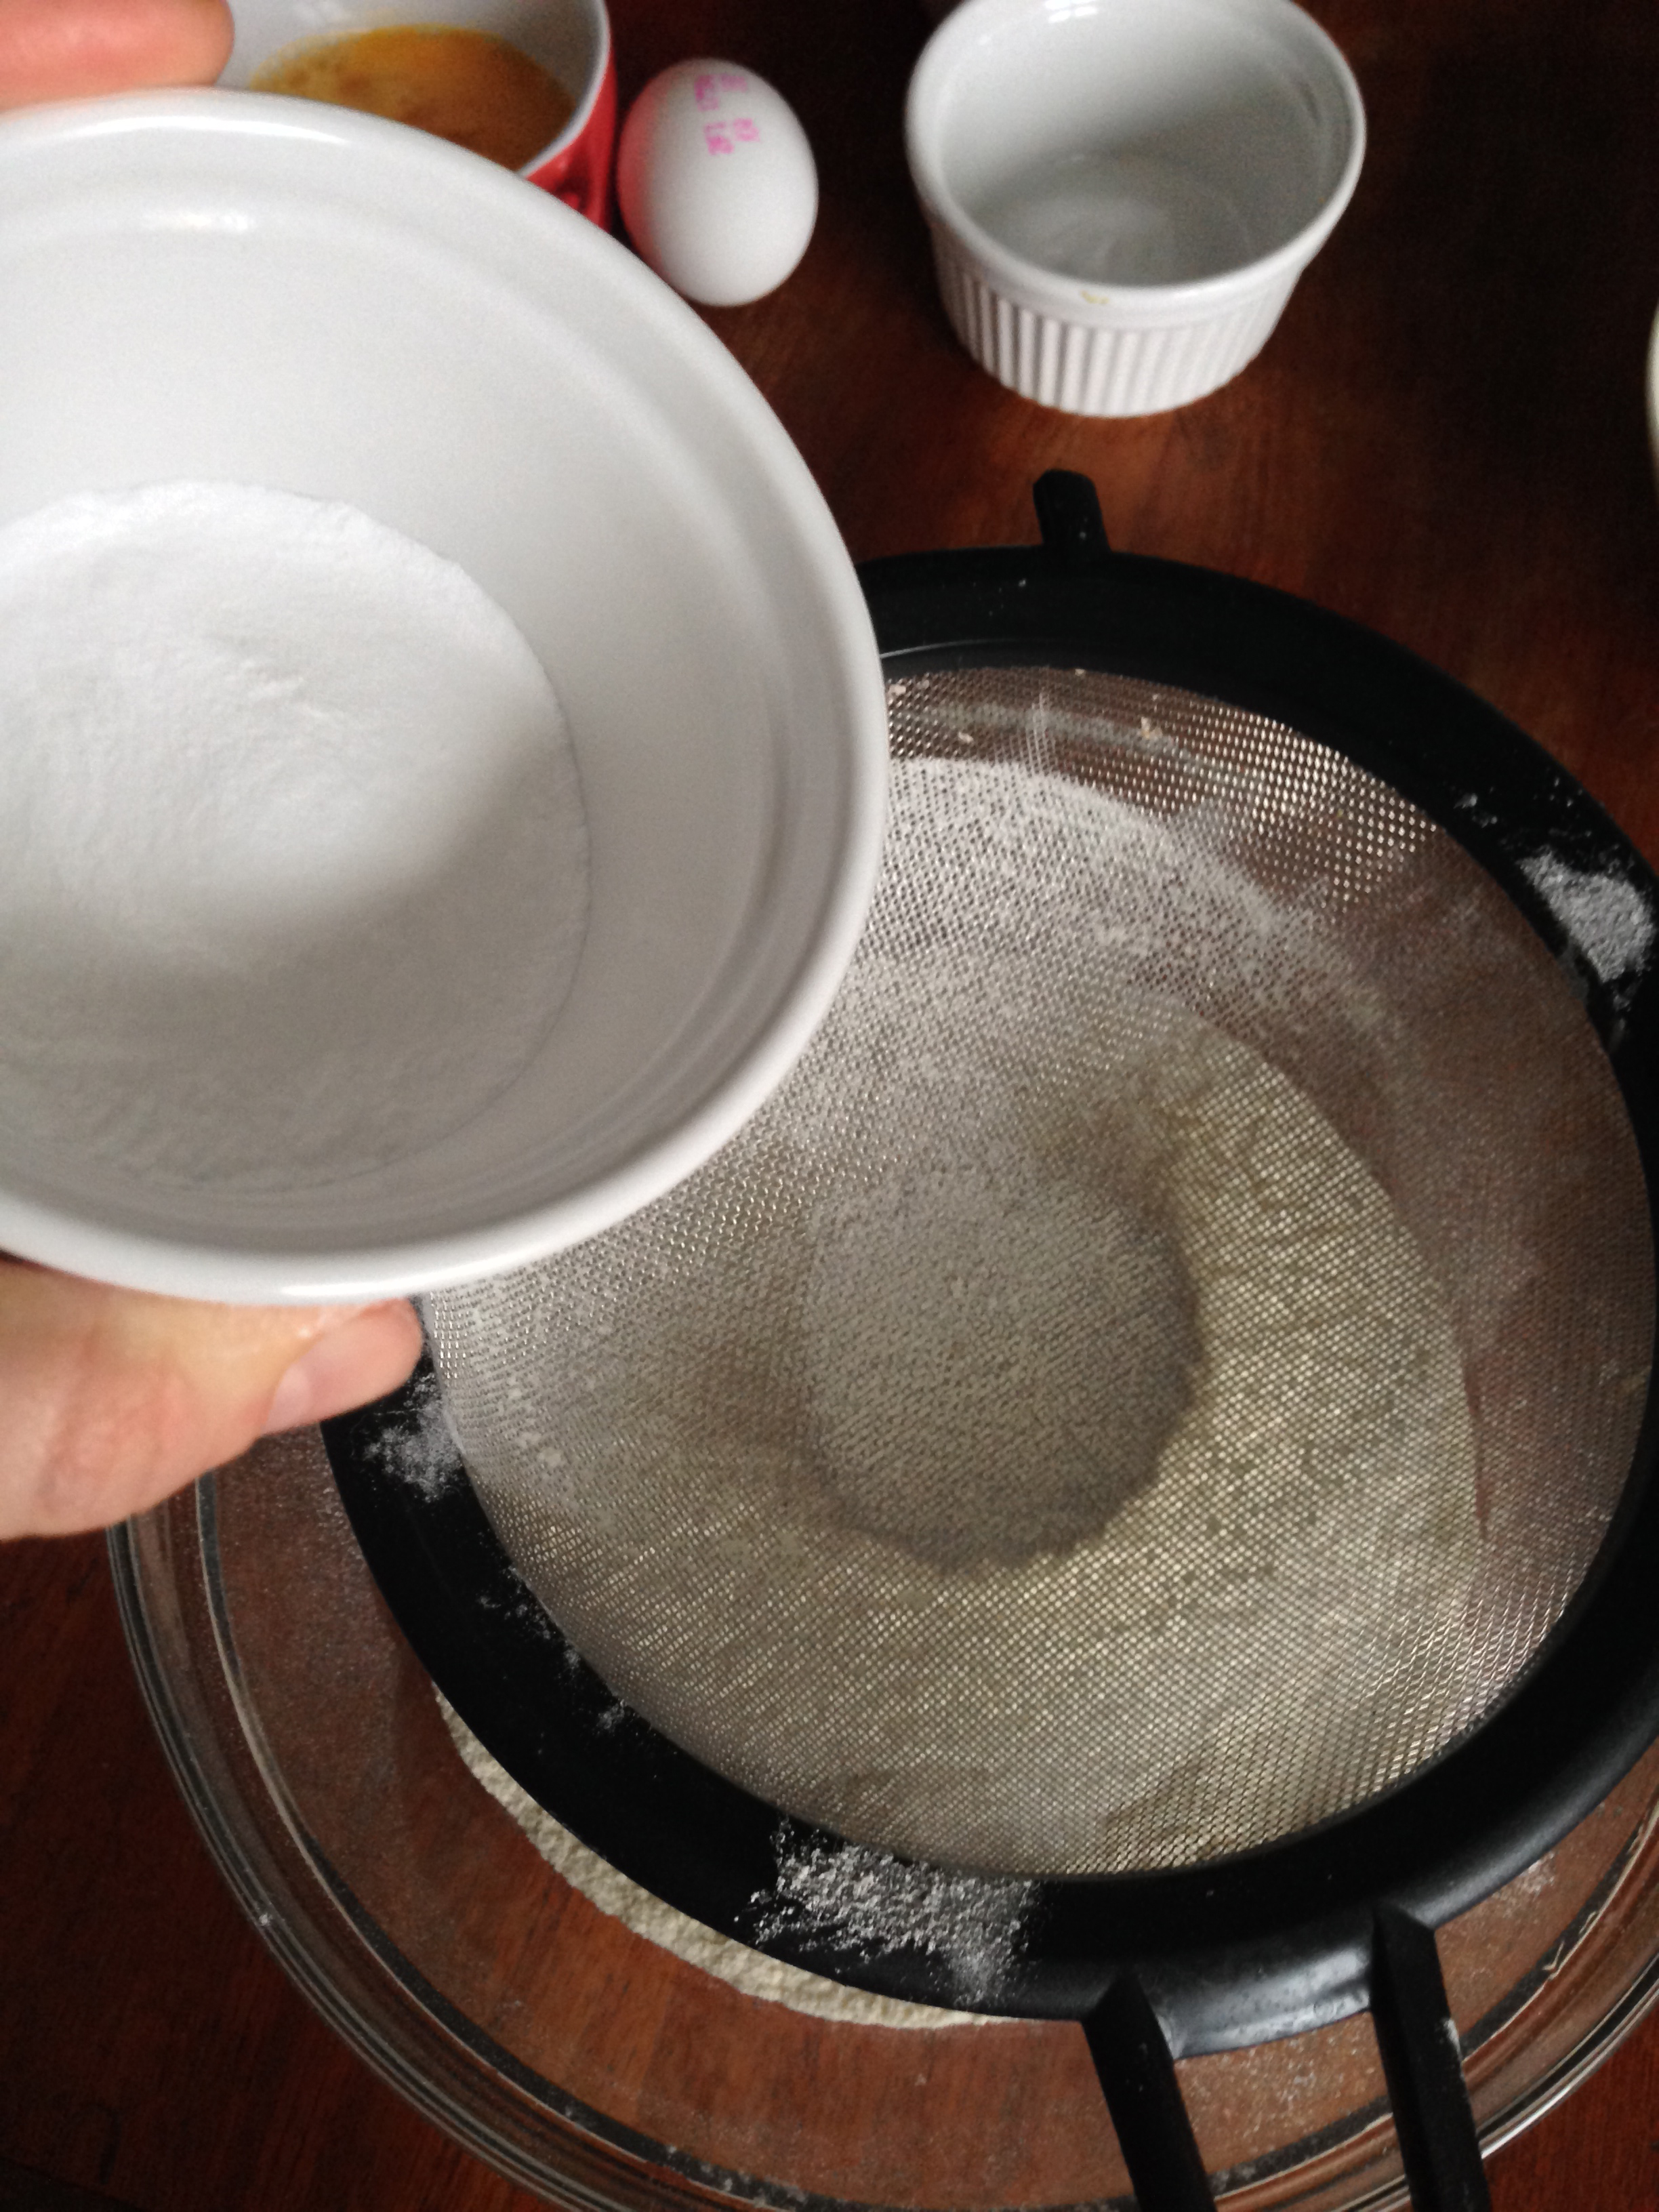
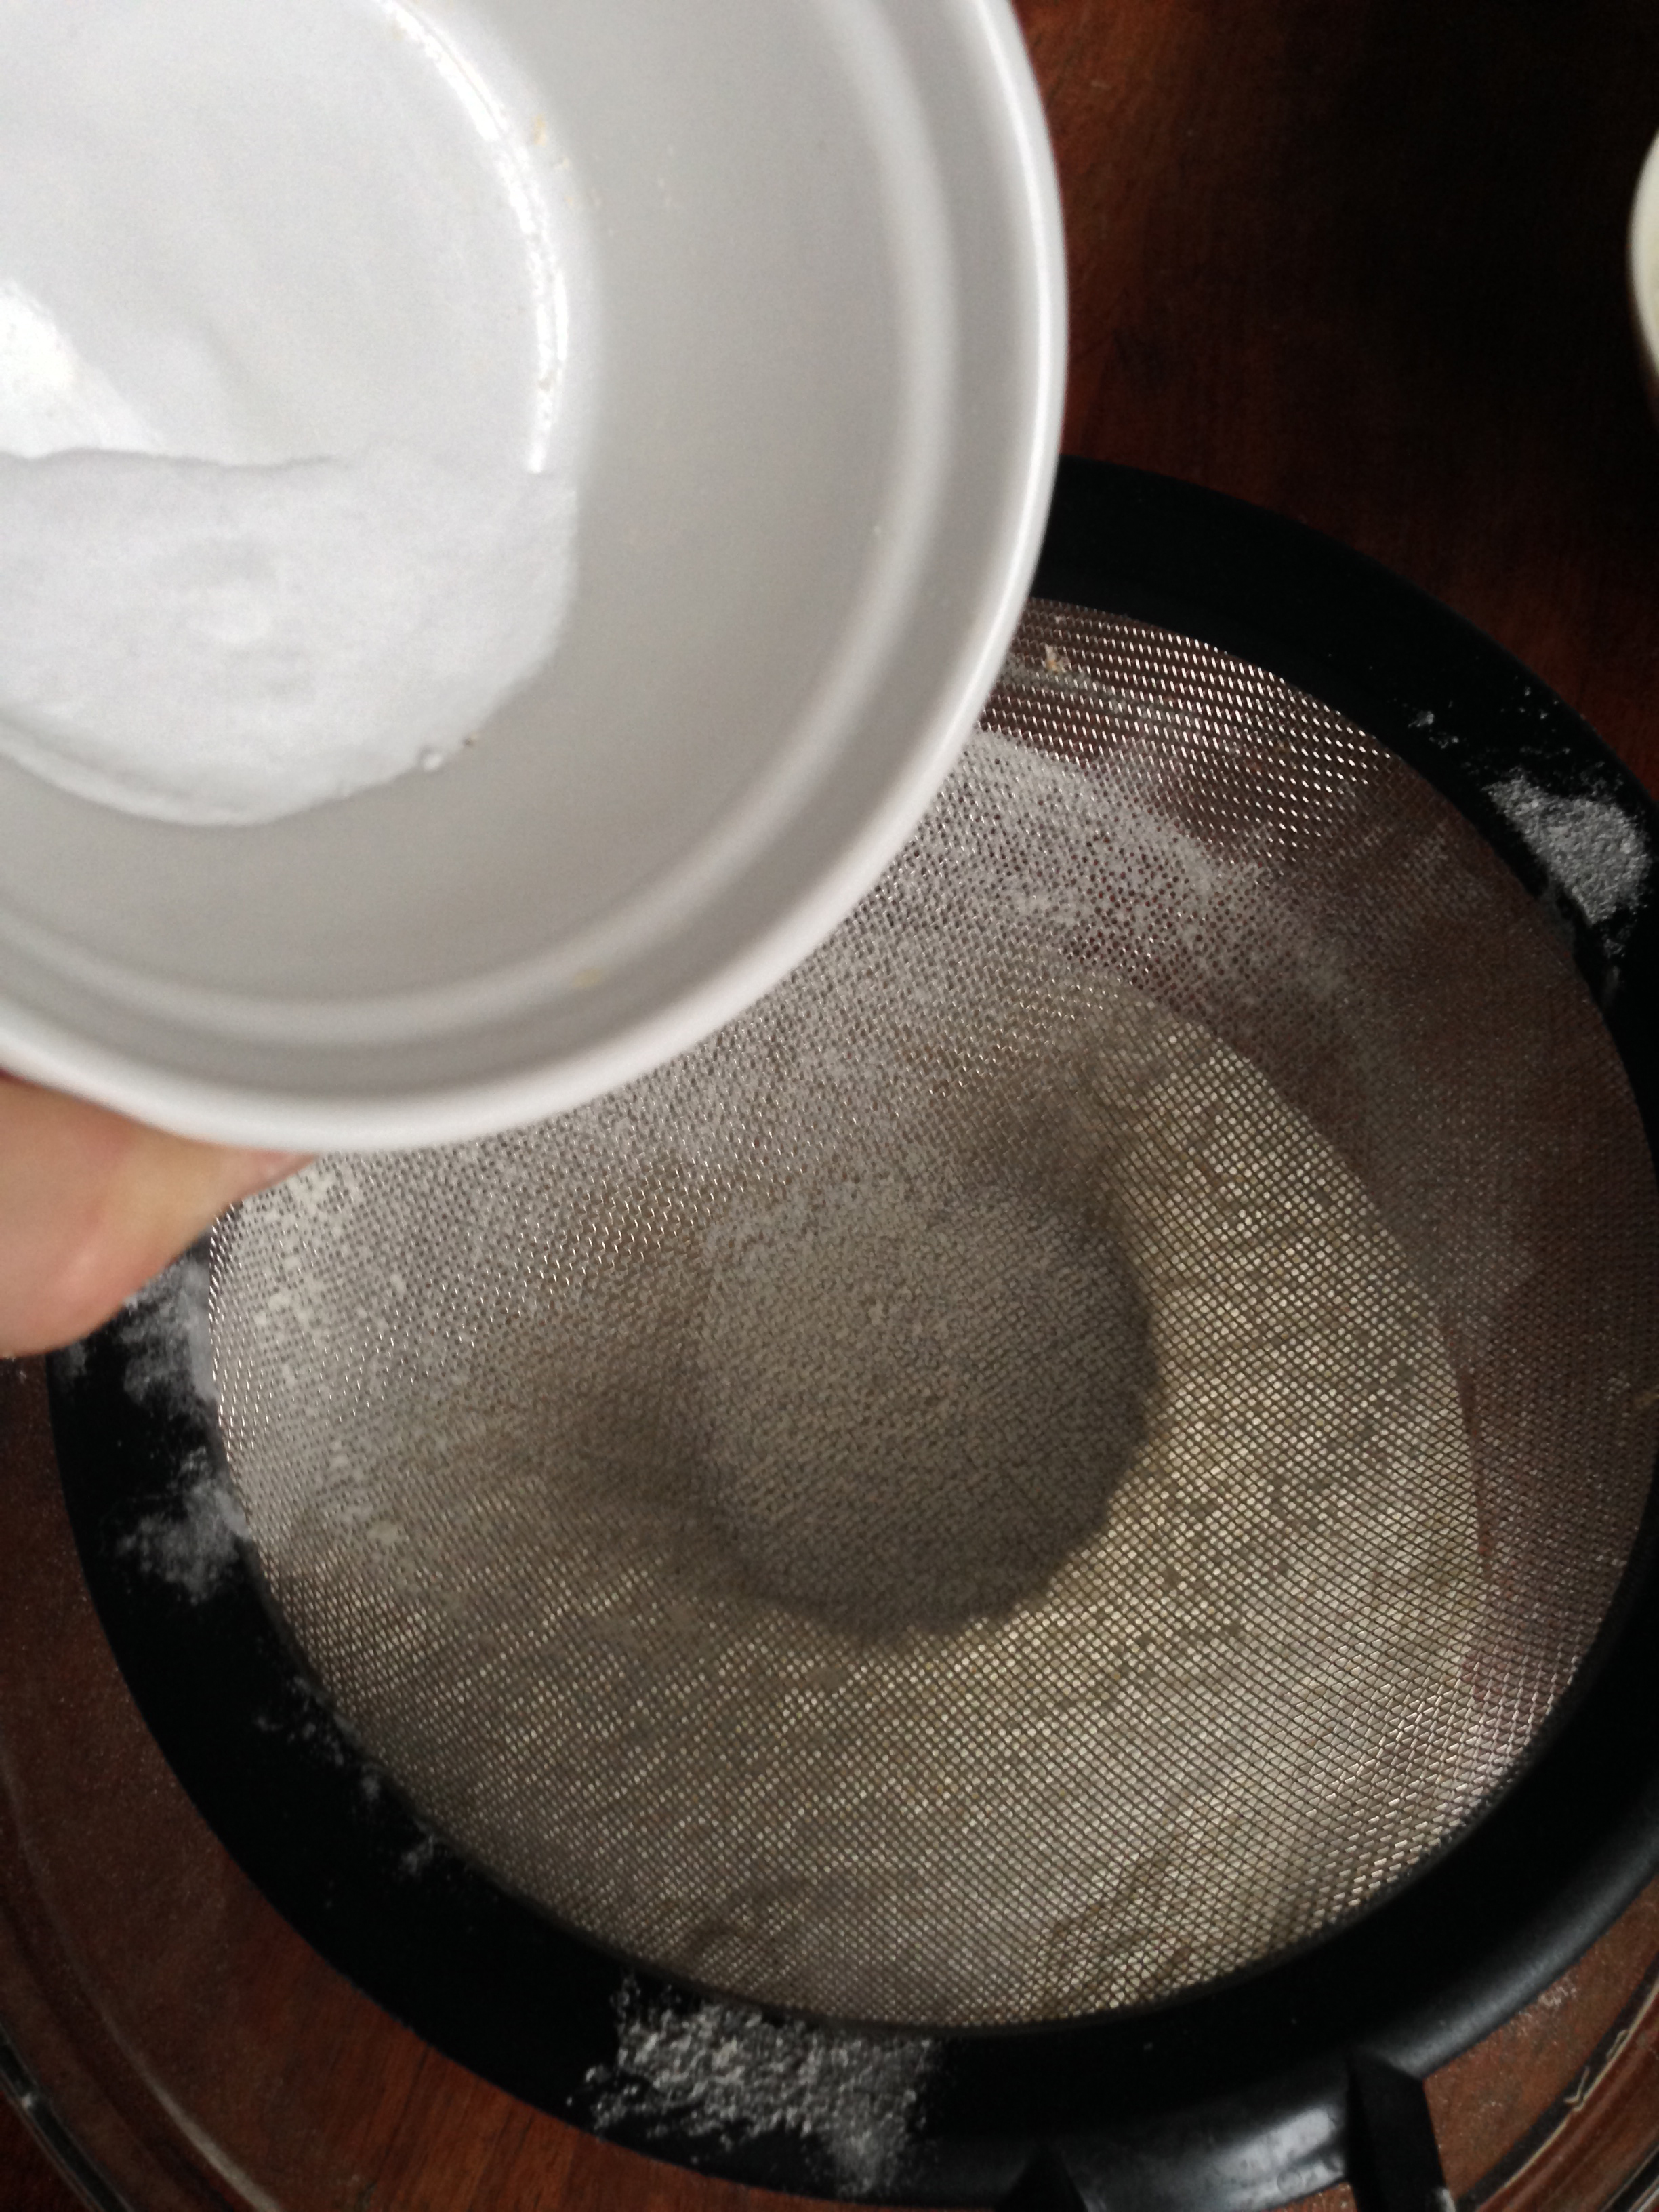
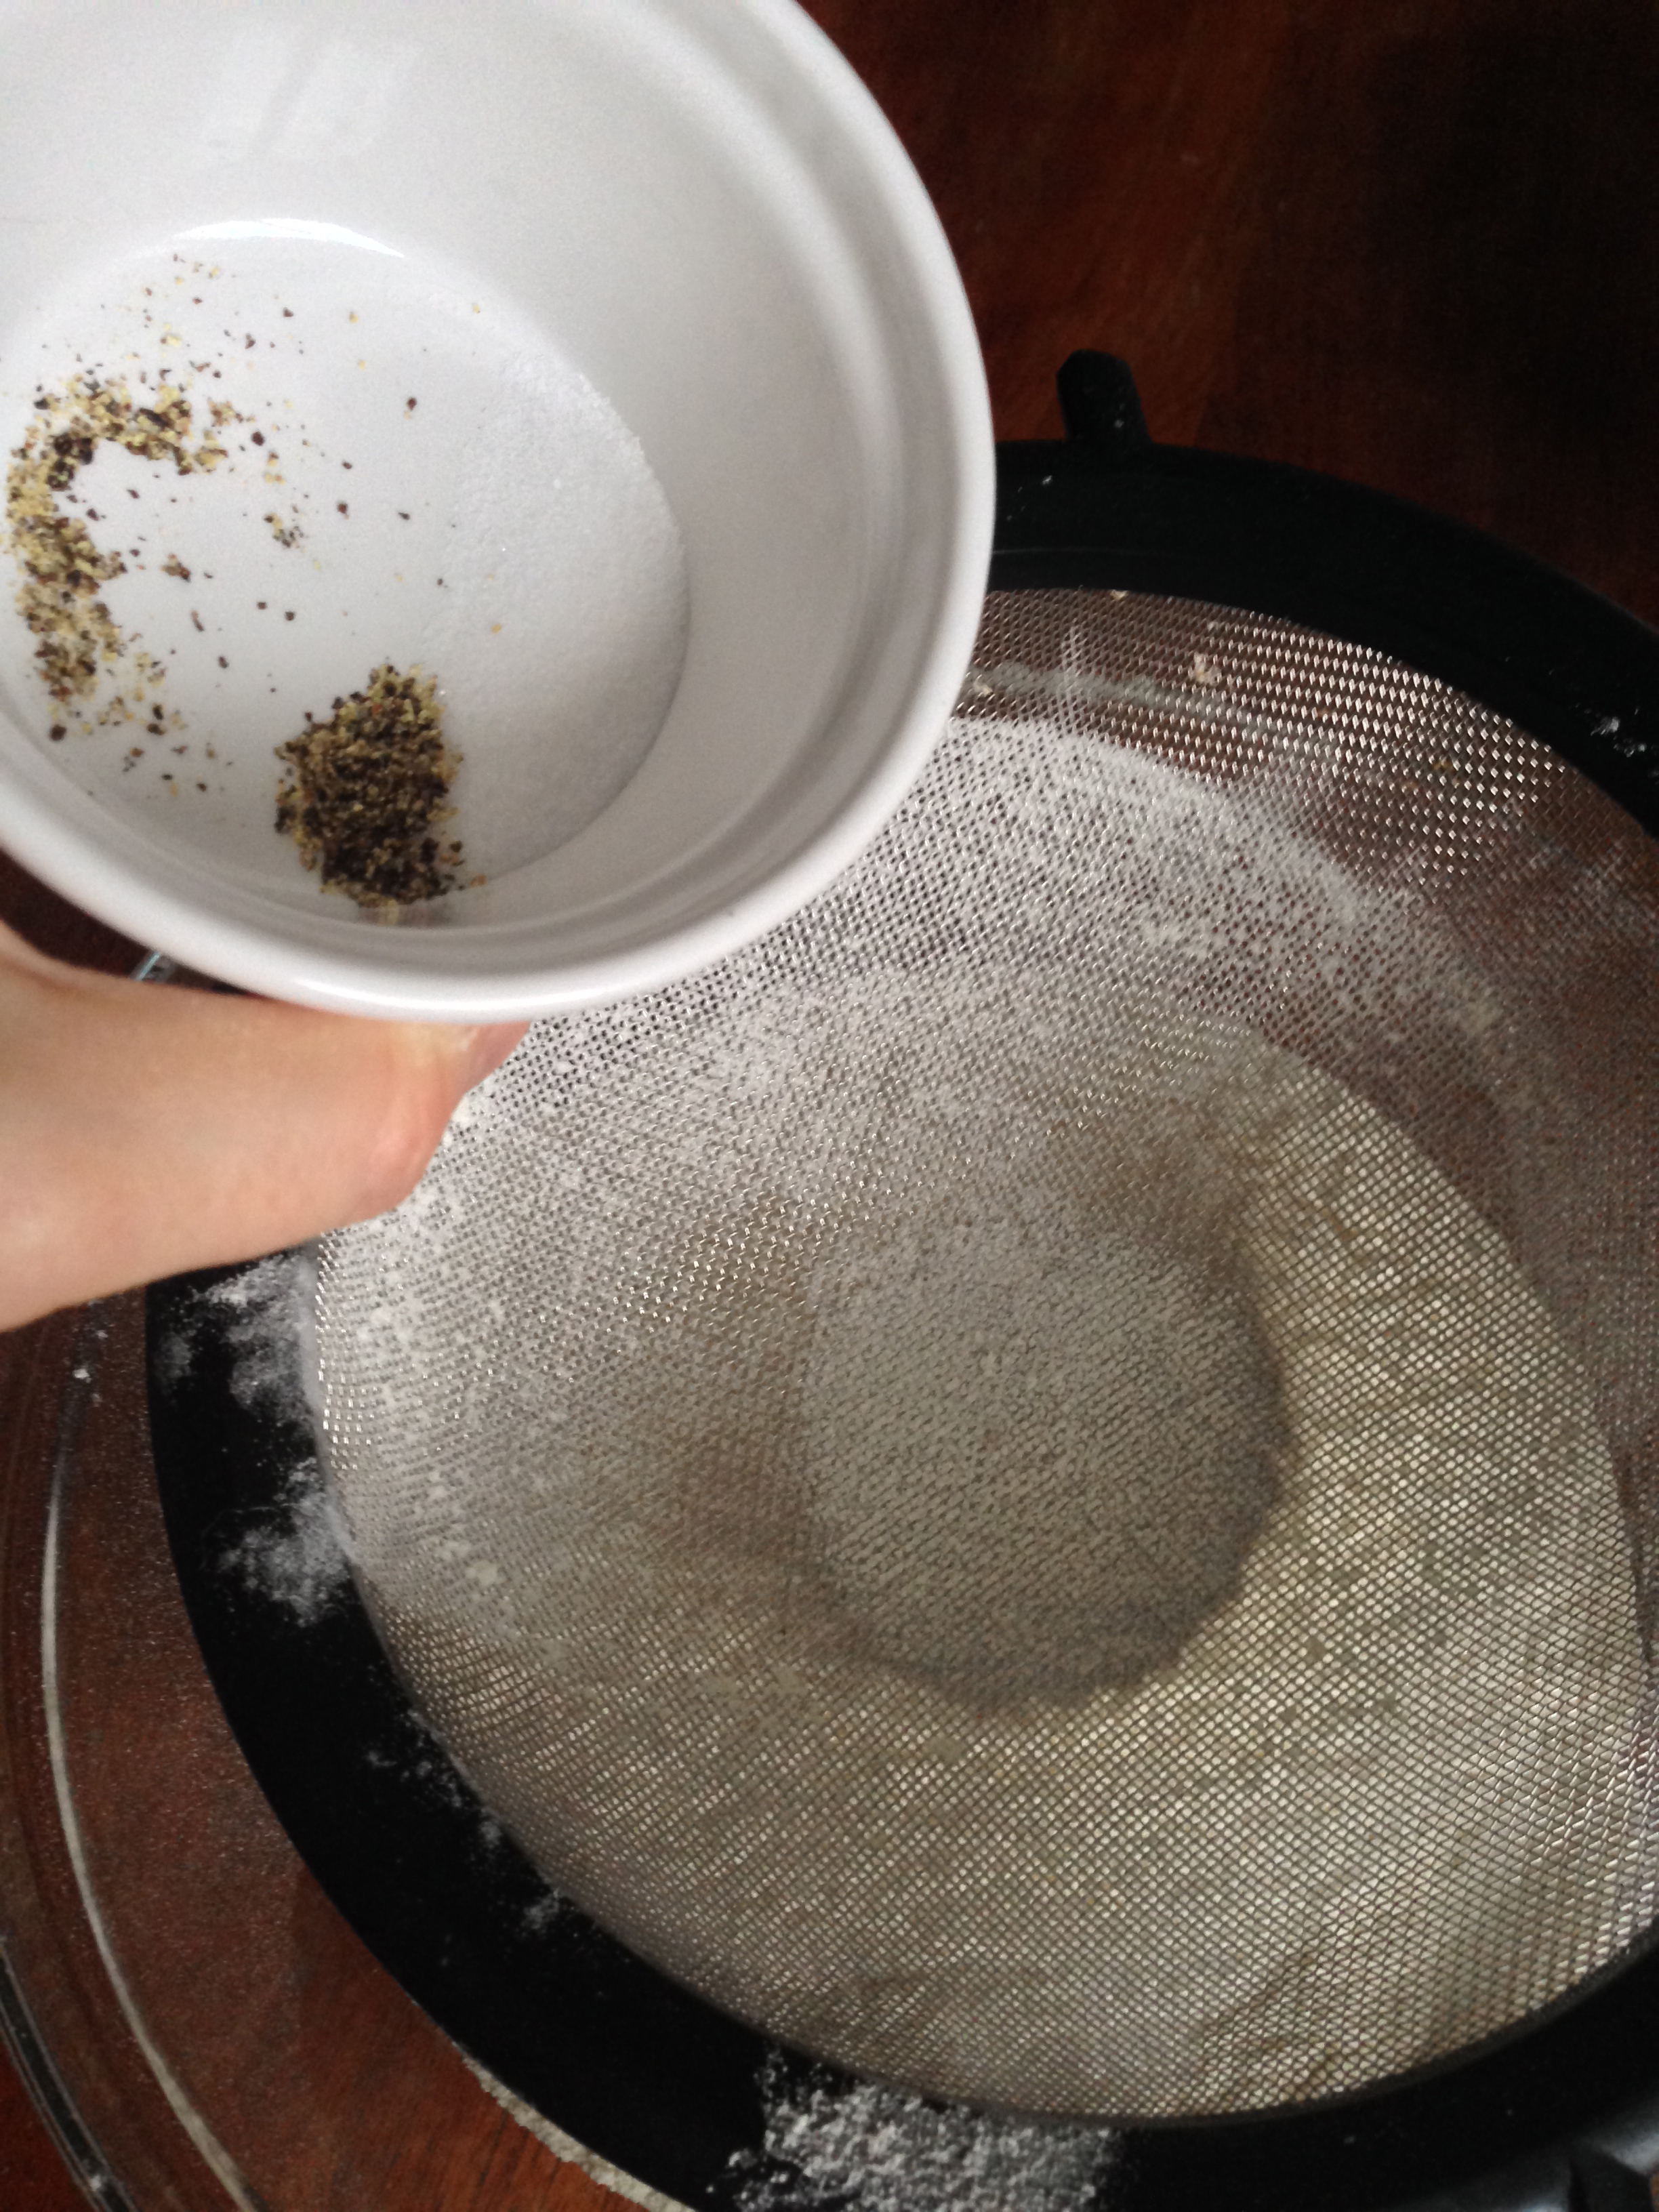
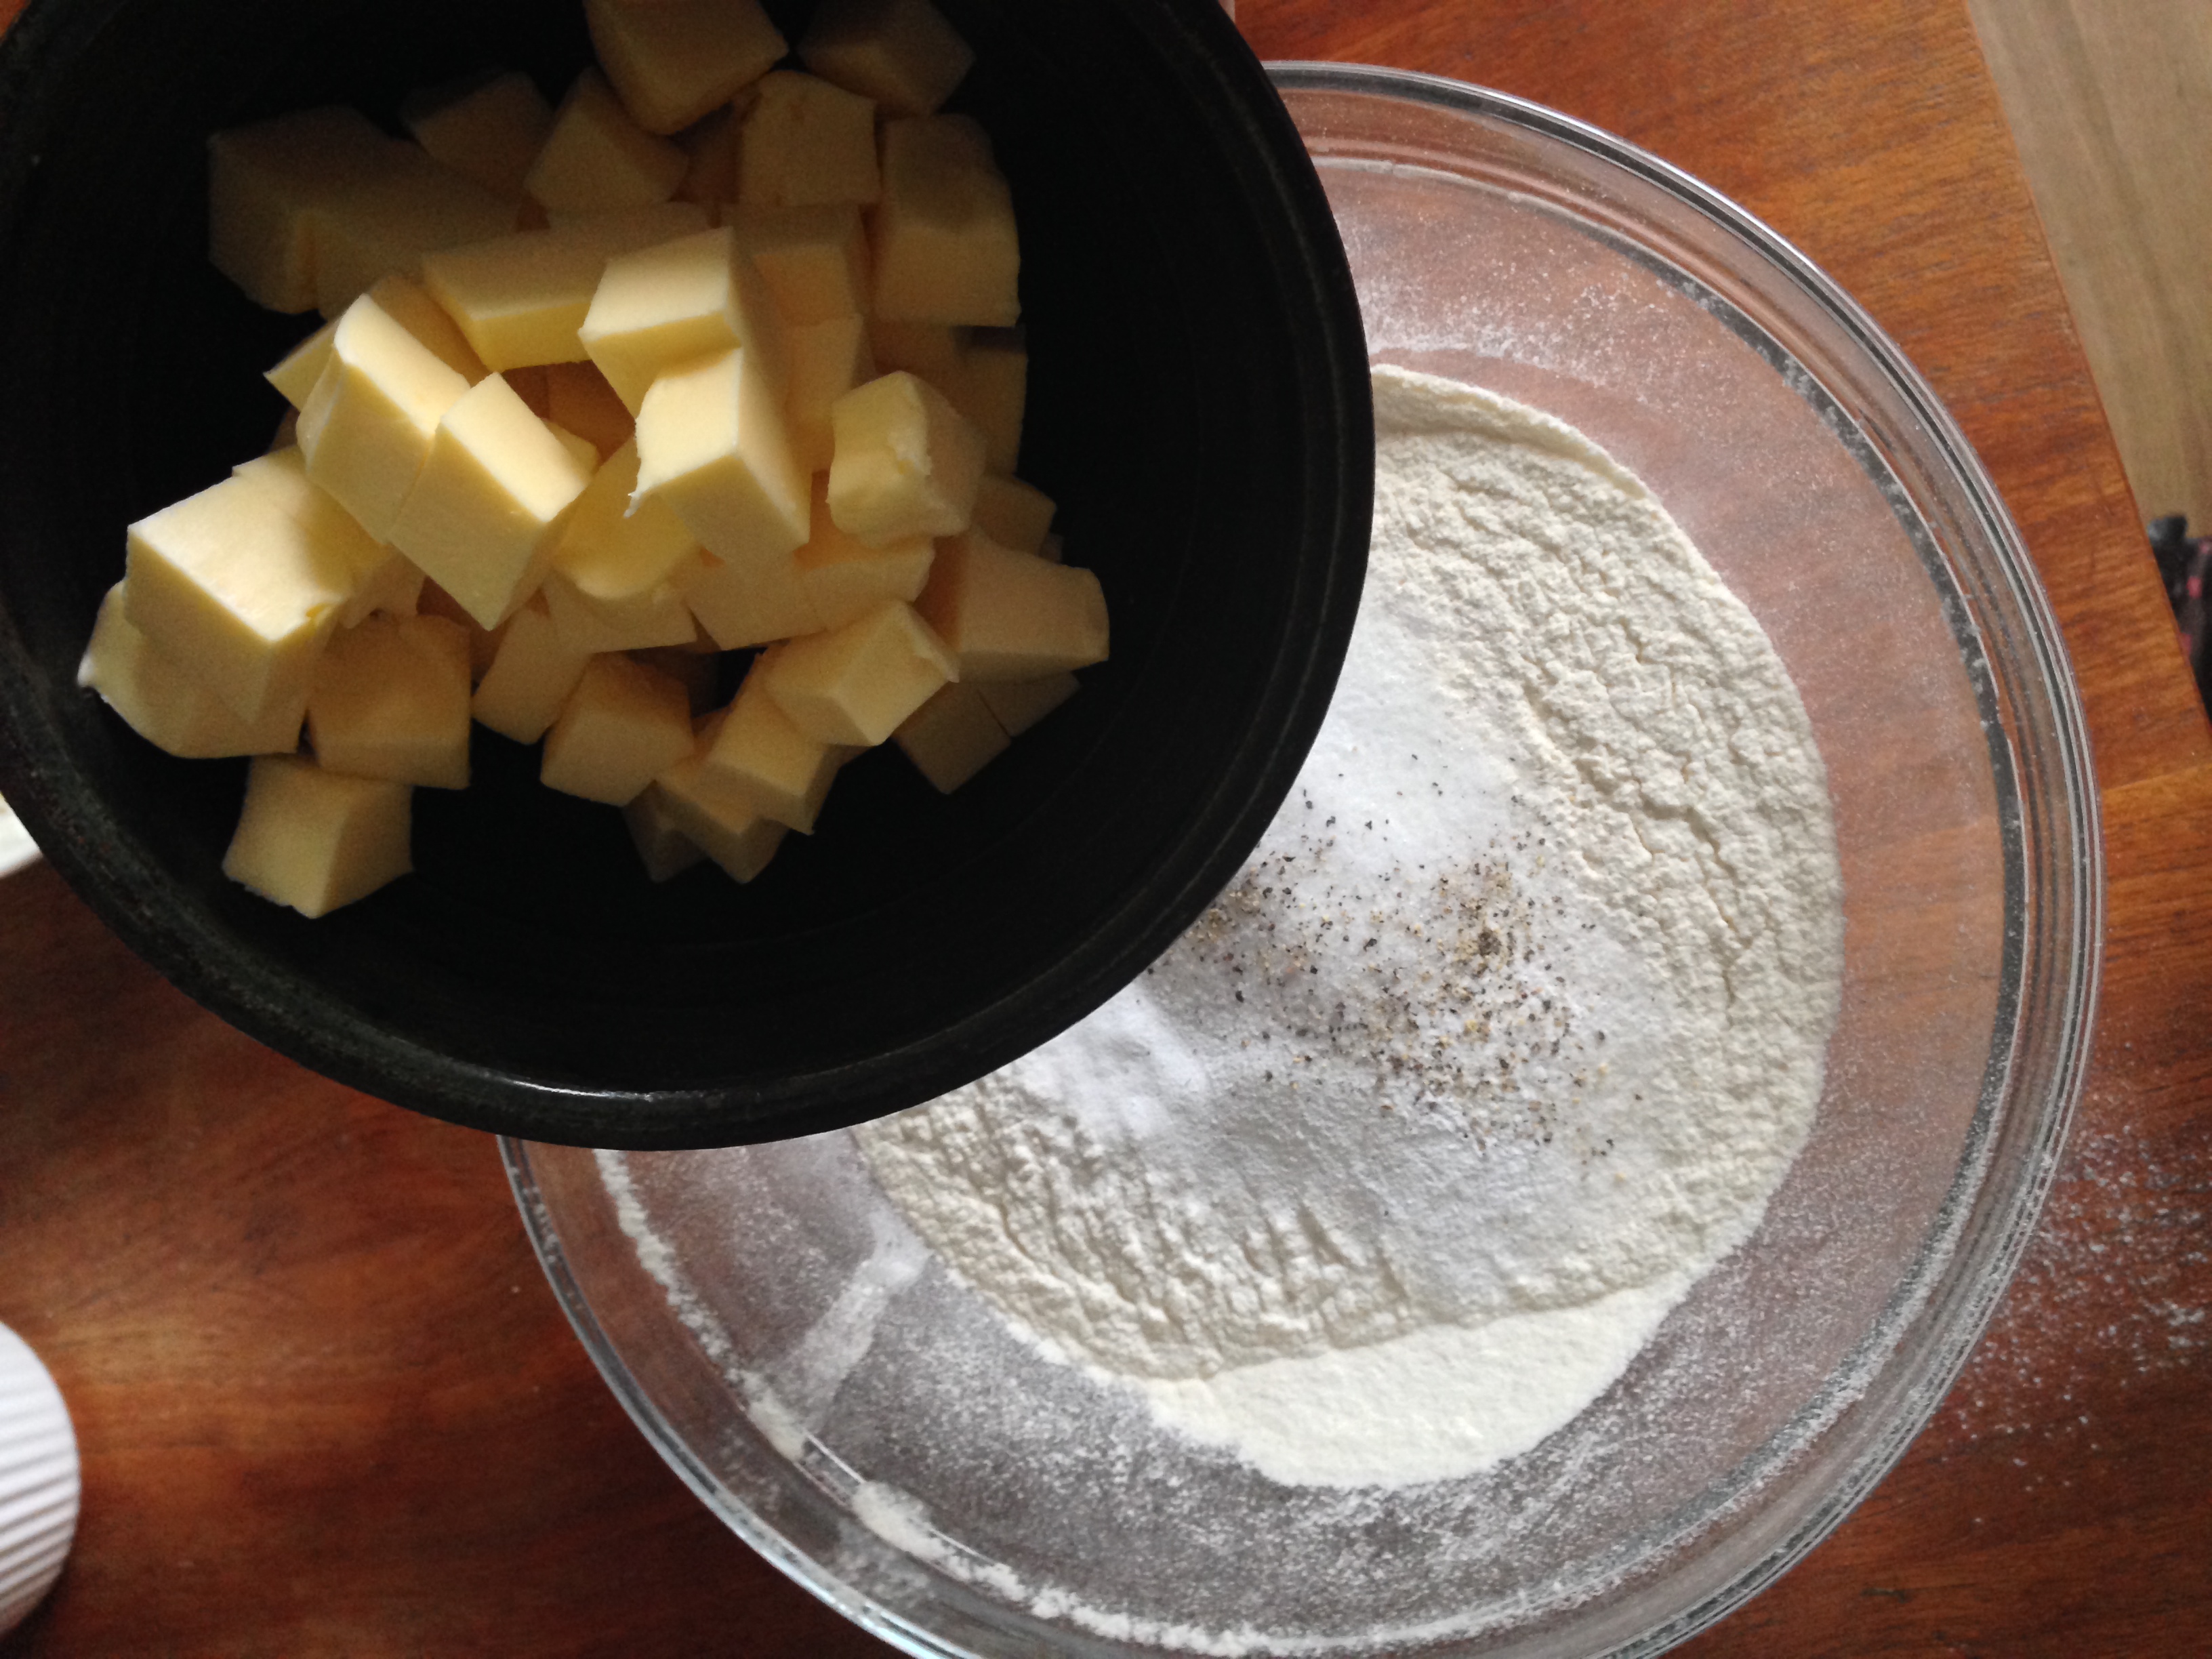
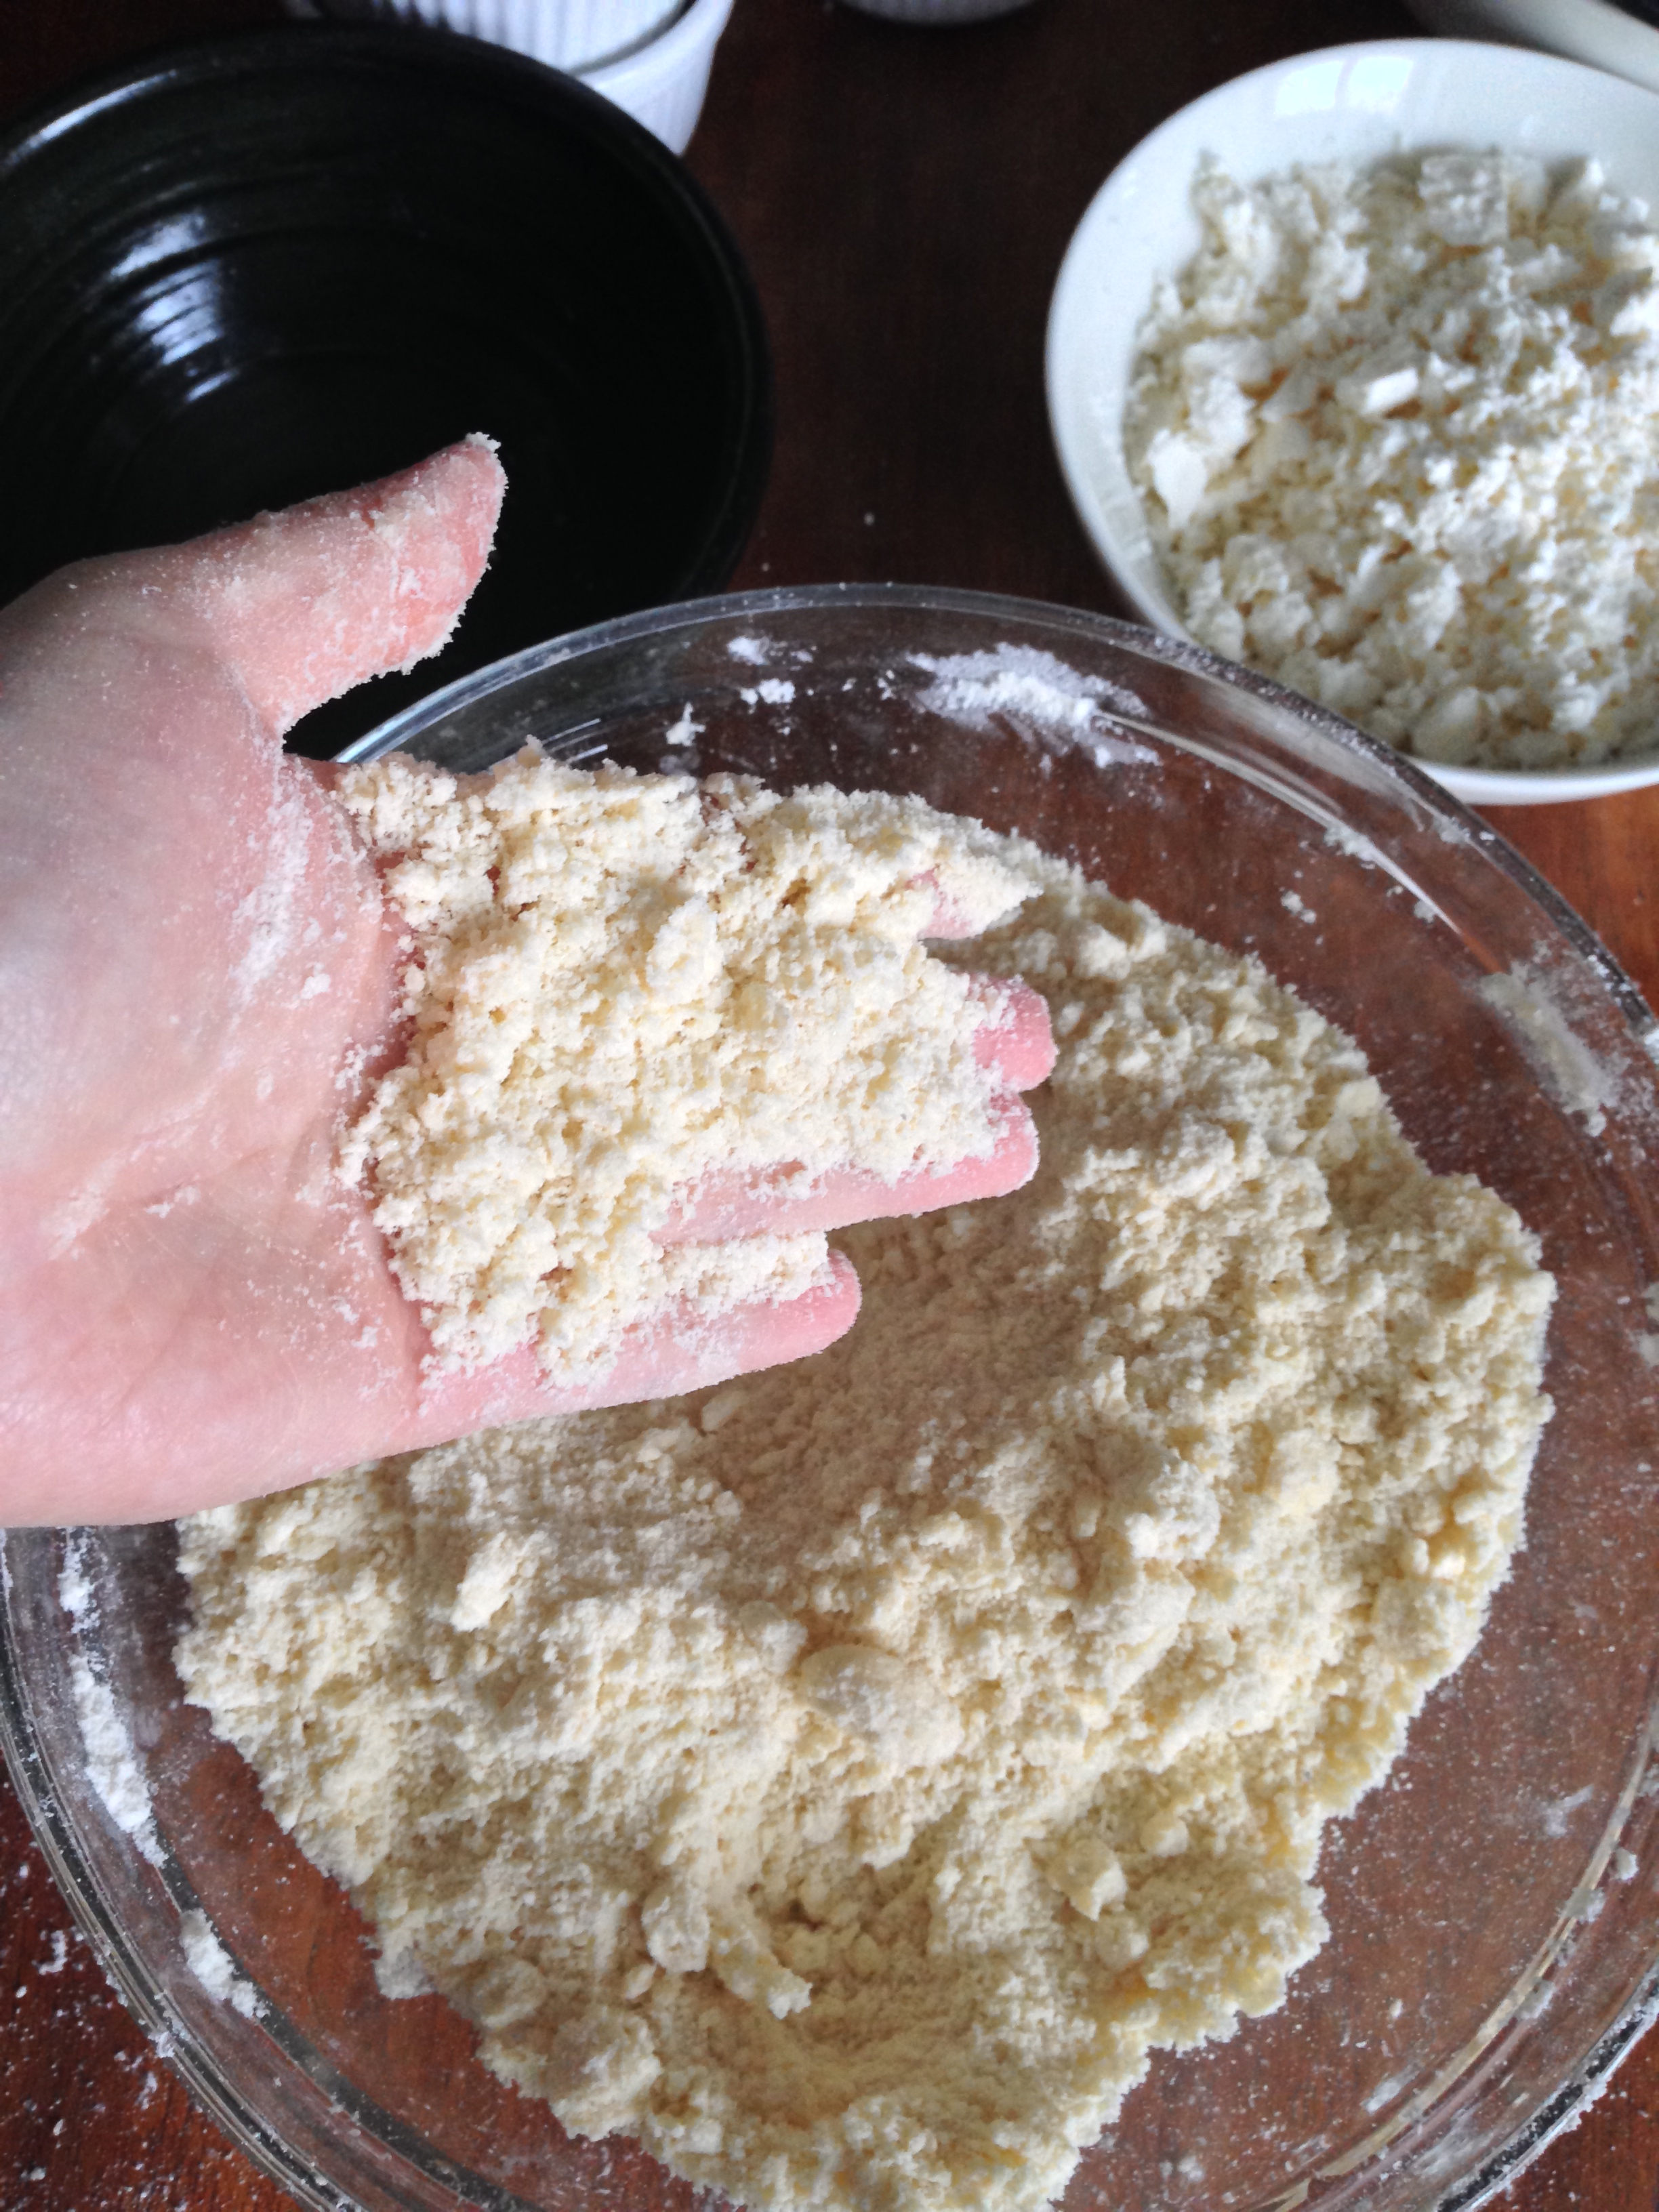
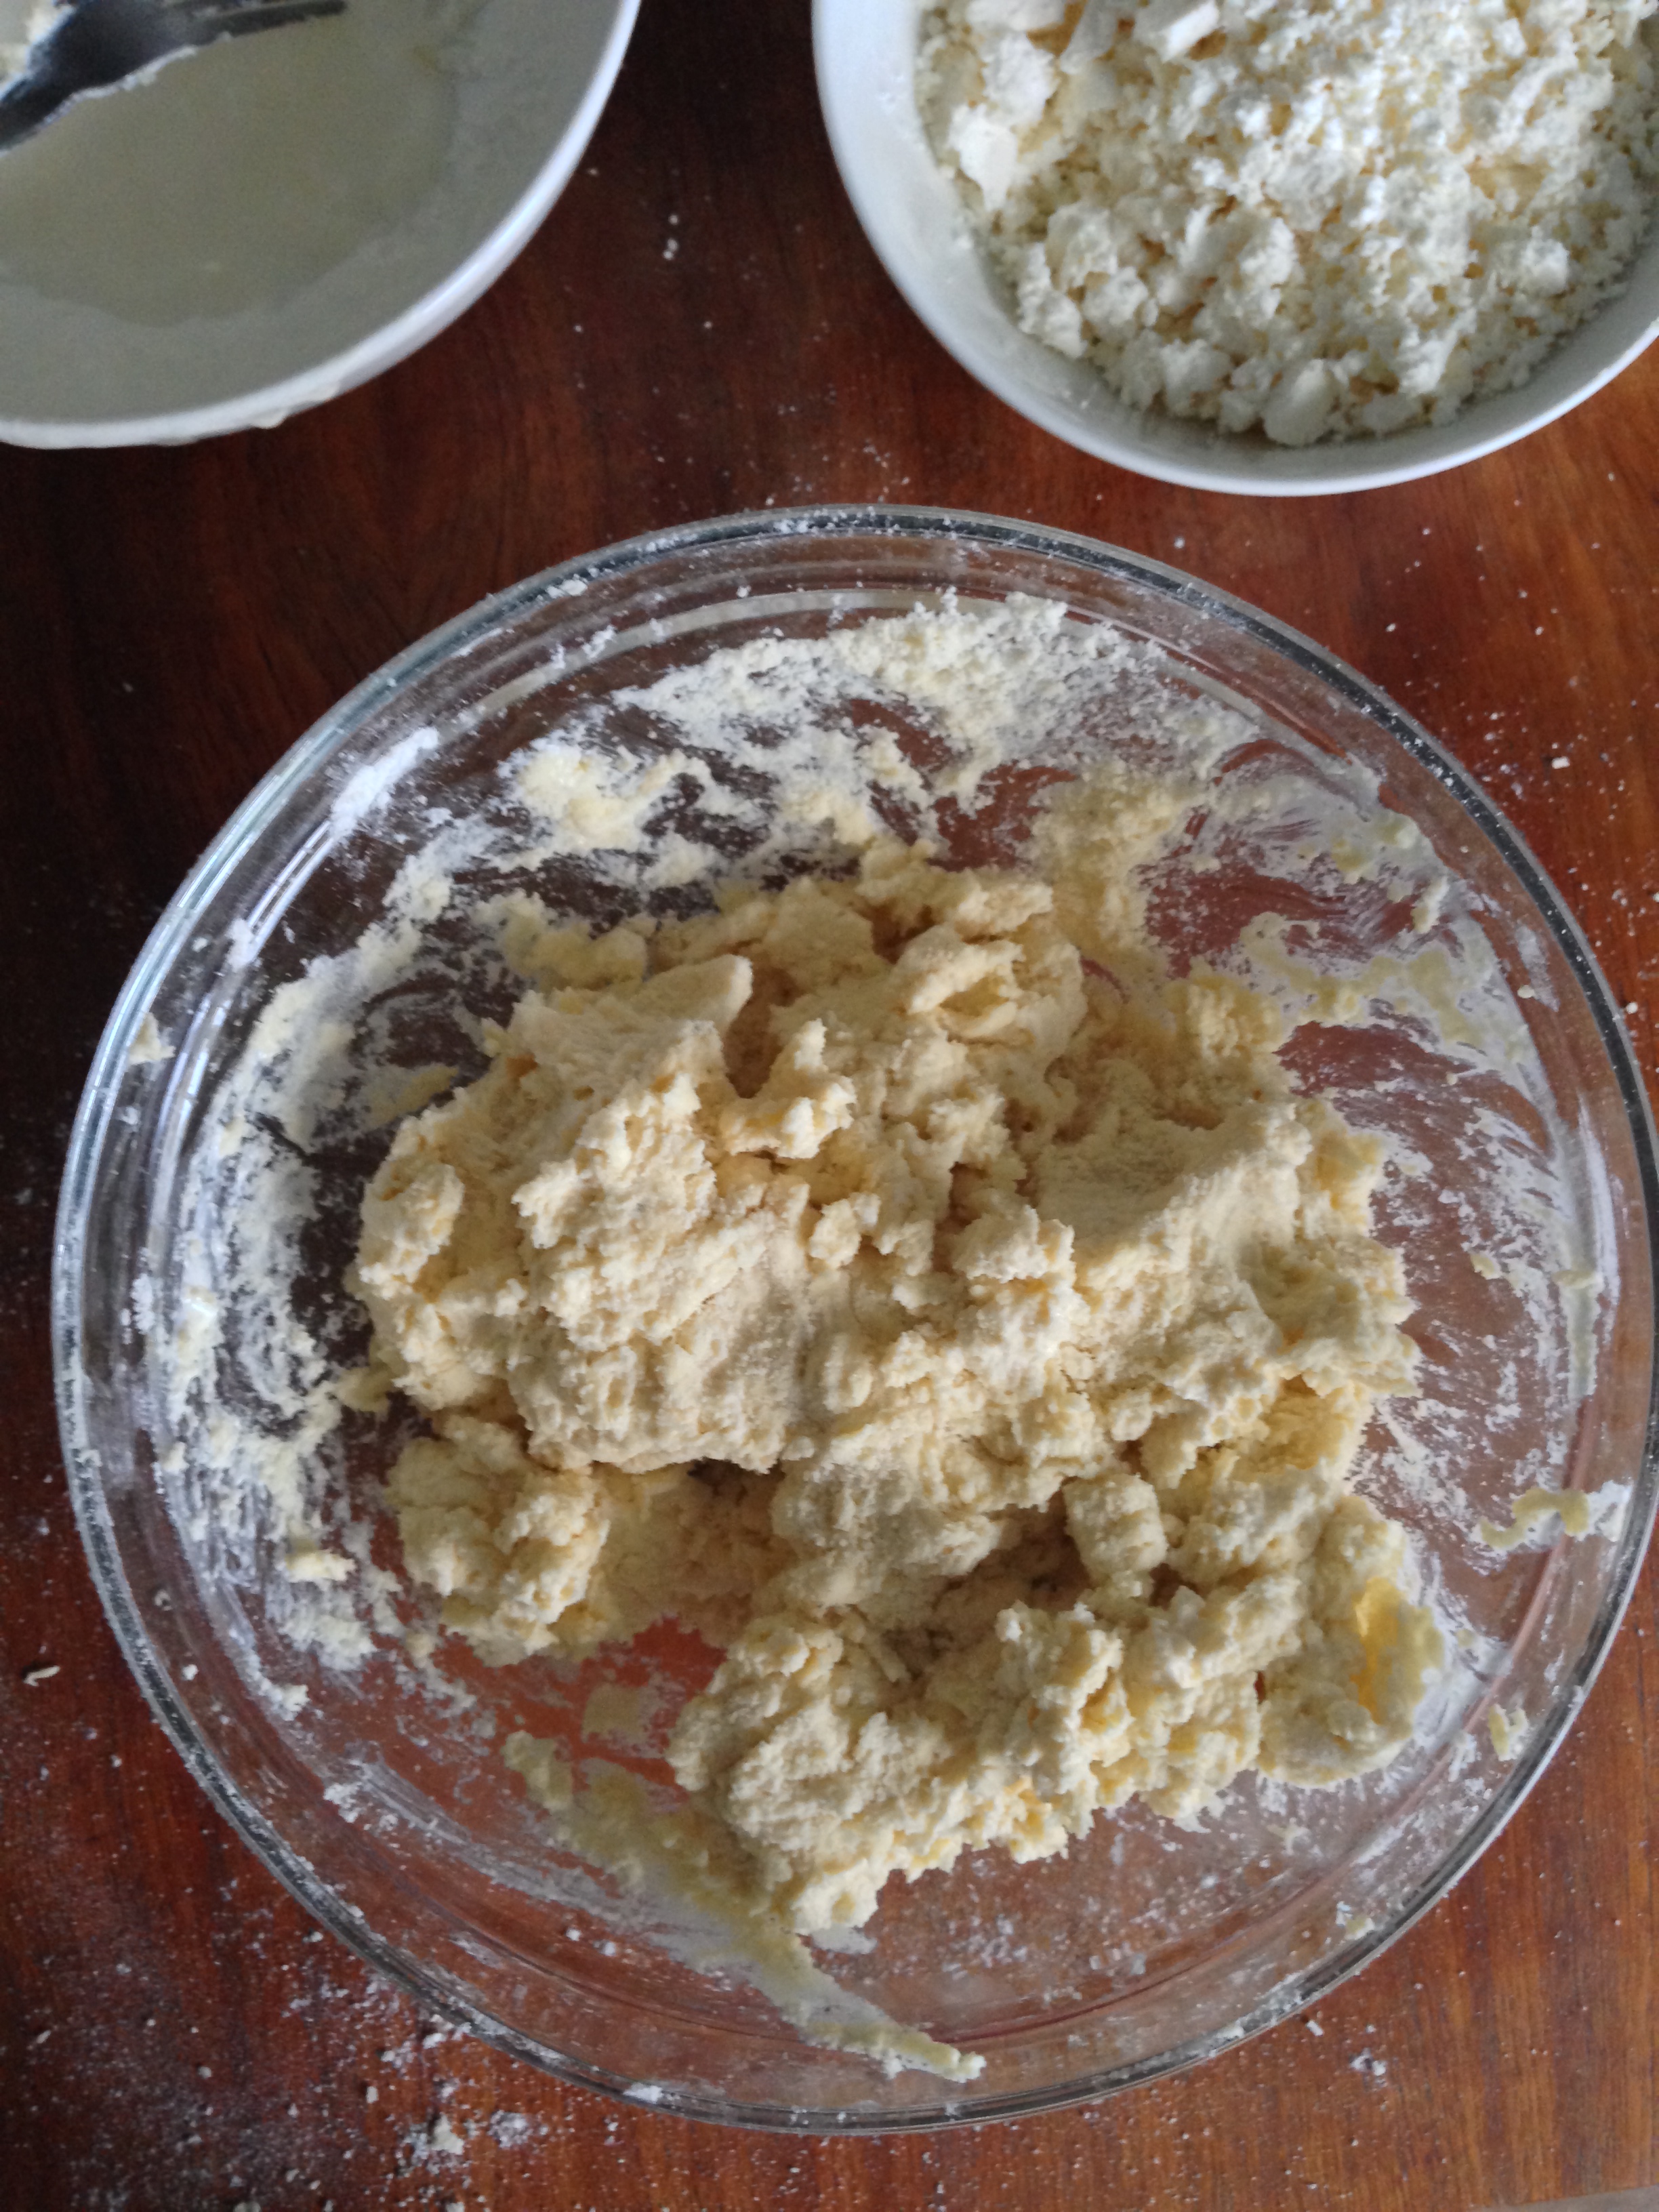
2. Into a big bowl, sift flour, salt, sugar, baking powder, baking soda and black pepper. Add the cubes of butter and just cut it in, you will end up small crumbles of dry ingredients & butter mixture.
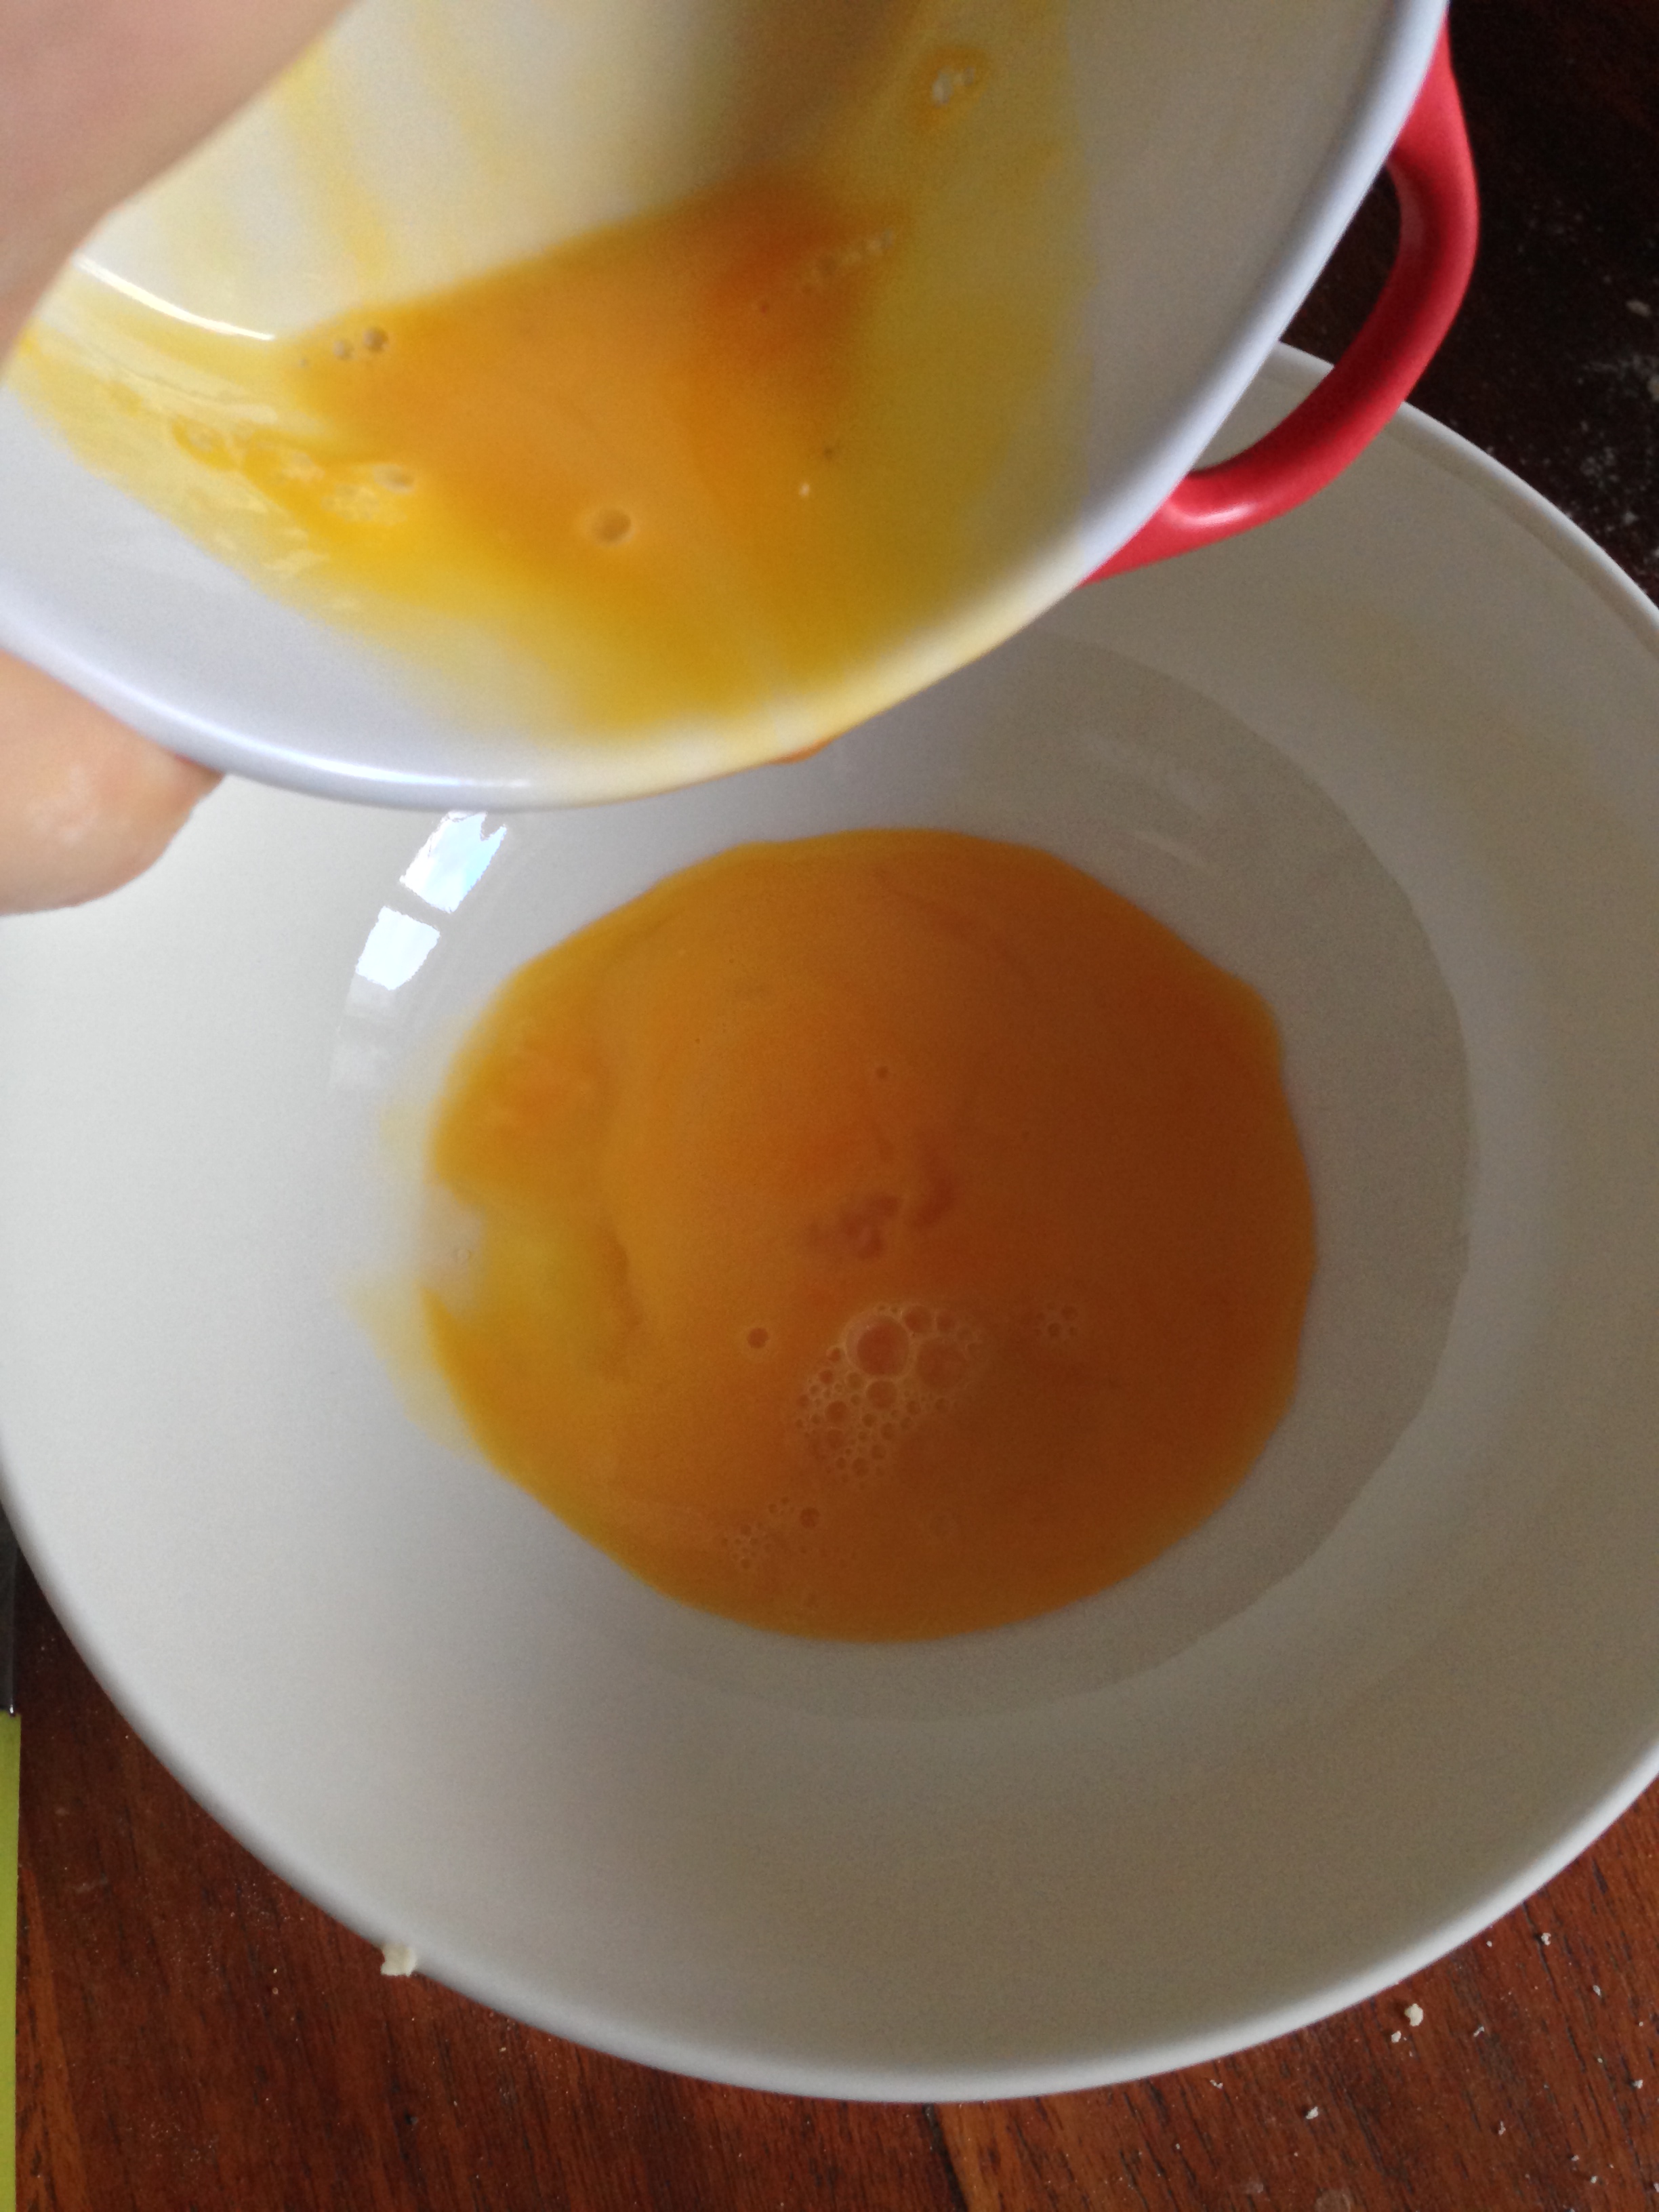
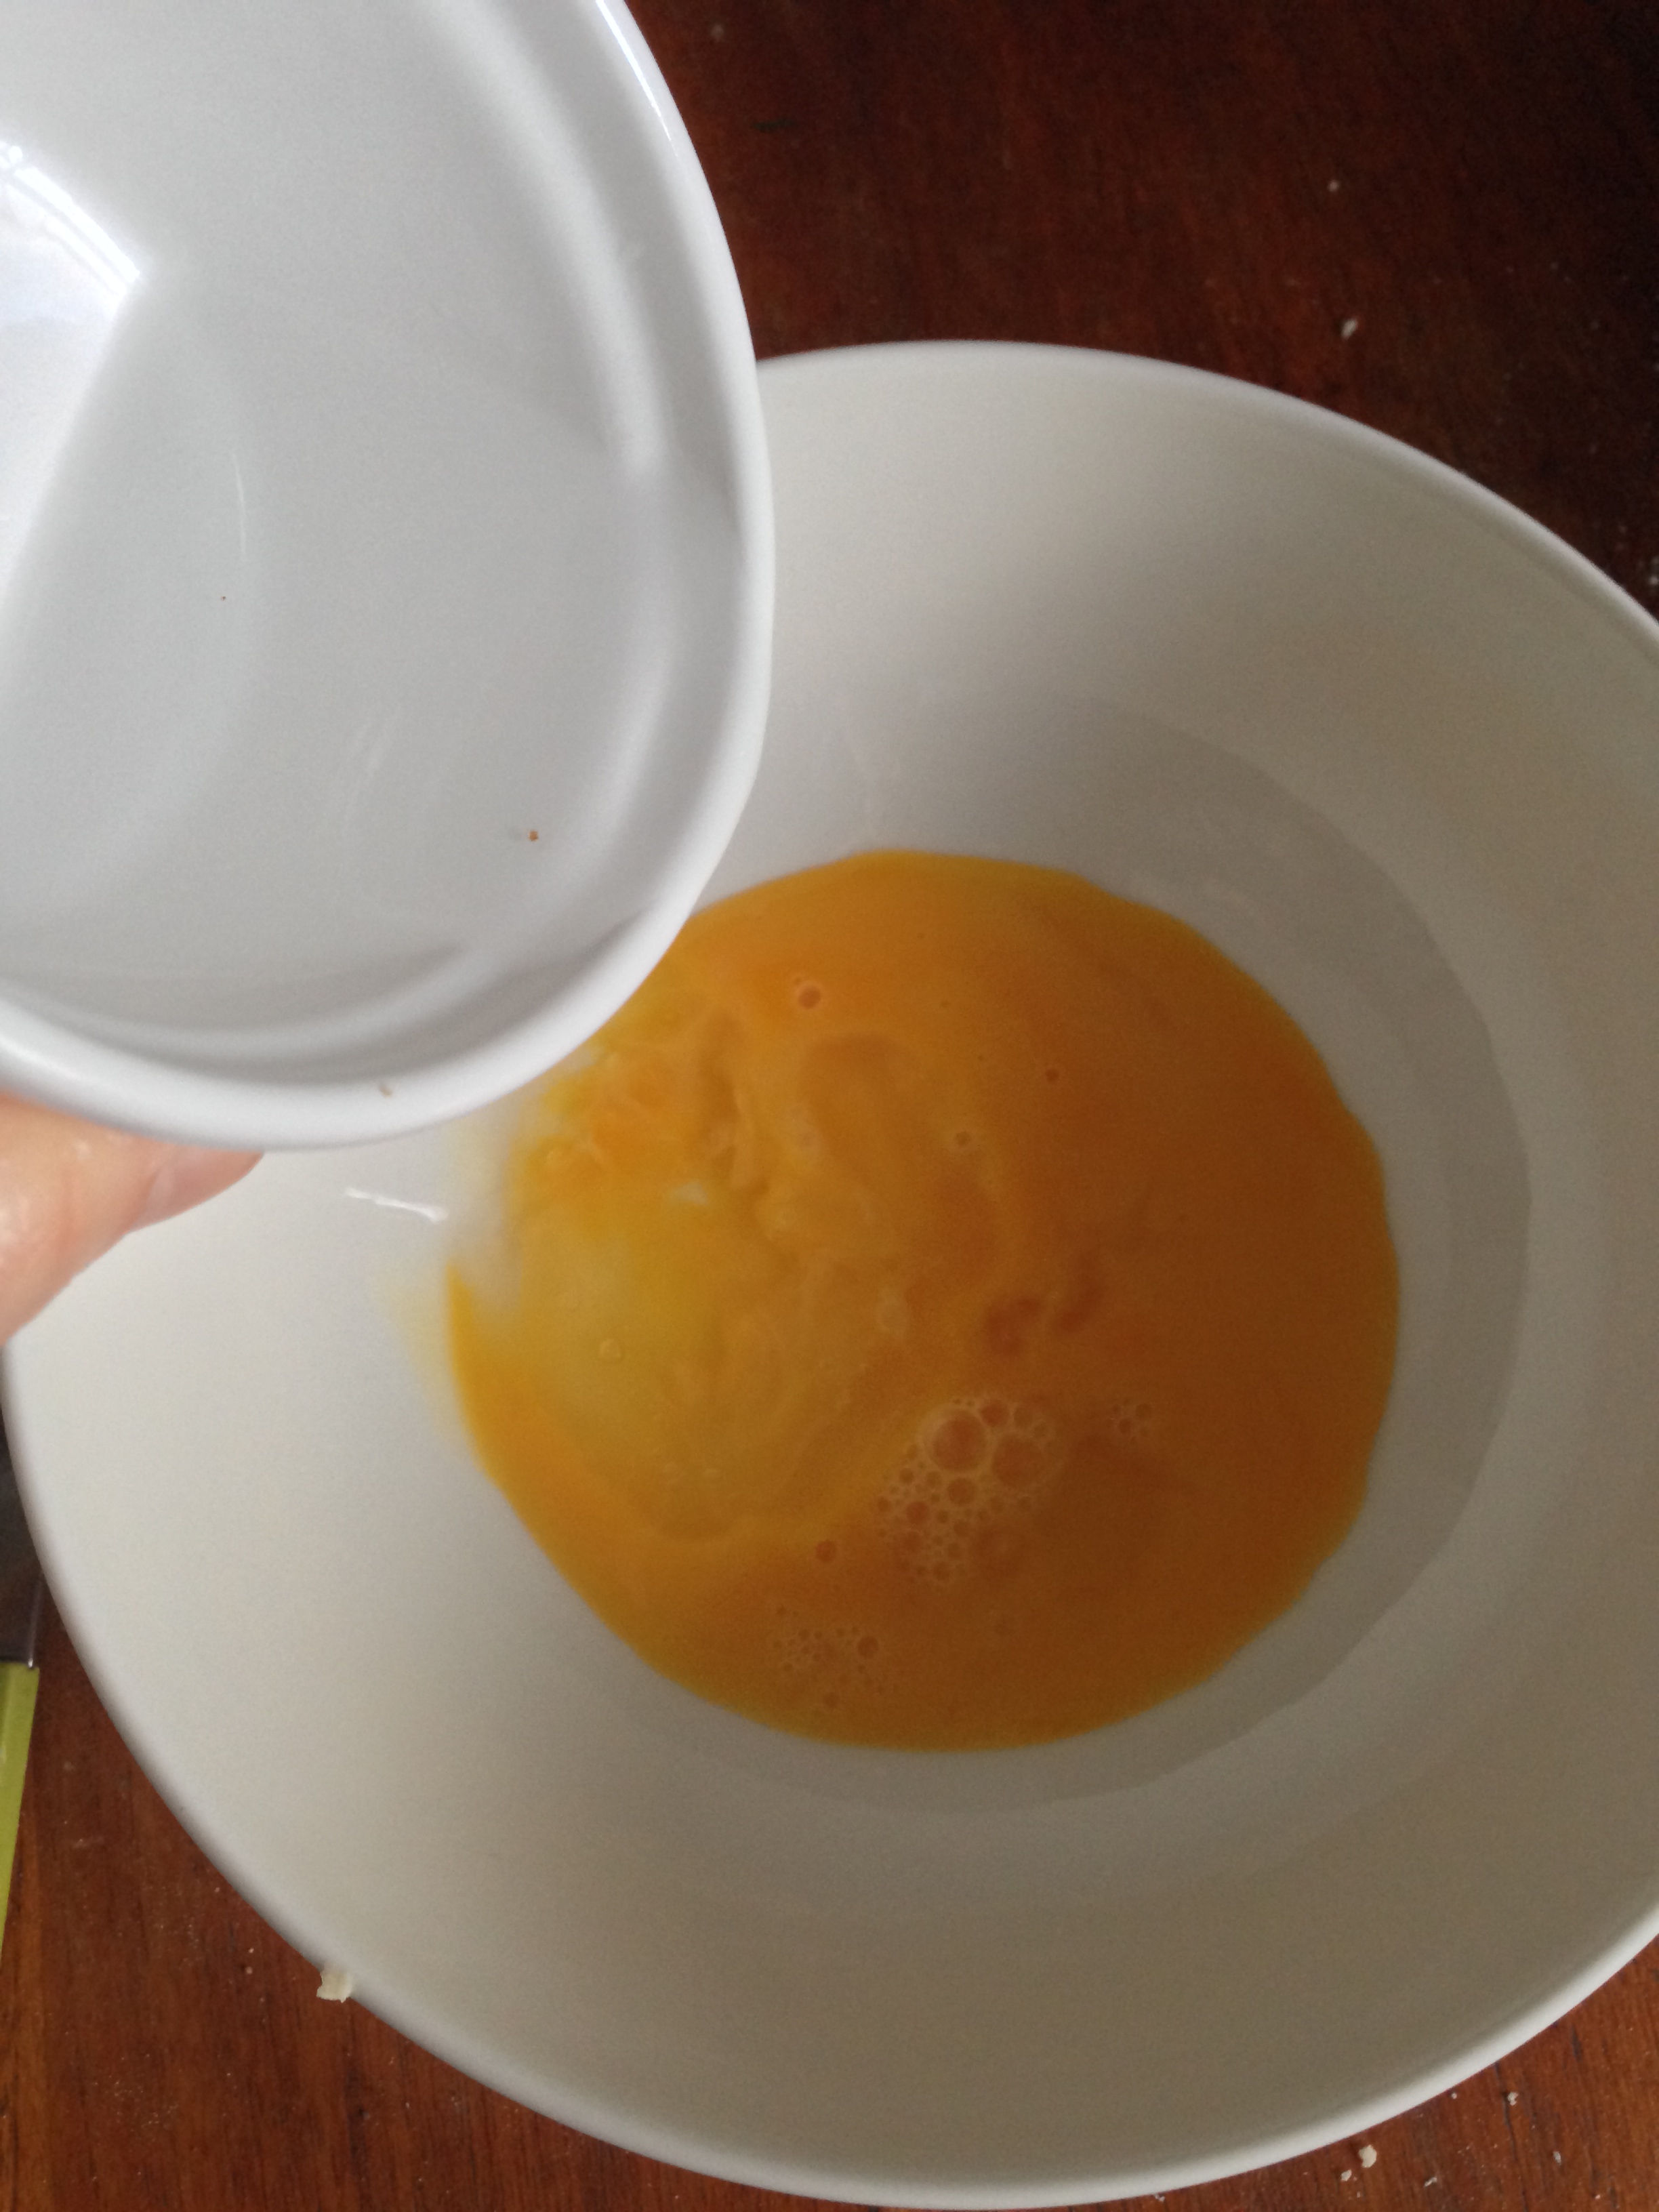
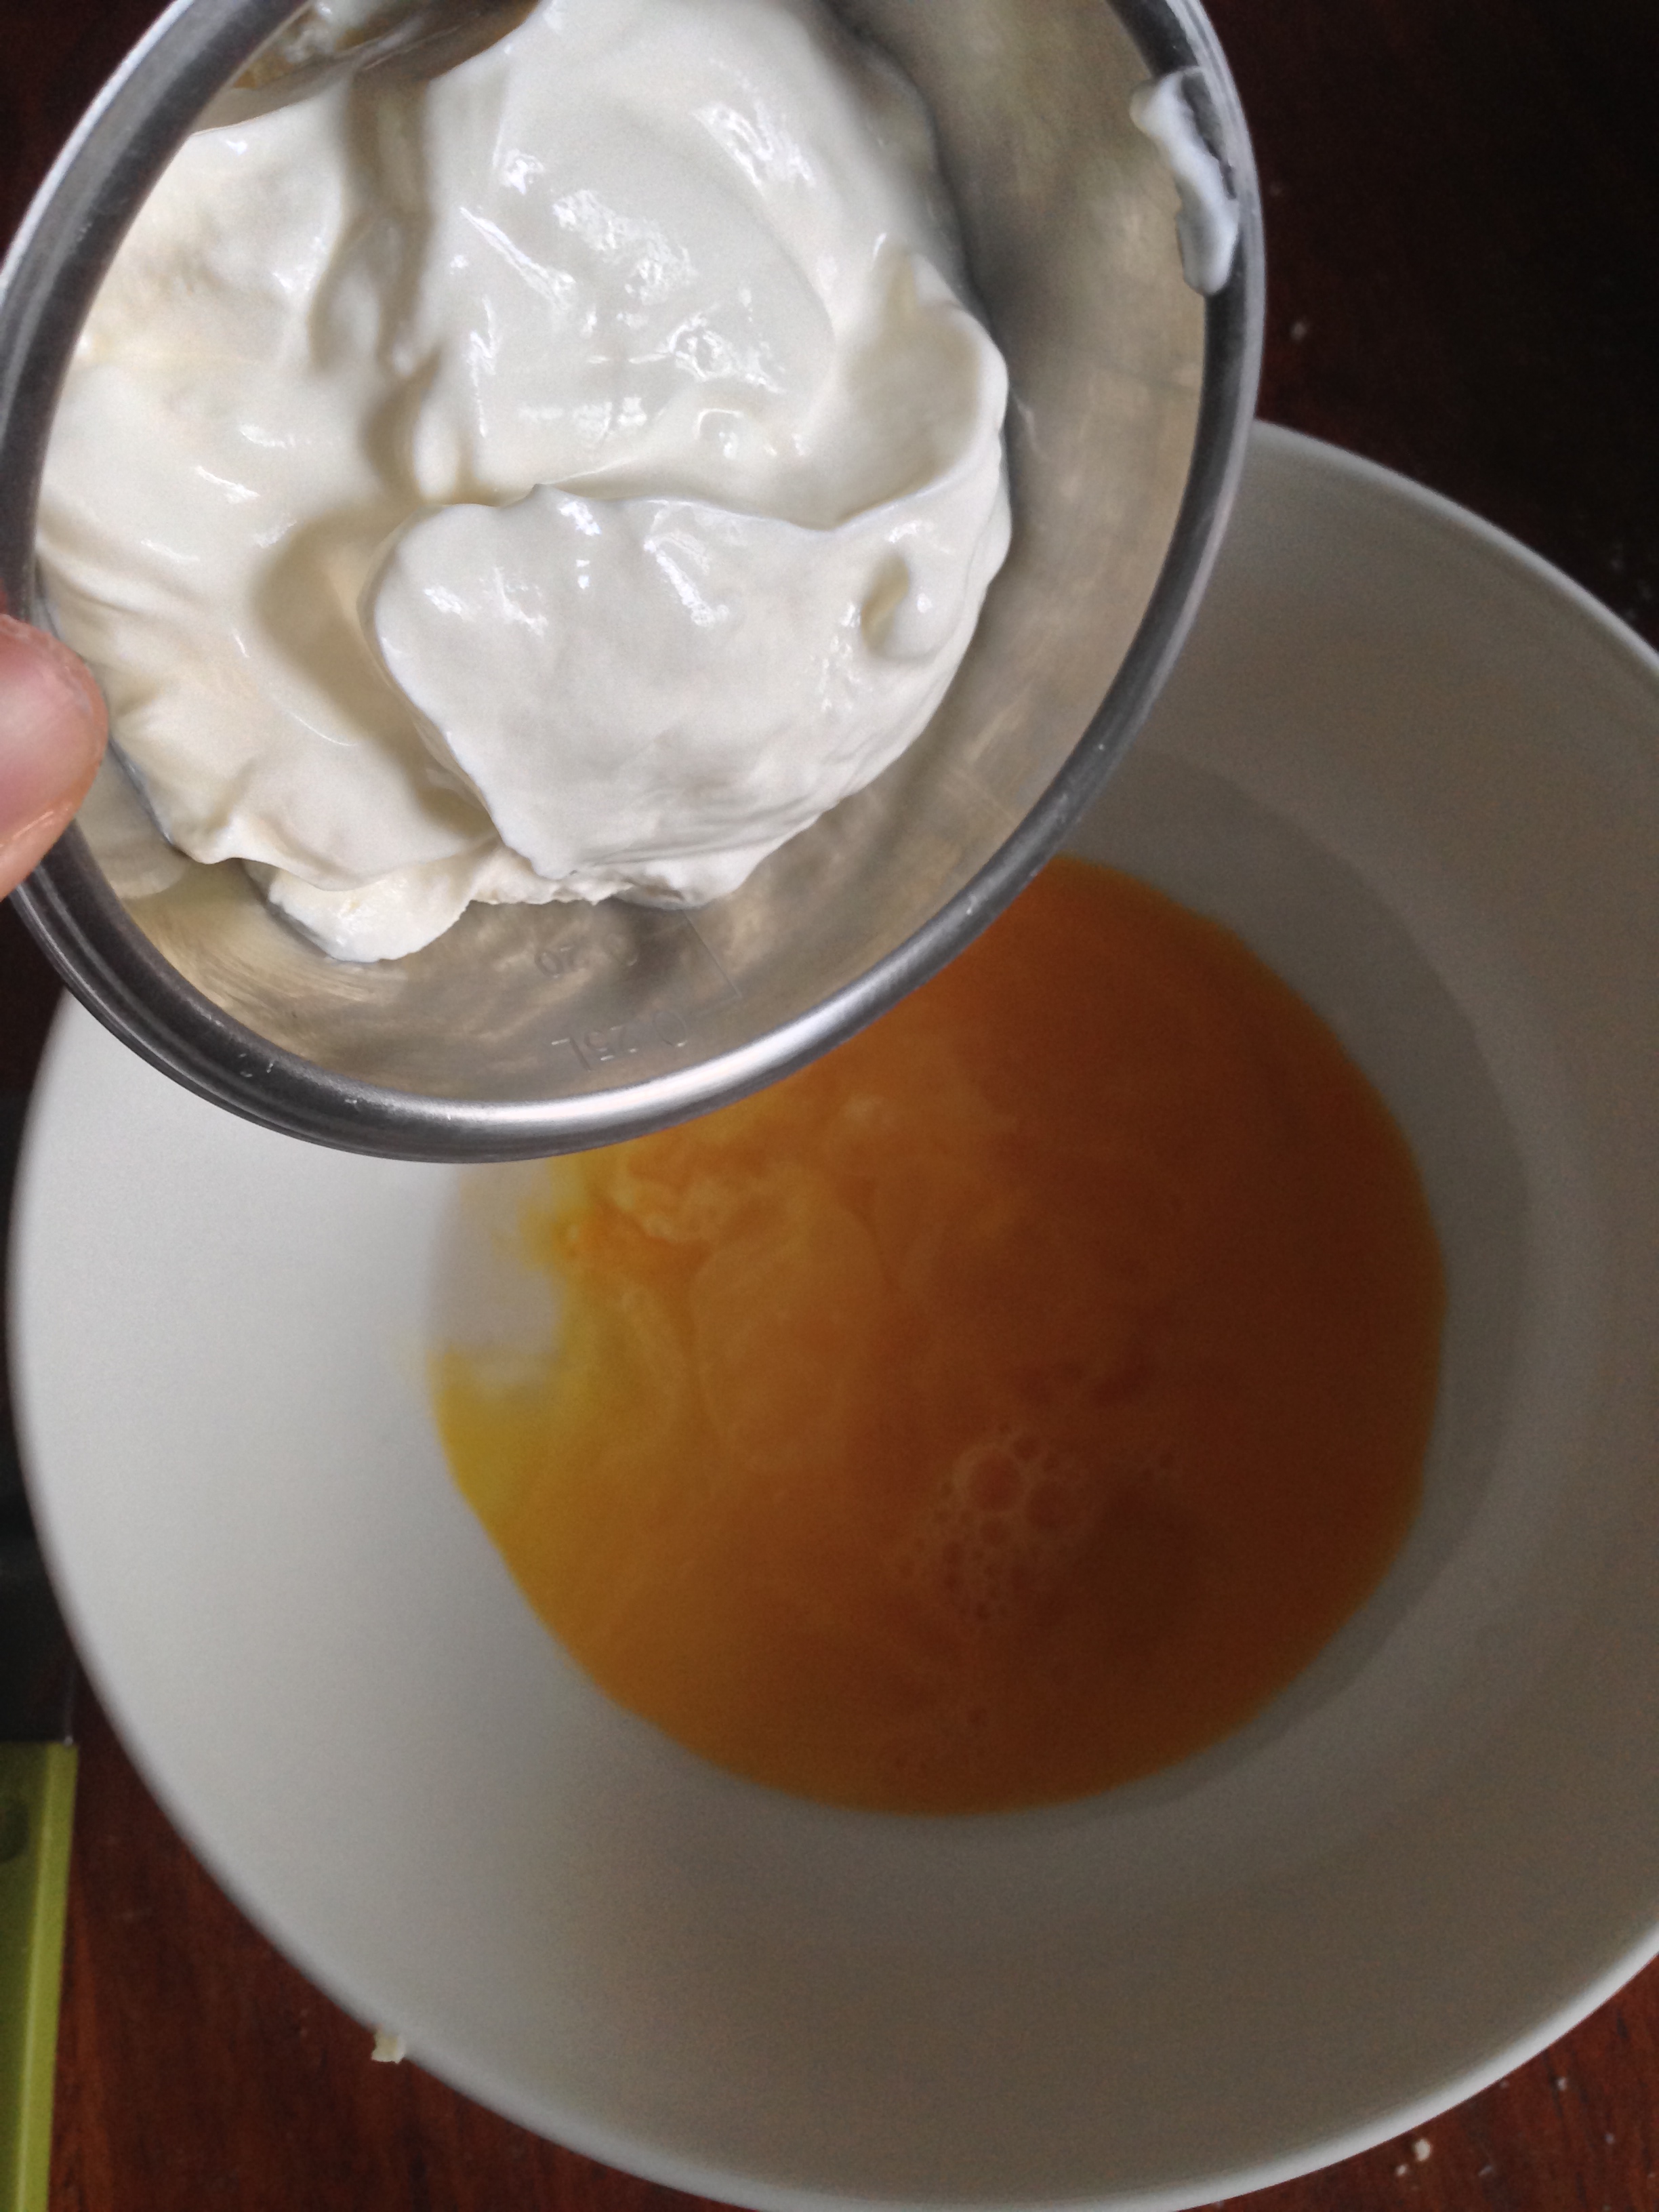
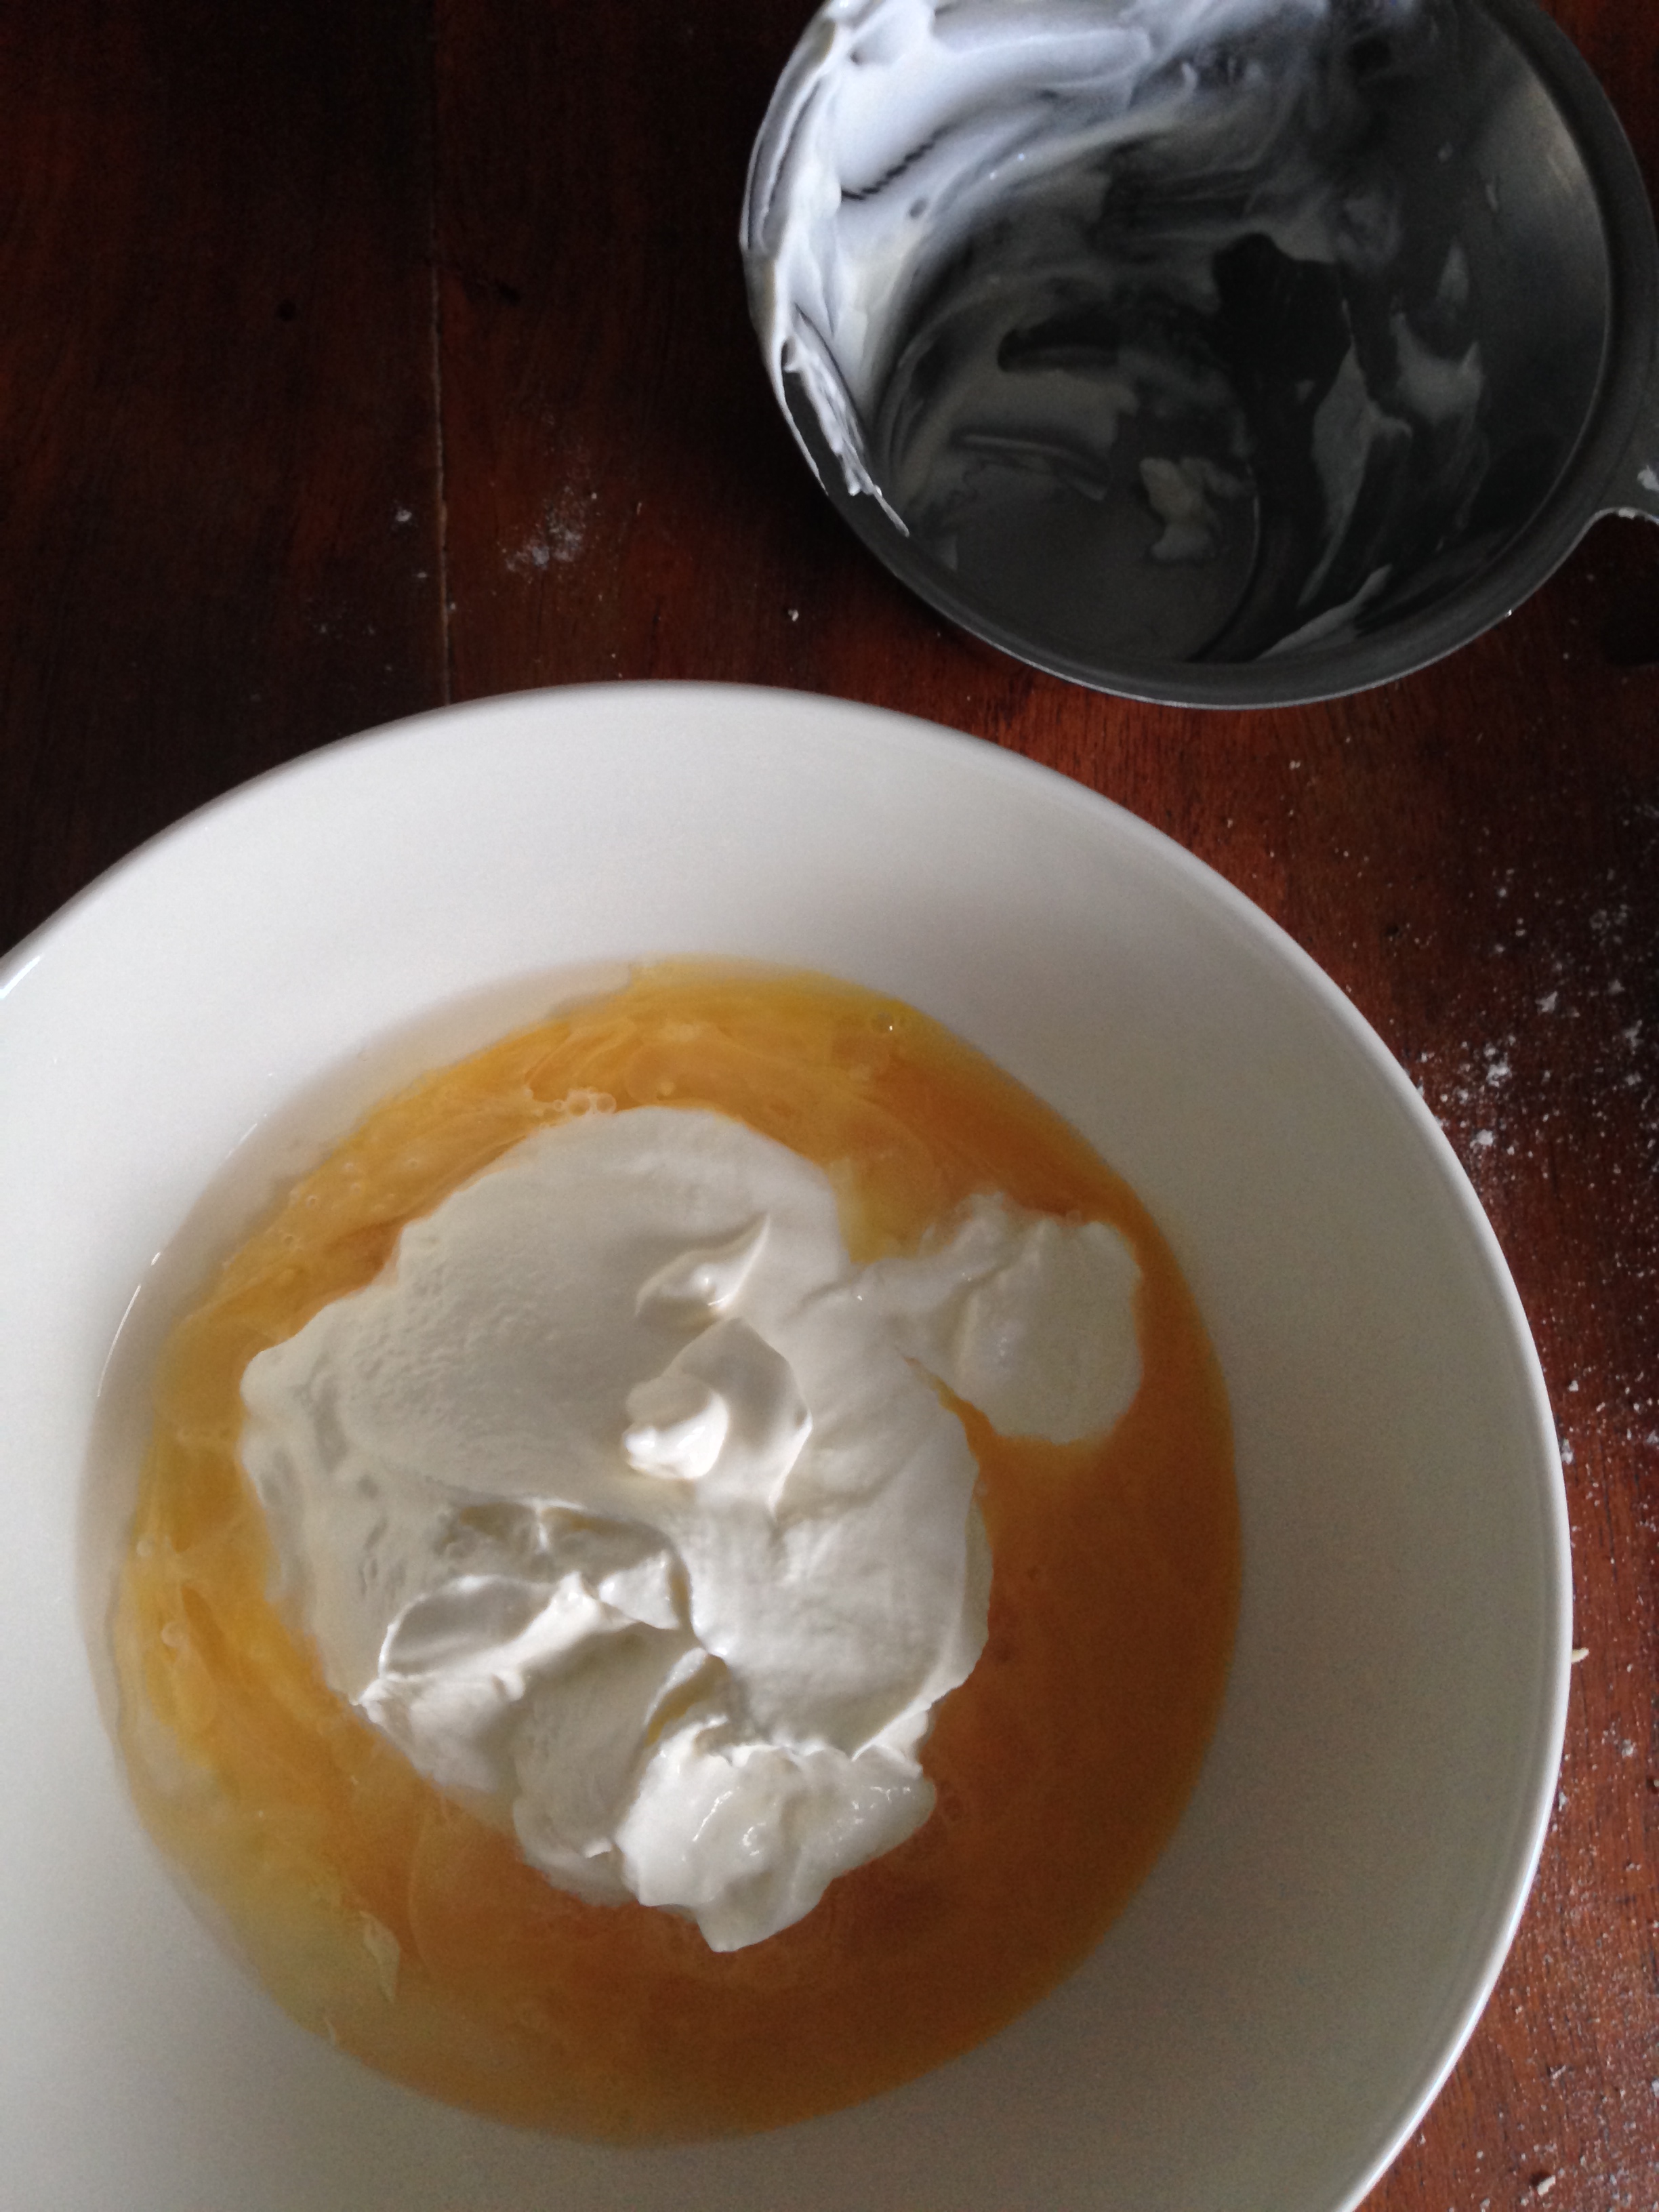
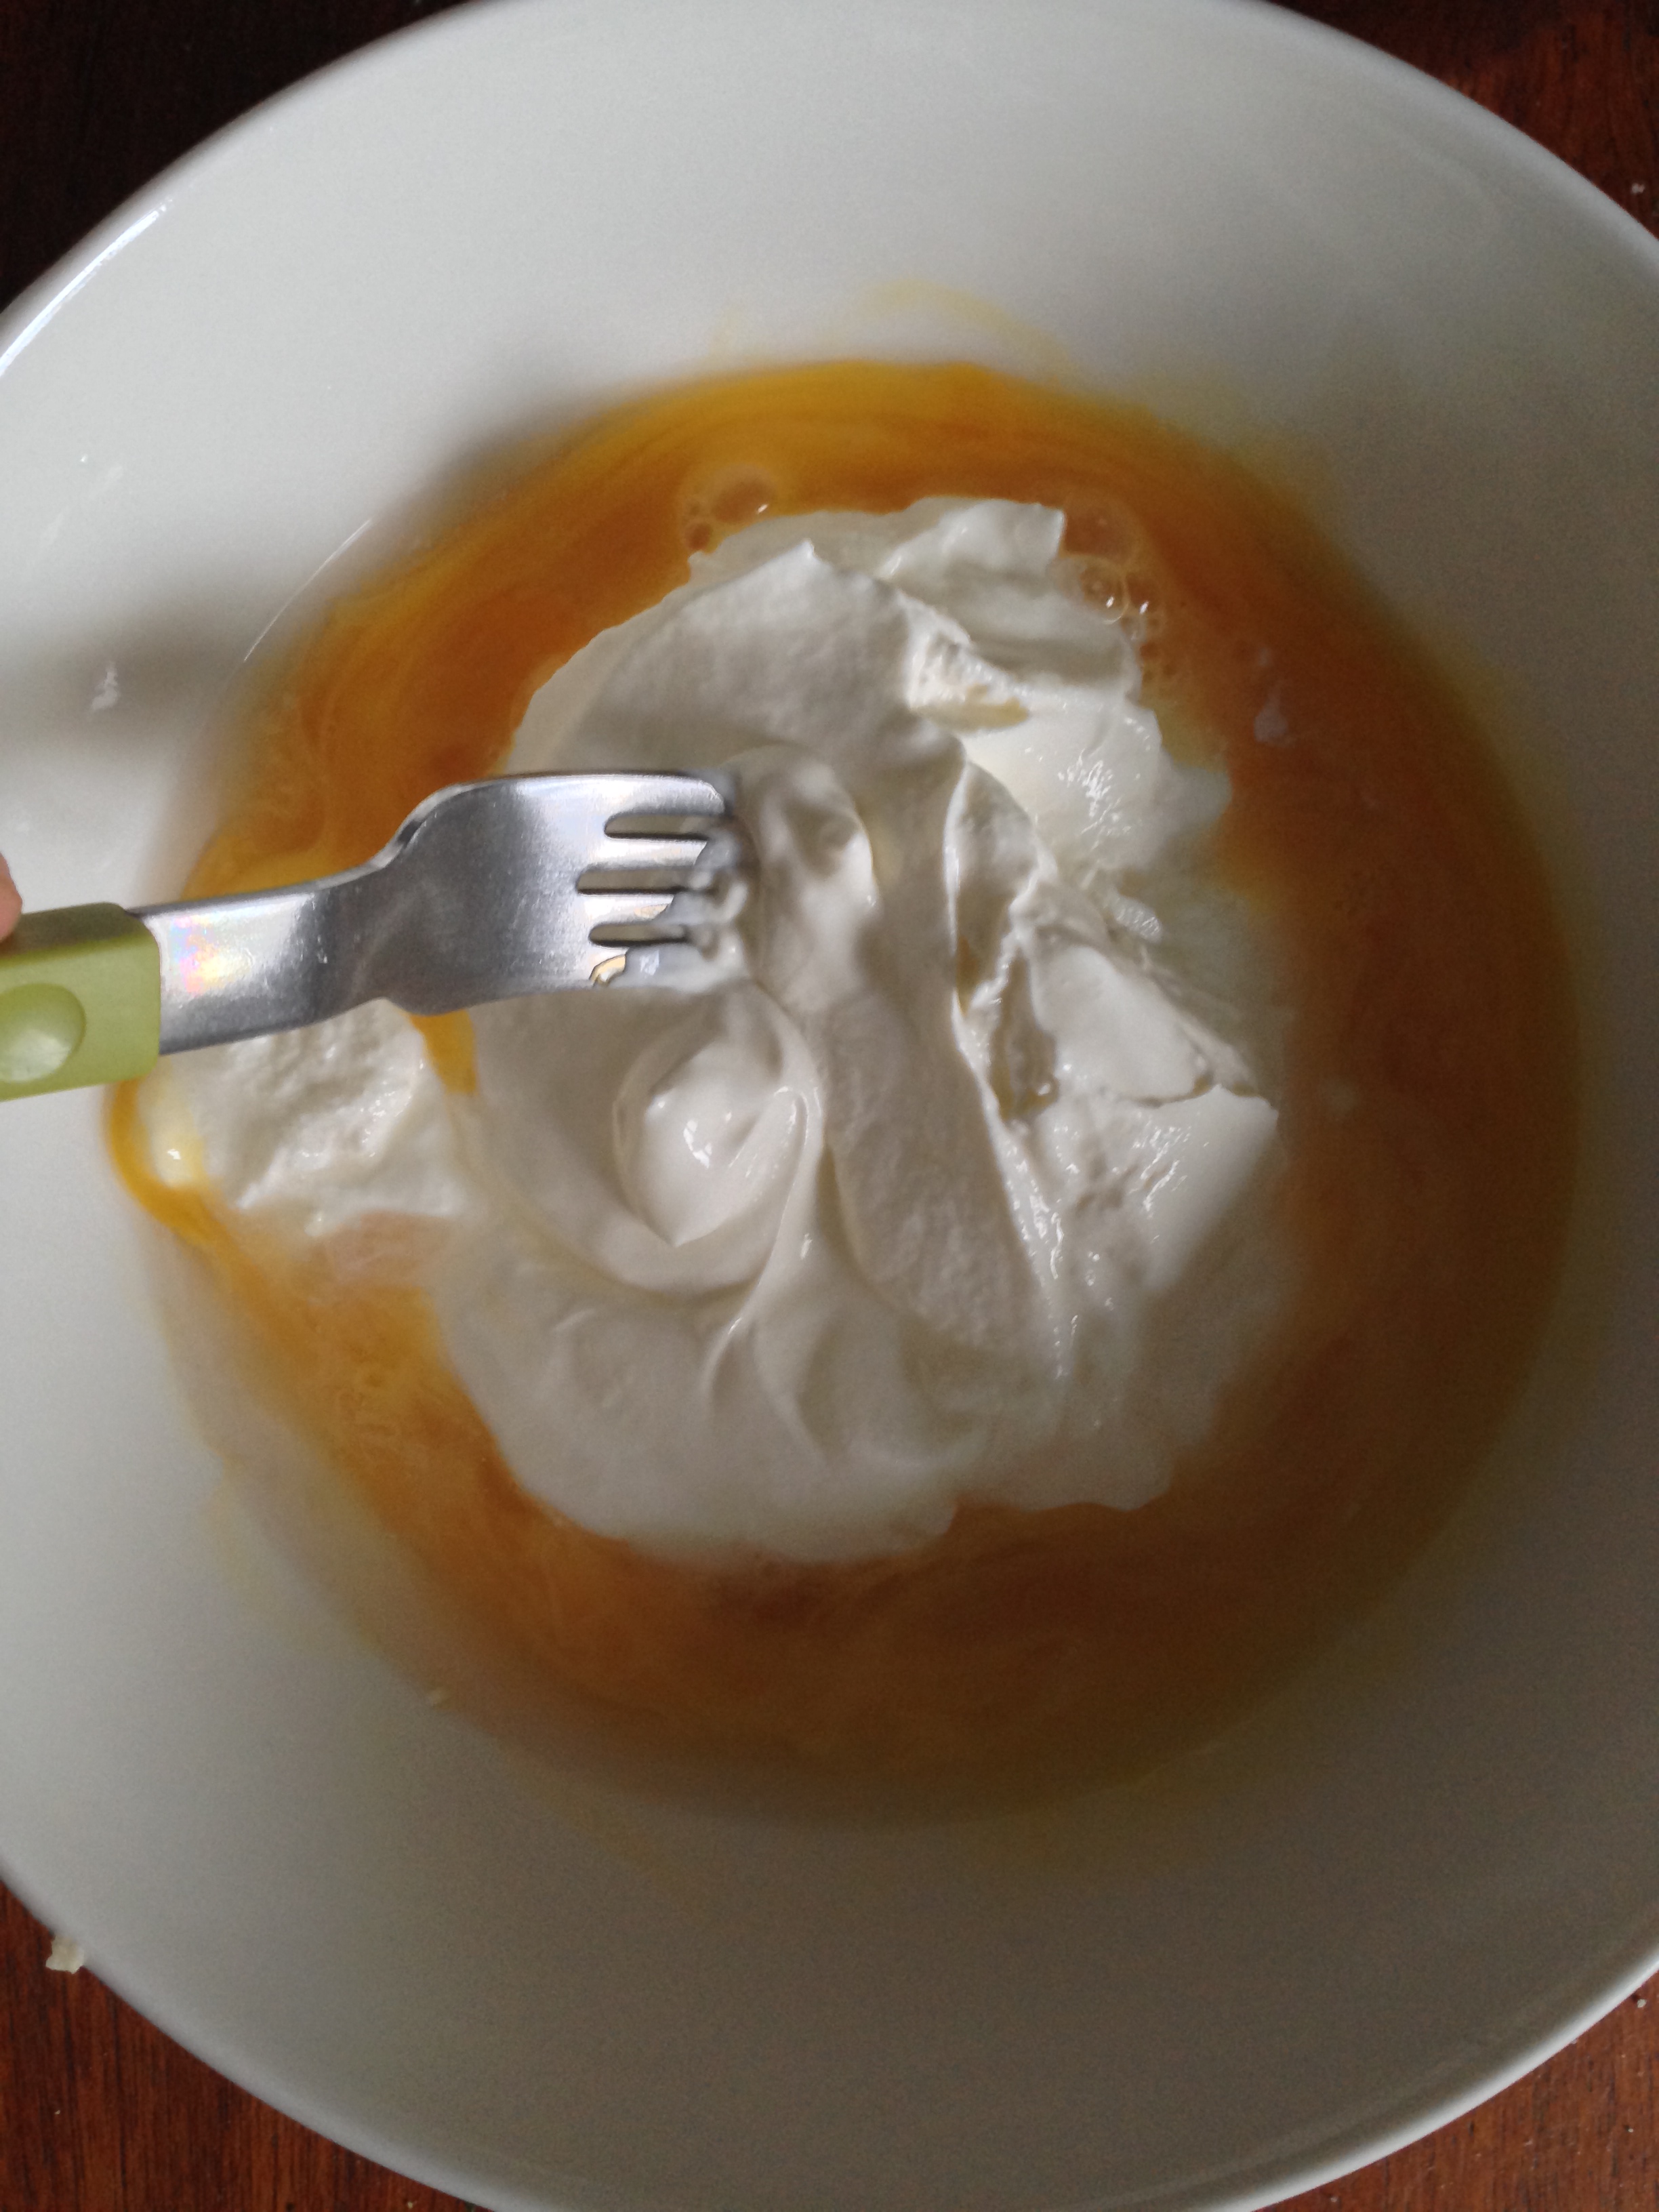
3. In a separate bowl, put the beaten egg, cold water and sour cream. Beat them well with the help of a fork (or another tool, like a whisk).
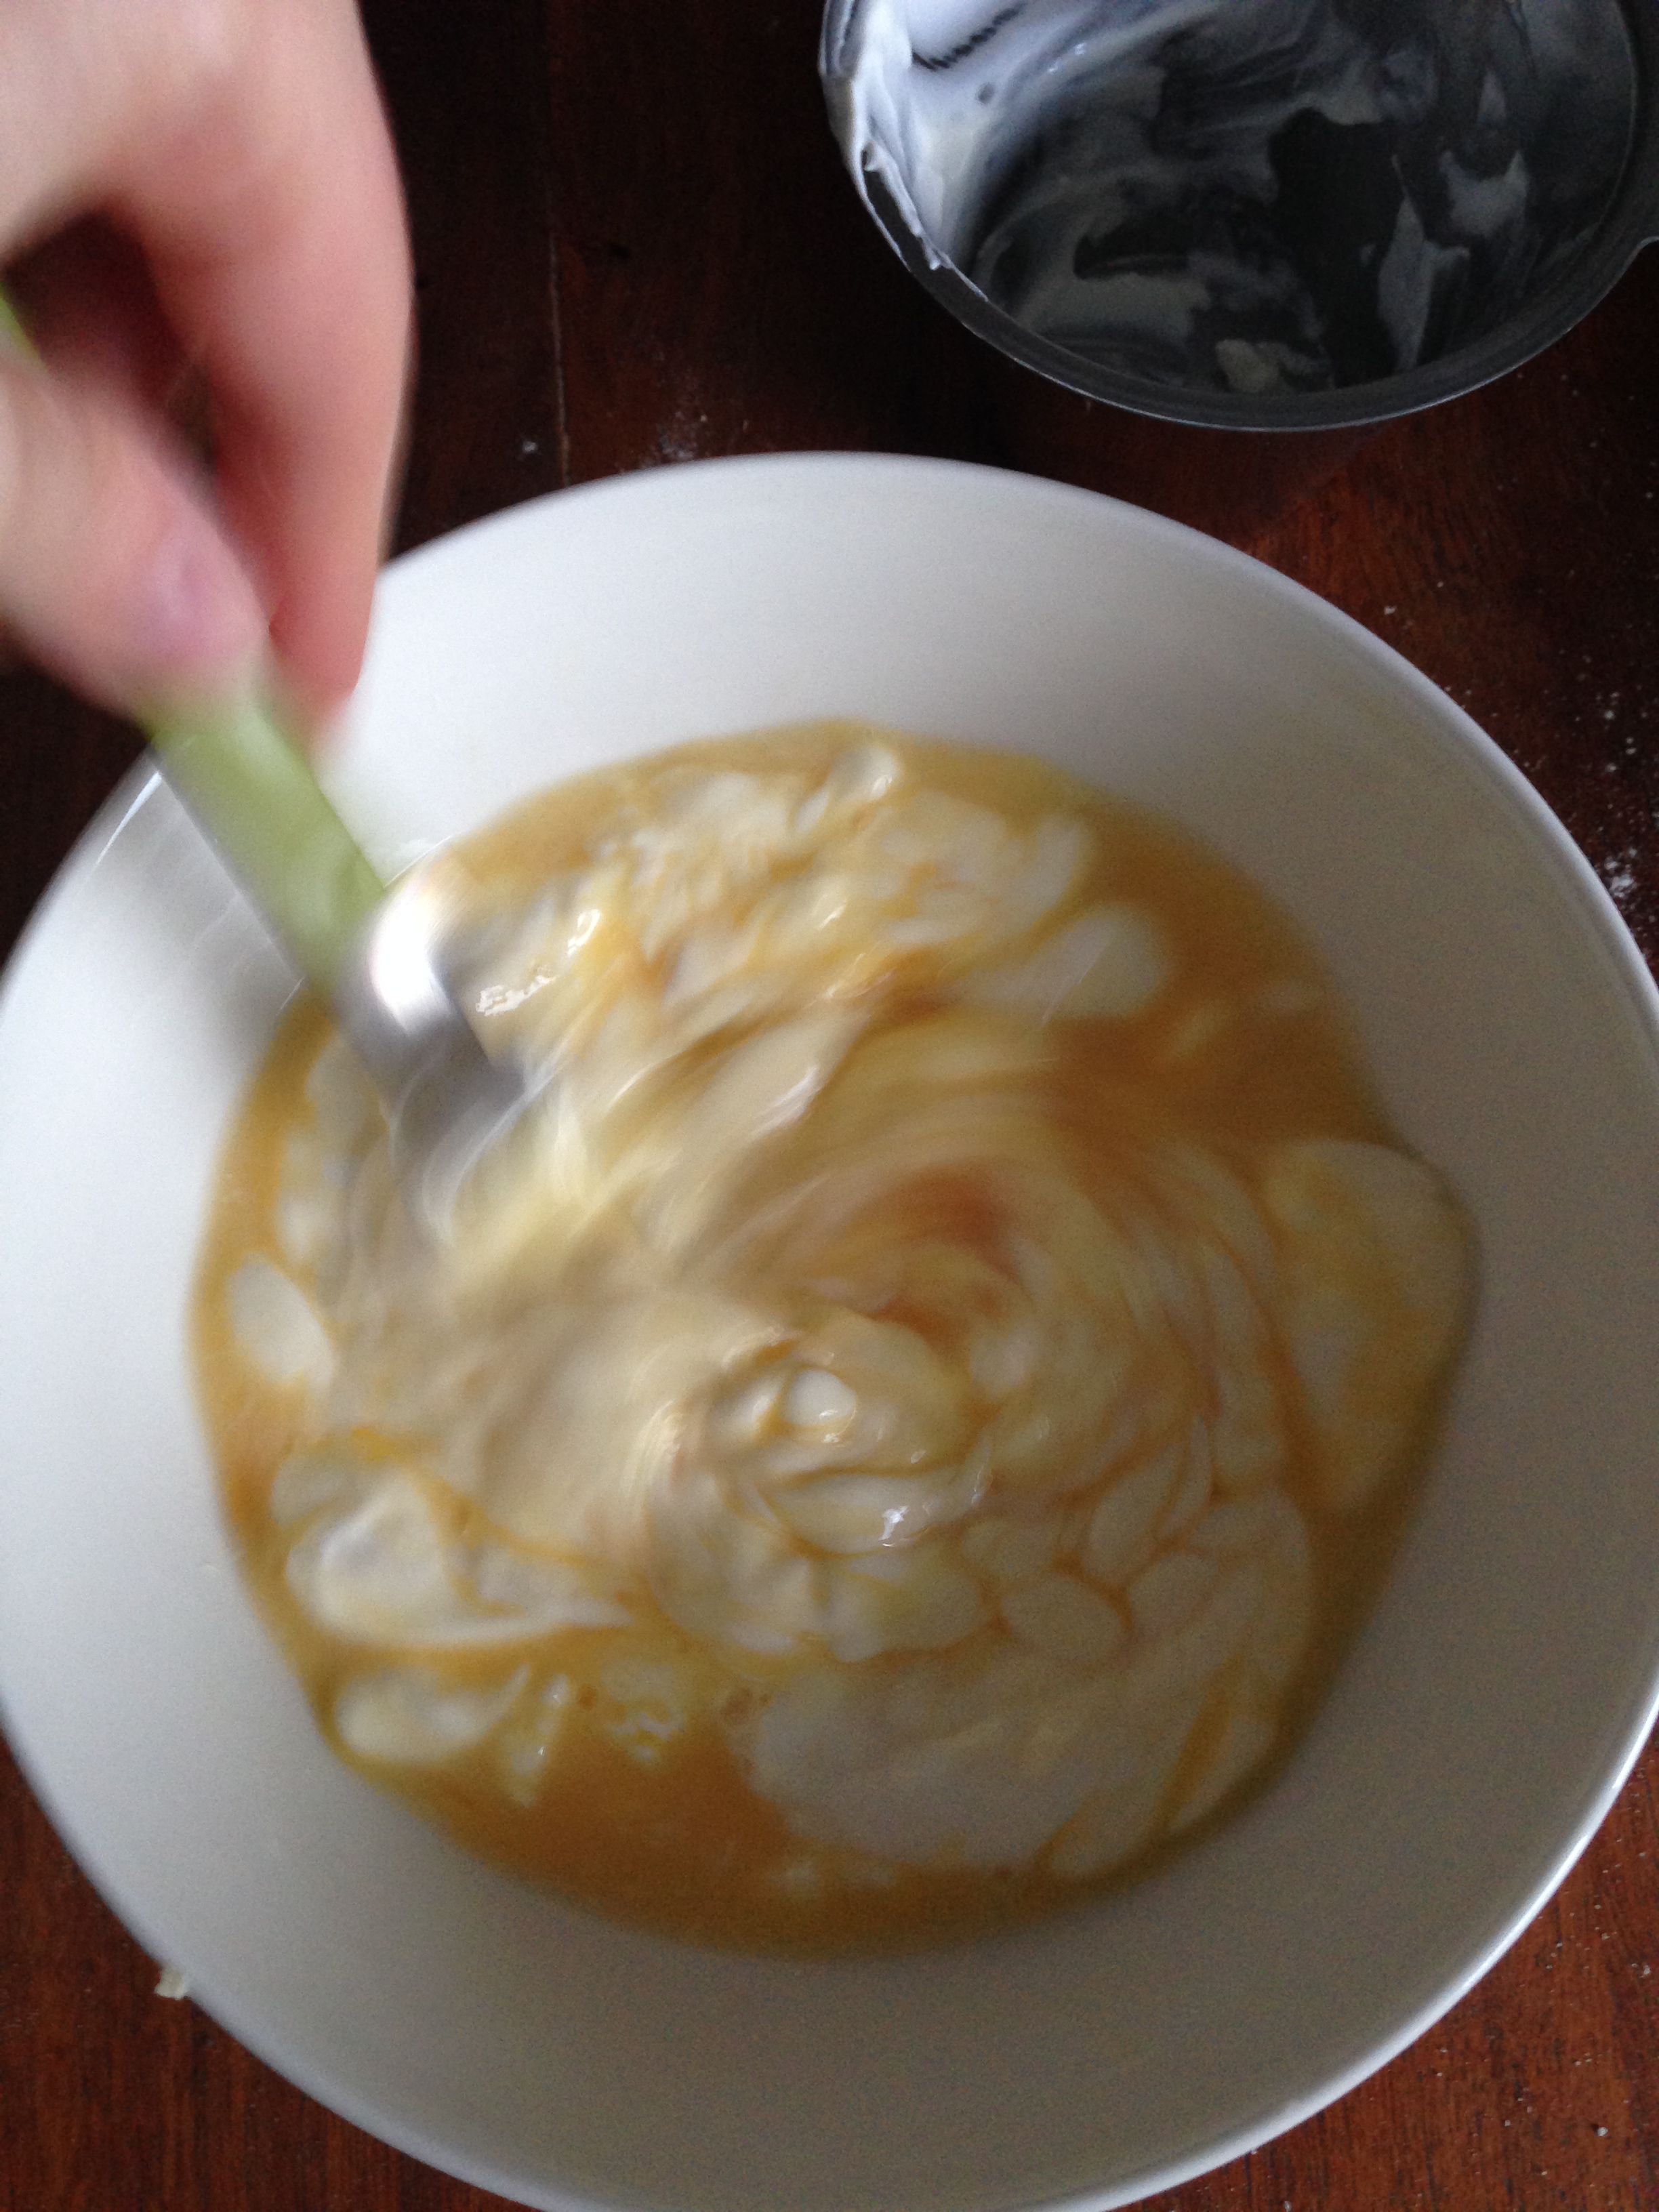
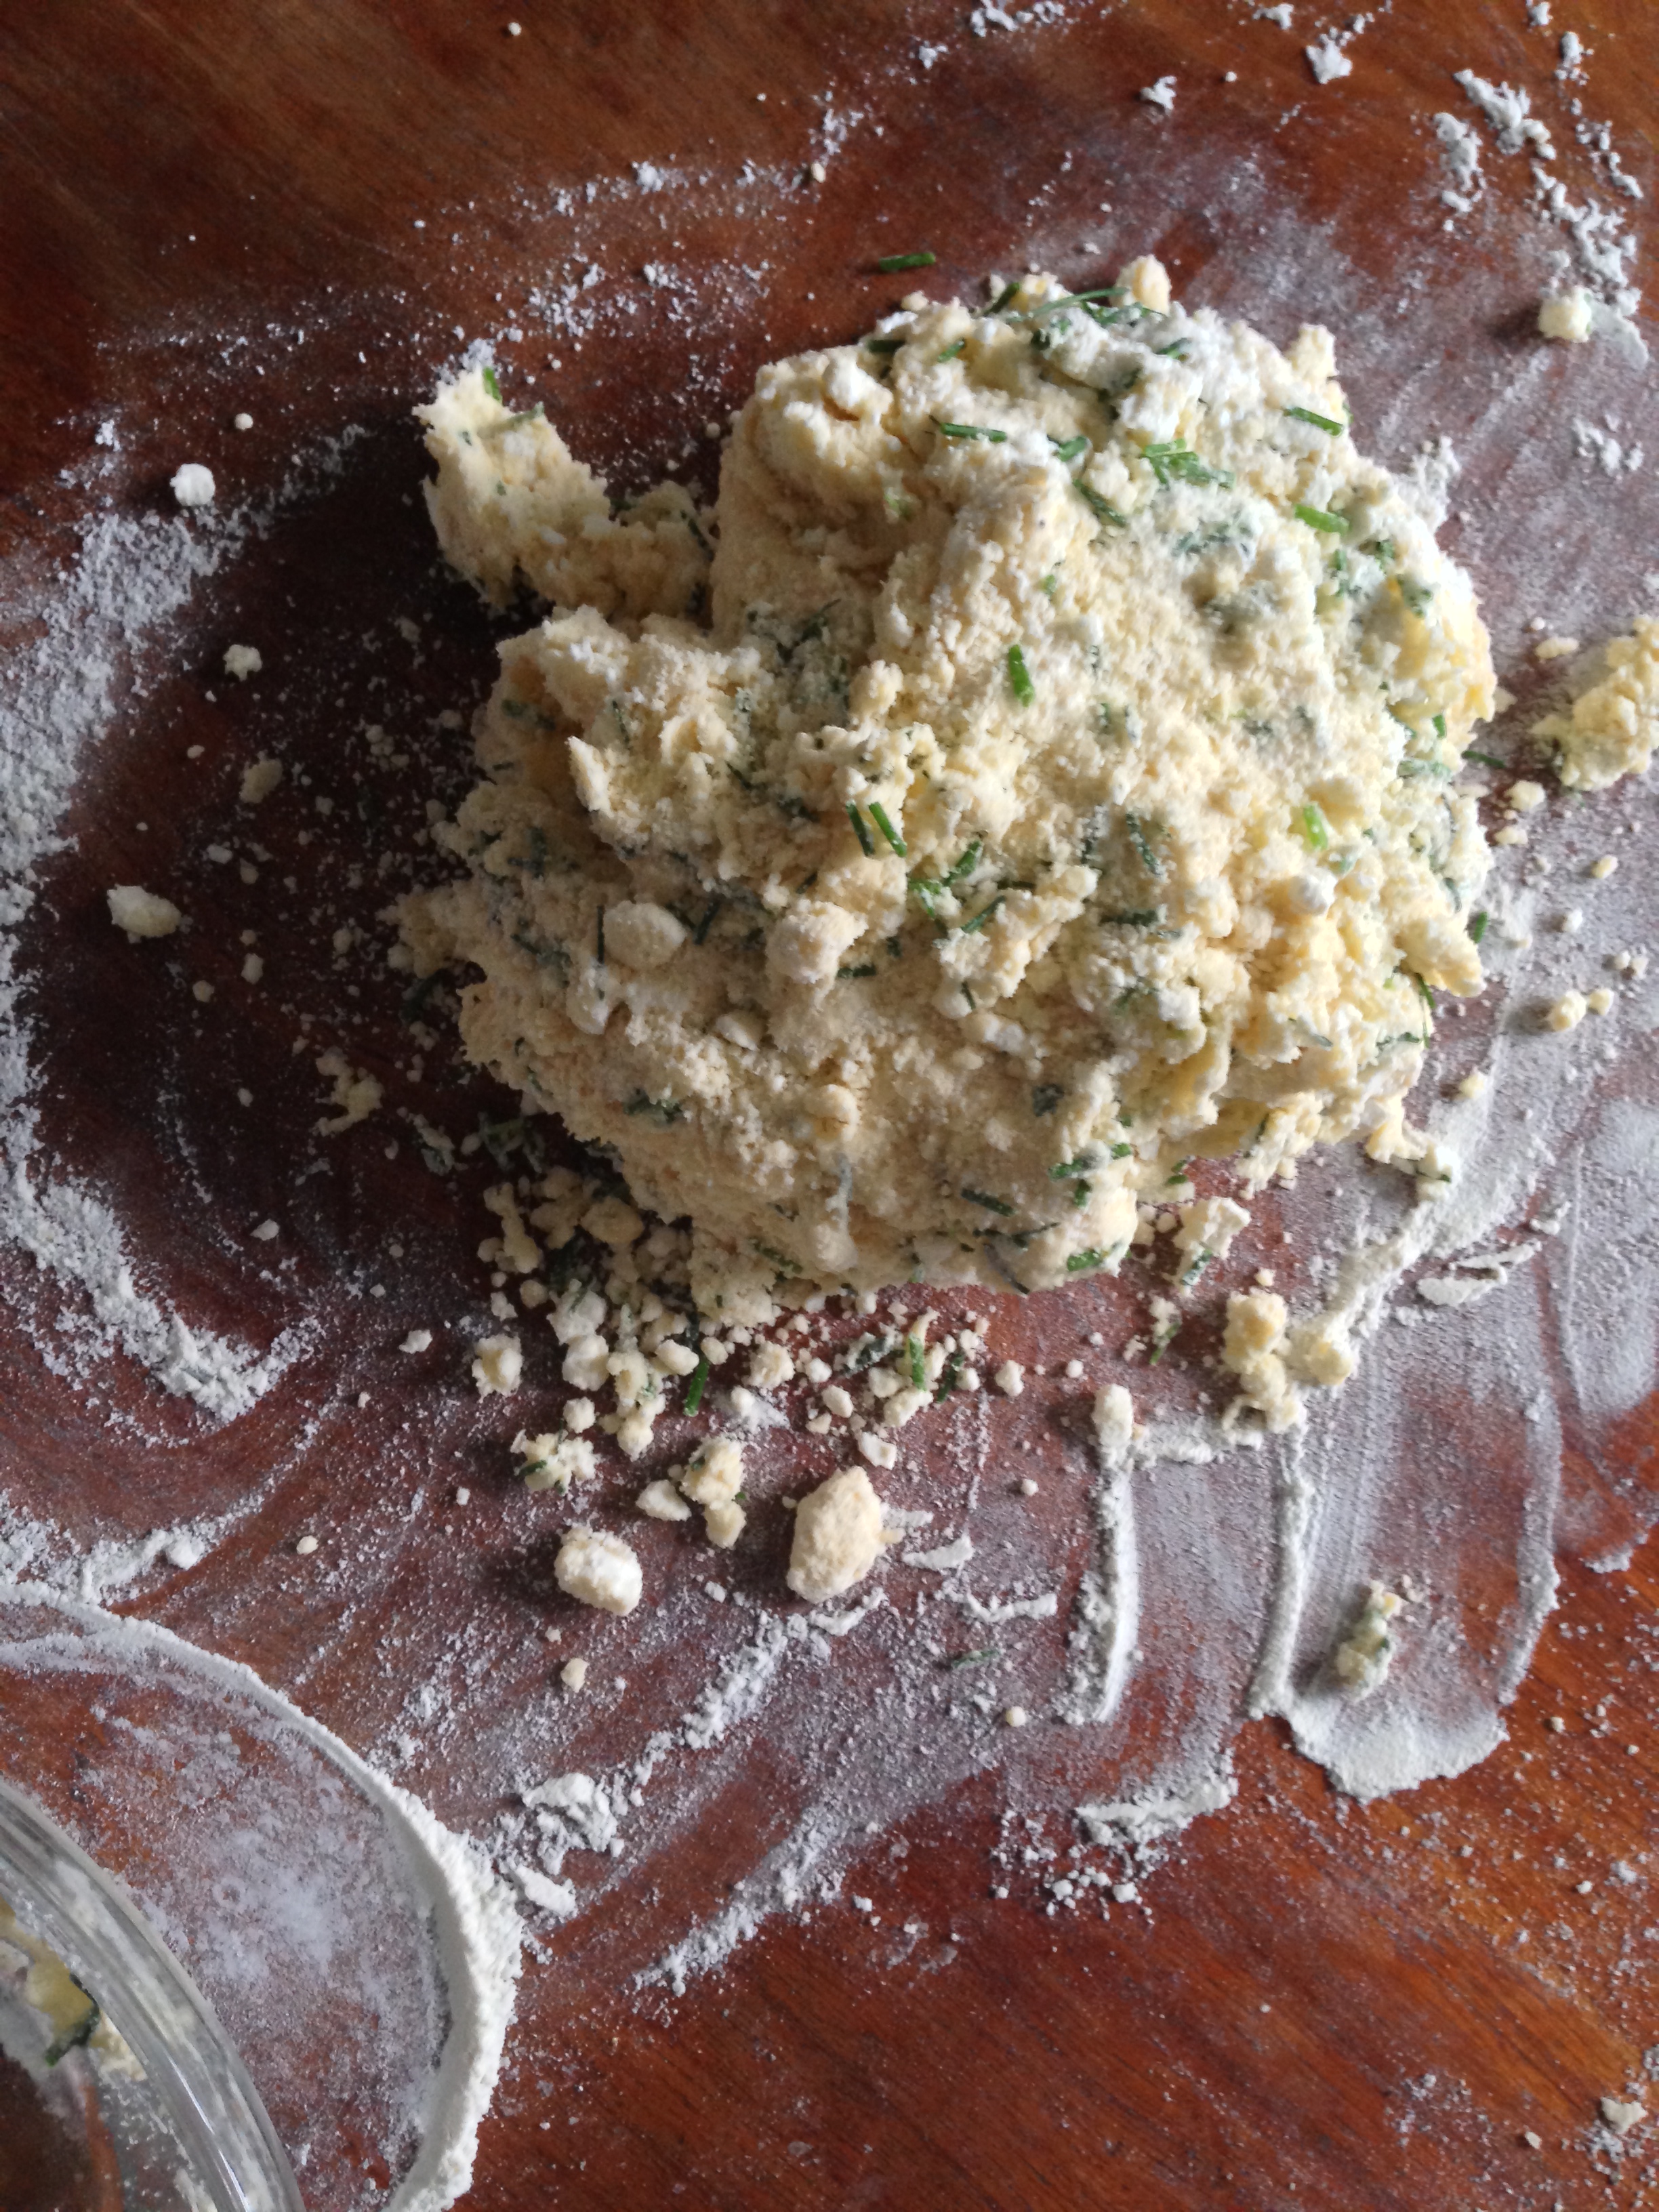
4. Add the wet ingredients to the dry ones and mix them again with a fork or with a whisk, until they are blended well together. It should look sticky as the picture, do not try to have a smooth result.

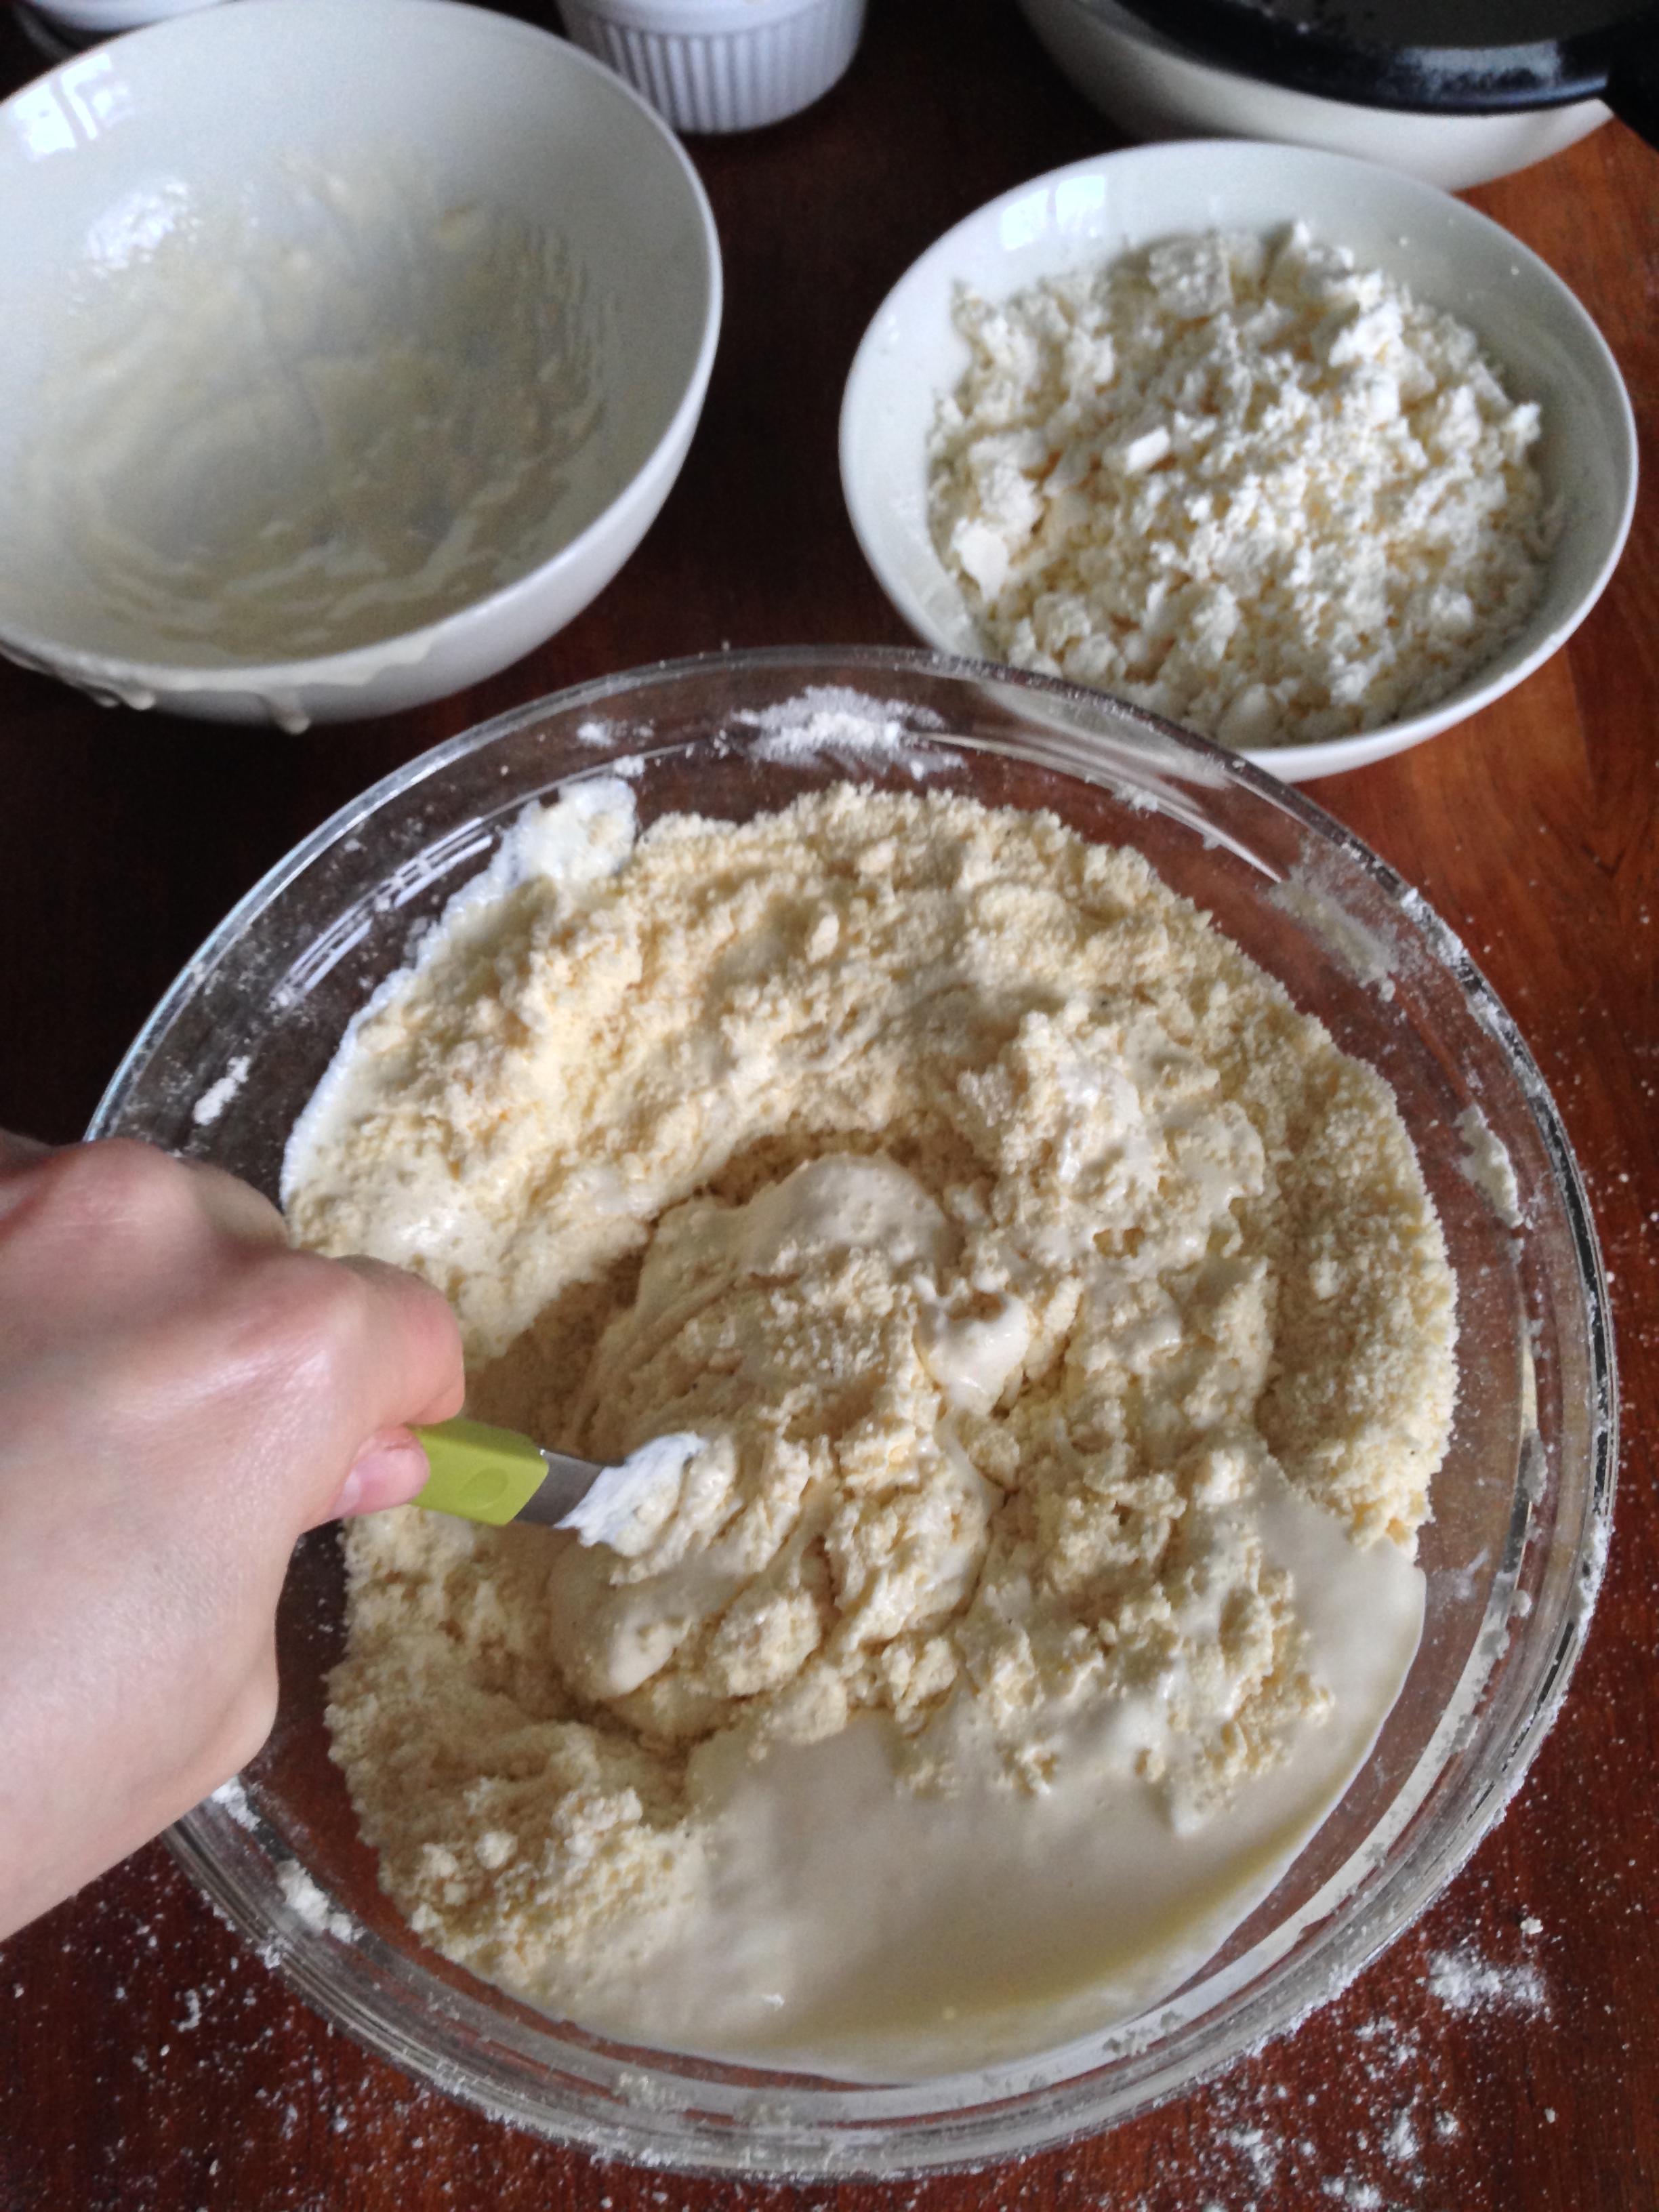
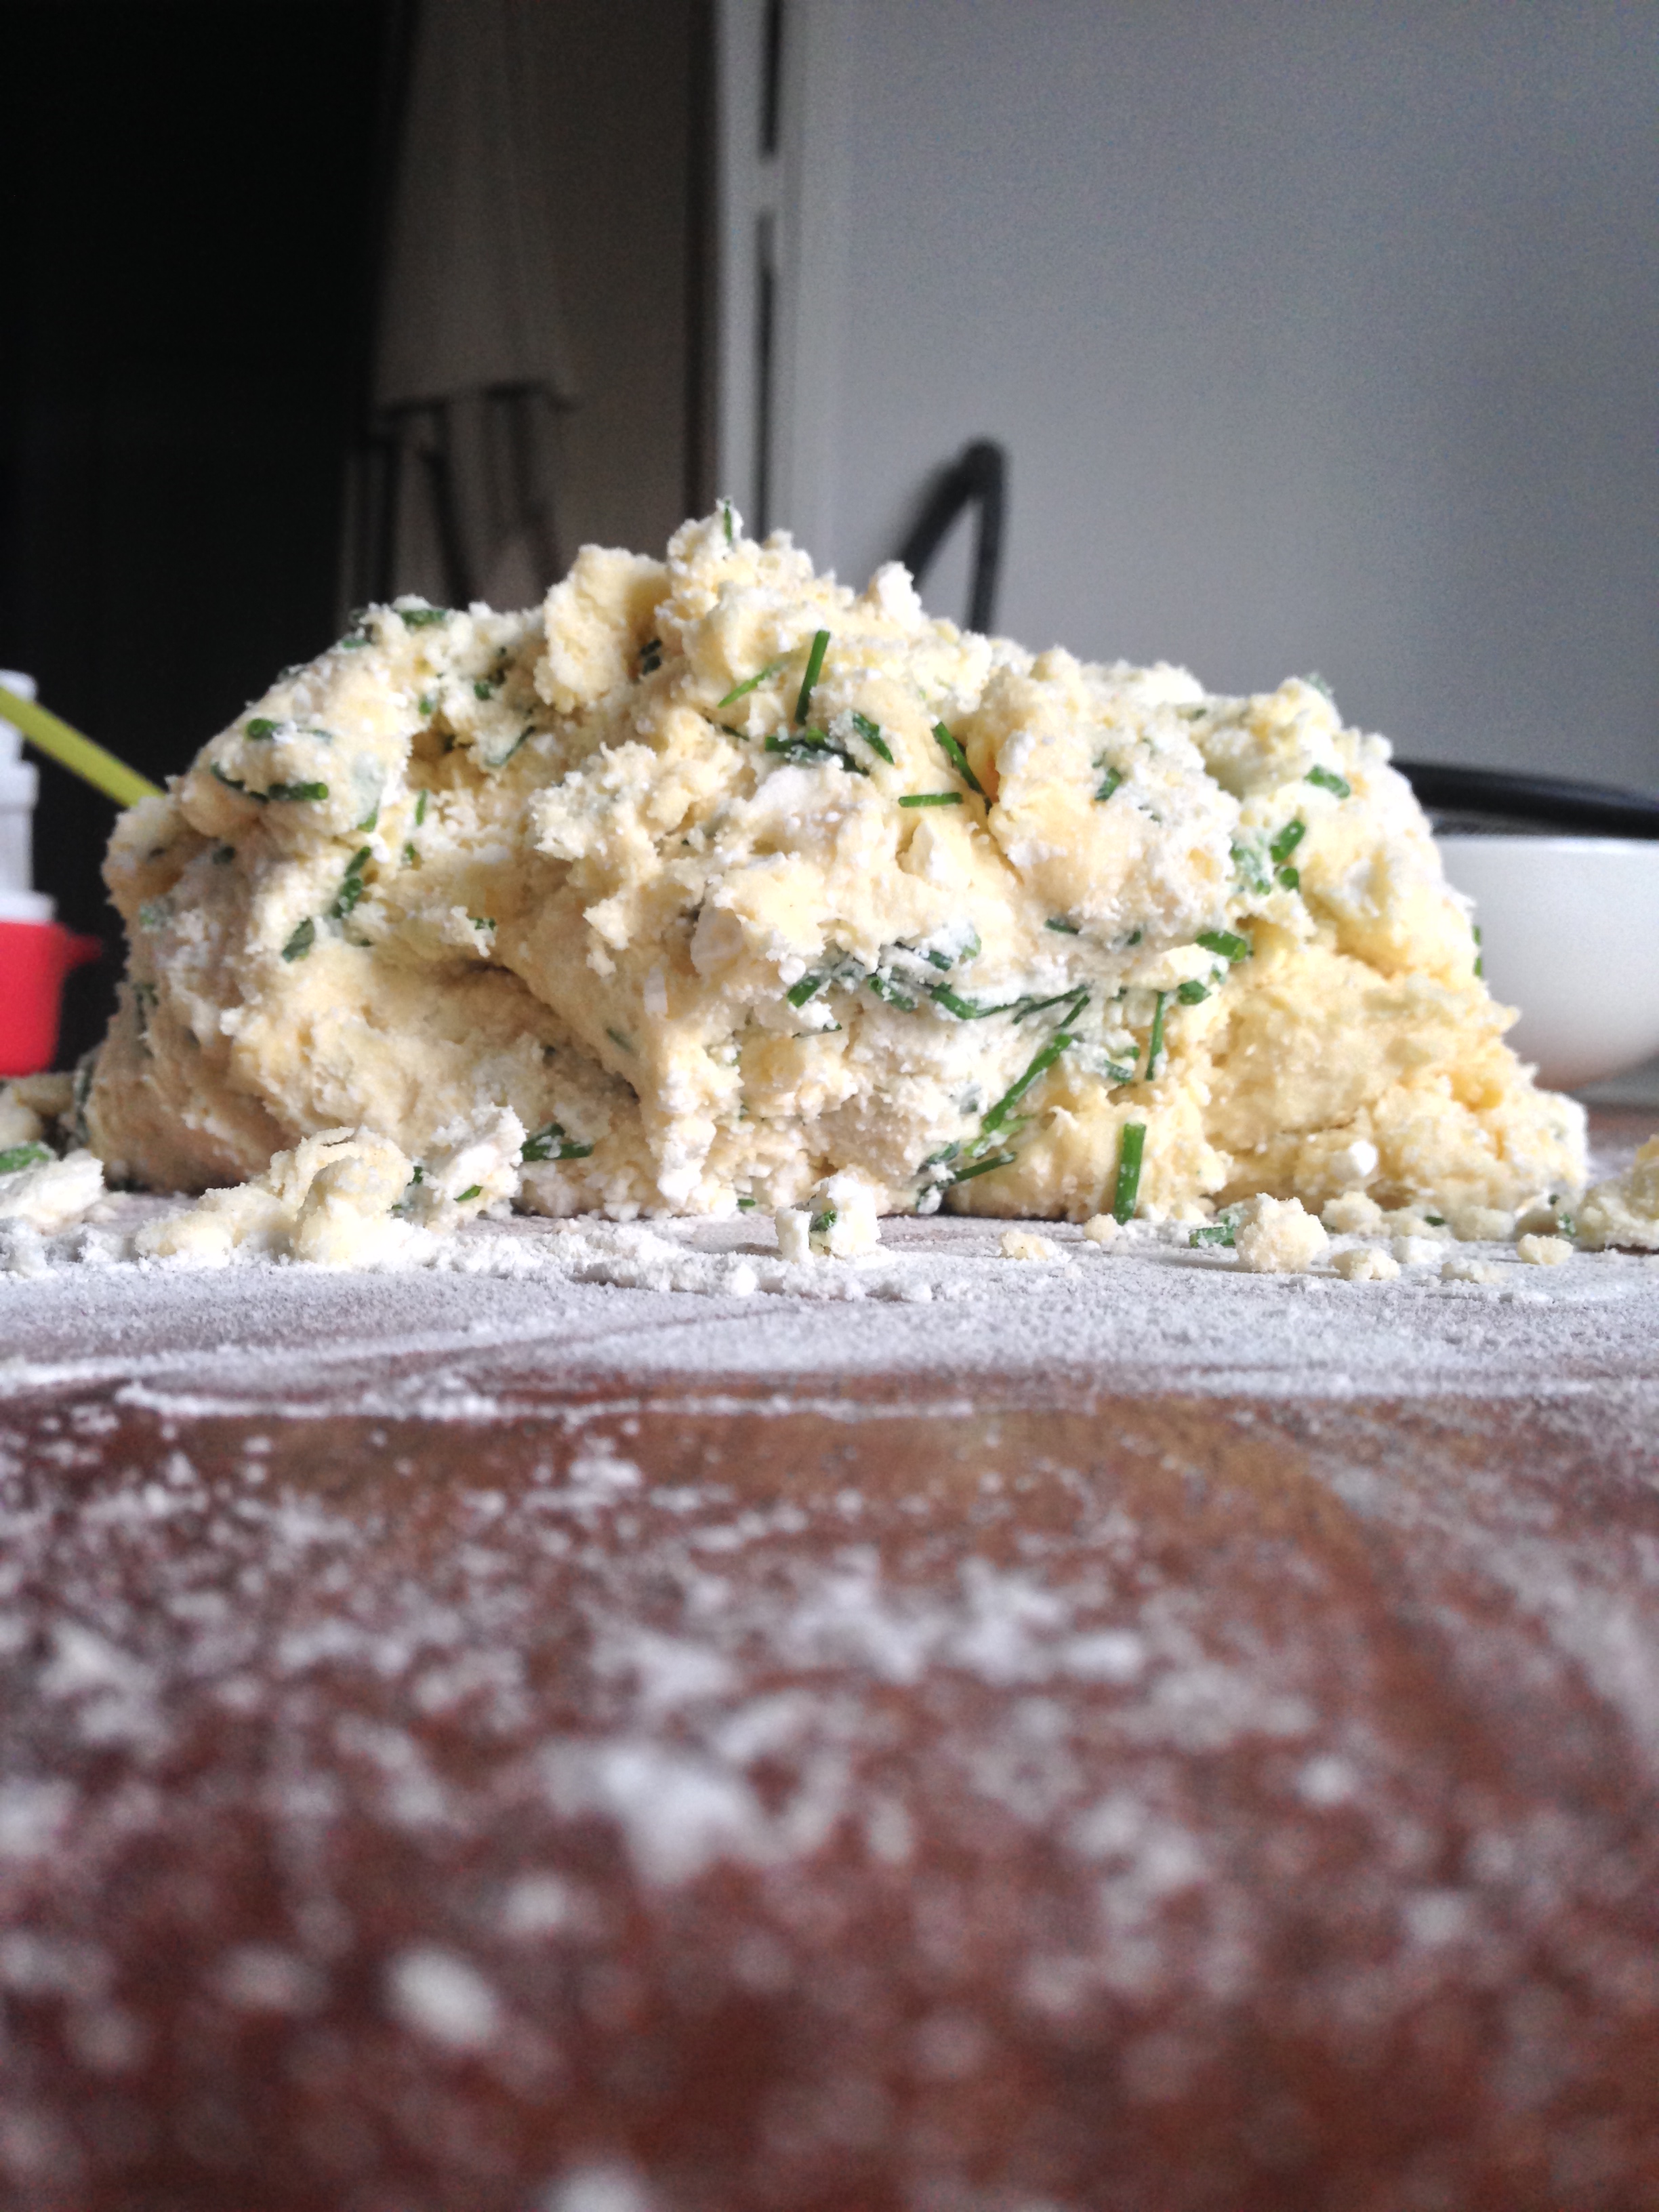
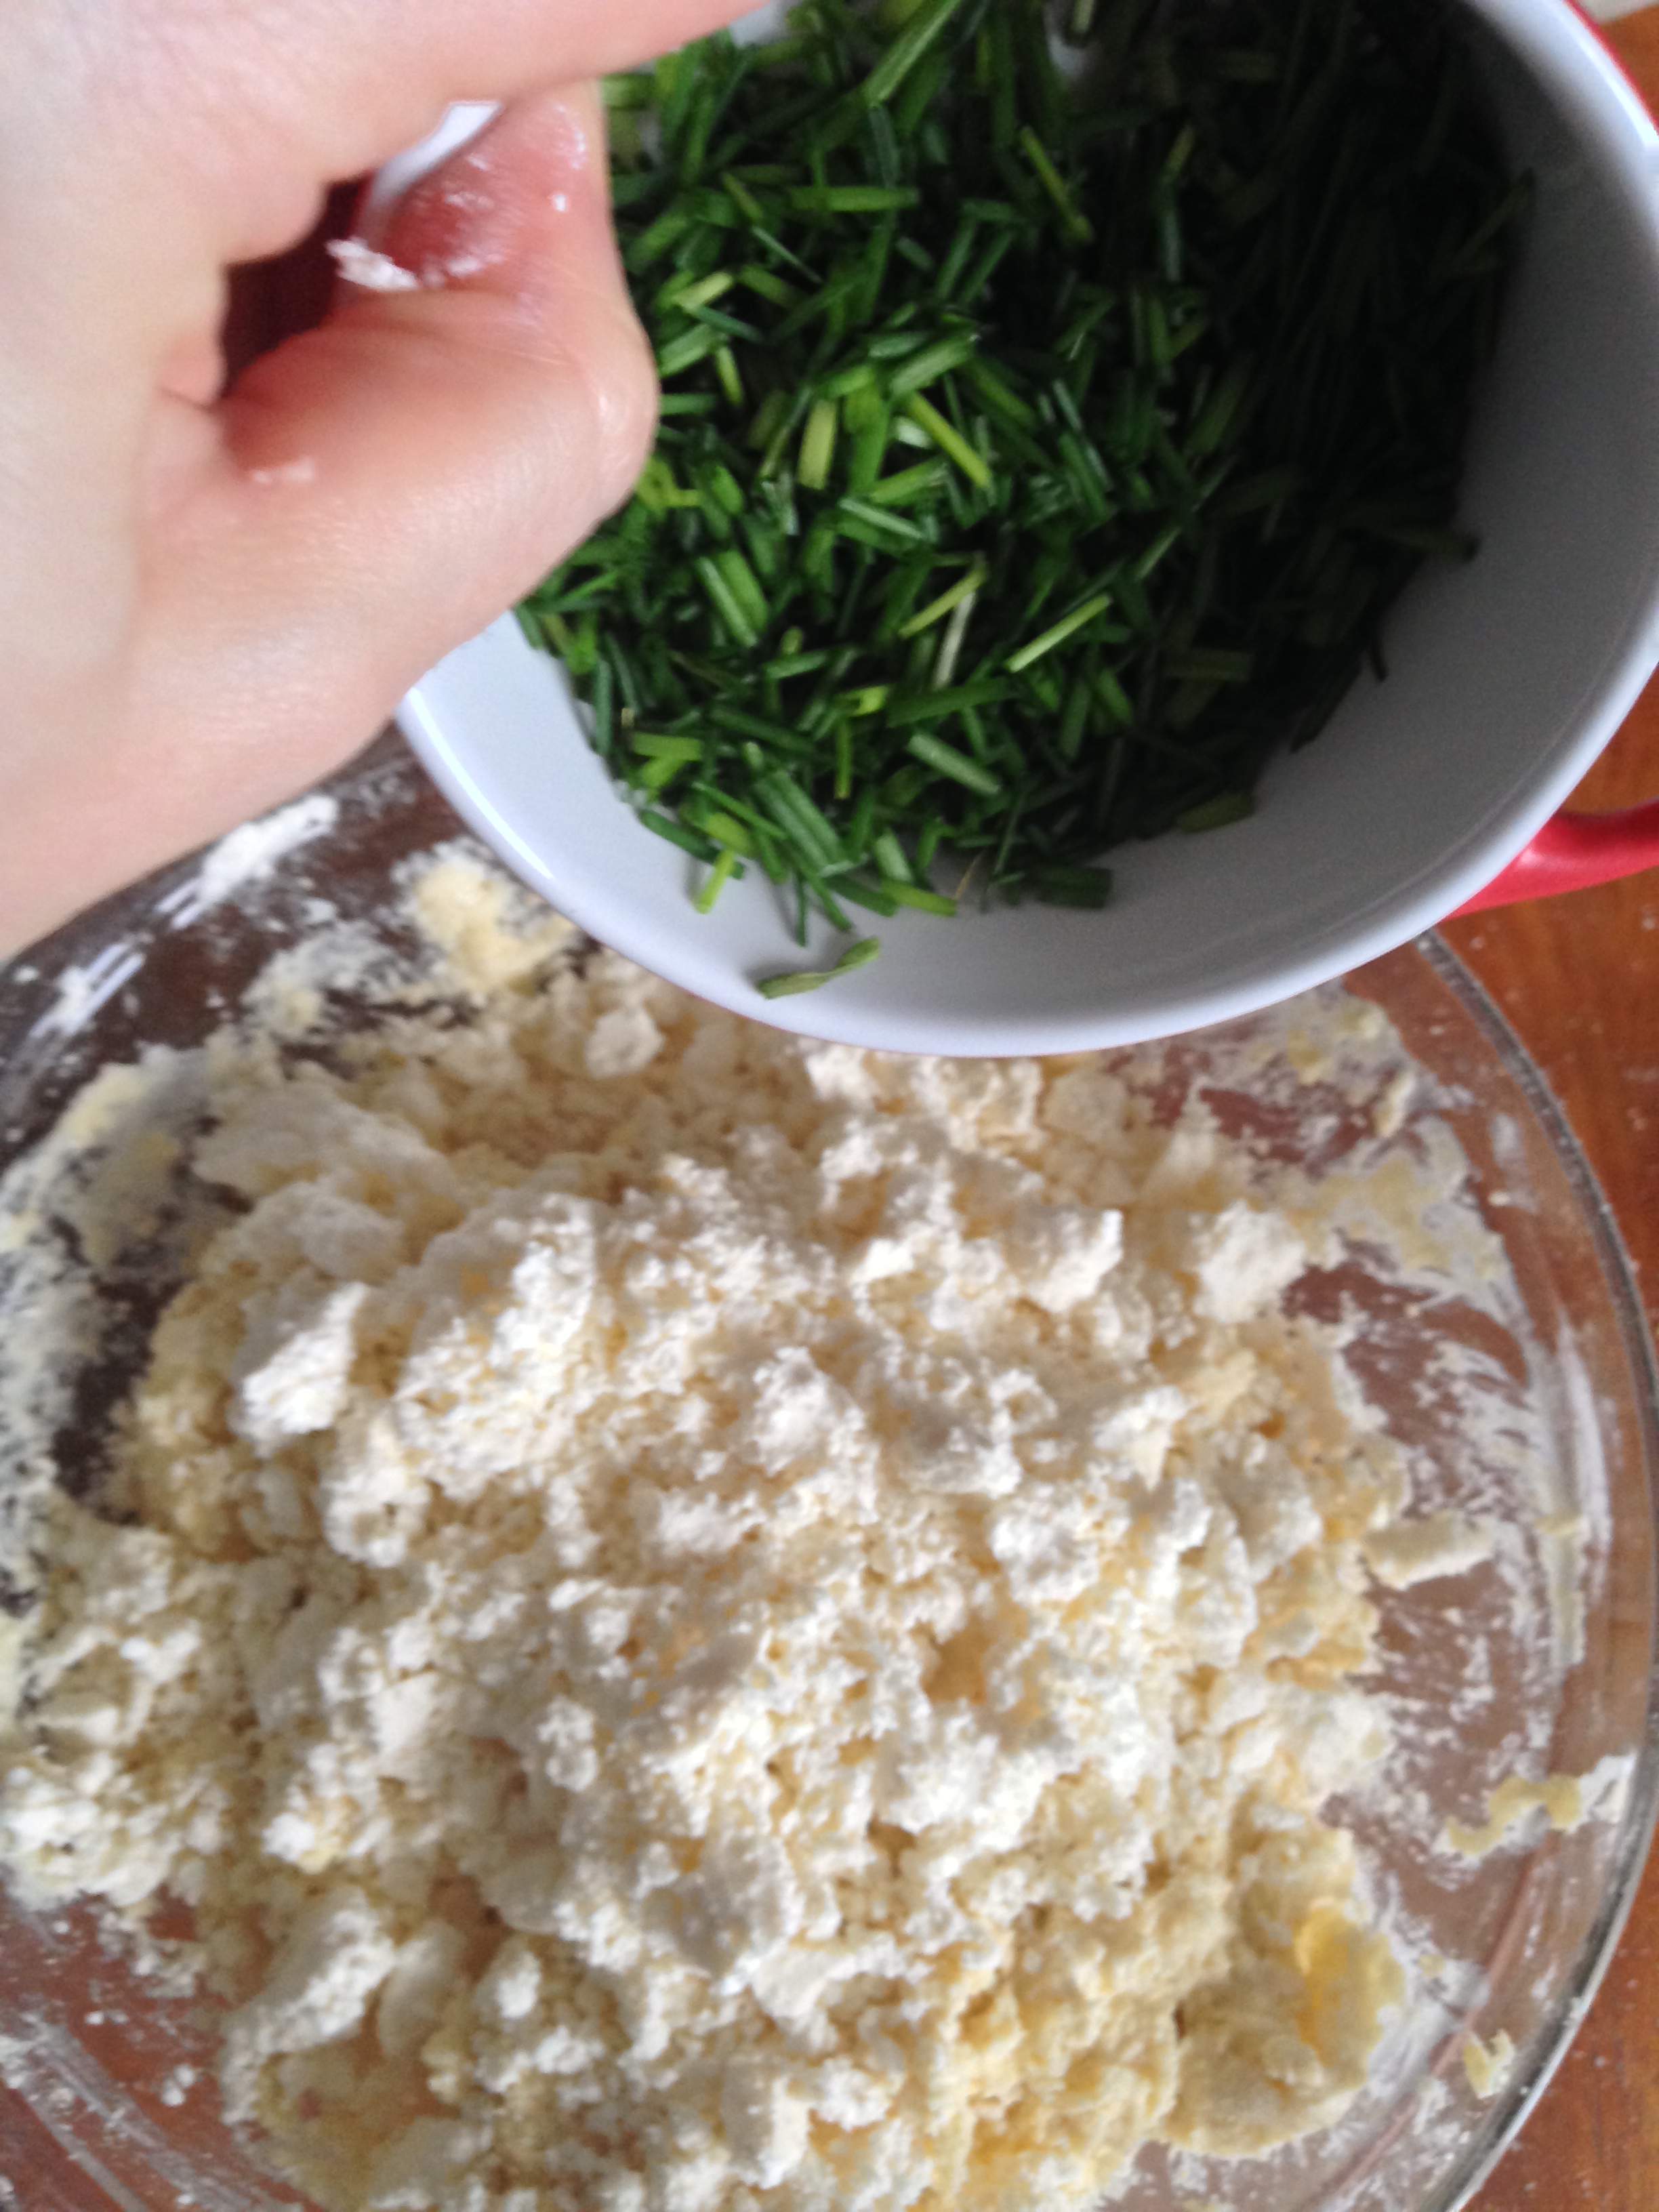
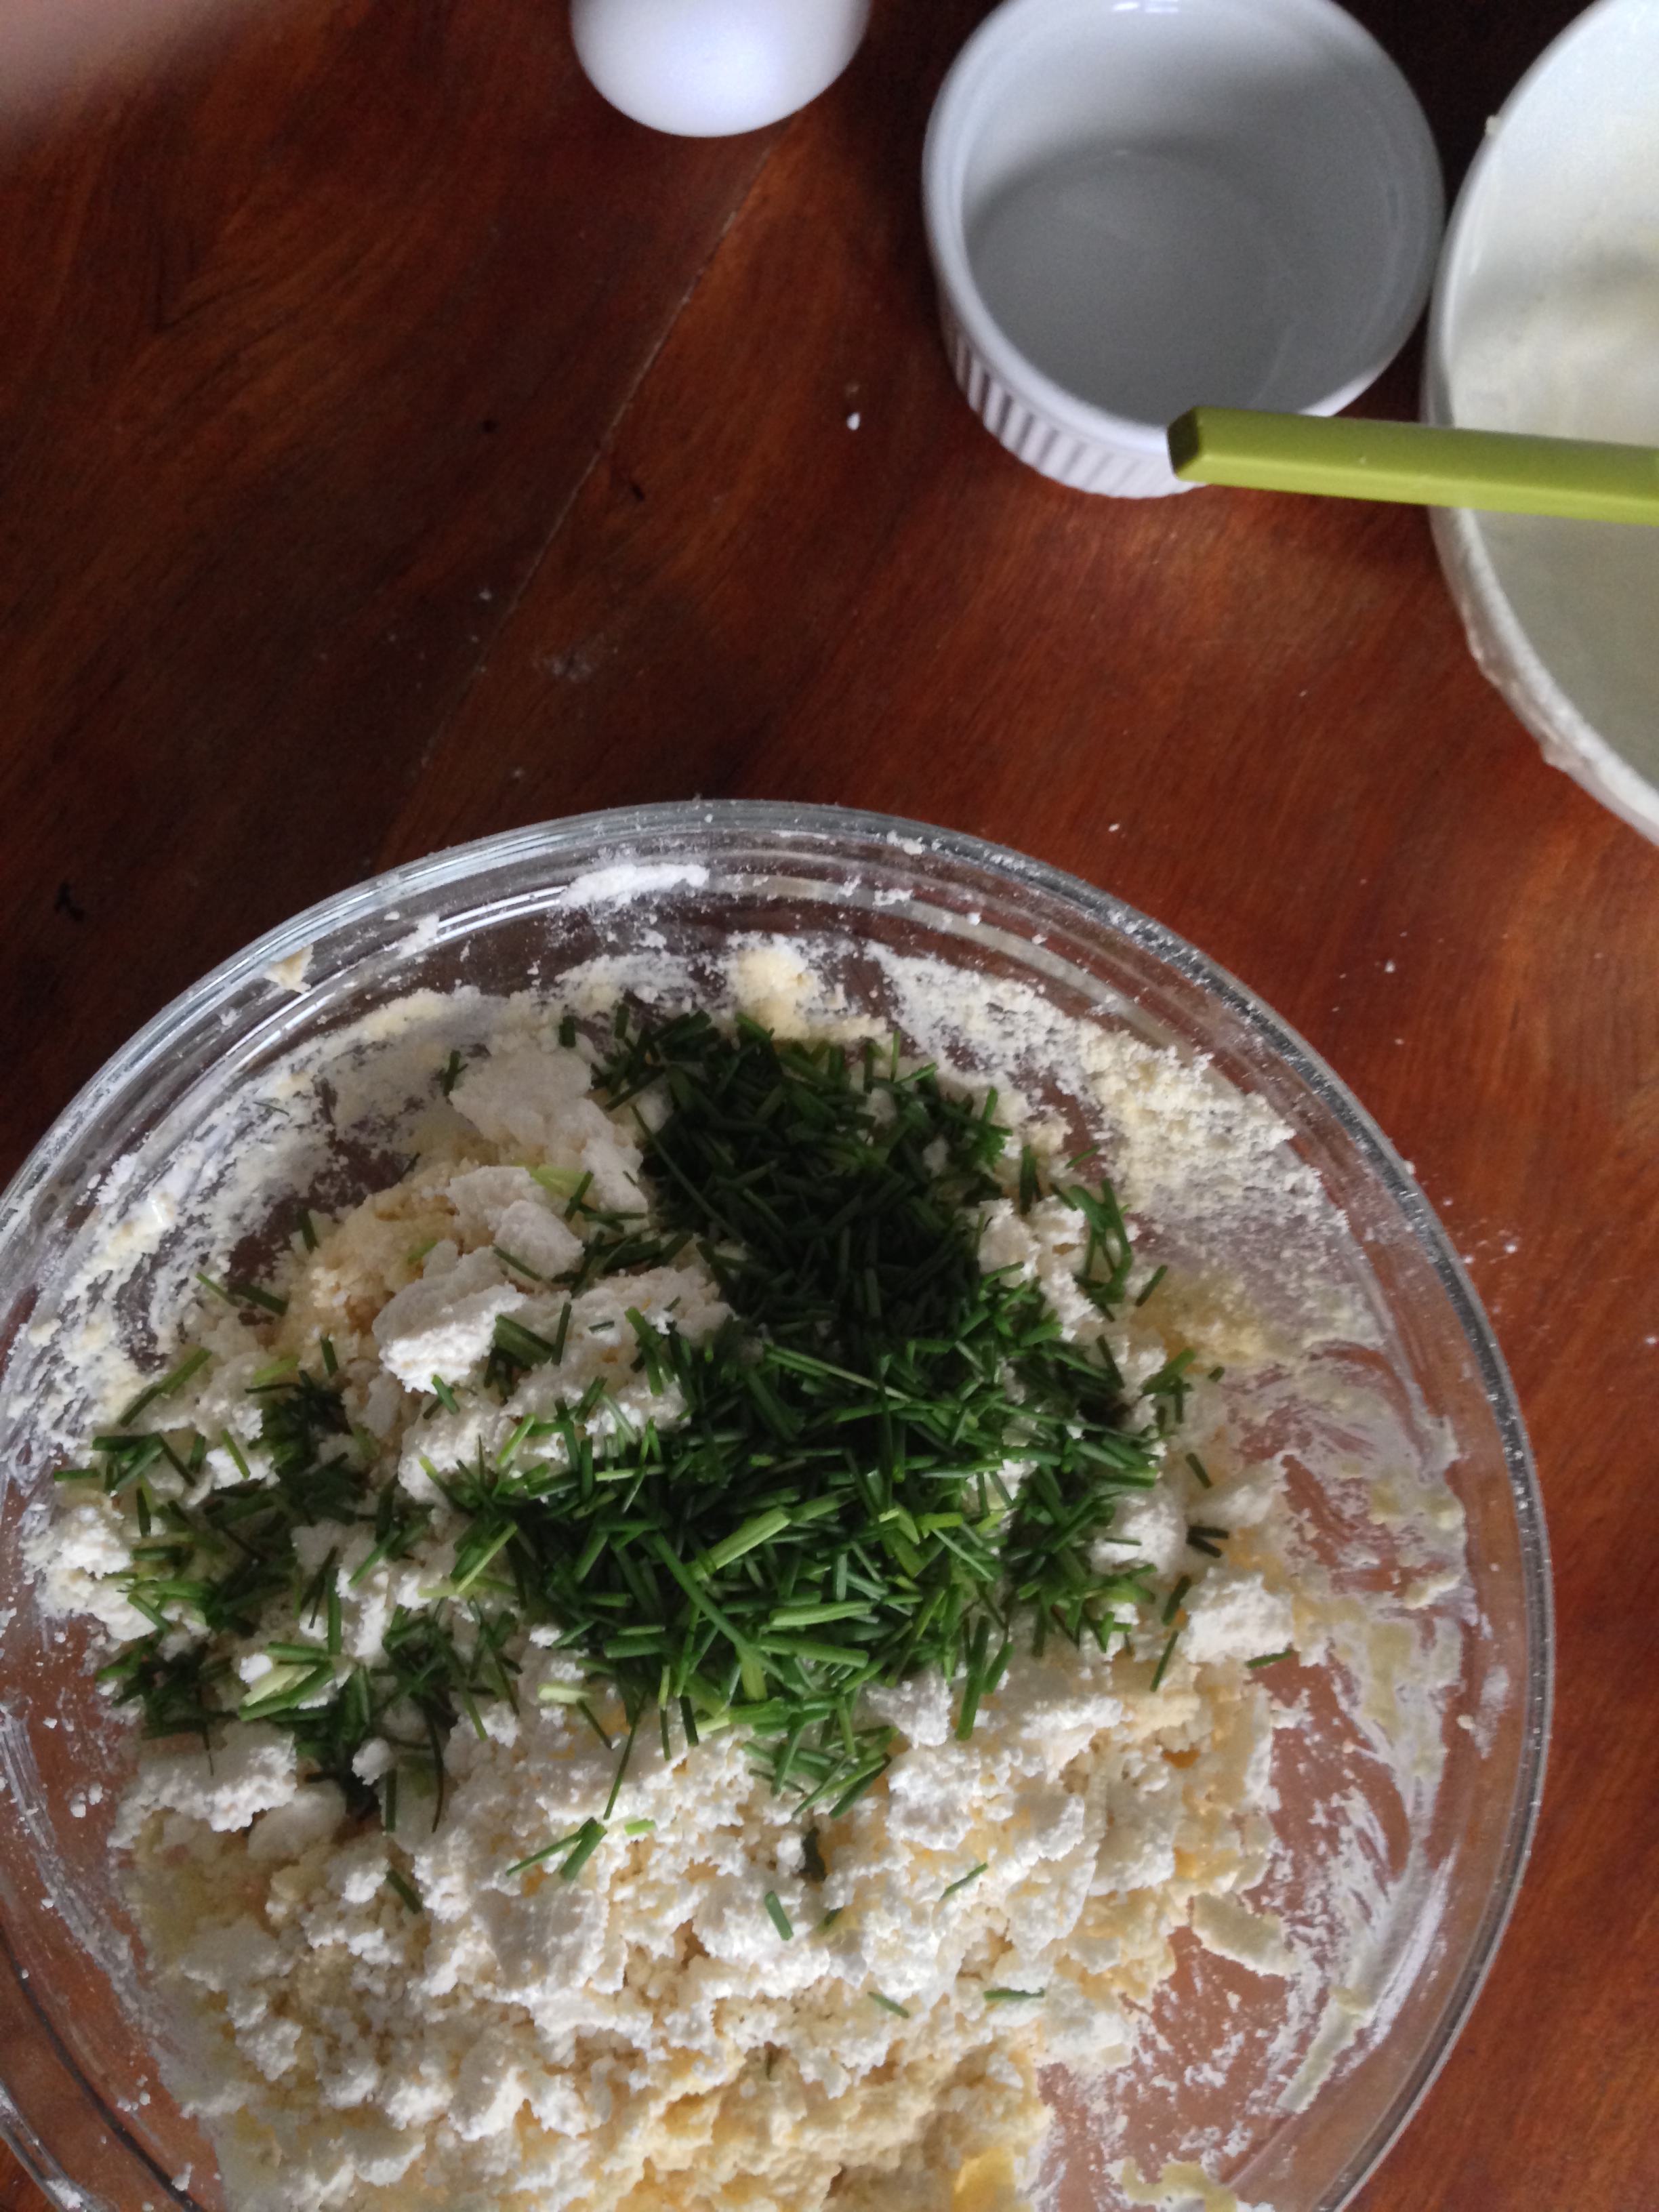
5. Add crumbled feta and chopped chives to the flour mixture and just mix 1-2 times to get them altogether.

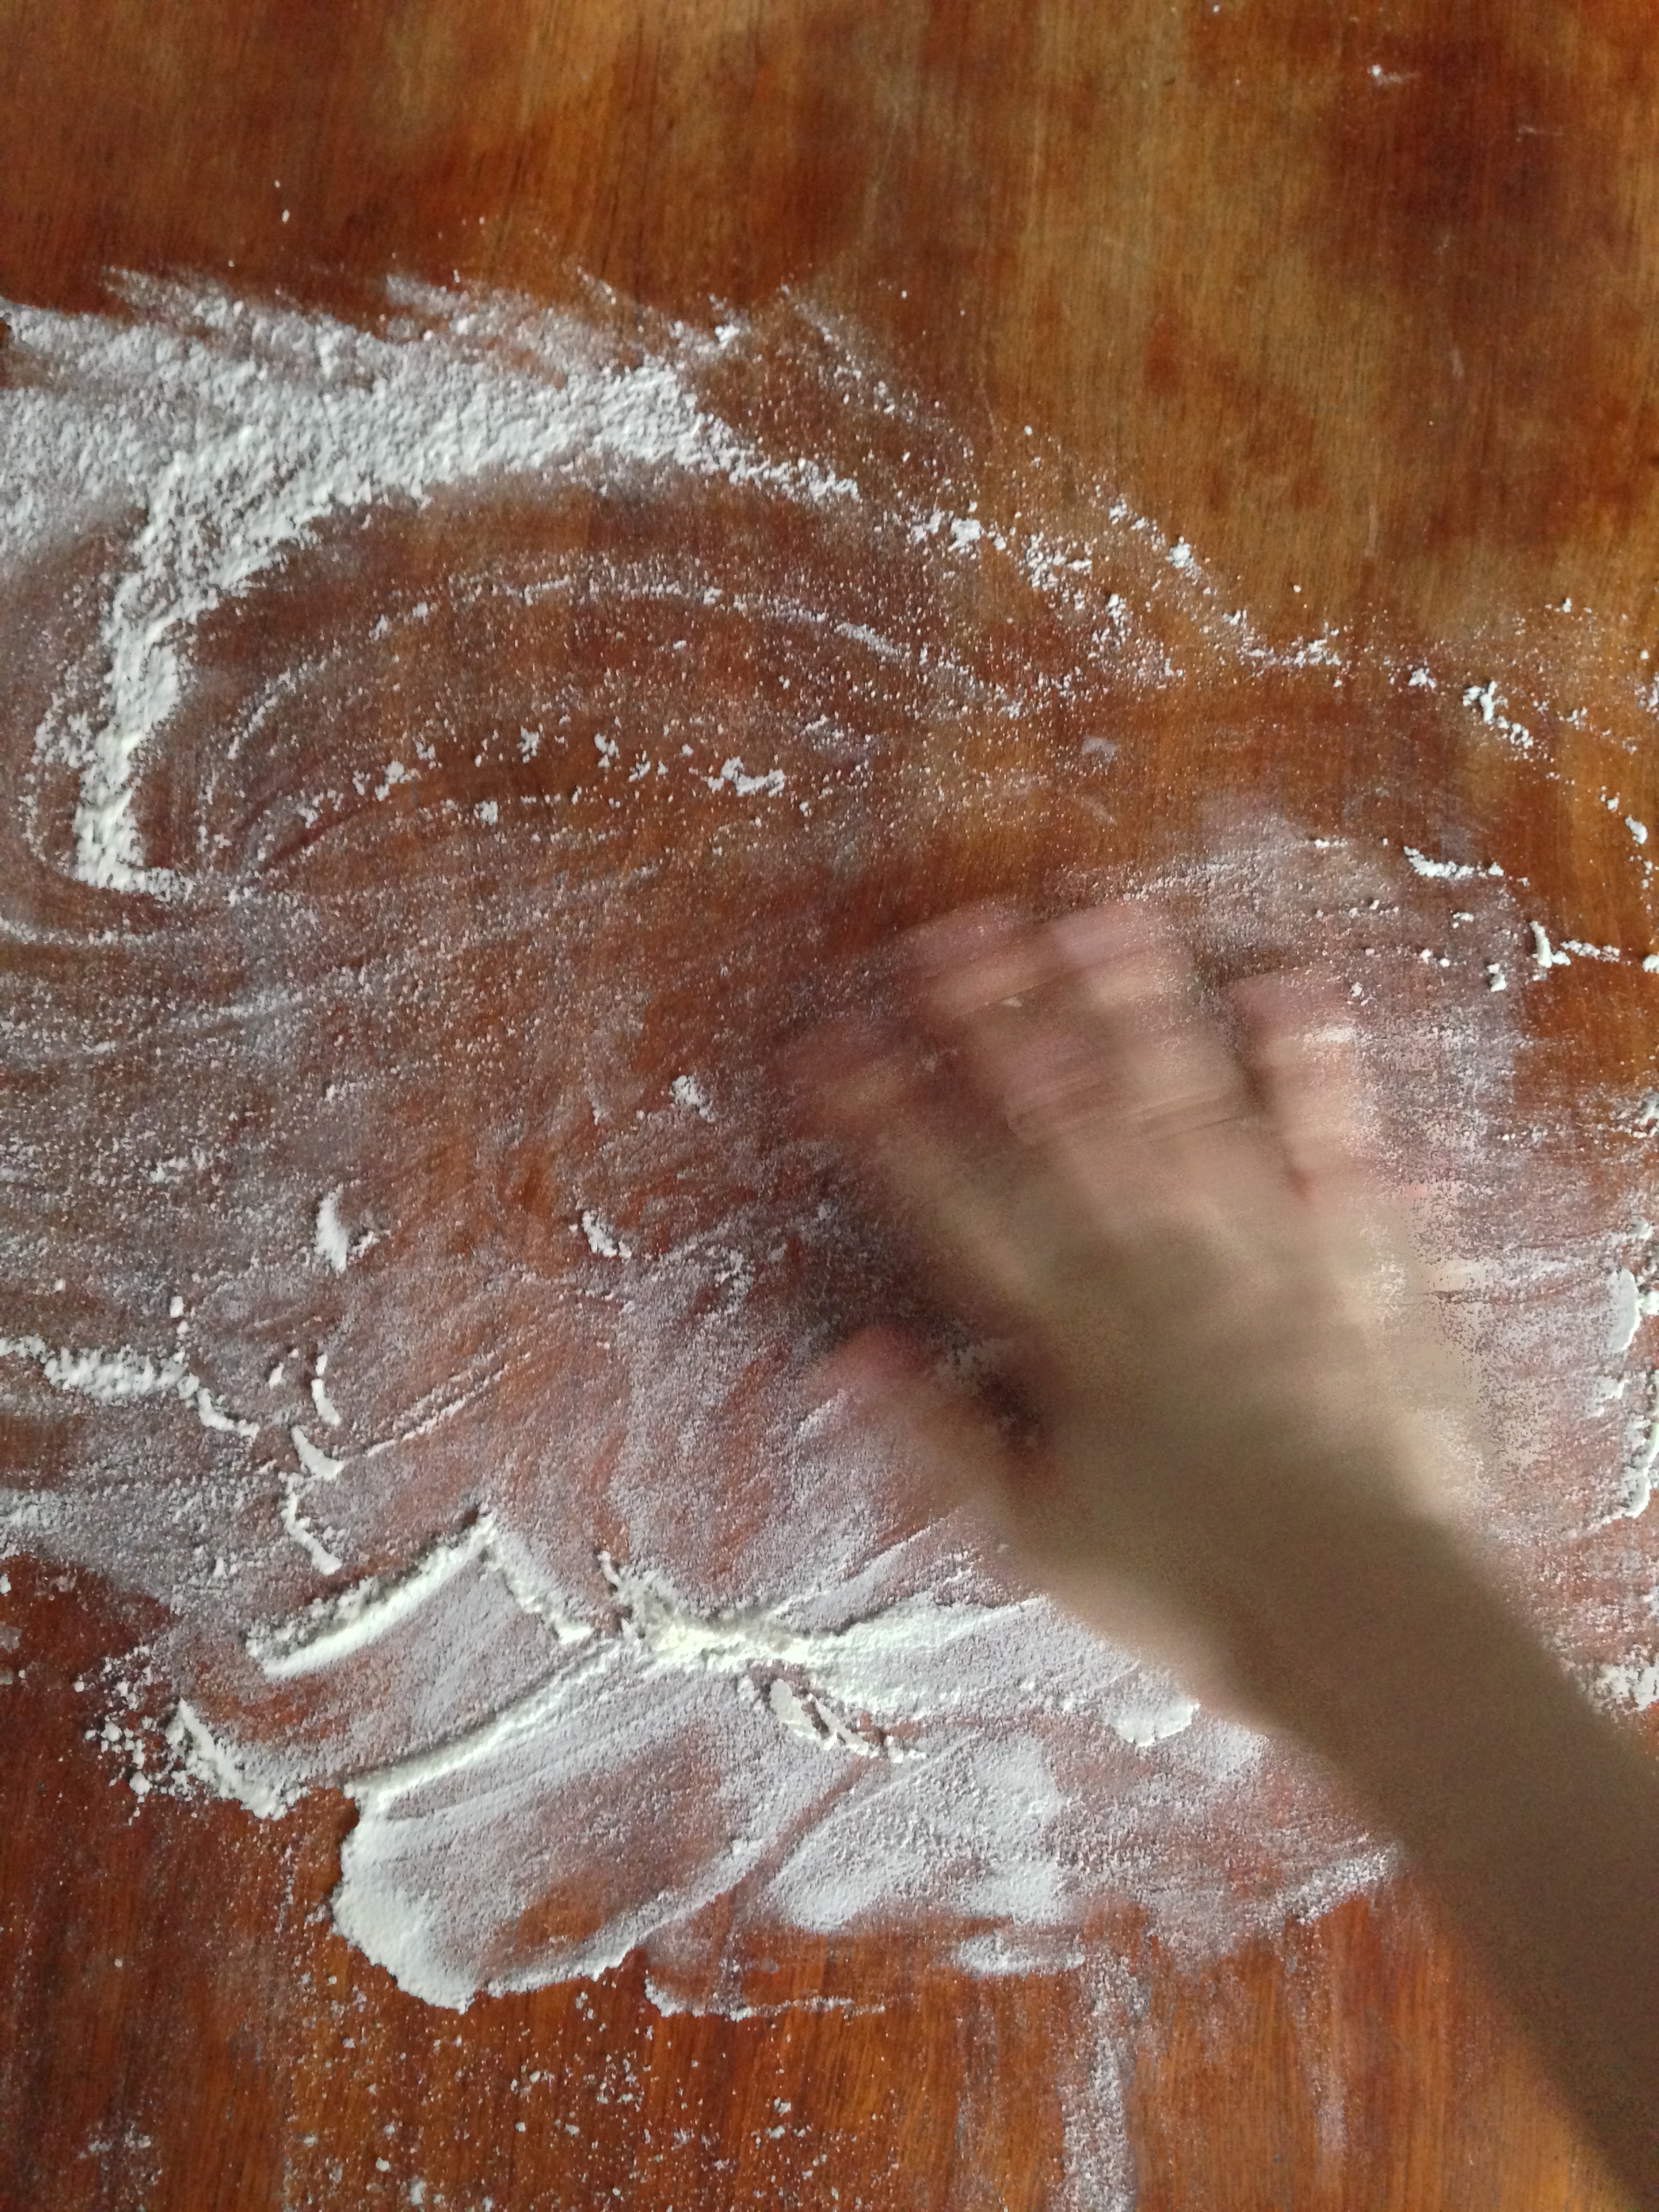
6. Flour your table or your counter a little. Pour the crumbly dough on the counter and start kneading. Having so much crumbles and chopped chives etc. you will not have (and you are not supposed to have) a very smooth dough.
7. When you are done kneading, roll out your dough, about 1 cm thick. You can roll it into a rectangle shape or circular, it does not matter because this is not the end dough anyways. If you want, you can also roll it into 2 cm thickness, then you will have thicker scones which you can make sandwiches with. It’s up to you. With this much amount of ingredients, you will have about 30 scones (of course this also depends on the diameter of them, which I will explain later) with 1 mm thick rolled dough.

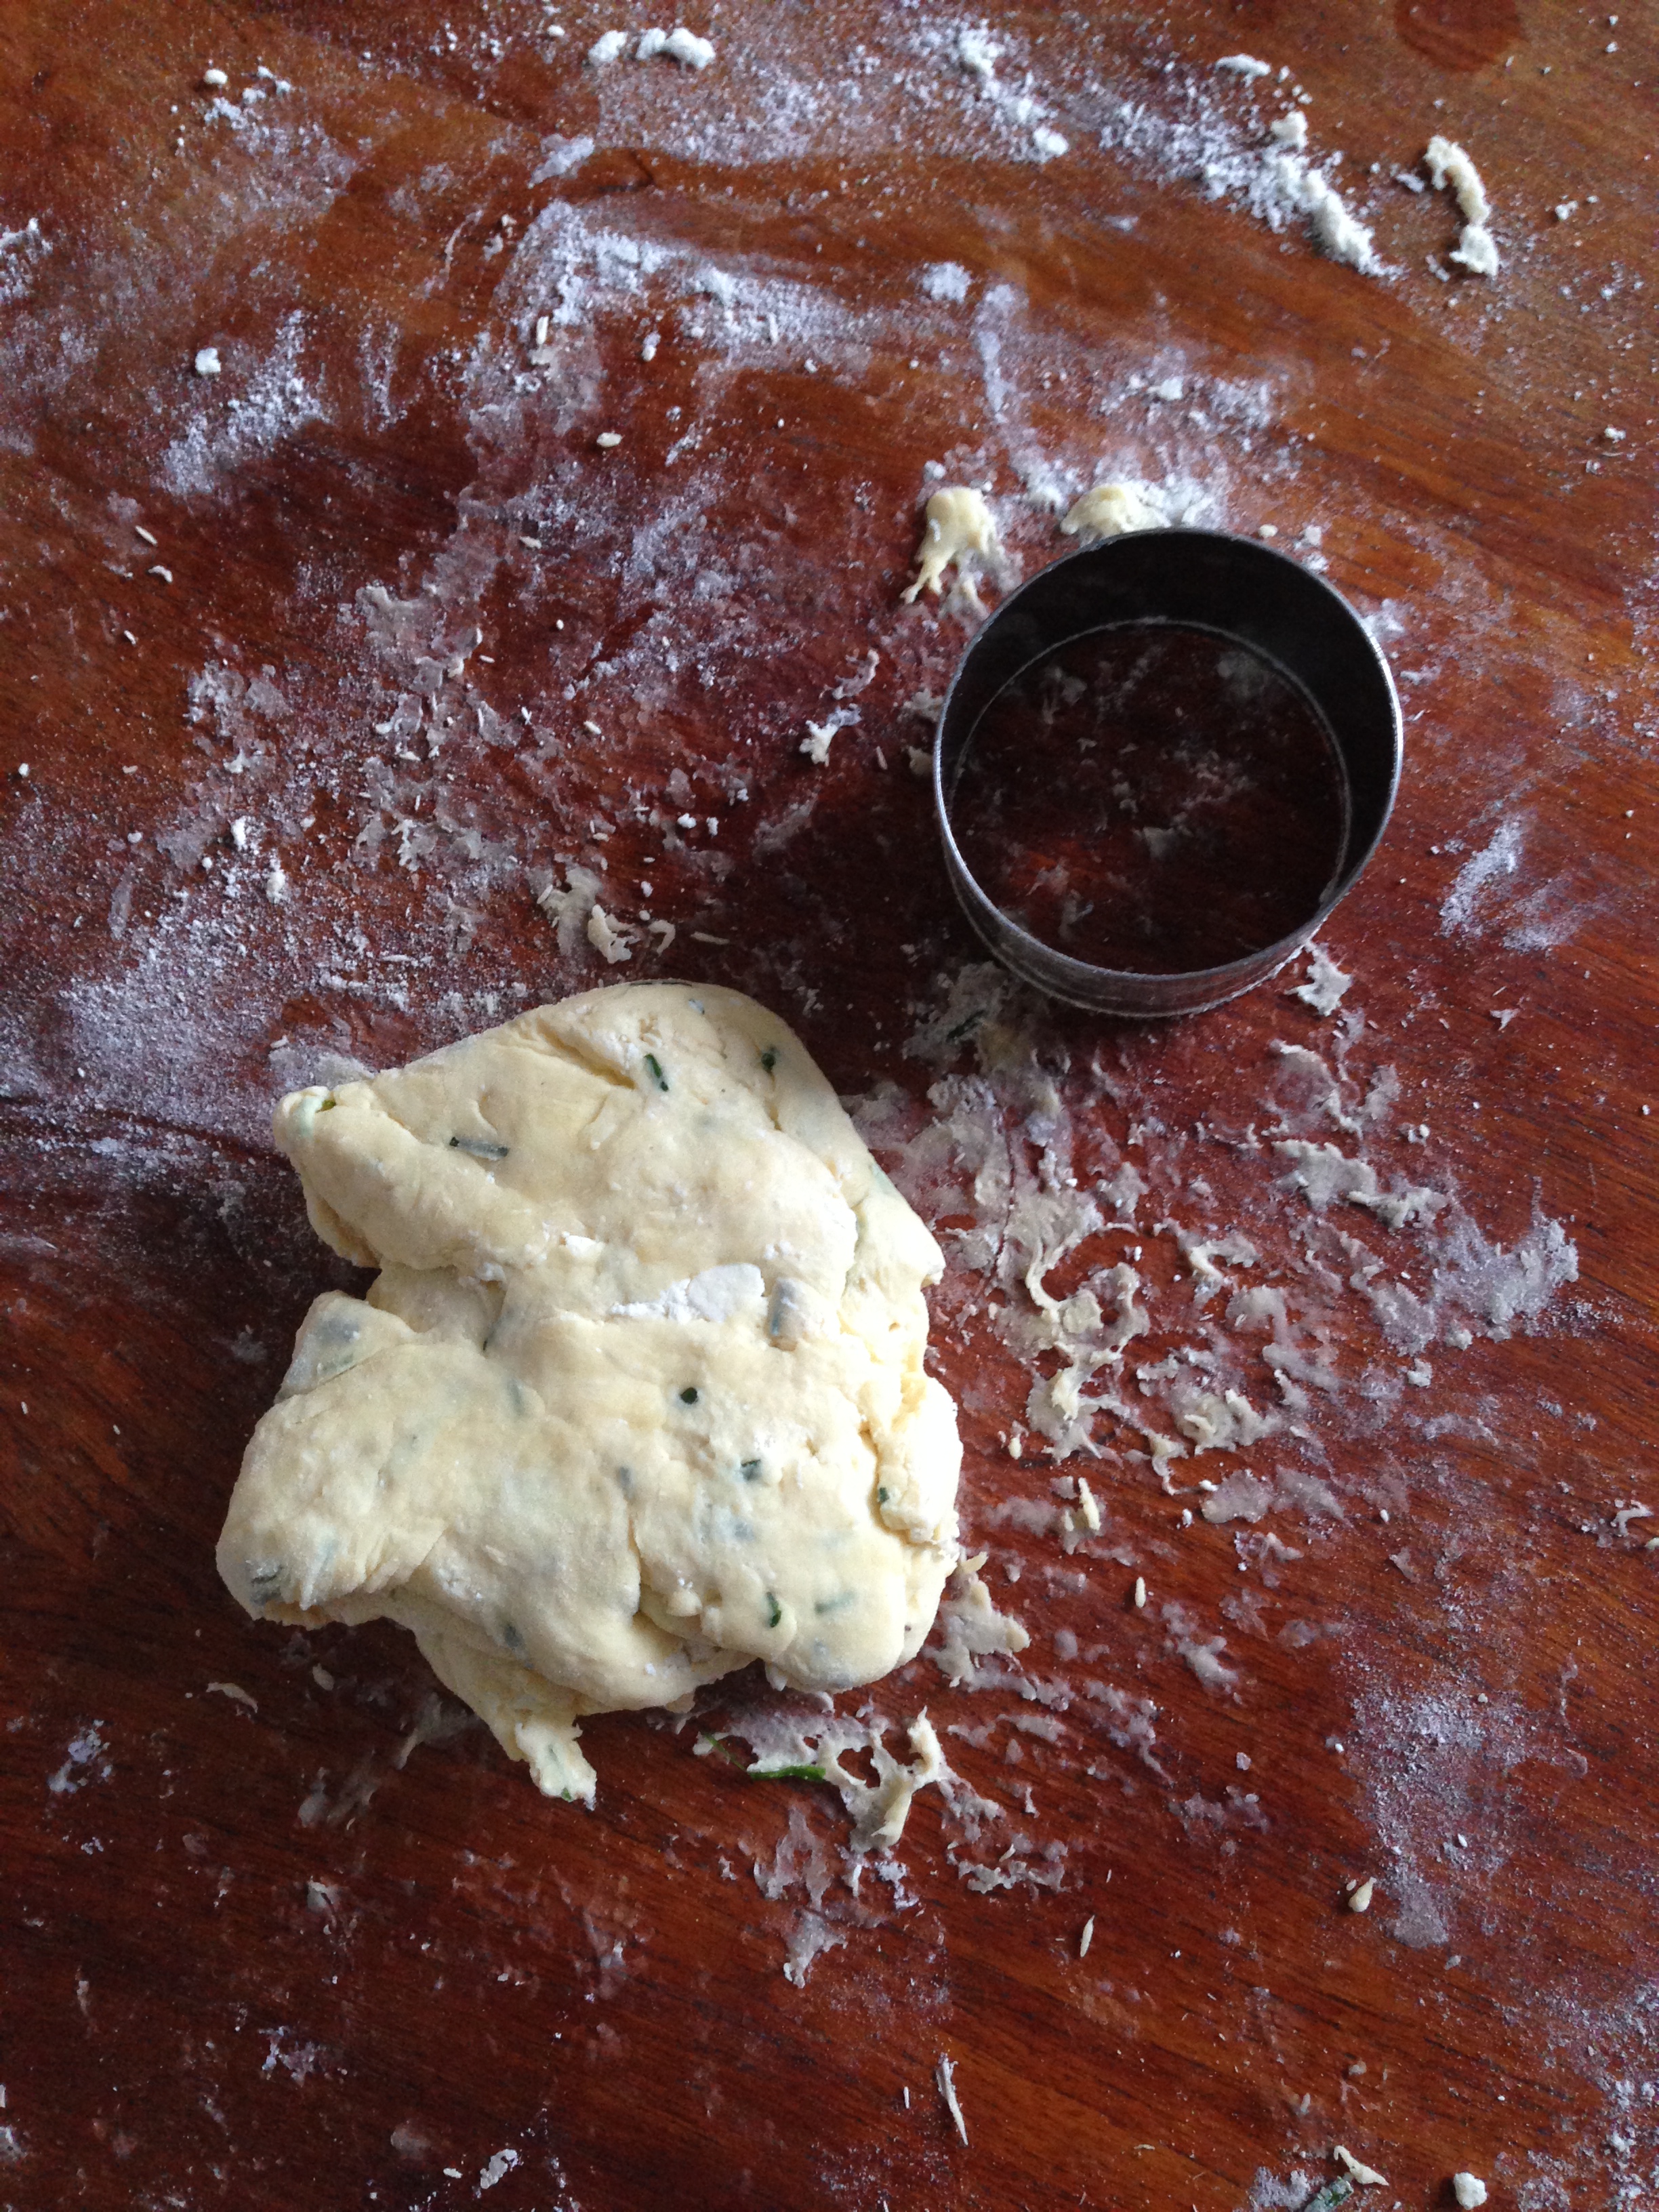
8. After you roll the dough into the desired thickness, take a round cookie cutter or a glass or anything you can use at home to cut circles. My cookie cutter has a diameter of 10 cm. The scones that you cut, you can put on oven trays with baking sheet on. The remaining dough (around the cut circles), you can make into a ball again, roll & cut repeatedly, until you use all your dough.
9. Beat 1 egg in a small bowl and take a brush. Brush the surfaces (and if you like, also edges) of the scones with egg. You can leave them like with only egg wash, or you can put some spices on, like black pepper and paprika (or any other spice you like).


10. When the first batch of the scones are ready, put them in the oven, in the middle rack, for about 15 minutes, or until the surfaces have a nice brownish colour.
11. When they are baked, take them out of the oven and let them cool for a while, then put the second, third and other batches, as much as you have.

As said above, the scones last for 4-5 days in room temperature in a covered storage box. They are also good toasted.
Enjoy them freshly for a nice Sunday brunch for example!!

Pingback: My Dear Kitchen in Helsinki Recipes Evening 3 | My Dear Kitchen in Helsinki
Pingback: My Dear Kitchen in Helsinki Recipes Evening – March 15, 2014 | My Dear Kitchen in Helsinki