
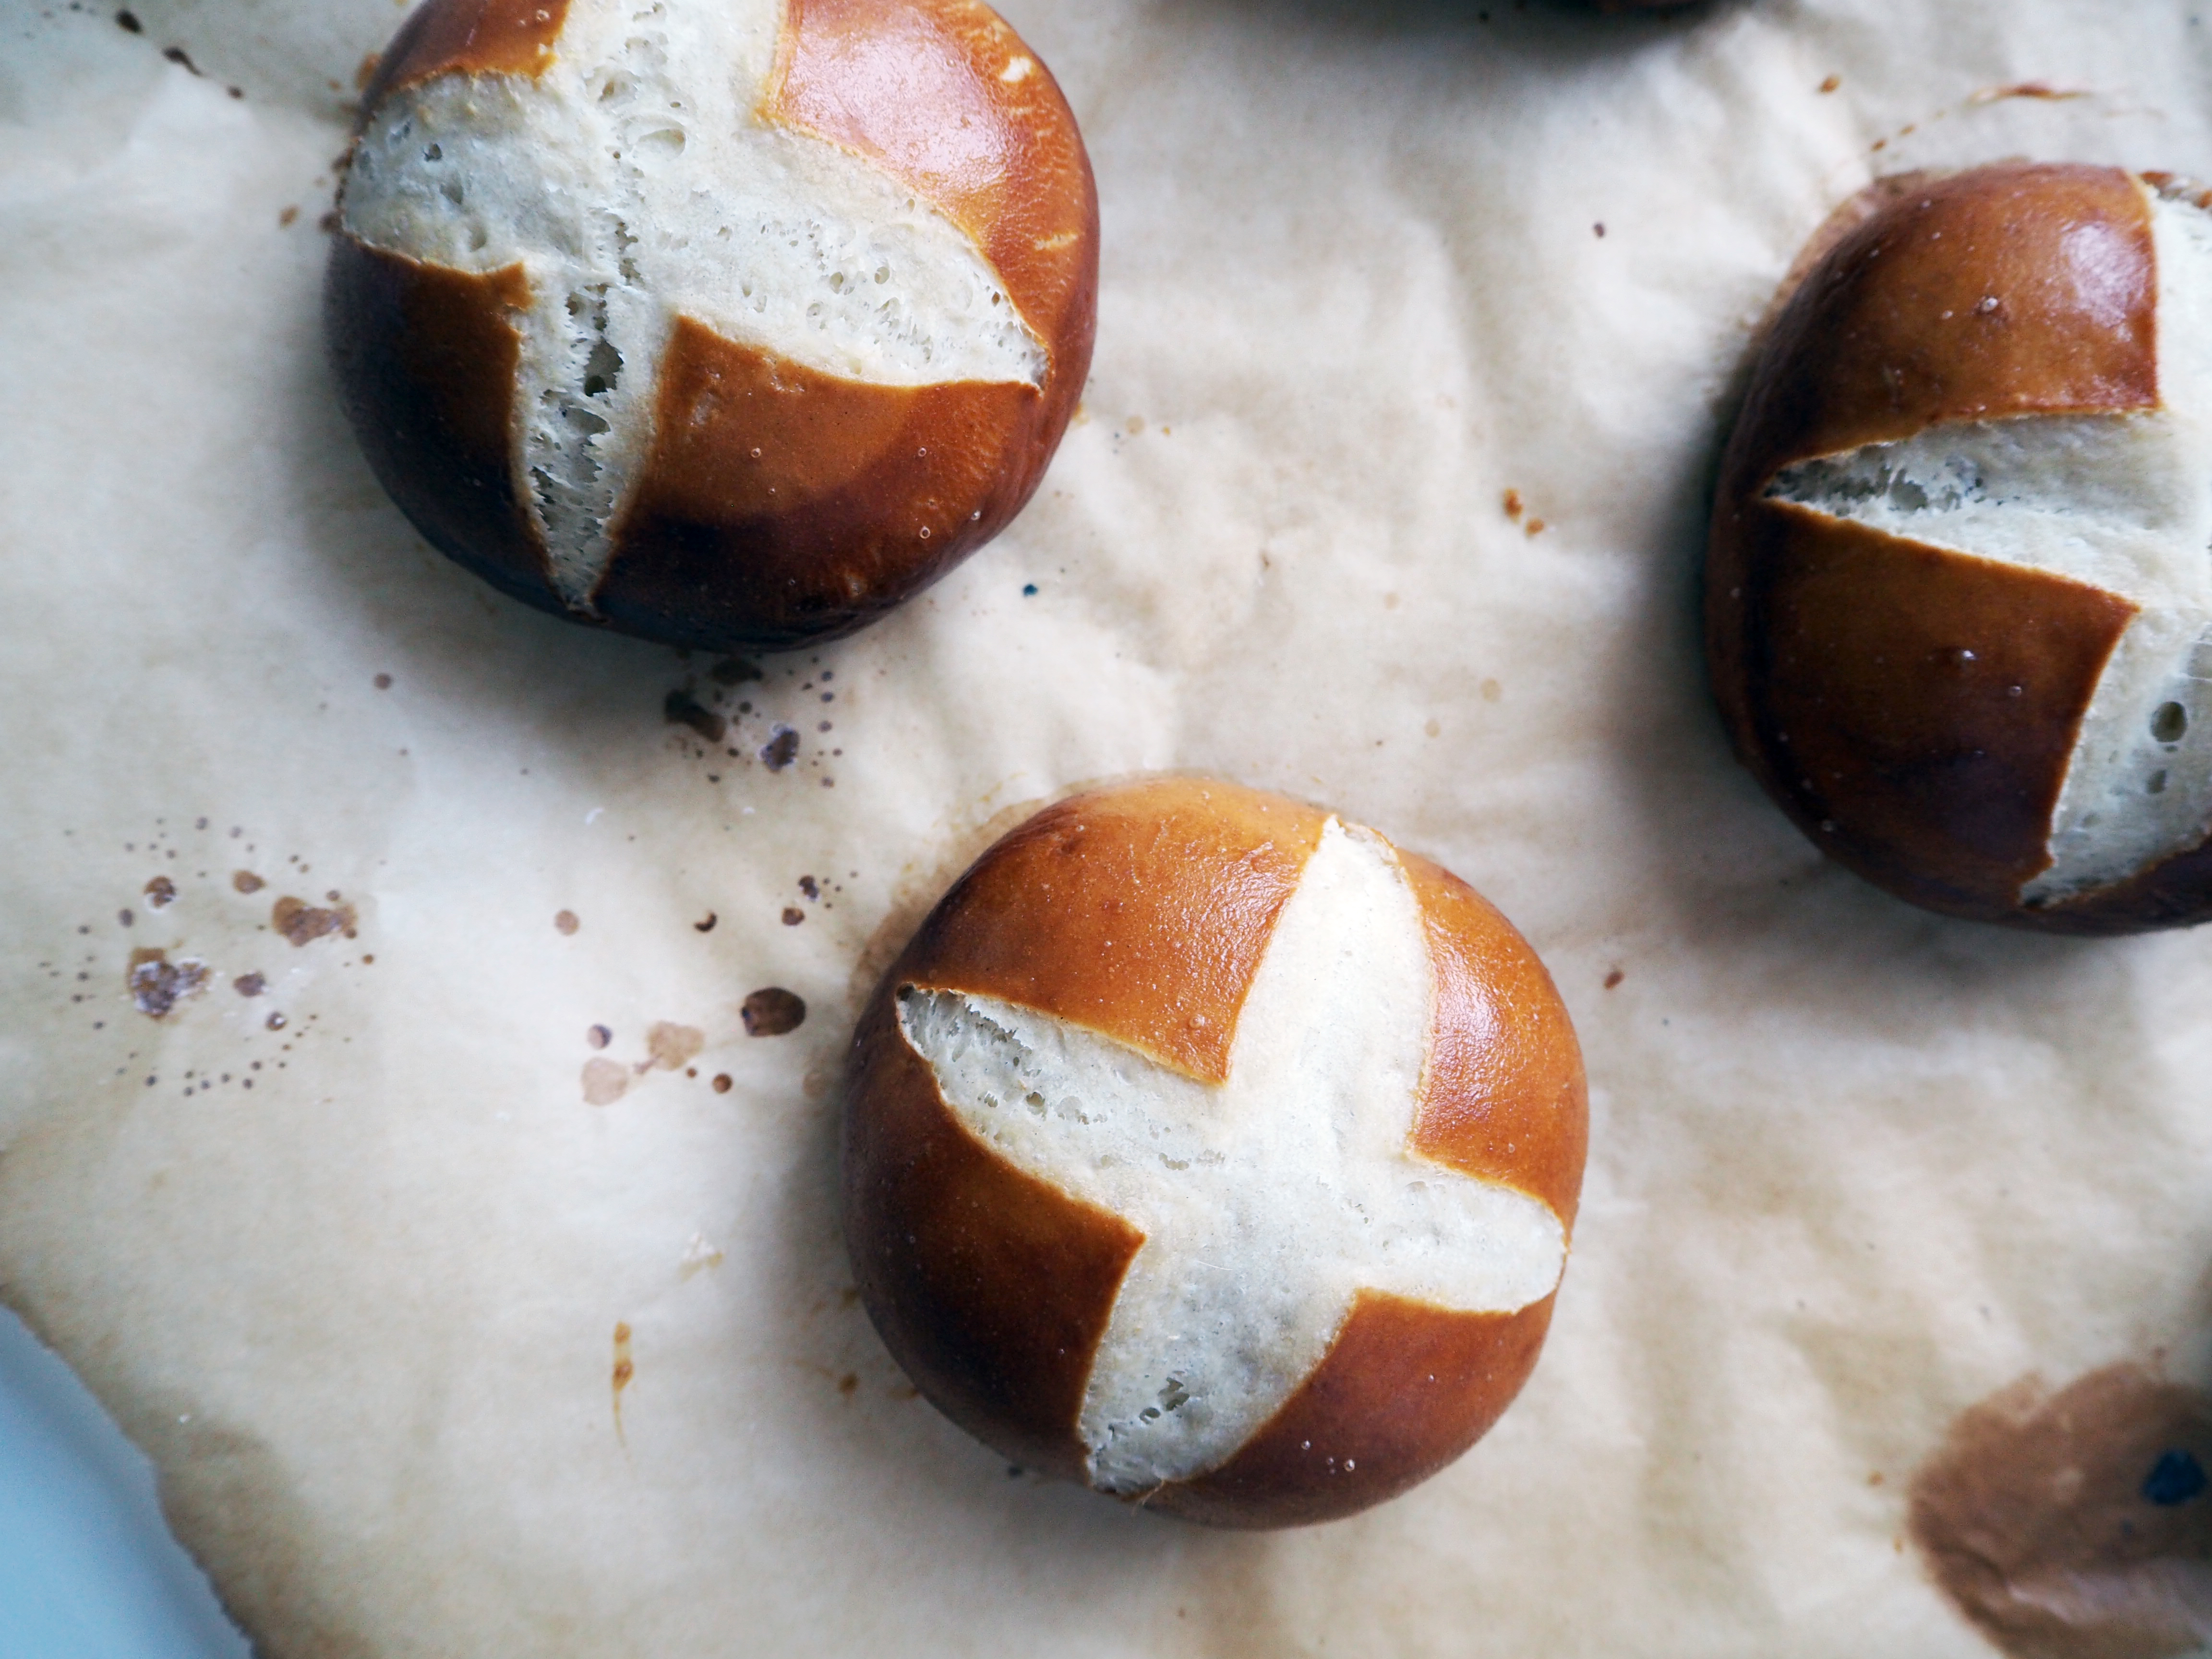
A few weeks ago, I was going through recommended photos on Instagram, and I saw these cuties: pretzel rolls. Until then, I only knew the existence of the regular pretzel sticks, and I even gave the recipe for that on this blog (check the recipe dated July 10, 2014). But these were round, puffy and absolutely beautiful. So I started looking for the recipe and found one on the website “Aashpazi”. And I immediately made them!
The ingredients for pretzel rolls are quite easy to find in your kitchen any day. If you are not much of a regular yeasted dough maker then maybe you need to buy yeast as extra for this recipe.


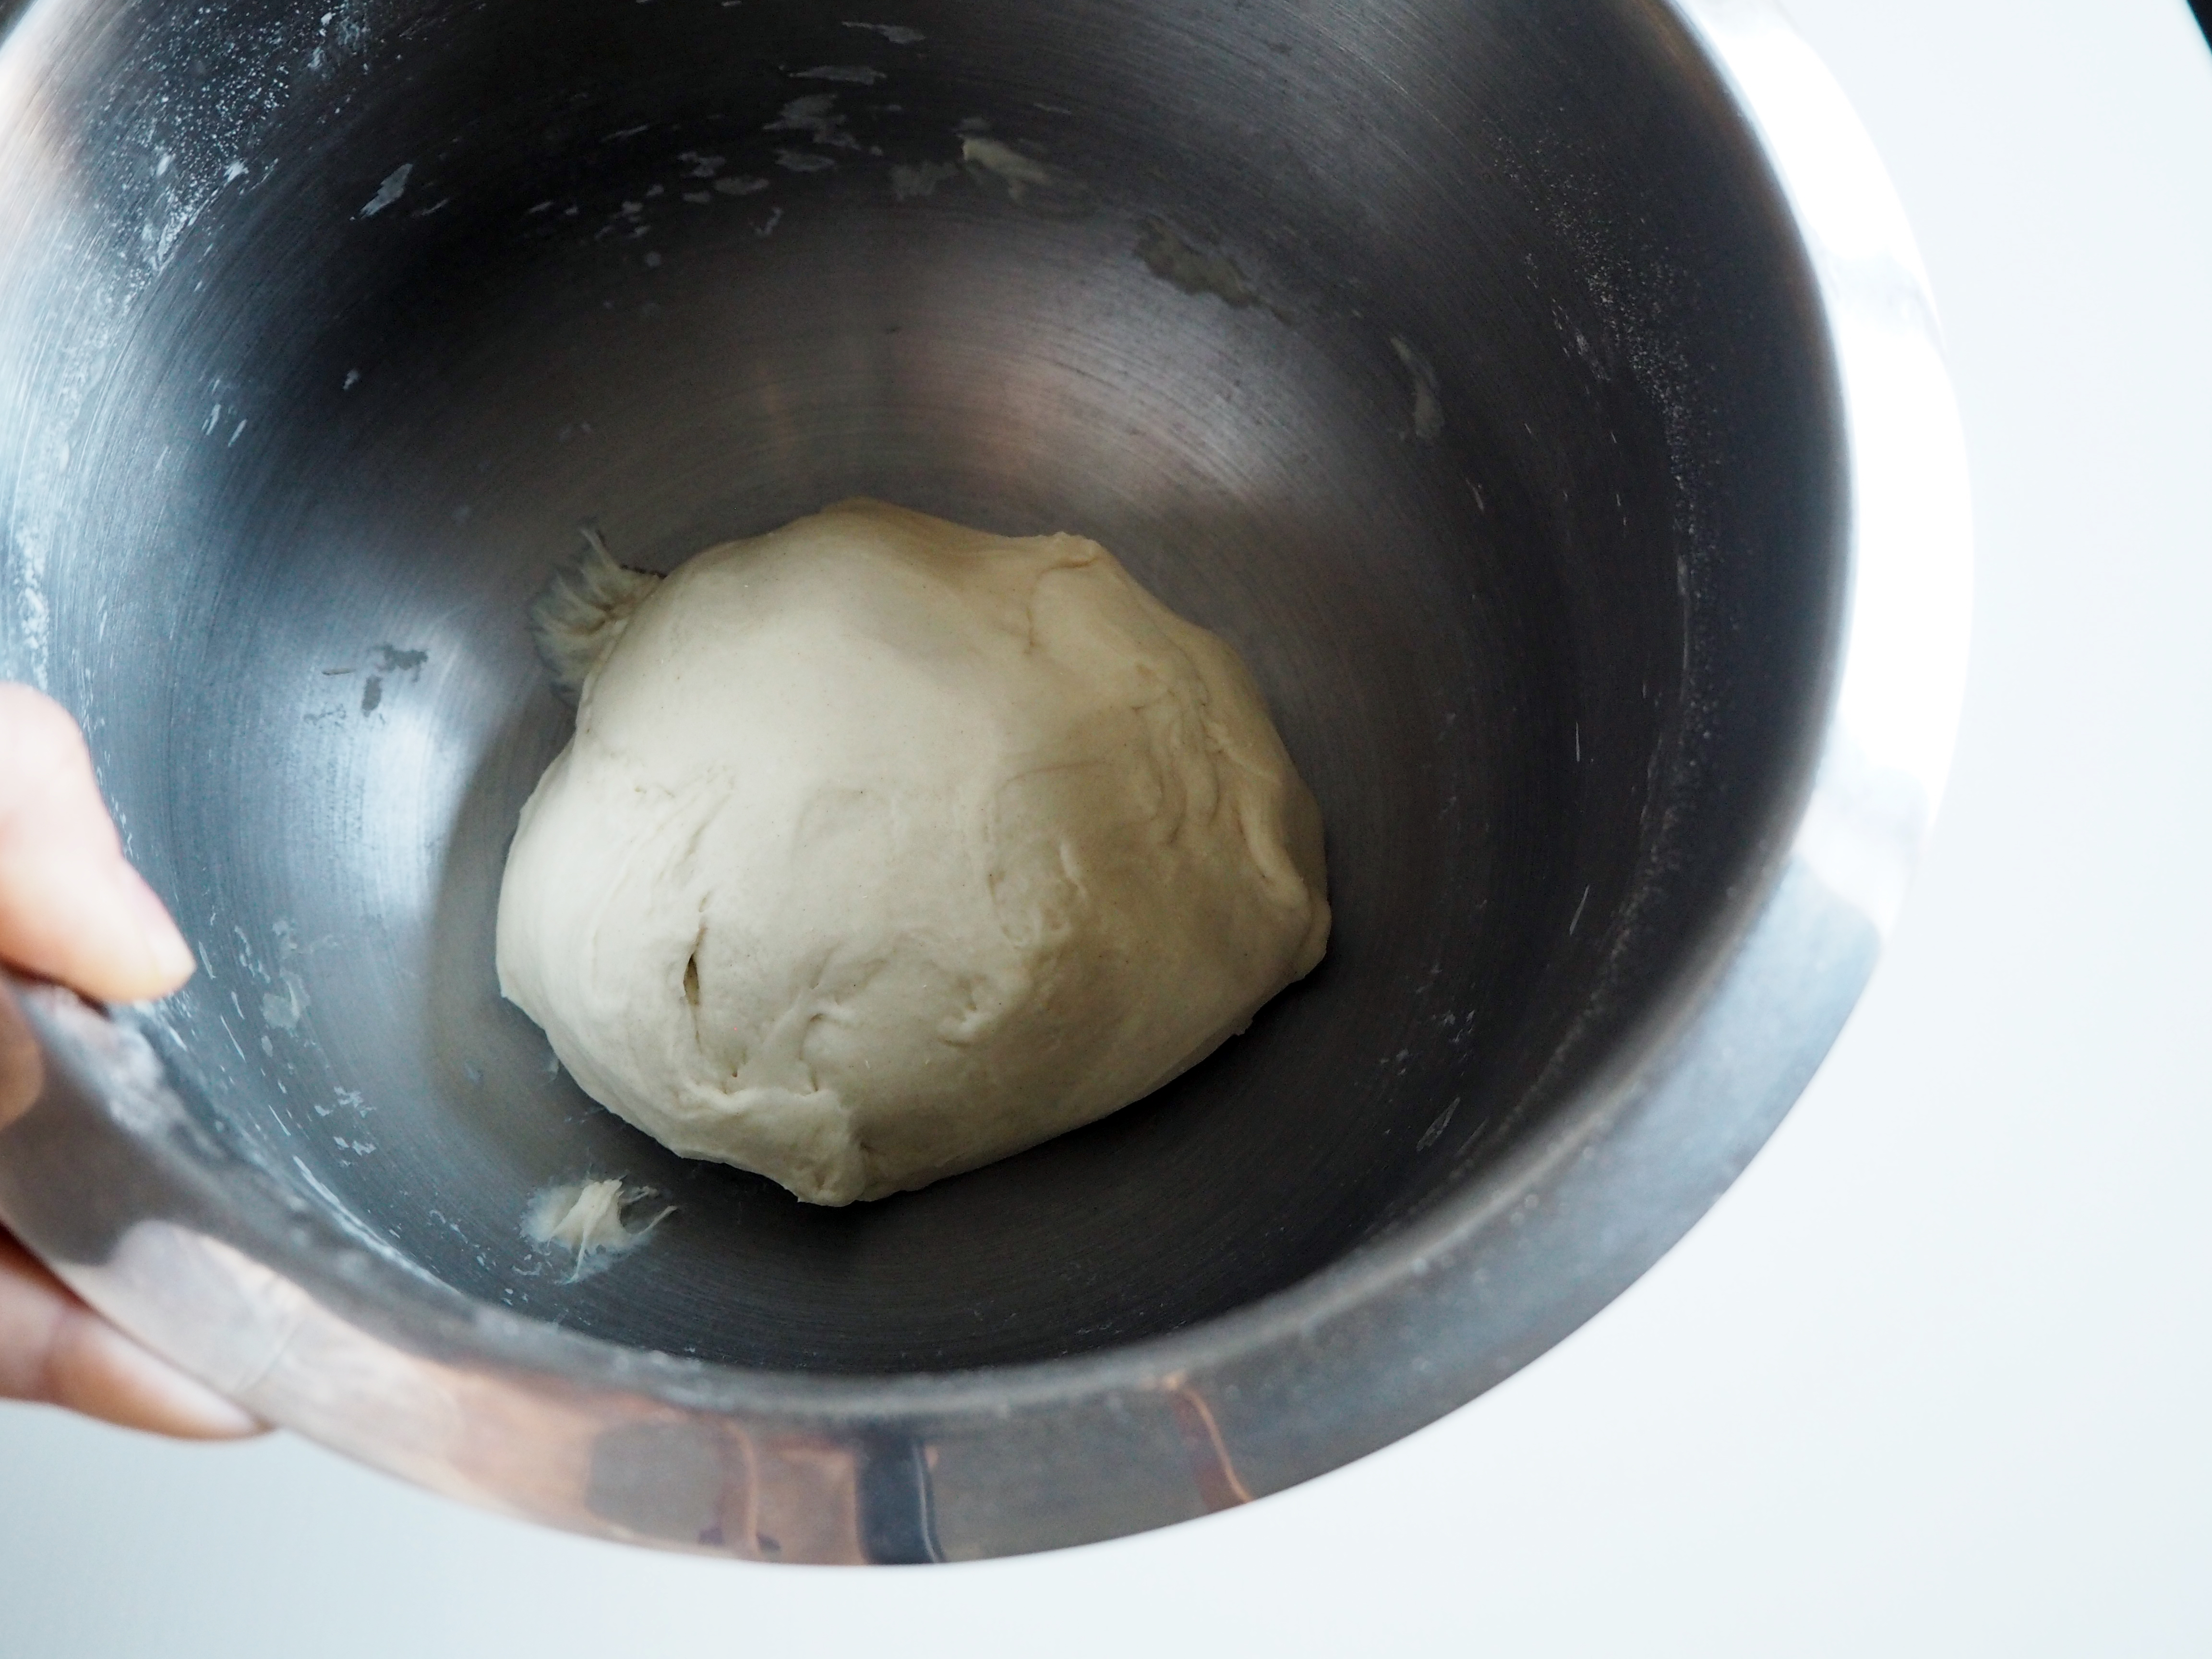
The best part of this recipe for me is the dough itself. It is such a smooth dough that once shaped into balls, I couldn’t stop myself from touching more.. I seriously started to believe that I have a dough fetish, ehm. I personally prefer making the dough with a standing mixer, but if you are confident with your kneading skills, go for kneading by hand.
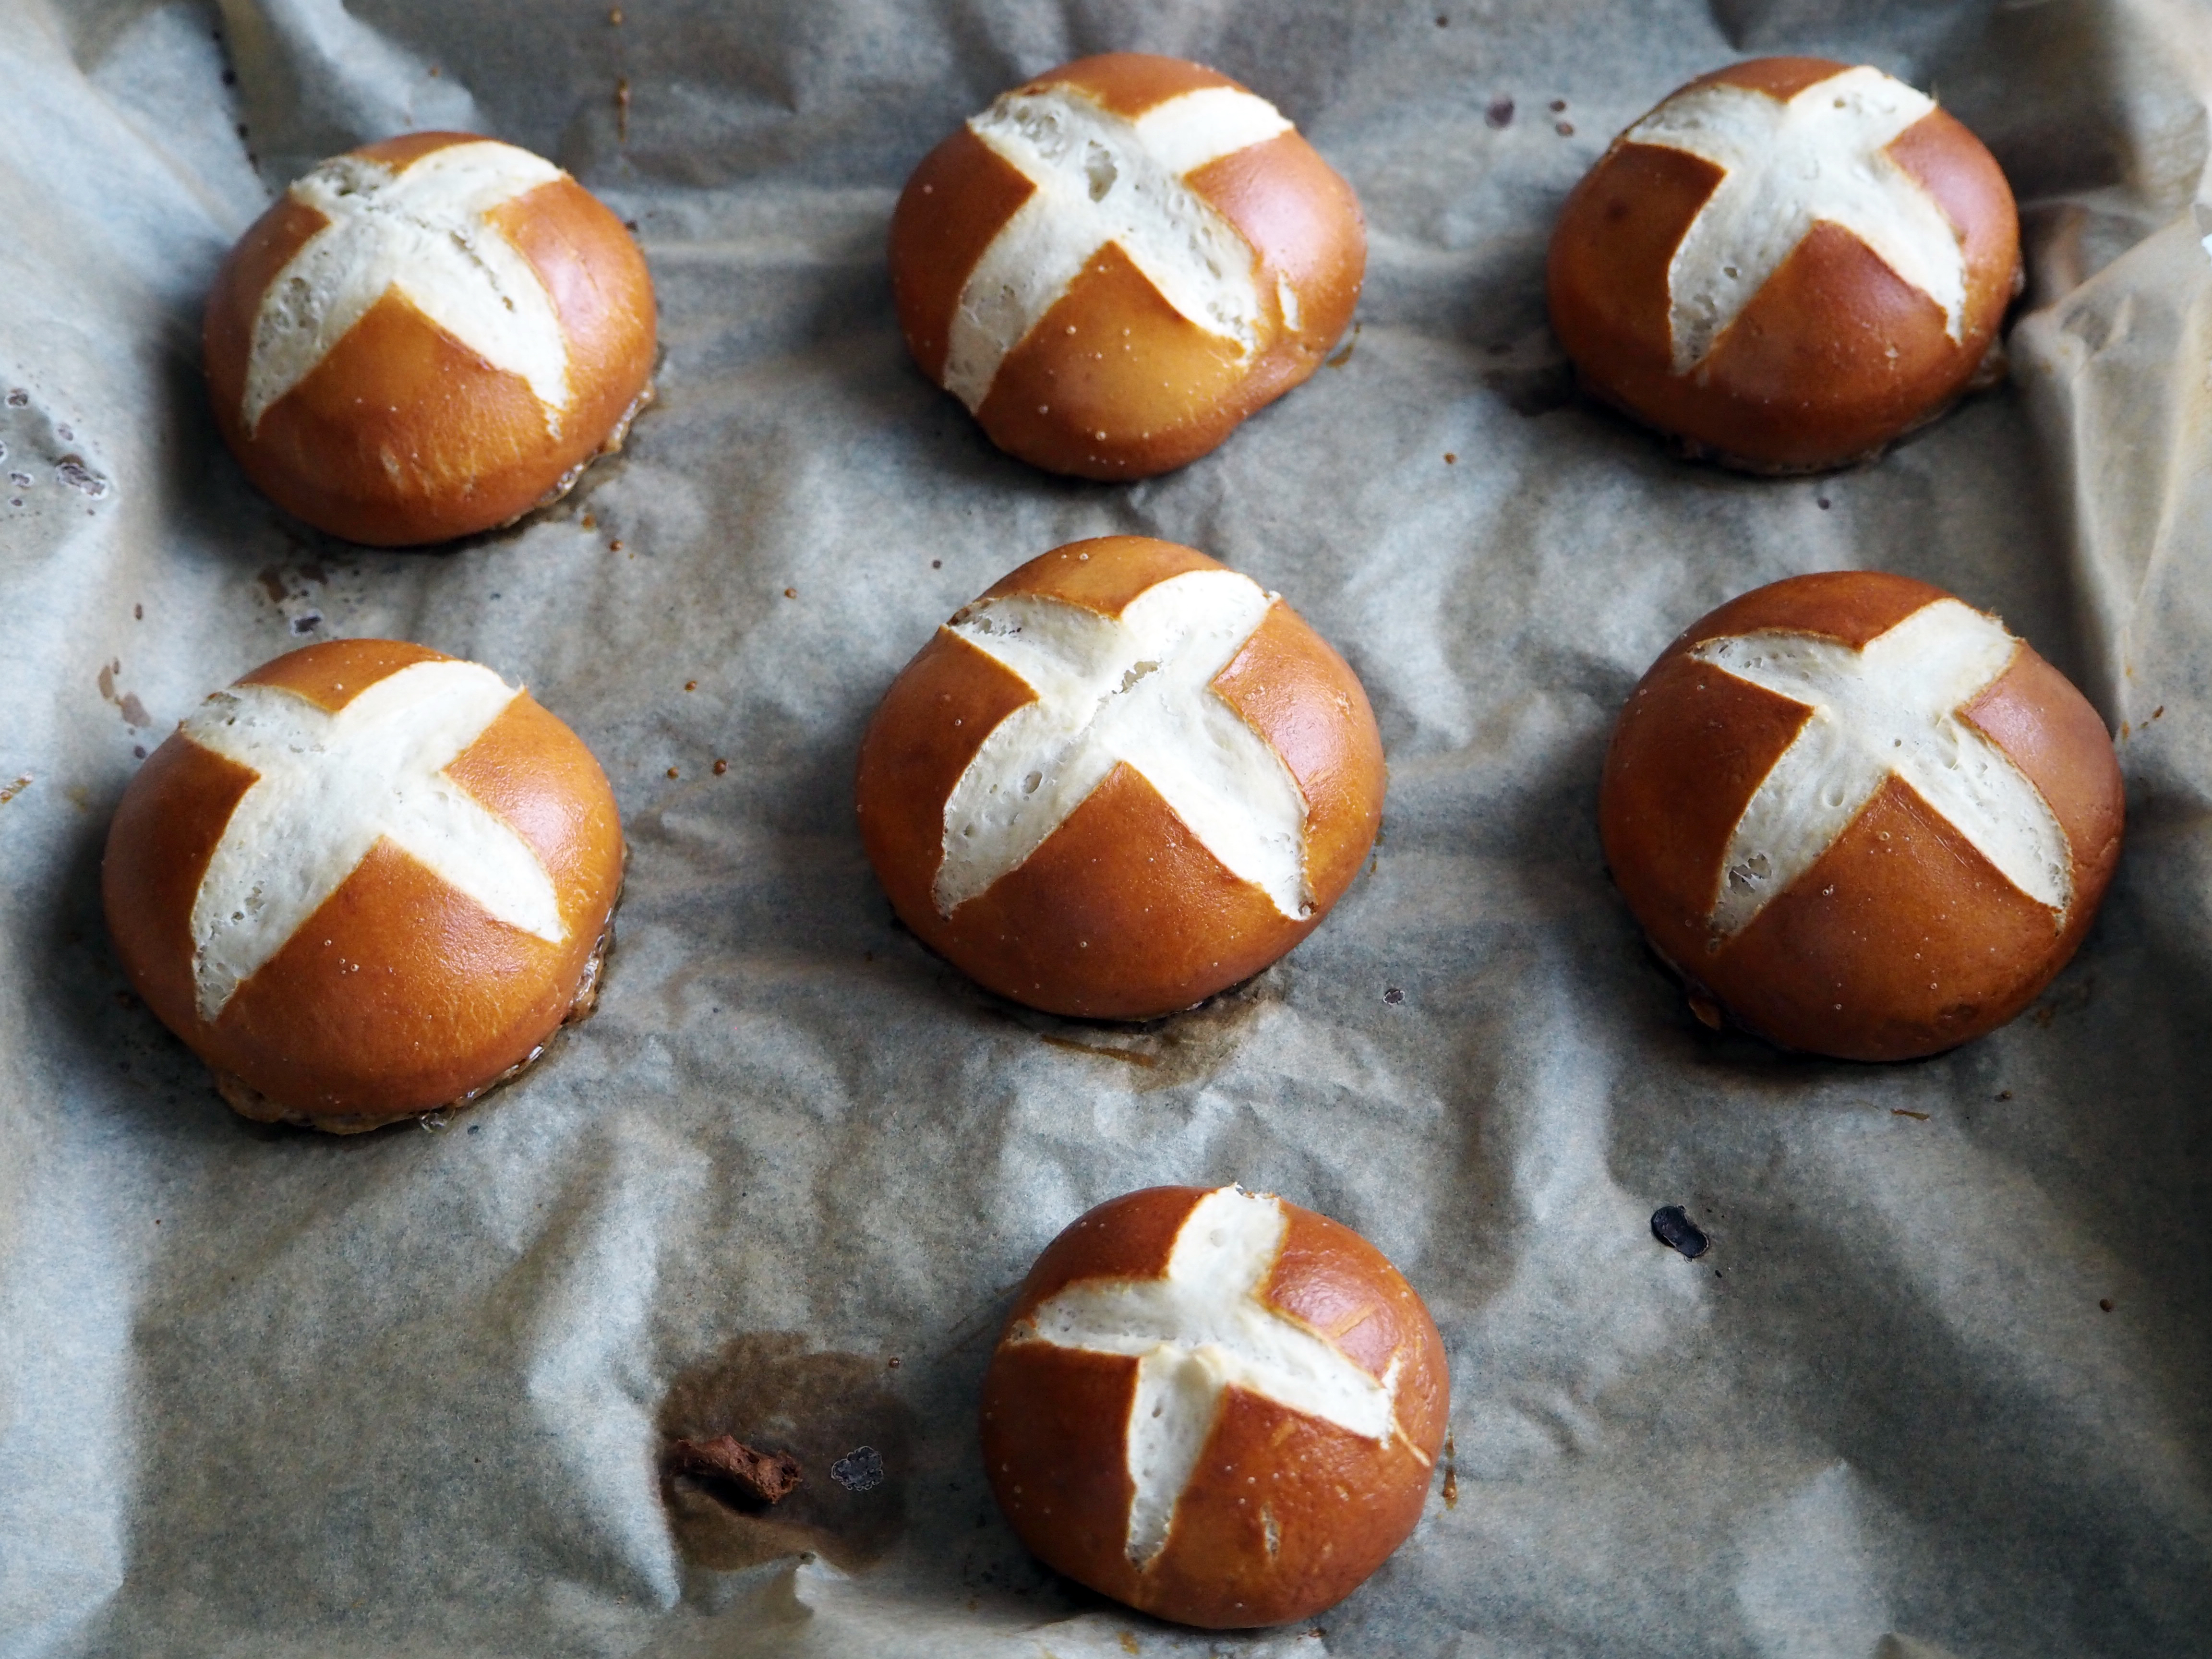
The whole process is quite simple to follow, but it takes time and requires the baker to be a bit more careful than many other baking processes so I will mark this recipe as medium level. The most important part of this recipe is not to skip the boiling water with baking soda before baking the pretzels. The baking soda solution gives the brown crust to the pretzels, together with the distinct pretzel taste. With the alkaline environment created with baking soda on the outside of the bagels, you can get browning easily without leaving the pretzels too long in the oven. This affects the taste and the overall texture of the pretzels significantly.
So, altogether with preparing the dough, waiting for it to rise, dipping in the water and then baking, I would say that it takes about 2 hours and a little bit more to do the whole thing. So I think it is quite easy to make them for a Sunday brunch if you want to impress your guests, don’t you think?
—
Ingredients:
Difficulty: ★★☆ (medium)
1 3/4 cup / 4 dl.+ 1 tbsp + 1 tsp all-purpose flour (I use luomu vehnäjauho)
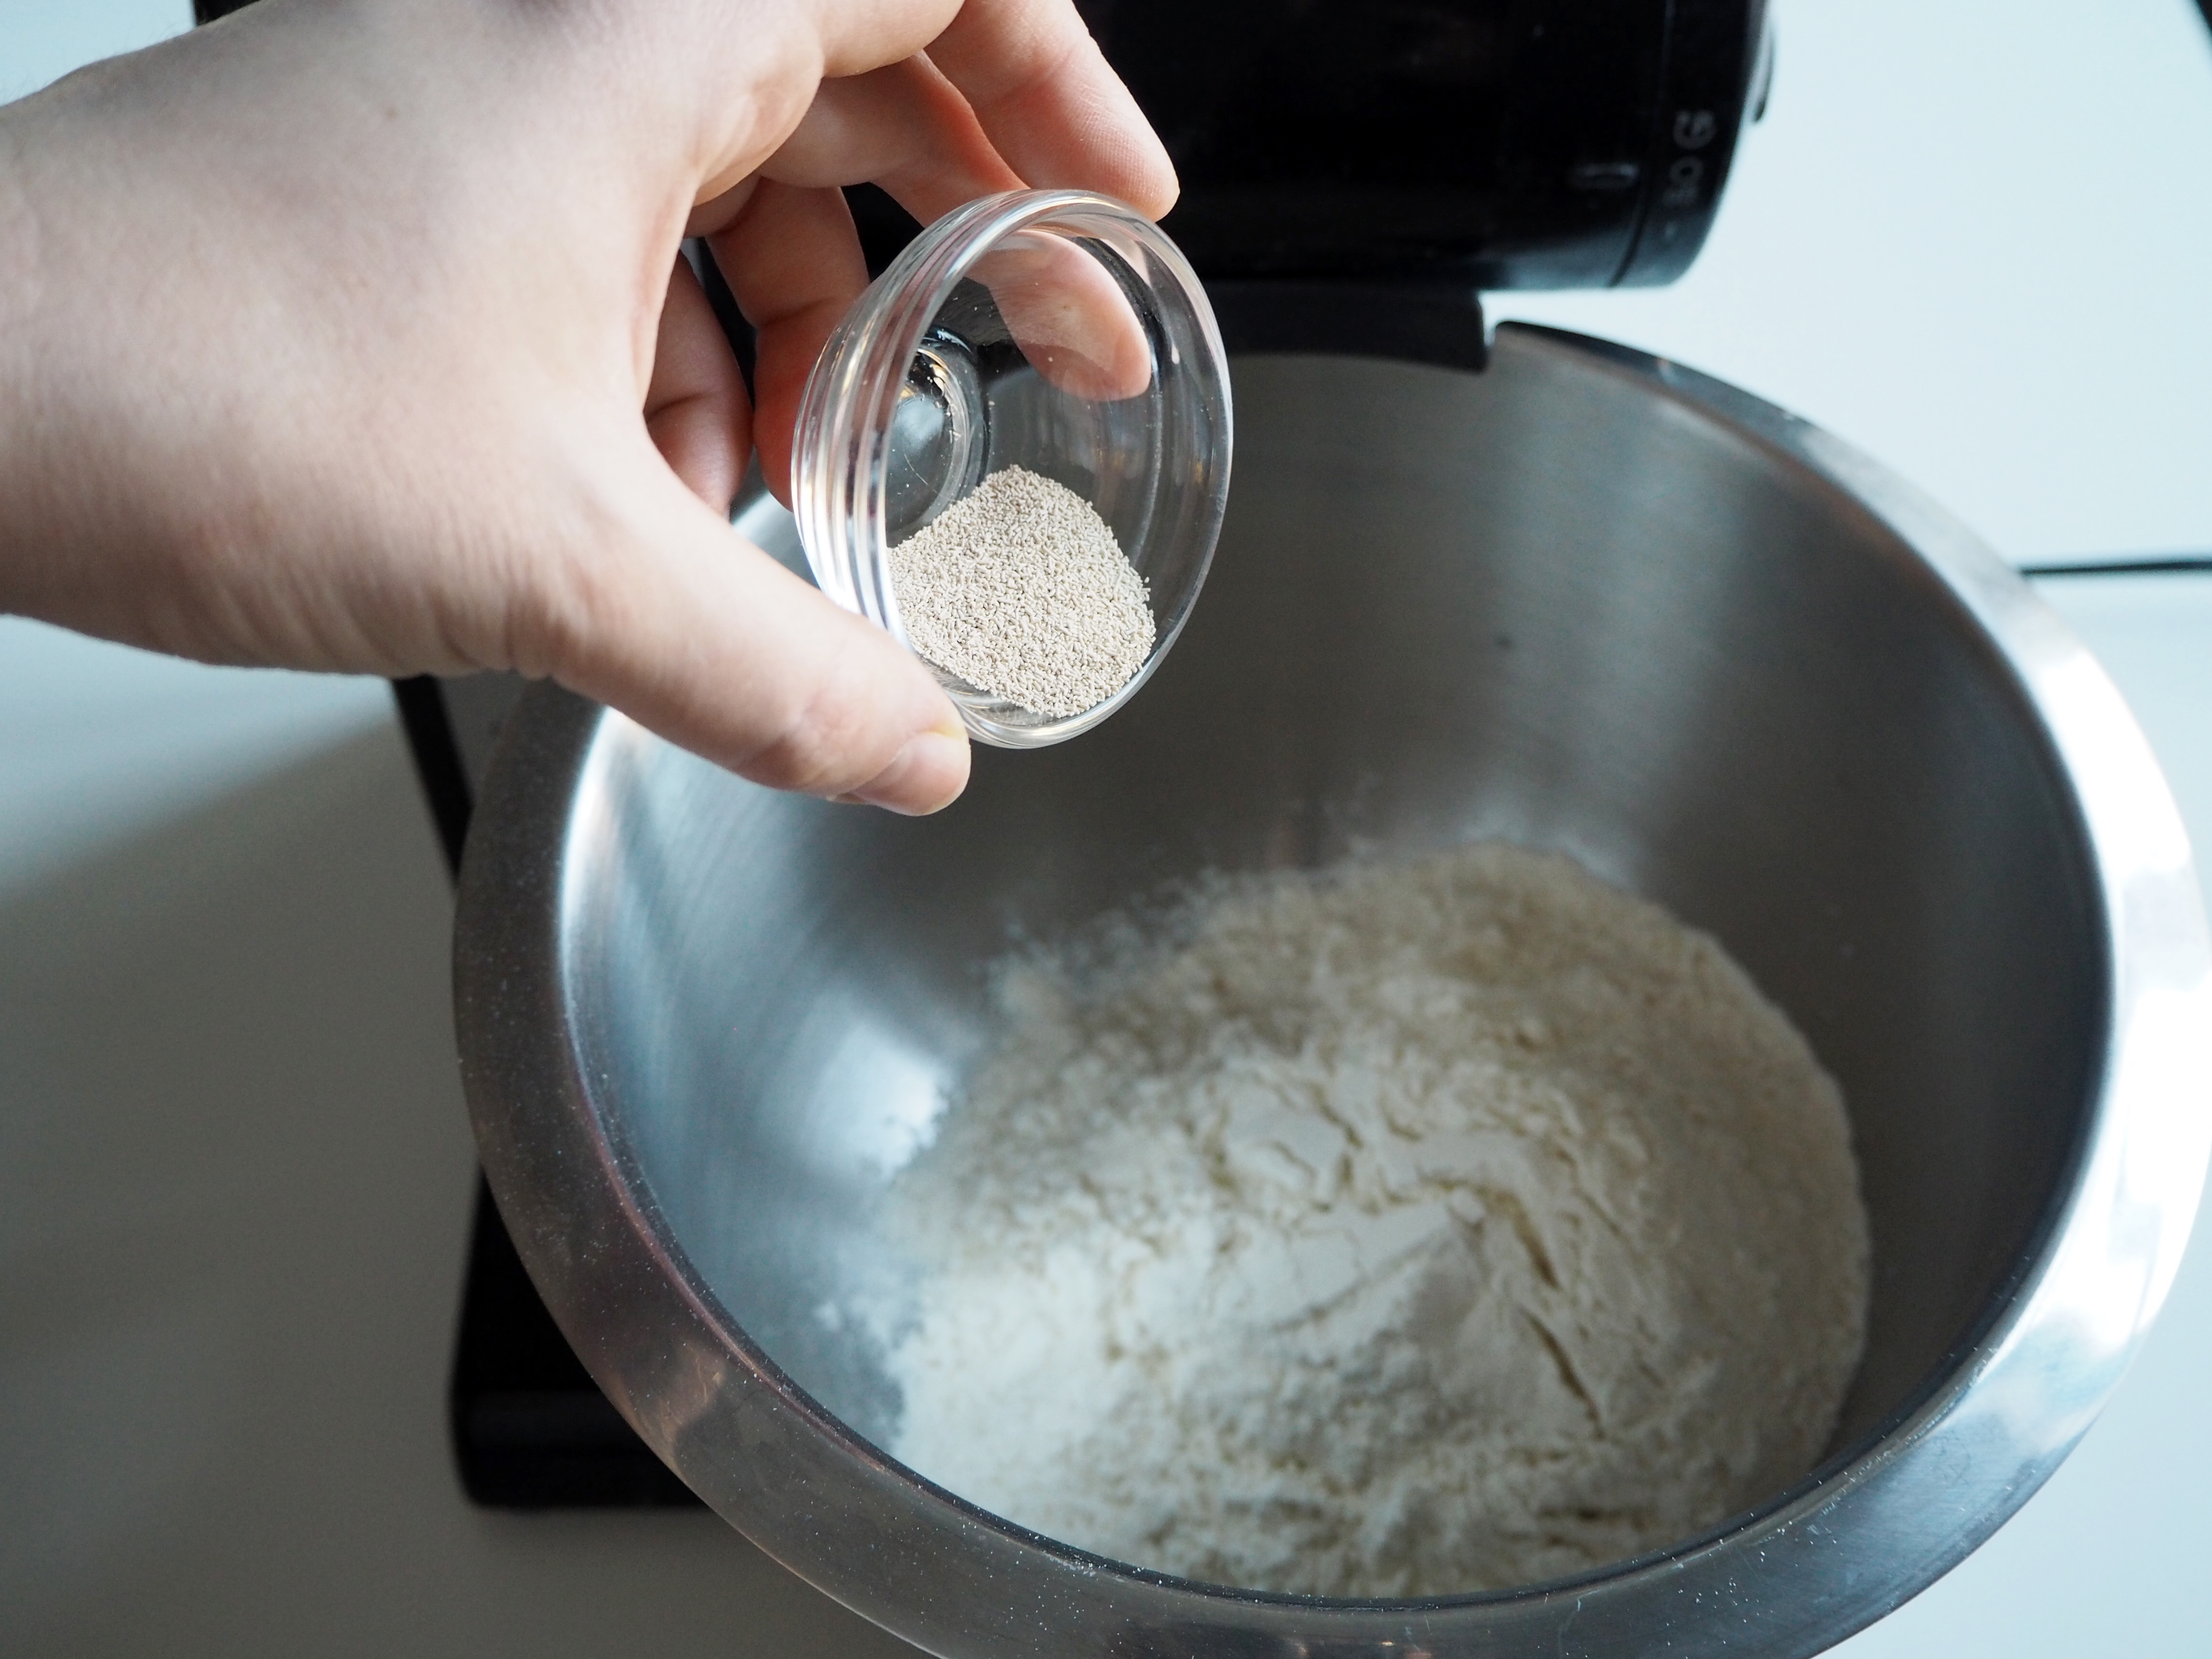
1/2 tsp dry yeast
1/4 tsp salt
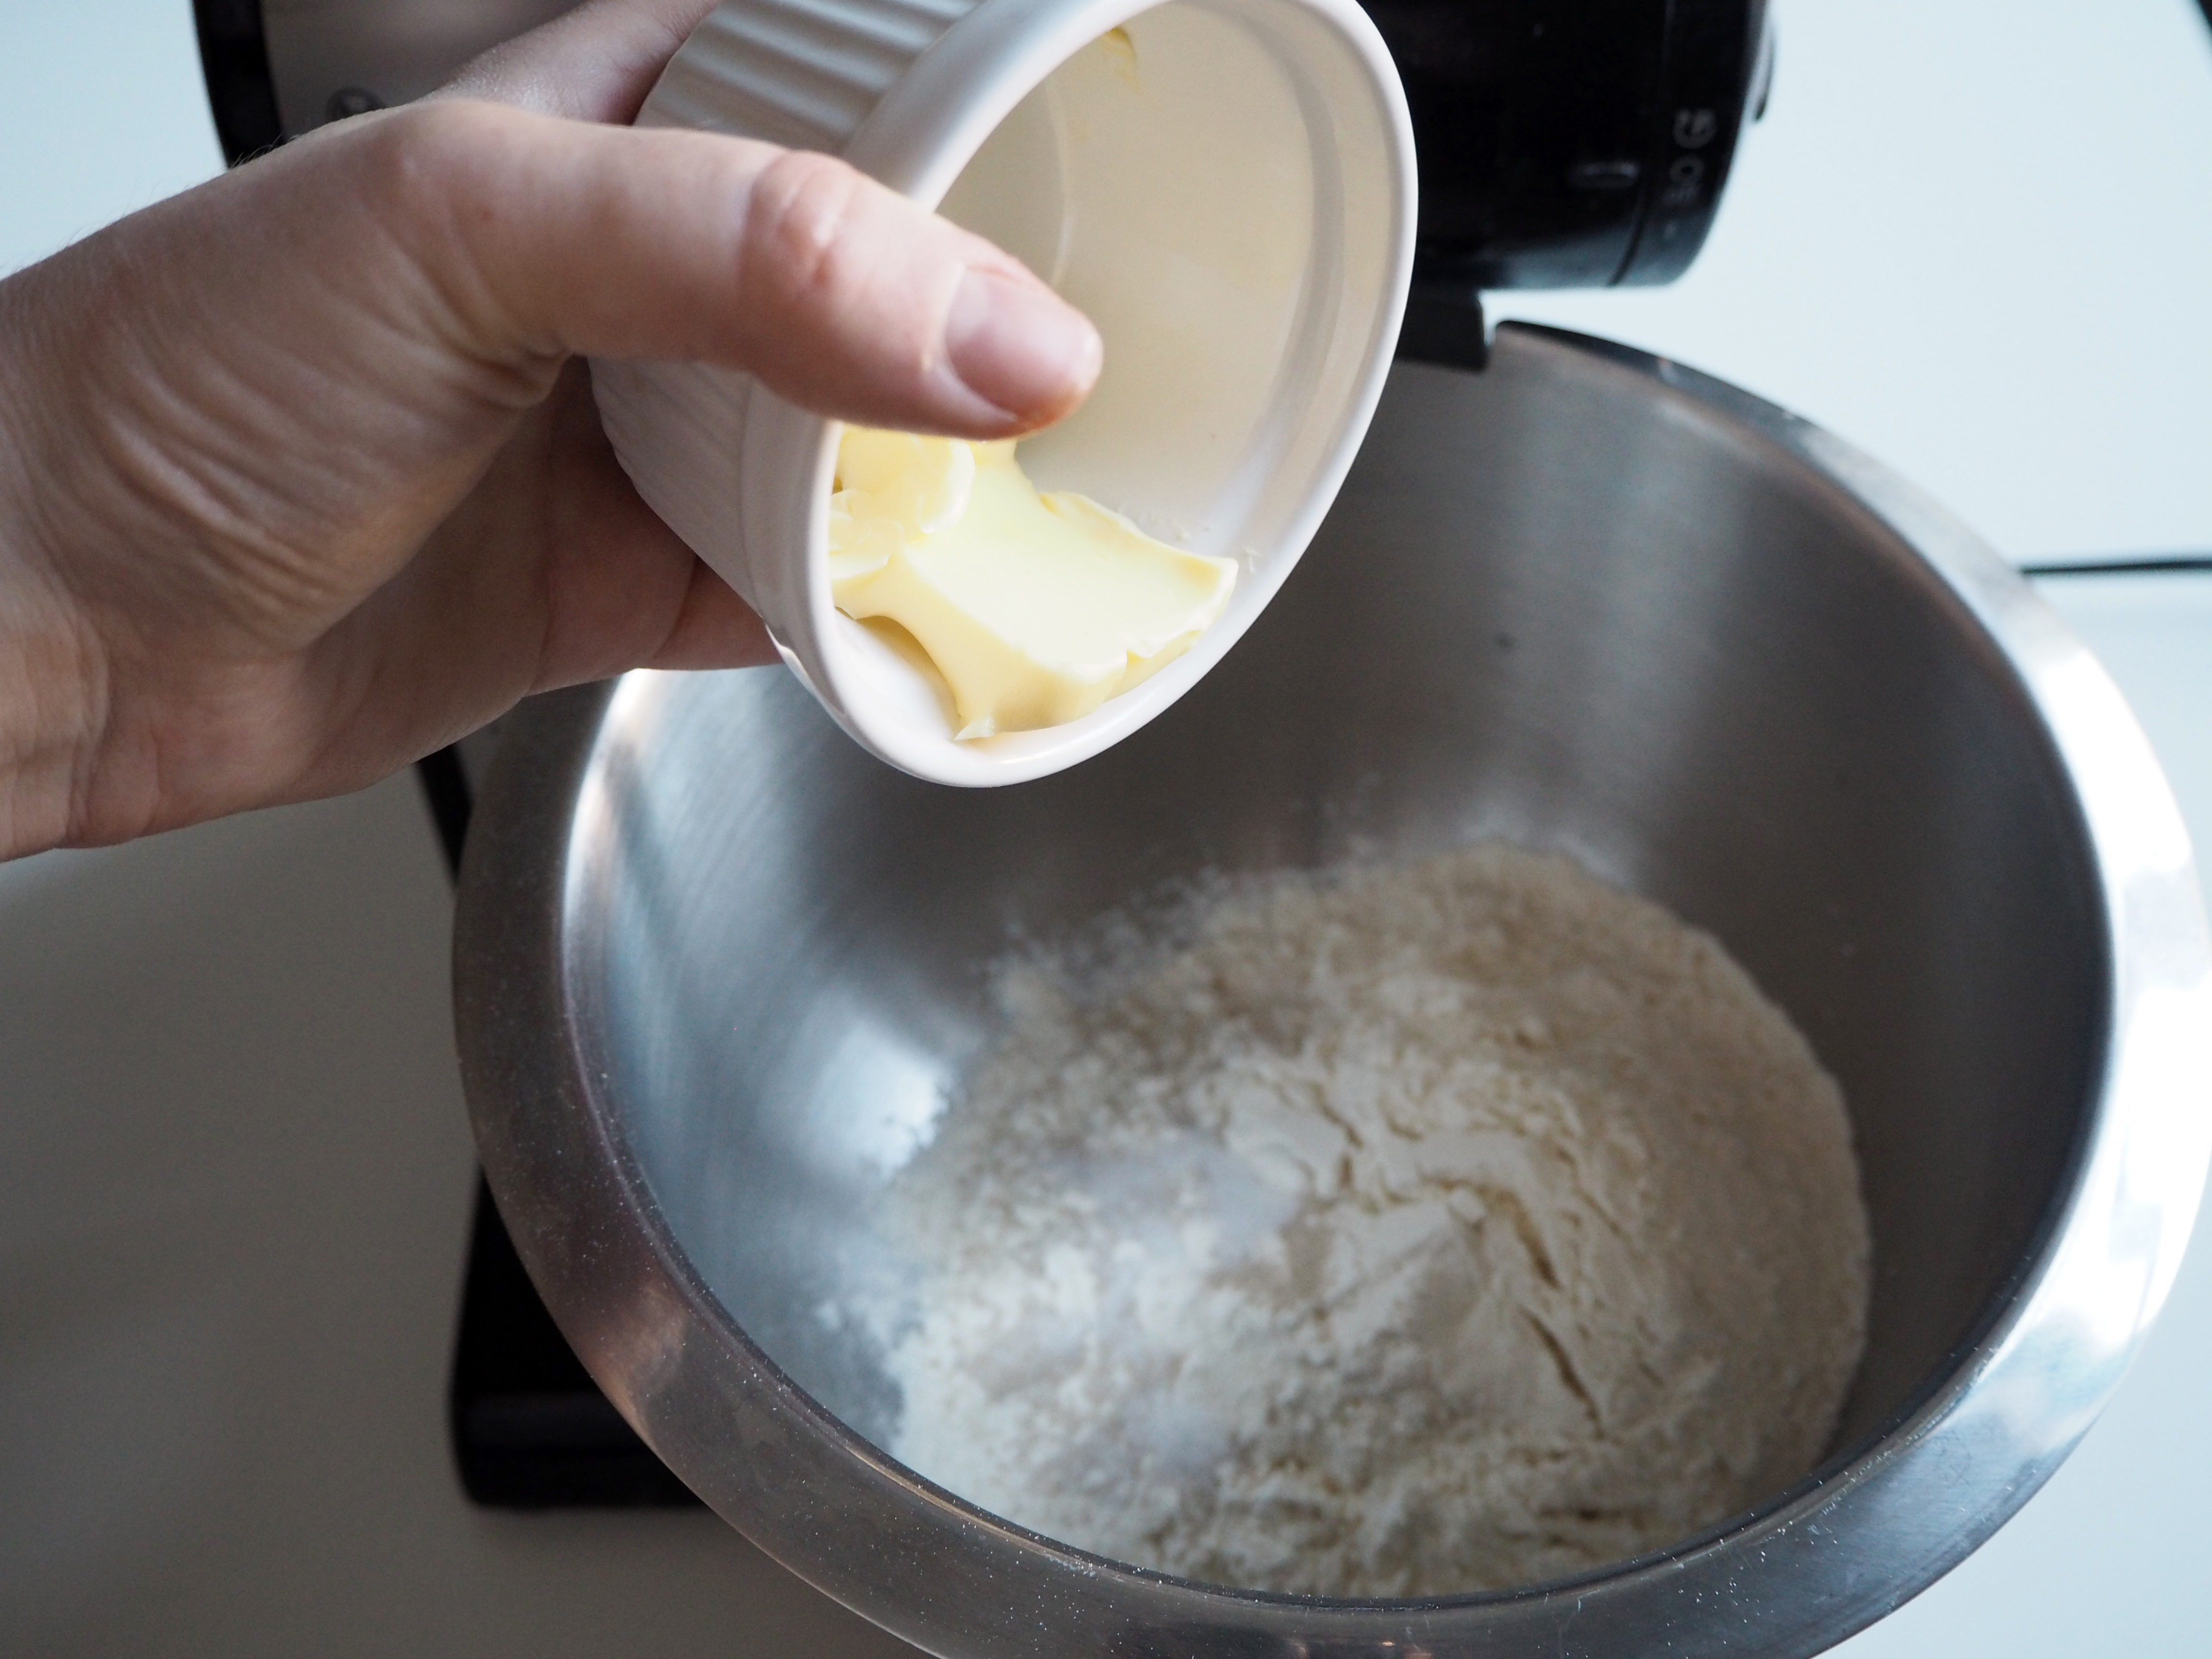
1 tbsp / 14 gr. butter in room temperature (I use normal salted butter. If you use unsalted butter, increase the amount of salt to 1/2 tsp)
3/4 cup / 1 dl.+ 5 tbsp + 5 tsp warm water, around 50C (if you don’t have a thermometer, just heat water until it gets quite warm to touch but not boiling and not hurting your hand much)
More water to dip the pretzels in, explained in step 6
1/4 cup / 4 tbsp baking soda
1 egg

—
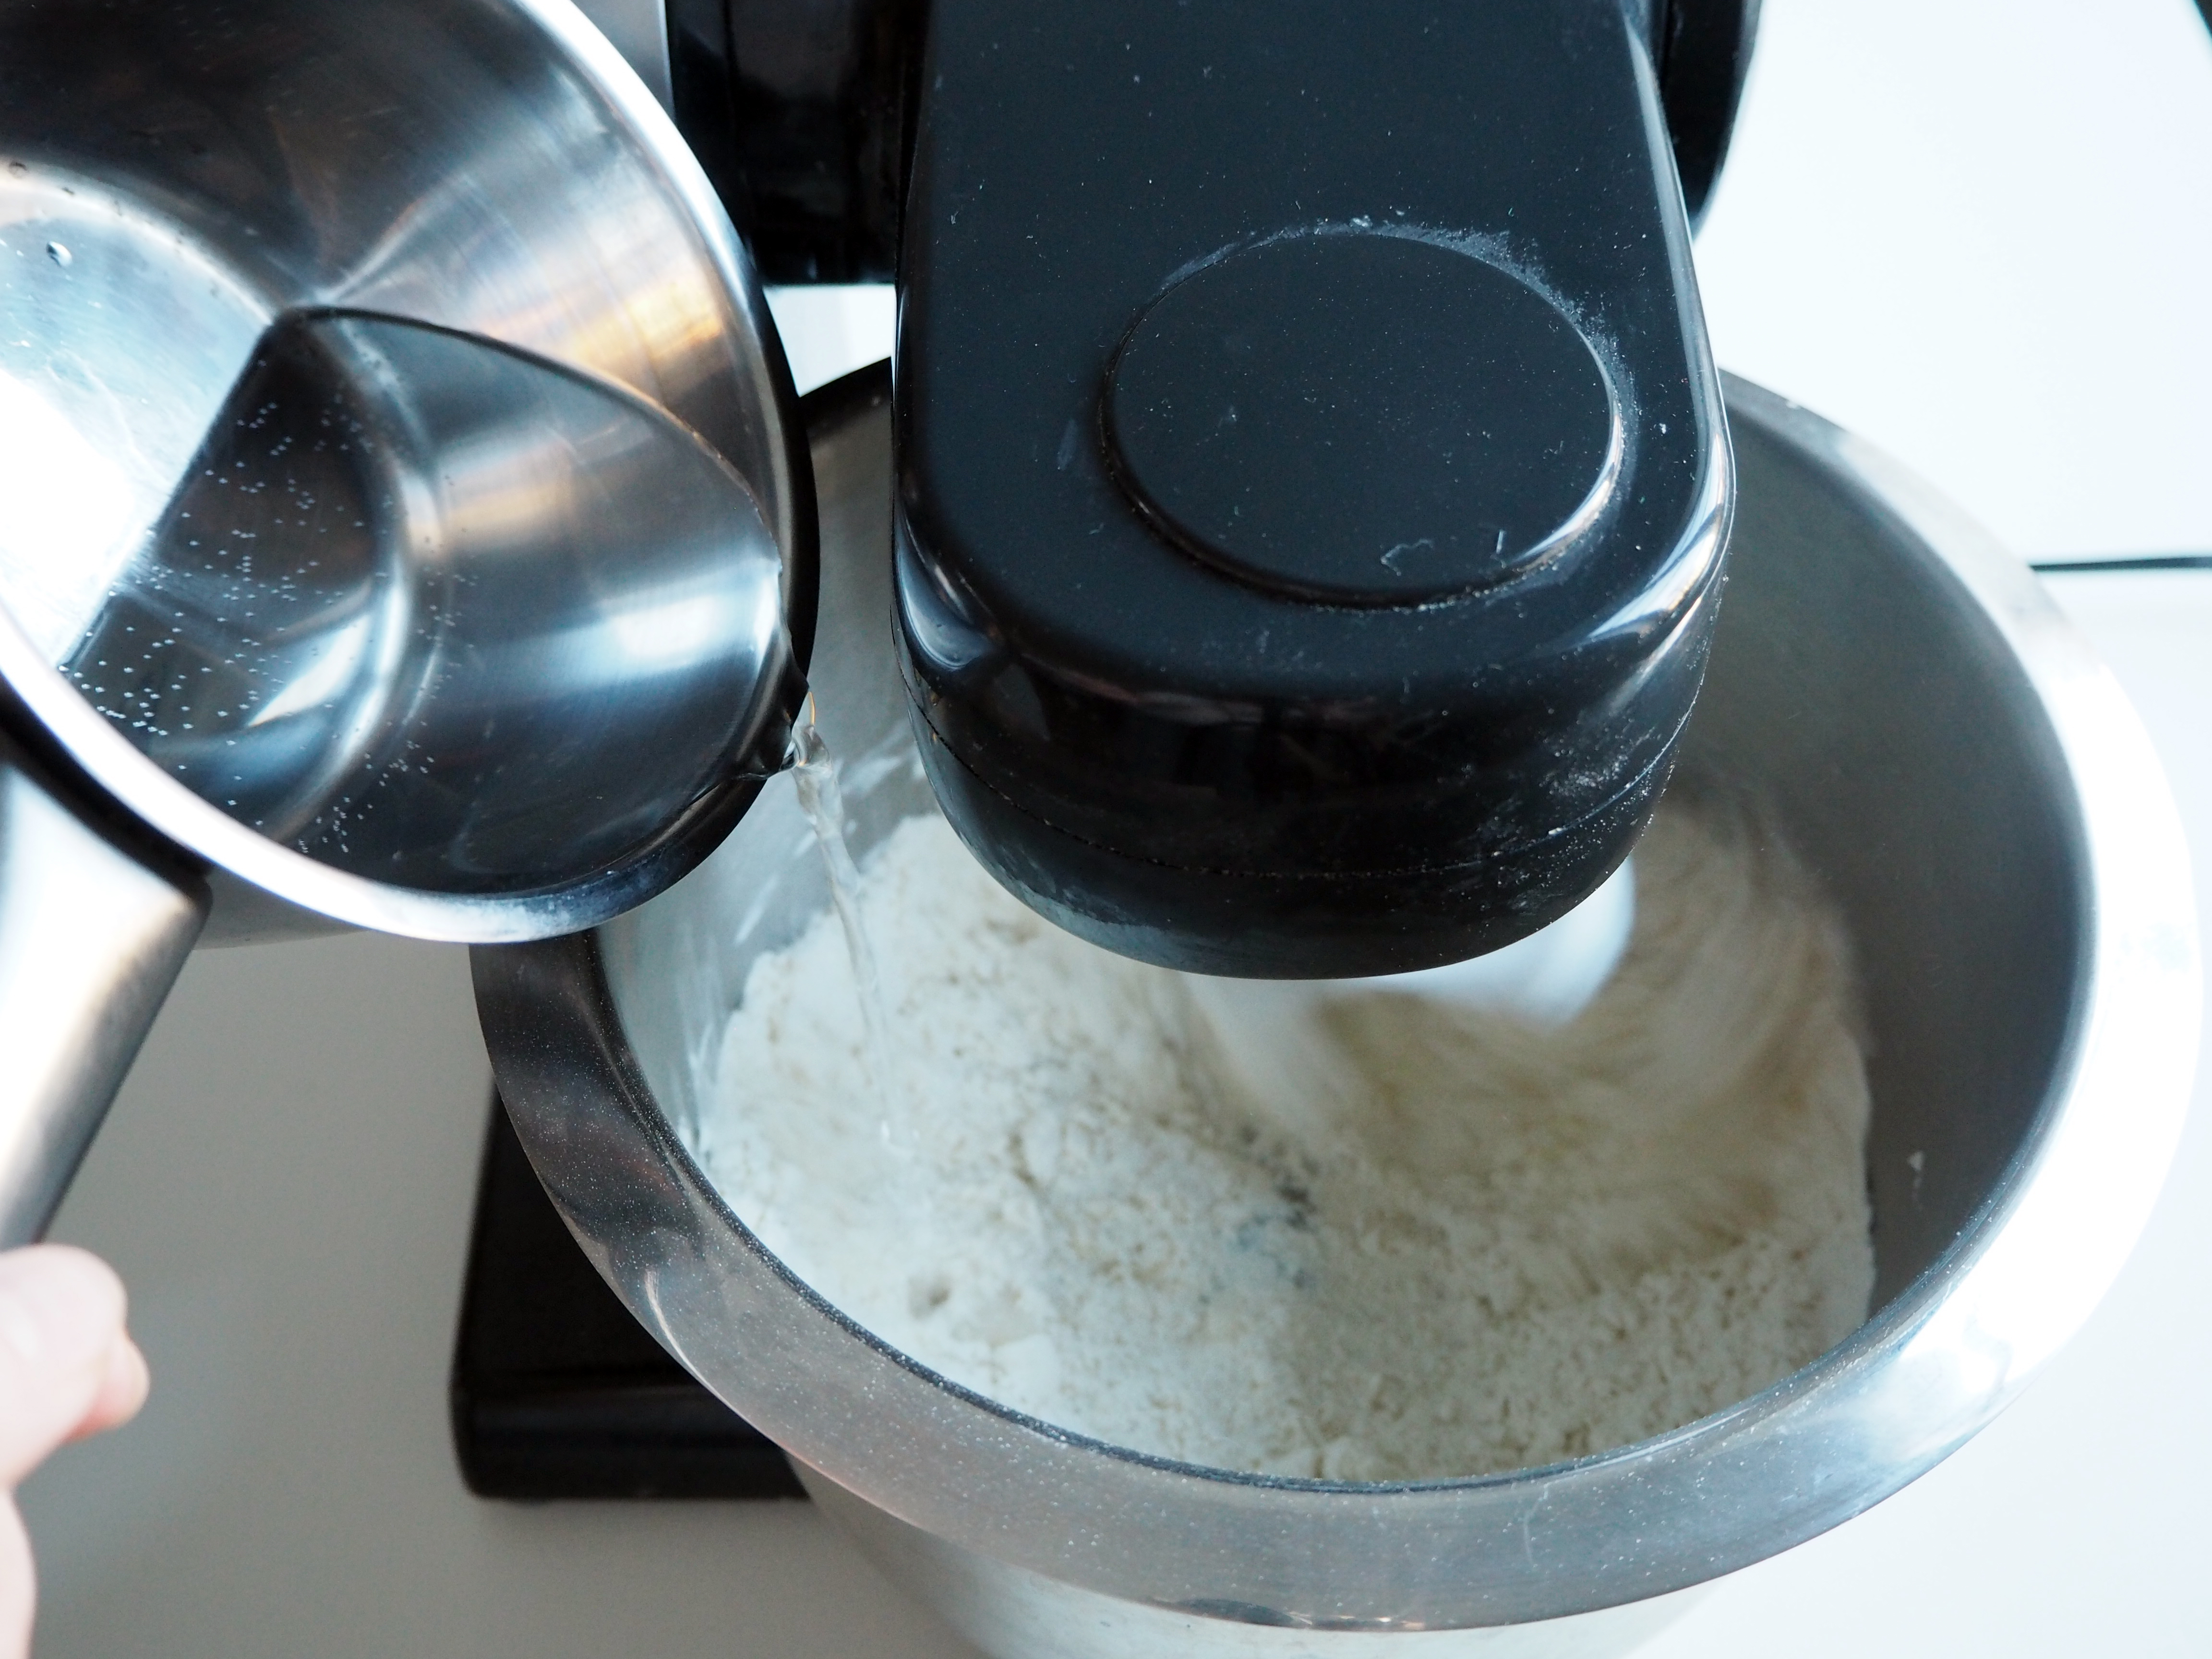
1. In the bowl of a standing mixer (or in any mixing bowl, if you are kneading with your hands) put flour, yeast, salt and butter and mix until you get a little crumbled texture.


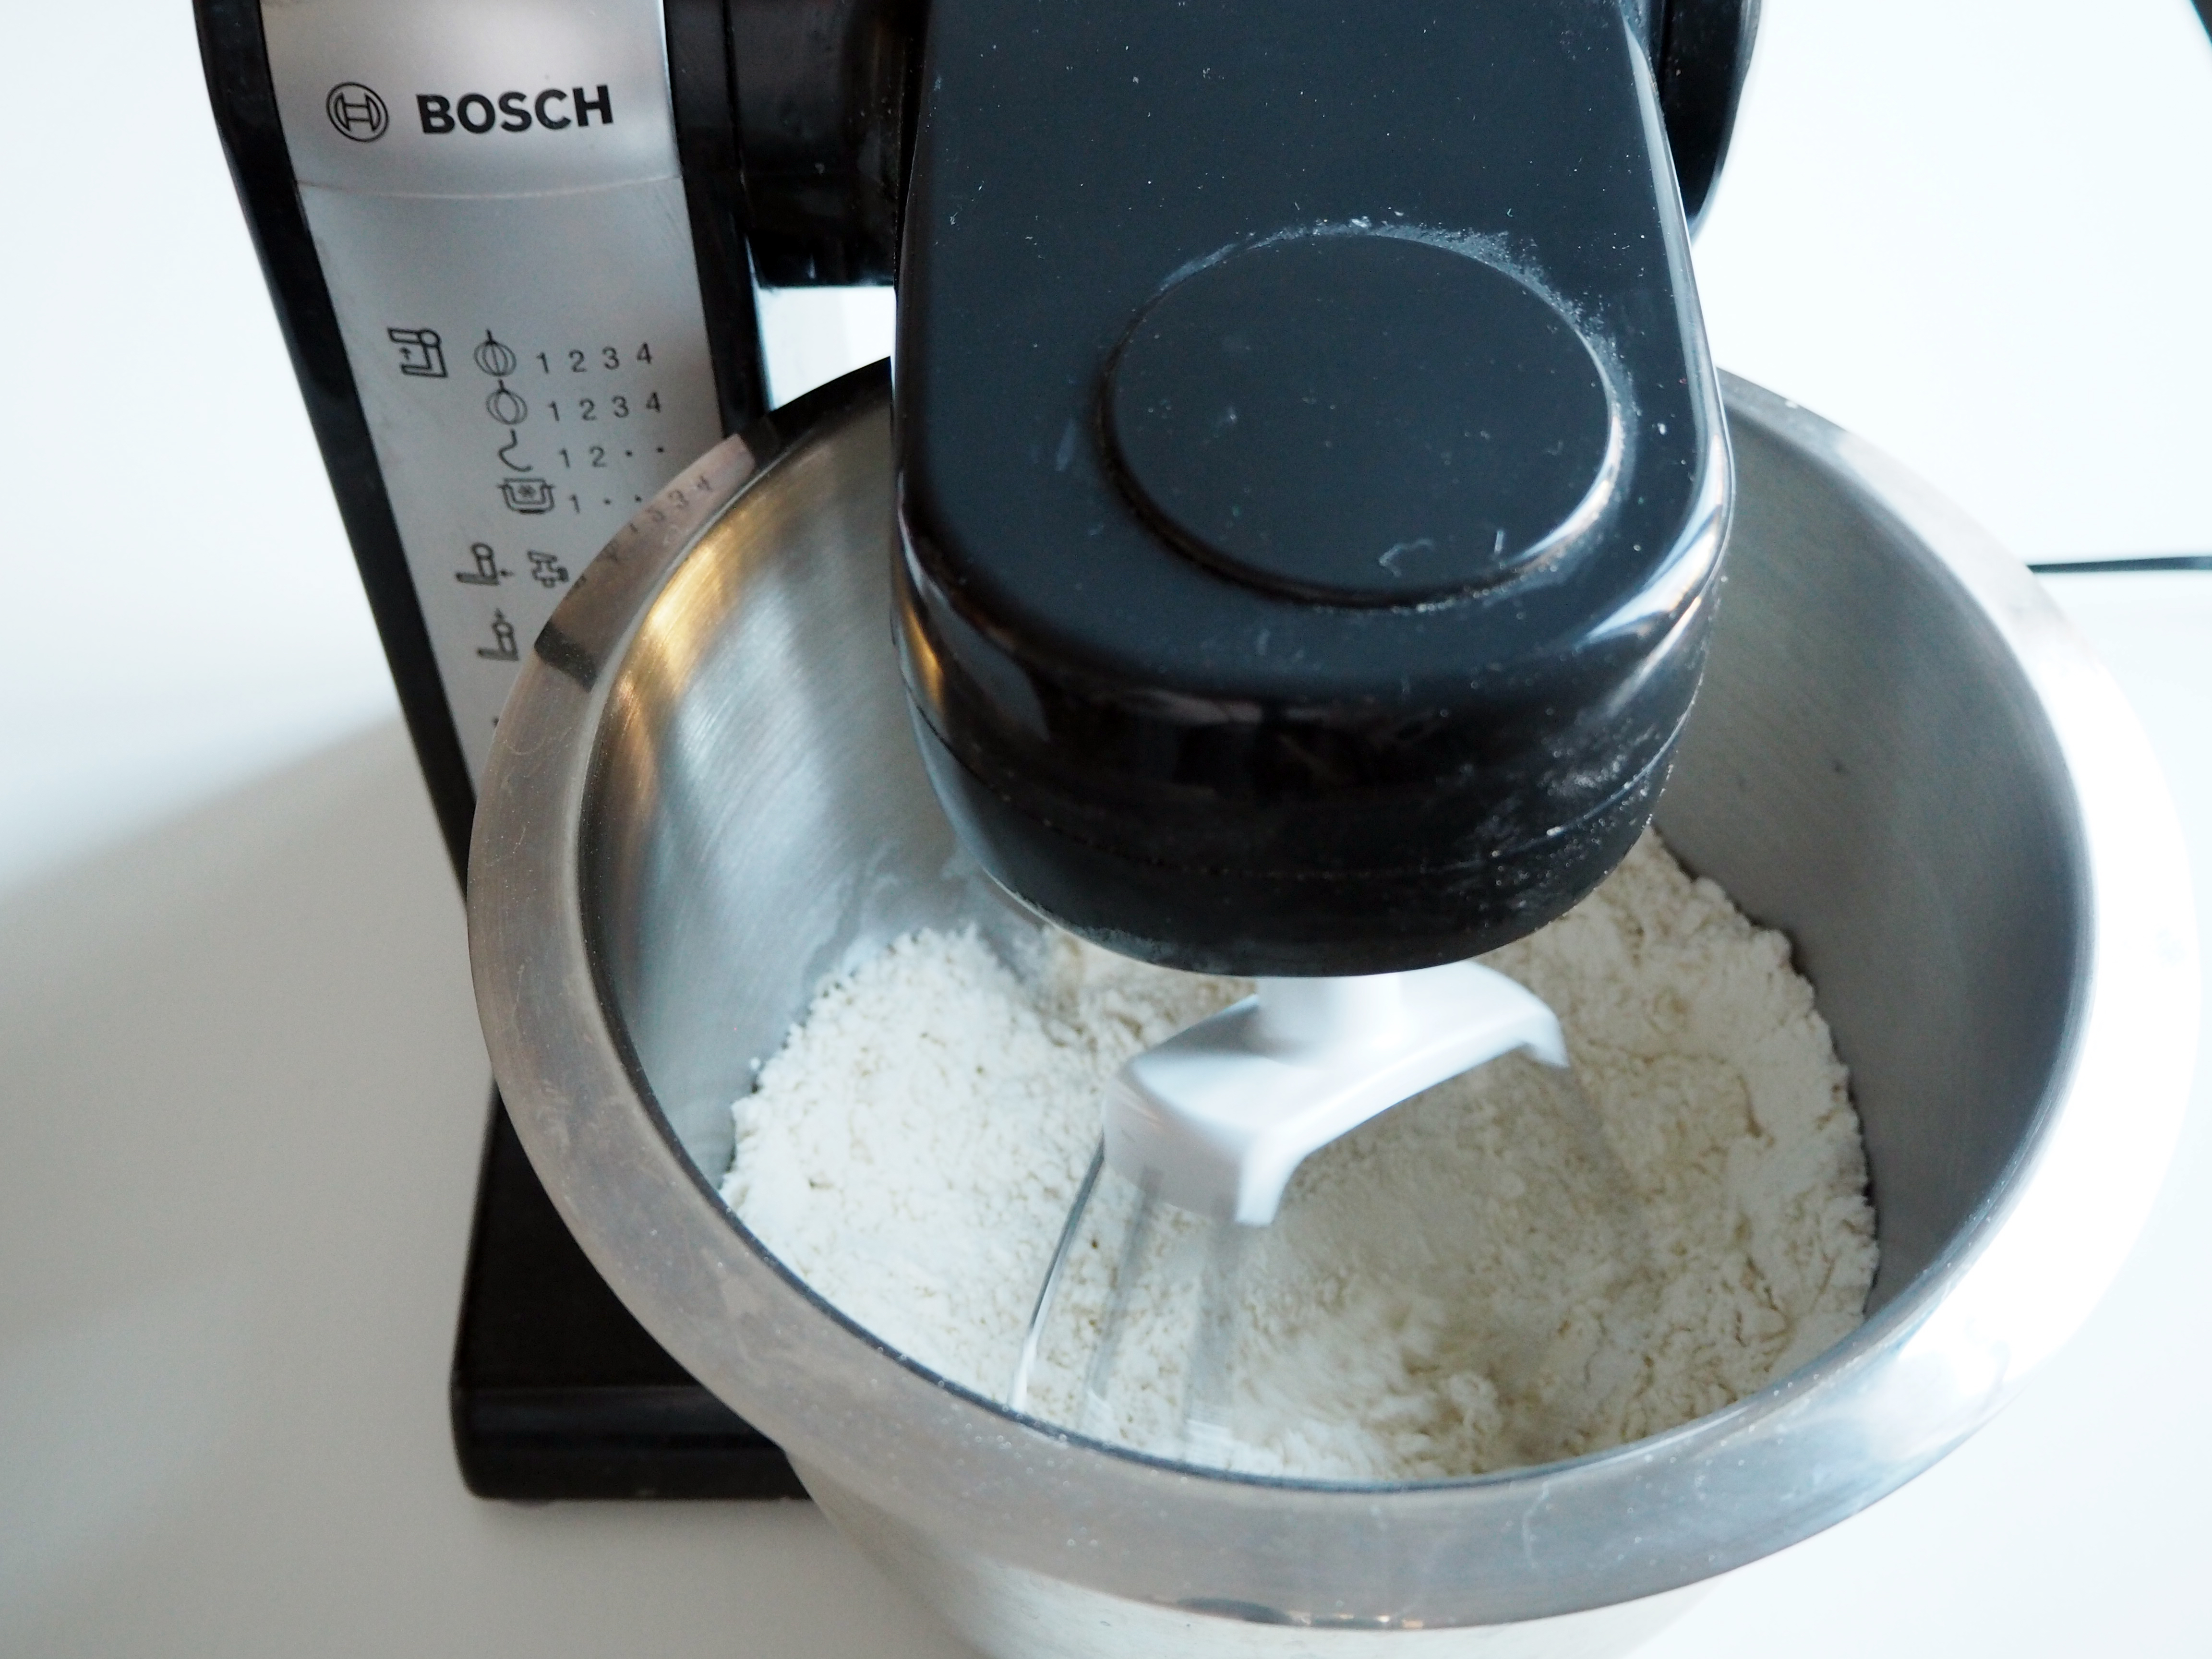
2. While still mixing add water, then change to dough hook, and continue kneading until you get a soft, smooth and non-sticky dough.


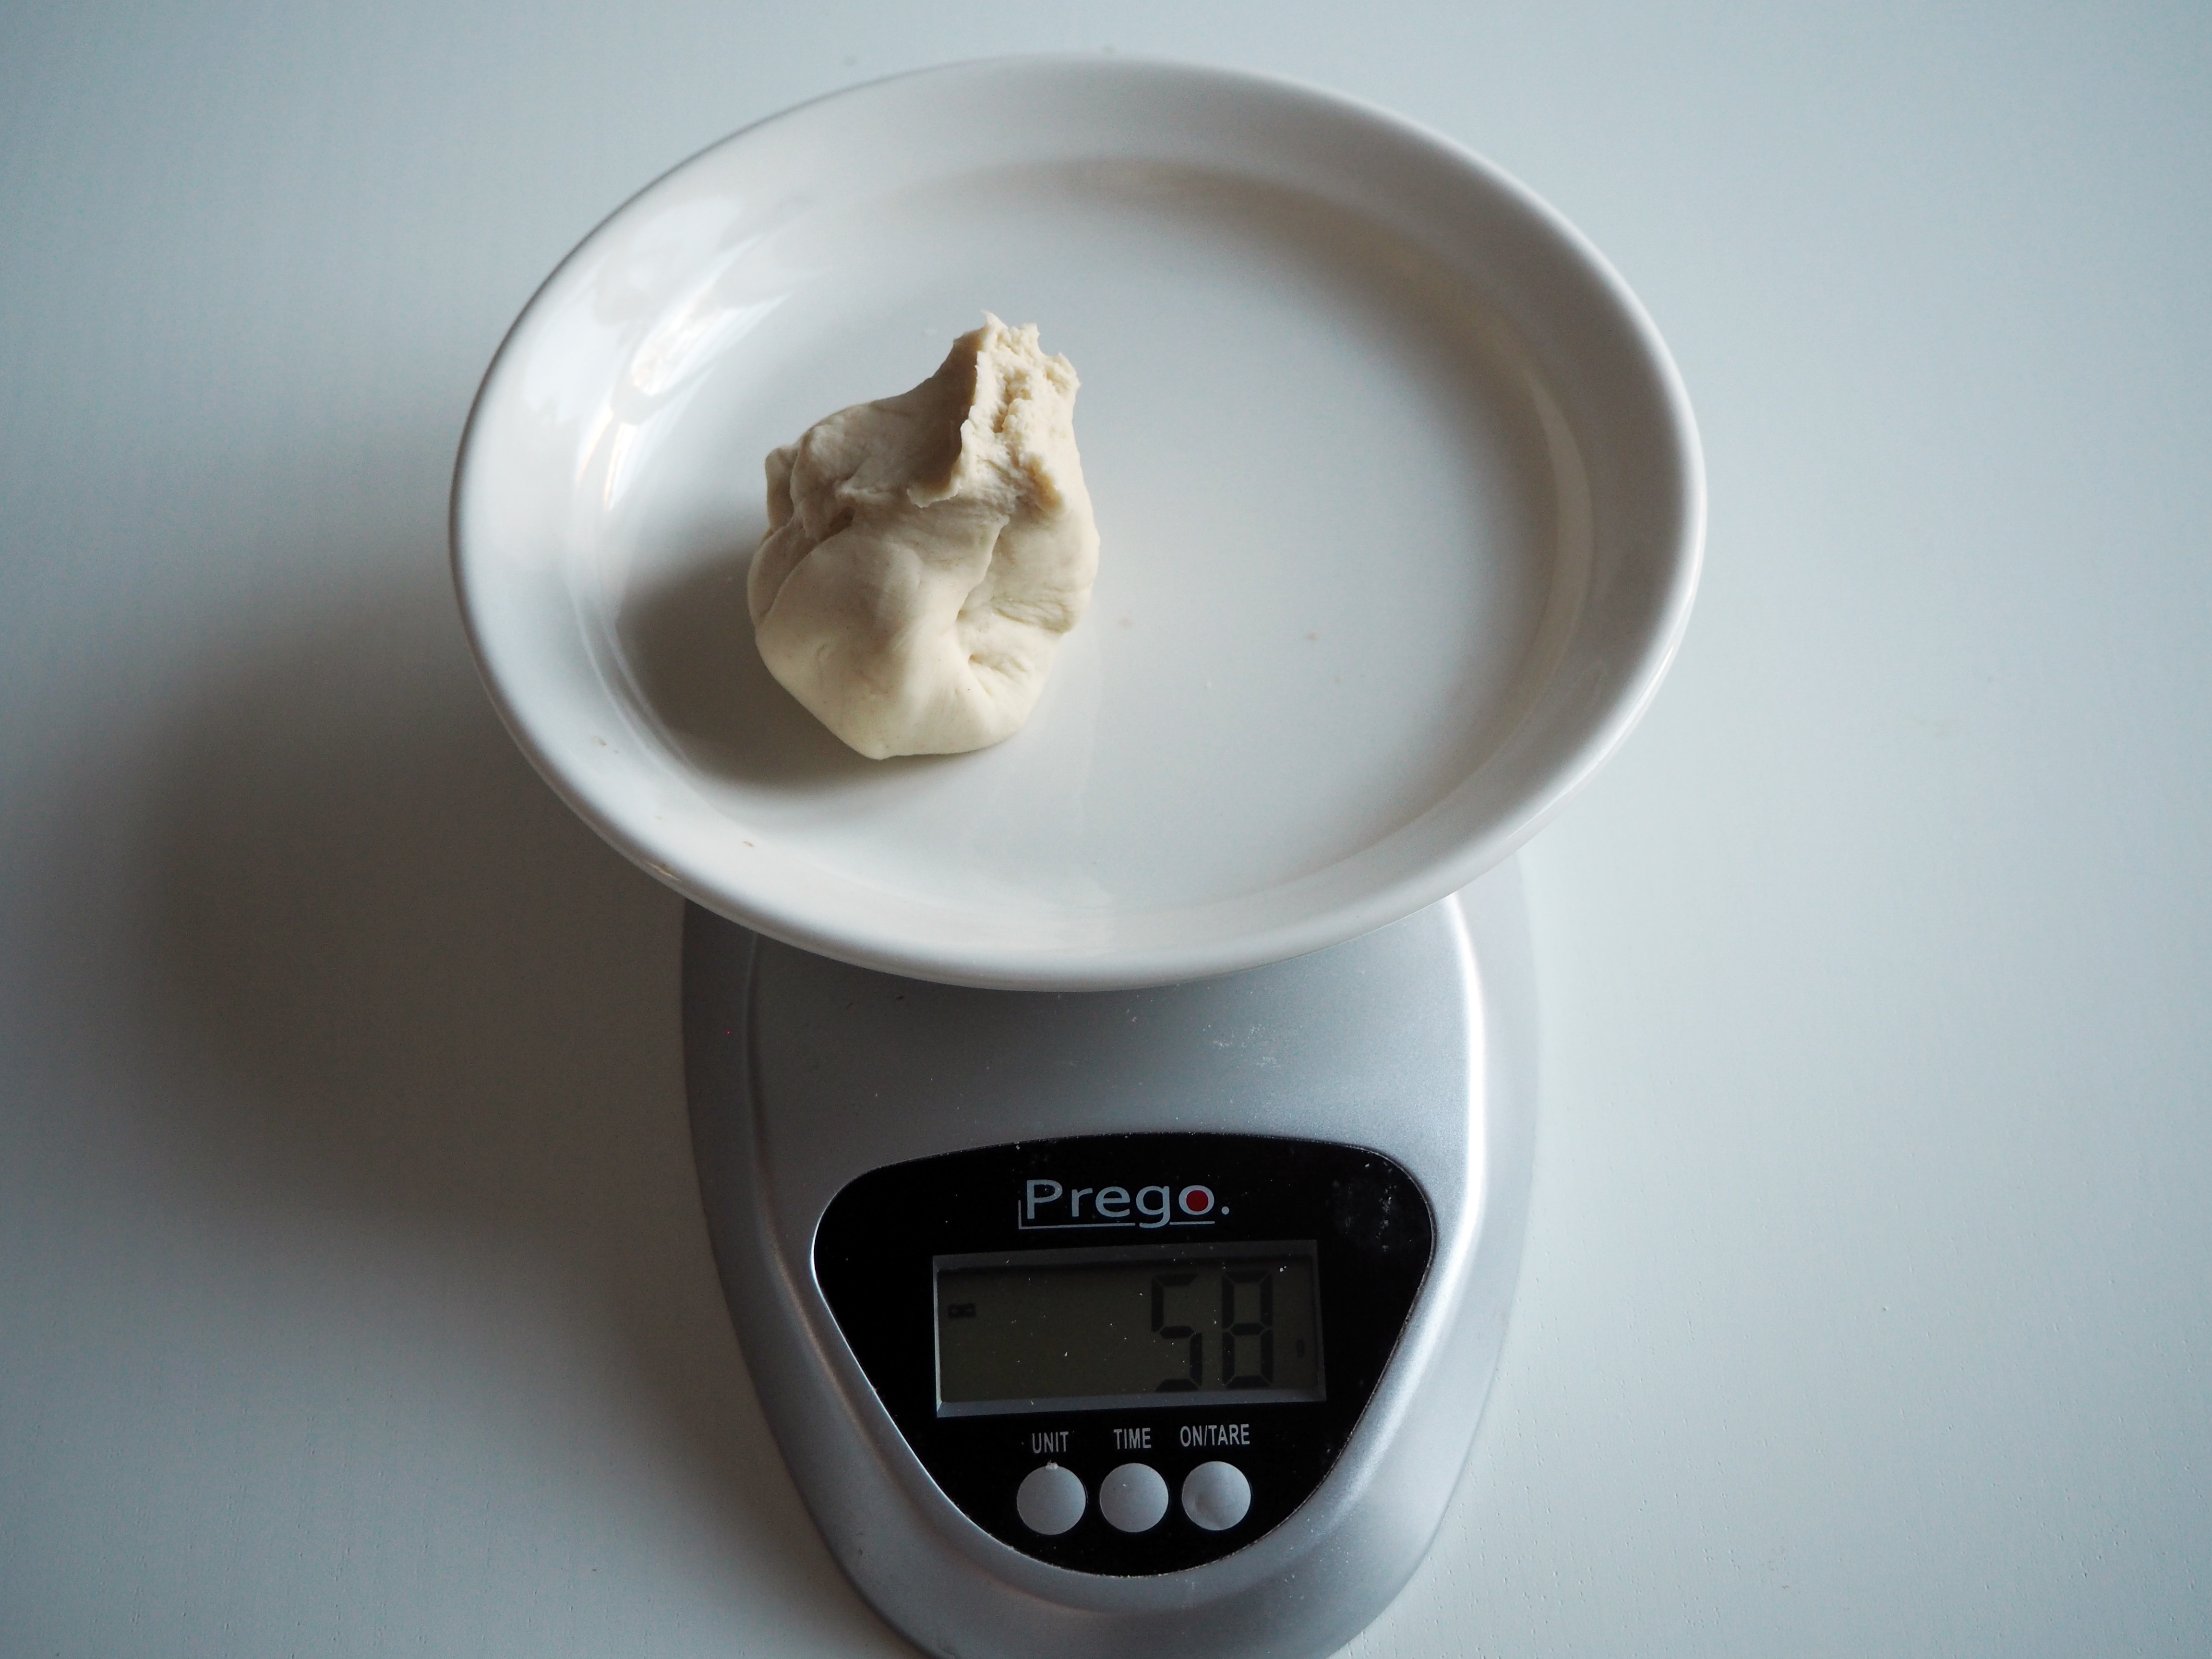
3. Divide the dough into 58/60 gr. pieces. Again, if you don’t have a kitchen scale, this weight makes balls in the size of medium satsumas, or medium onions. Turn each pieces into a smooth ball.

4. Put the balls on an oven tray with a baking sheet on and cover with a kitchen towel for an hour or so, to rise. Try to leave them in a warm spot in the kitchen so that it doesn’t take more than 1 hour to rise.


5. Once the balls are doubled in size, preheat the oven to 220C.
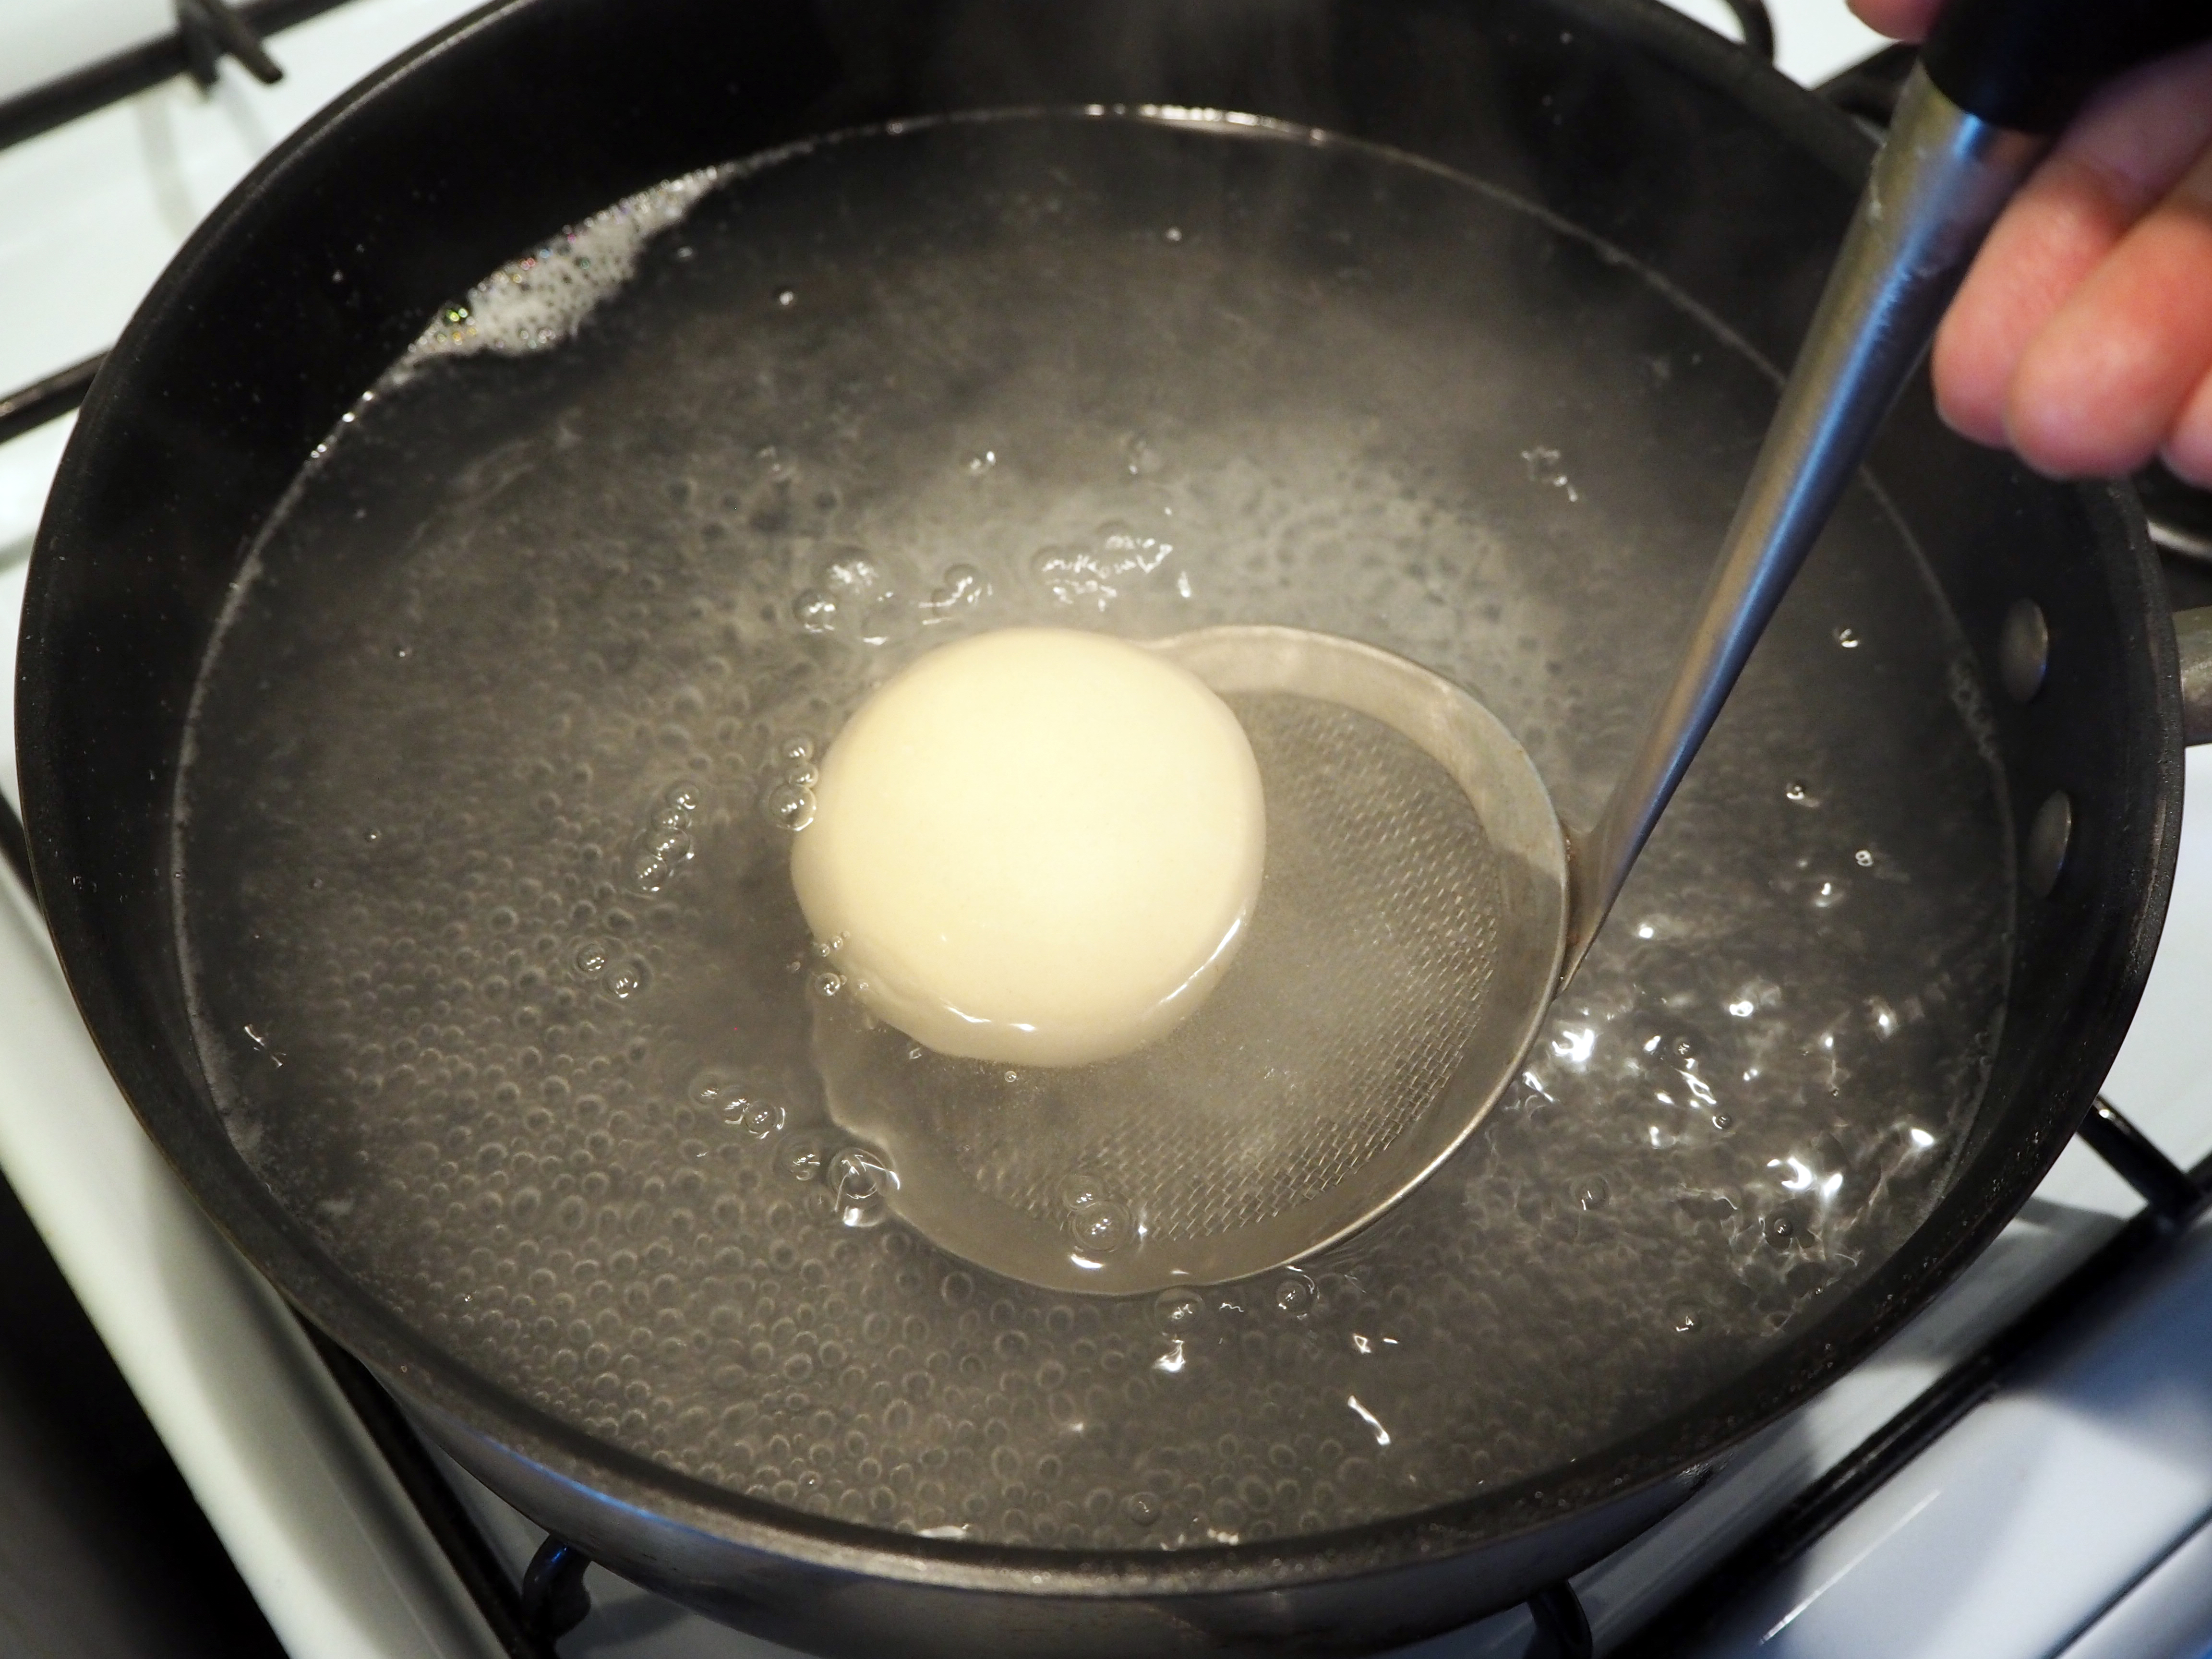
6. Boil some water in a rather deep pan and boil. Once boiled, add baking soda gradually: 1 TABLESPOON AT A TIME. Because each time you add soda it splashes a bit. Stir the mixture a little.


7. Put each ball in the water/soda mixture, 30 seconds for each side. Then put them back on the baking sheet.

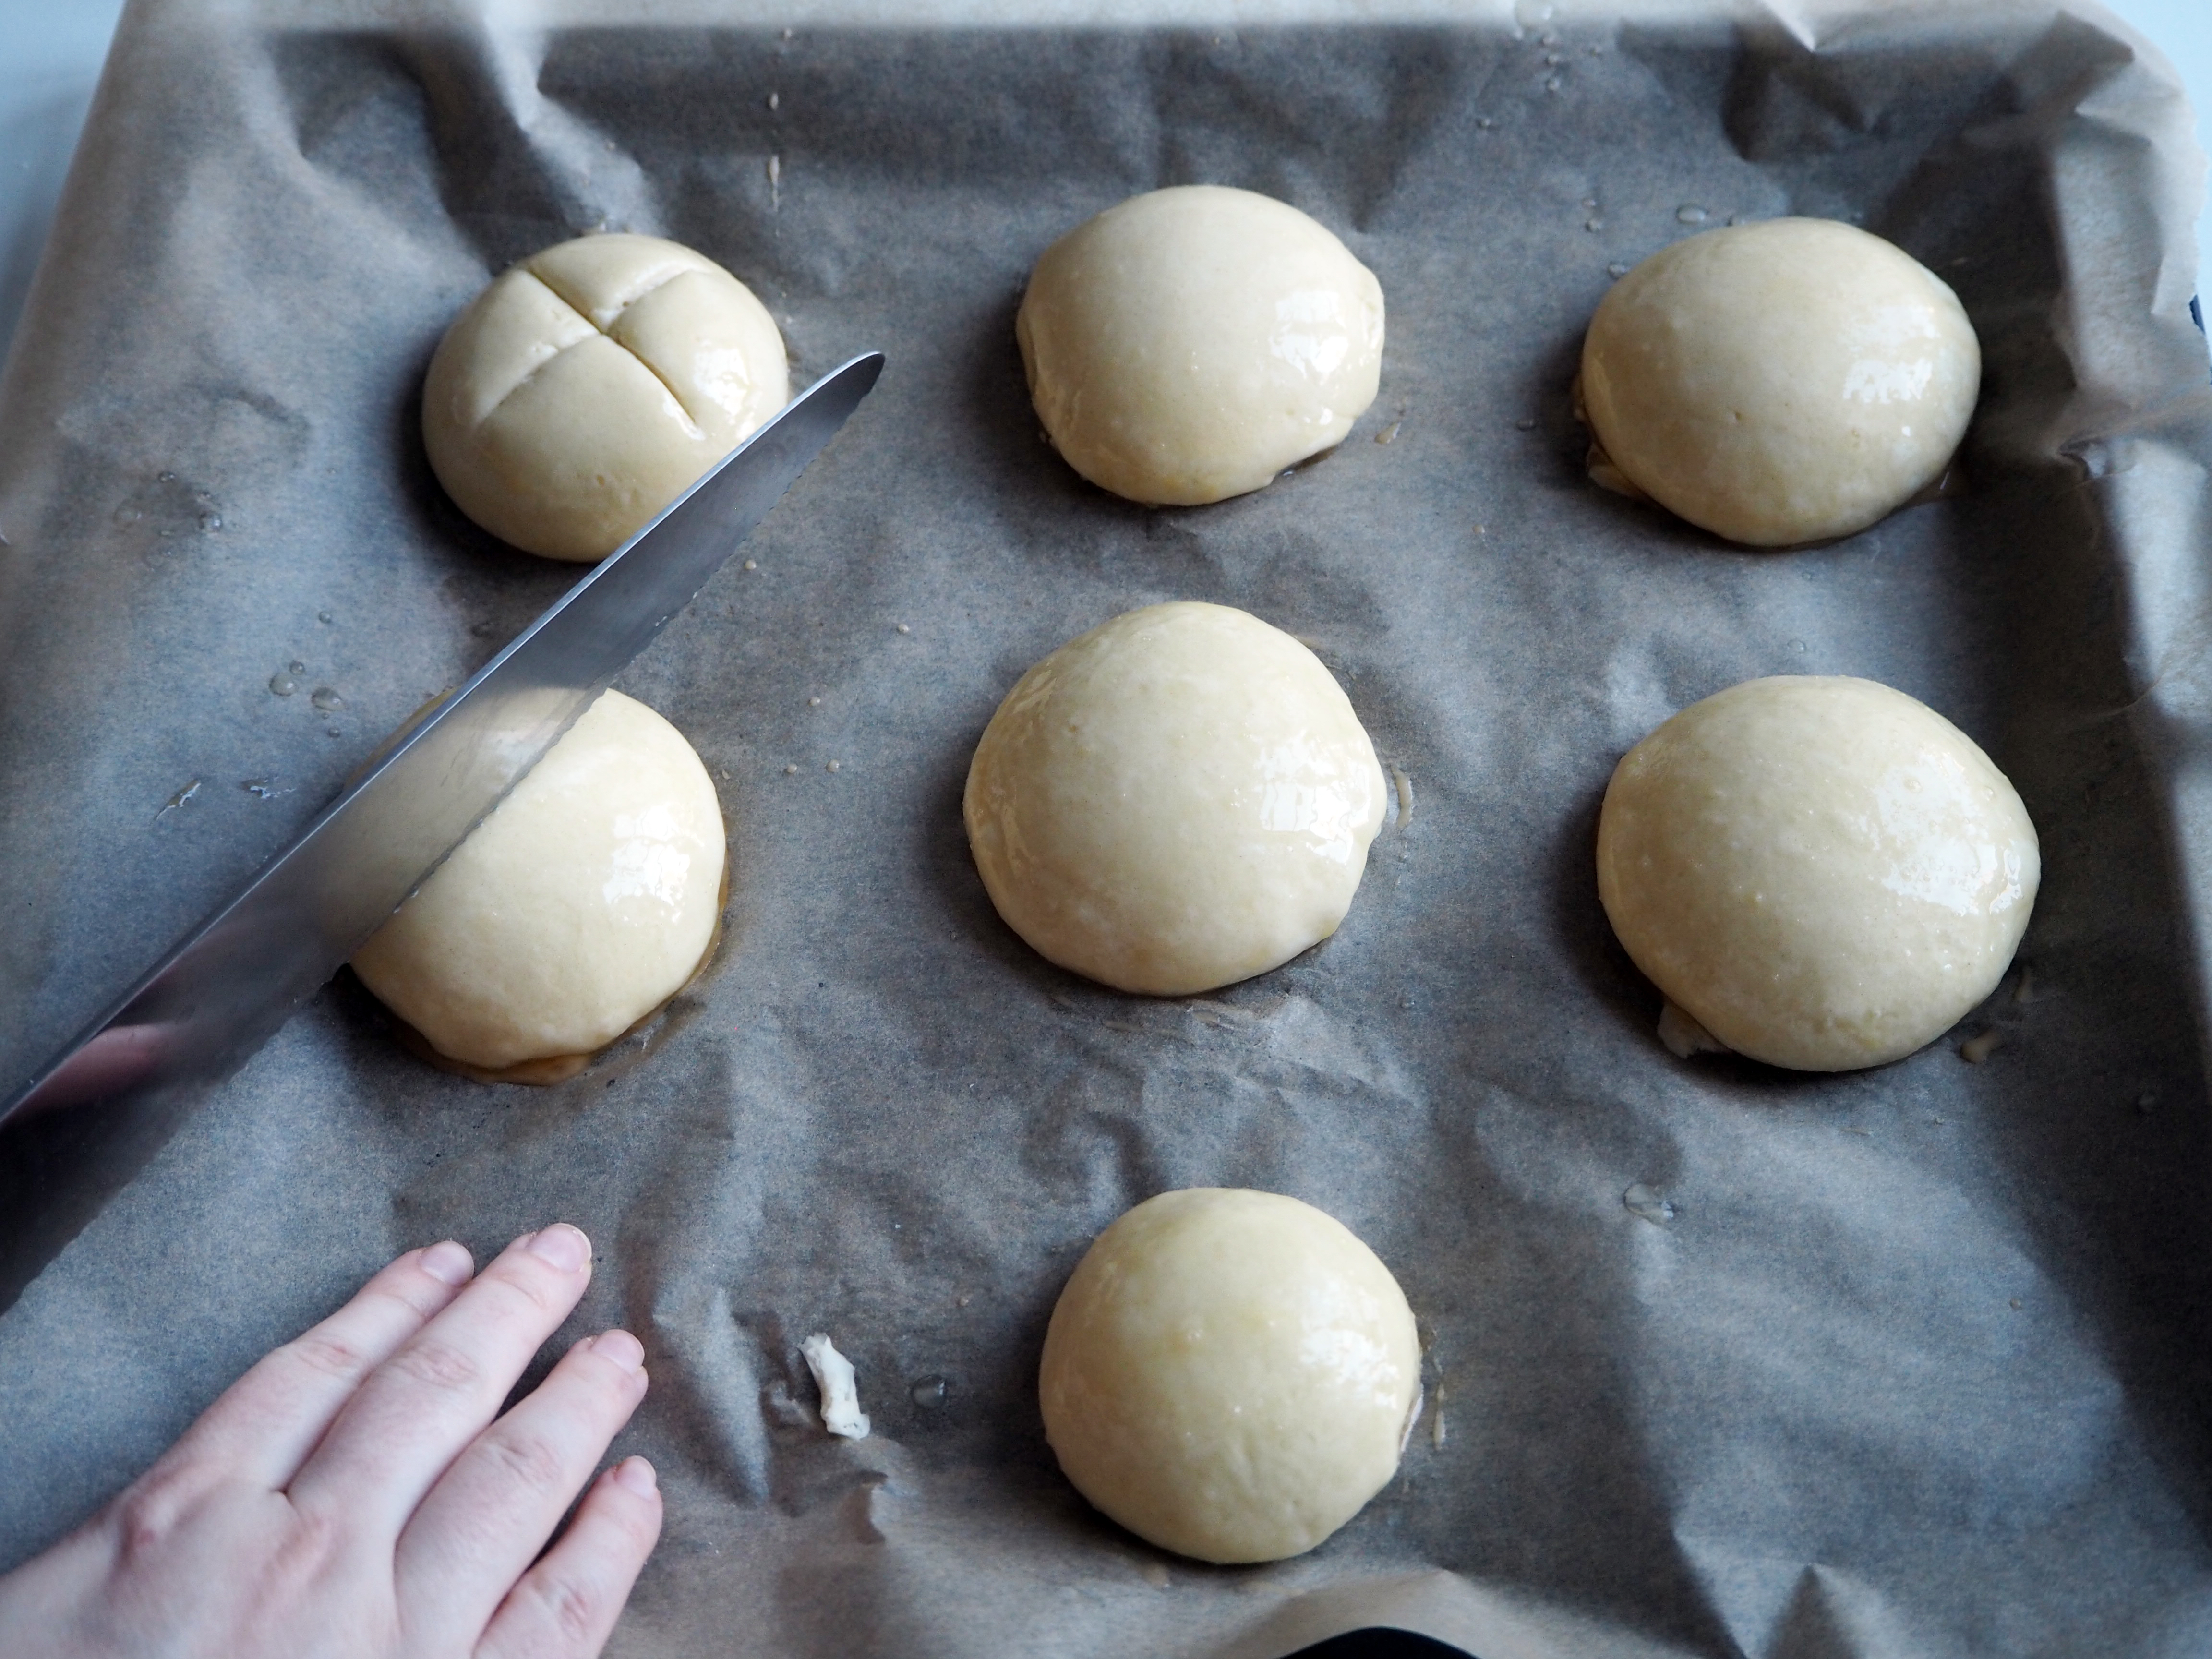
8. Beat 1 egg a little and brush the surface of each ball with egg.


9. Slash the surface of each ball in the shape of a cross with a serrated knife. Put them in the oven, in medium rack, and bake for 18-20 minutes, until the surface is brown. Once baked, take them out of the oven and let them cool down a bit before eating. Pretzels are best eaten fresh, within a few hours after baking or at least the same day.

They look so beautiful!! The recipe doesn’t sound too difficult so definitely going to give it a try :)
Great to hear that! No, the recipe is not difficult at all, it just needs a bit of more attention for those who are not so much regular bakers. :) let me know once you try it, please!
picture says baking powder, recipe says baking soda… just a fyi :)
Corrected, thank you!! ^_^