As I grow older, I feel closer to Black Sea than Istanbul, even though I lived in Istanbul for most of my life. It is the people, the stories, the food and the nature that affect me. Most of my father’s family live in Sinop, my real home by the Black Sea coast, and my childhood is filled with stories about Circassians, Laz people and Georgians; I am half Circassian through my father, and I always loved those stories. So it felt only natural and familiar when I prepared this dish from Georgian cuisine today; Georgia, our next door neighbour. I ate this dish only once more than a decade ago in Istanbul when a Georgian friend made it for me. This one is a very “expat” version, as I cannot find the real cheese that should be used with it, but I tried to get as close as possible to the real thing. We can at least think that it is a delicious inspiration from Georgian cuisine if not 100% real thing!
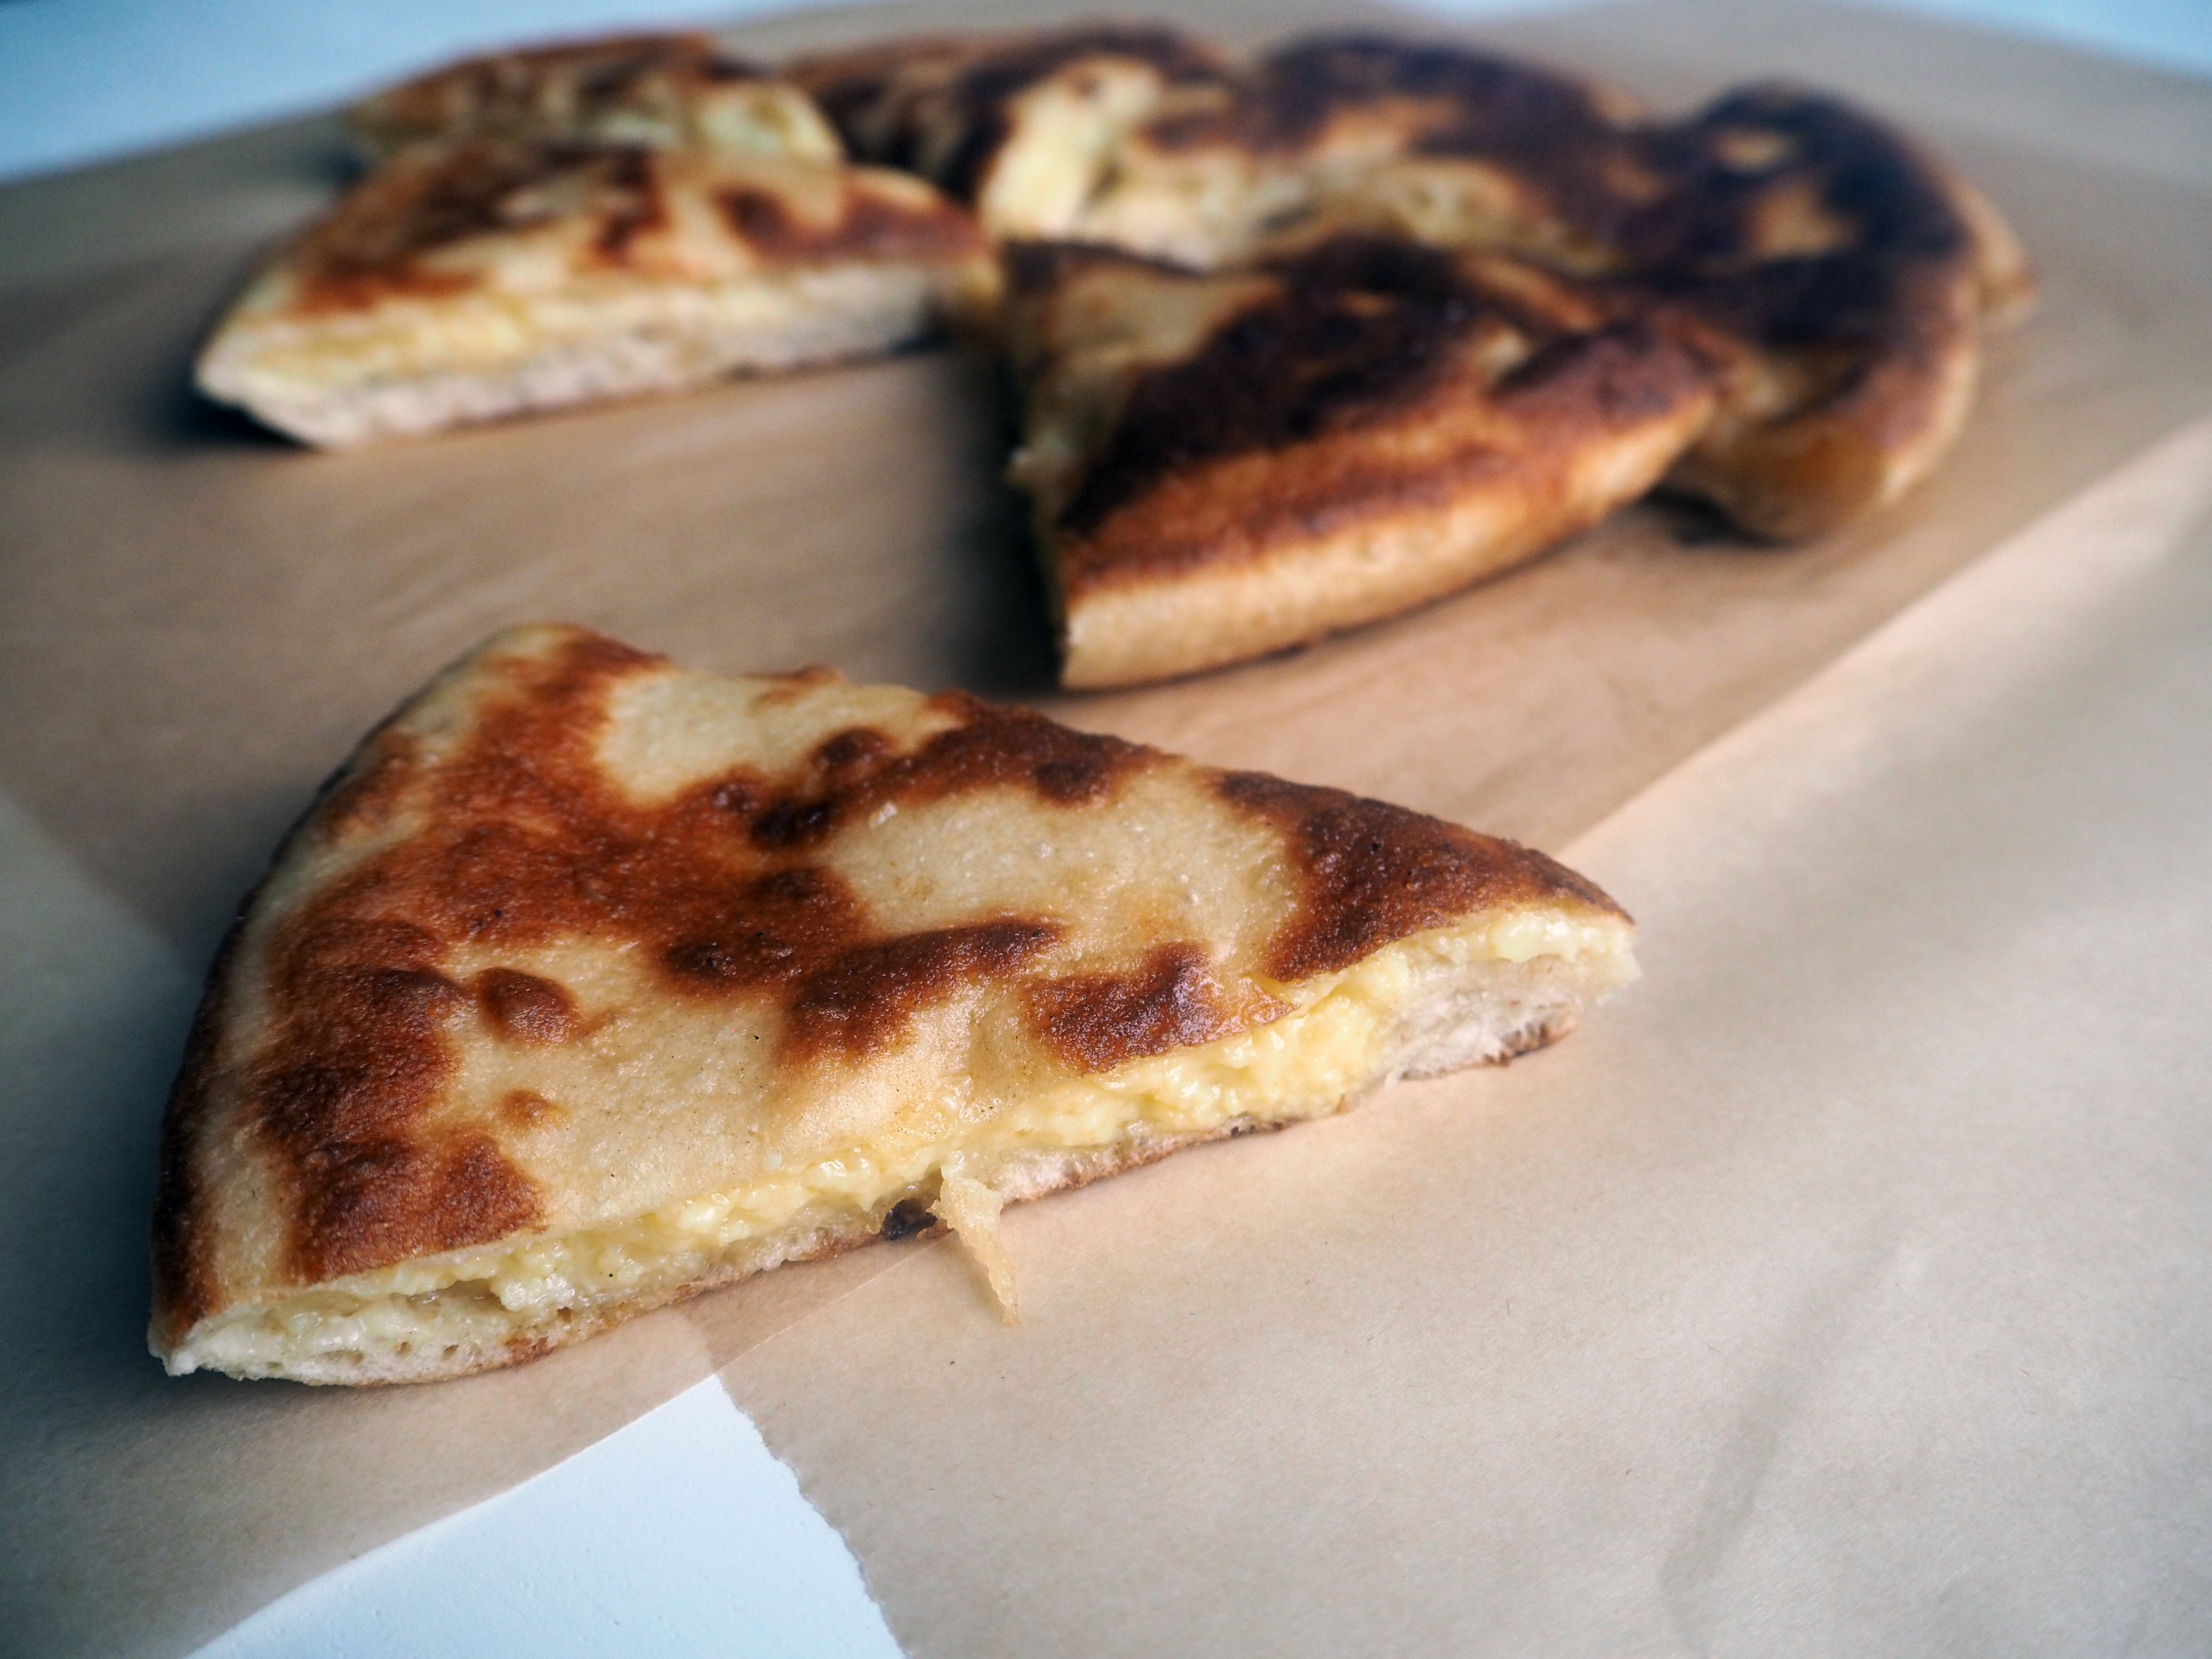
So basically this is a bread with cheese filling. Sound pretty simple, right? And it really is simple, just takes a bit of time.
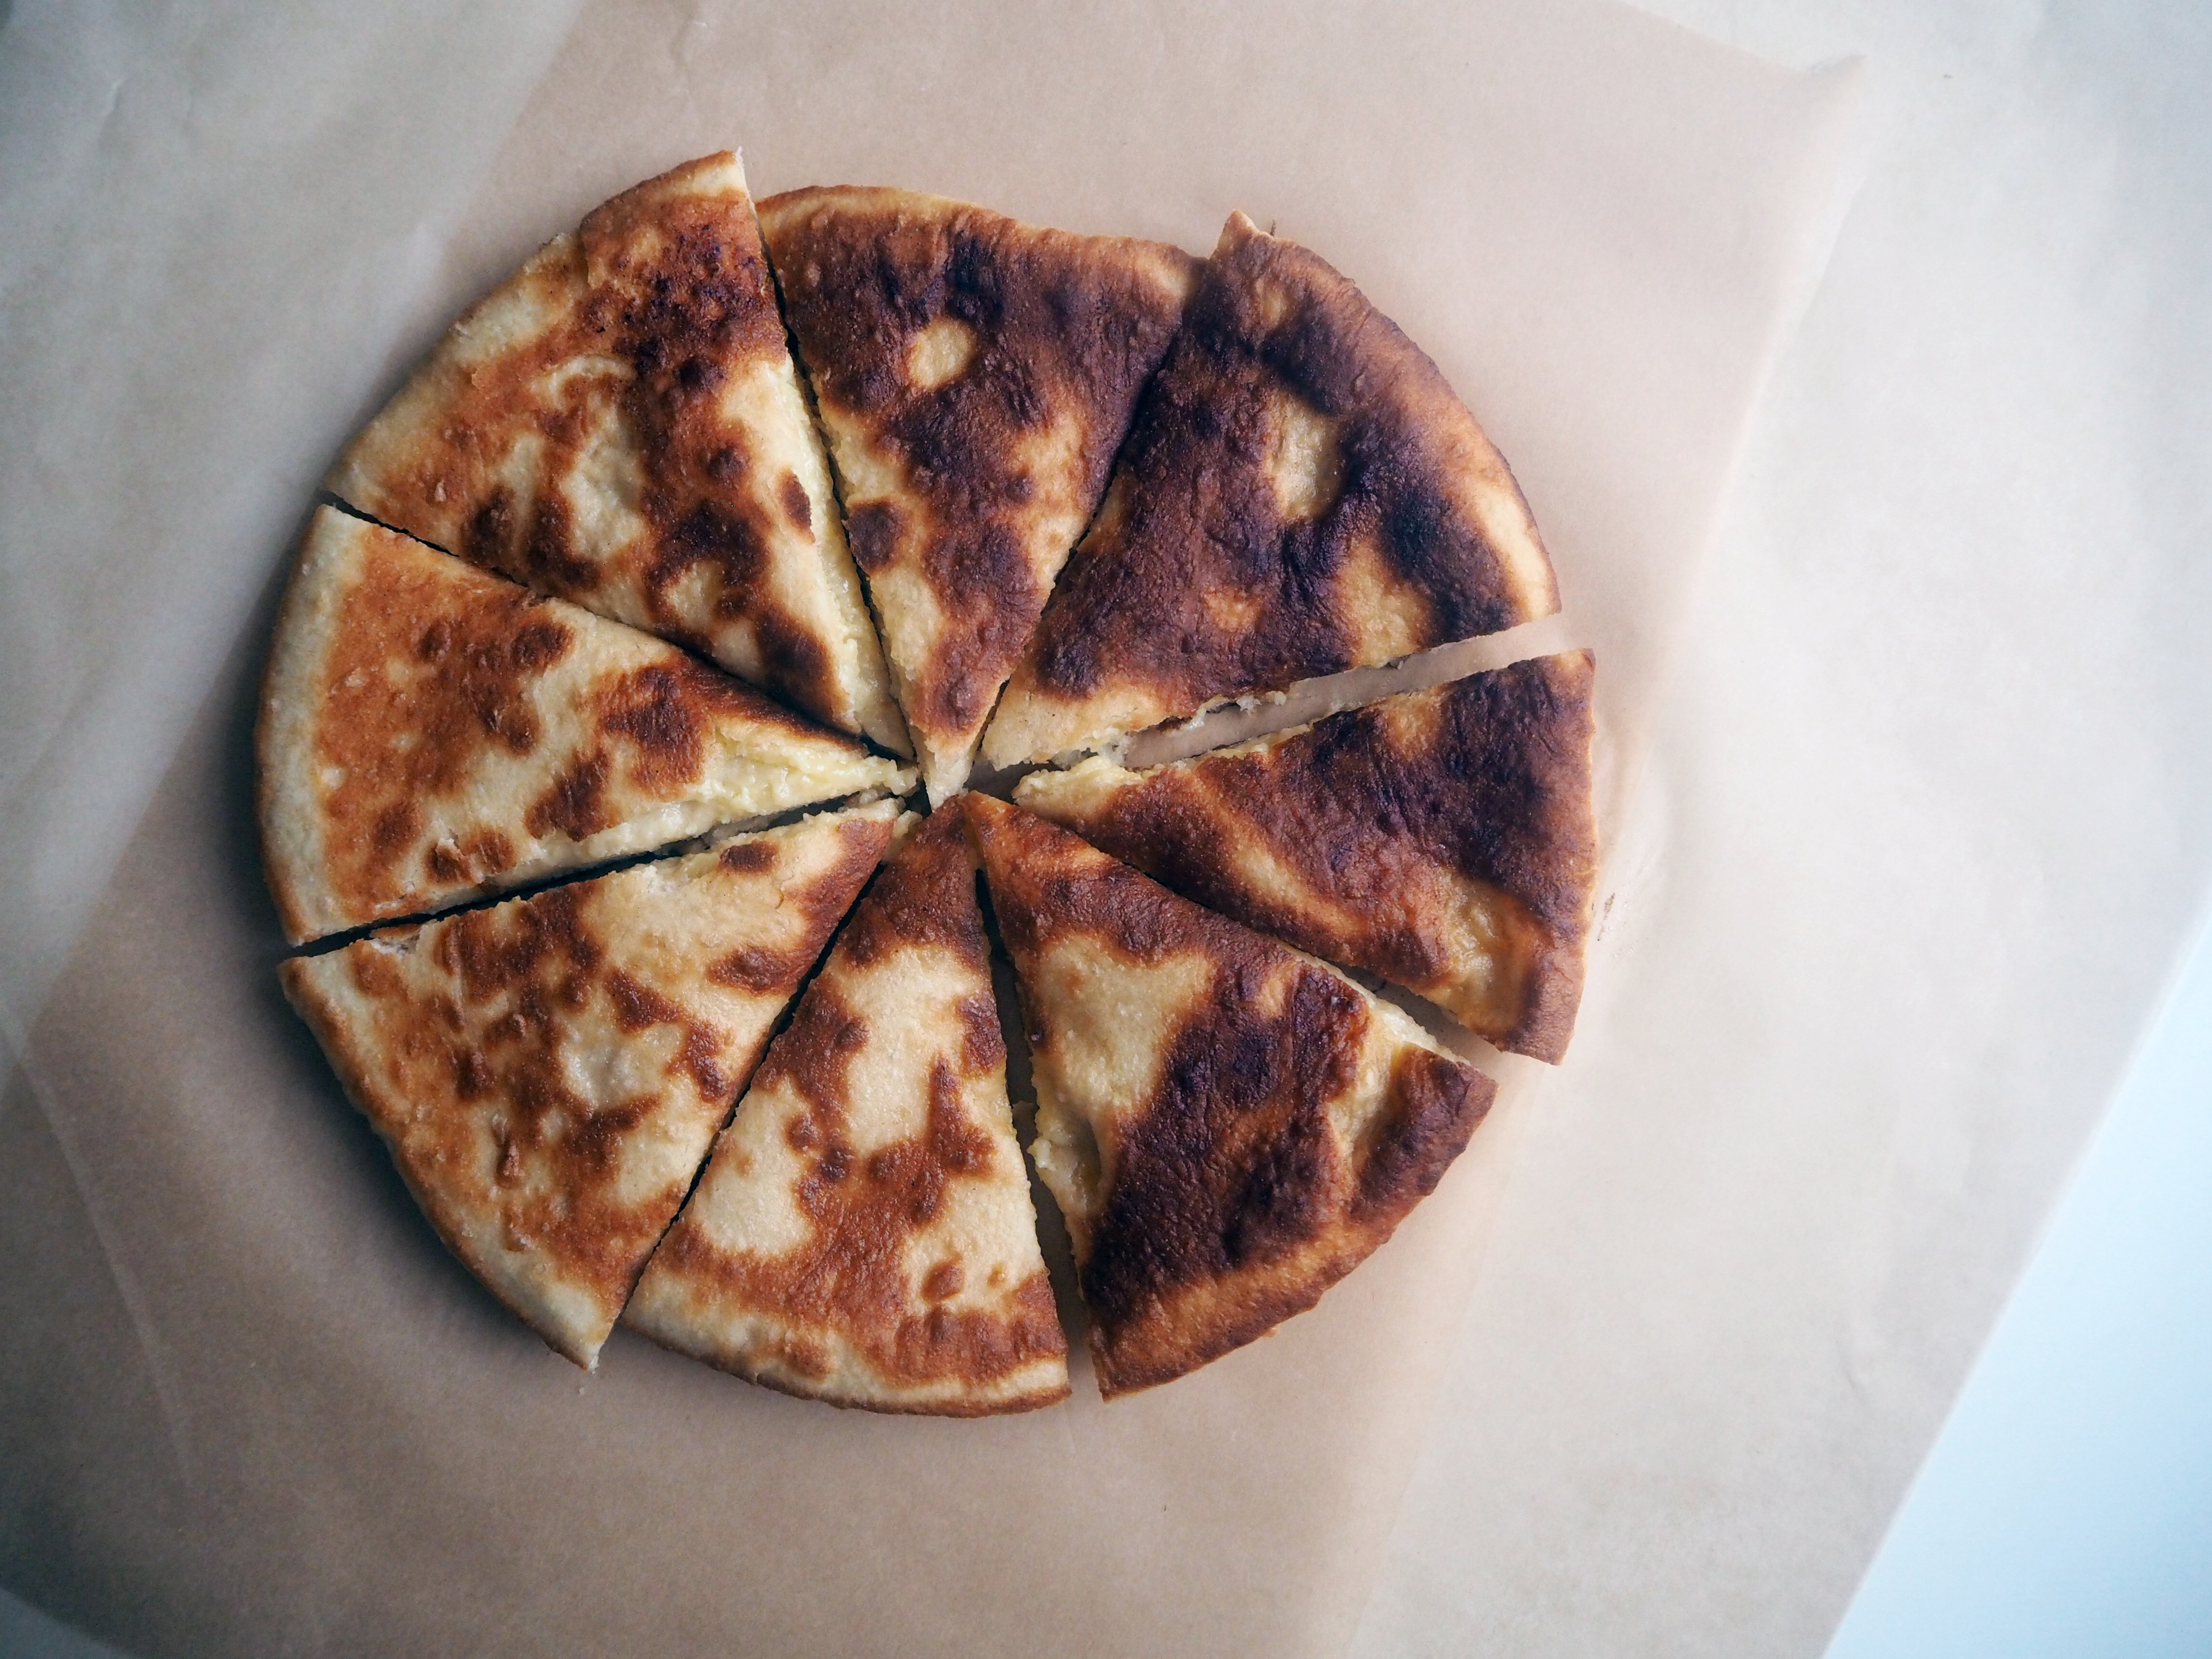
Khachapuri itself is a type of bread filled with cheese, with addition of eggs and some other ingredients. There are many different types of this bread according to the regions of Georgia. This one in this blog post is called Imeretian (Imeruli) Khachapuri, and it is one of the most common types of khachapuri: it is round and is filled with Imeretian cheese. According to my research, the closest you can get to this cheese if you are living outside Georgia, is a 50-50% combination of mozzarella and feta cheese.
I had to go through many recipes to reach a nice version of this bread which looked as close to the real thing as possible. The recipes out there are quite similar to each other, there are just a few differences in details and measurements. For this recipe, I focused on the dough and filling measurements in georgianrecipes.net. I had to change the measurements of ingredients for dough as I only wanted to make 2 small khachapuris. I also used slightly less amount of cheese.
Whether it is the real thing or not, it is a reaaaaally tasty cheese bread. So just get your ingredients and start making it – it can be your next addiction for your homemade brunch sessions with friends!
 —
—
Ingredients:
Printable PDF version (no photos)
Difficulty: ★★☆ (medium)
(makes 2 khachapuris, each 25 cm in diameter)
(in this recipe, 1 cup = 2.4 dl)
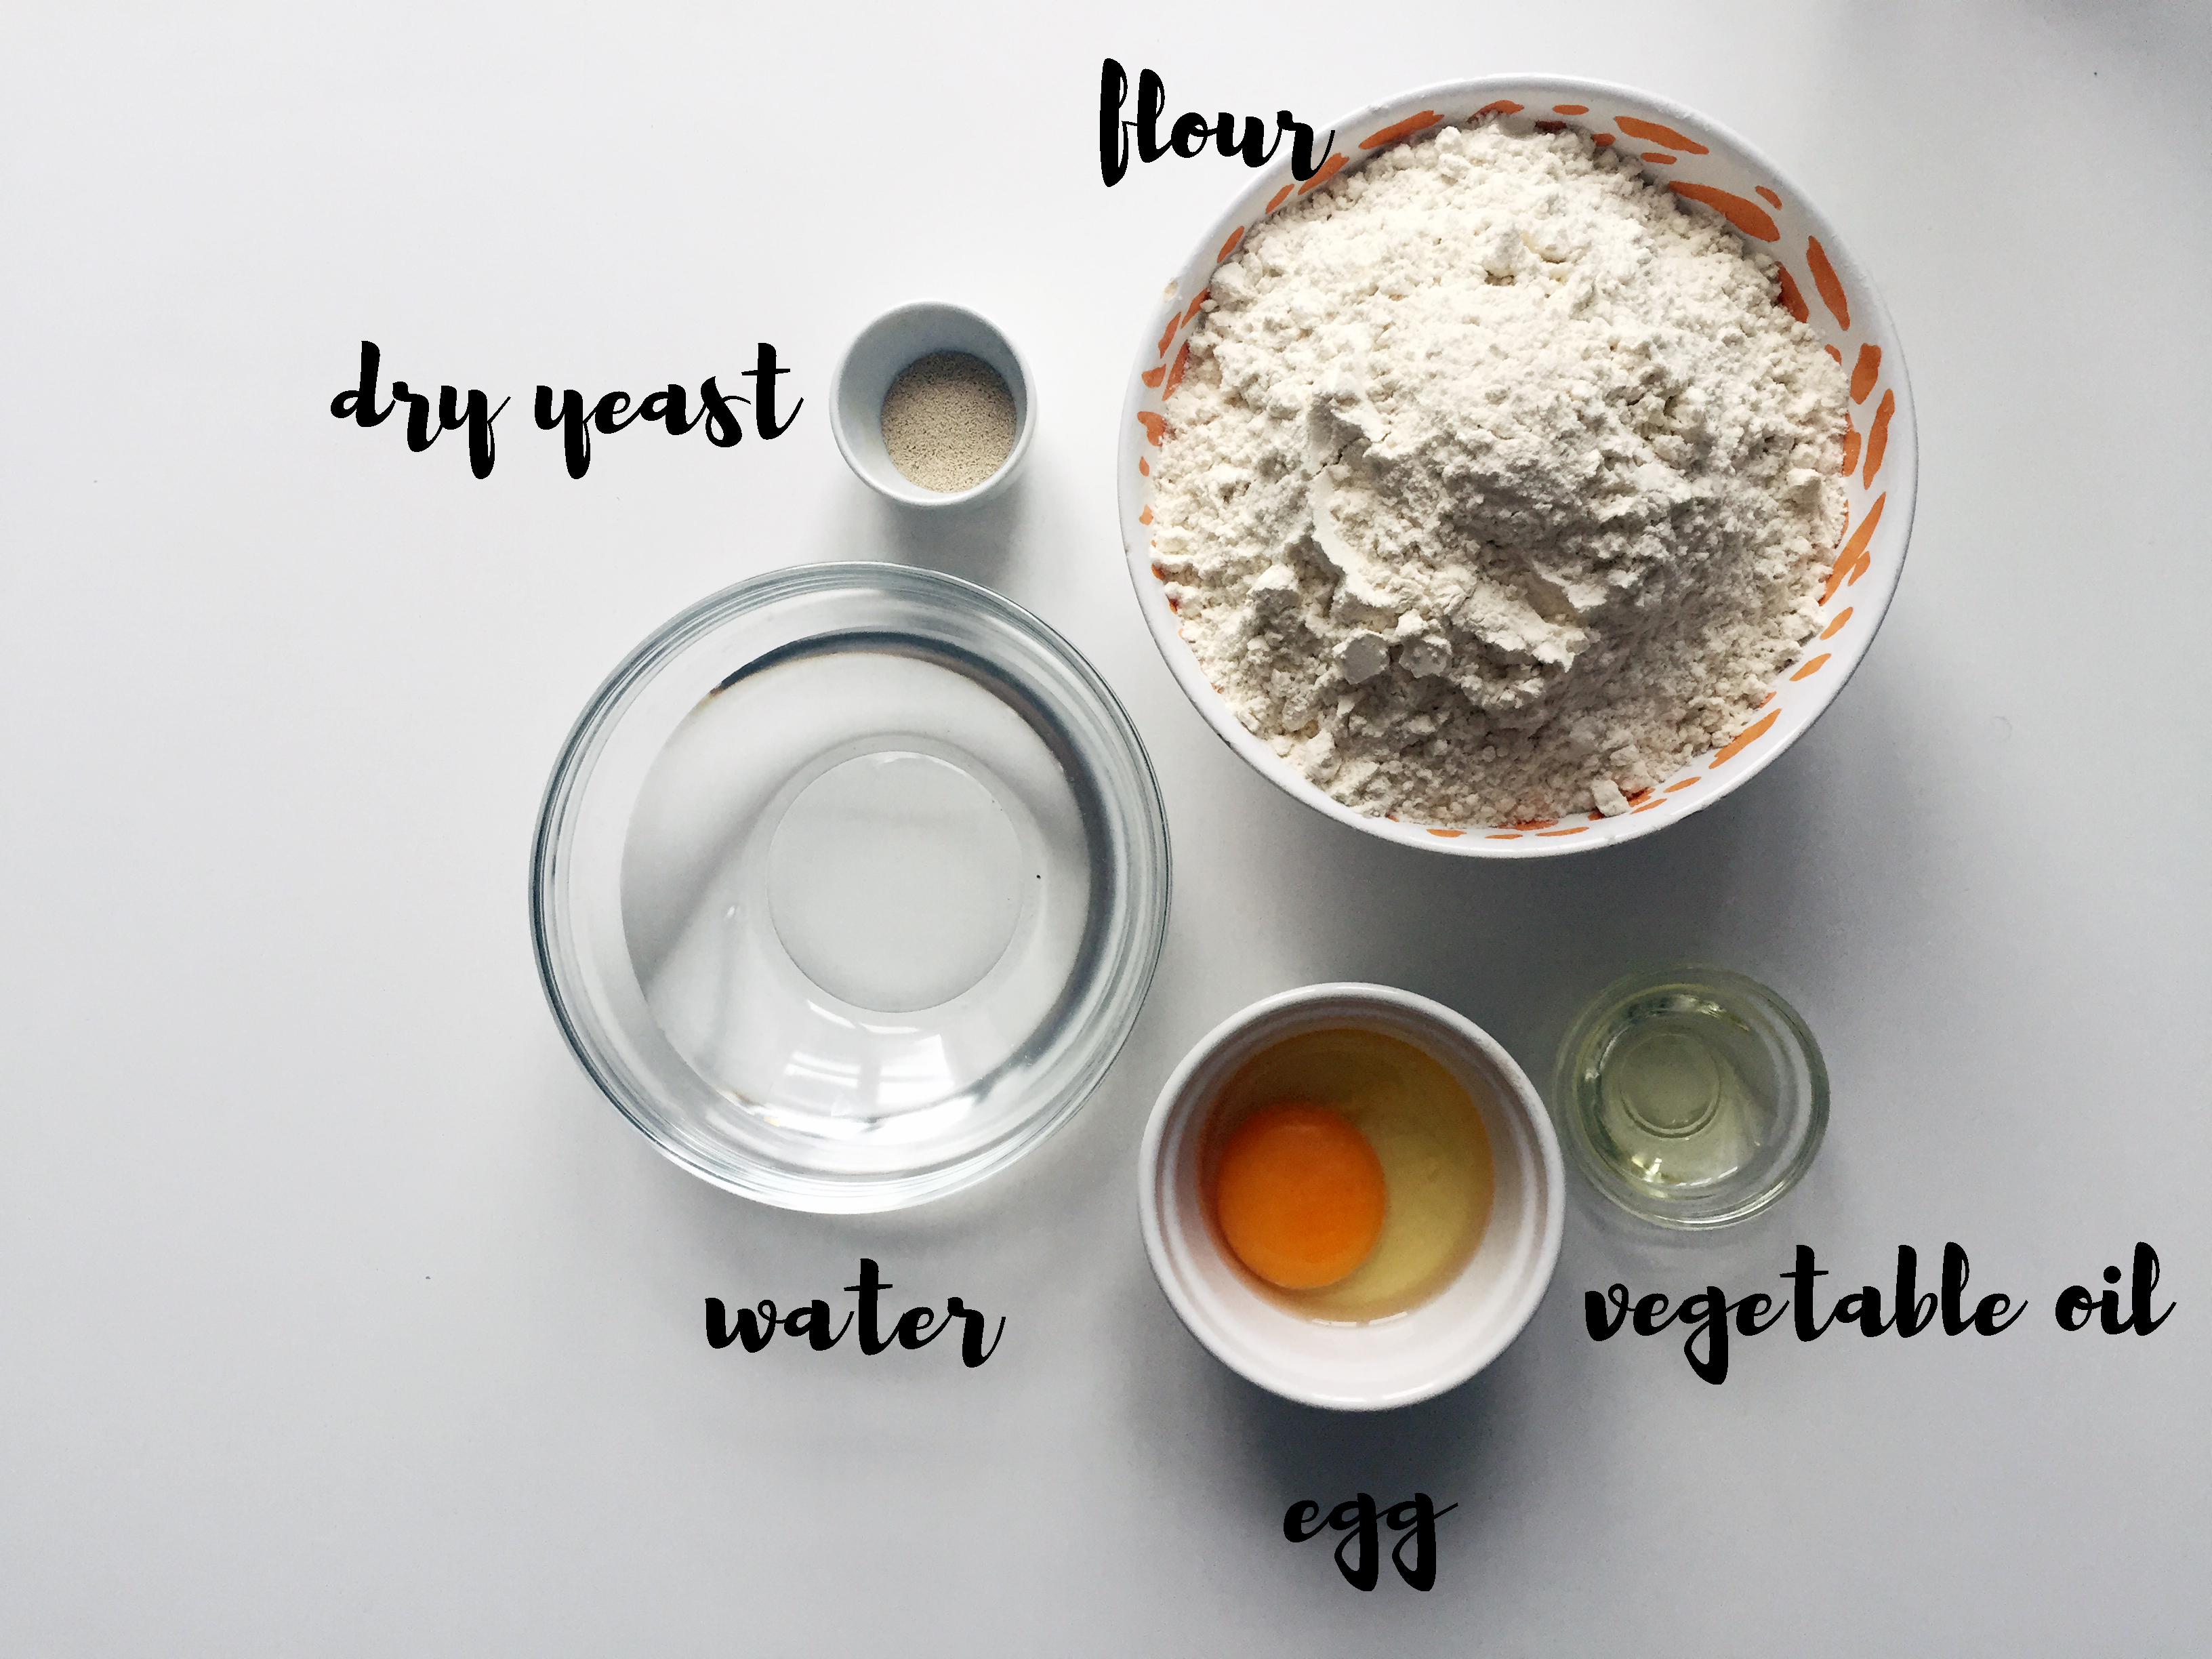
For dough:
1/2 cup + 2 tbsp / 1.5 dl very warm water (the original recipe calls for water at 35C. I didn’t measure mine, I just used the hottest water running from tap. Alternatively, you can use half this measure as water, half of it as milk)
1 tsp dry yeast
400 + 50 gr flour (first use 400 gr, if it is not enough, then add 50 gr more)
1 egg
1 tbsp vegetable oil (I used canola oil)
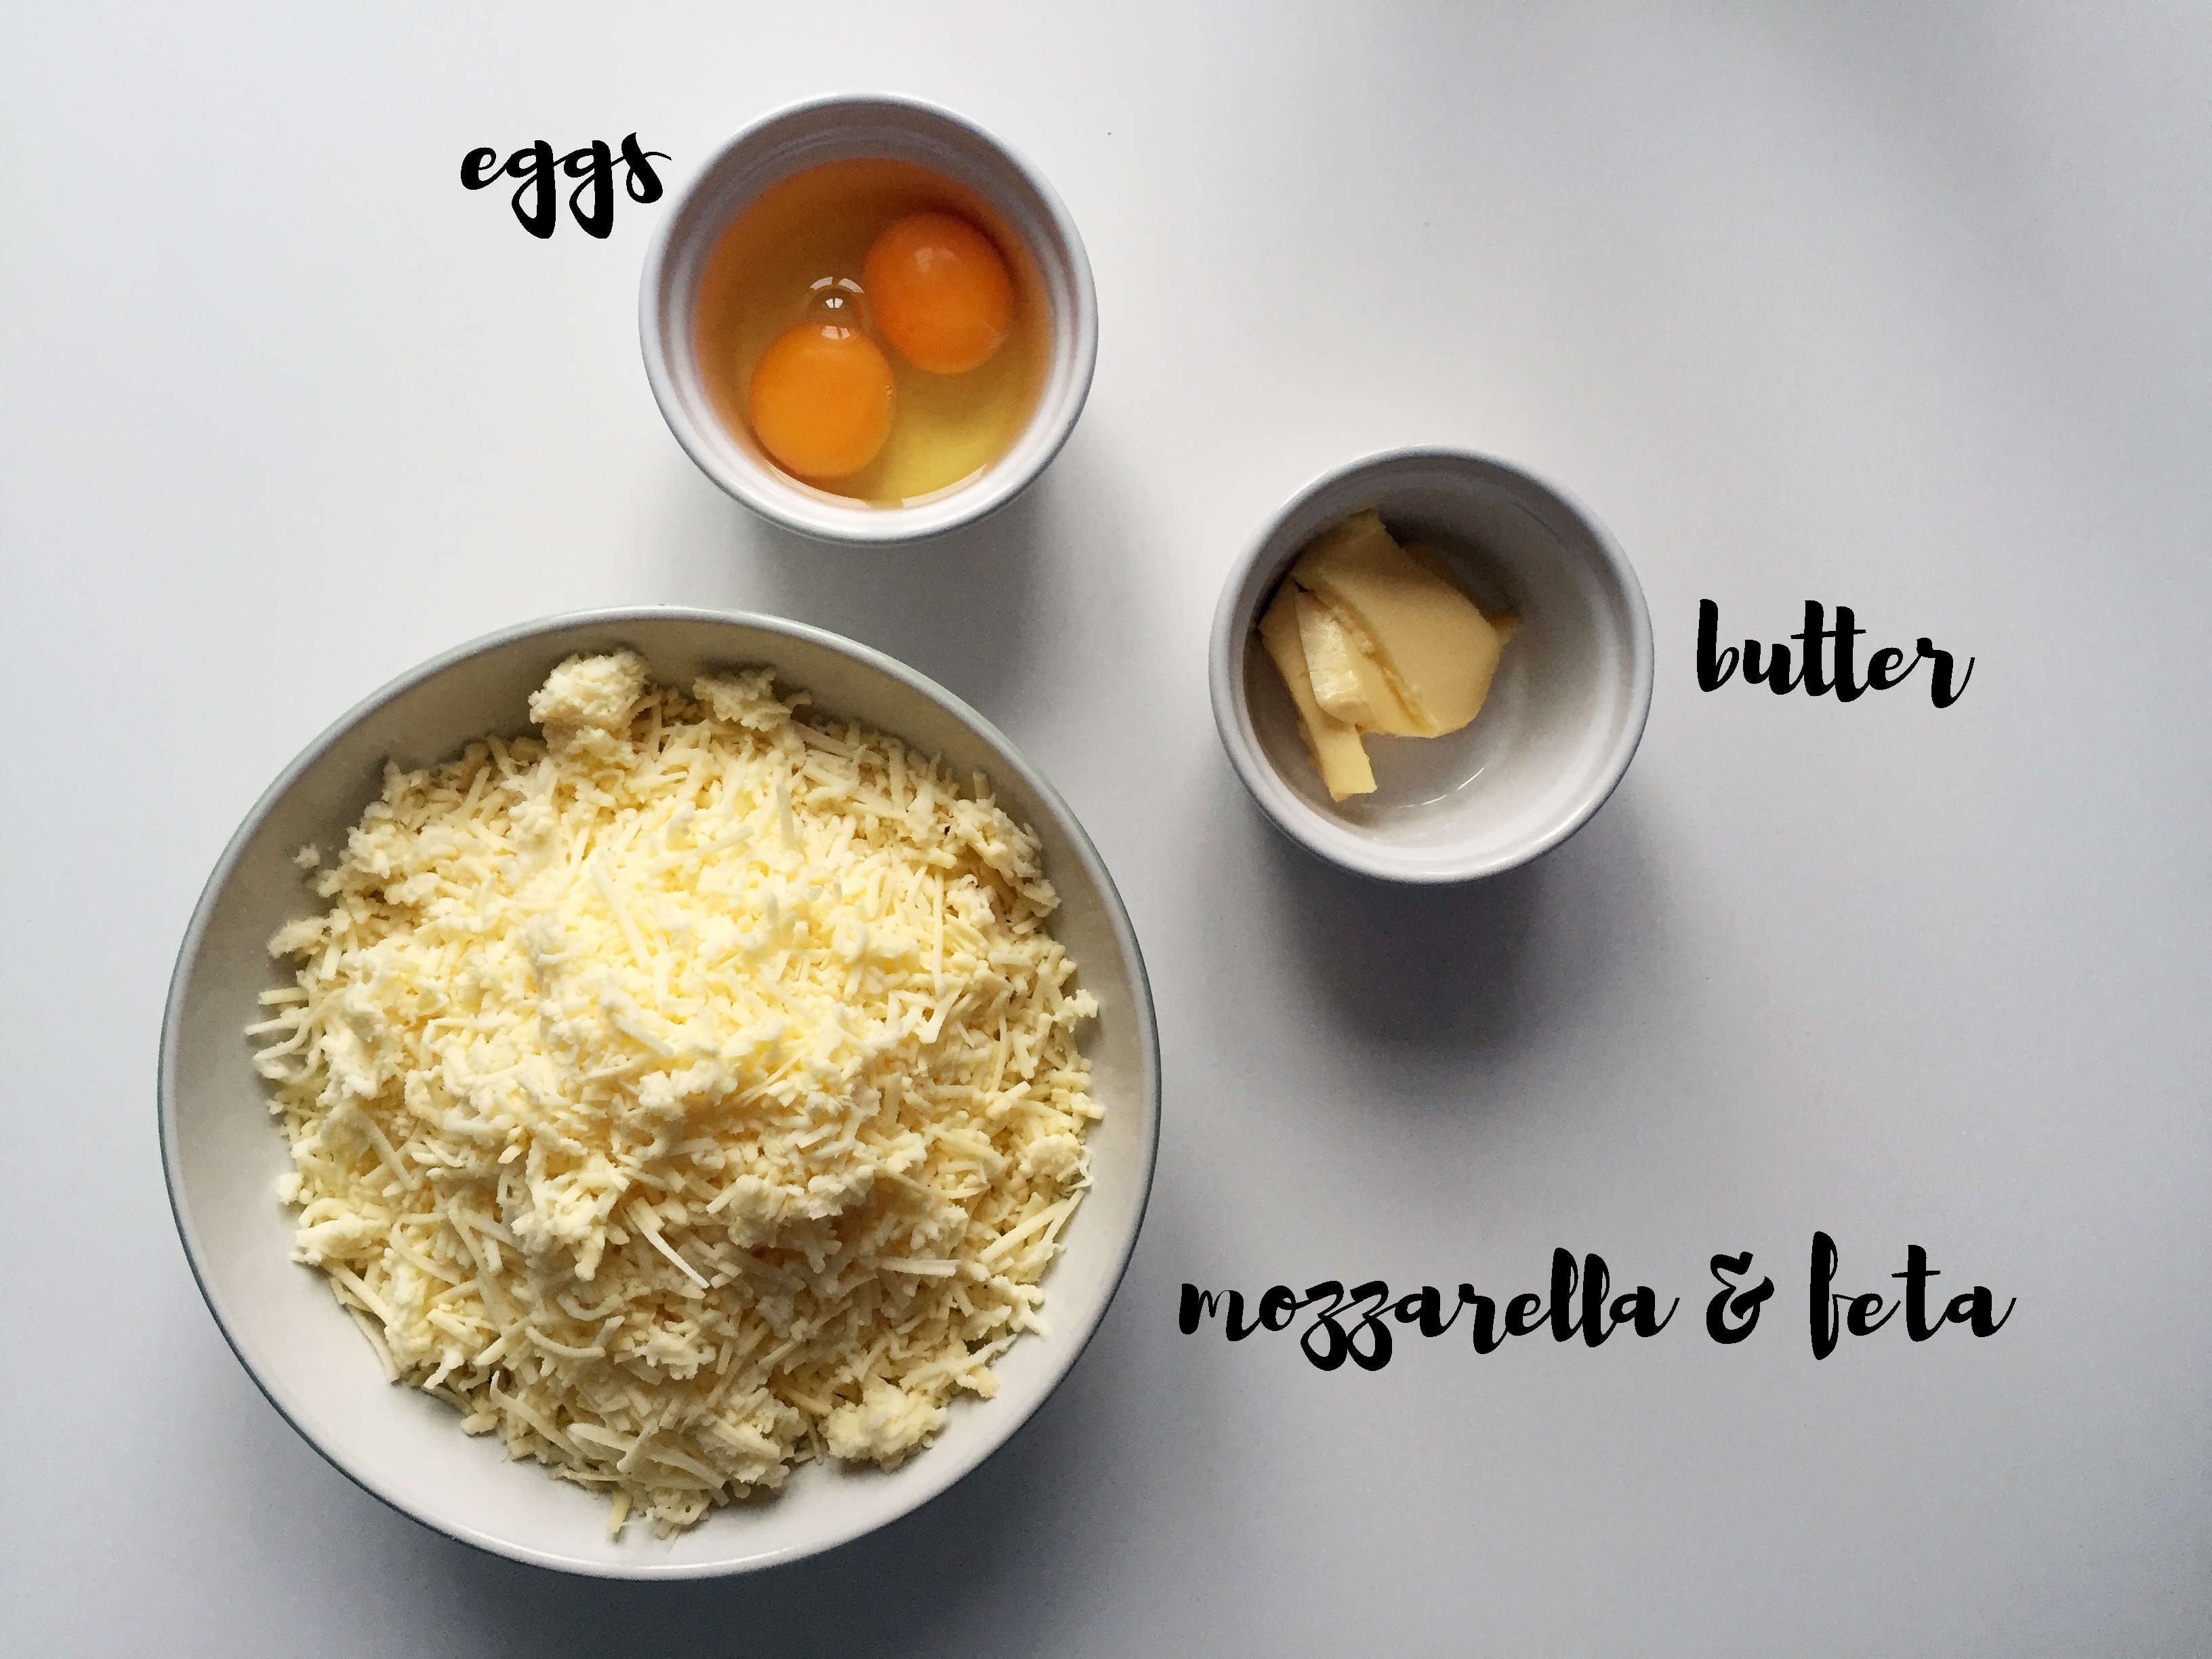
For filling:
500 gr. cheese (equal amounts of mozzarella & feta)
2 eggs
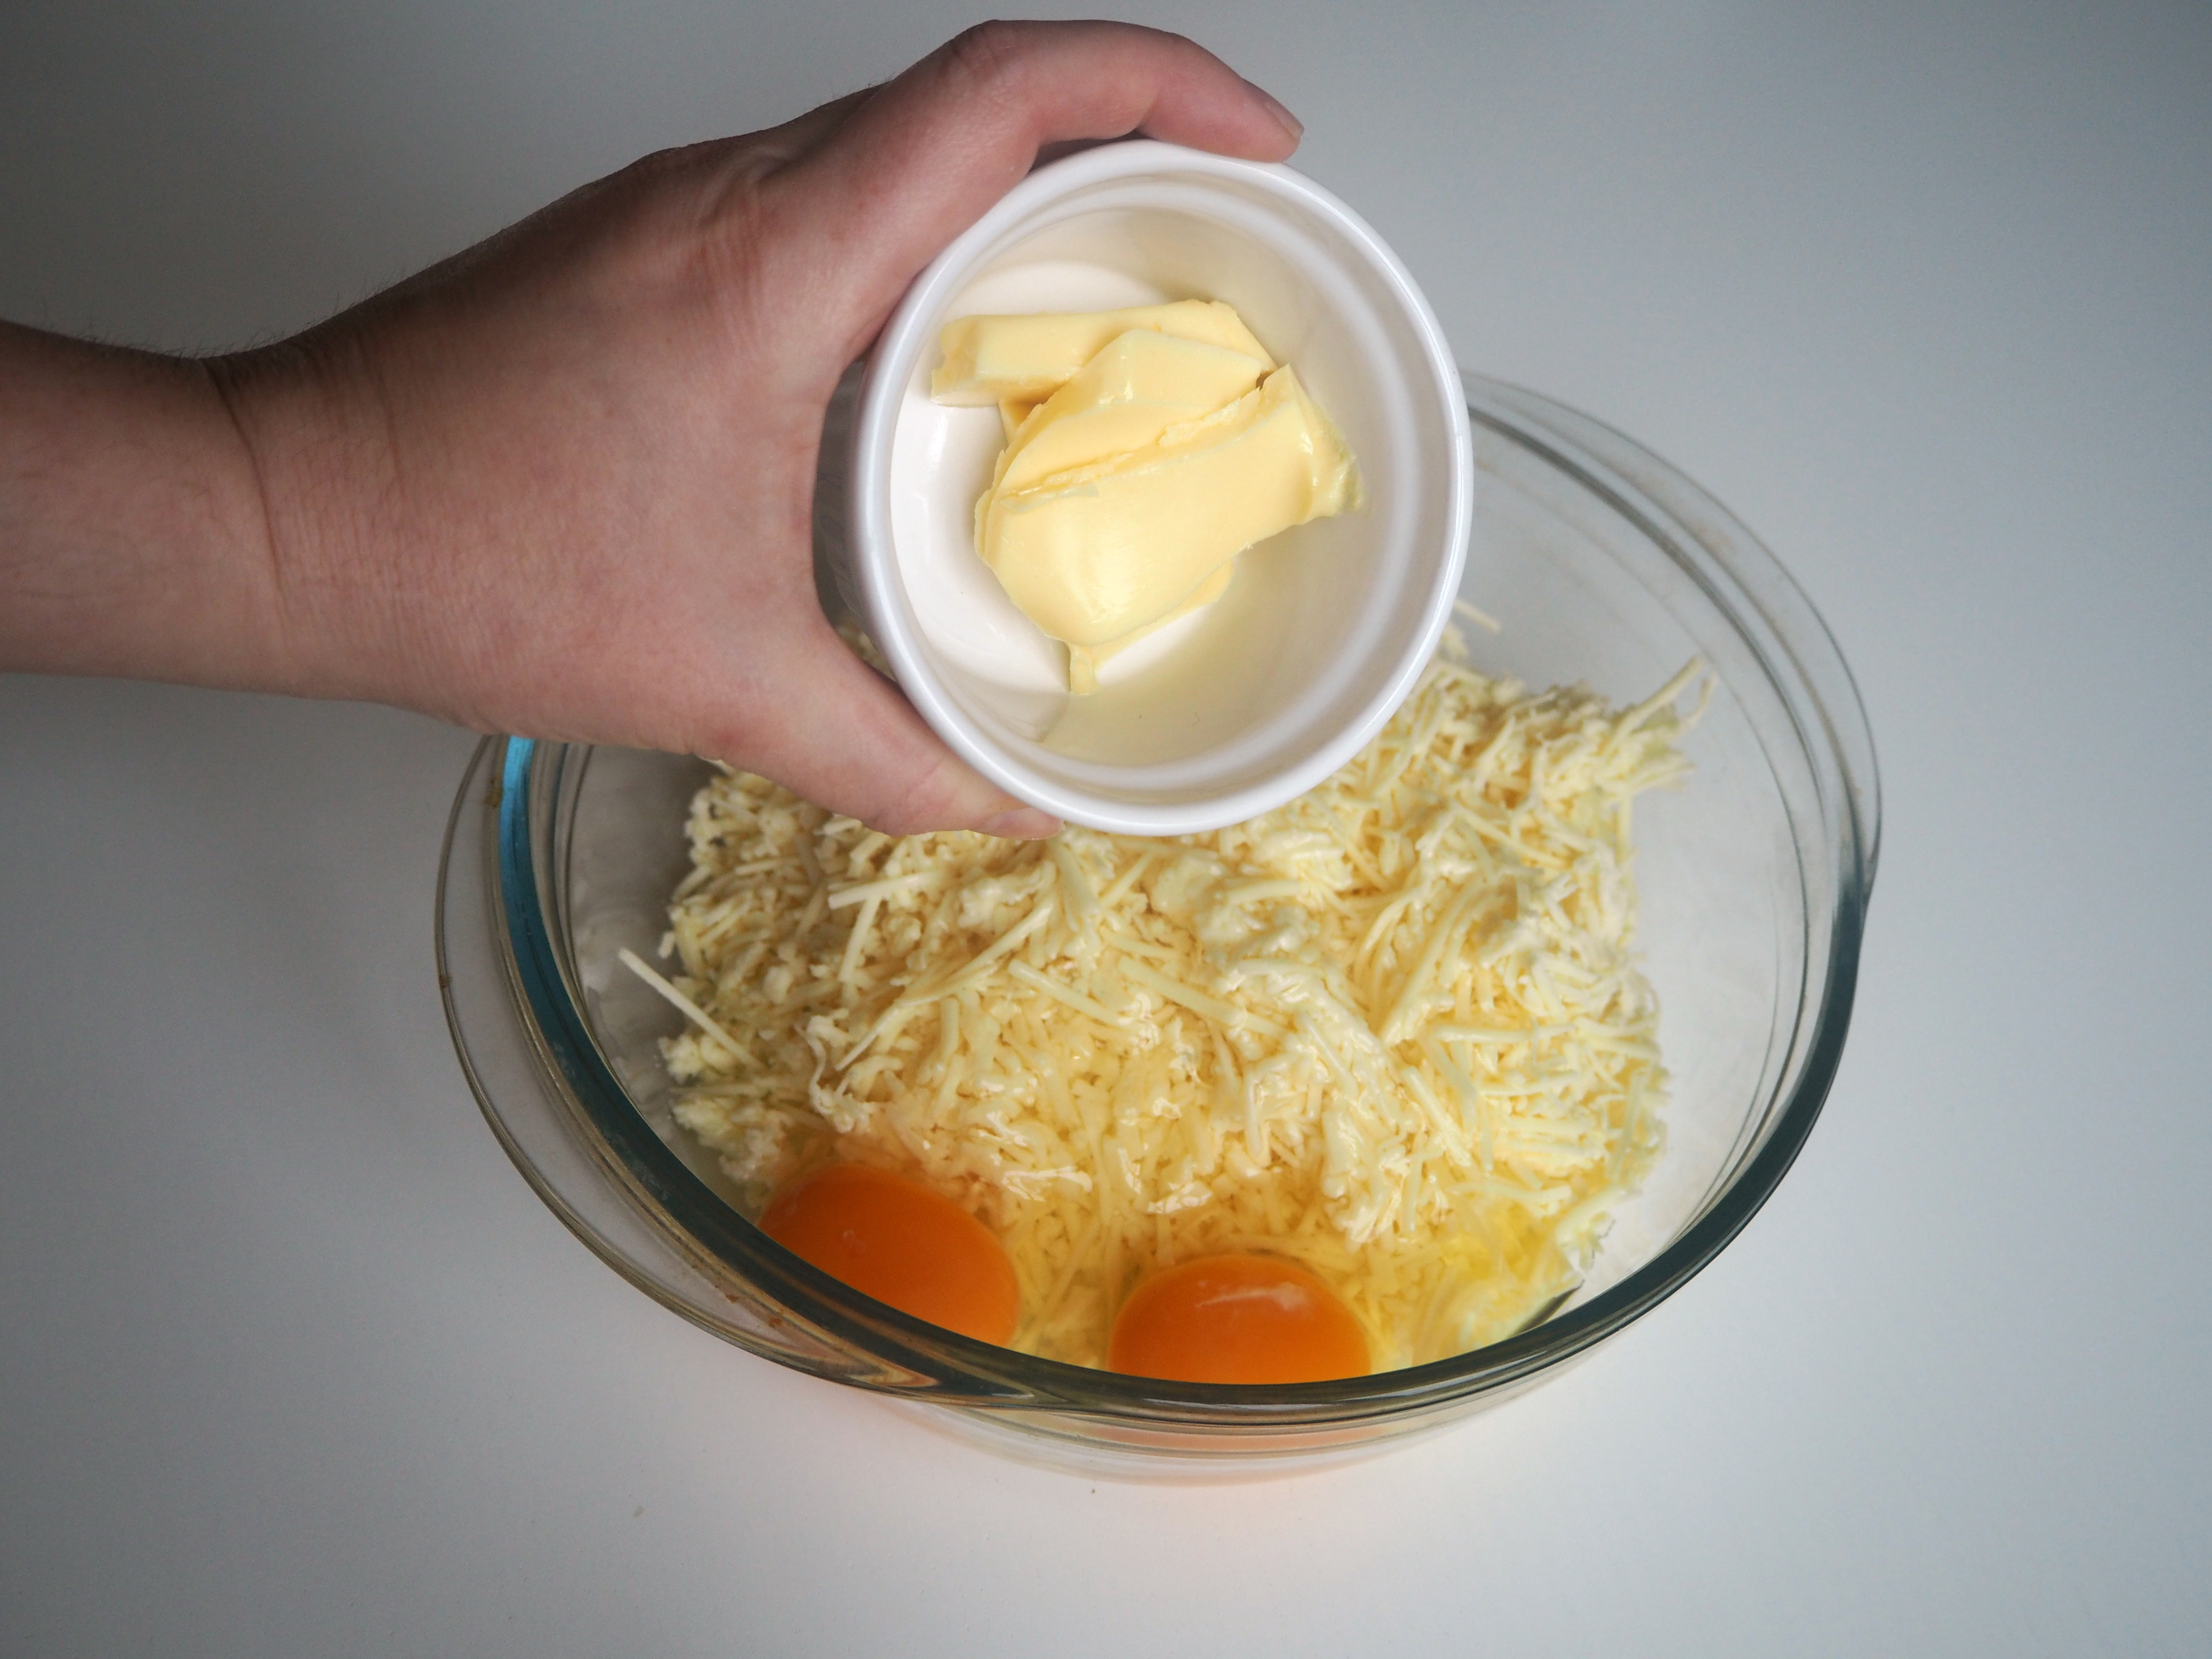
30 gr. butter, in room temperature
about 1 tbsp of butter per khachapuri to spread on the pan for cooking
—
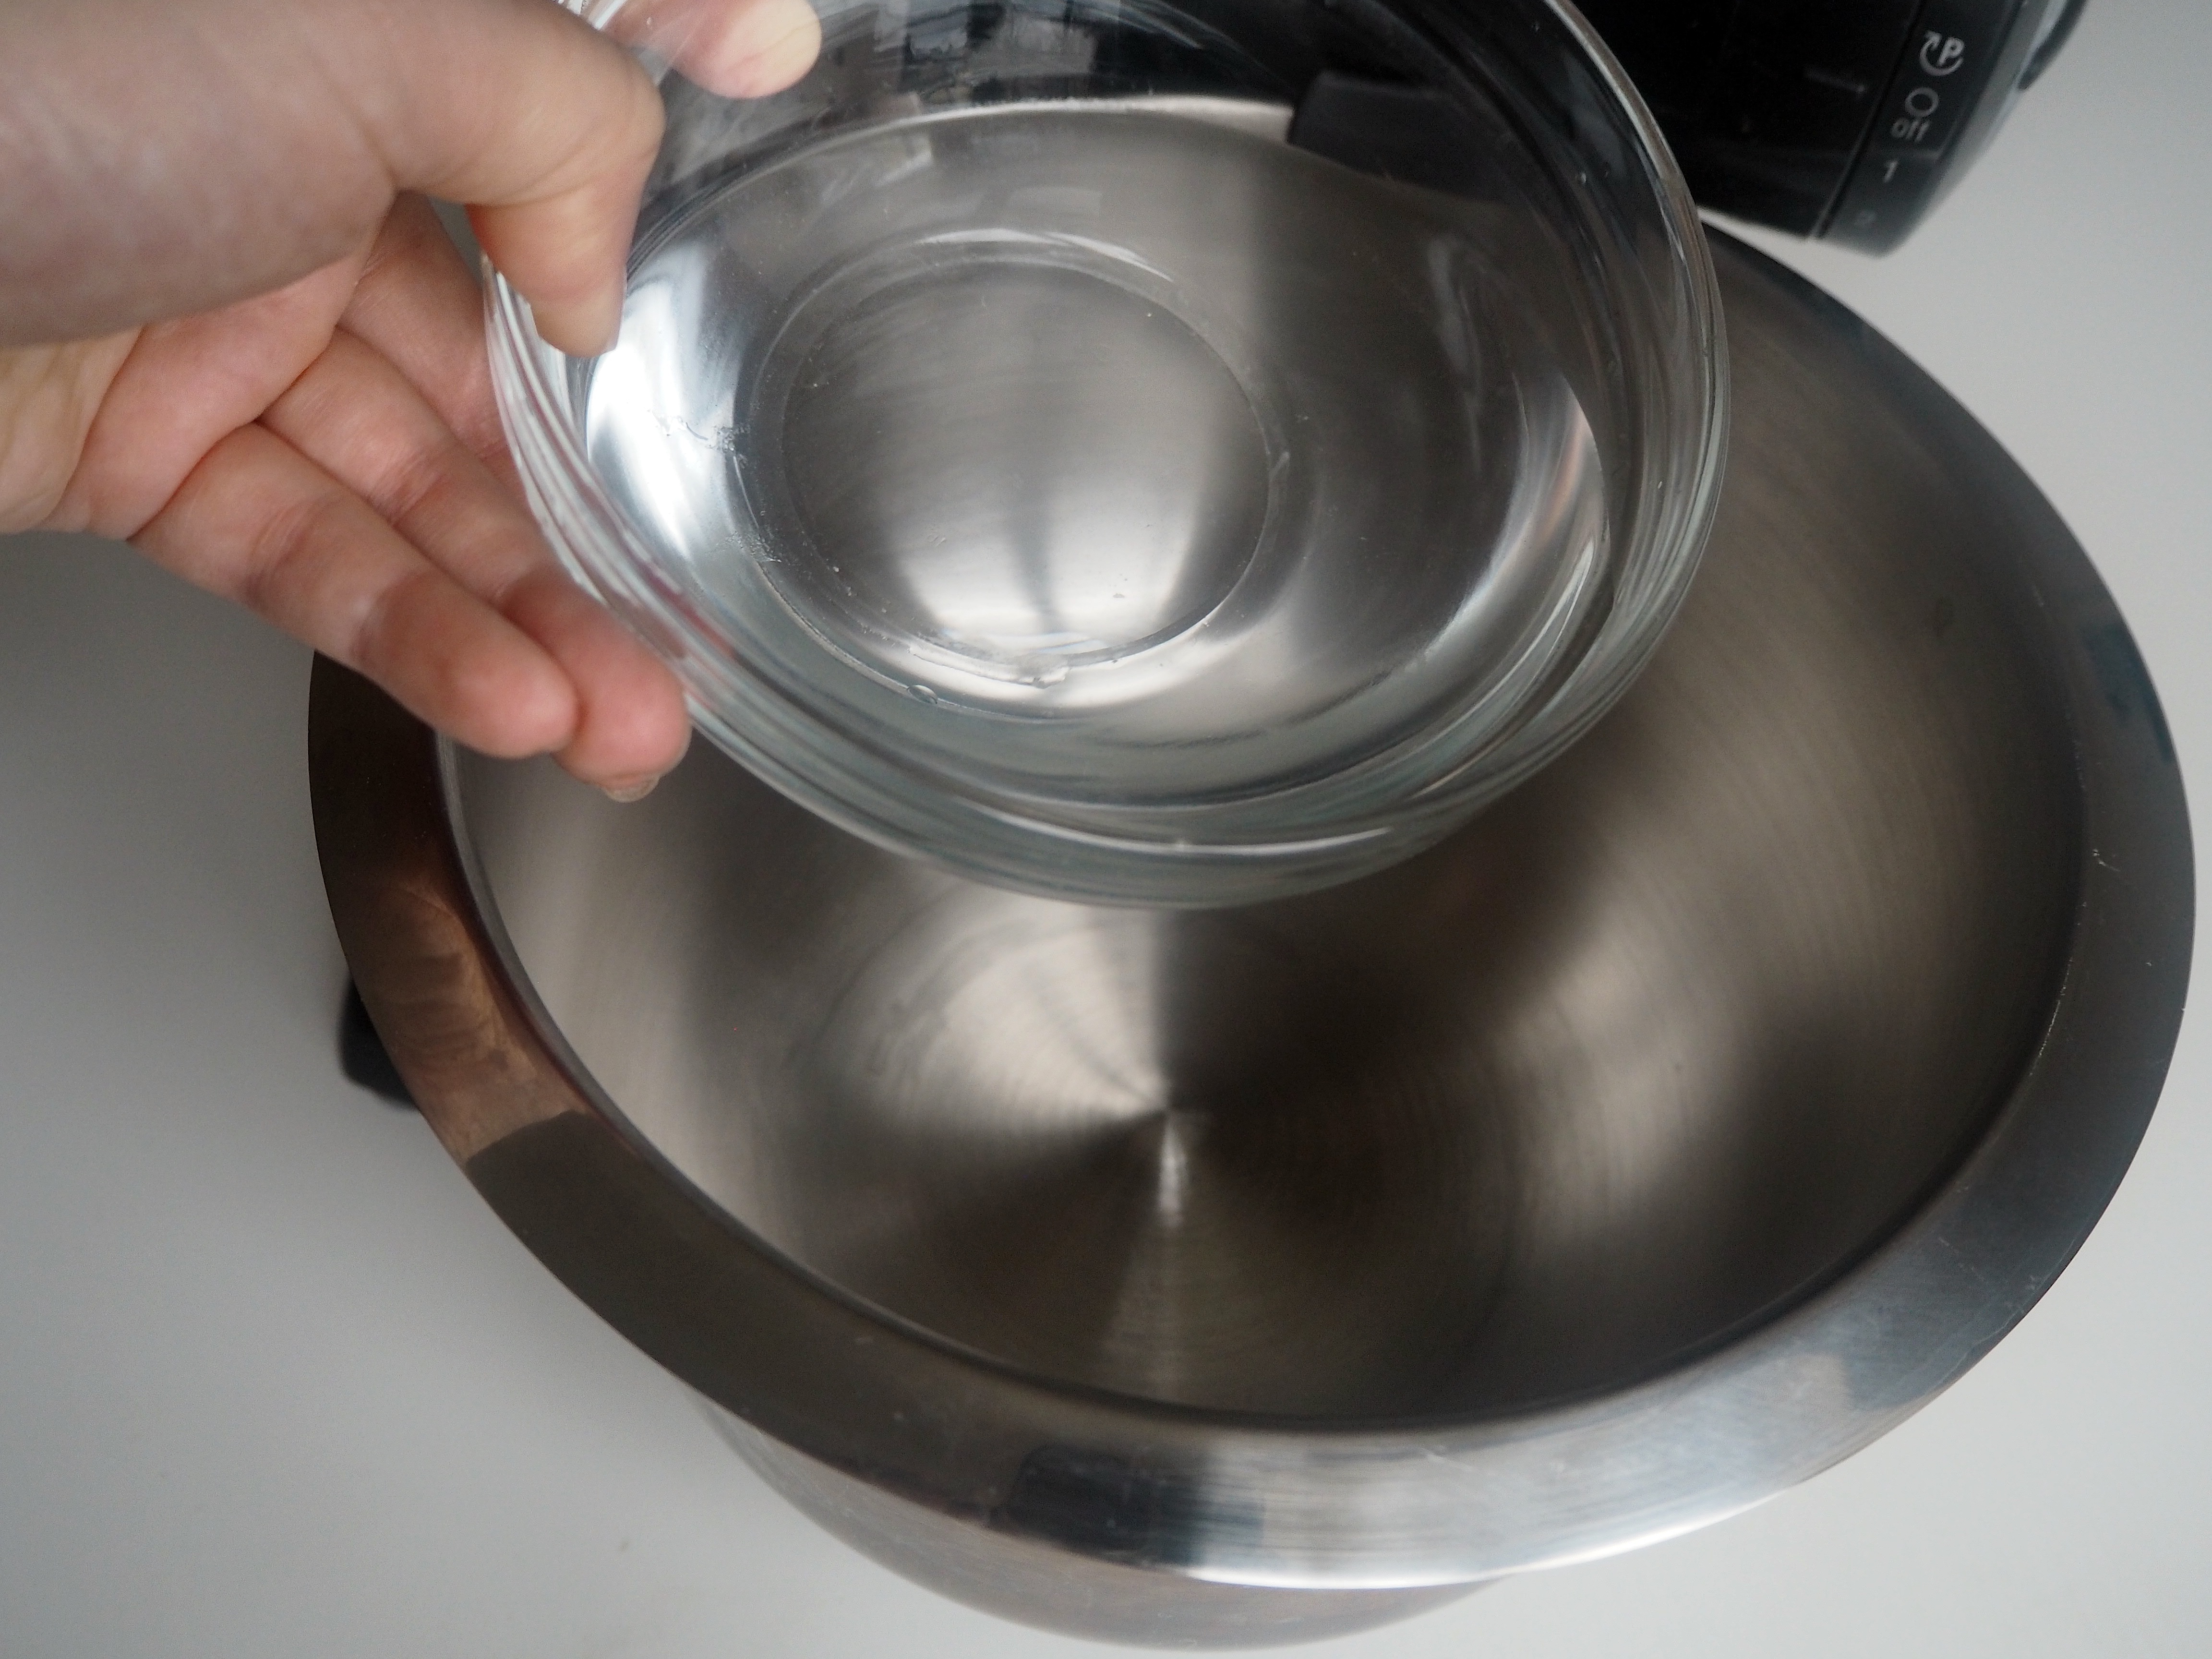
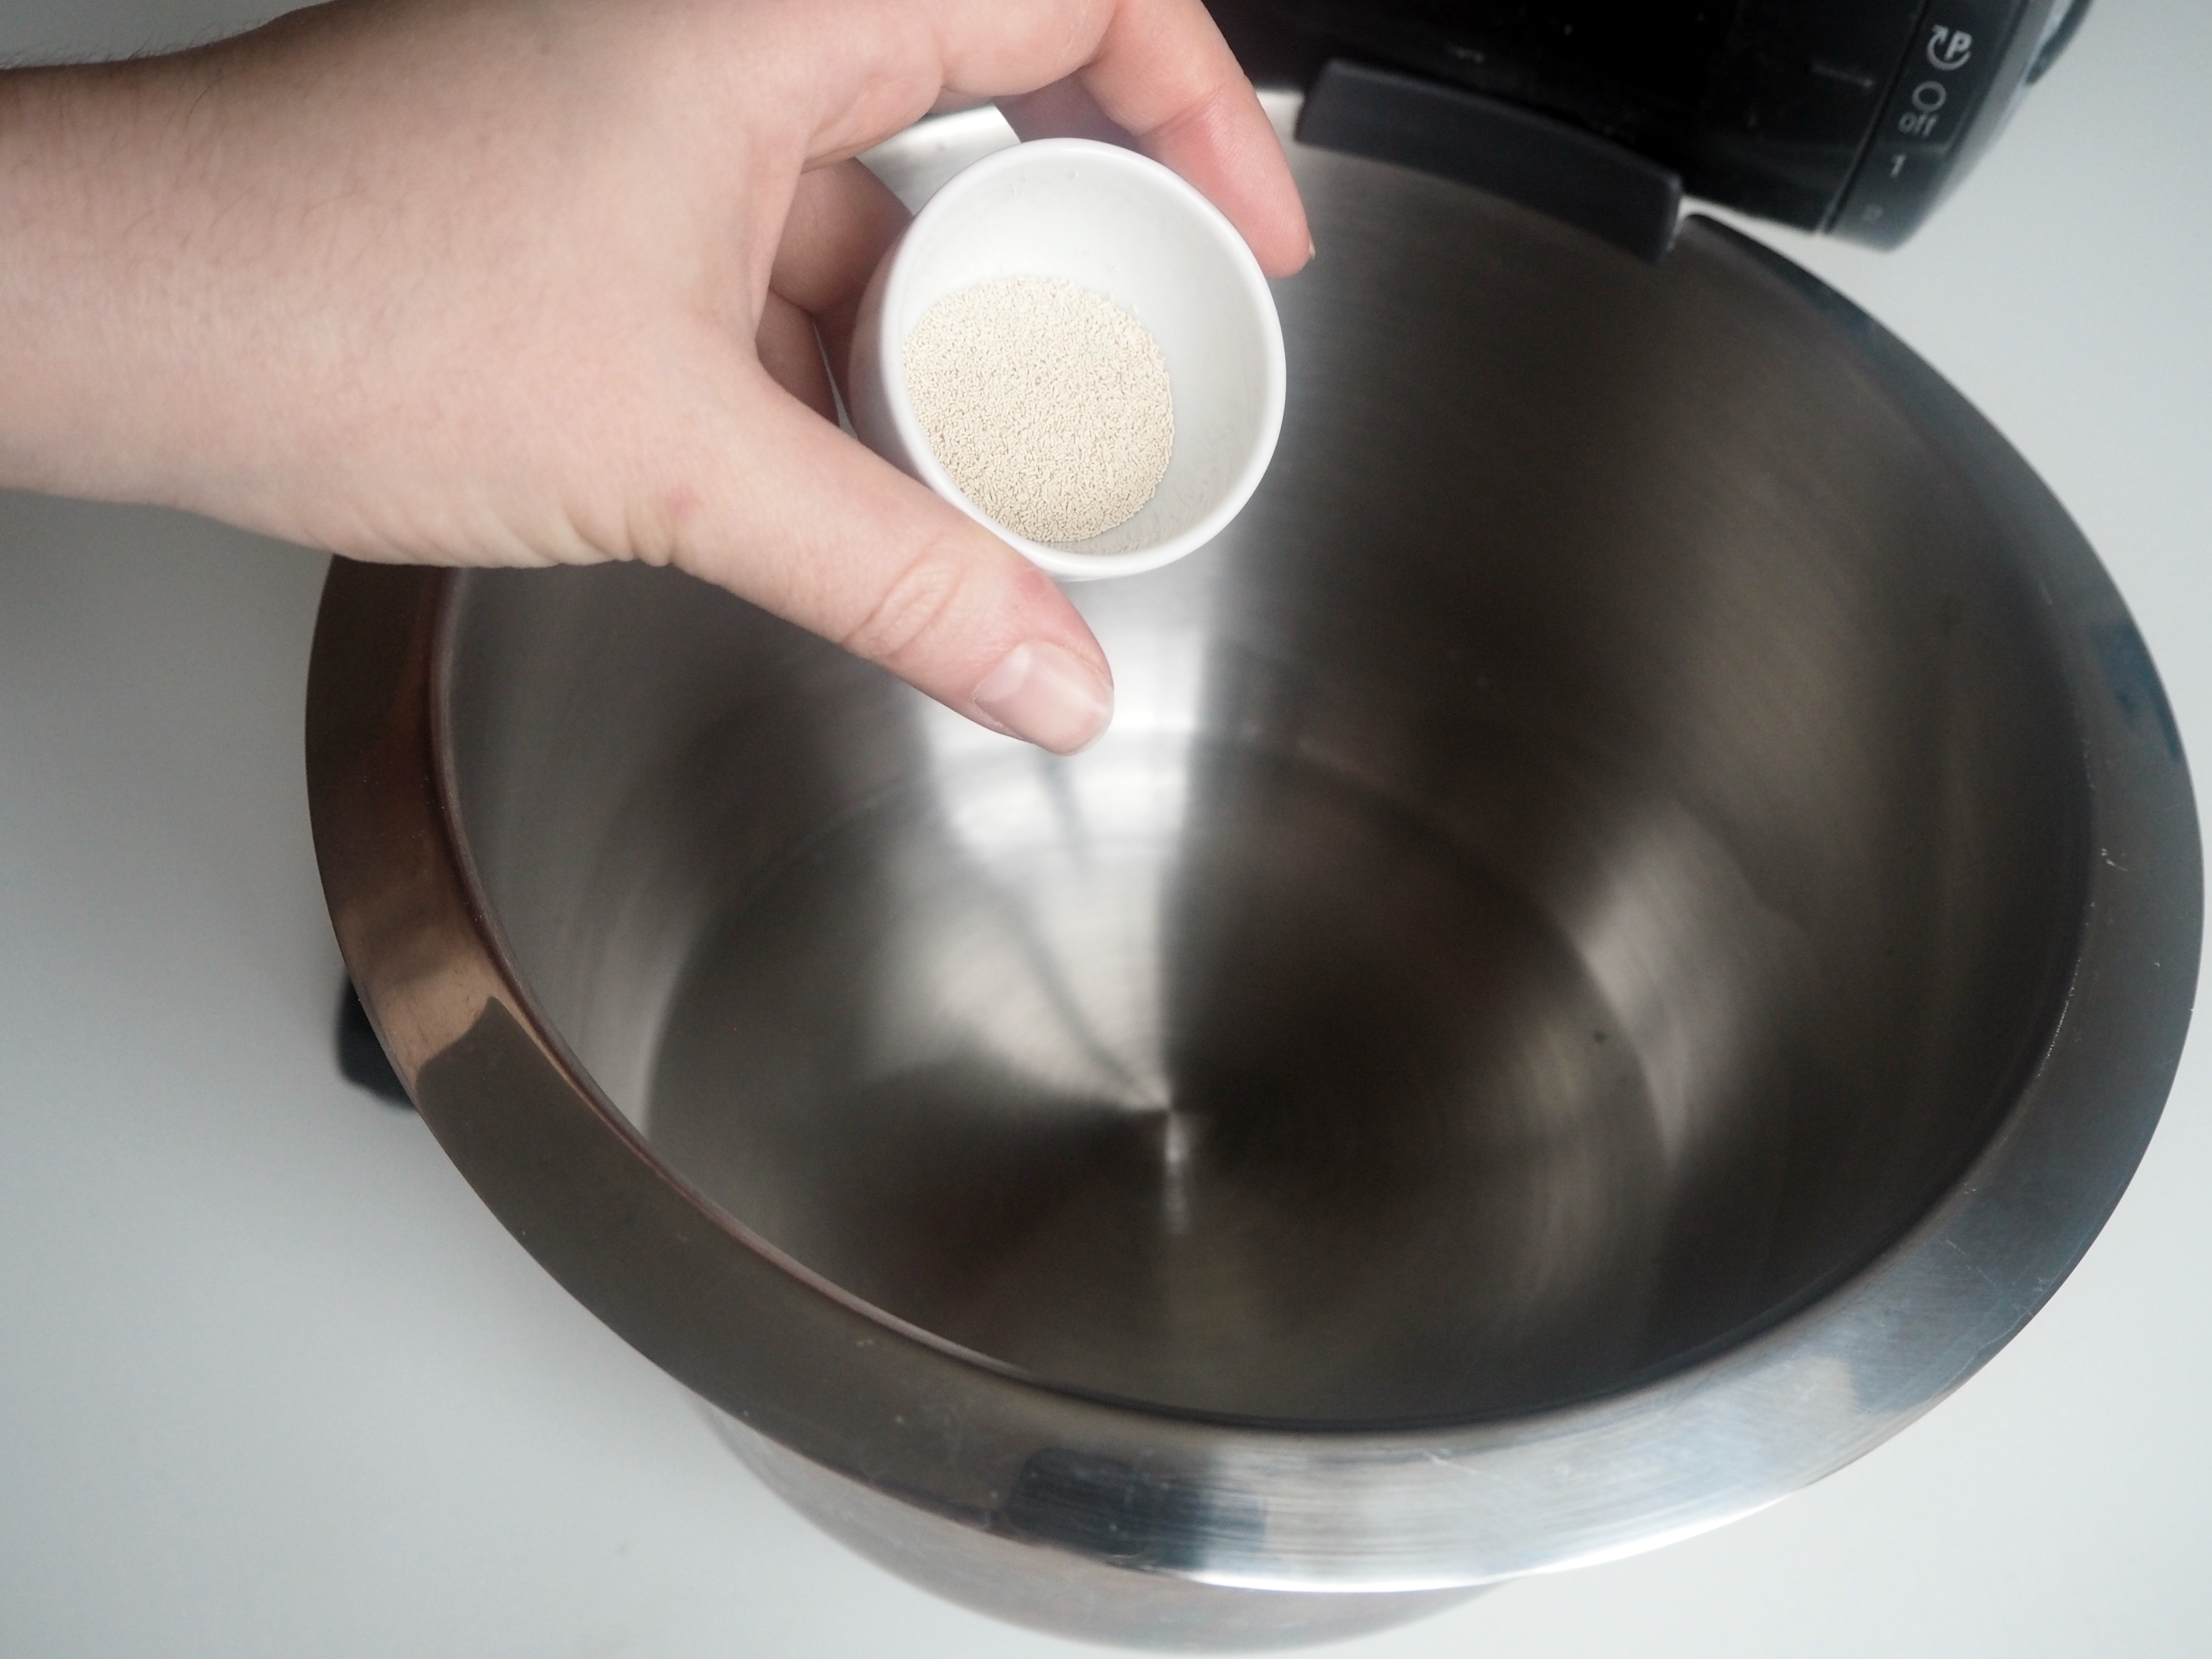
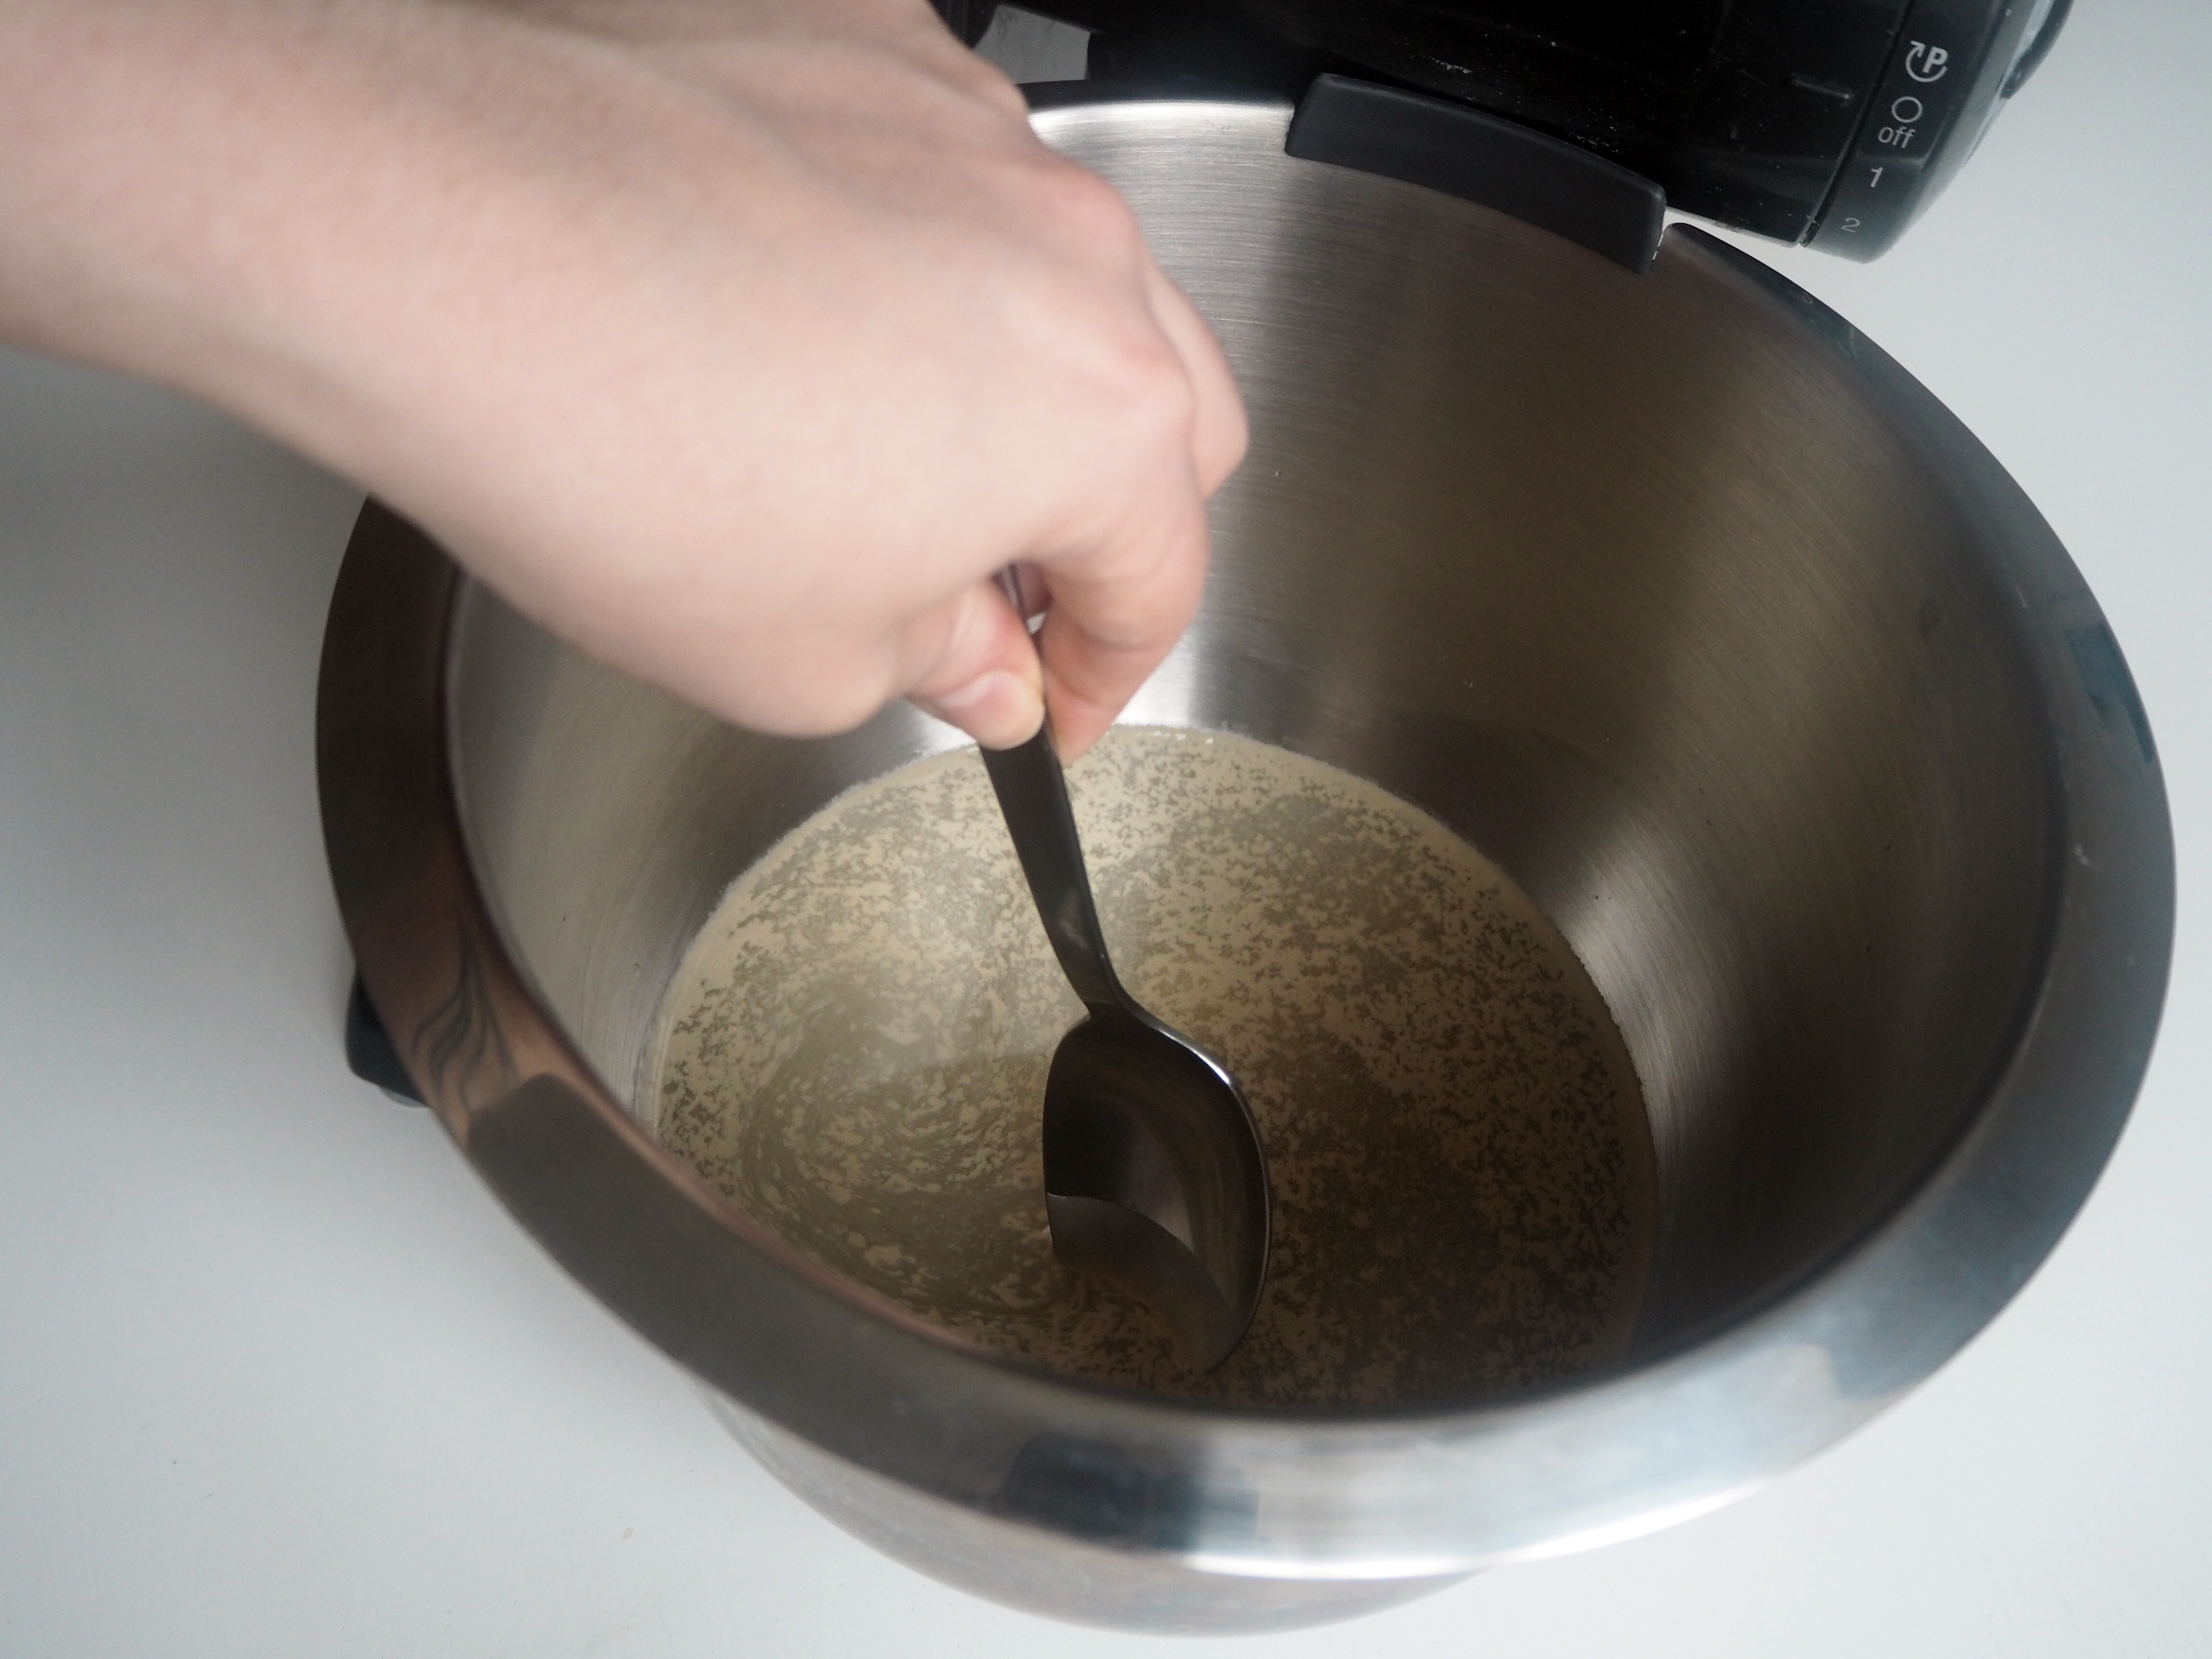
1. In a mixing bowl, put water and yeast and mix a little. Let it sit for 10 minutes to activate the yeast.
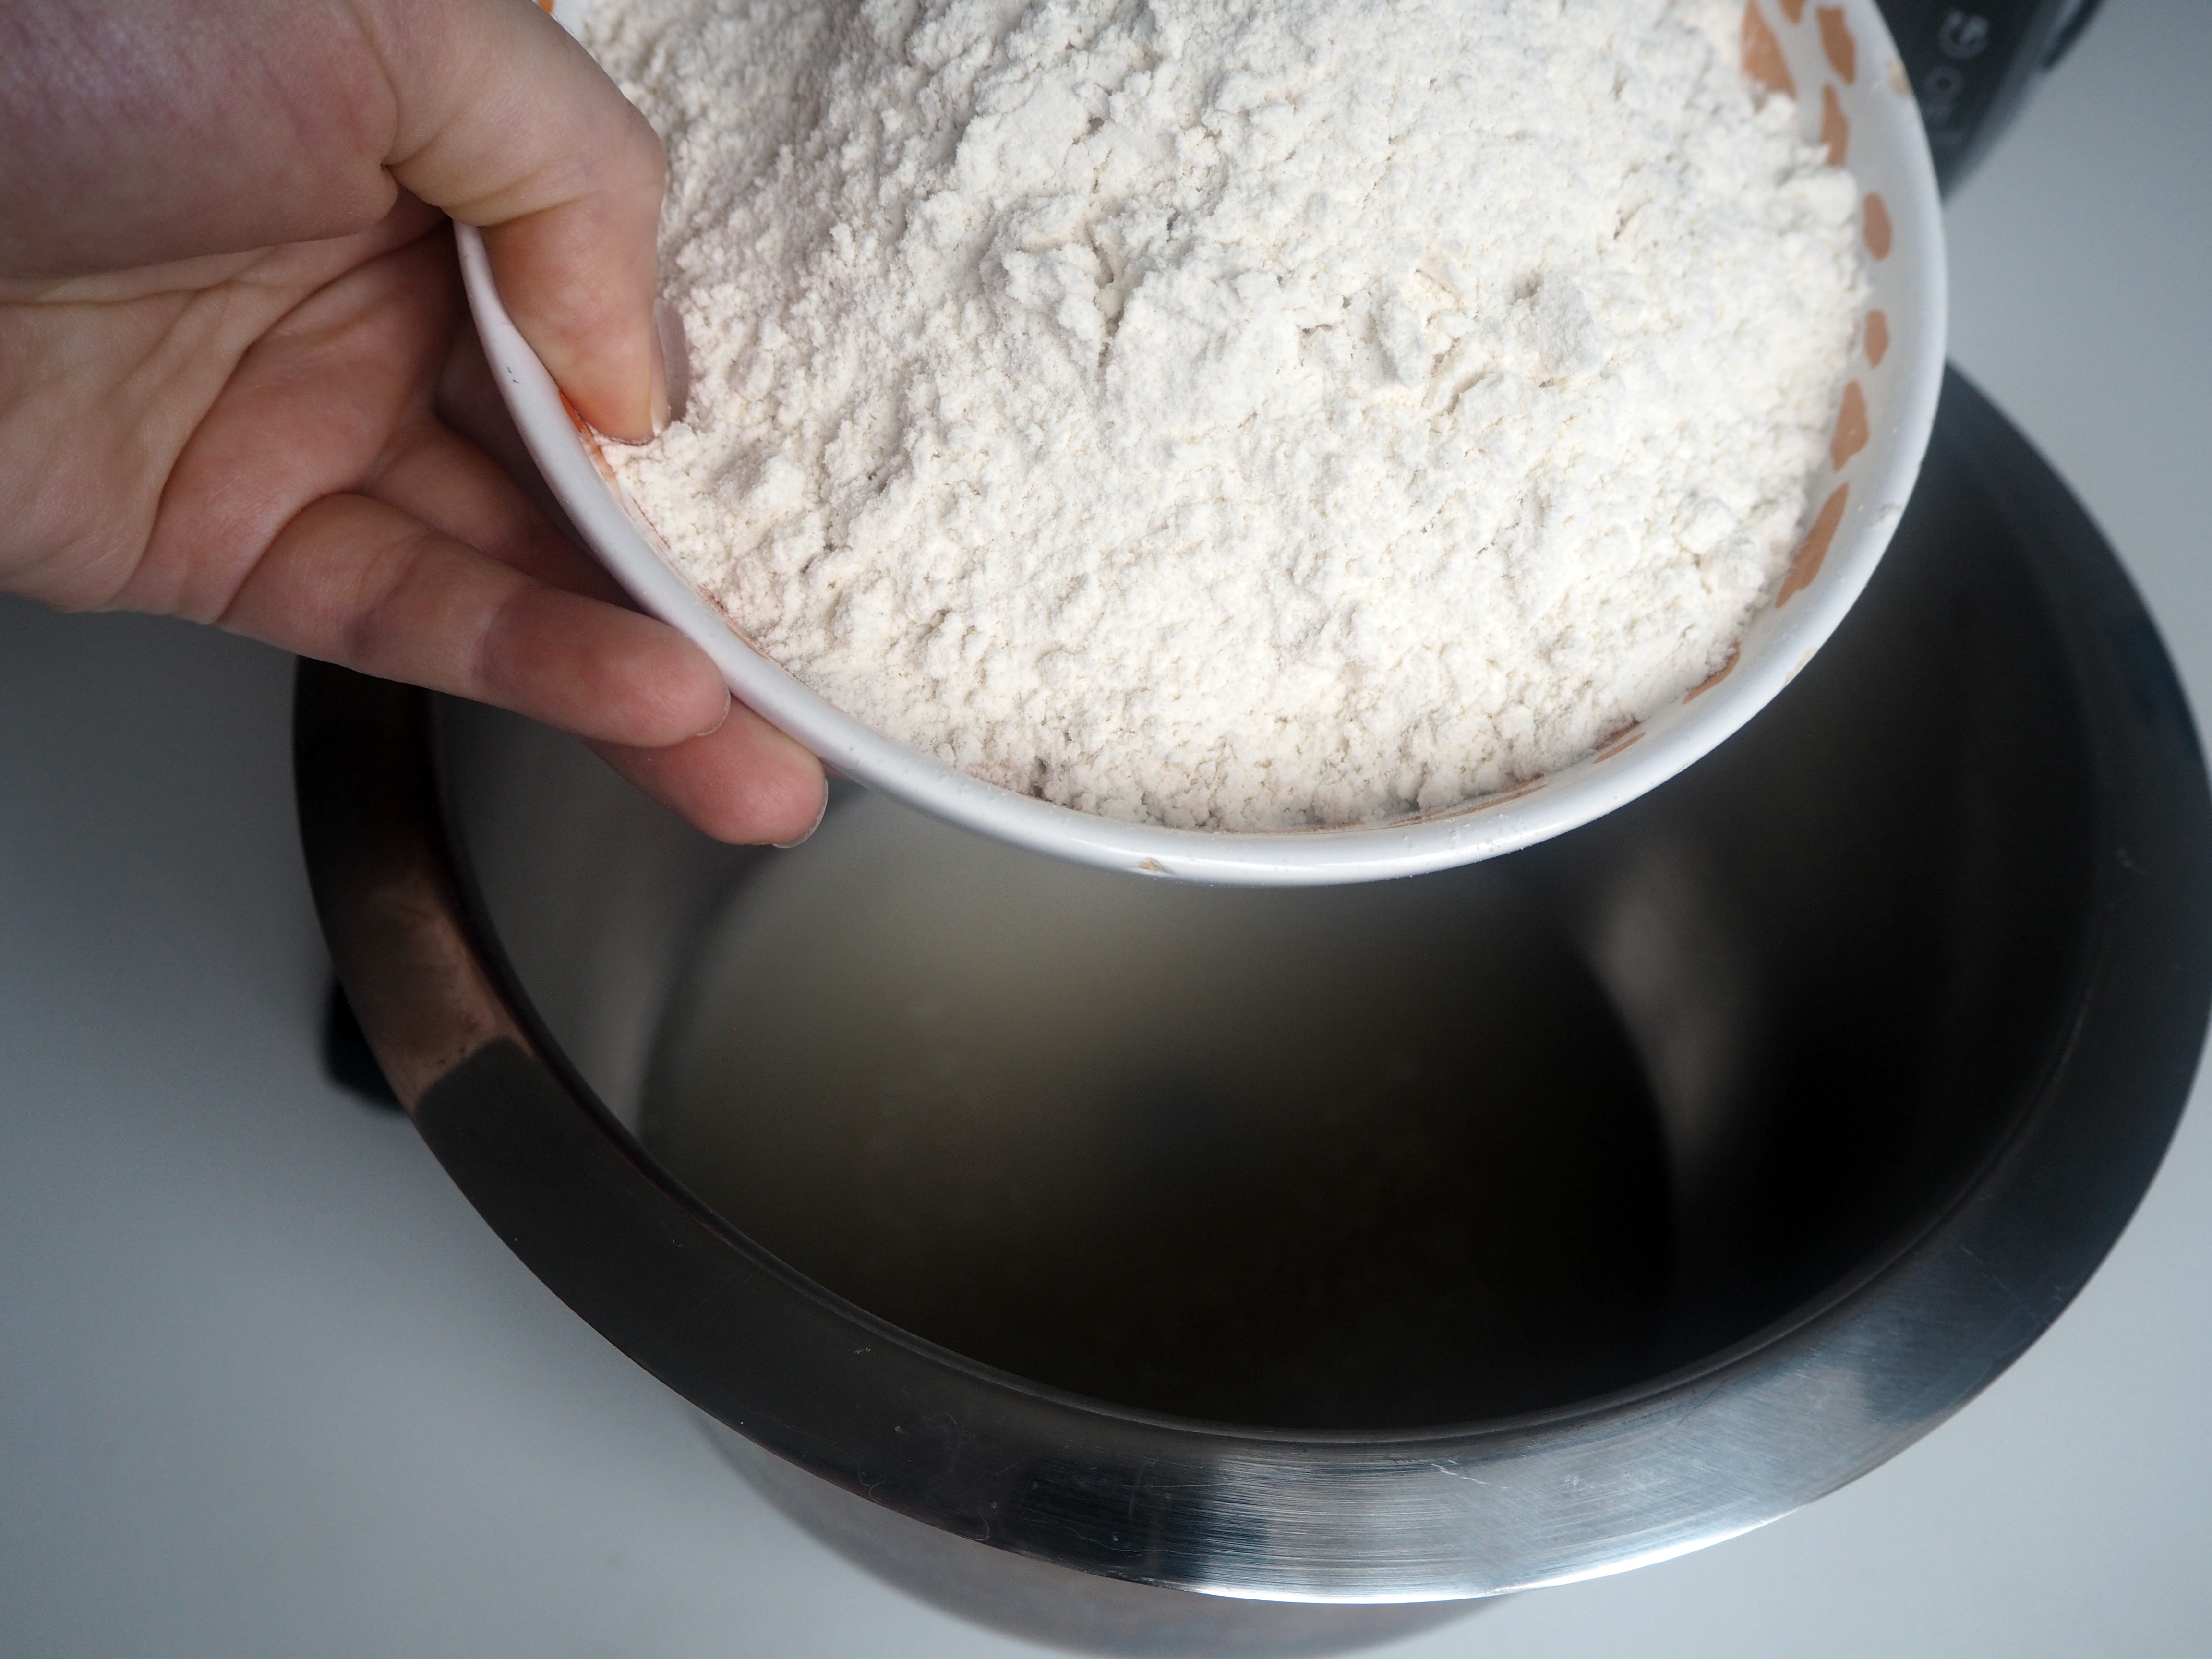
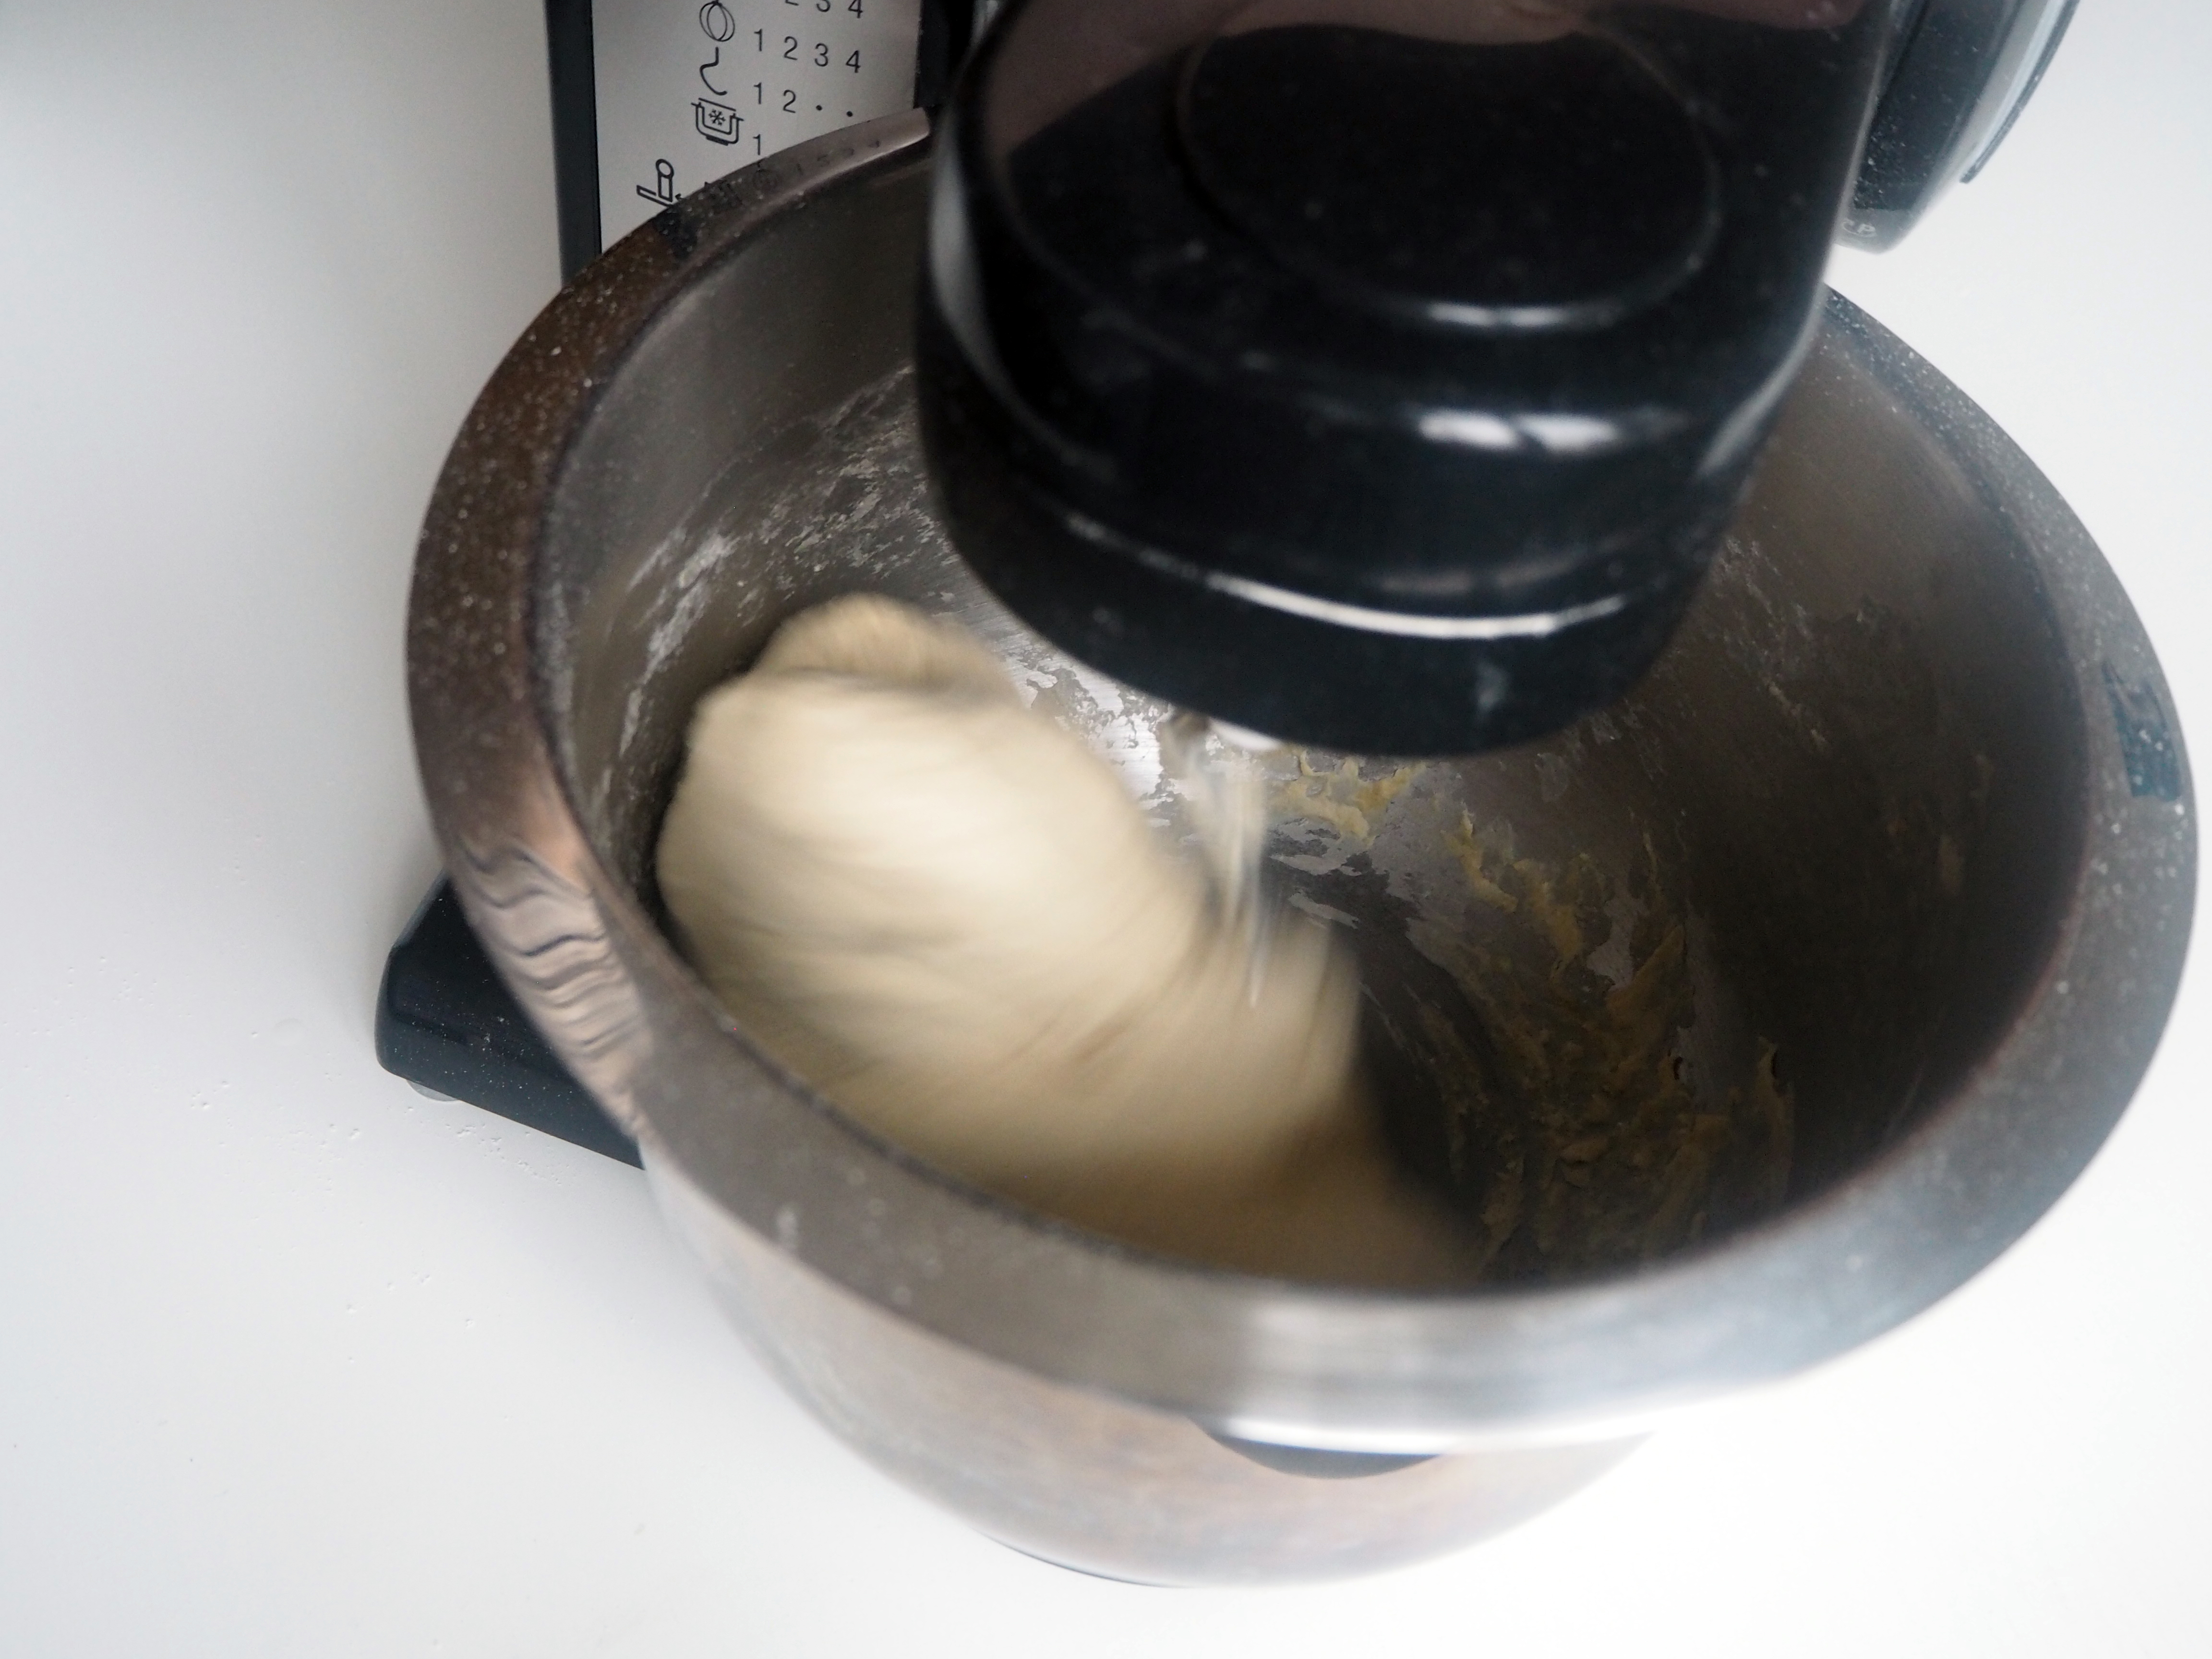
2. Add flour and start kneading.
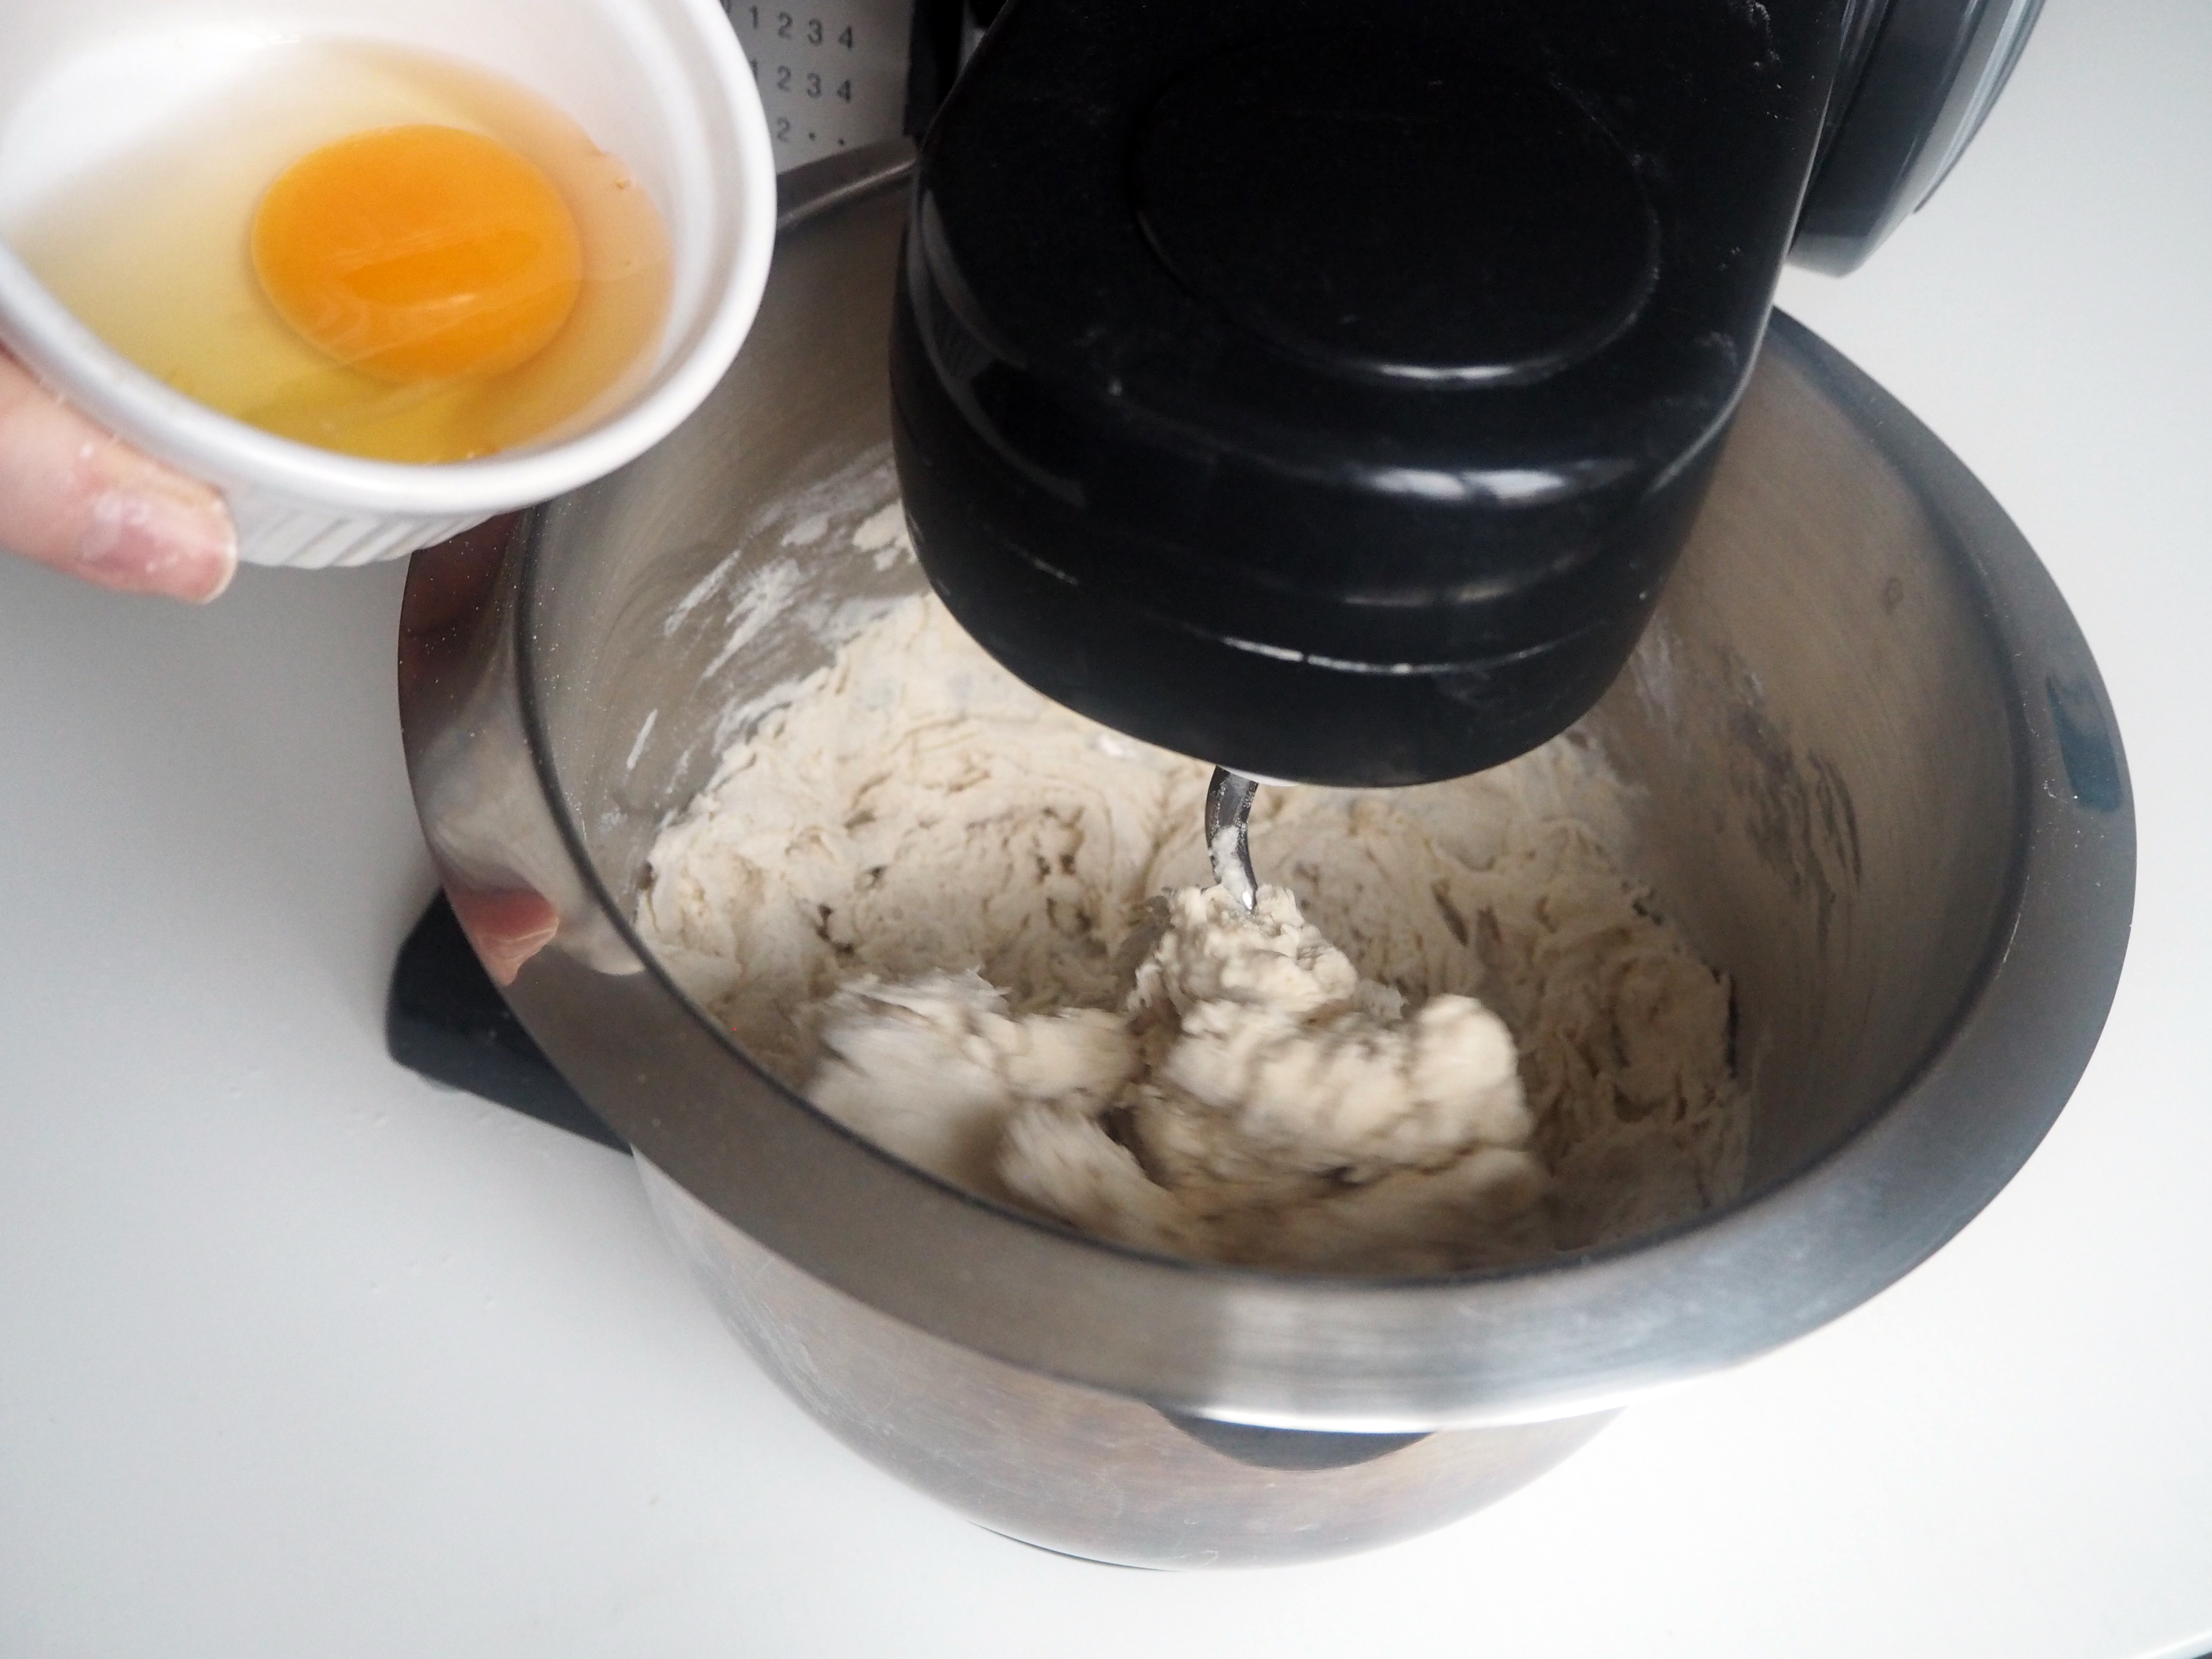
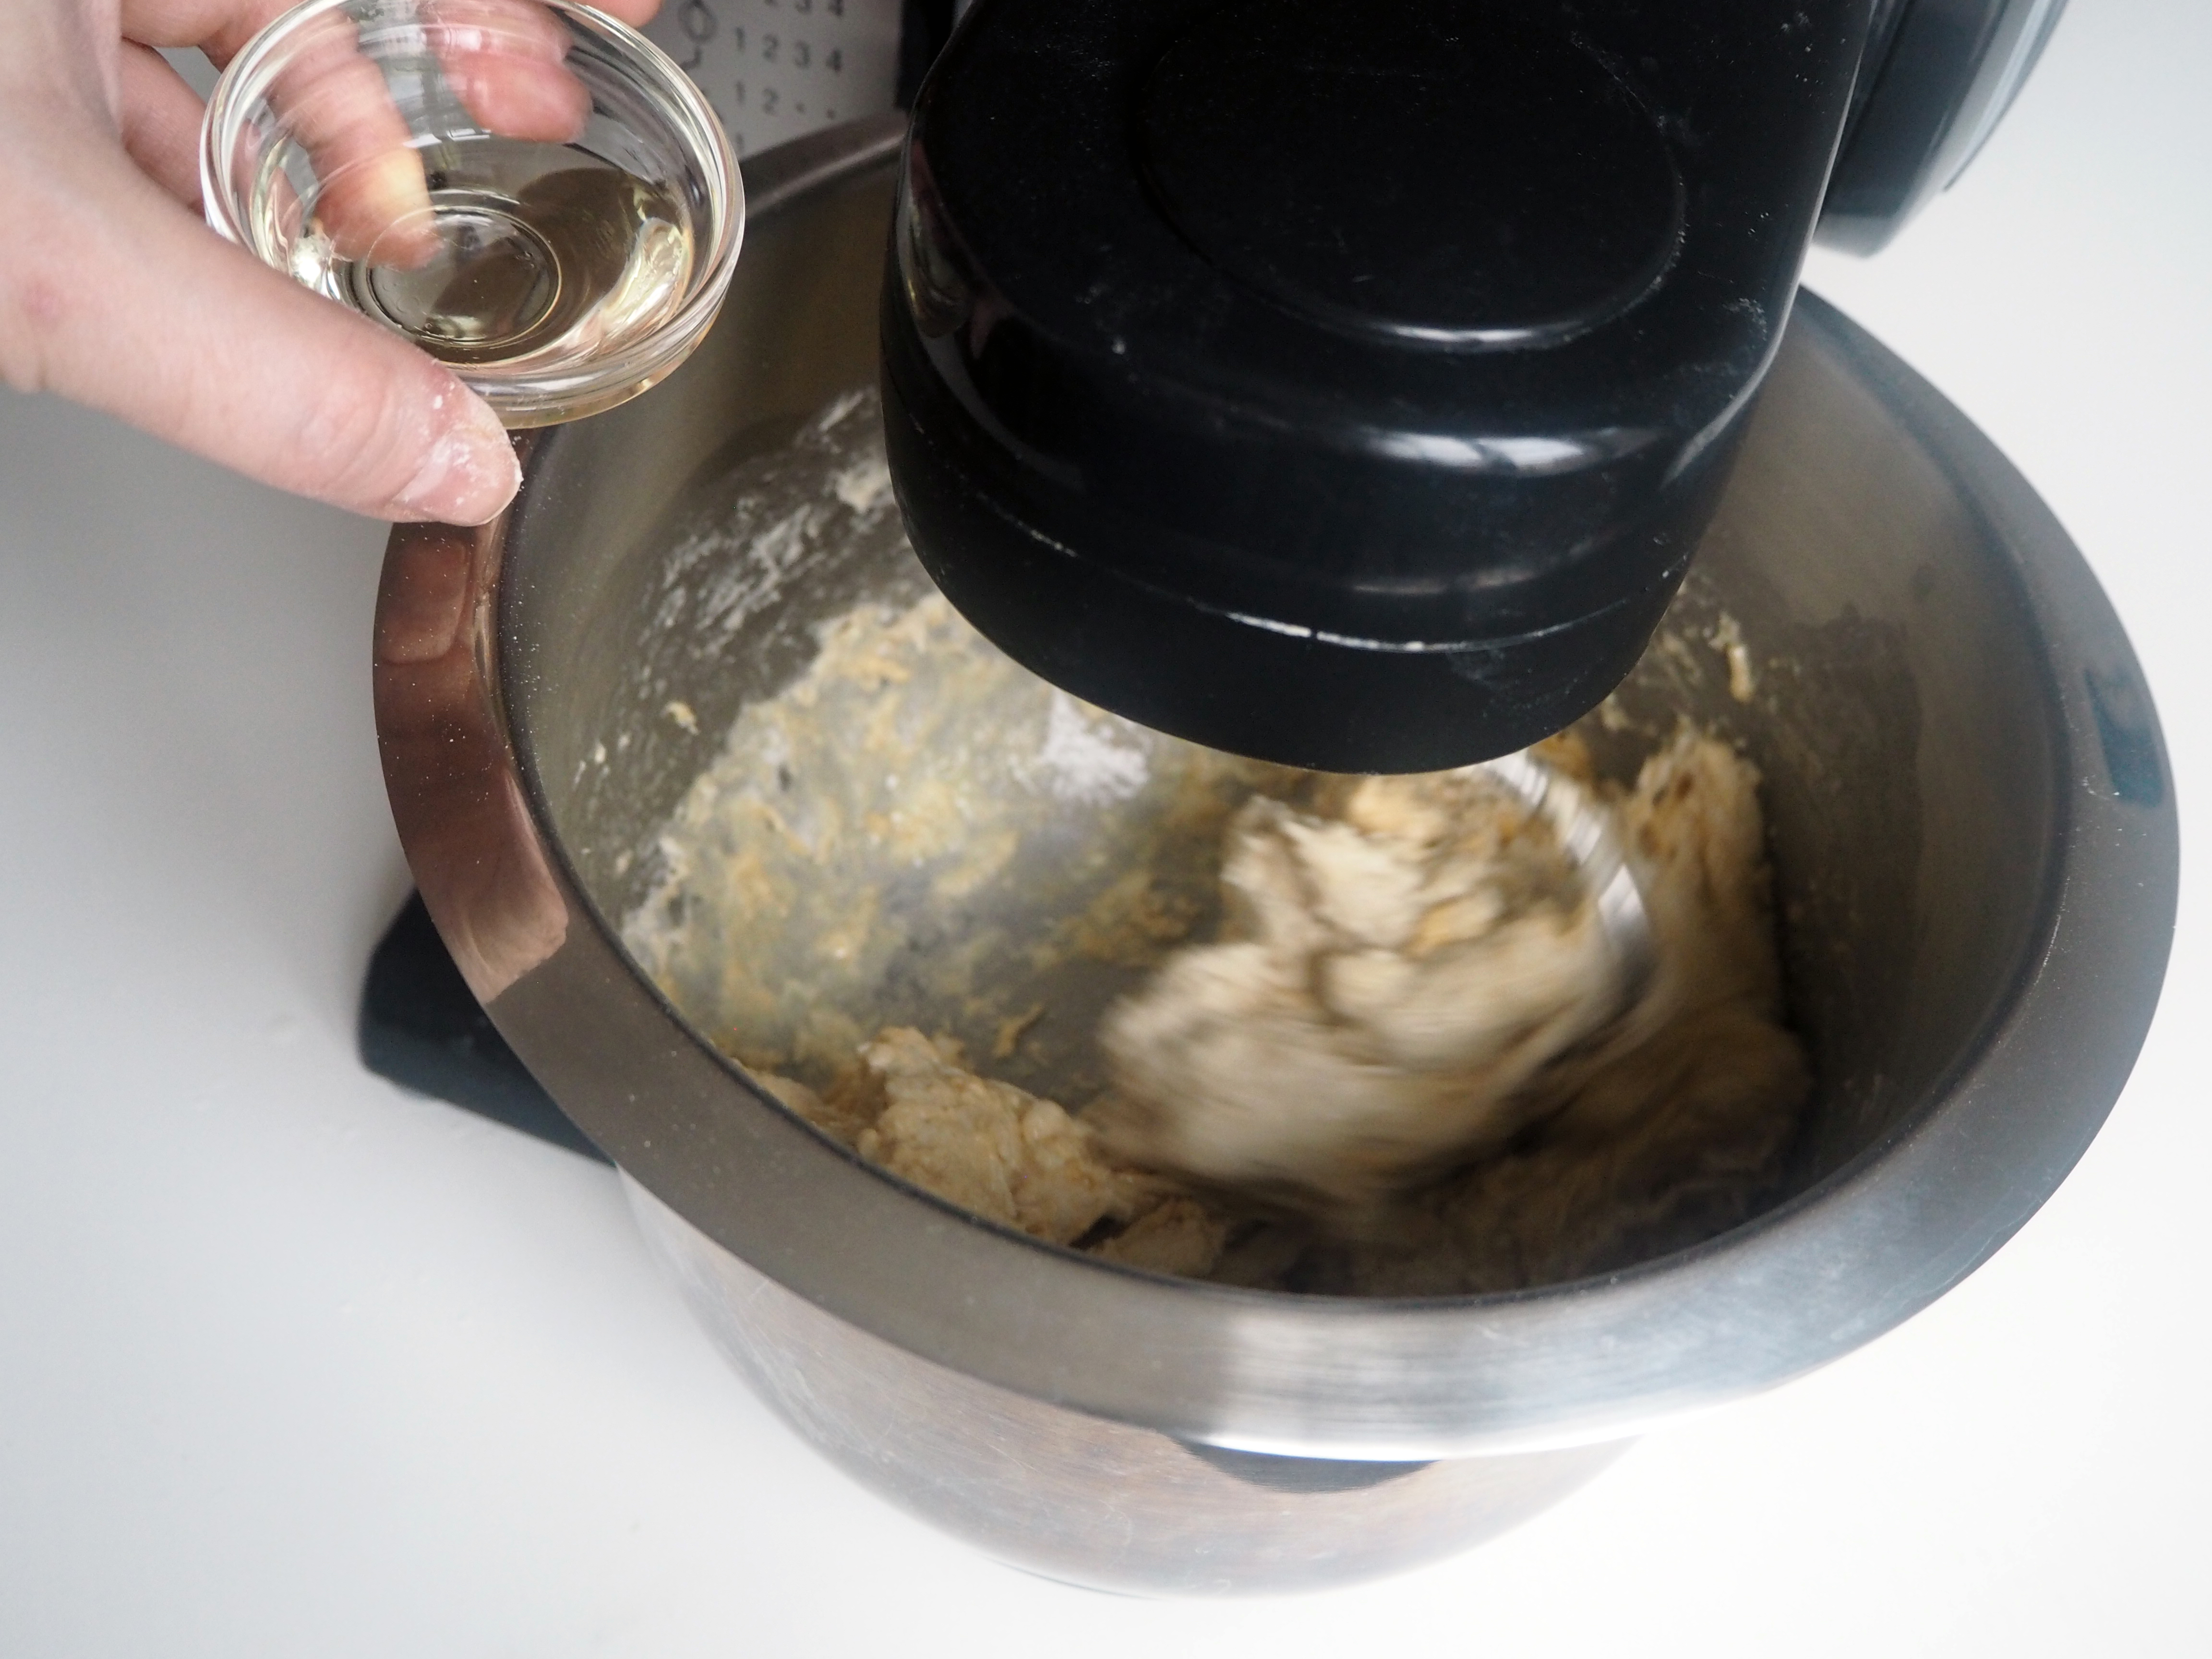
3. While the mixer is kneading (or while you are kneading with your hand), add egg and oil and continue kneading until the dough starts to come together.
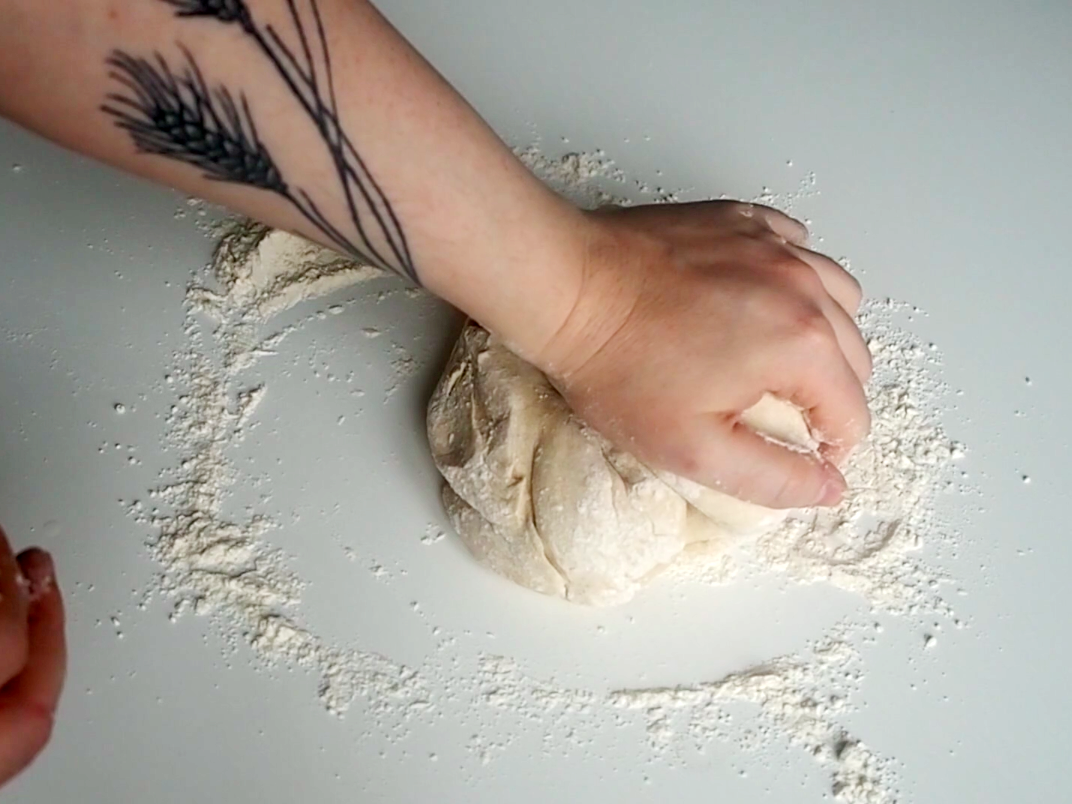
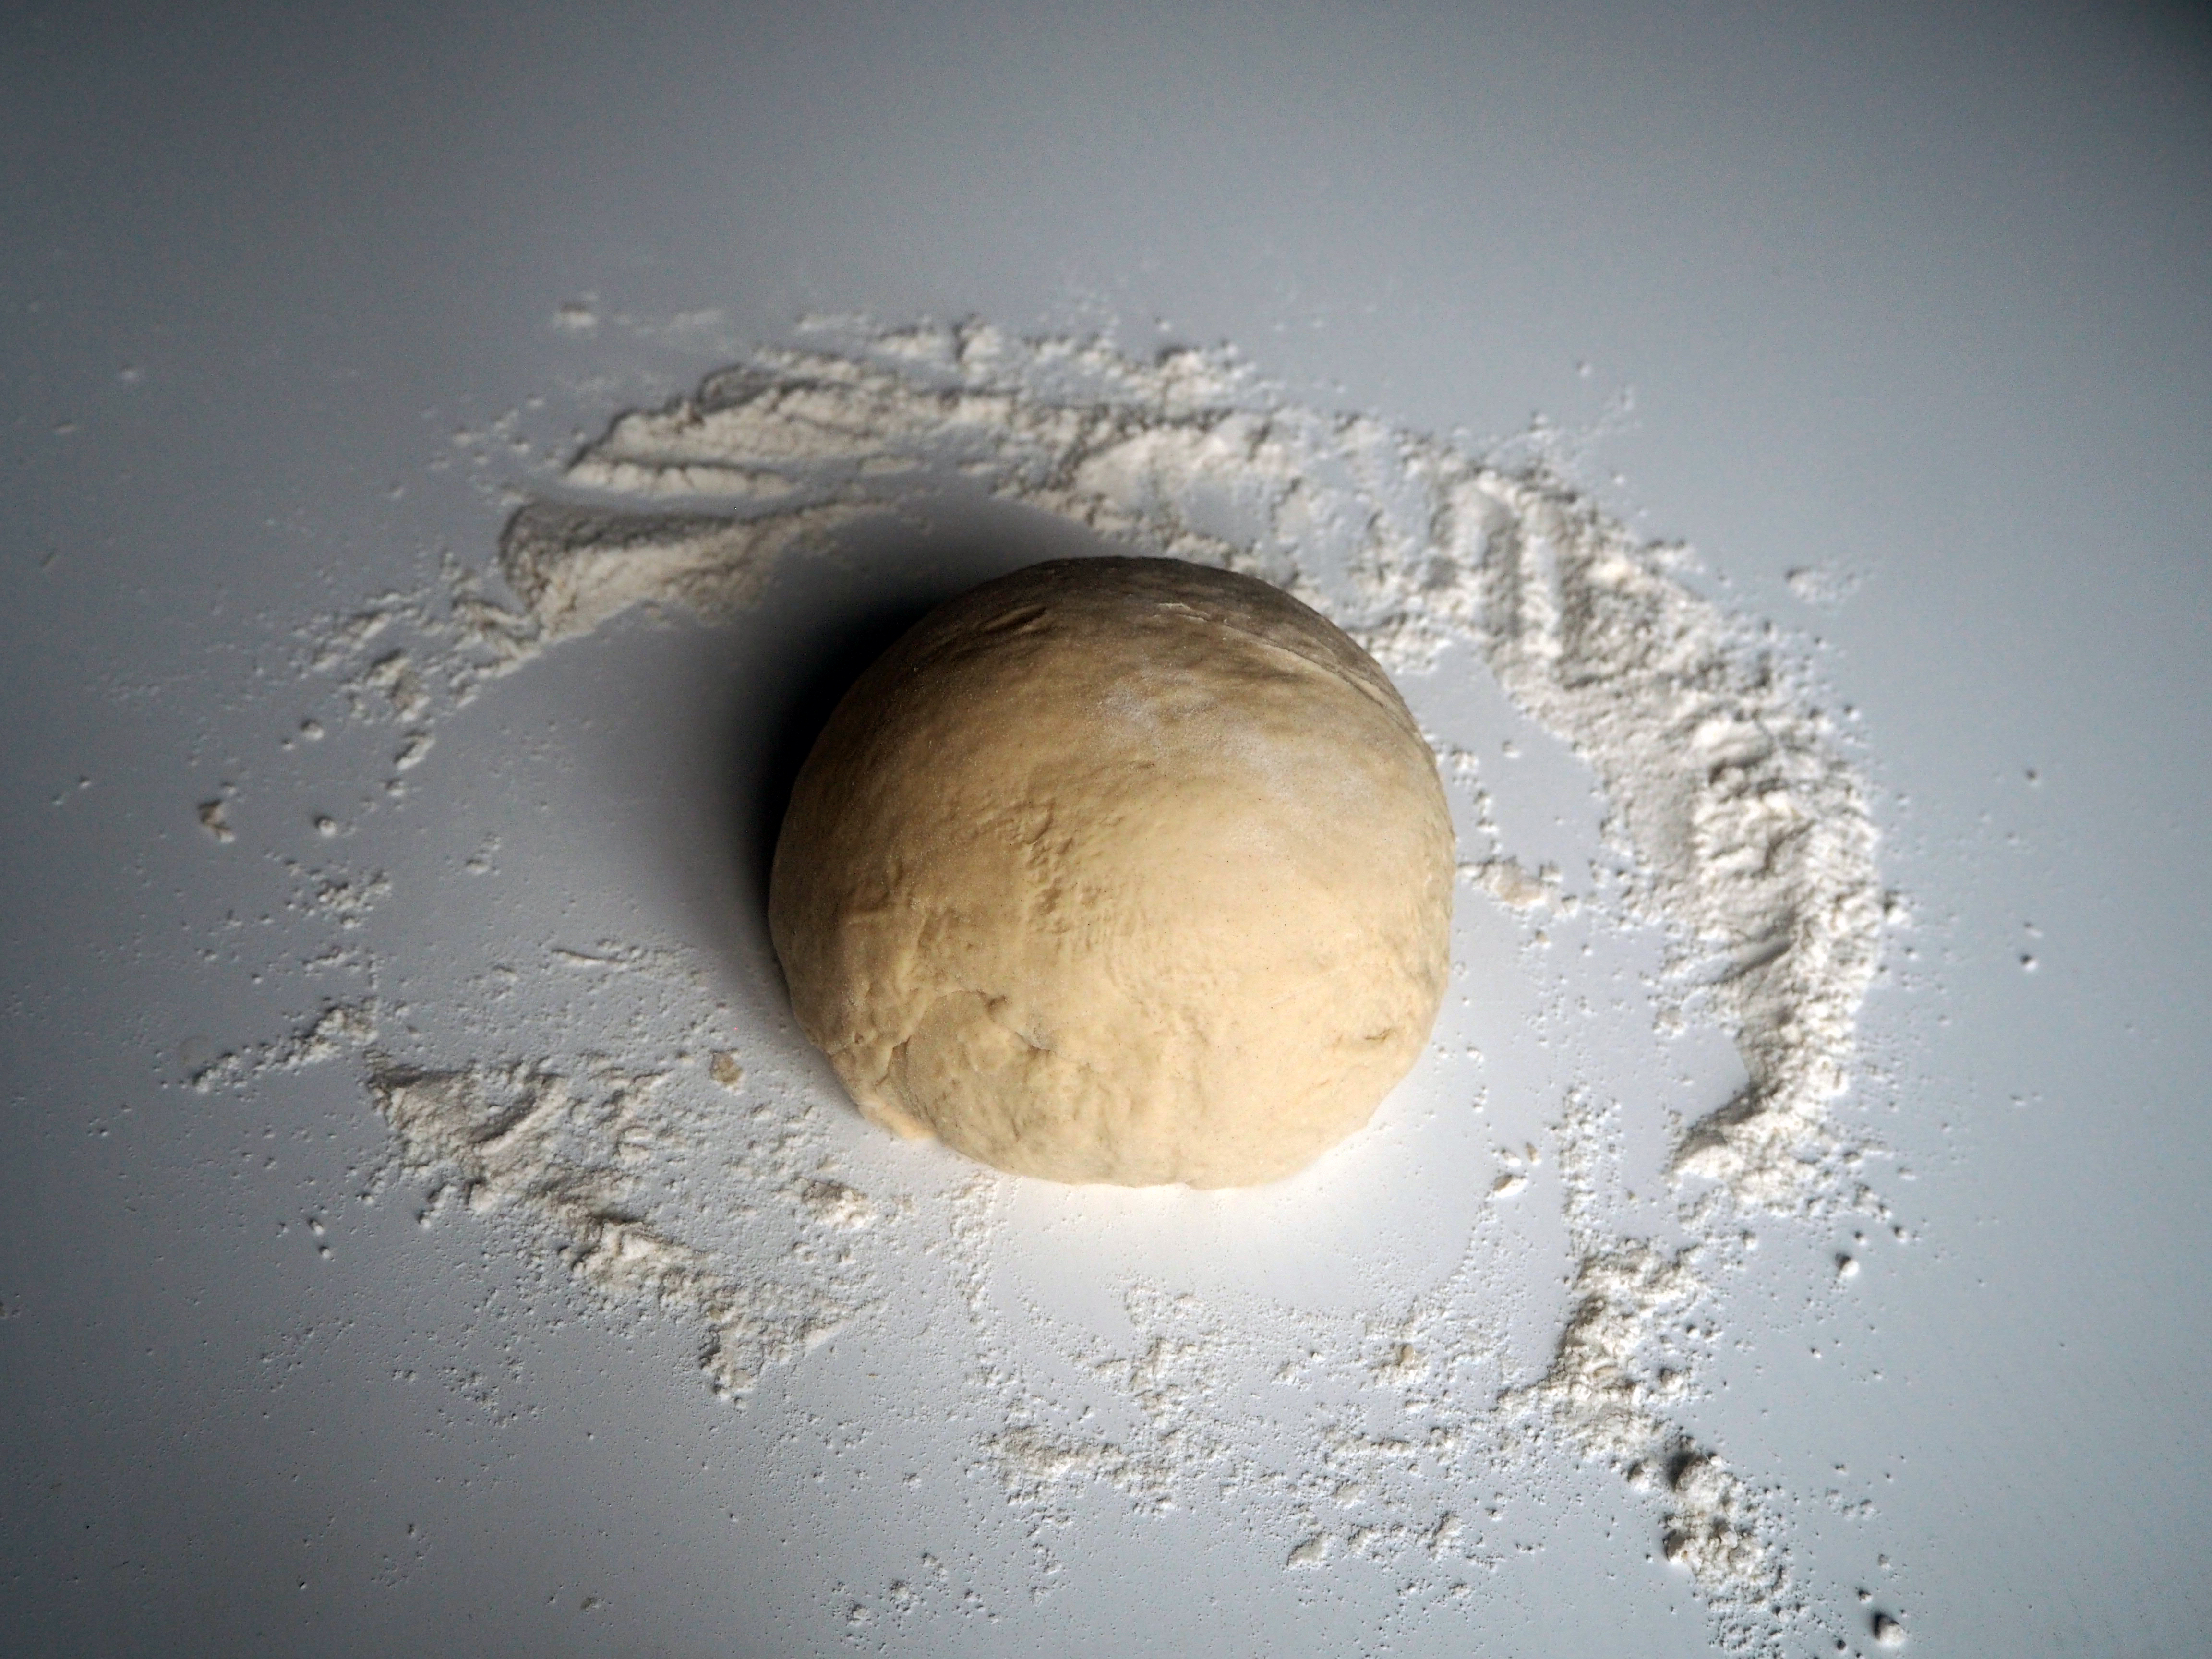
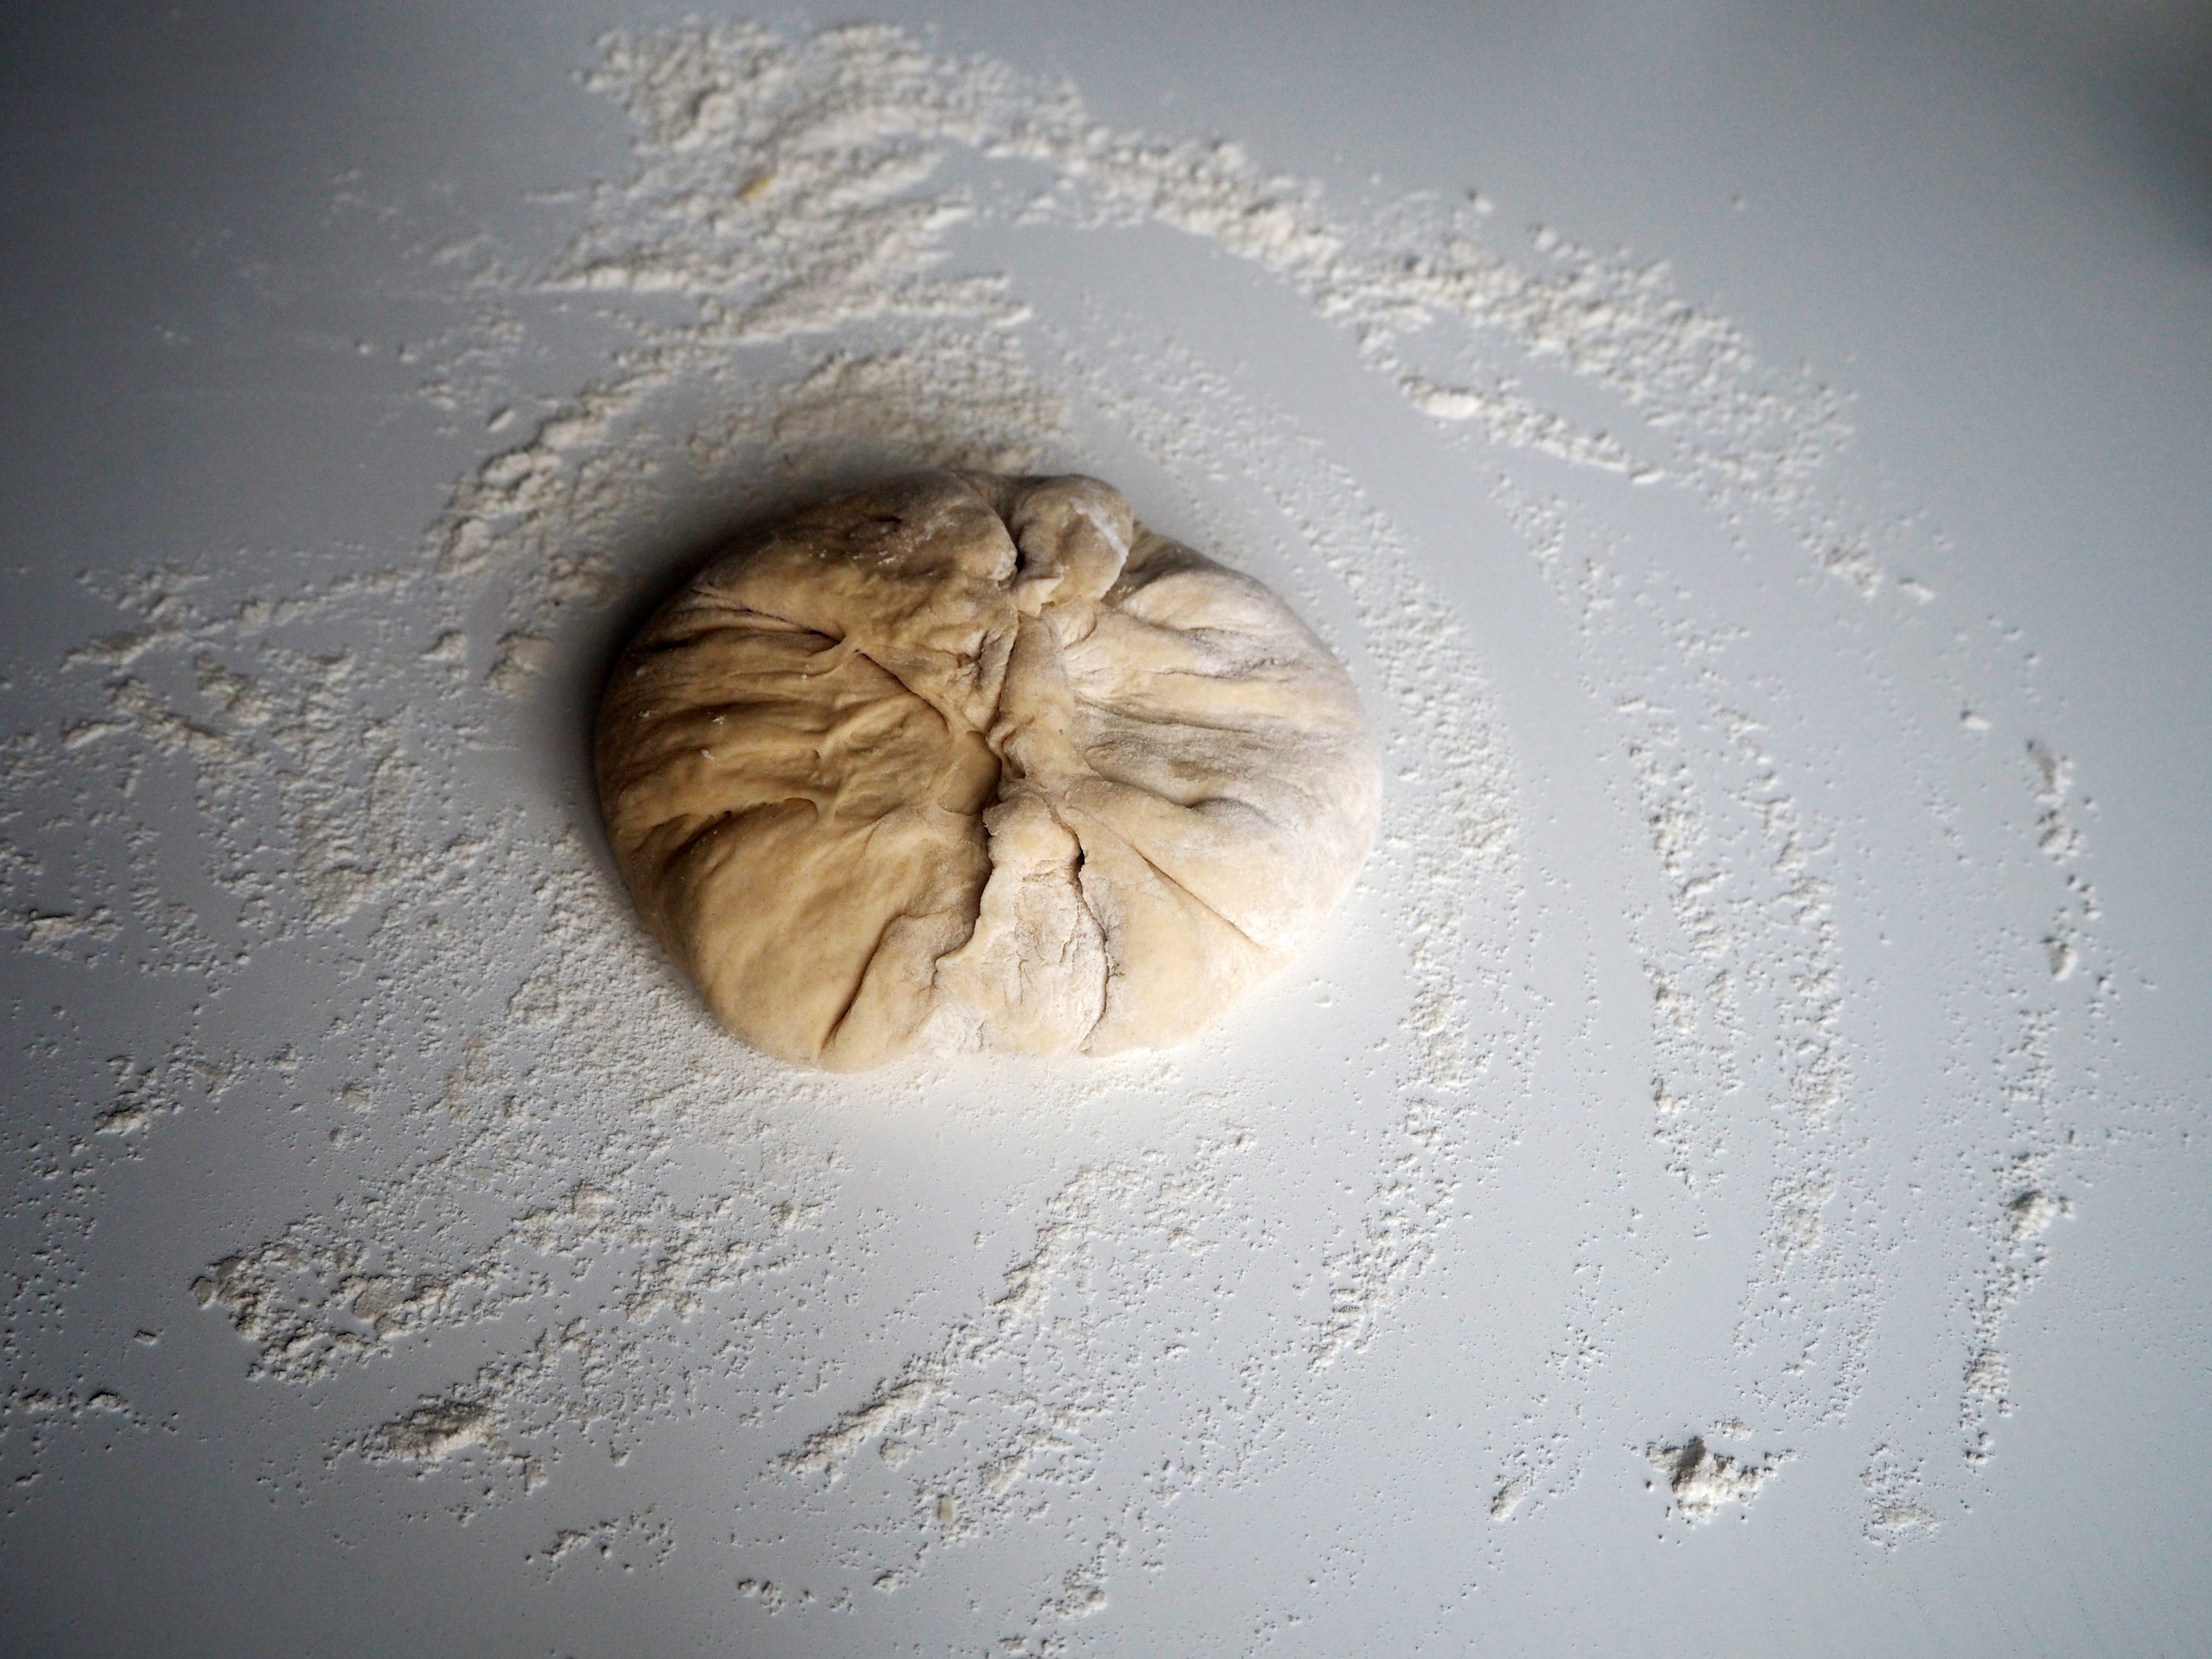
4. If you were using mixer as I did up to this point, then just continue kneading with your hand on a well floured surface, until you get a soft and smooth dough. Shape it into a ball.
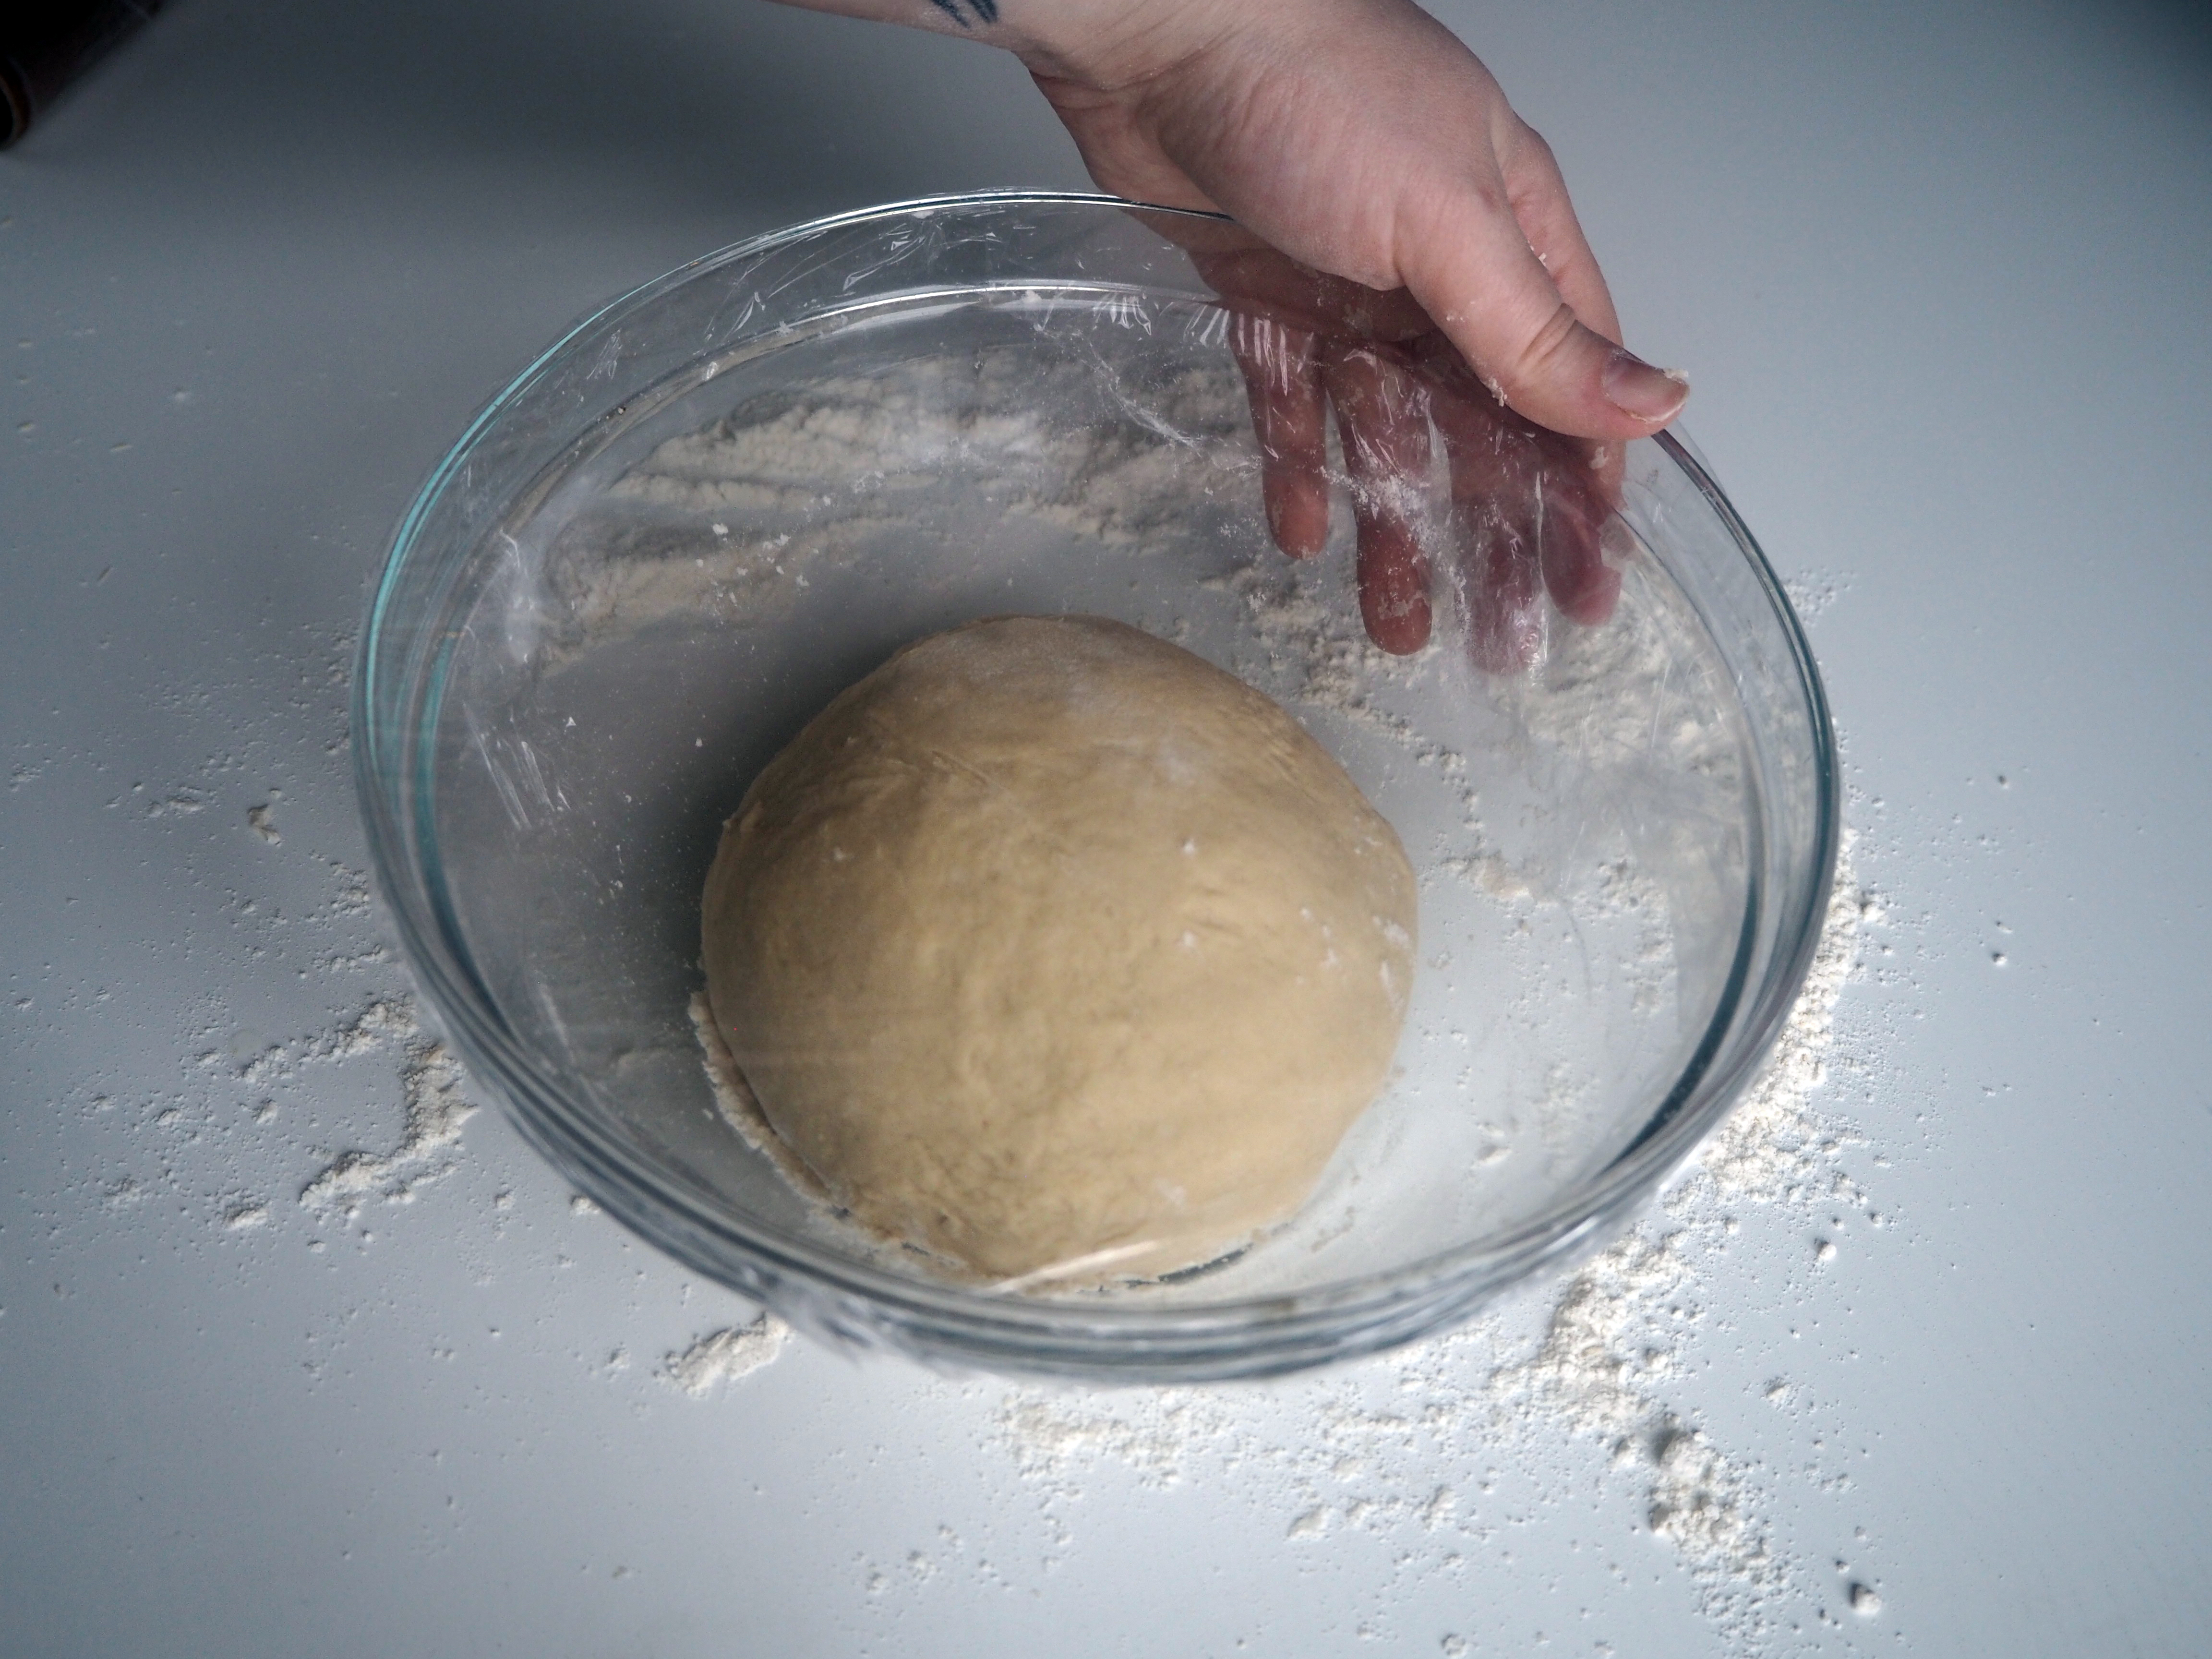
5. Put the dough in a floured bowl and cover with a stretch film. Let the dough rise and double in size in a warm spot in your kitchen. The time varies according to your kitchen conditions and how well you could activate the yeast. For me it took 1 hour.
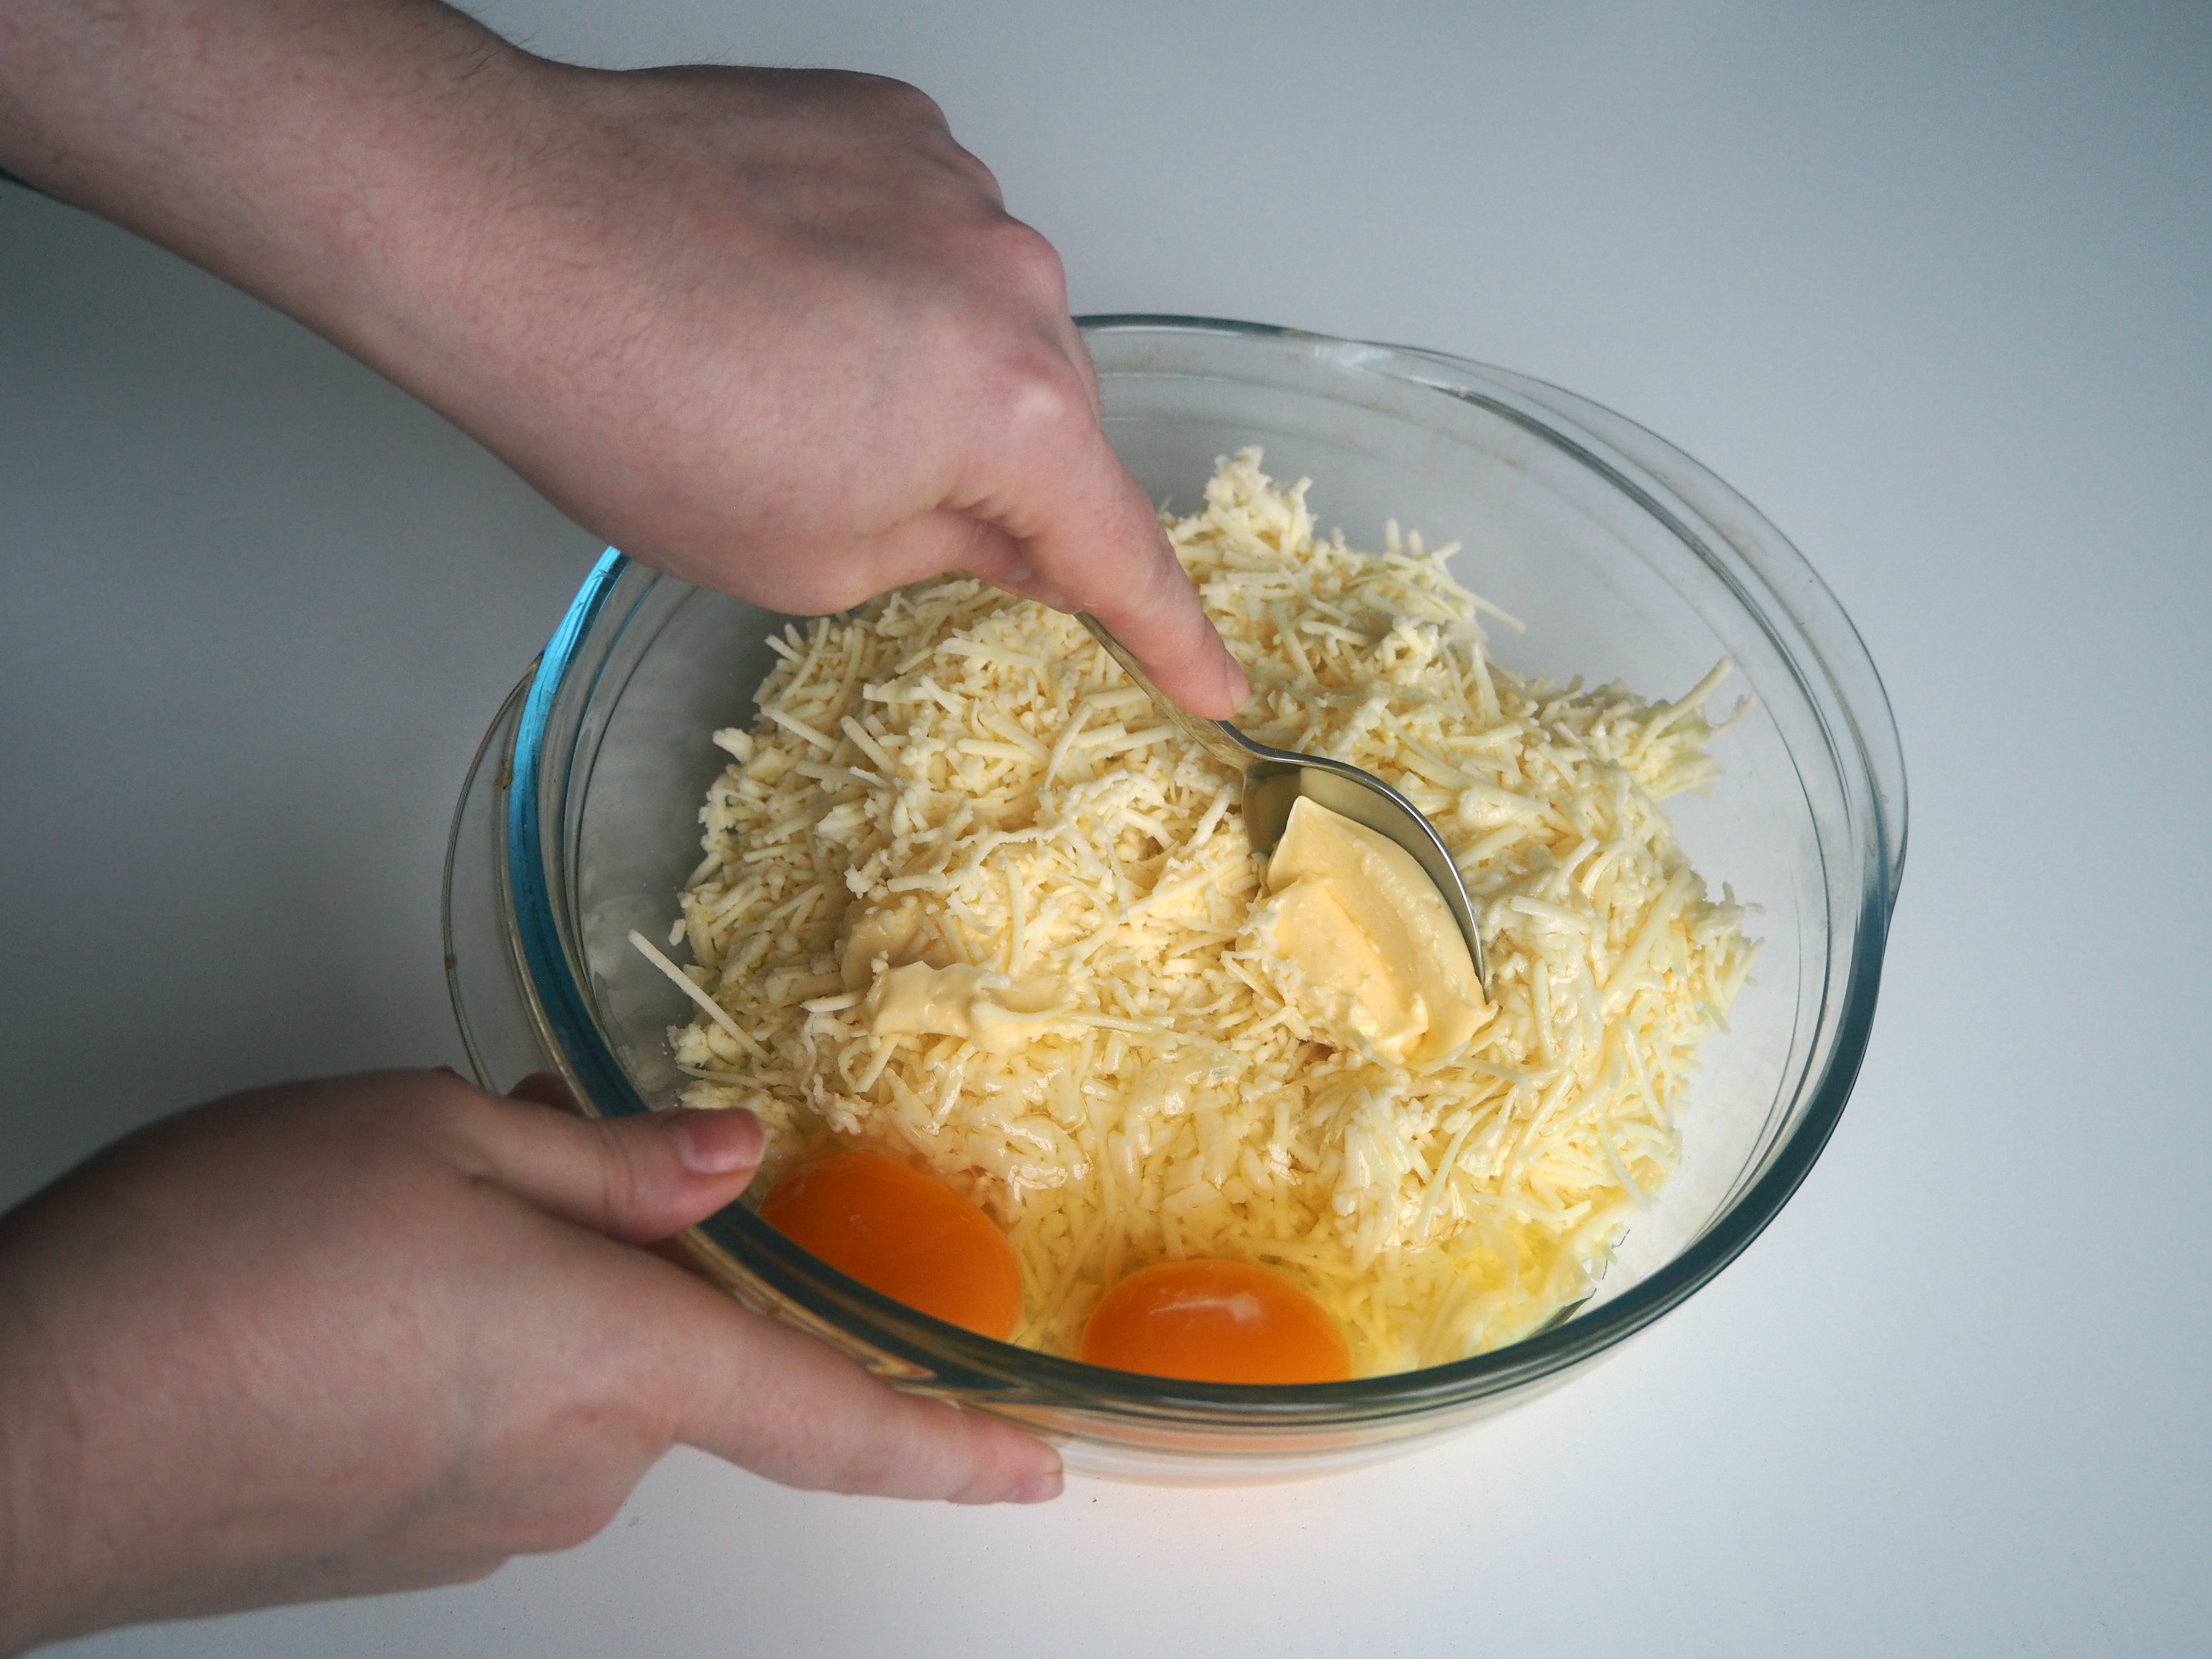
6. While the dough is rising, prepare the filling: put all the filling ingredients in a bowl and mix well.
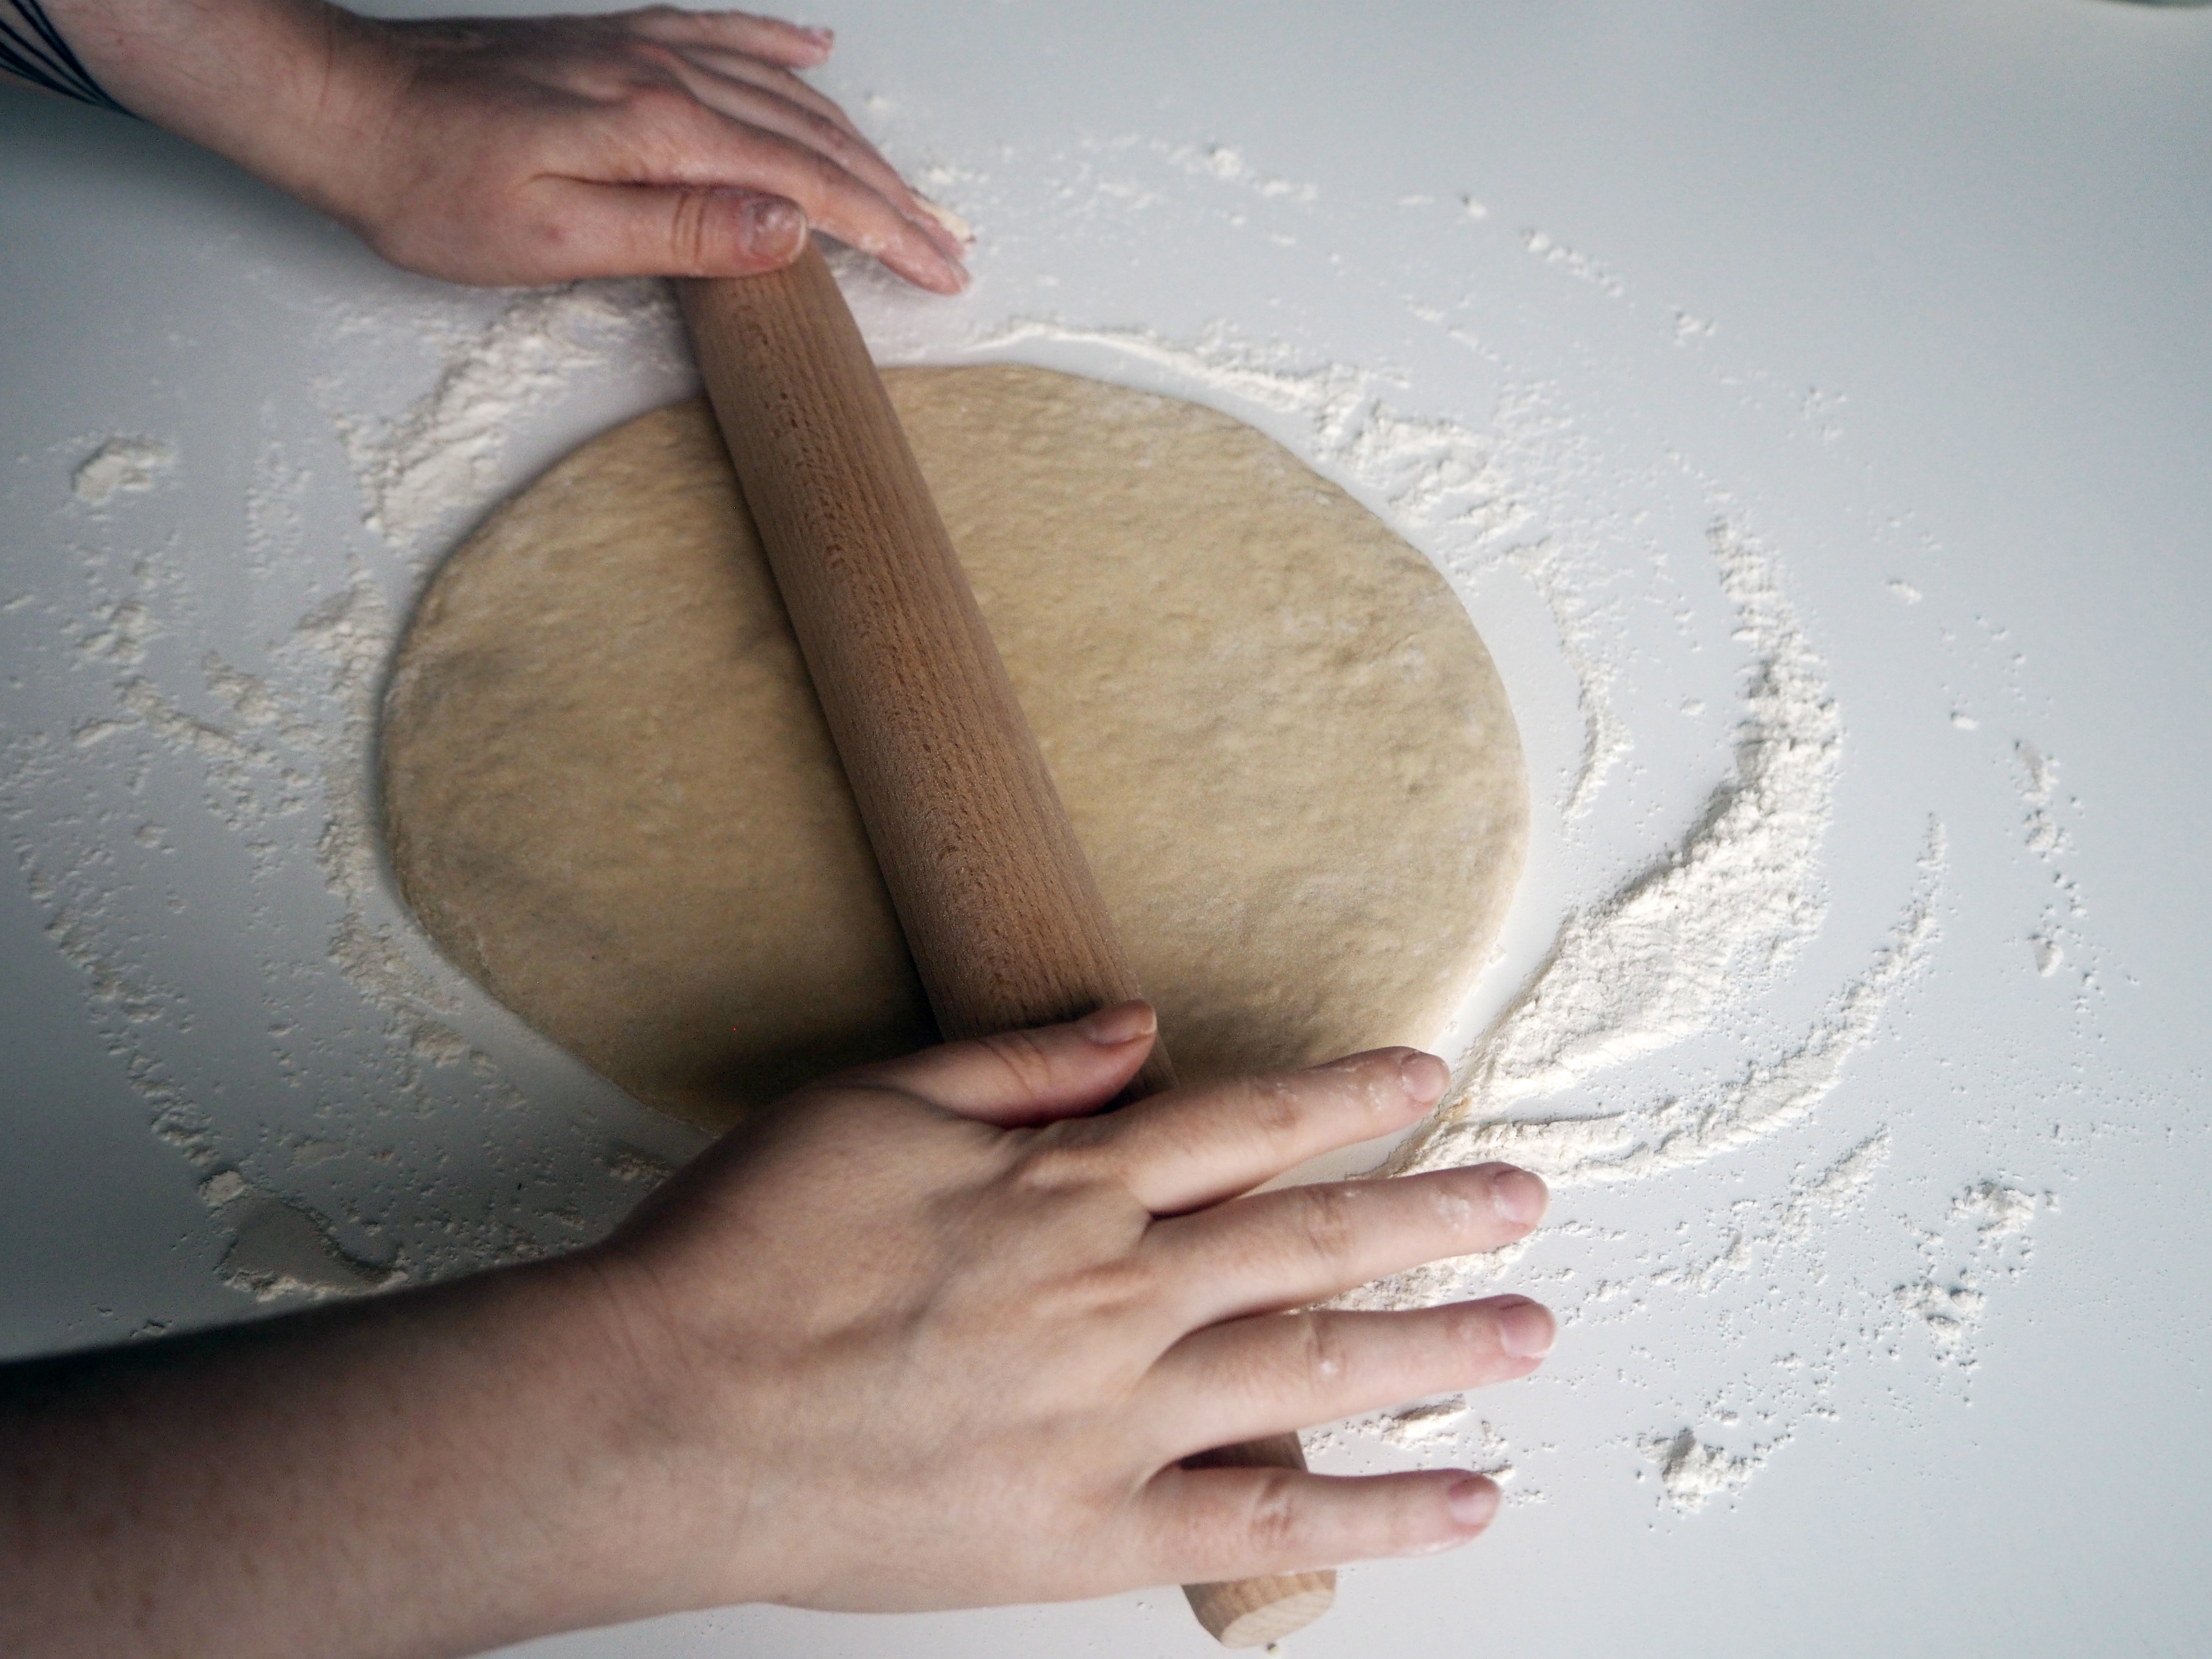
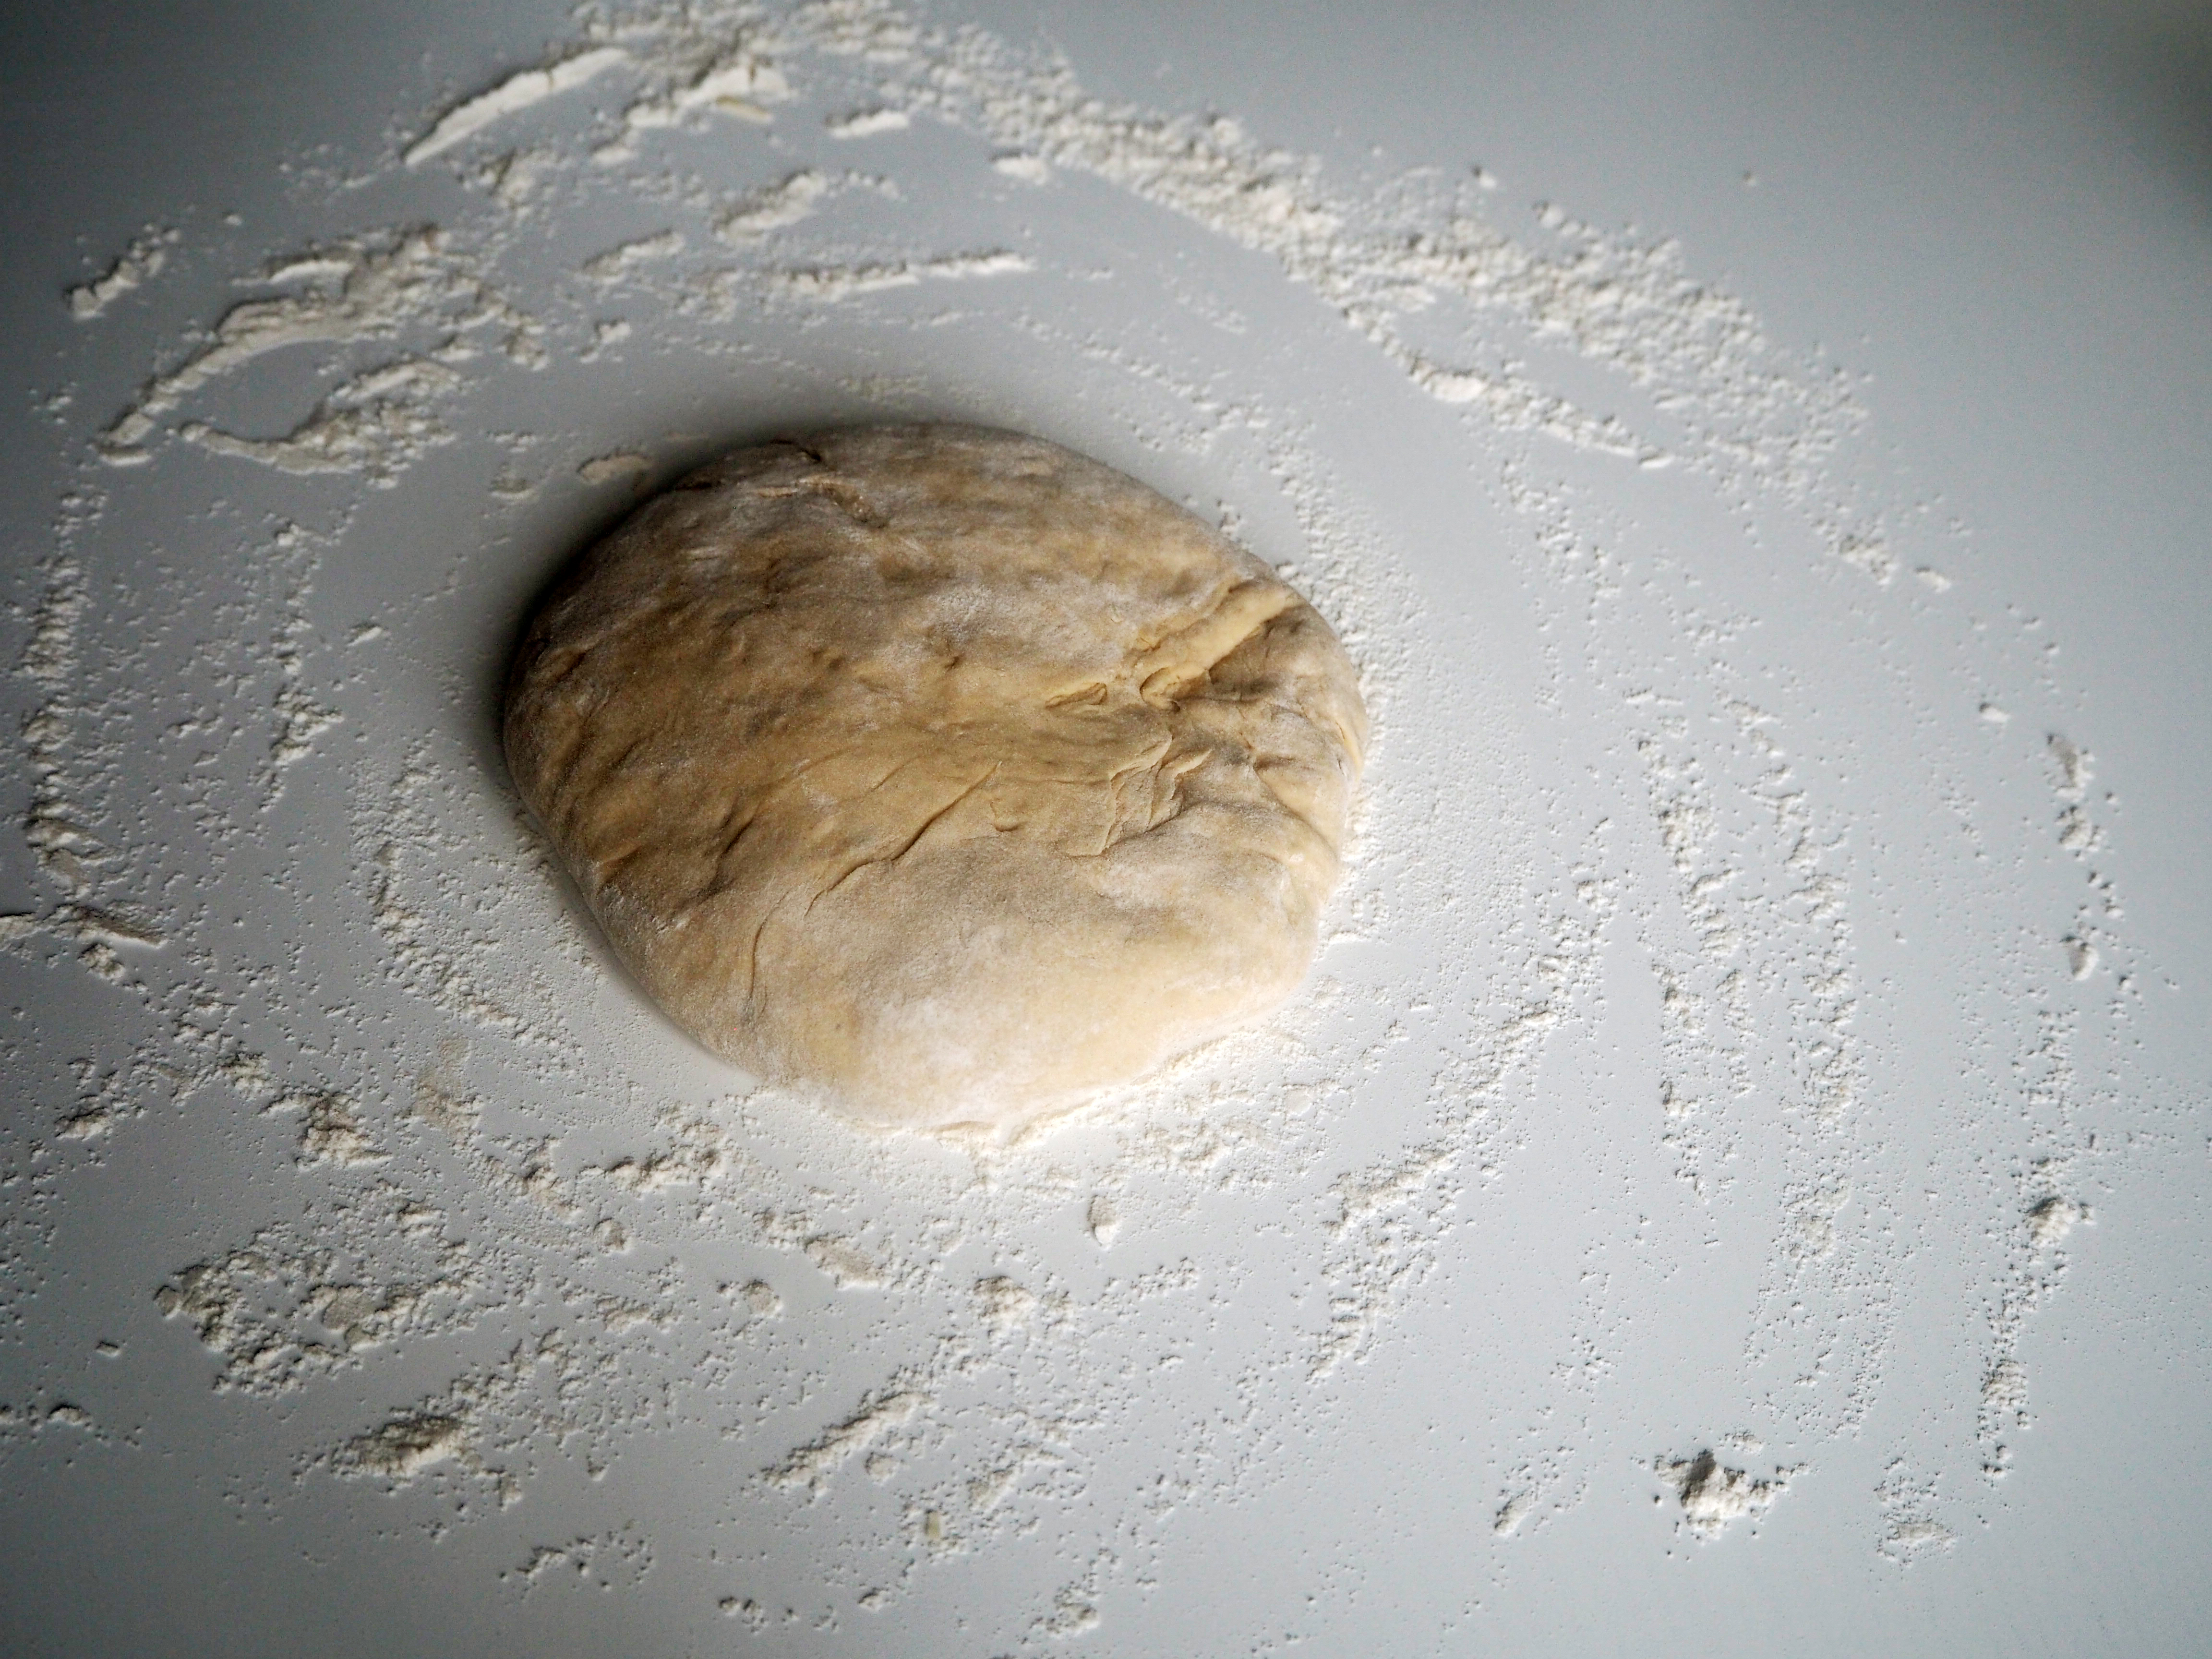
7. When the dough is ready, put it on a well floured surface and divide in two.

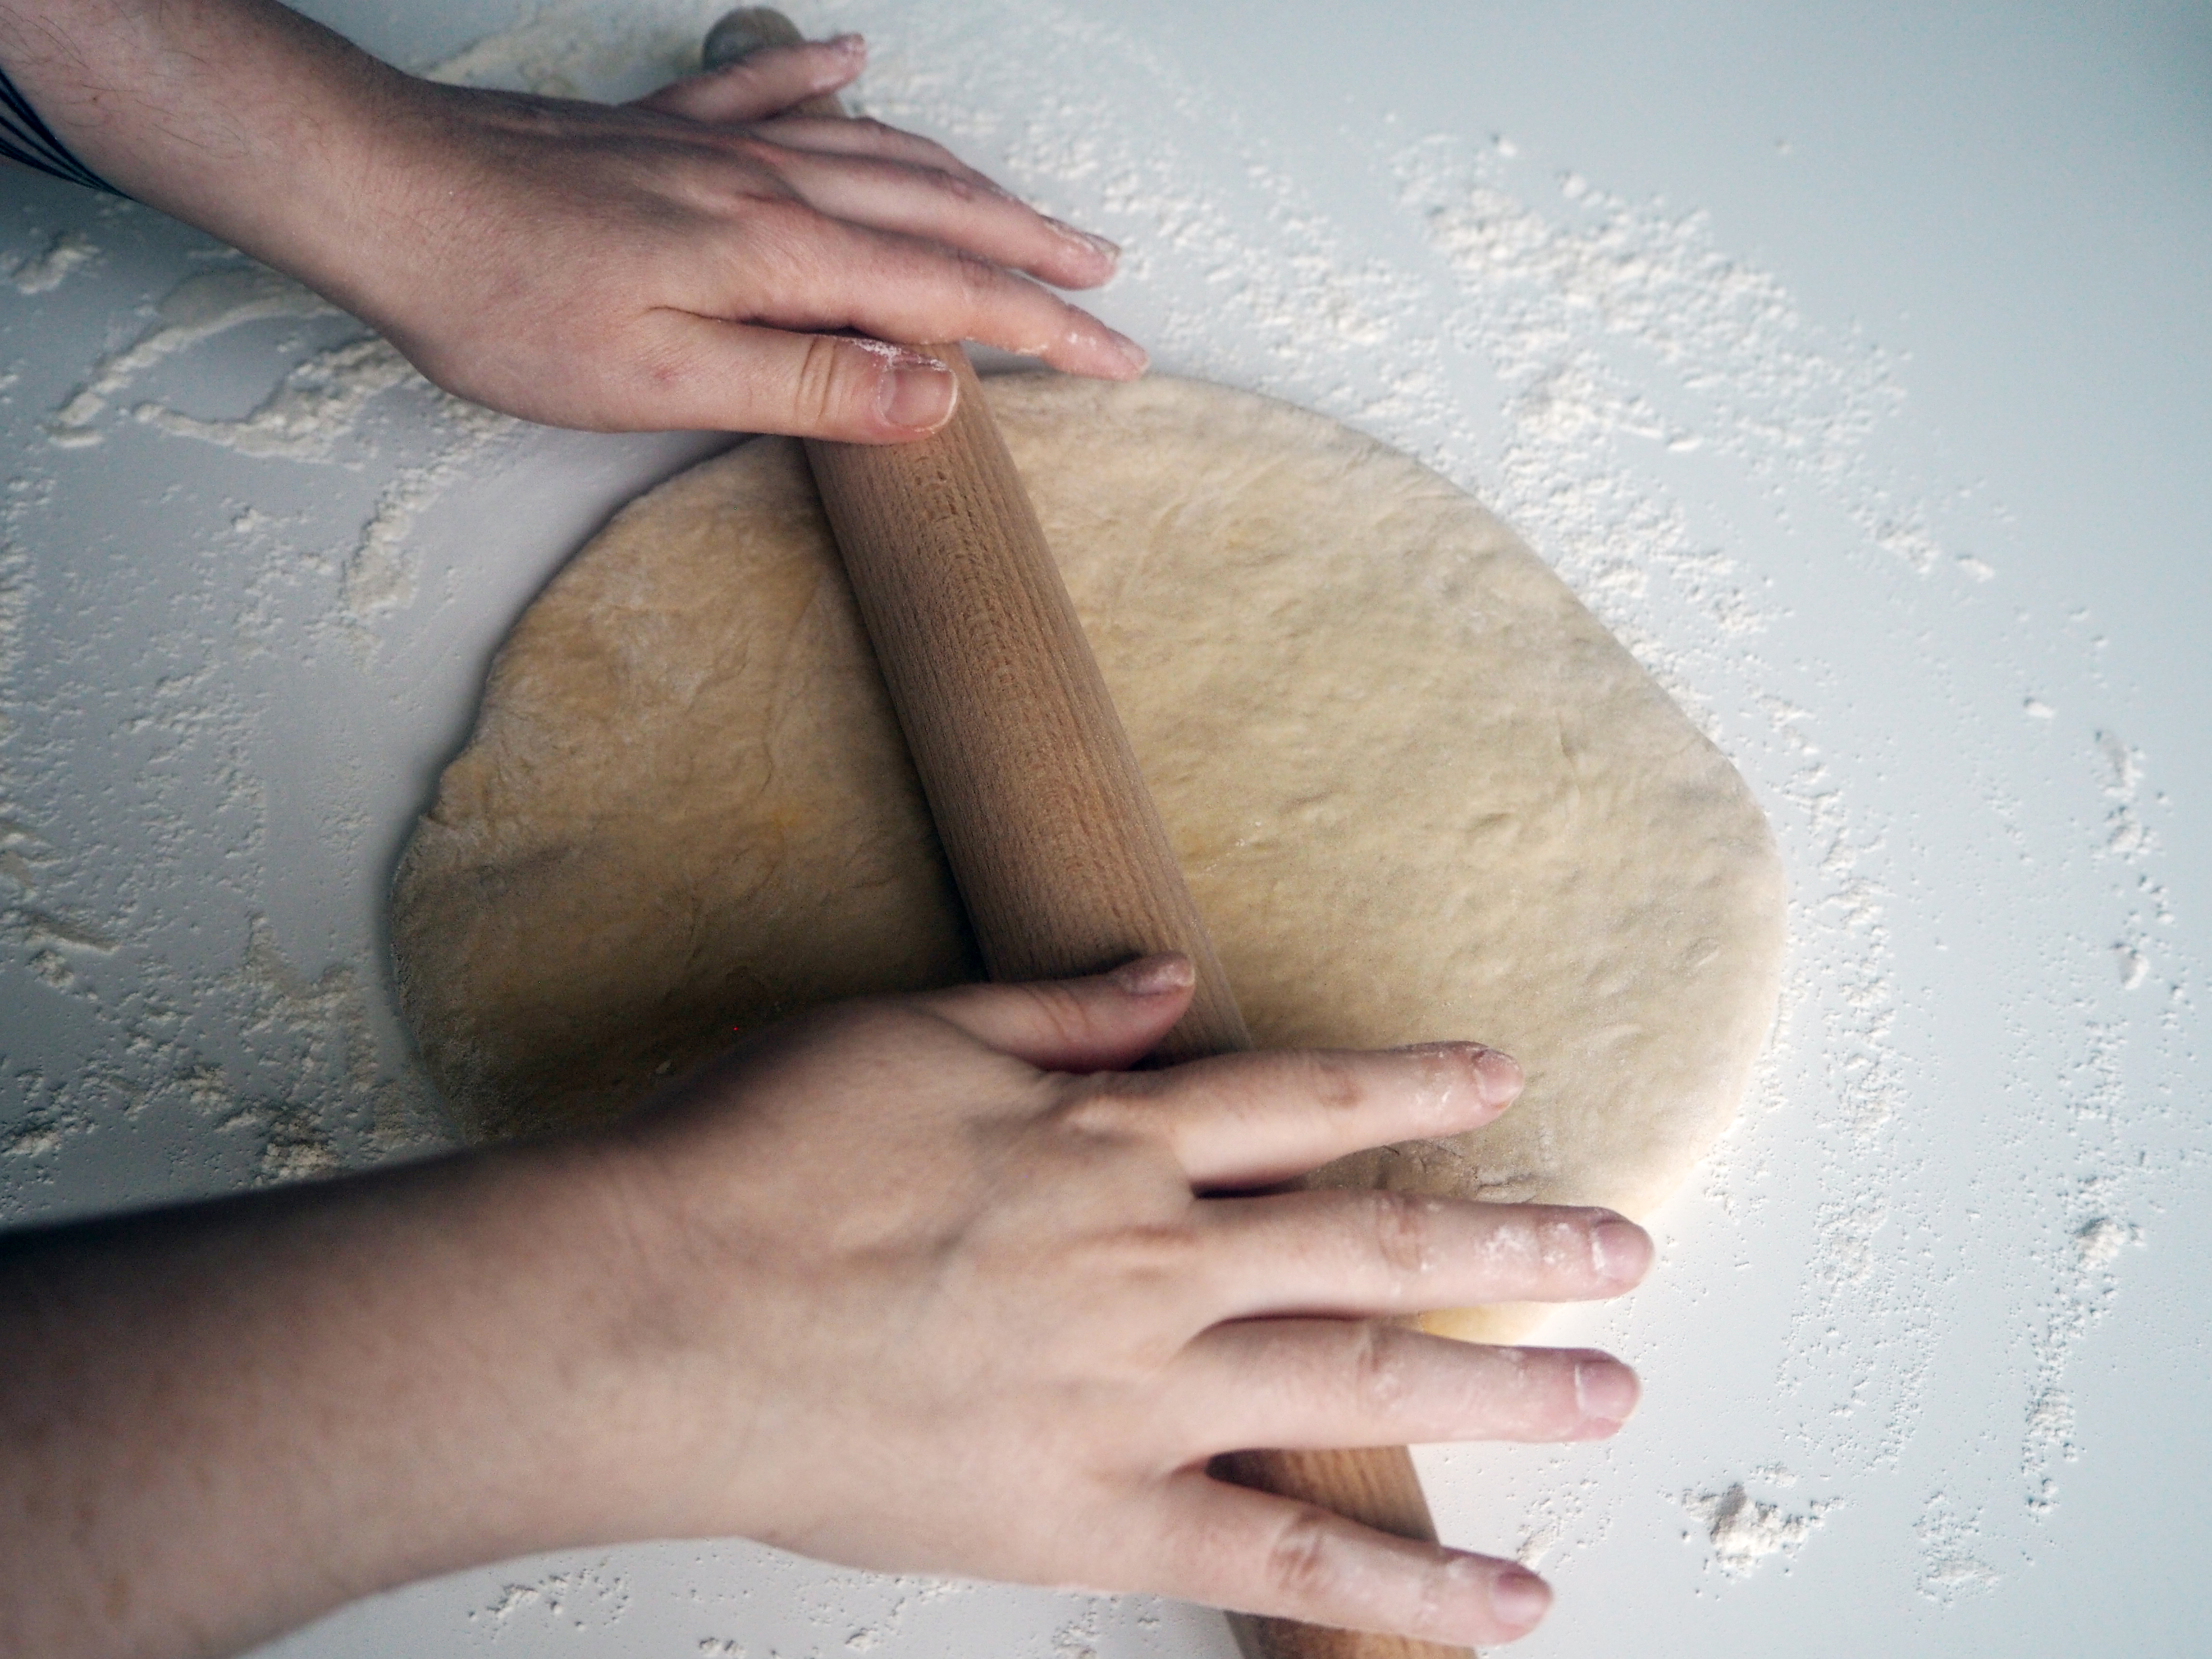
8. Roll each piece up to a diameter of 20 cm.
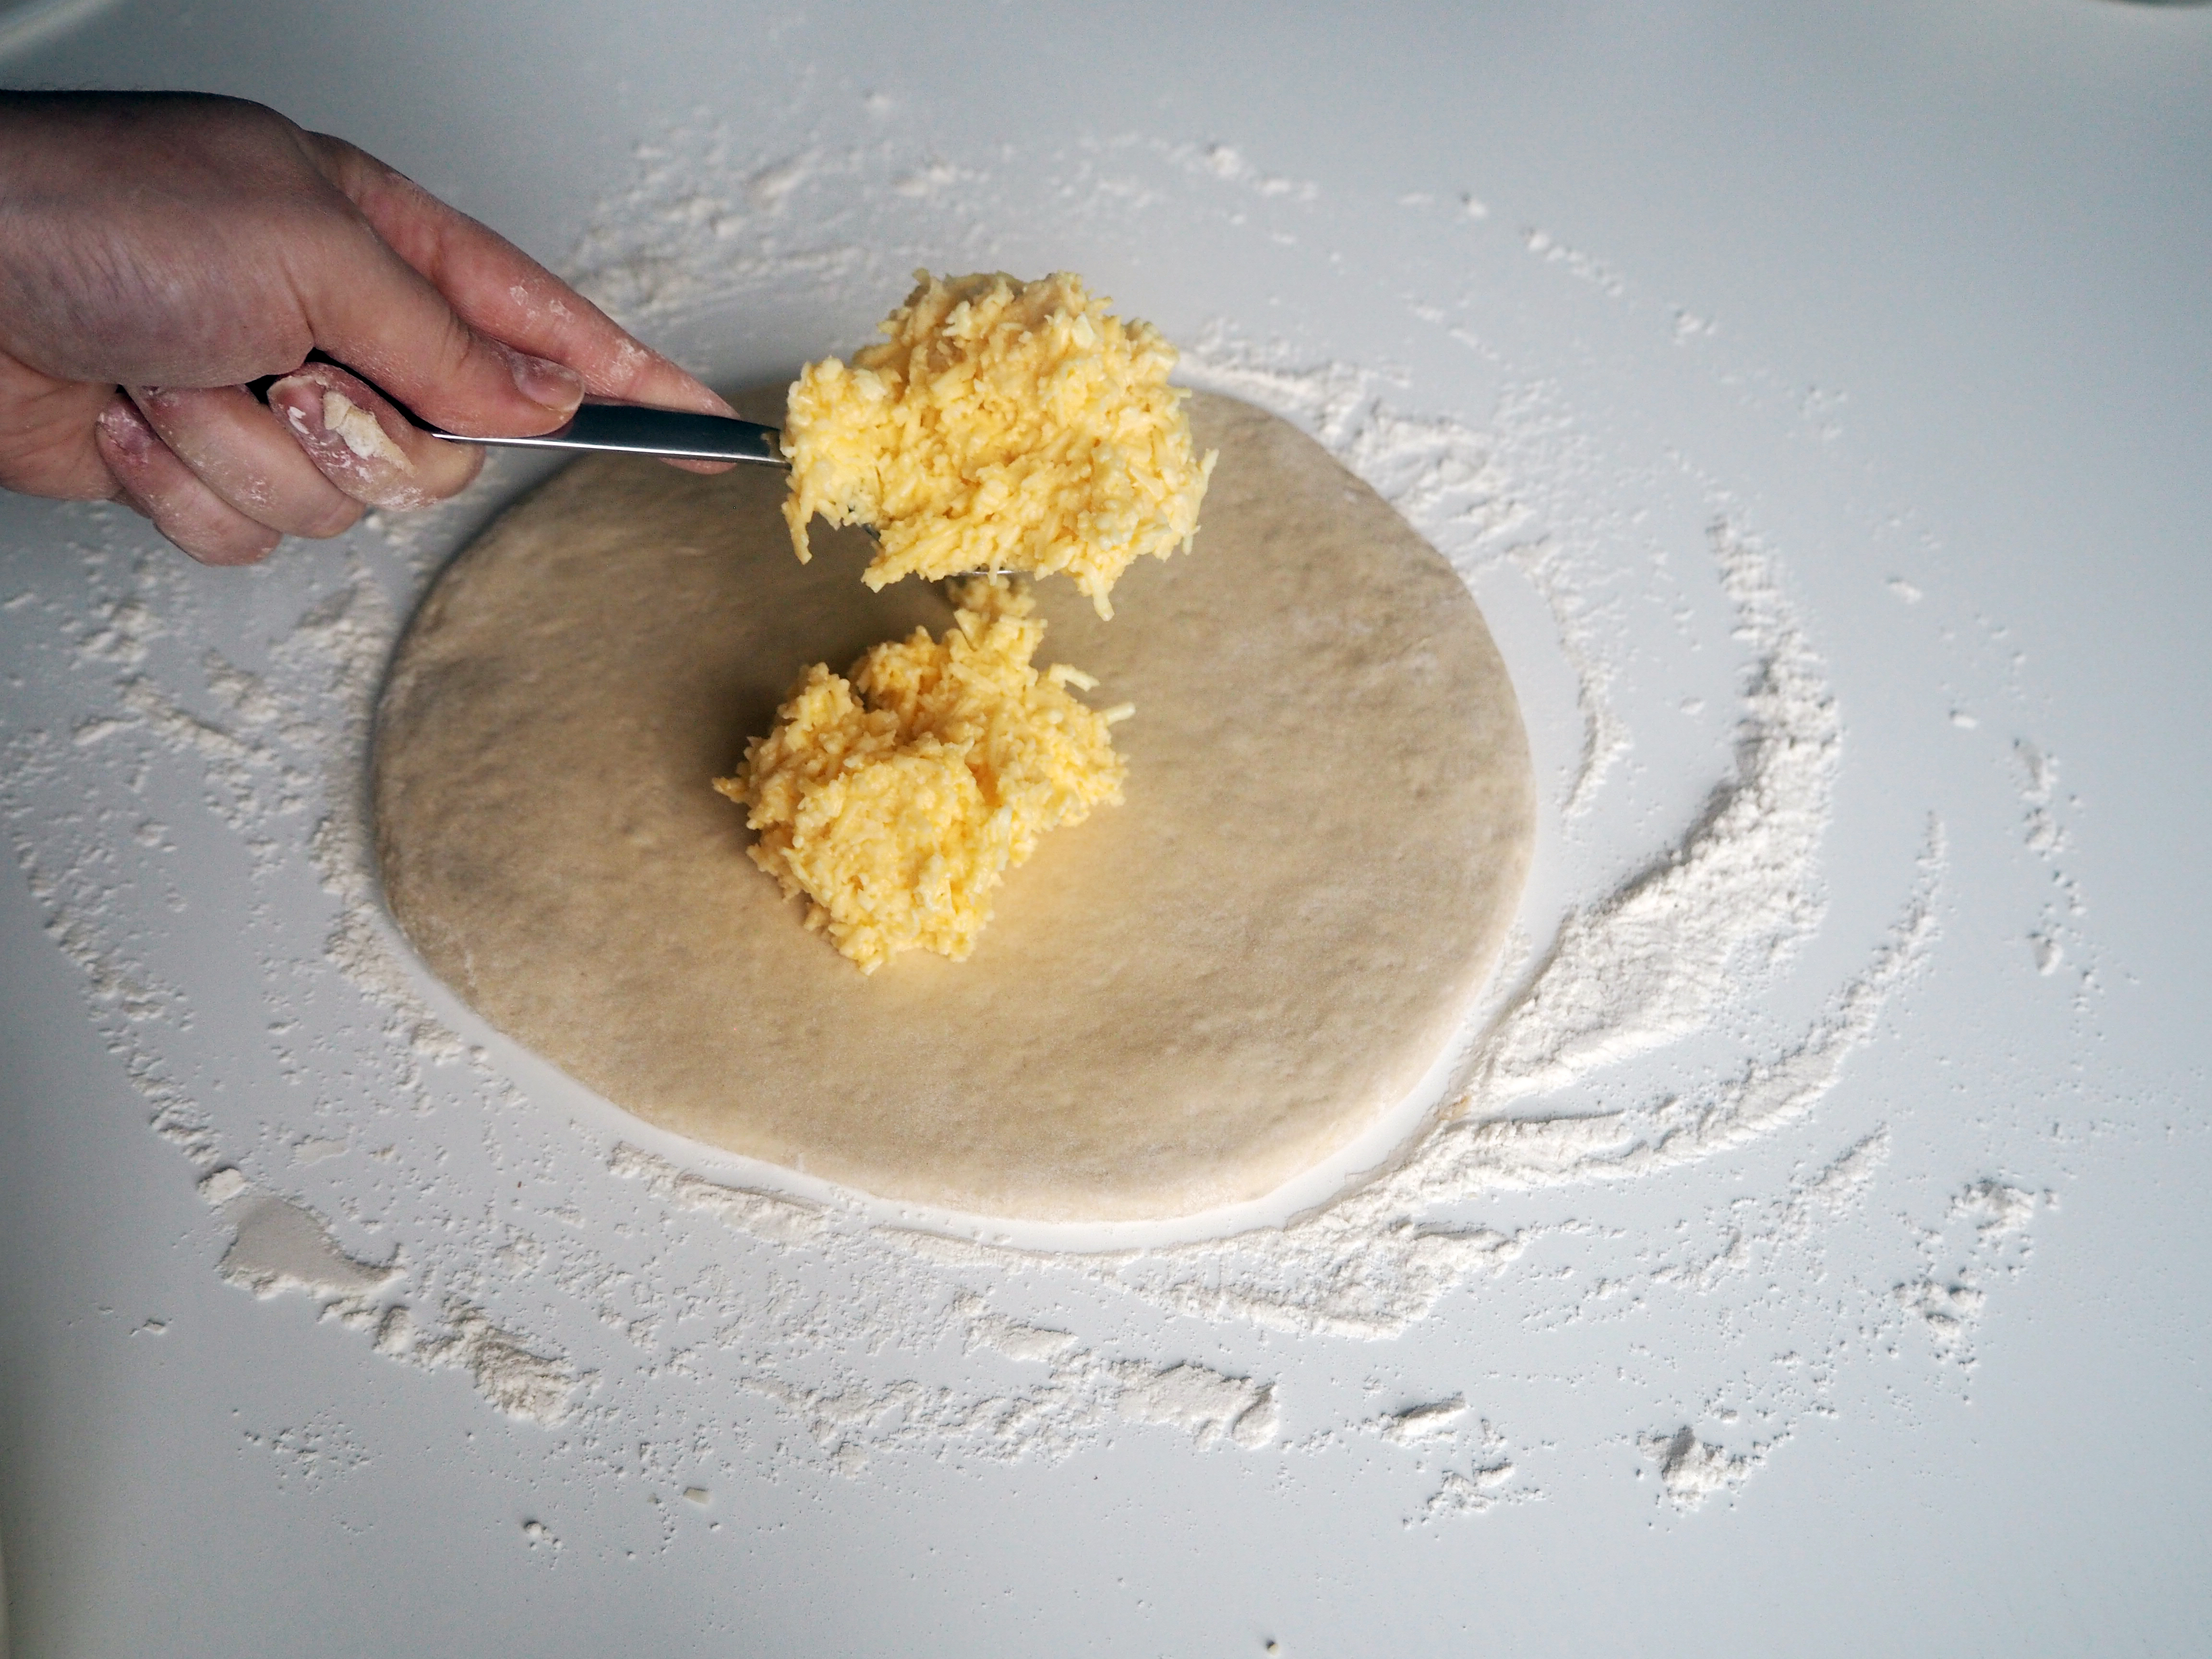
9. Put half of the filling in the centre of each dough, leaving about 5 cm from the edge without the filling.
10. Close the dough by bringing the 5 cm empty sides up and sealing it well.
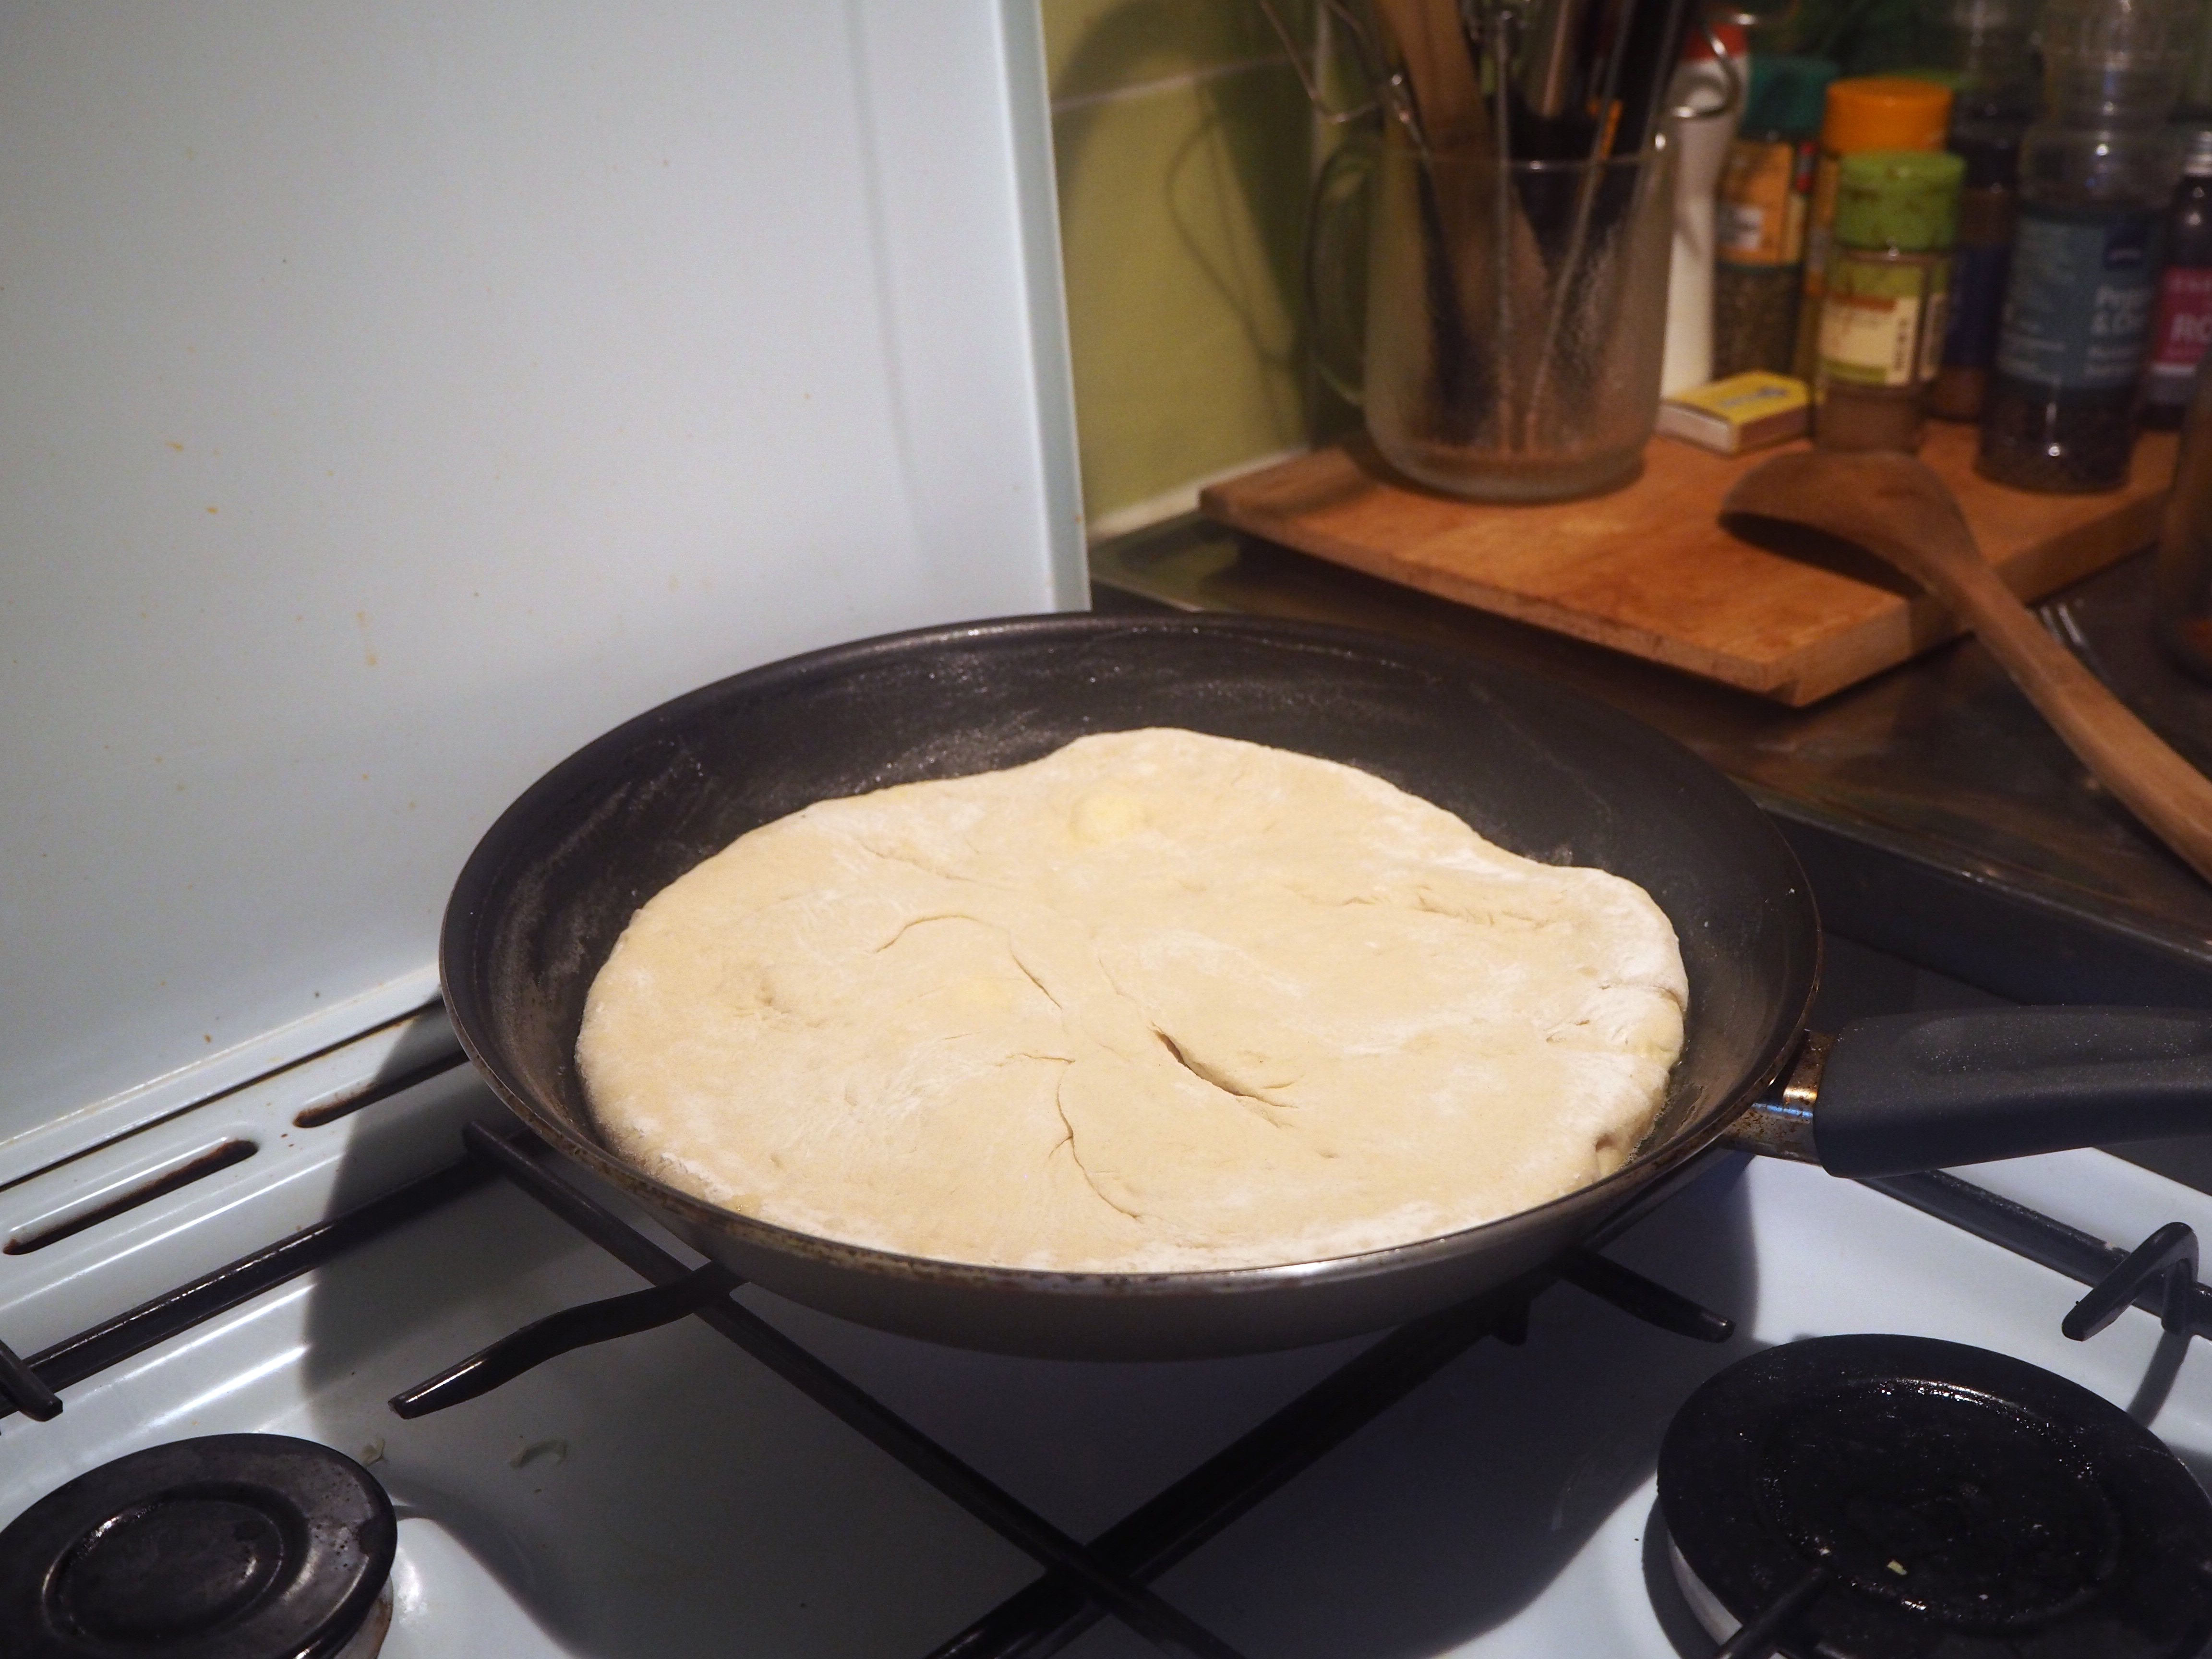
11. Turn the dough upside down and gently roll again, up to a diameter of 25 cm. If you have air trapped in dough, it’s ok. I had some air bubbles in the dough but I didn’t do anything about them.
12. Prepare your pan by spreading about 1 tbsp of butter on it, on medium heat.
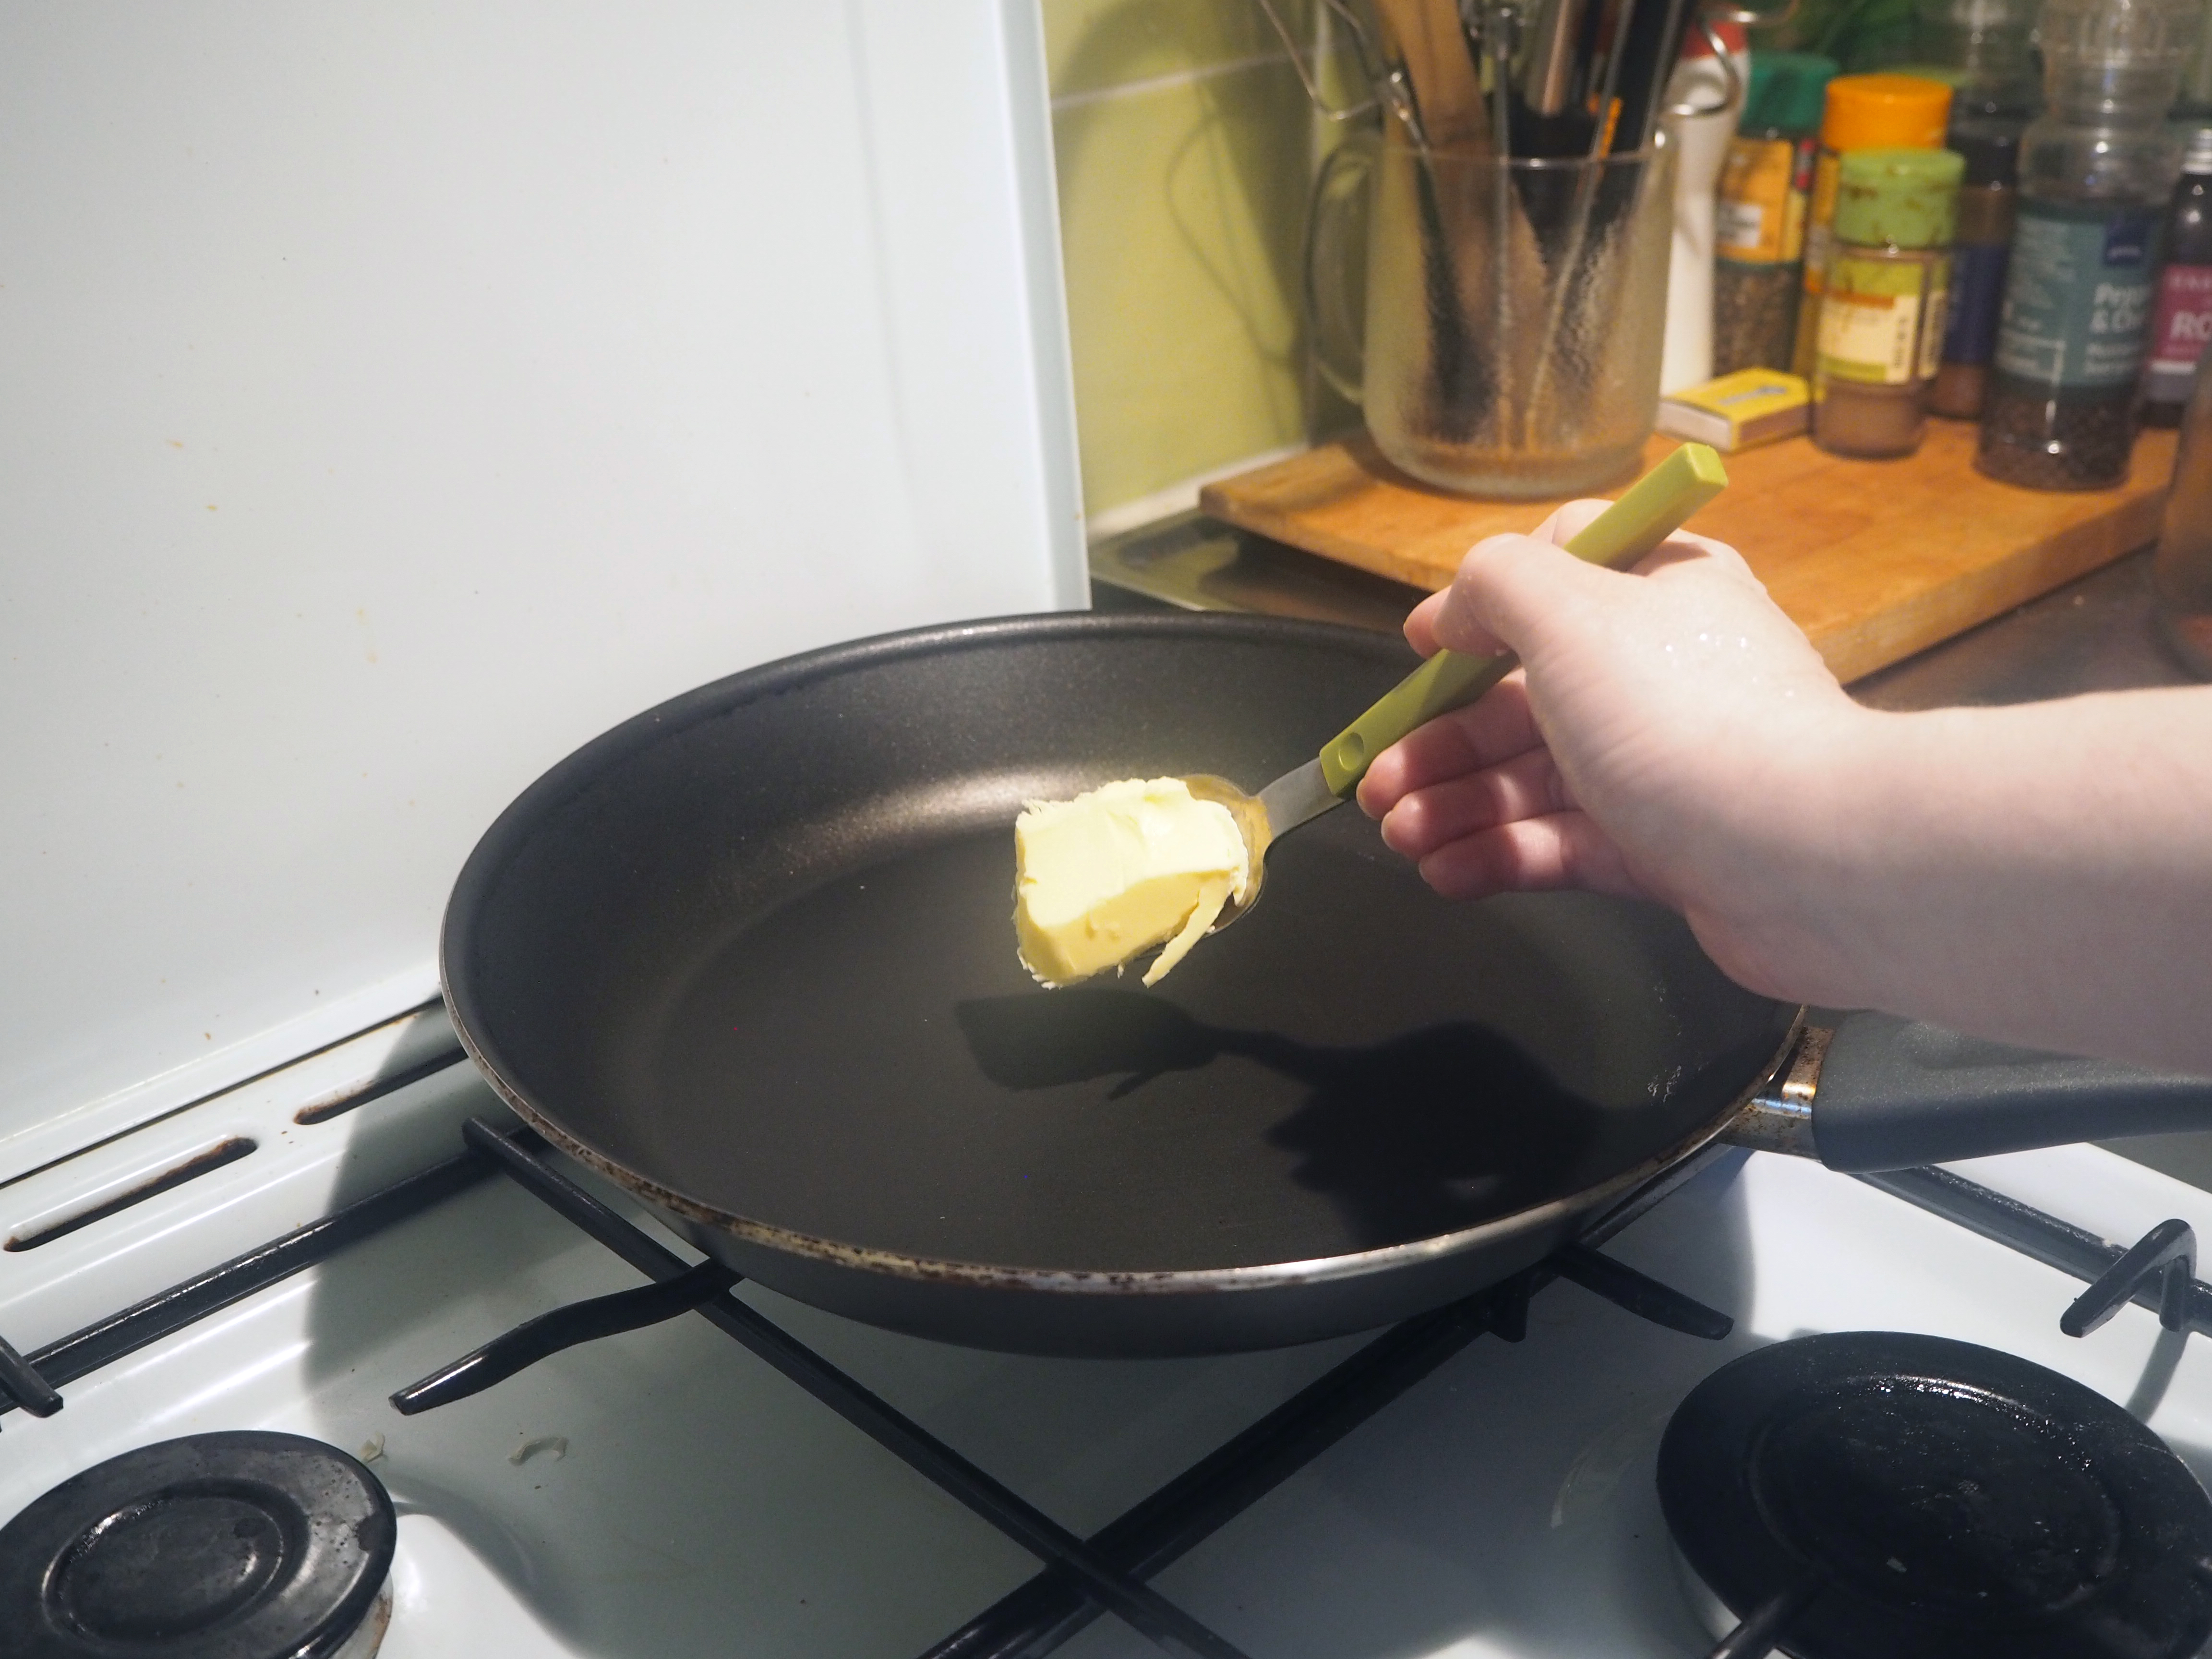
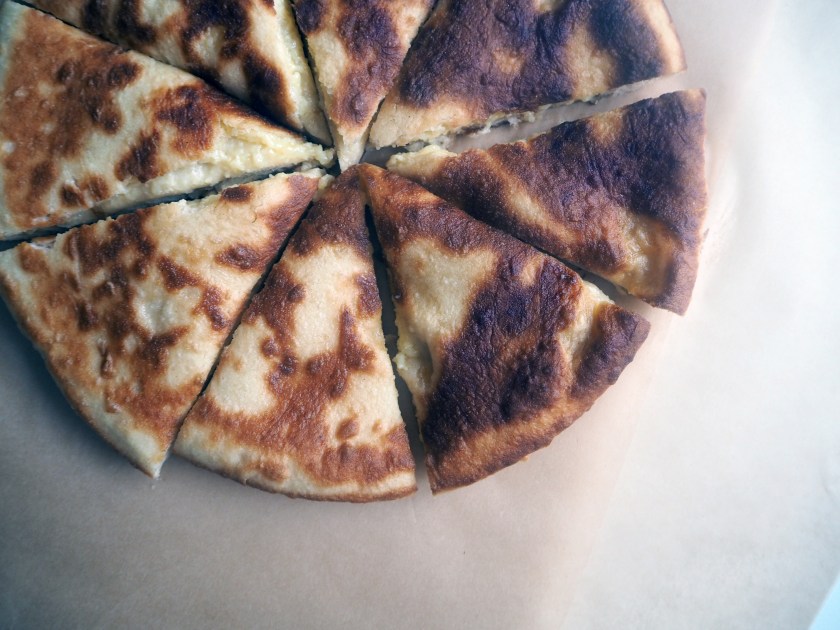
13. When your pan is covered with butter and it is warm, put the dough with the sealed side looking up. After about 5-7 minutes, turn it to the other side and continue cooking. Do this again and again until the whole bread is cooked and you get nice golden brown sides (be careful, don’t burn it).
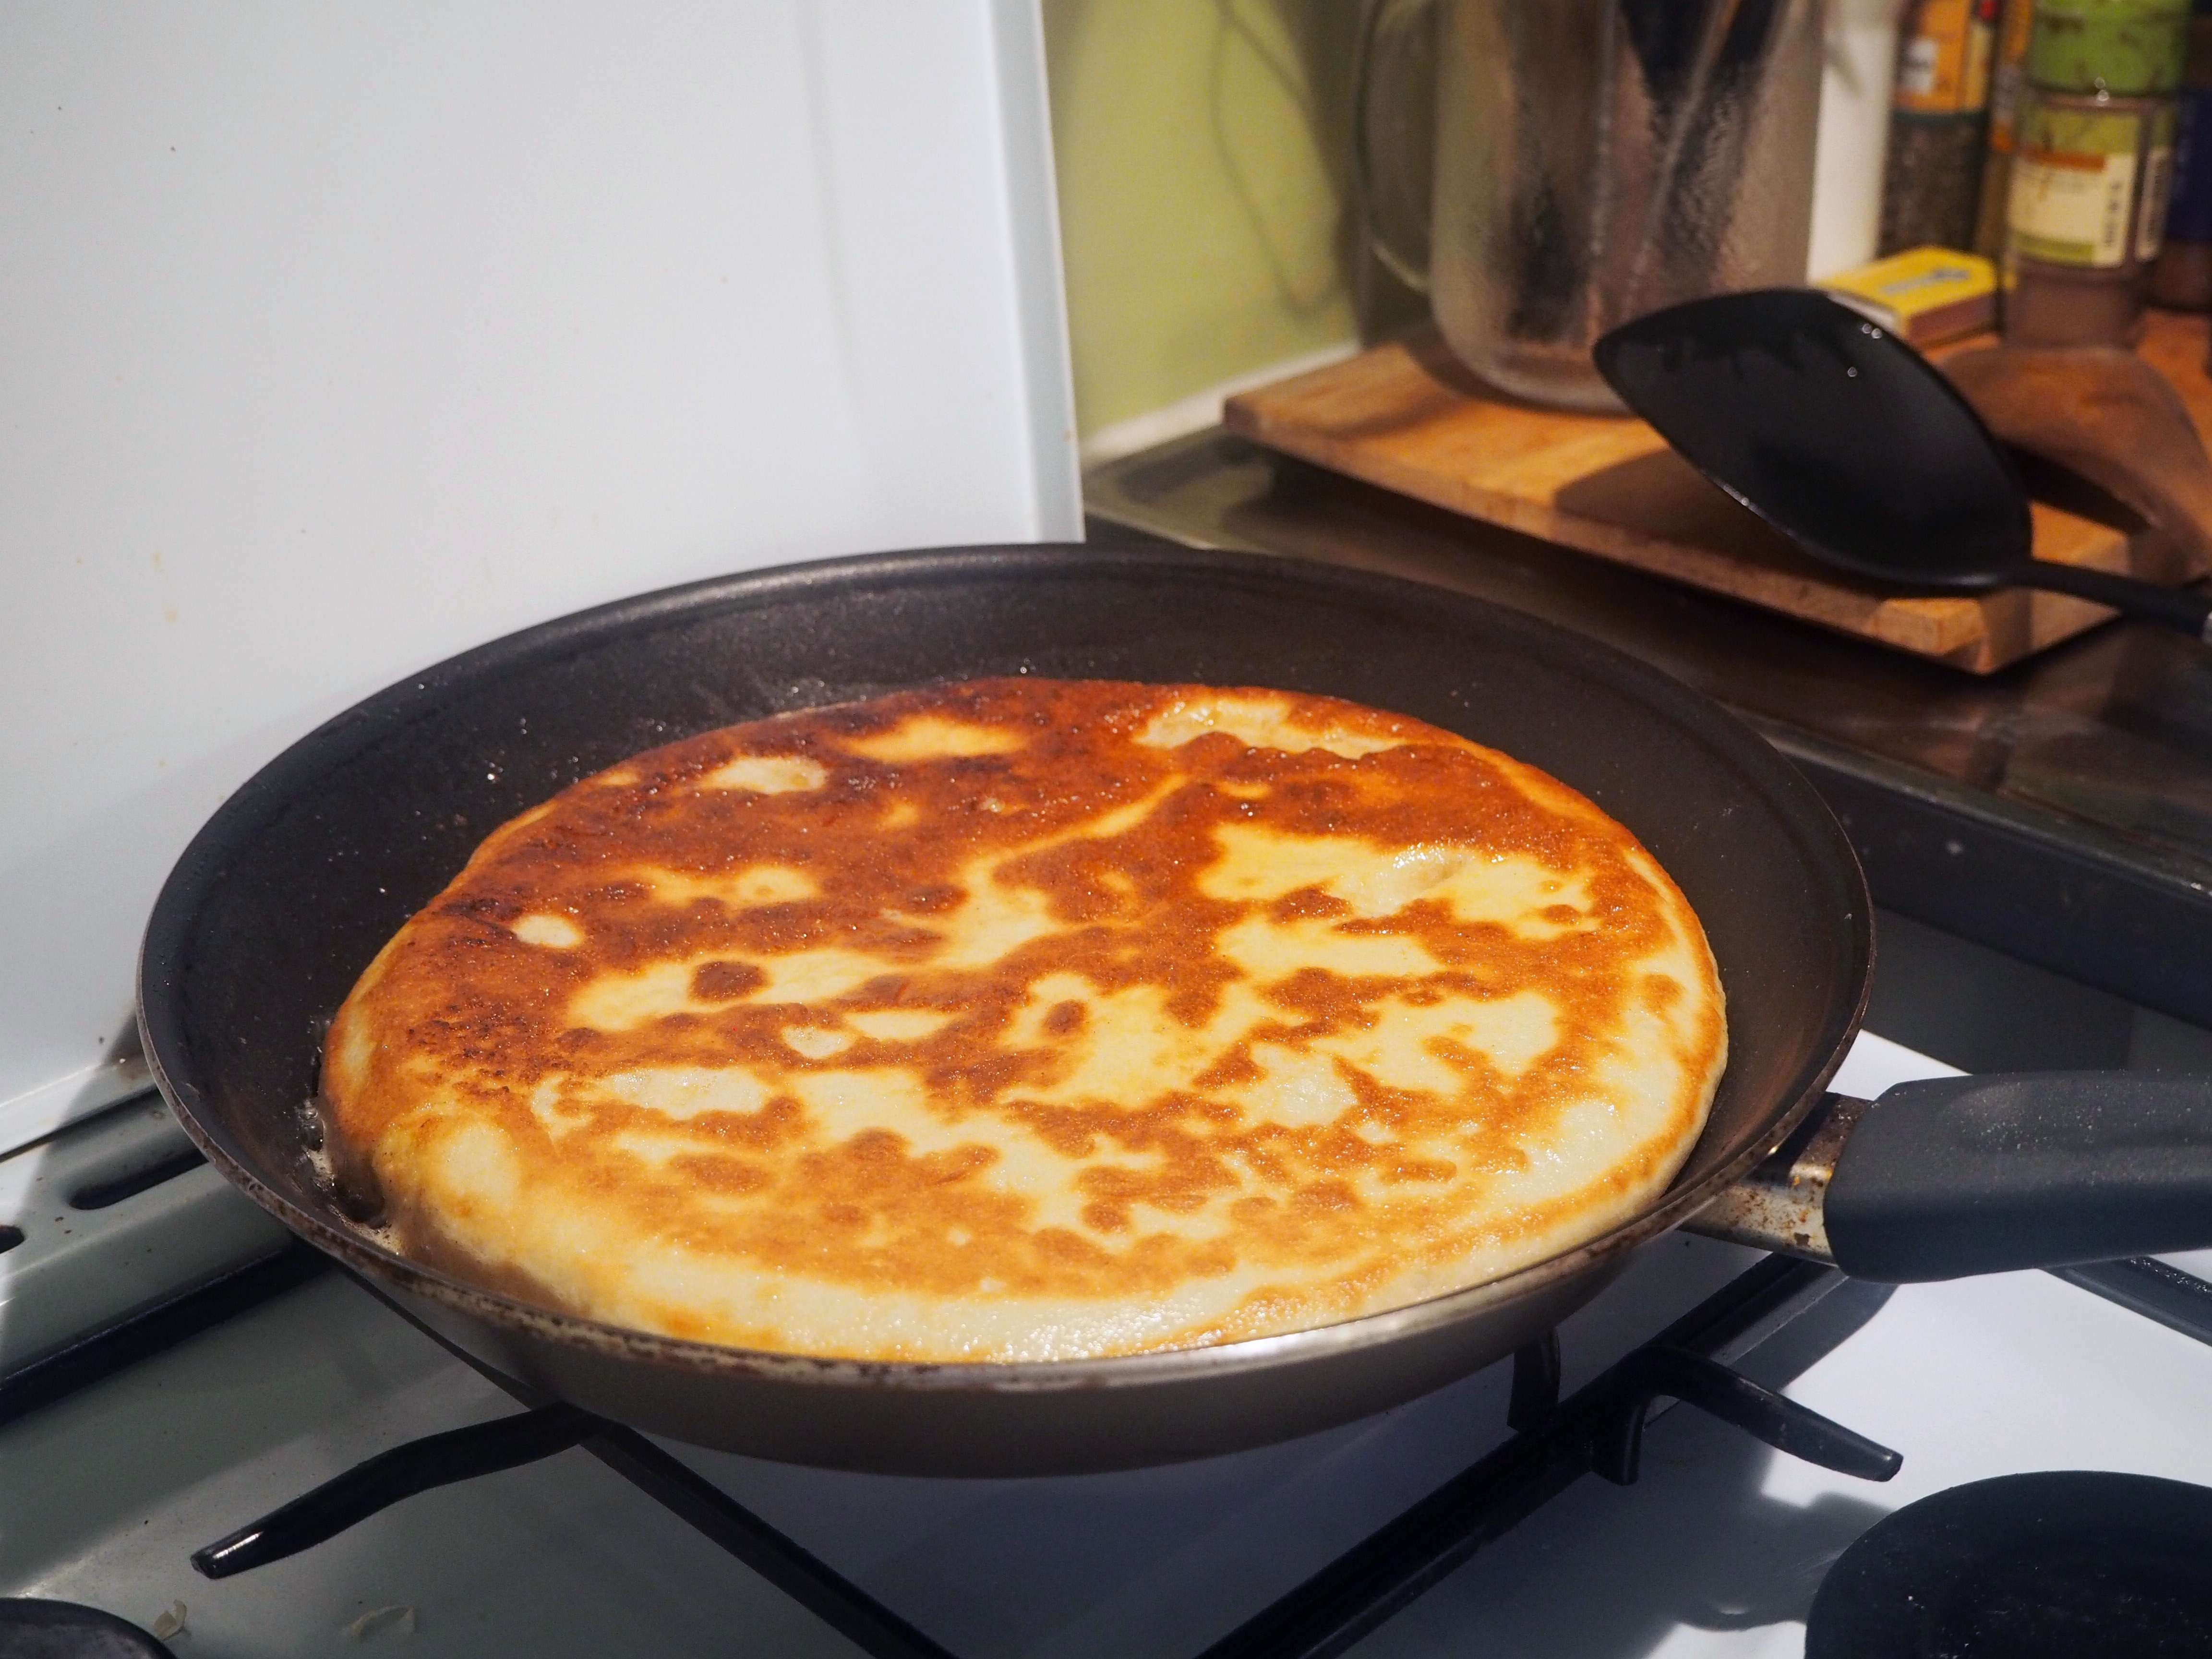
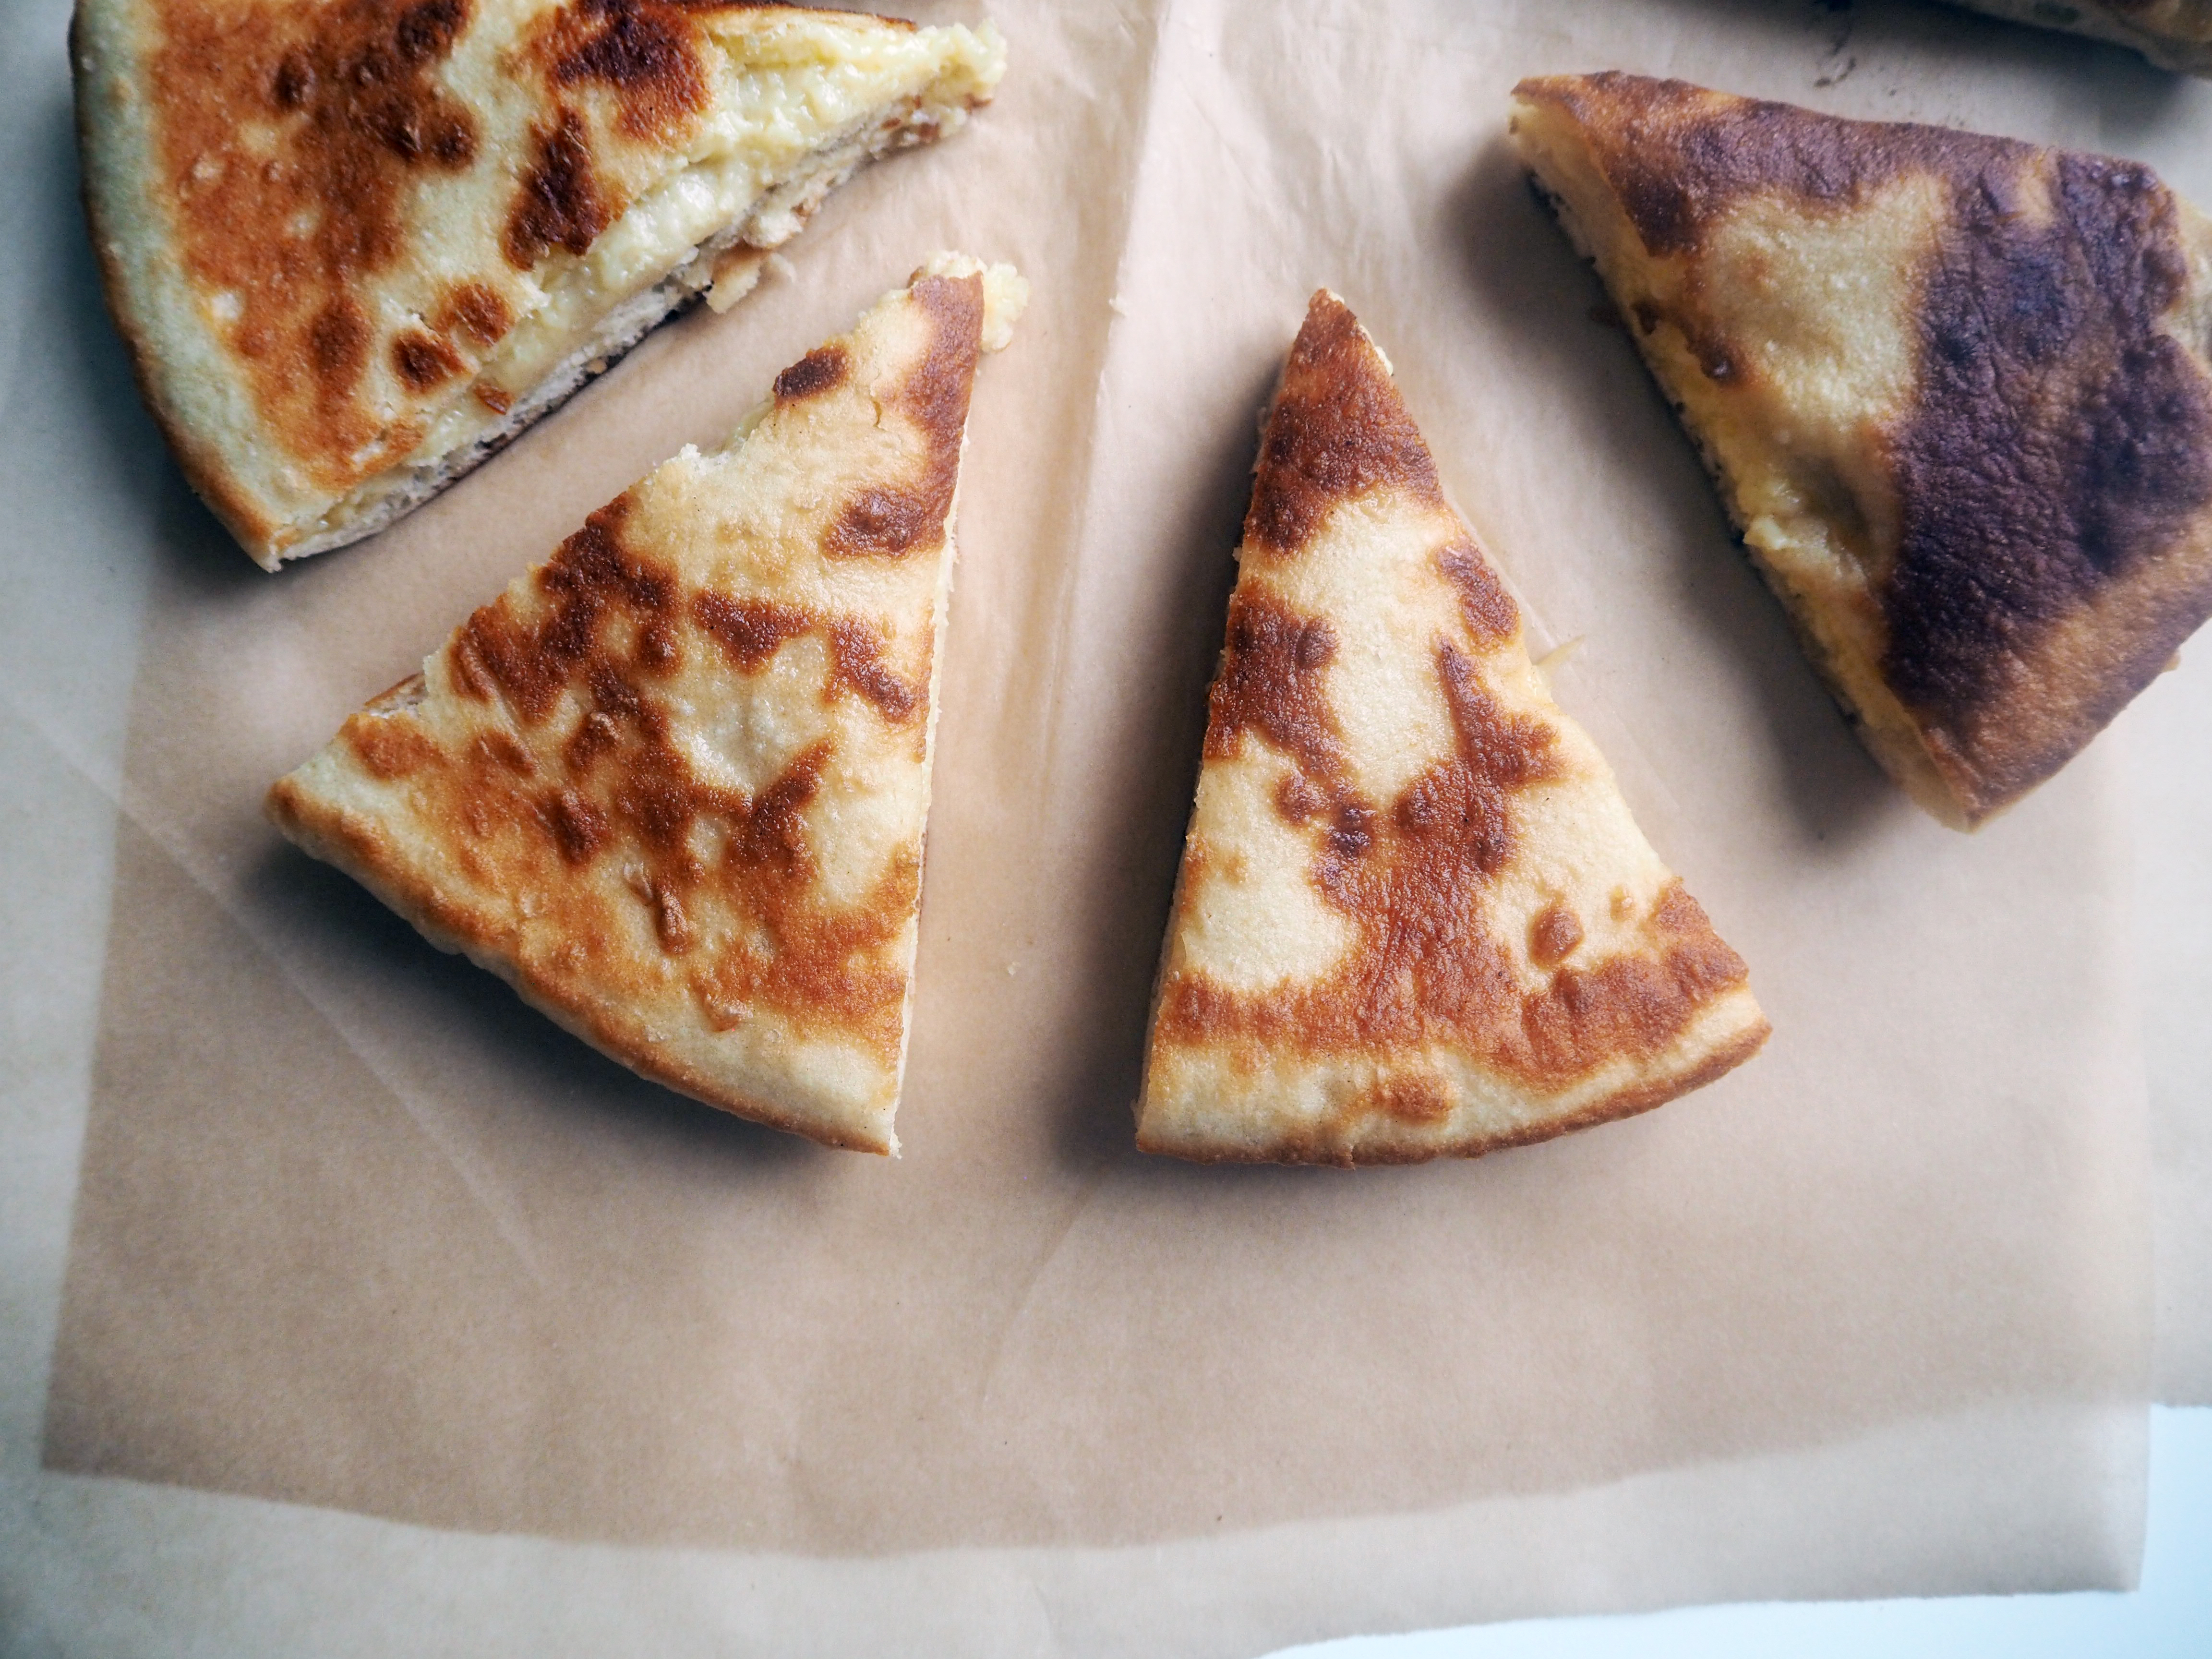
14. Let the bread cool for about 10-15 minutes. Then divide into 8 pieces (or more if you like) and eat warm (but the remaining slices taste great next day too!). Enjoy!