
A couple of weeks ago, I had a catering order and we were trying to make the perfect menu with my client Tiina to fit all the dietary requirements, as much as possible. Perhaps you don’t know it, but I do catering for events in Helsinki and I also make my own eating events. Anyway, we had an “almost perfect” menu but there was just one gluten free baked good missing. So I worked on this recipe after watching a video of Farinata in Food Wishes blog and I served variations of this bread – after the event, Tiina said that it was one of the big hits in the menu!

So, it is actually very close to that Farinata recipe, but I made slight changes in the measurements and I made a variety of toppings. So my version is no longer a farinata, even though it is highly inspired by that.
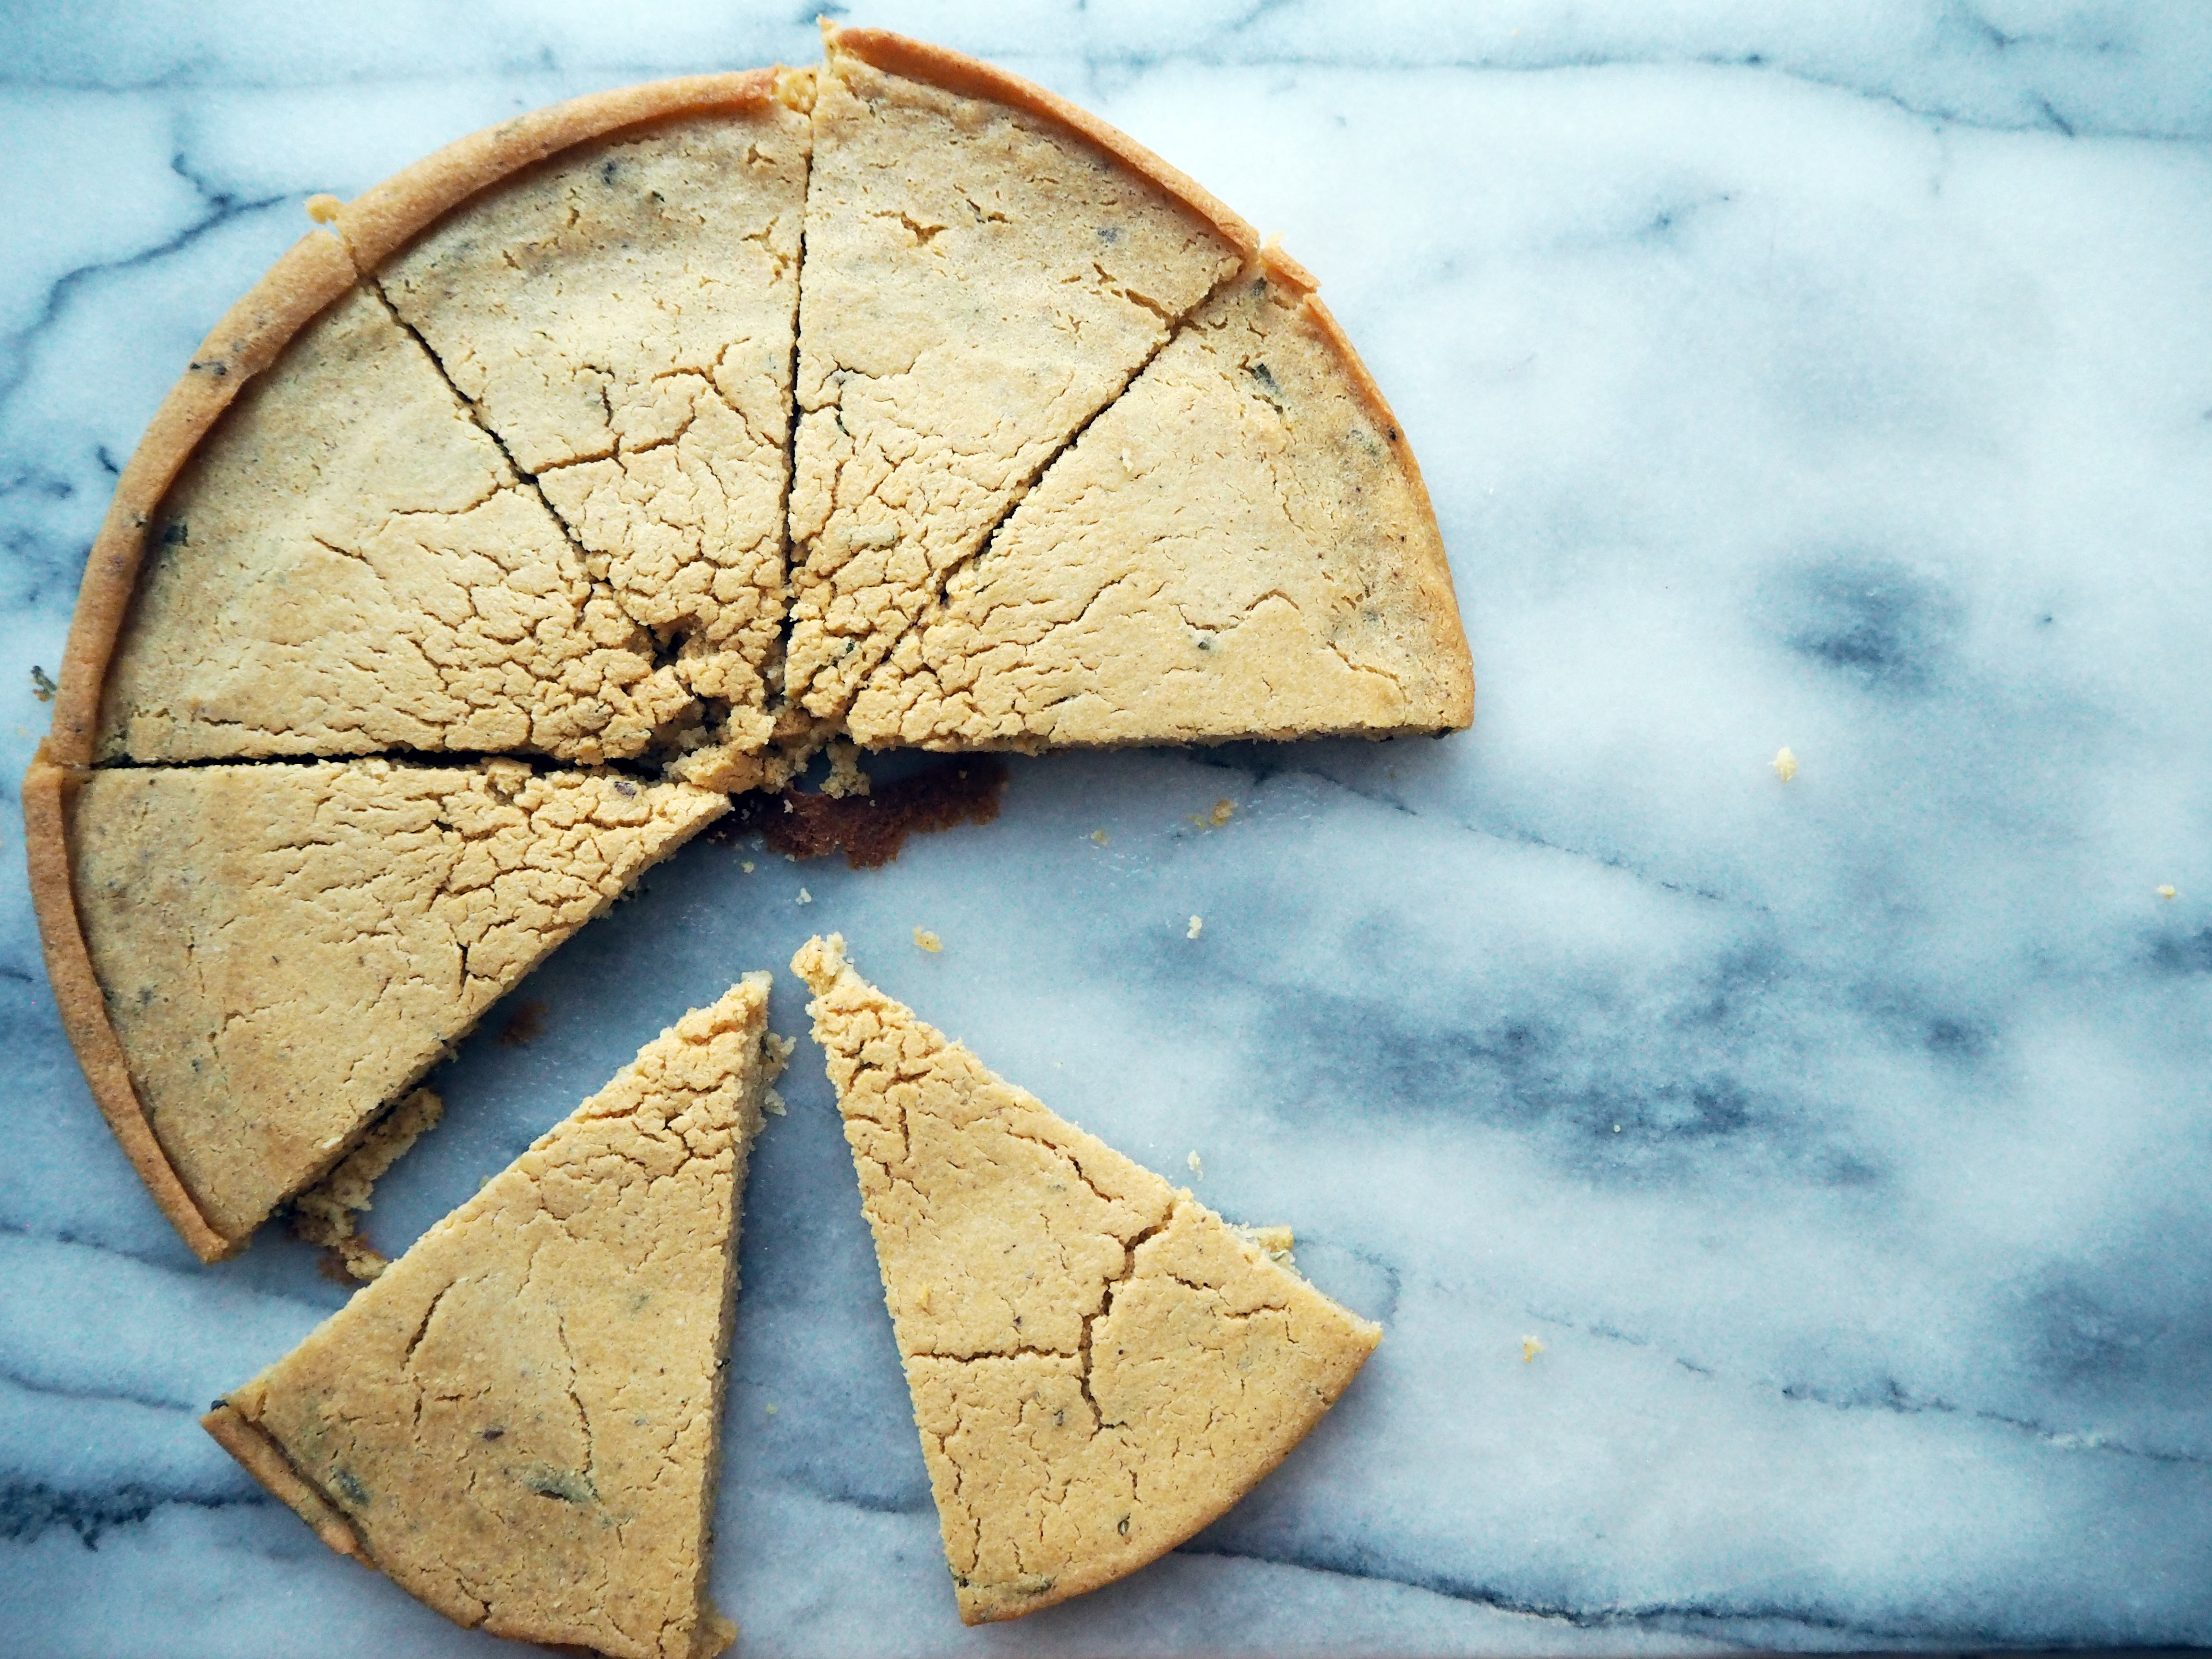
In this blog post, I am going to talk about a few versions of this bread. Using the same measurements, you can make a thicker version or a very thin, slightly crispier and pancake-ish version. It is very simple: using the same size of mould, if you use all the batter in one go, you make a thick bread, if you divide in two batches, then you make two thin, crispy pancakes (if it is more pancake-ish, it will be like below):


The first time I made the recipe, when I worked on it before the catering day, I finely chopped a couple of rosemary sprigs and added into the batter together with a tsp of za’atar before I pour it in the mould. But when I made it for catering I spread rosemary on top after I poured the batter and it kind of looked nicer. From that point on, I decided to always make “toppings” instead of adding something into the batter. But this is my decision of course, and you can always add those herbs or spices into the batter if you want. Below is the one with fresh sage leaves topping:

Another important part of this bread, no matter what kind you make, is to heat your mould in the oven well before you pour your batter. I put the mould in the oven while I am preheating the oven, and I keep it inside for a few minutes after the oven temperature reaches the desired temperature (which is a quite high temperature!!). Then, when you pour the batter in the hot mould first, the batter gets an instant crispiness around the edges which makes a nice texture.

In the original blog post that I got the inspiration from, Chef John does this heating thing in a different way. First of all, he uses a cast iron frying pan. He pours olive oil on the pan and heats it well on the stove. In the meantime, he heats the oven. When the olive oil in the pan is hot enough (but not “frying”, it’s kind of right before frying, let’s say), he pours the batter on the pan, then without shaking the batter too much, he moves the pan inside the oven. Now, I do not have a cast iron frying pan, and even I did (I checked to buy one for this occasion), my oven is too small to fit a good sized frying pan. So instead I used regular oven moulds (be it ceramic, be it aluminium), and heated the mould together with olive oil inside the oven from scratch. It worked fine for me and I am happy with the results!
Ok enough with all this info, let’s get to business!
—
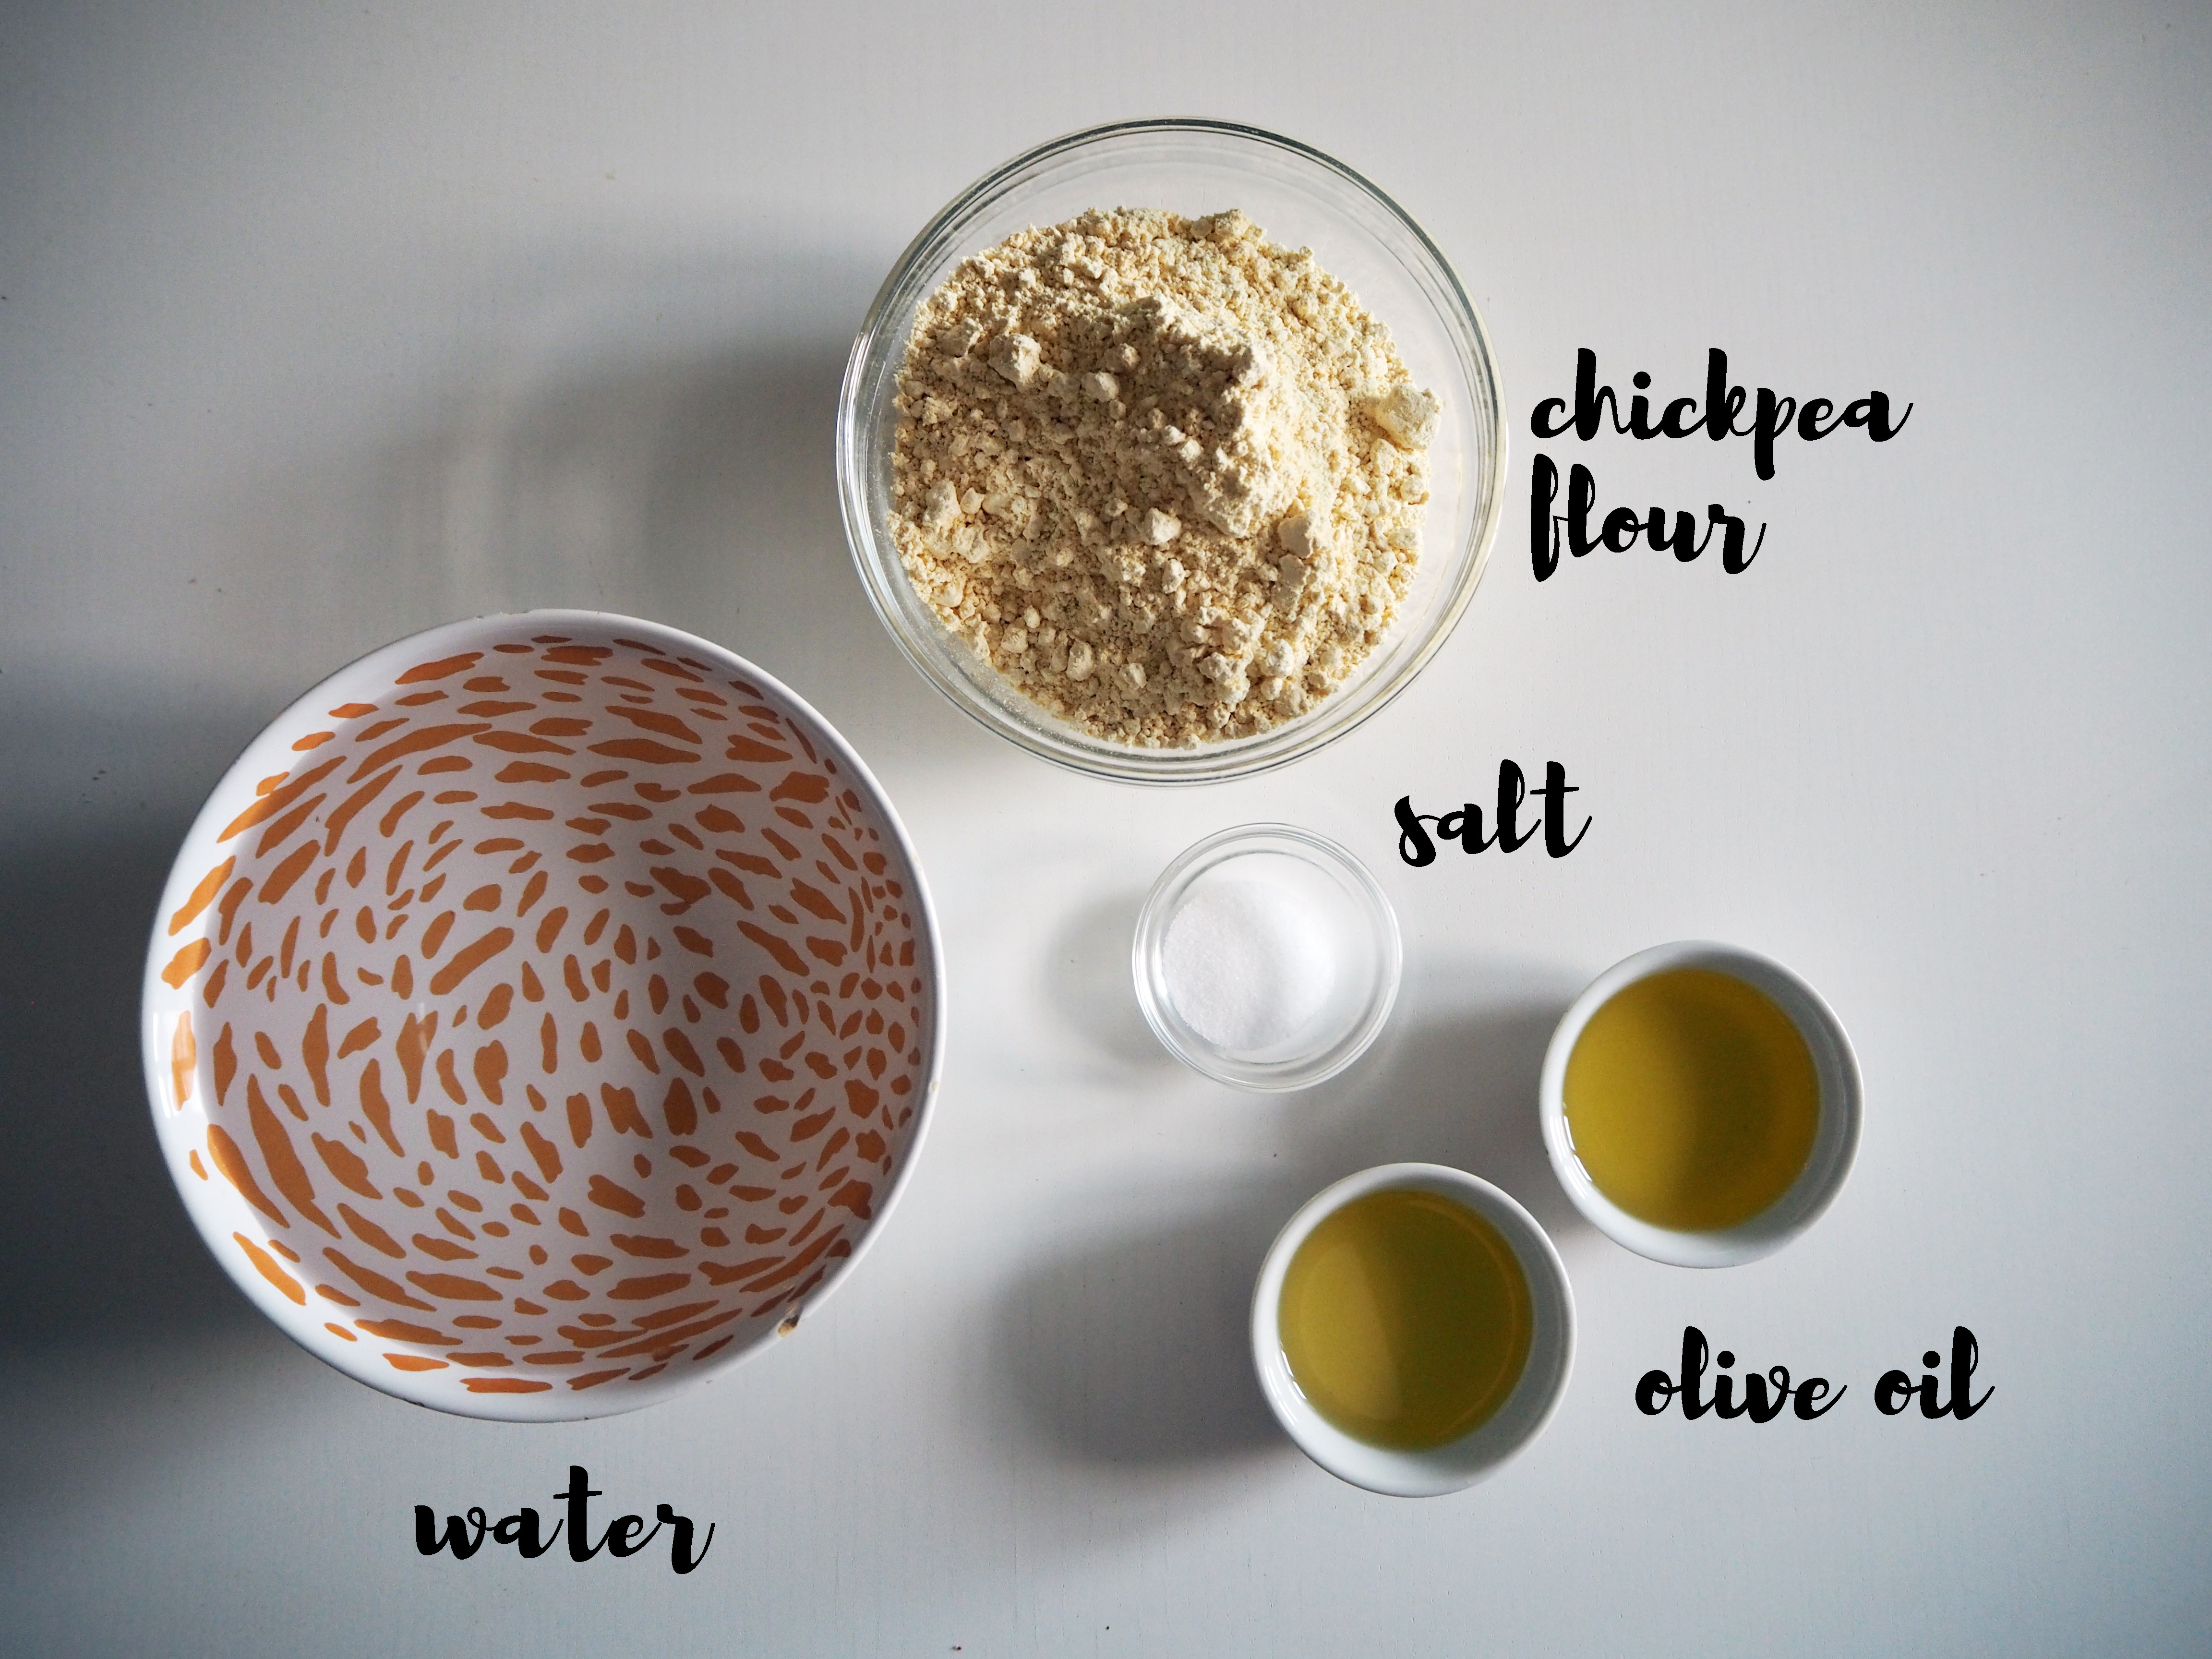
Ingredients:
Difficulty: ★☆☆ (Easy)
(with a mould that is 26 cm in diameter: can make 1 thicker bread (like most of the photos above) or 2 thin, crispier pancakes – this thin version is what I make in the instructions below)
Printable PDF-recipe (no photos)
For the basic batter:
1 1/2 cups / 3 dl + 4 tbsp chickpea flour (you can find this in ruohonjuuri to start with..)
2 1/2 cups / 6 dl lukewarm water
1 1/2 tsp salt (if you are using a salty spice mixture etc. to add to the batter, reduce this salt amount, maybe down to 1 tsp)
3 tbsp olive oil, to add into the batter
2 tbsp olive oil, to coat the mould
To spice things up and create varieties:
Option 1 (to mix in the batter – this is the one I made in the photos above)
2 rosemary sprigs, finely chopped
1 tsp za’atar (you can find this in ethnic markets)
Option 2 (to put on top of the batter)
A few sage leaves (for a sample photo, look up!)
or
A few sprigs of coarsely chopped rosemary
or
1 tsp dried herb mixture and 1 tsp sumac (this is the topping I use in the instruction photos below)
or
a handful of tarragon leaves, 1 tsp dried herb mixture that you like, a pinch of sumac and 1 tsp sesame seeds
or
whatever your imagination calls!!
—
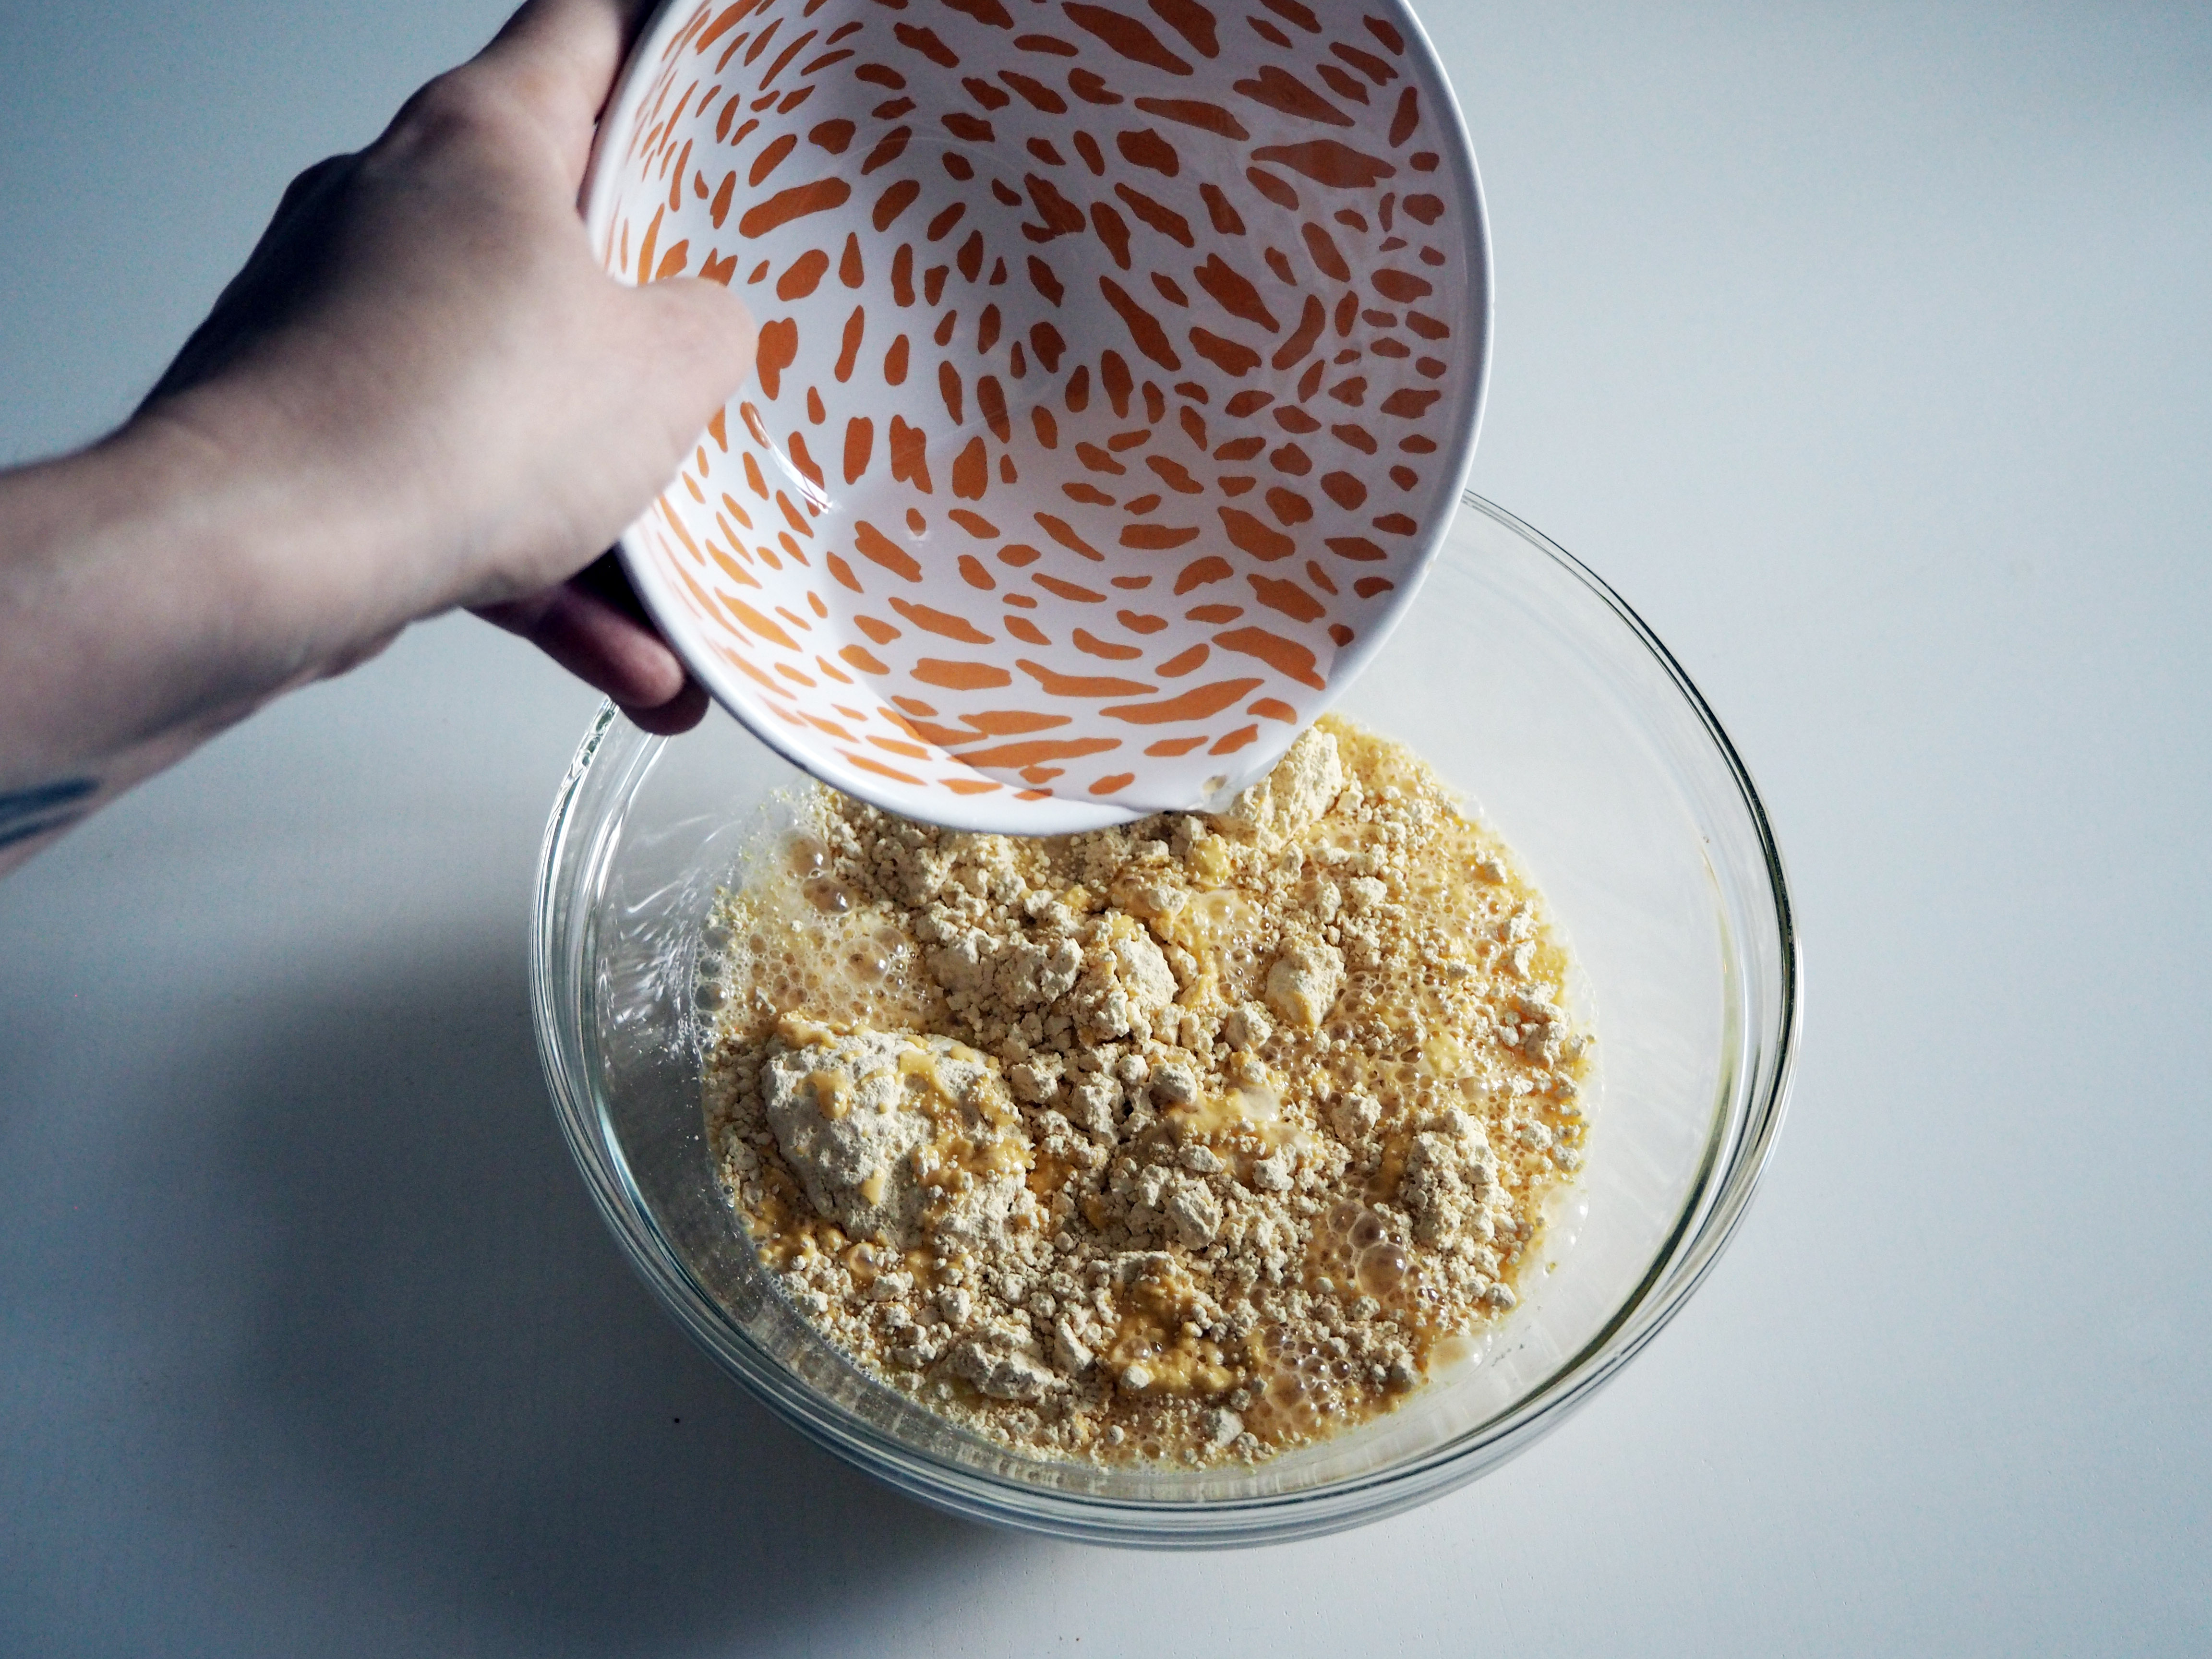
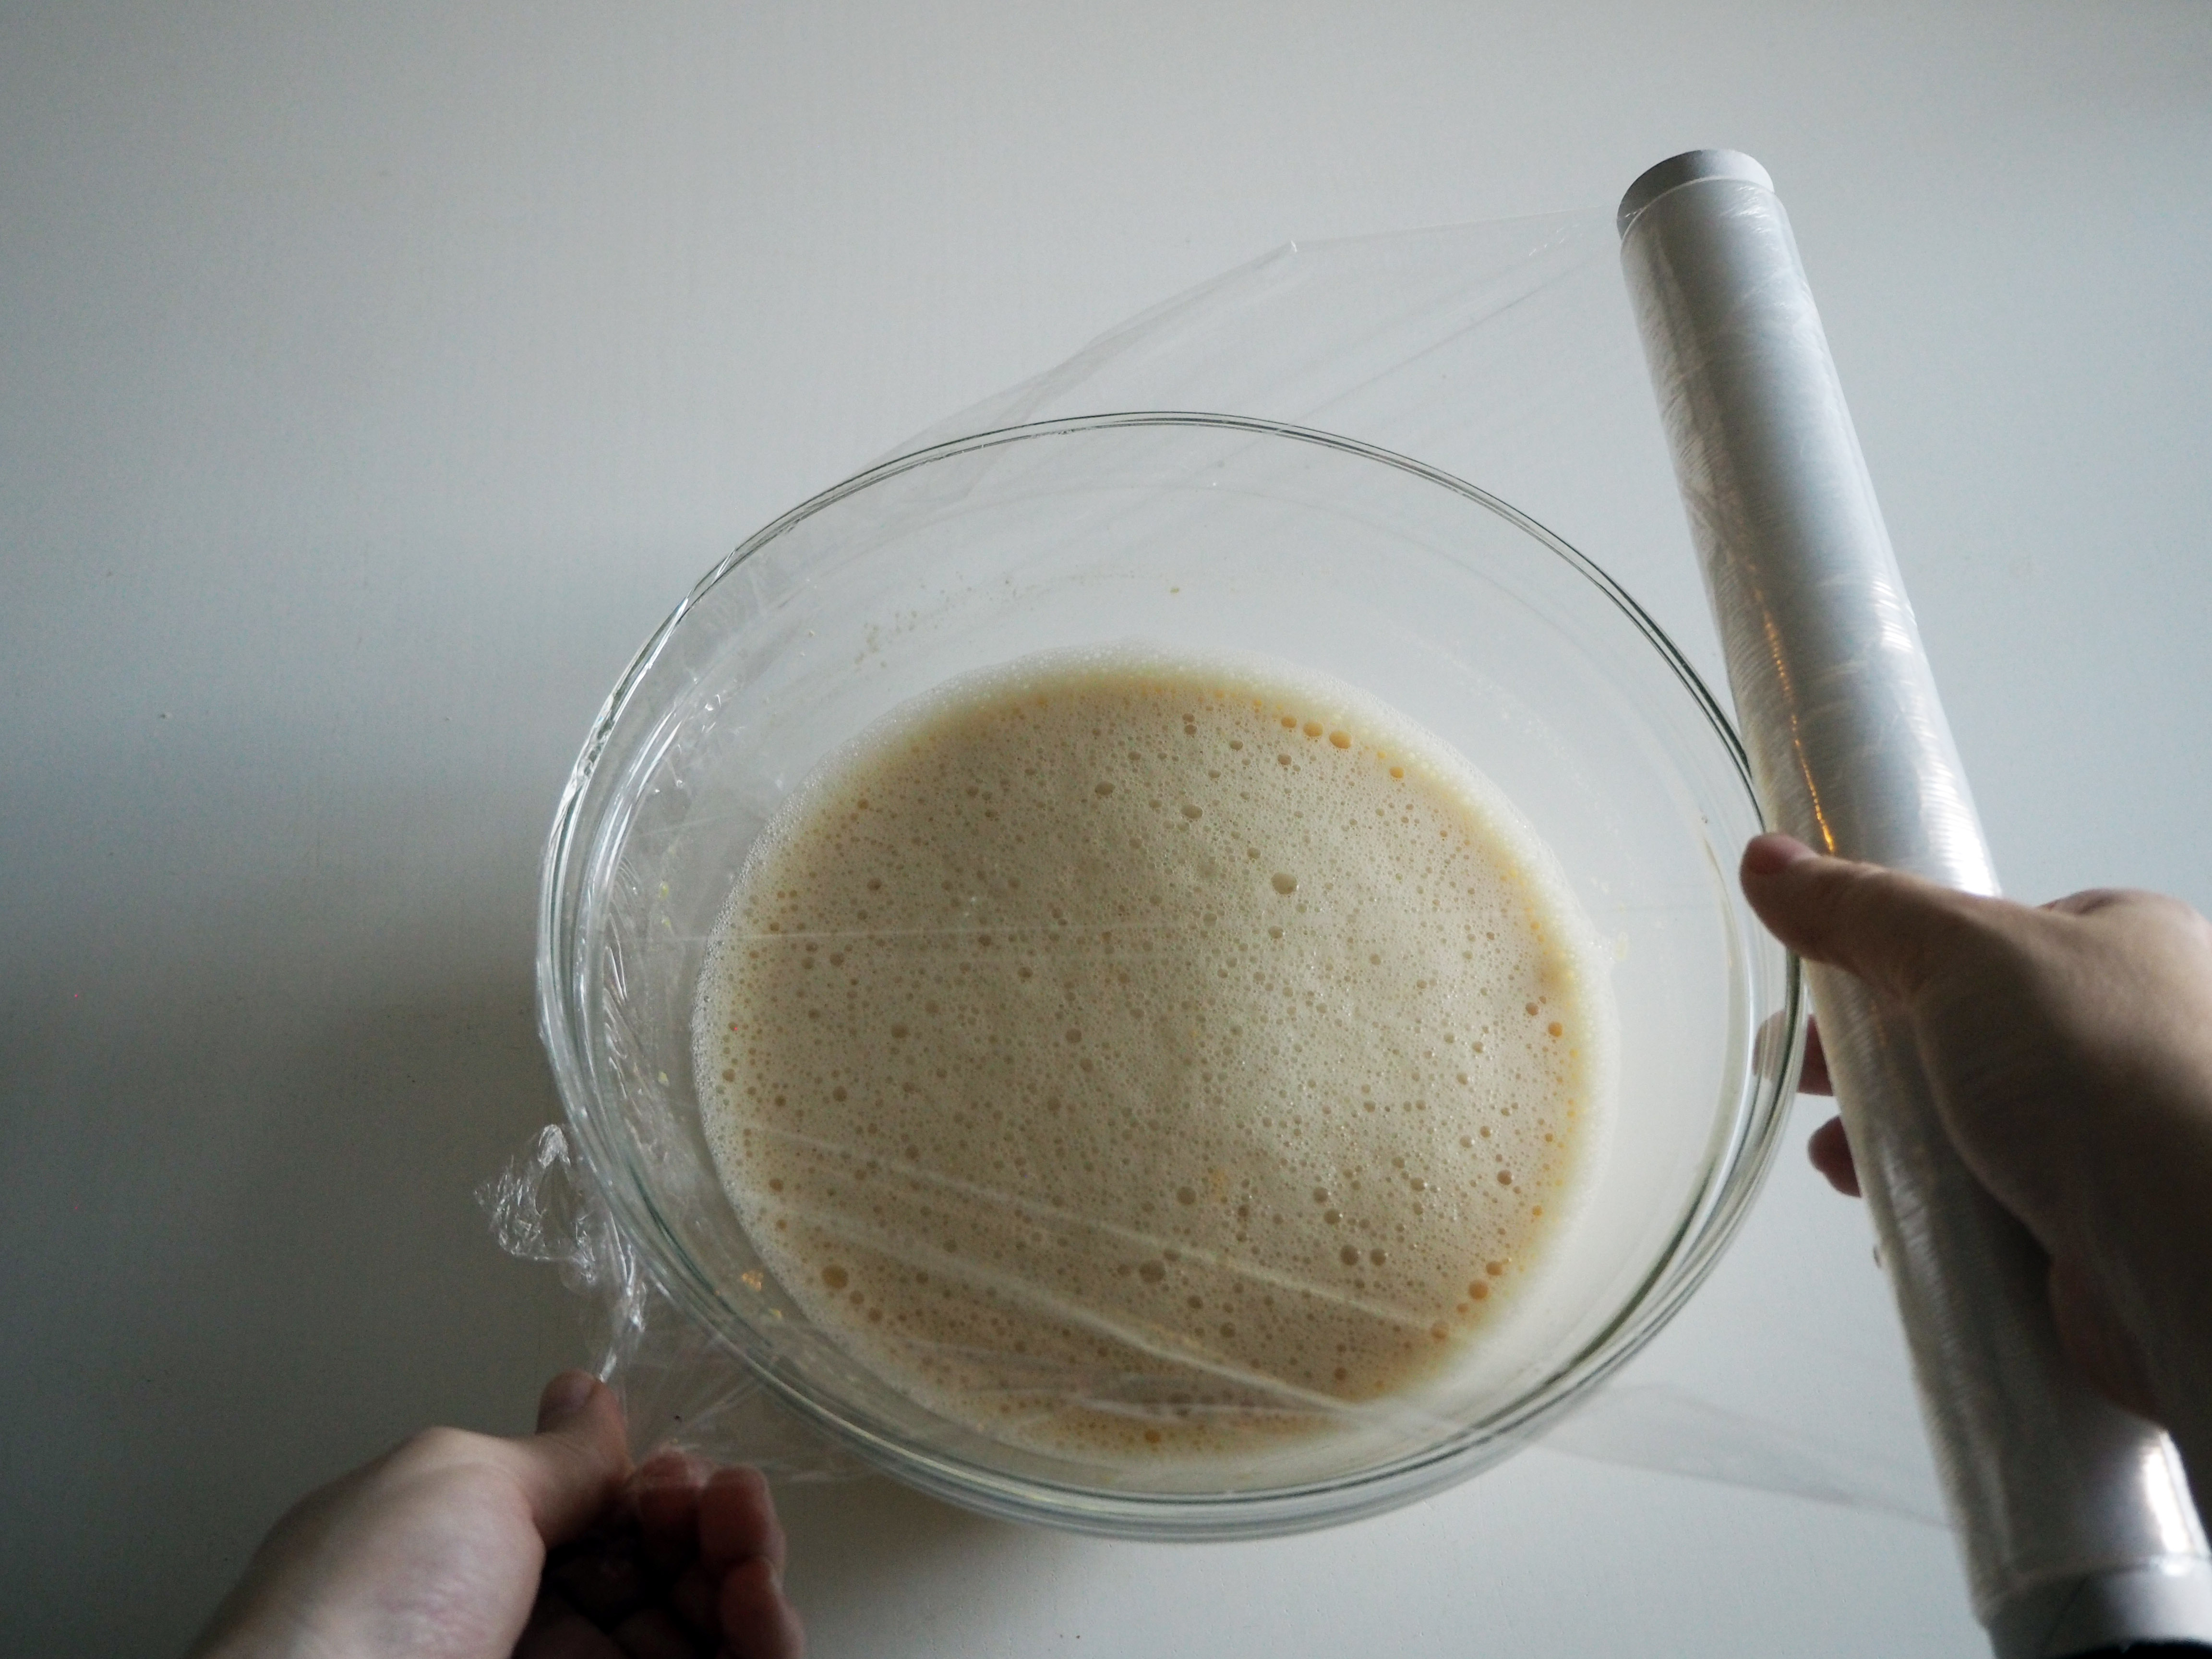
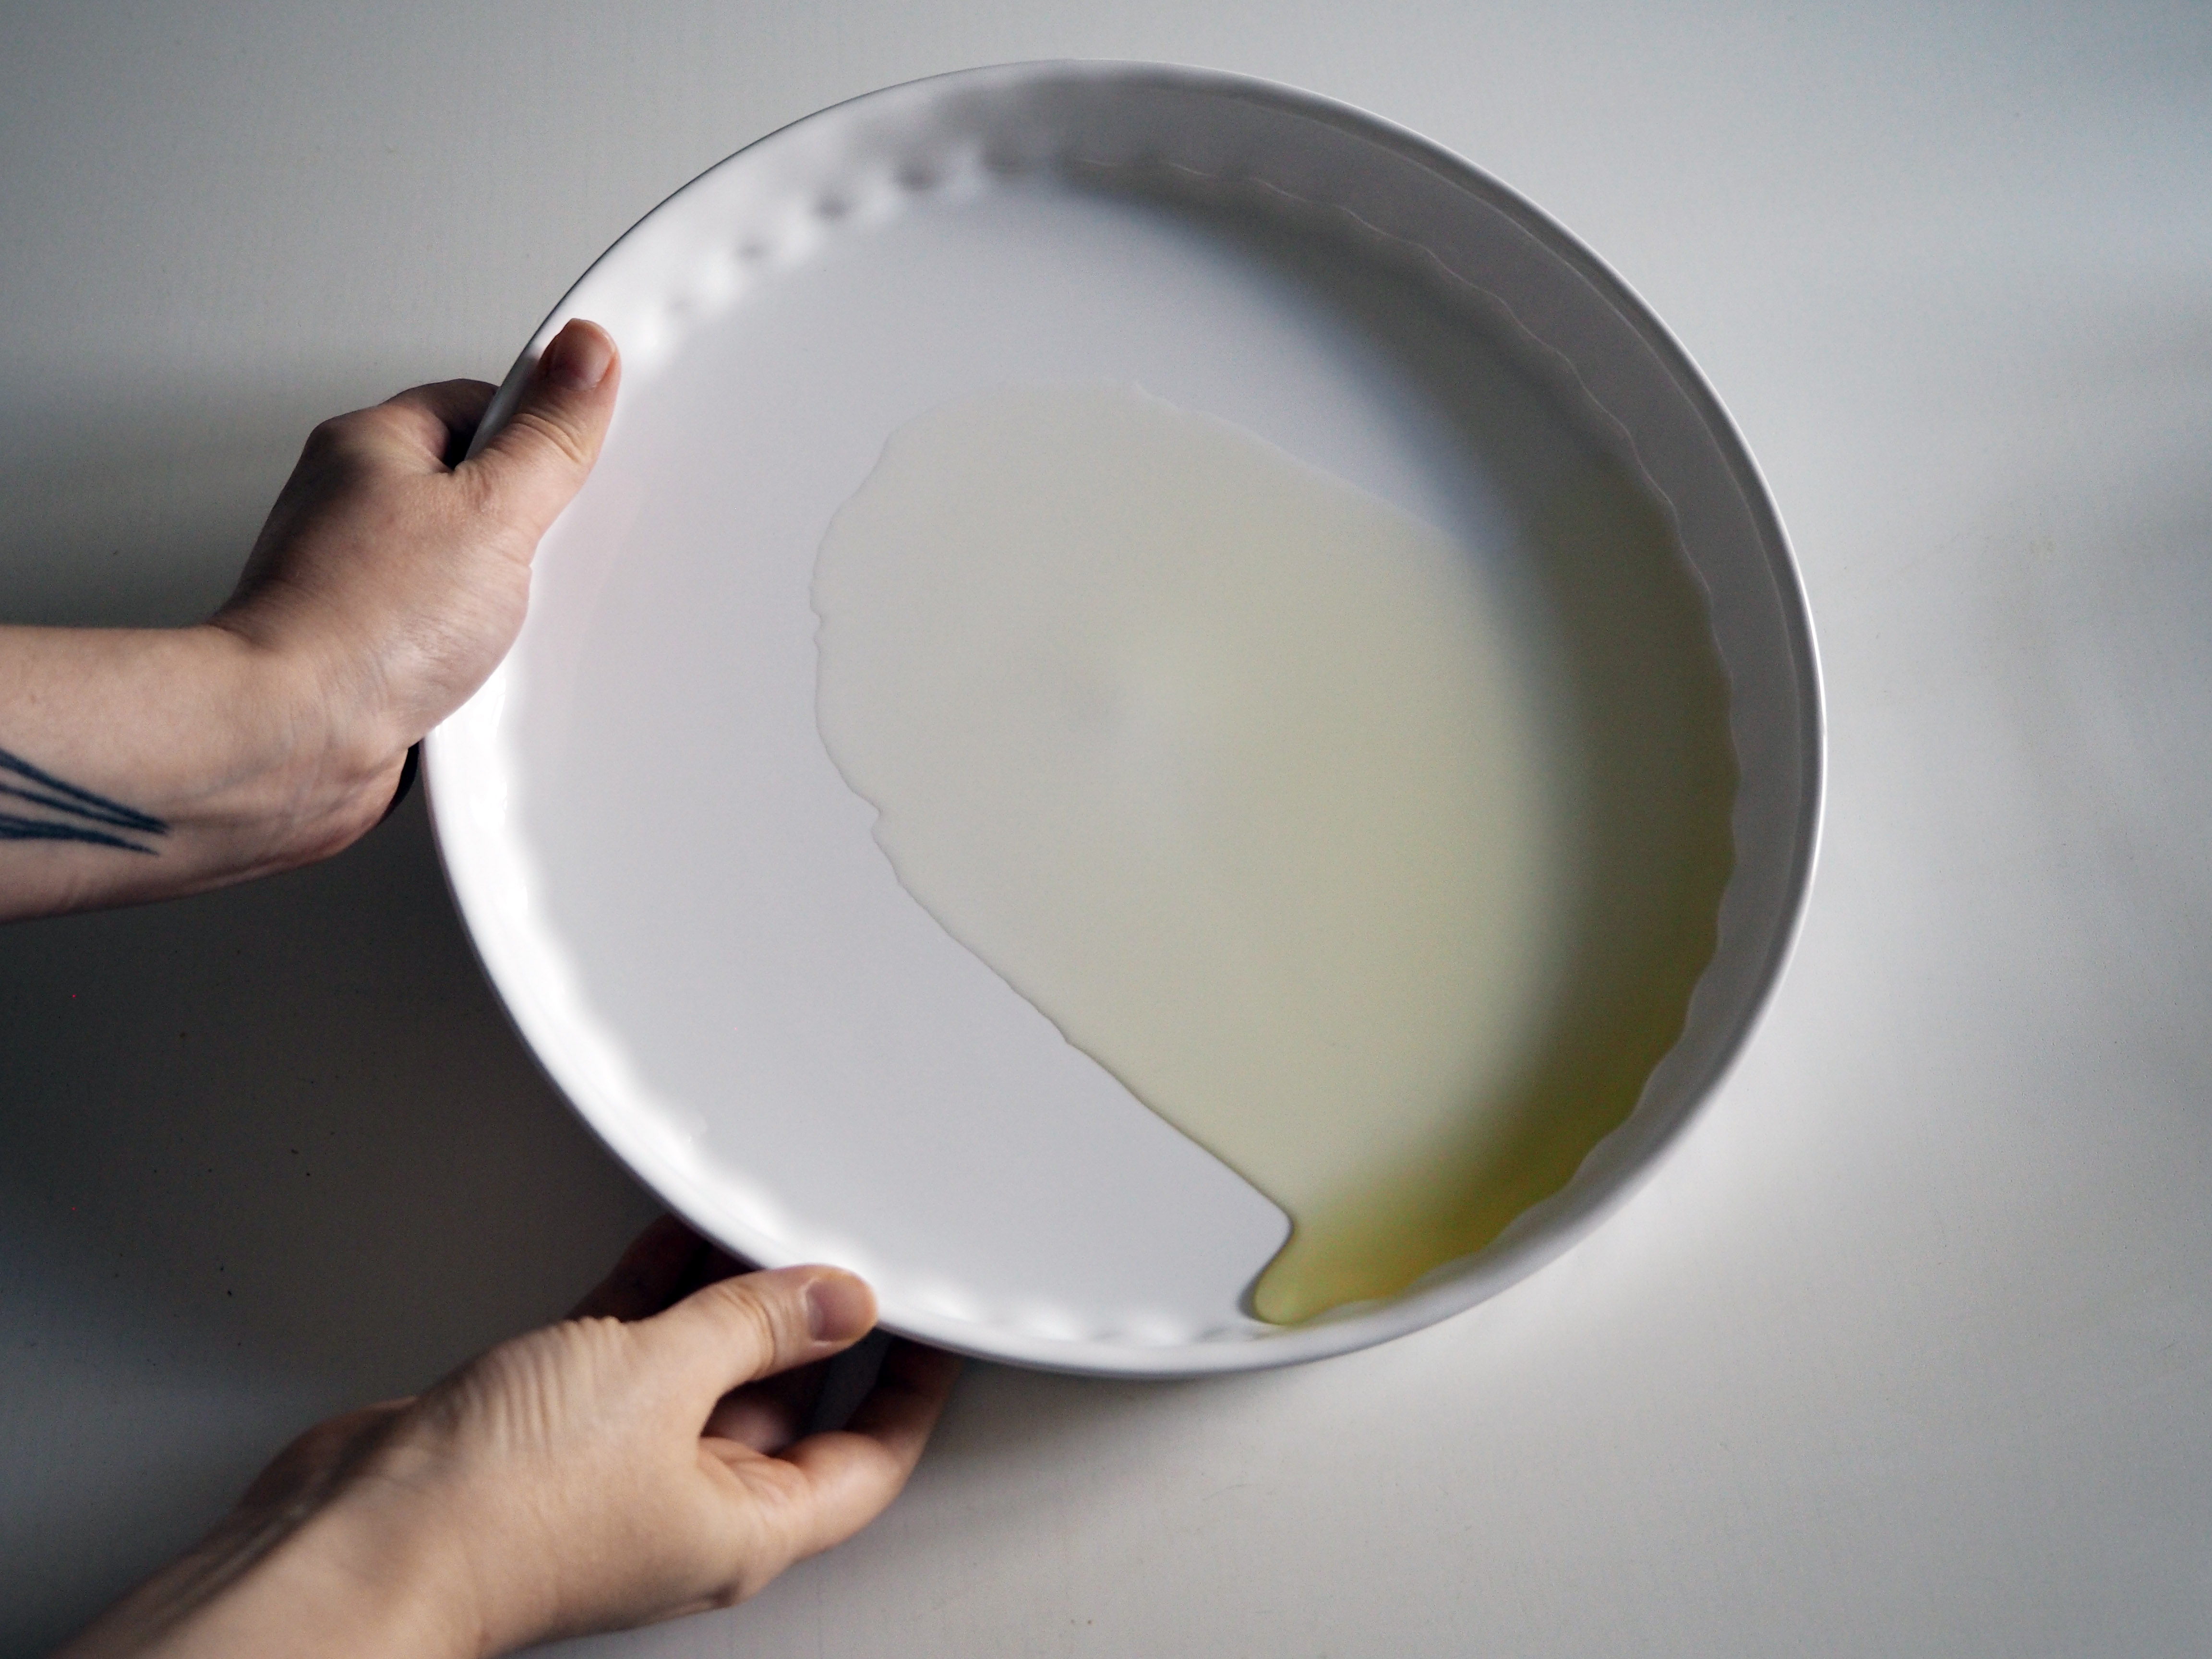
1. In a medium bowl, put chickpea flour and pour water. Whisk it really well. Cover with a stretch film and let it sit for at least 2 hours in room temperature (up to 4 hours).
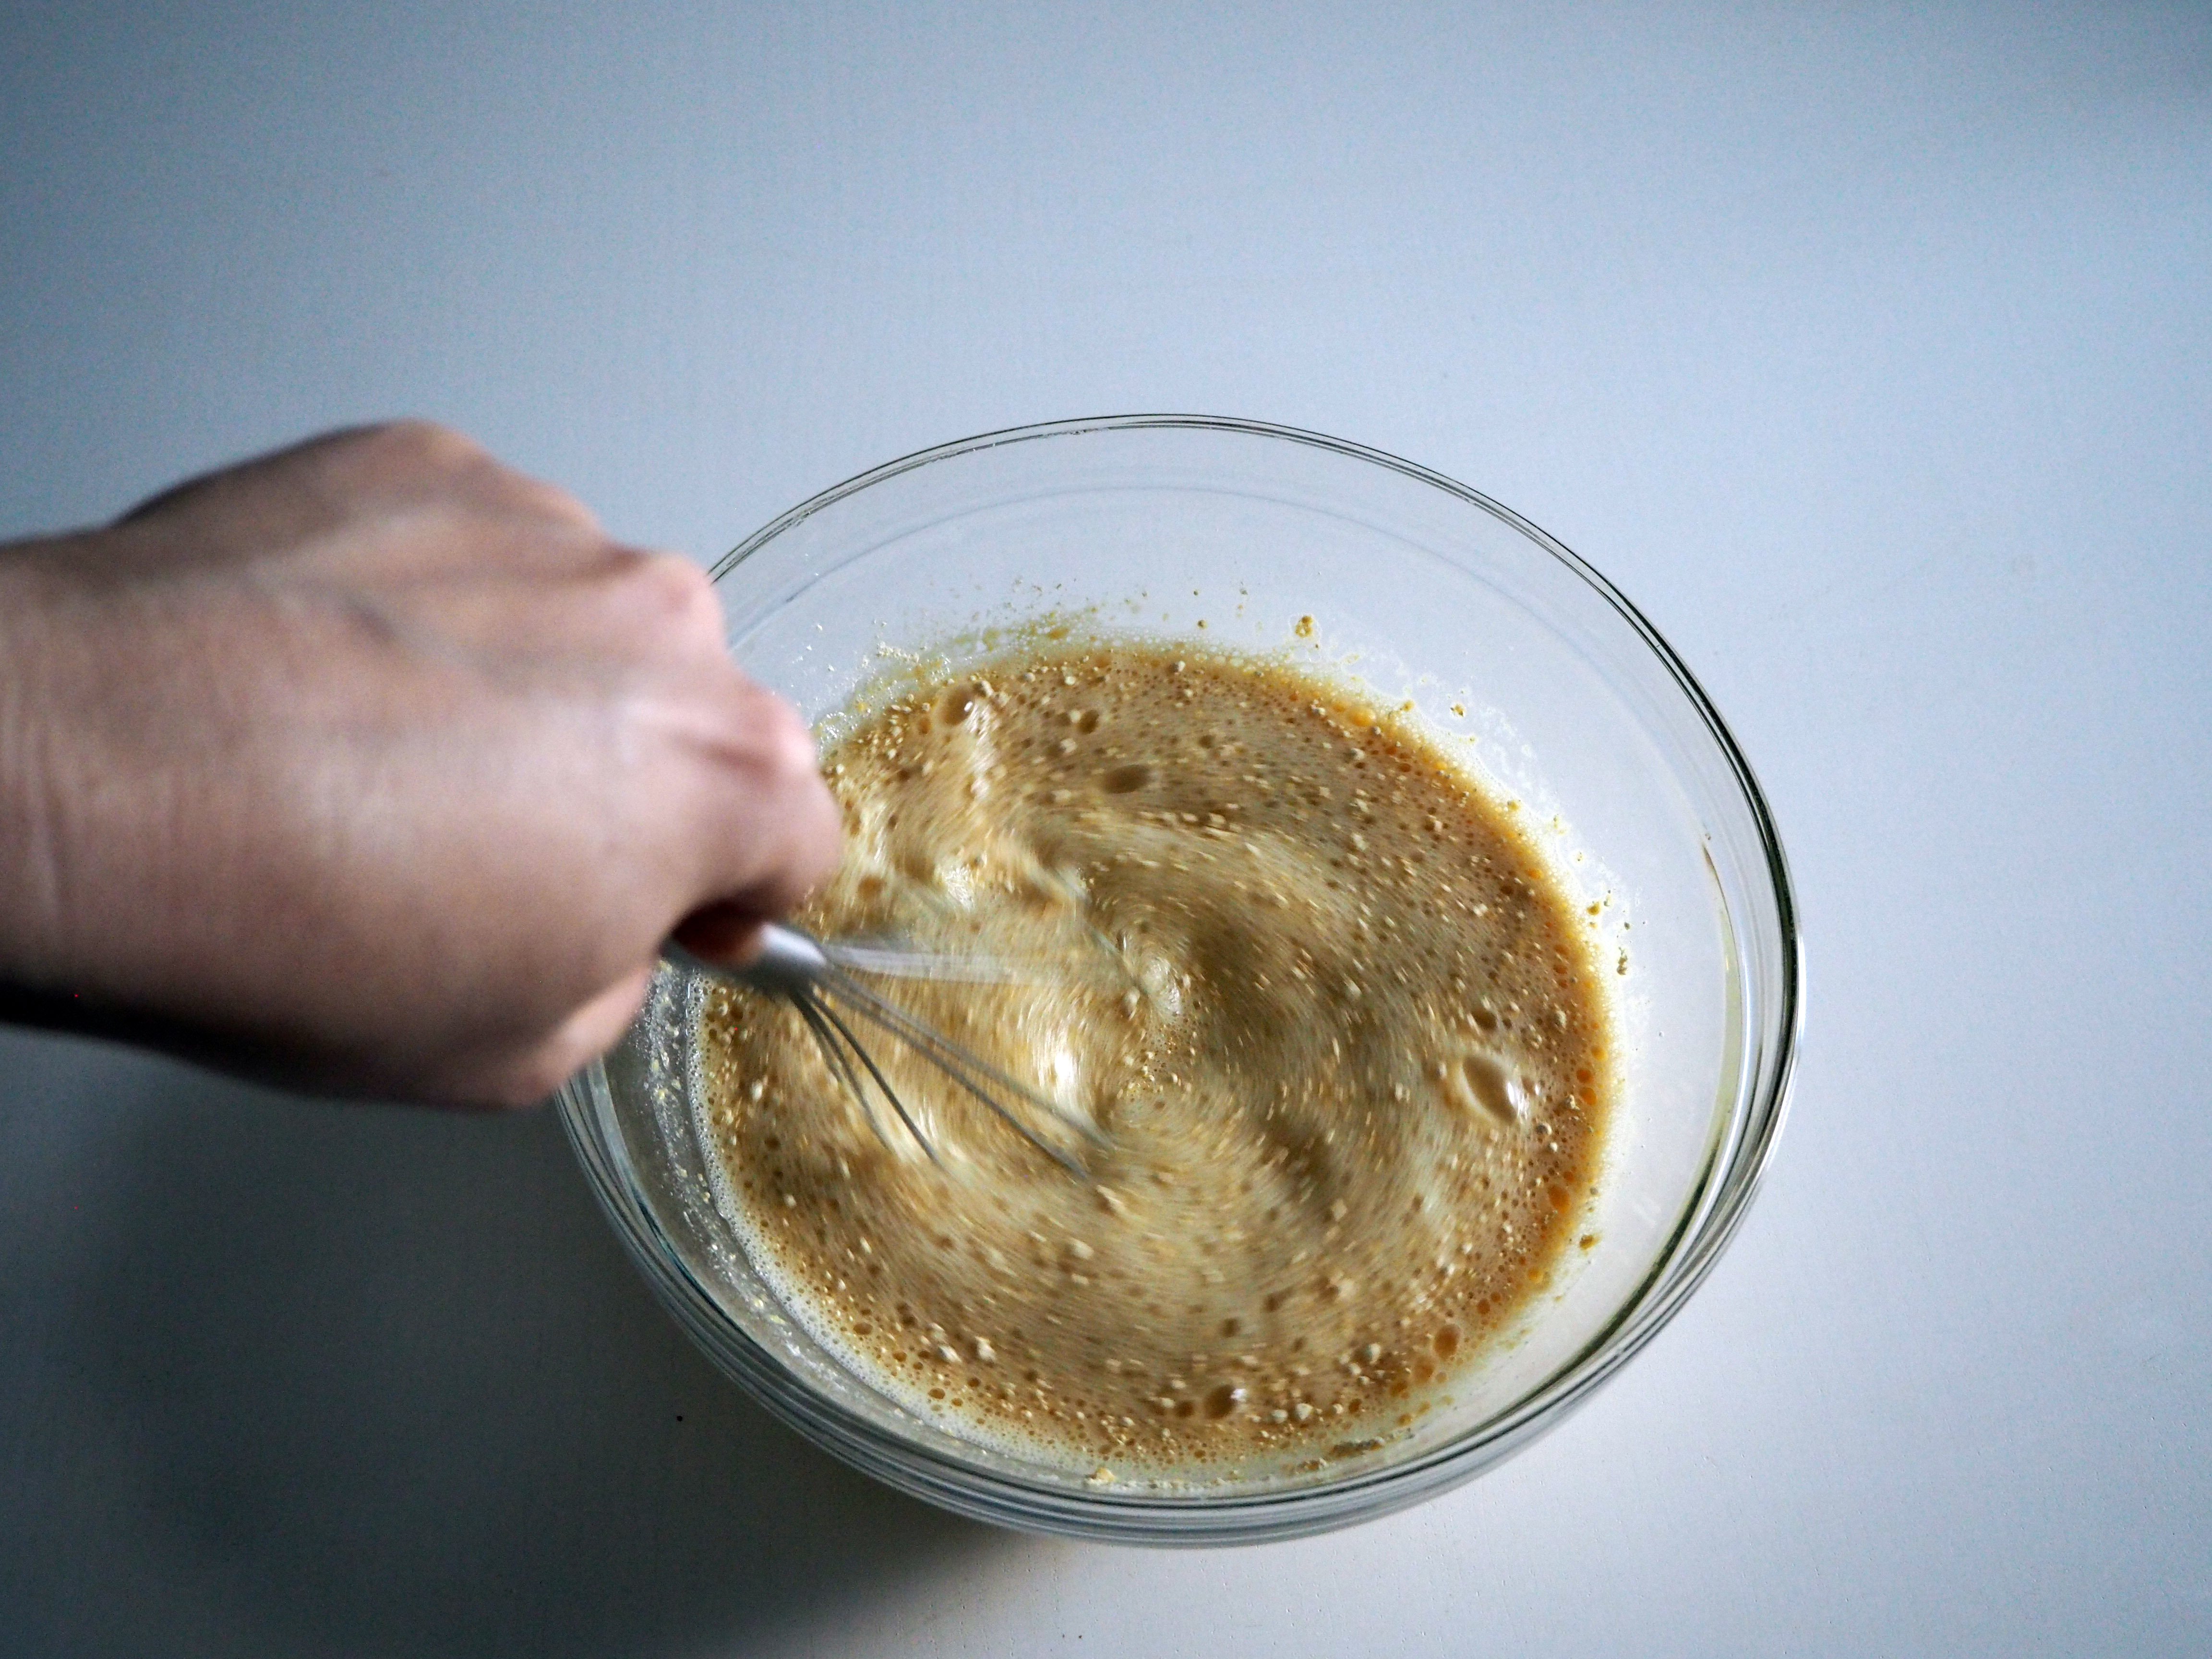

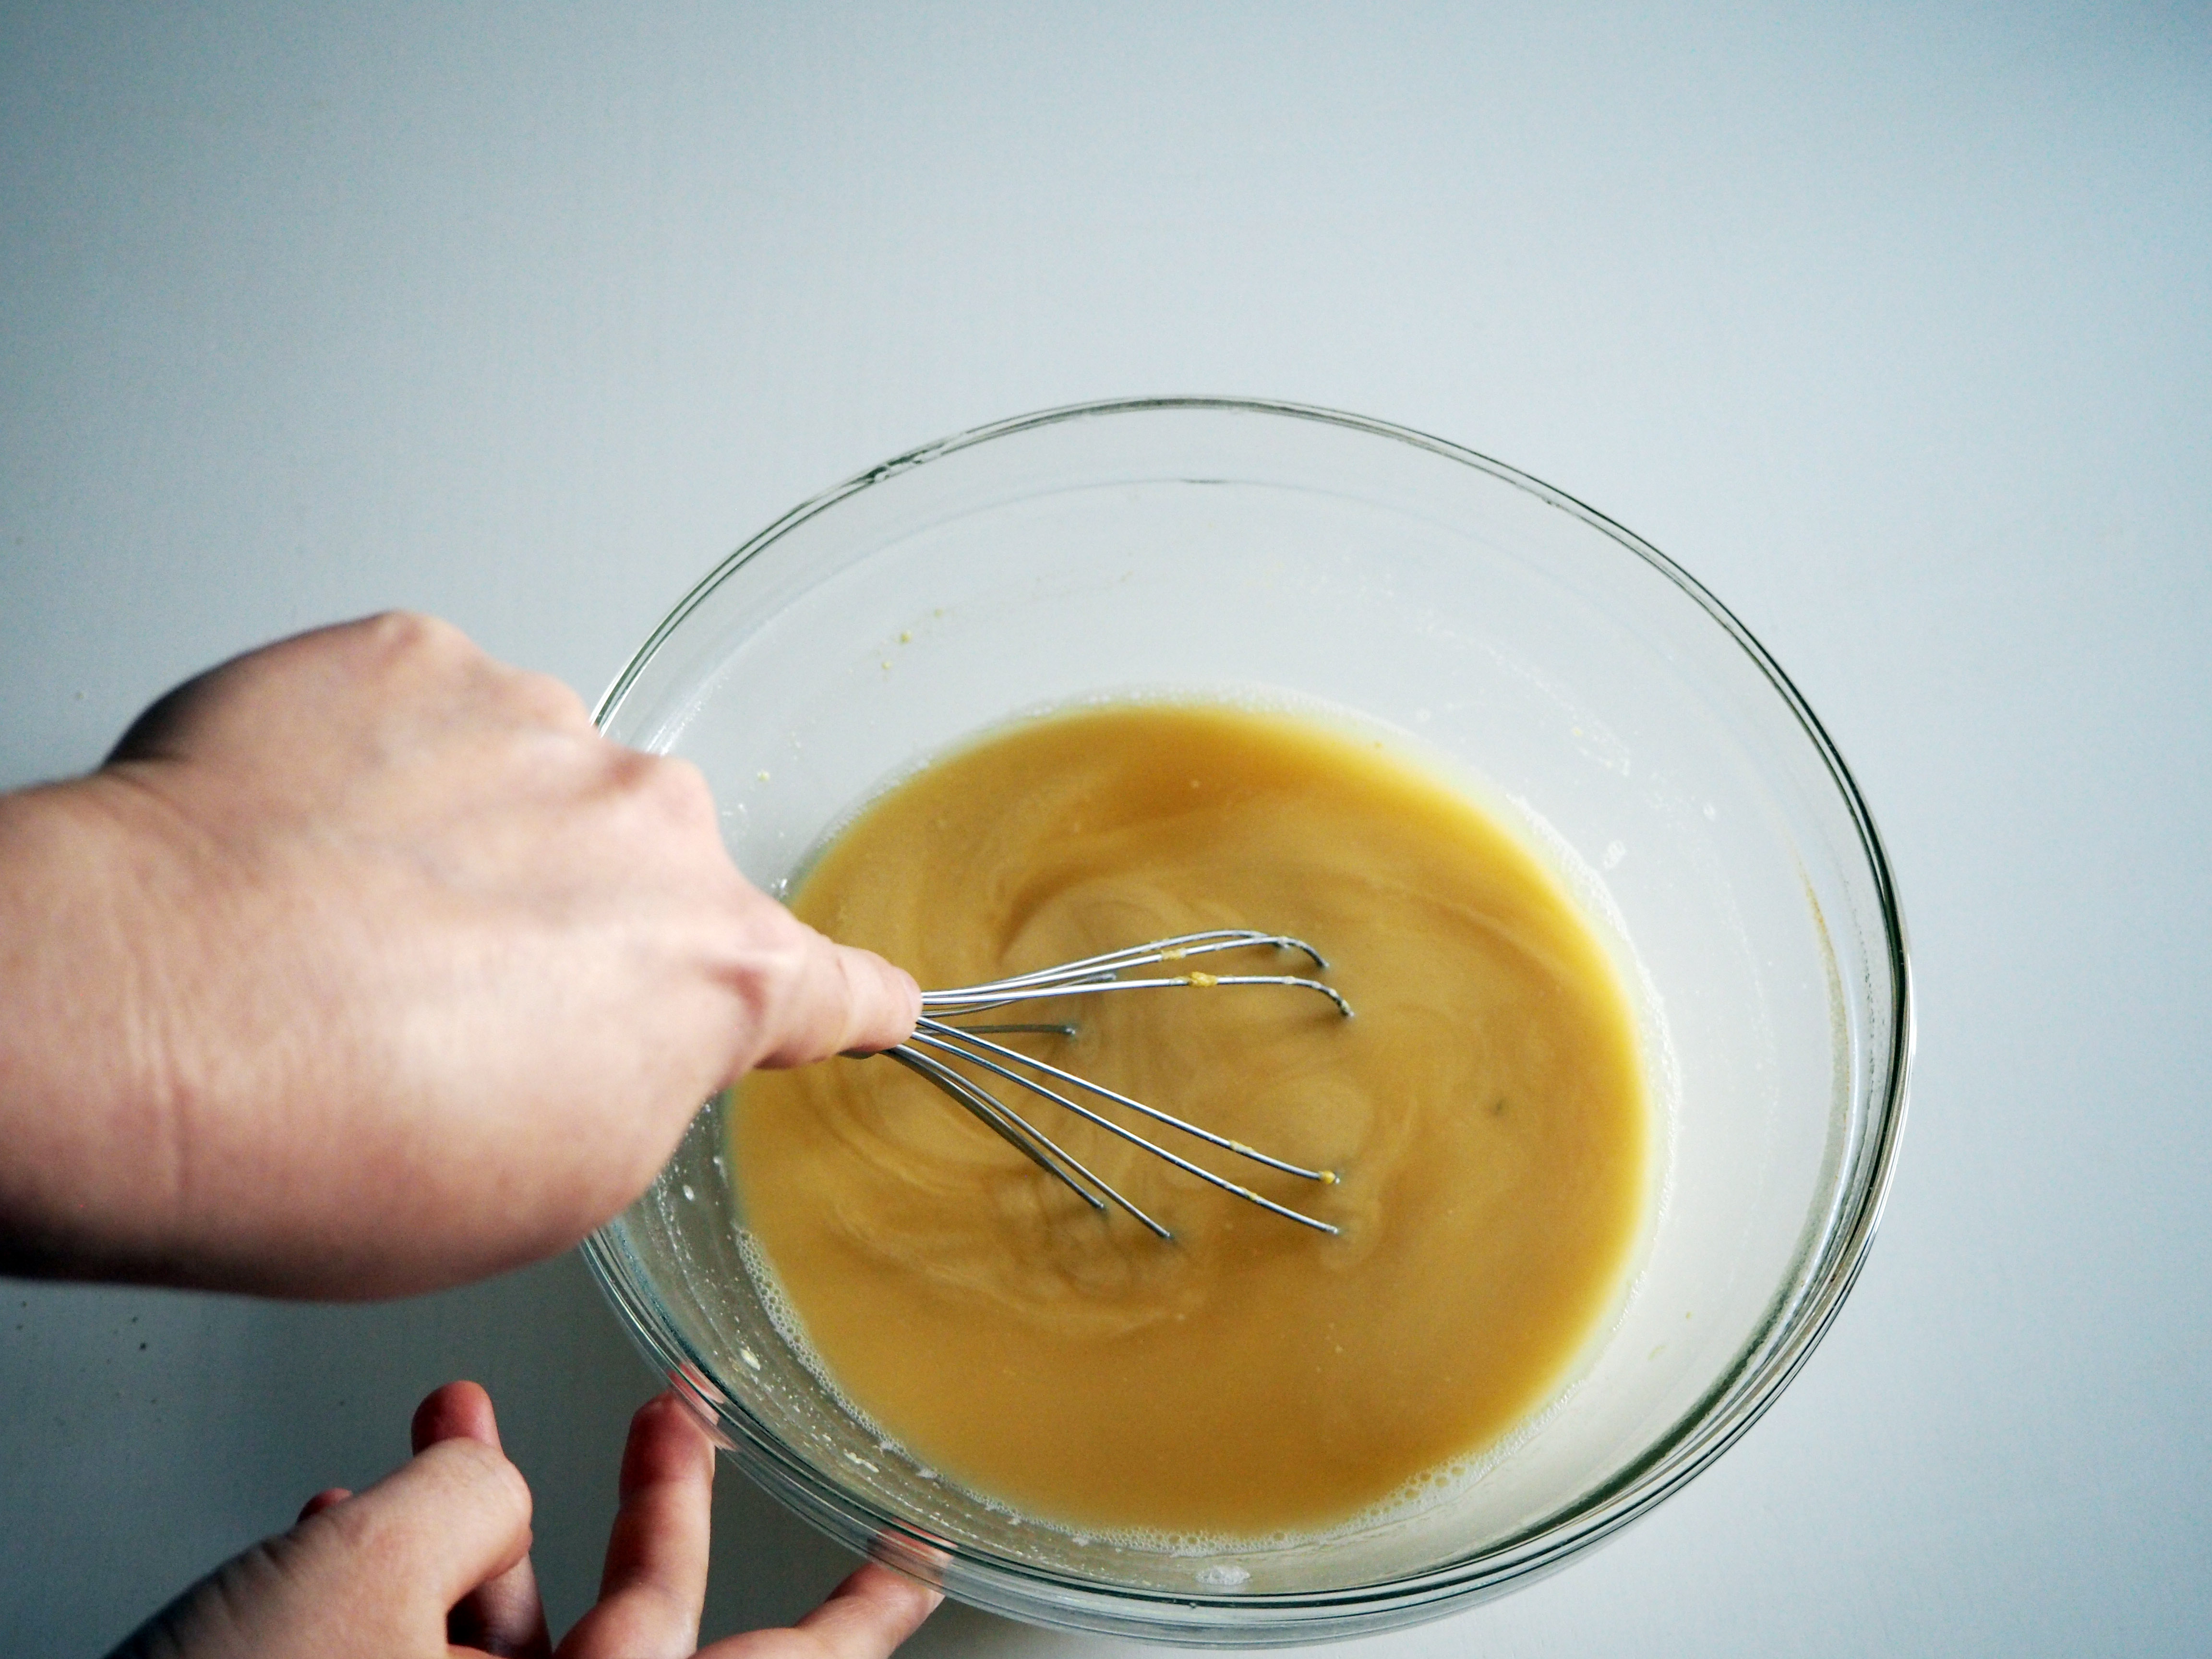
2. After 2 (or more) hours, take out the stretch film. You’ll see that there will a layer of foam on top. Take this foam away using a spoon, then give it one quick whisk in case the water and flour separated a bit.


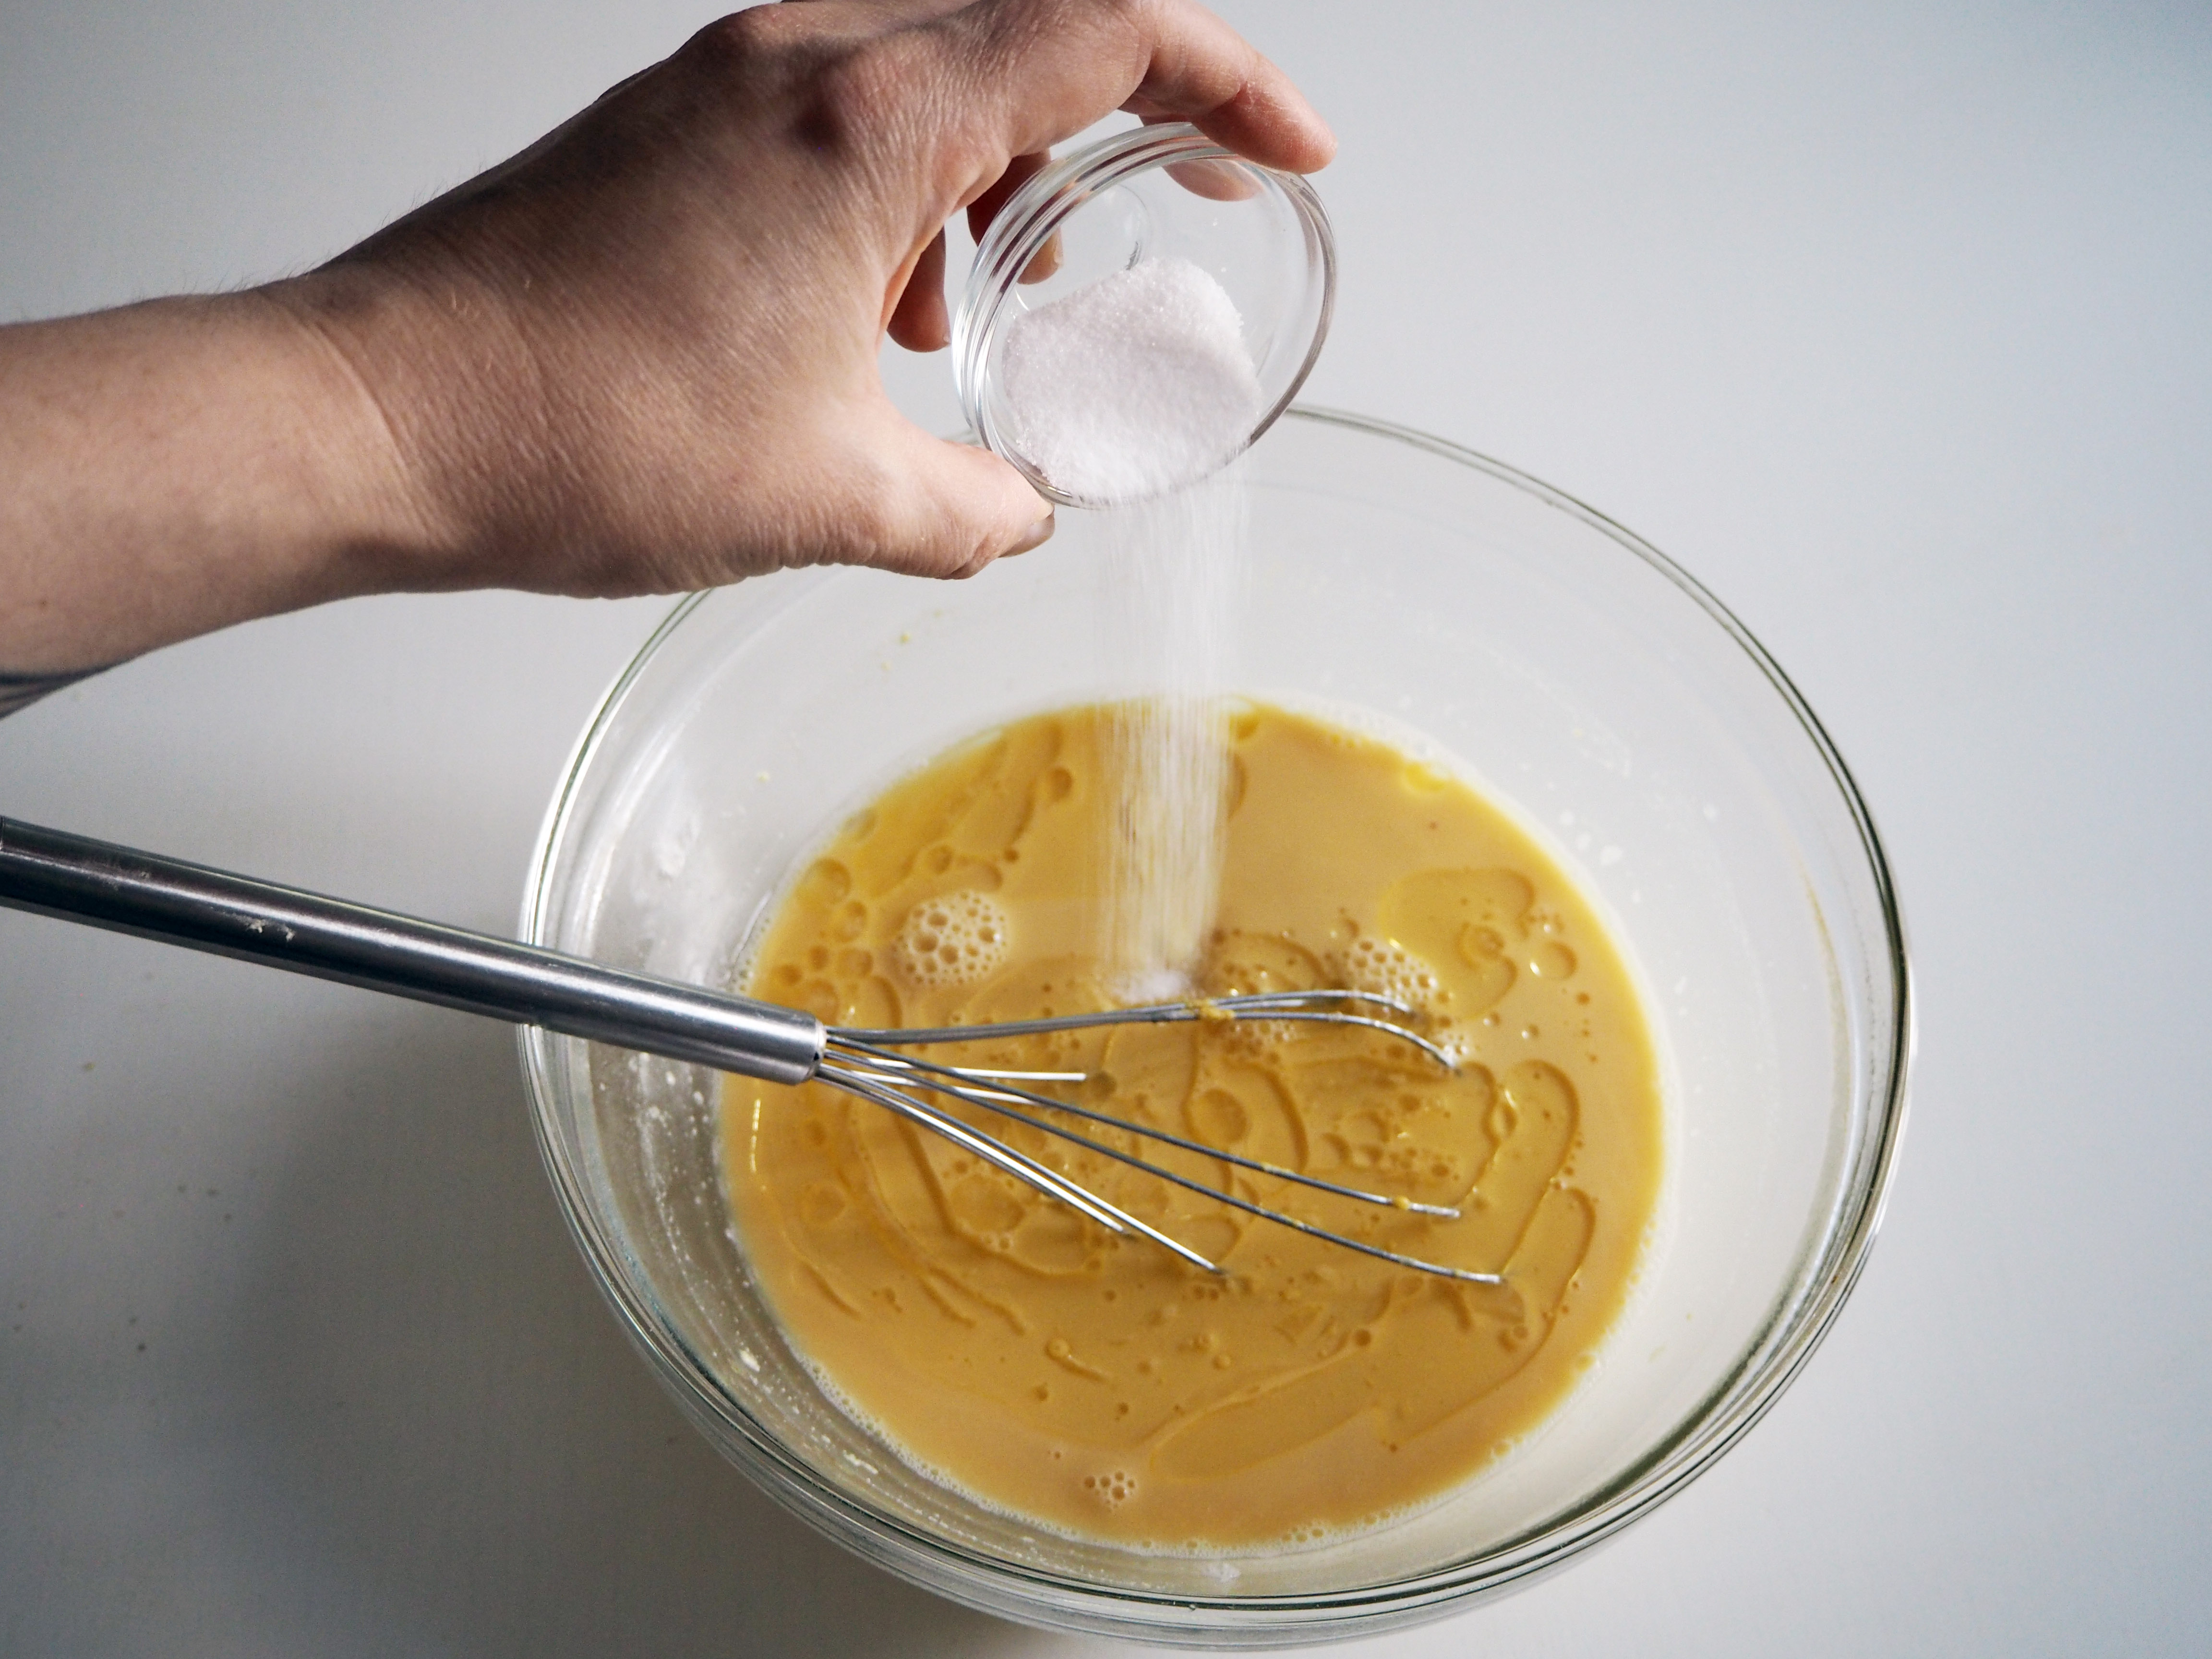
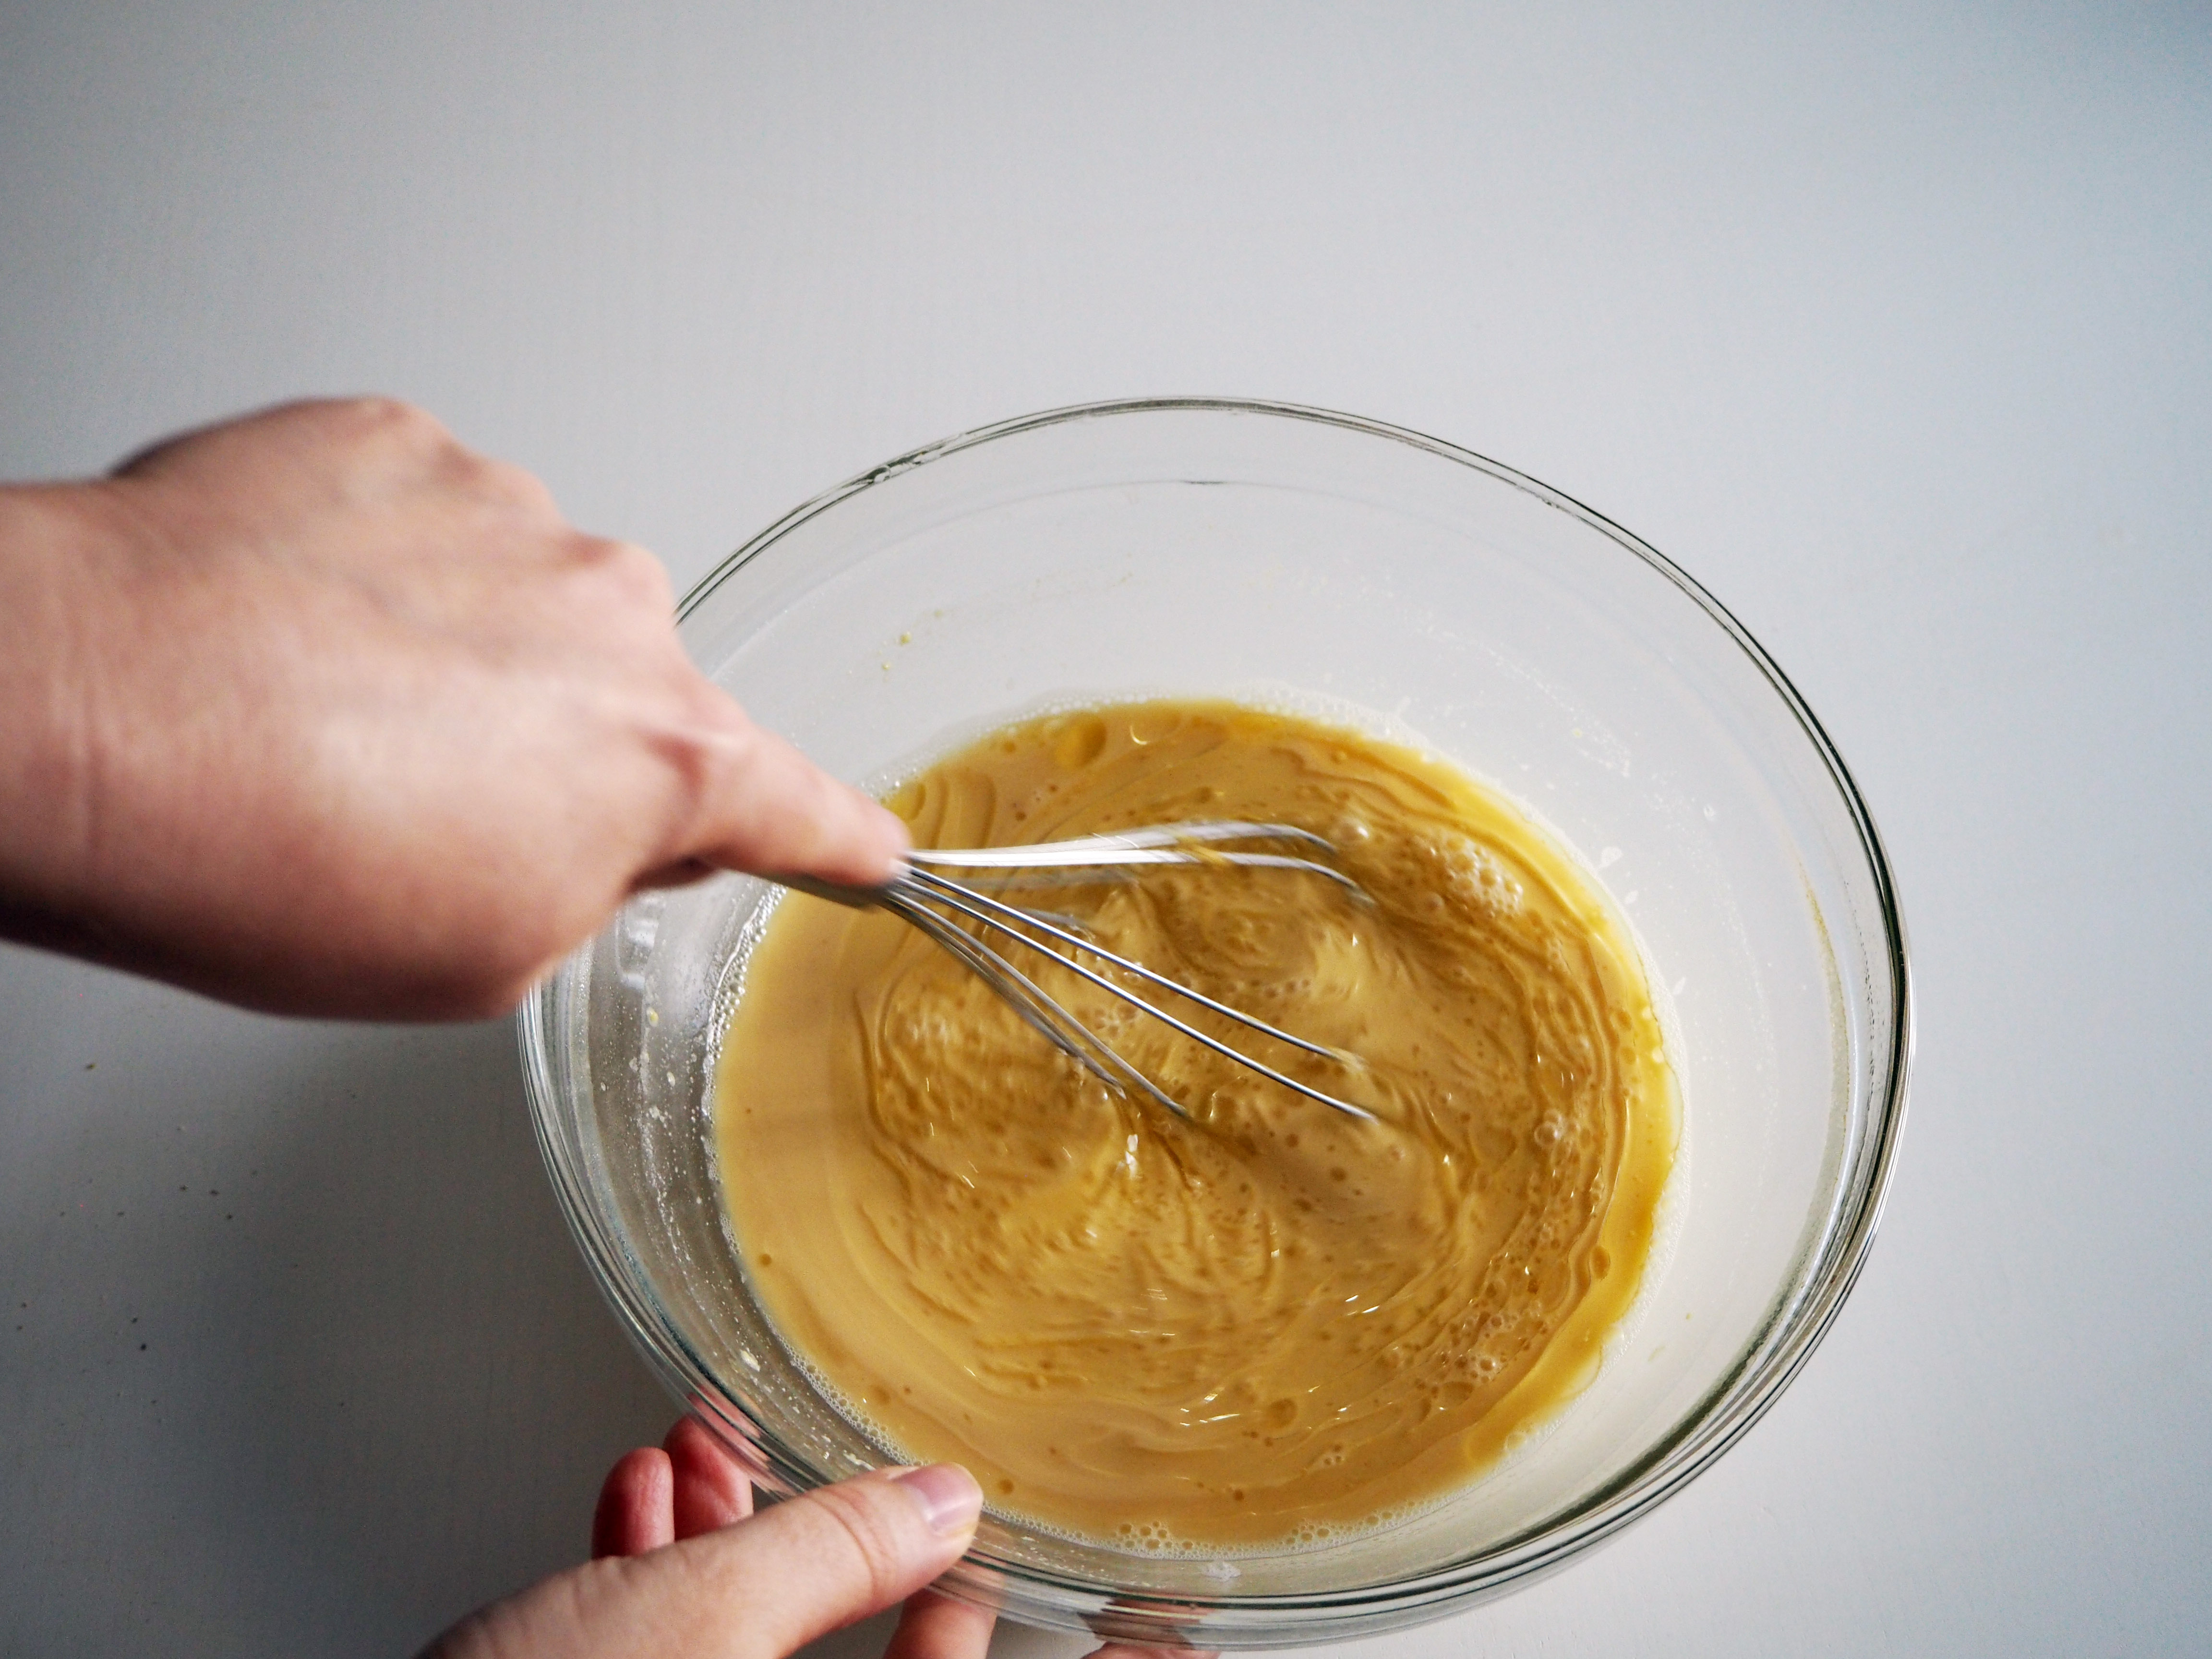
3. Add olive oil and salt and whisk well. If you are adding something in the batter, like rosemary, add it now and whisk. Put the batter aside.

4. Take your mould and spread the remaining olive oil – spread it well to cover all the mould.

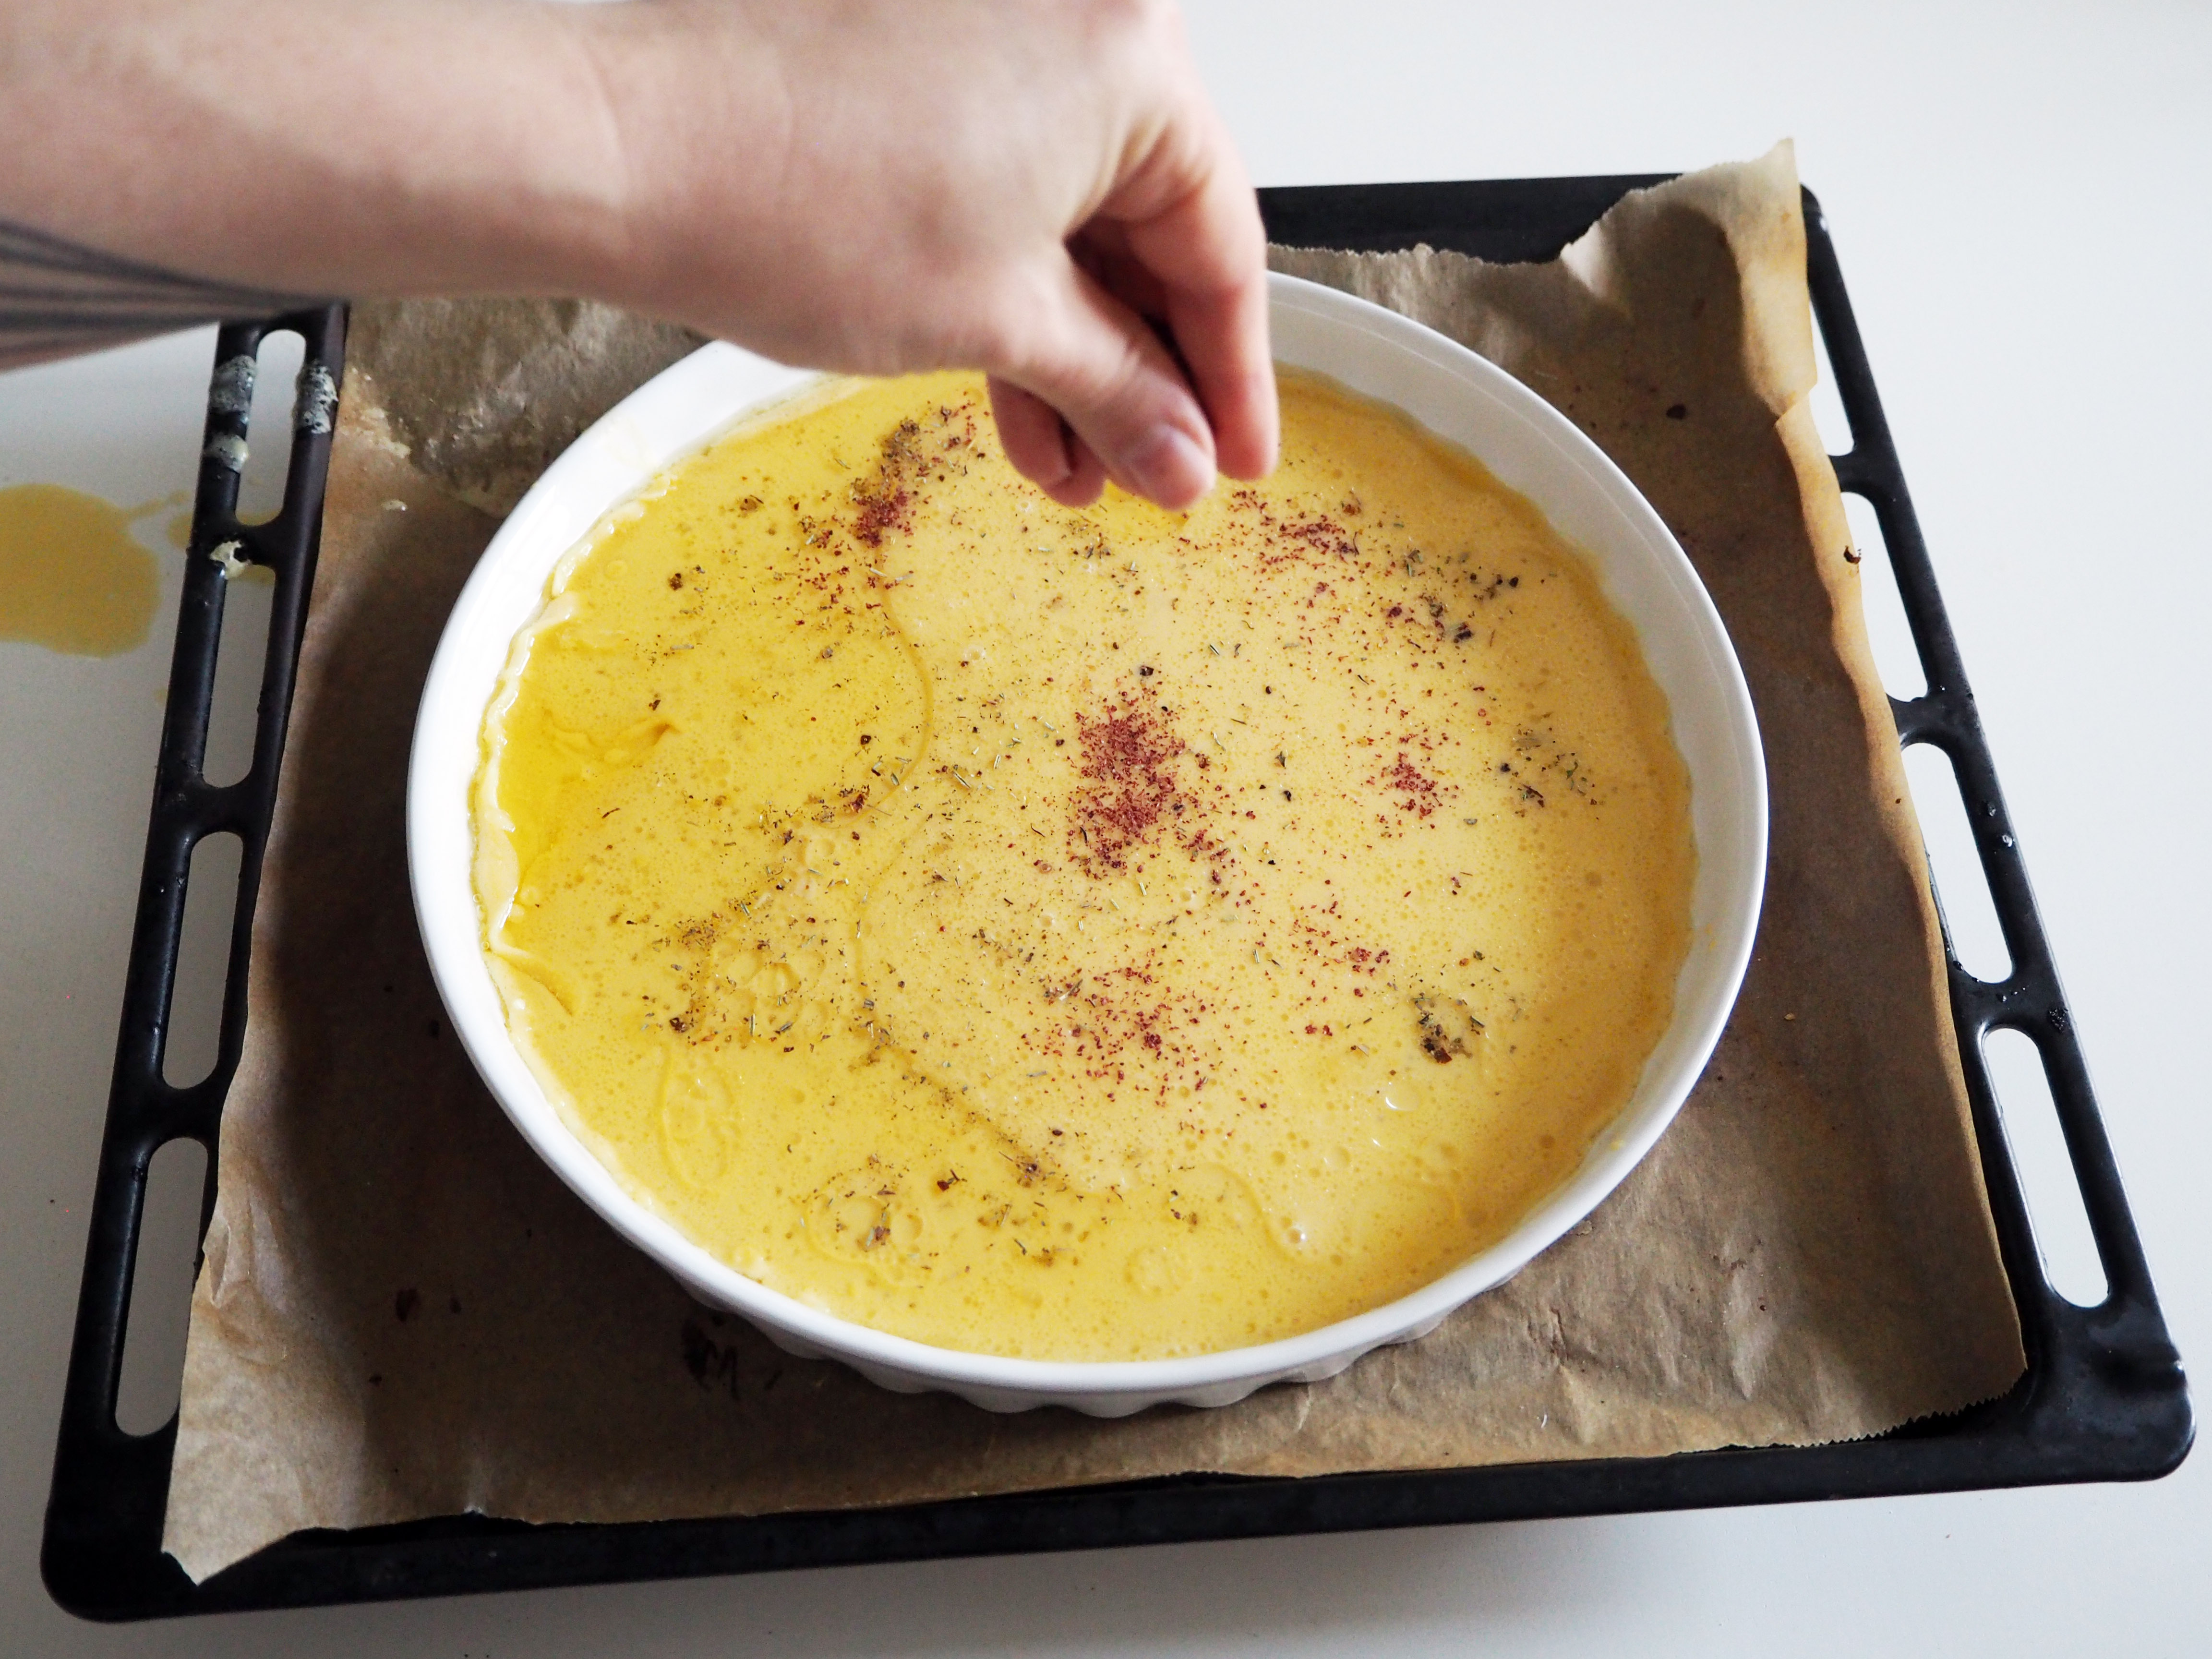
5. Put the oily mould inside the oven and heat your oven to 225C. Leave the mould in the oven for a couple more minutes once the temperature reaches the desired one.
6. Take the mould out of the oven, be careful it will be very hot! Very quickly, before the mould and oil cools down, pour the batter in the mould. Now, if you want one thick bread, then pour all the batter at once. If you want thin, crispy pancakes, then pour half of the batter (using a ladle helps a lot). In any case, tap the mould a few times on the counter to take any trapped air out. Finally, if you are adding toppings, do it at this stage and then put the whole thing in the oven, to bake for 20-25 minutes. Be very quick in everything you do before you put the batter in the oven, you do not want anything to cool down. Serve the bread when it’s warm and fresh, it doesn’t taste as good when it stays for longer period. Enjoy!


These are wonderful pictures!
Thank you!!!
I need to try this!
Hope you like it! ^^