As I am writing this blogpost, I am eating one of these soft, puffy, melting-in-the-mouth buns and remembering my childhood. Most of my best memories back in Turkey involve food or are around food, and these buns bring out some of them.

There are 2 buns-pastries that I grew up with: “simit” and “pogaca” (Turkish style sesame bagel and brioche). The buns in this post are, for me, the absolute third when it comes to traditional Turkish bakery / patisserie goods. But somehow I kind of pushed them a bit back, because most of the time they were topped with black seed (nigella saliva) and I could never get used to its taste. So whenever I wanted to eat these buns, I first took away the seeds on top and then ate, which was quite a job since the buns are a bit greasy and you would end up with greasy fingers before even you could start eating the buns.
So when I made my own “acma” buns, I either put nothing on top or I put black sesame seeds, which taste very very different than nigella. I served these buns in this month’s Creative Morning Helsinki session in Design Museum this morning (I am their breakfast partner) and people absolutely loved the buns with or without black sesame seeds.
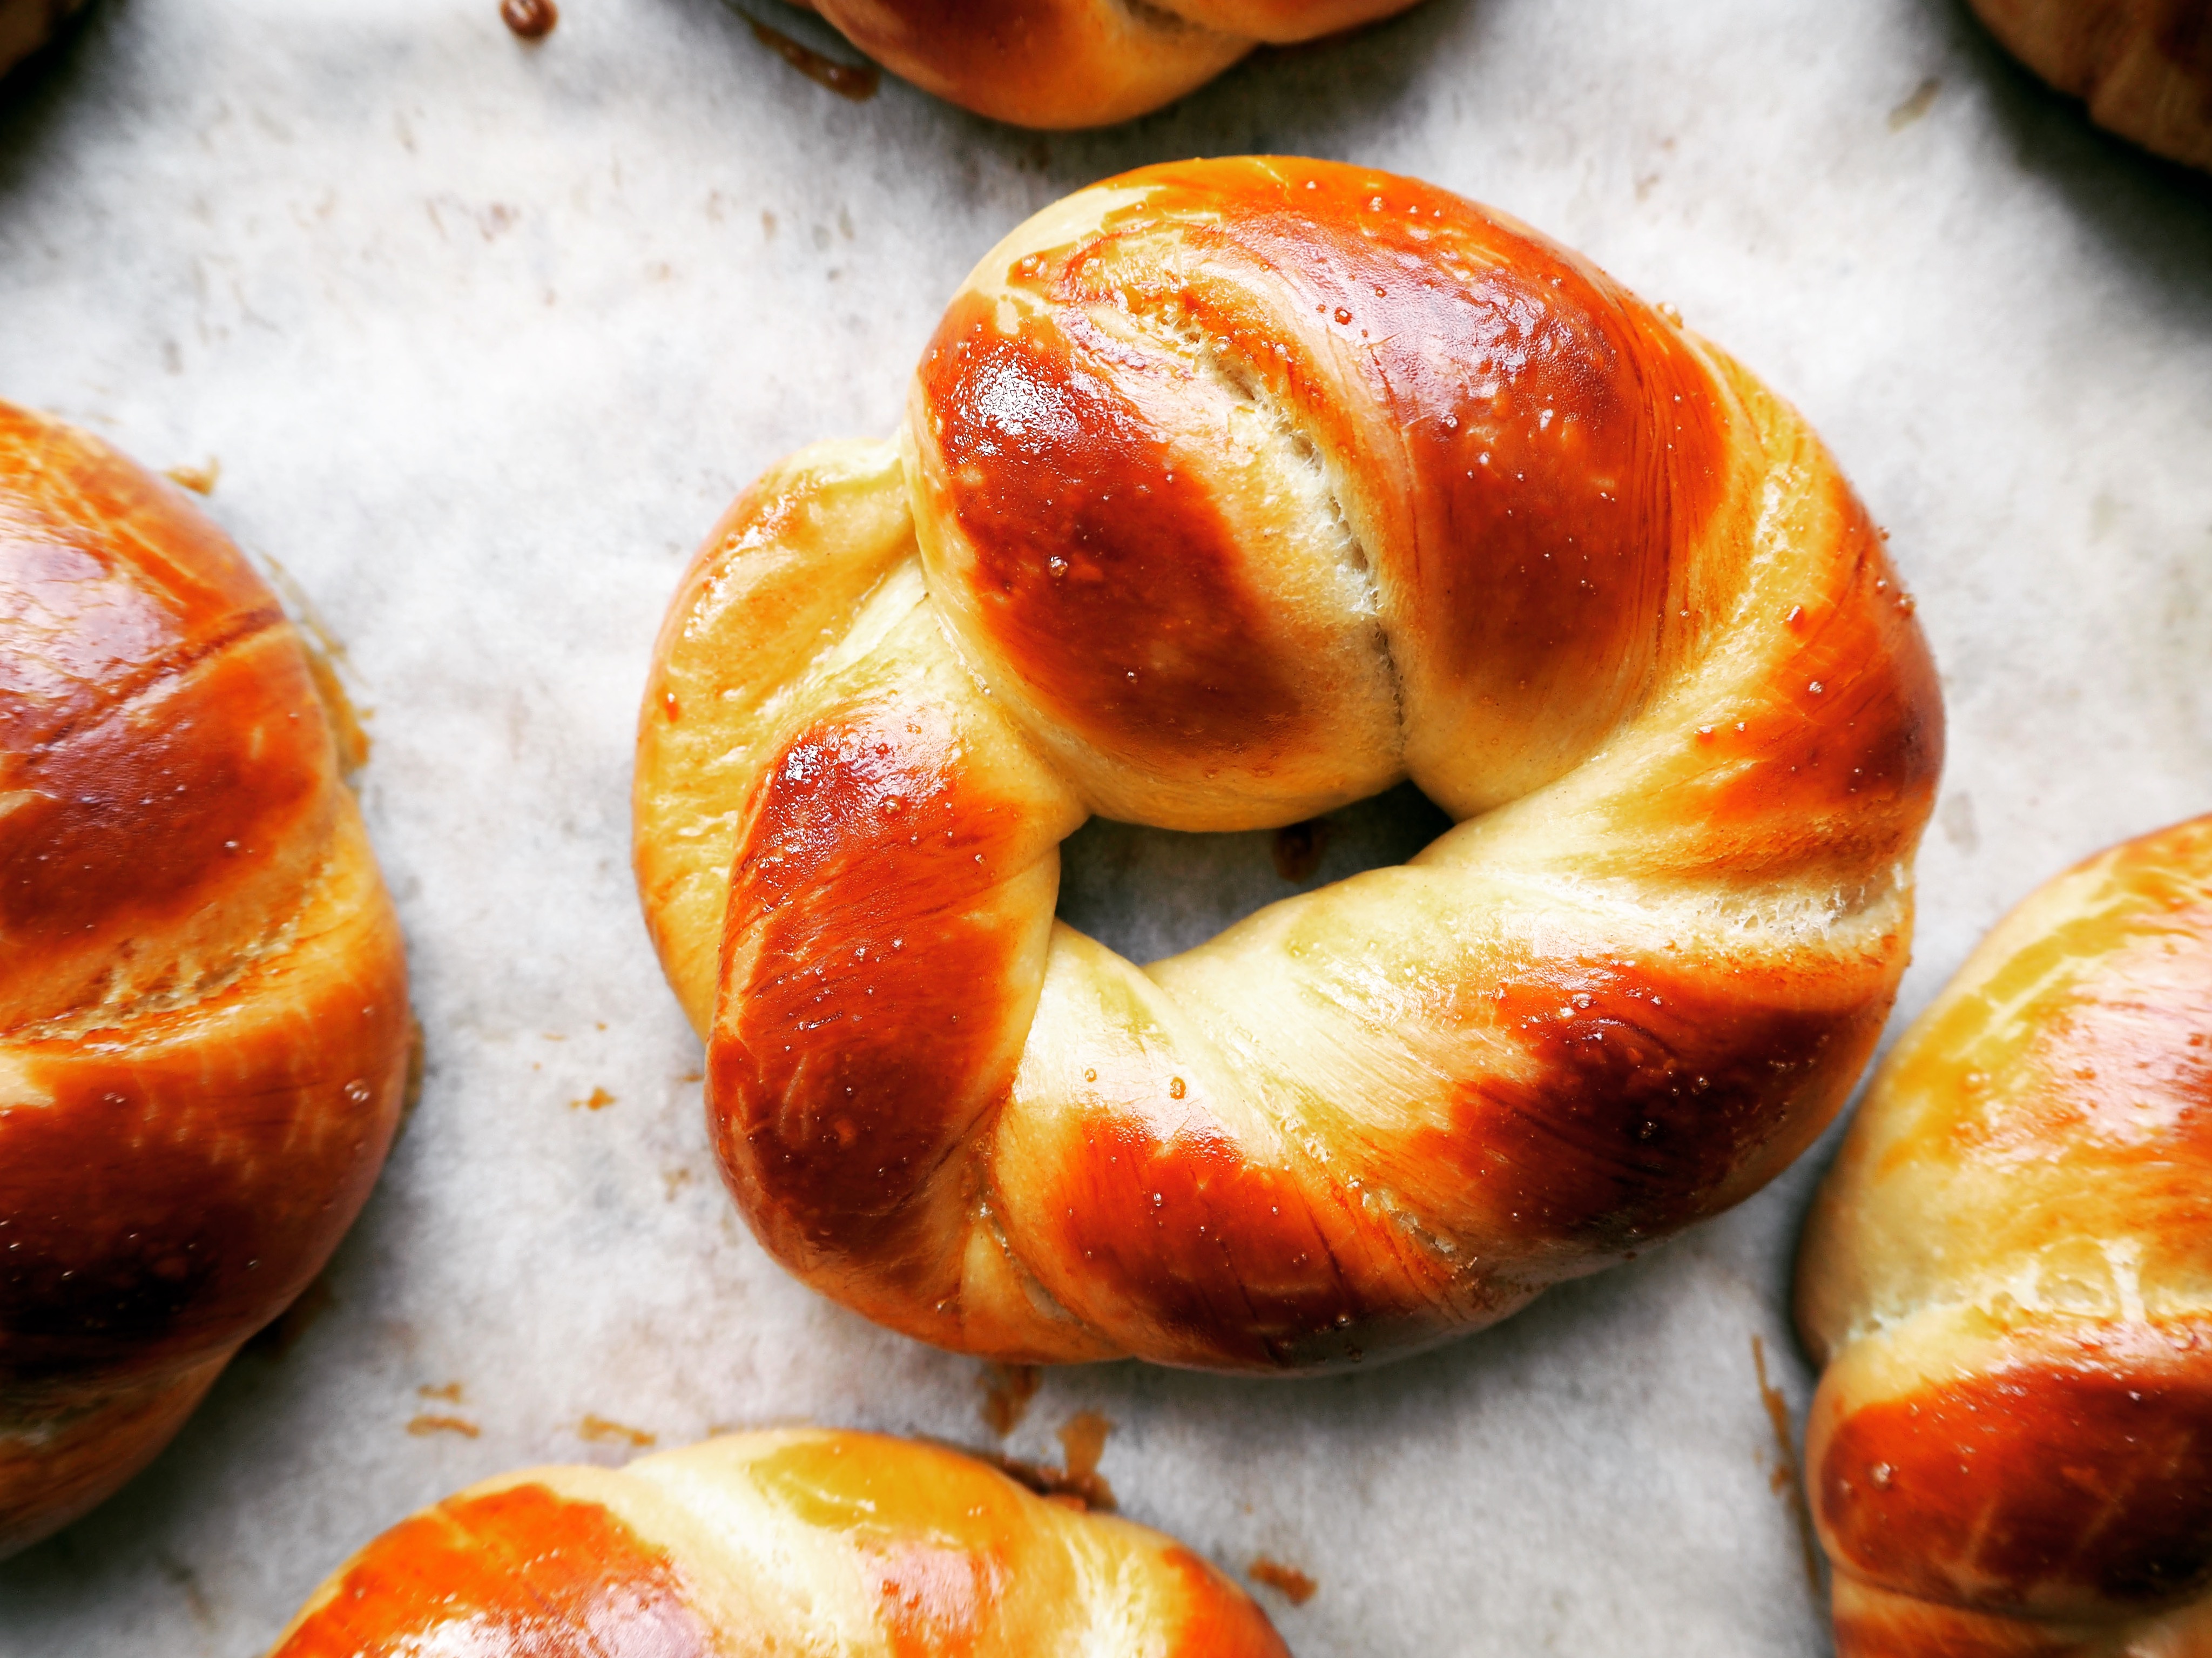
The buns are actually quite easy to make, it just takes time because of yeast and several steps involving first rise and final proofing. Contrary to brioche buns, these buns do not have butter but olive oil instead. The most important thing is to make a smooth, soft dough without using too much flour so that the final buns do not get too hard and keep their softness.

These buns are absolutely great for breakfast with morning tea / coffee or for 5 o’clock tea time or any other time you like. If you are going for a May Day picnic like we are hoping to do here in Helsinki, then maybe you would like to make these buns and enjoy their beautiful smell and softness!!
—
Ingredients:
Difficulty: ★★☆ (Medium)
(makes about 20-22 buns, each about 70 gr.)
Printable PDF-recipe (no photos)
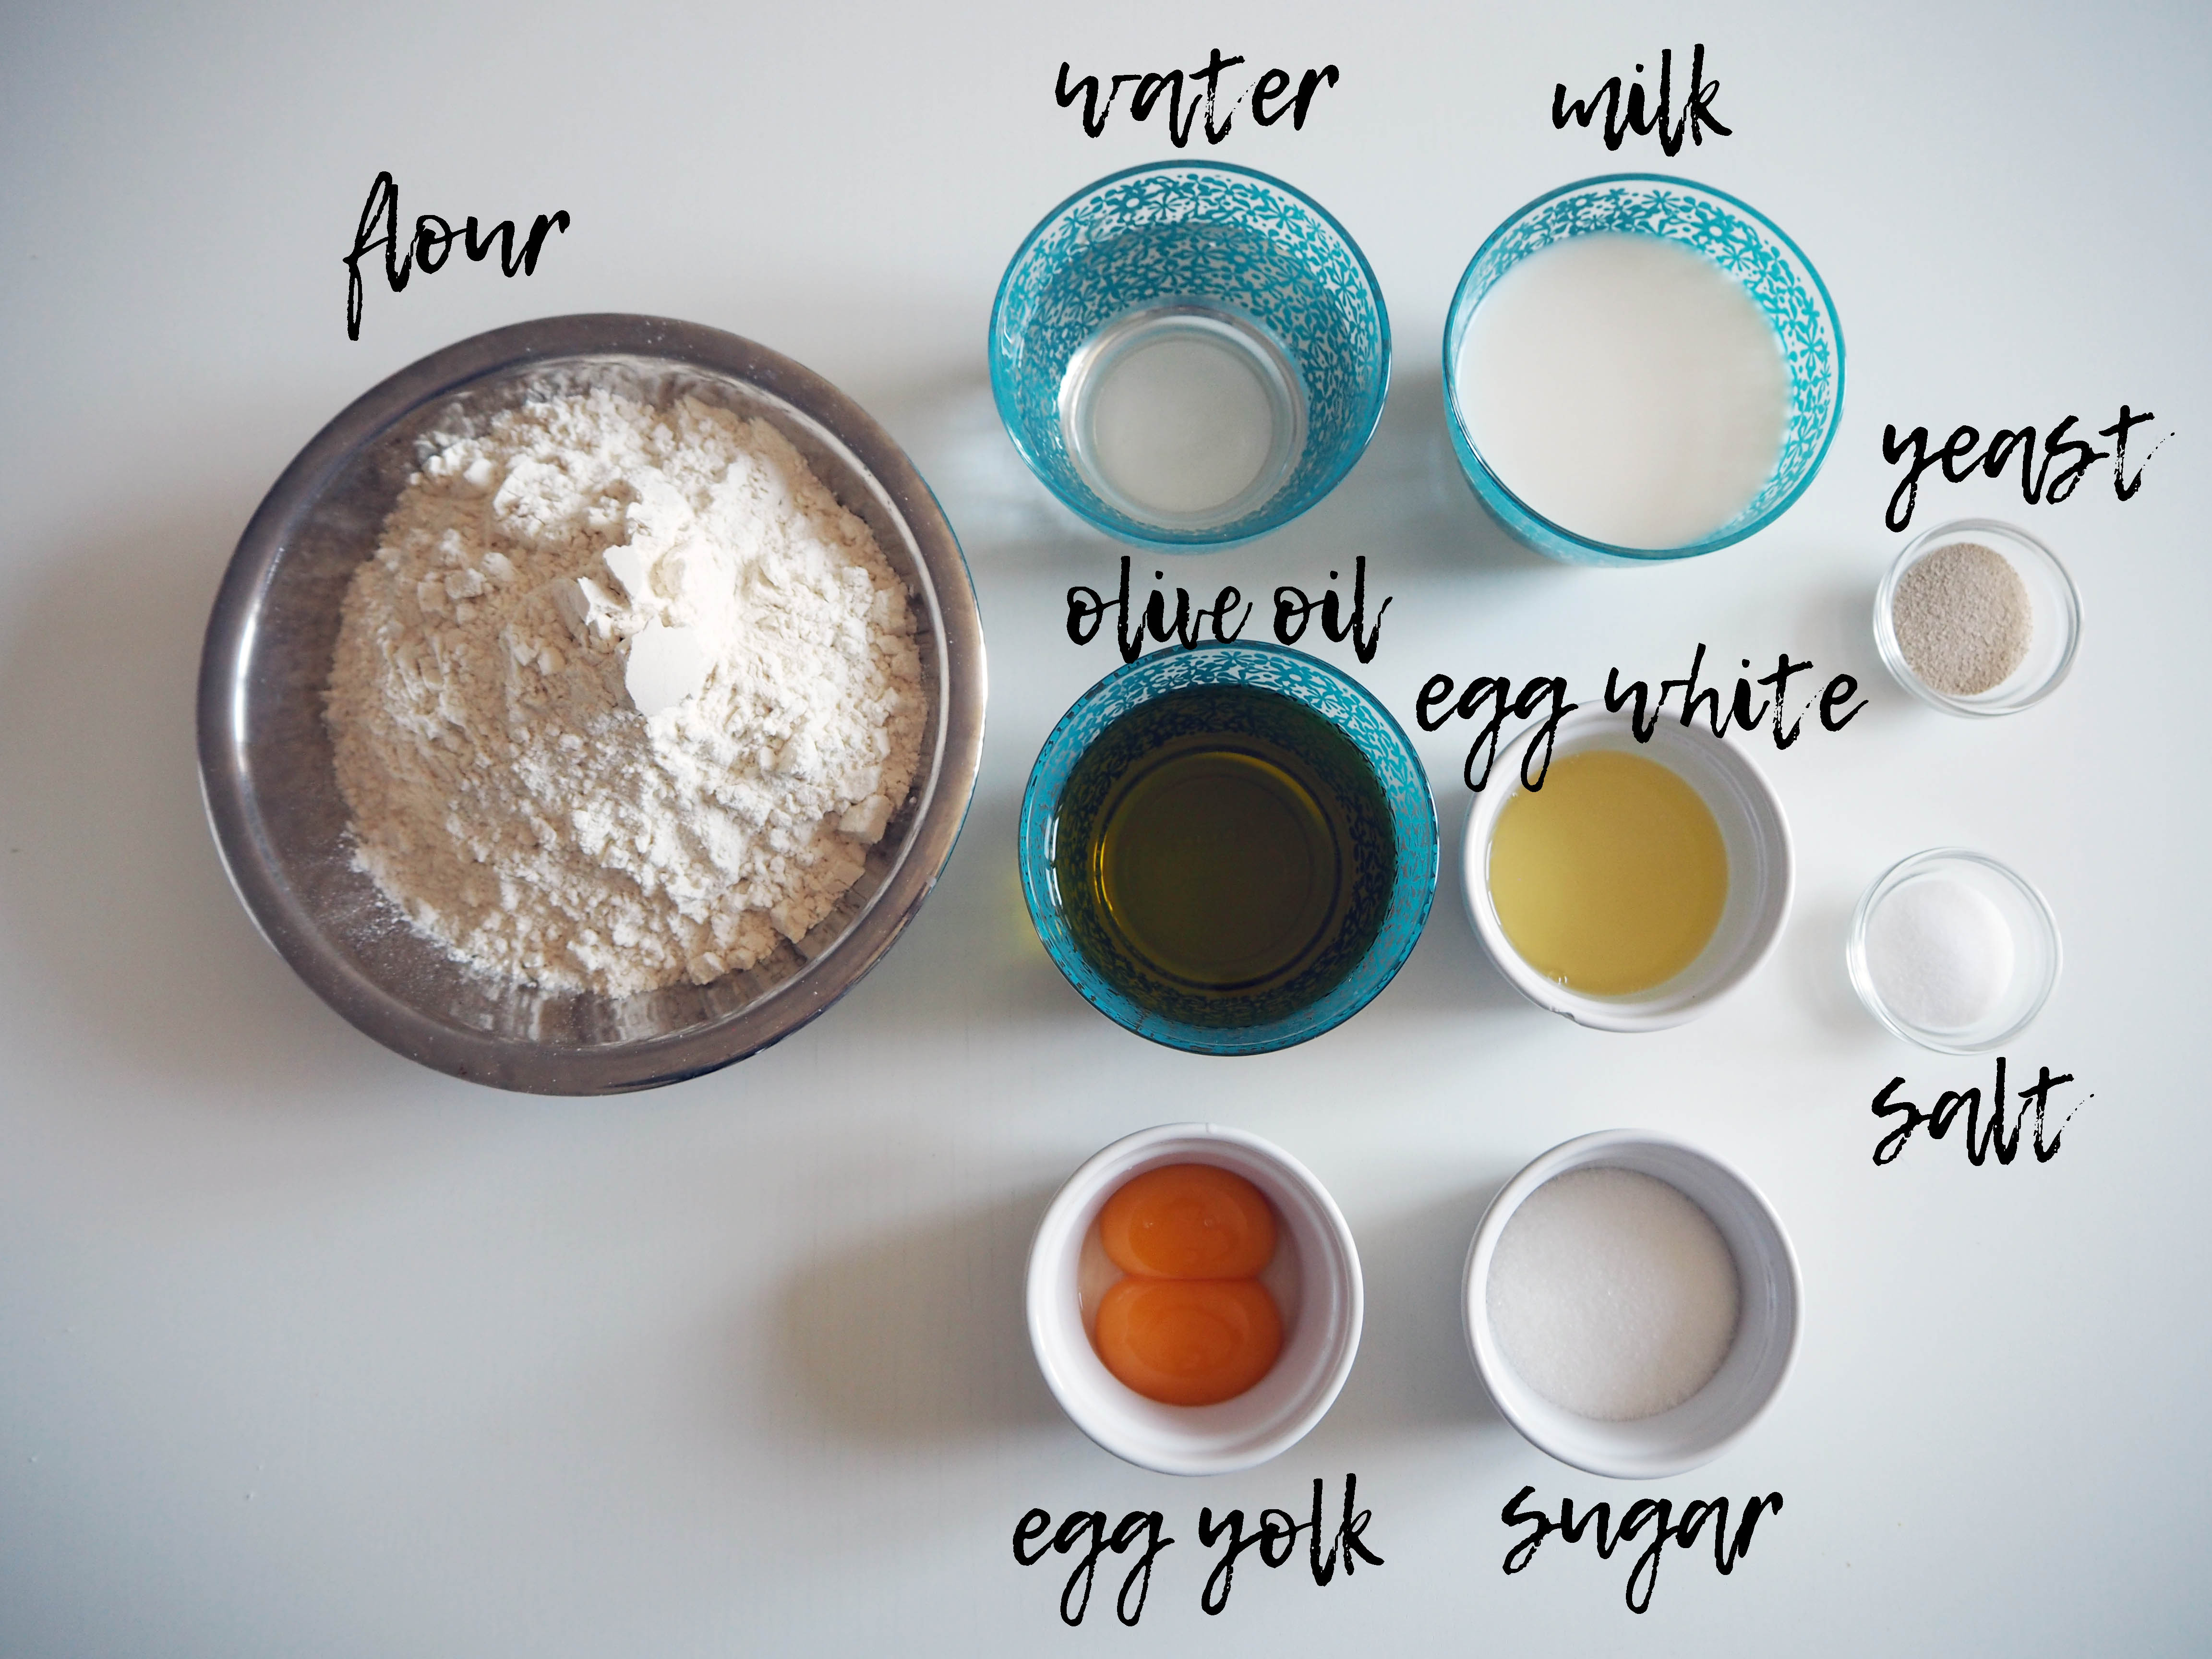
2.5 dl water
2.5 dl milk
1 tbsp active dry yeast
4 tbsp granulated white sugar
2.5 dl olive oil, plus more to grease the kneading surface and bowls
2 egg whites
about 2 lt / 1 kg / 8 cups all purpose flour (add gradually, as explained in step 4)
1 tbsp salt
2 egg yolks (or more, for egg wash – the amount depends on how generous you have been with washing the surface, see step 13)
black sesame seeds or nigella saliva to spread on top (optional)
—
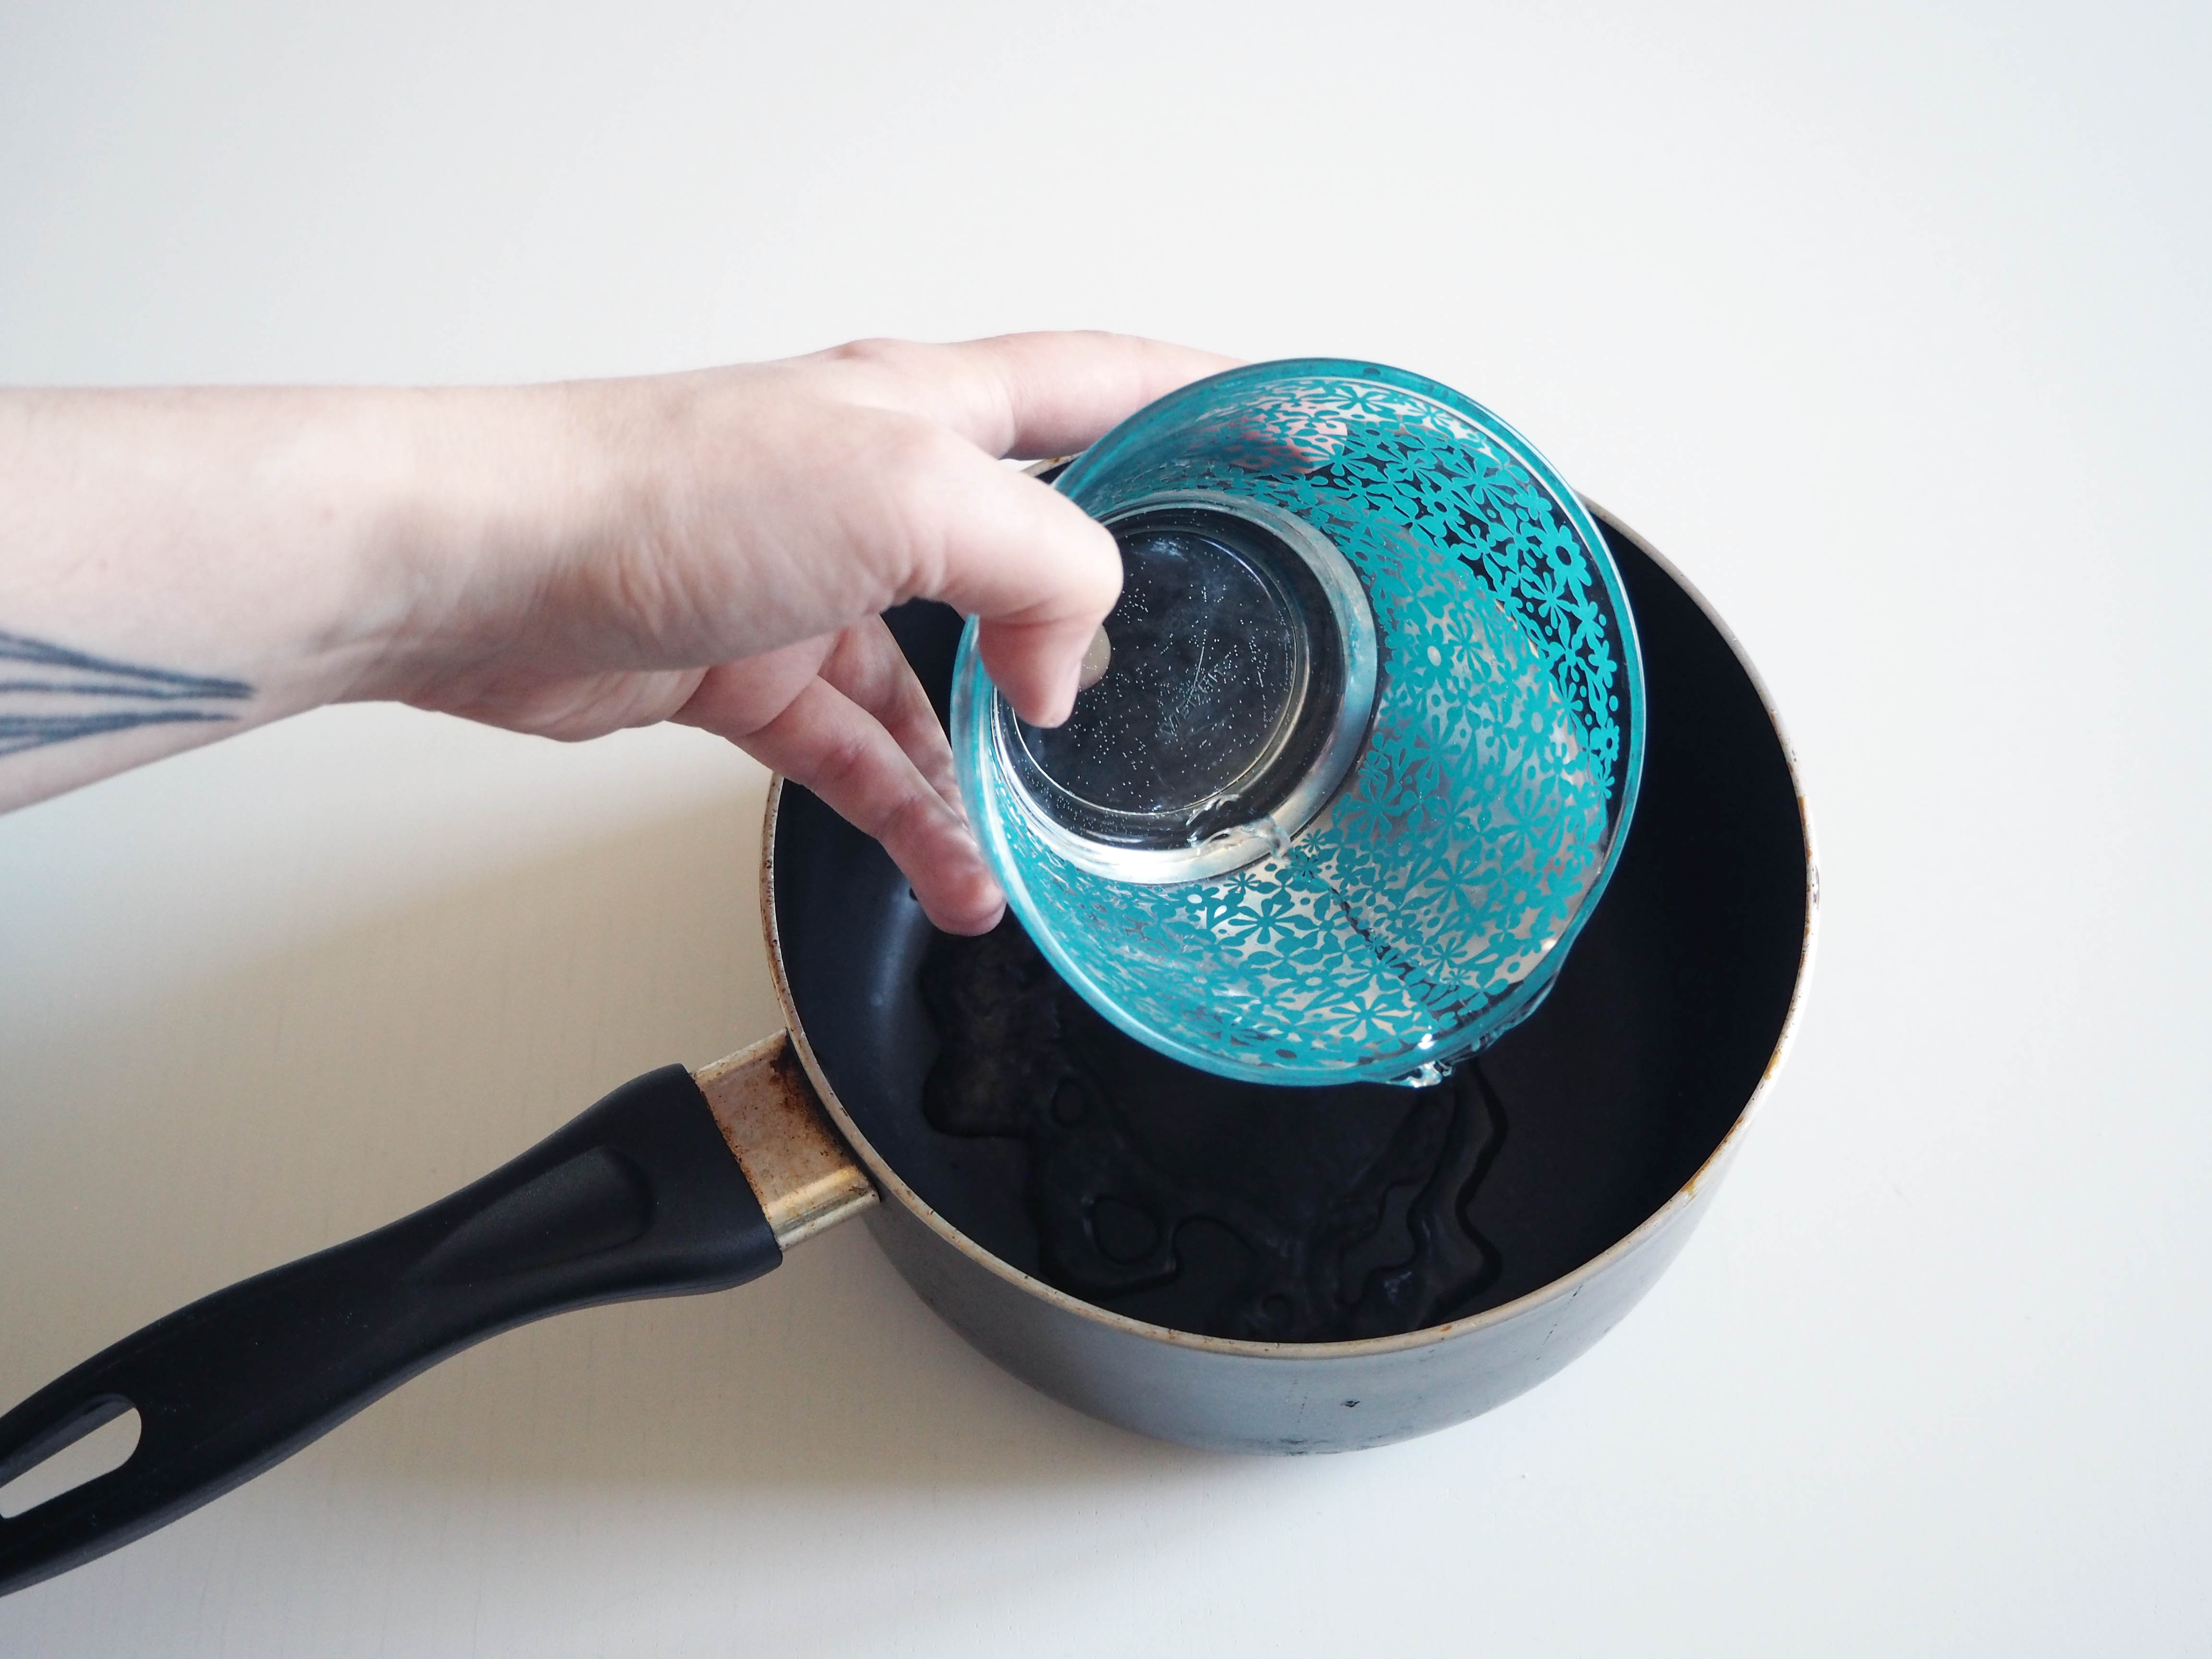
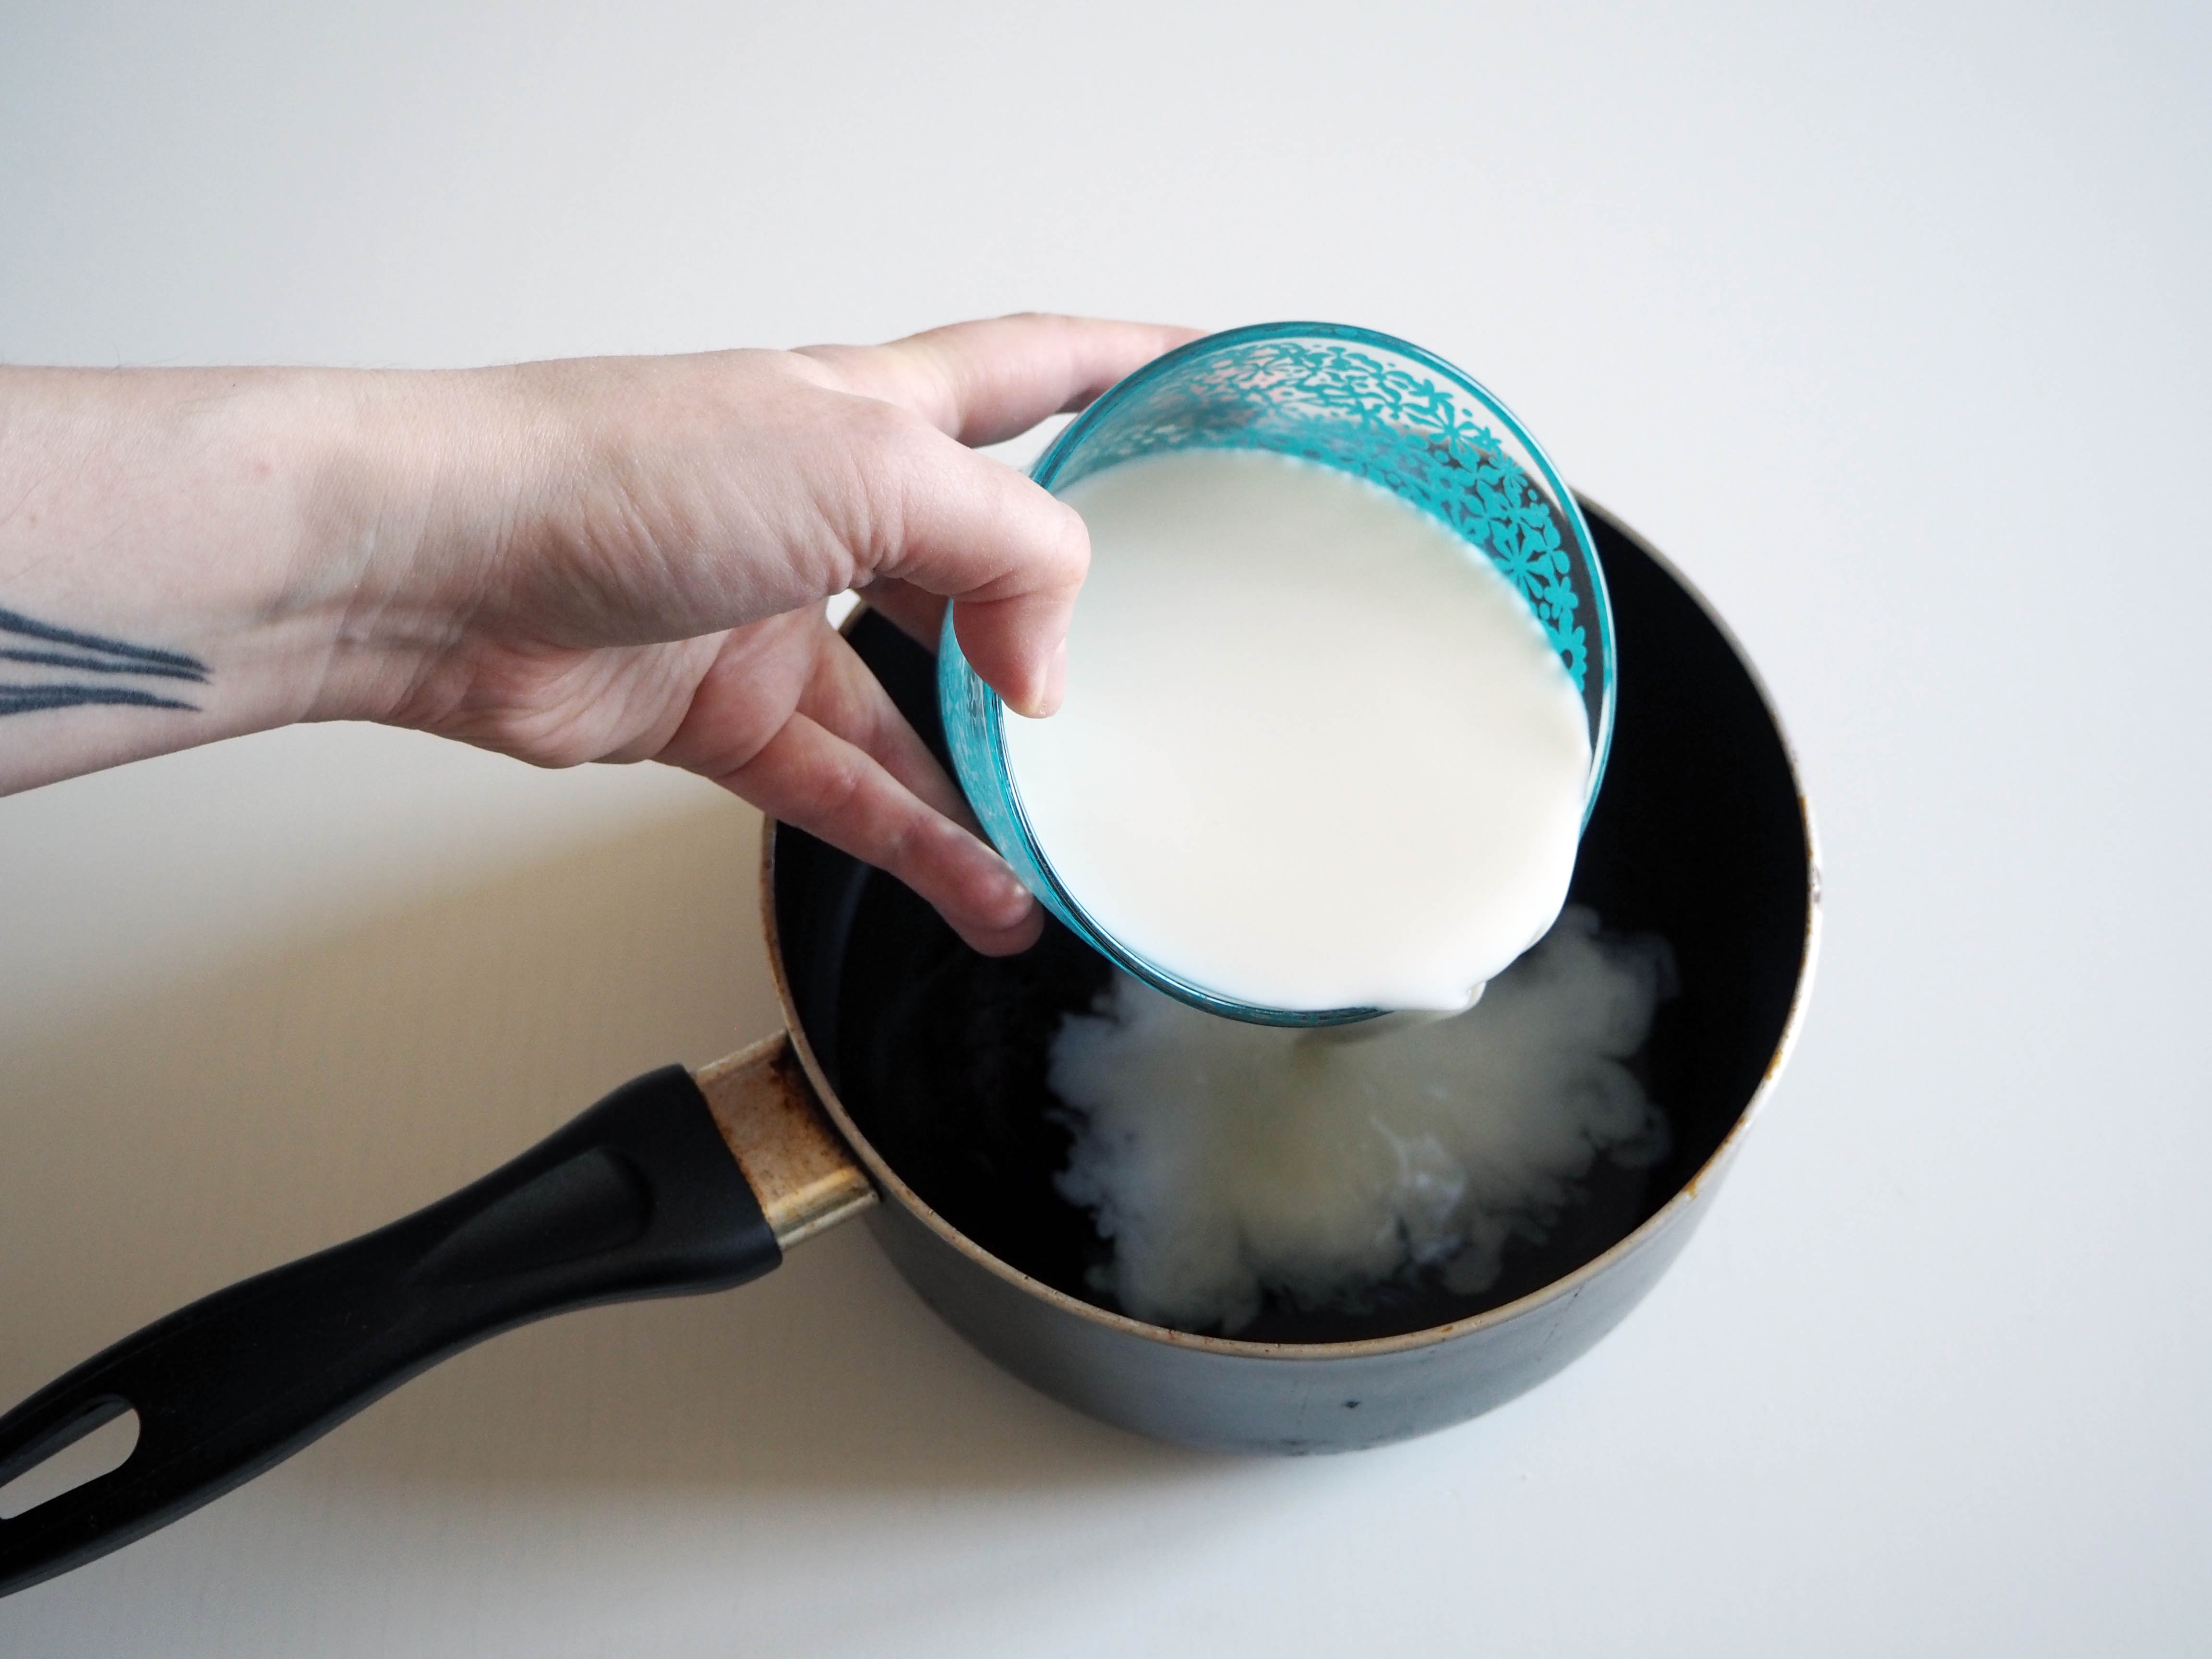
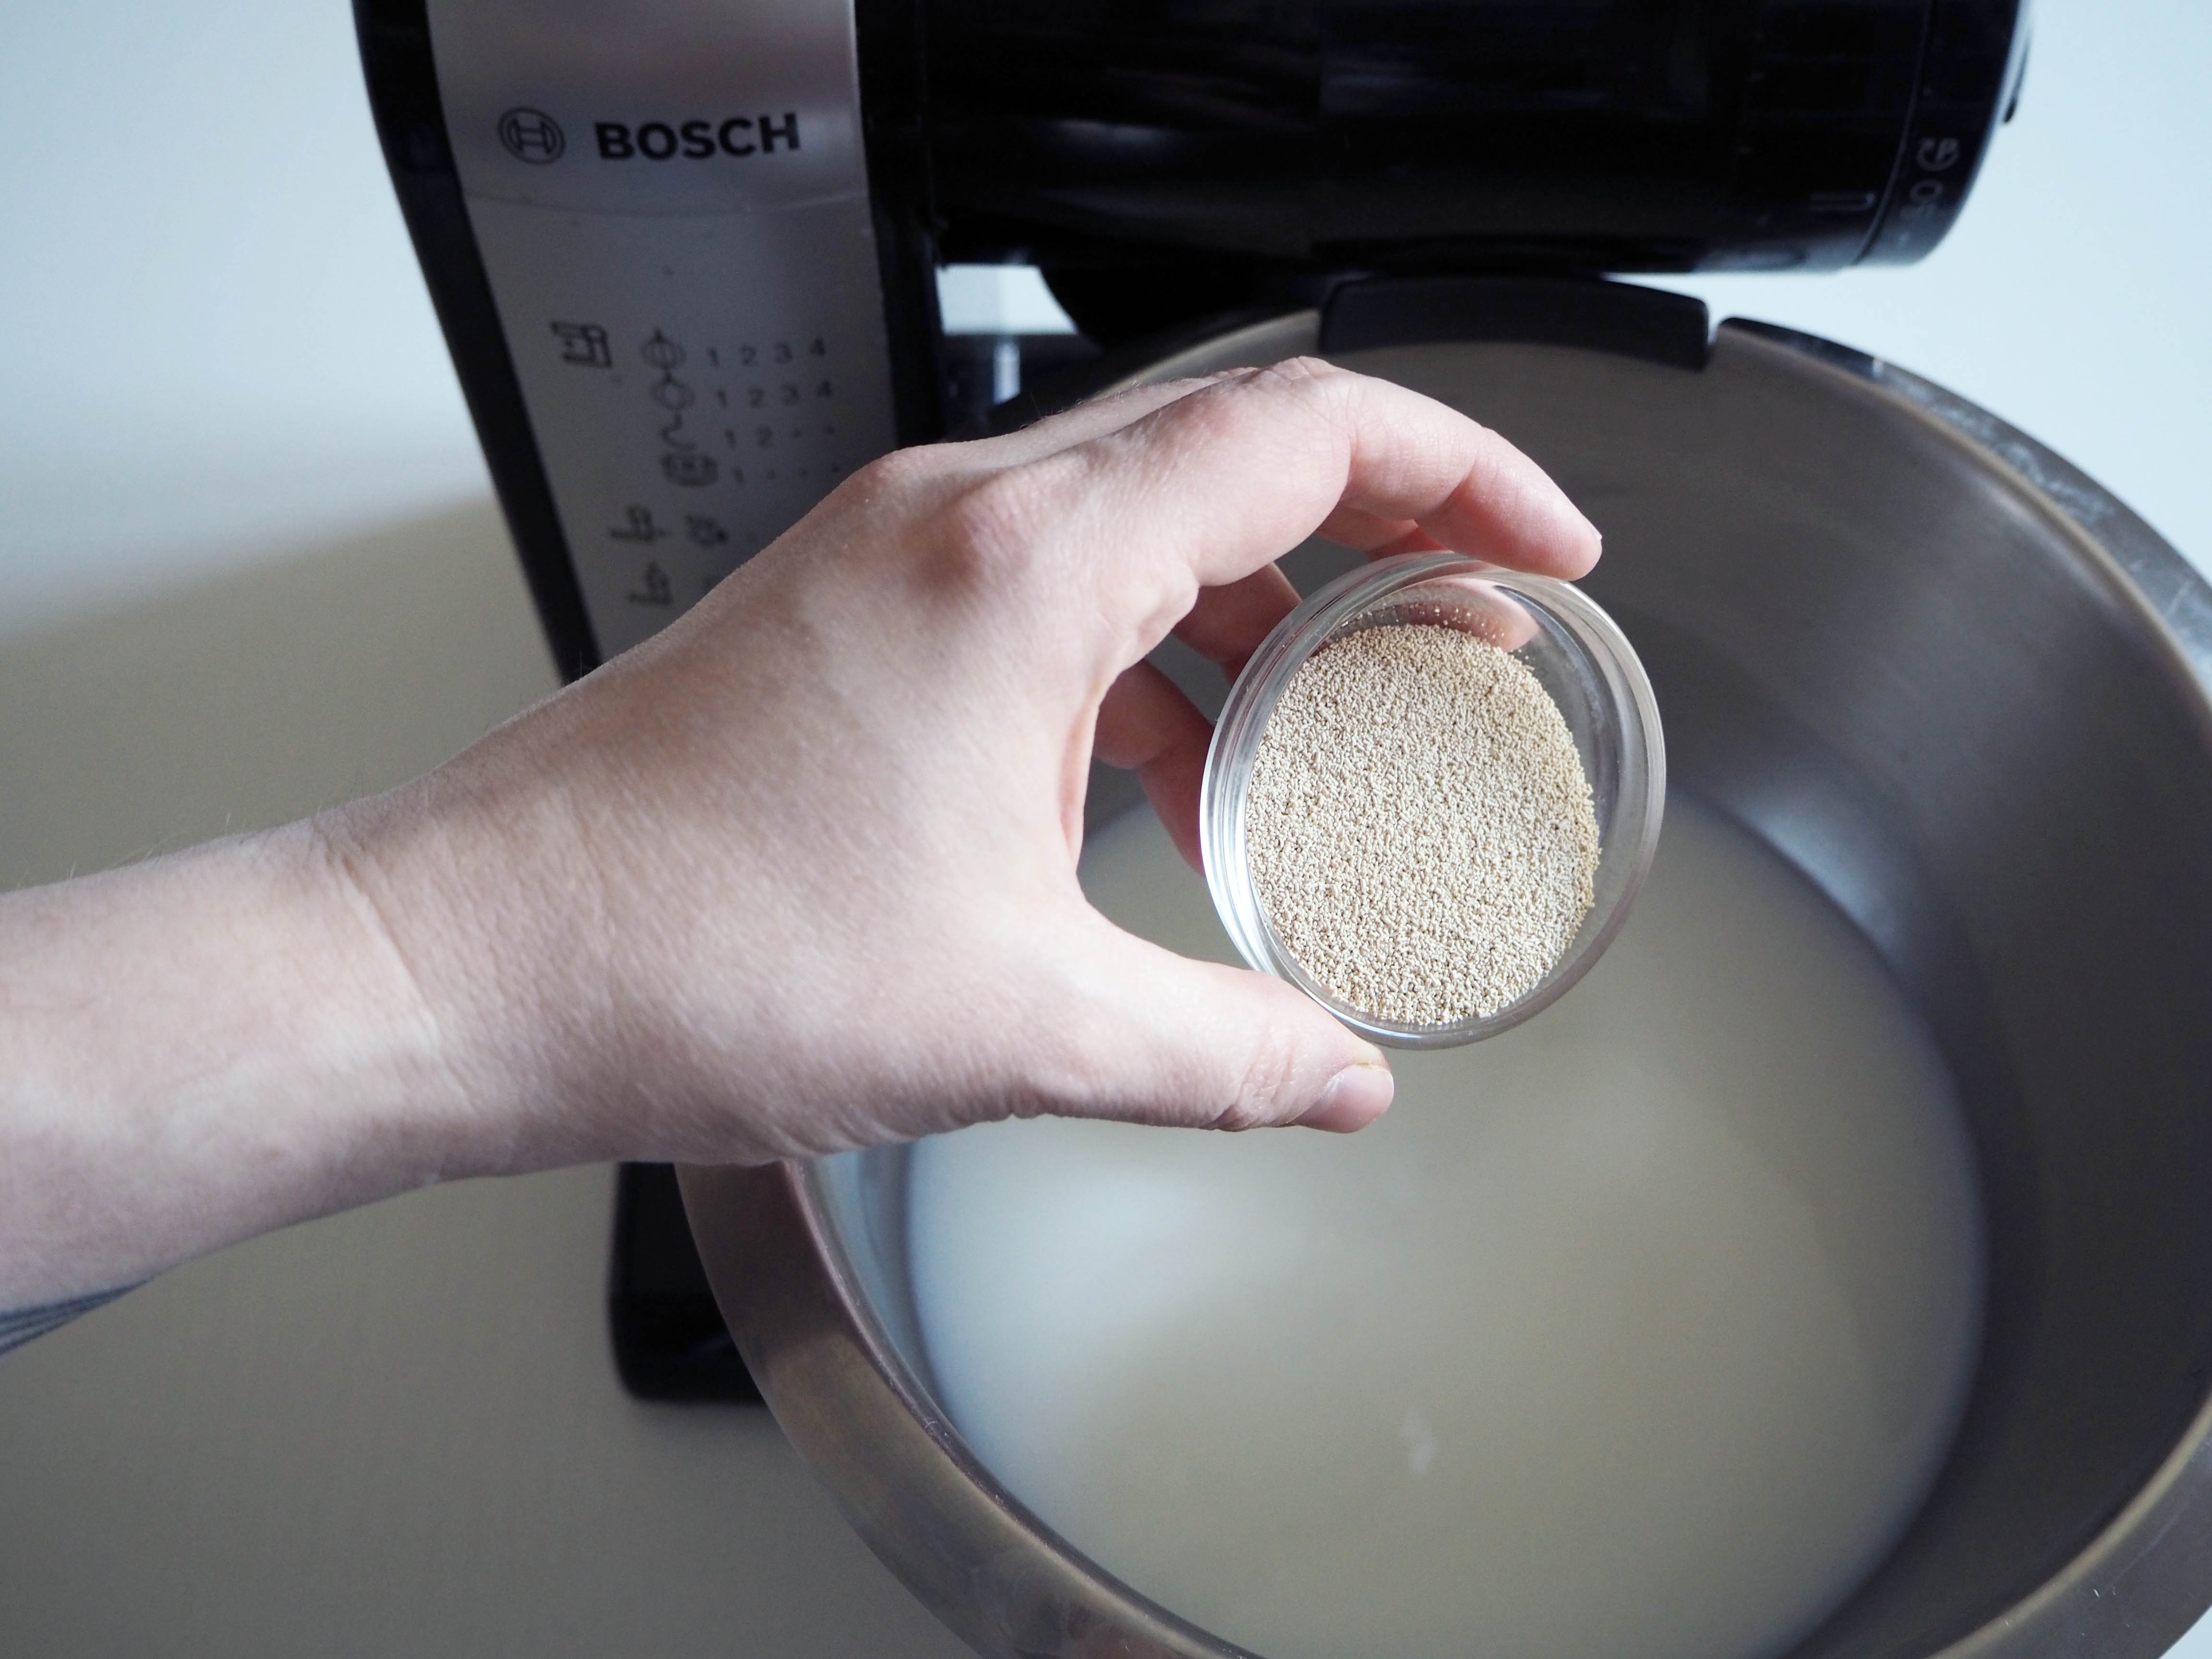
1. First, we need to activate the yeast. Put water and milk in a pan and heat it until it is warm to touch (but do not boil, if it’s too hot you will kill the yeast instead of activating).
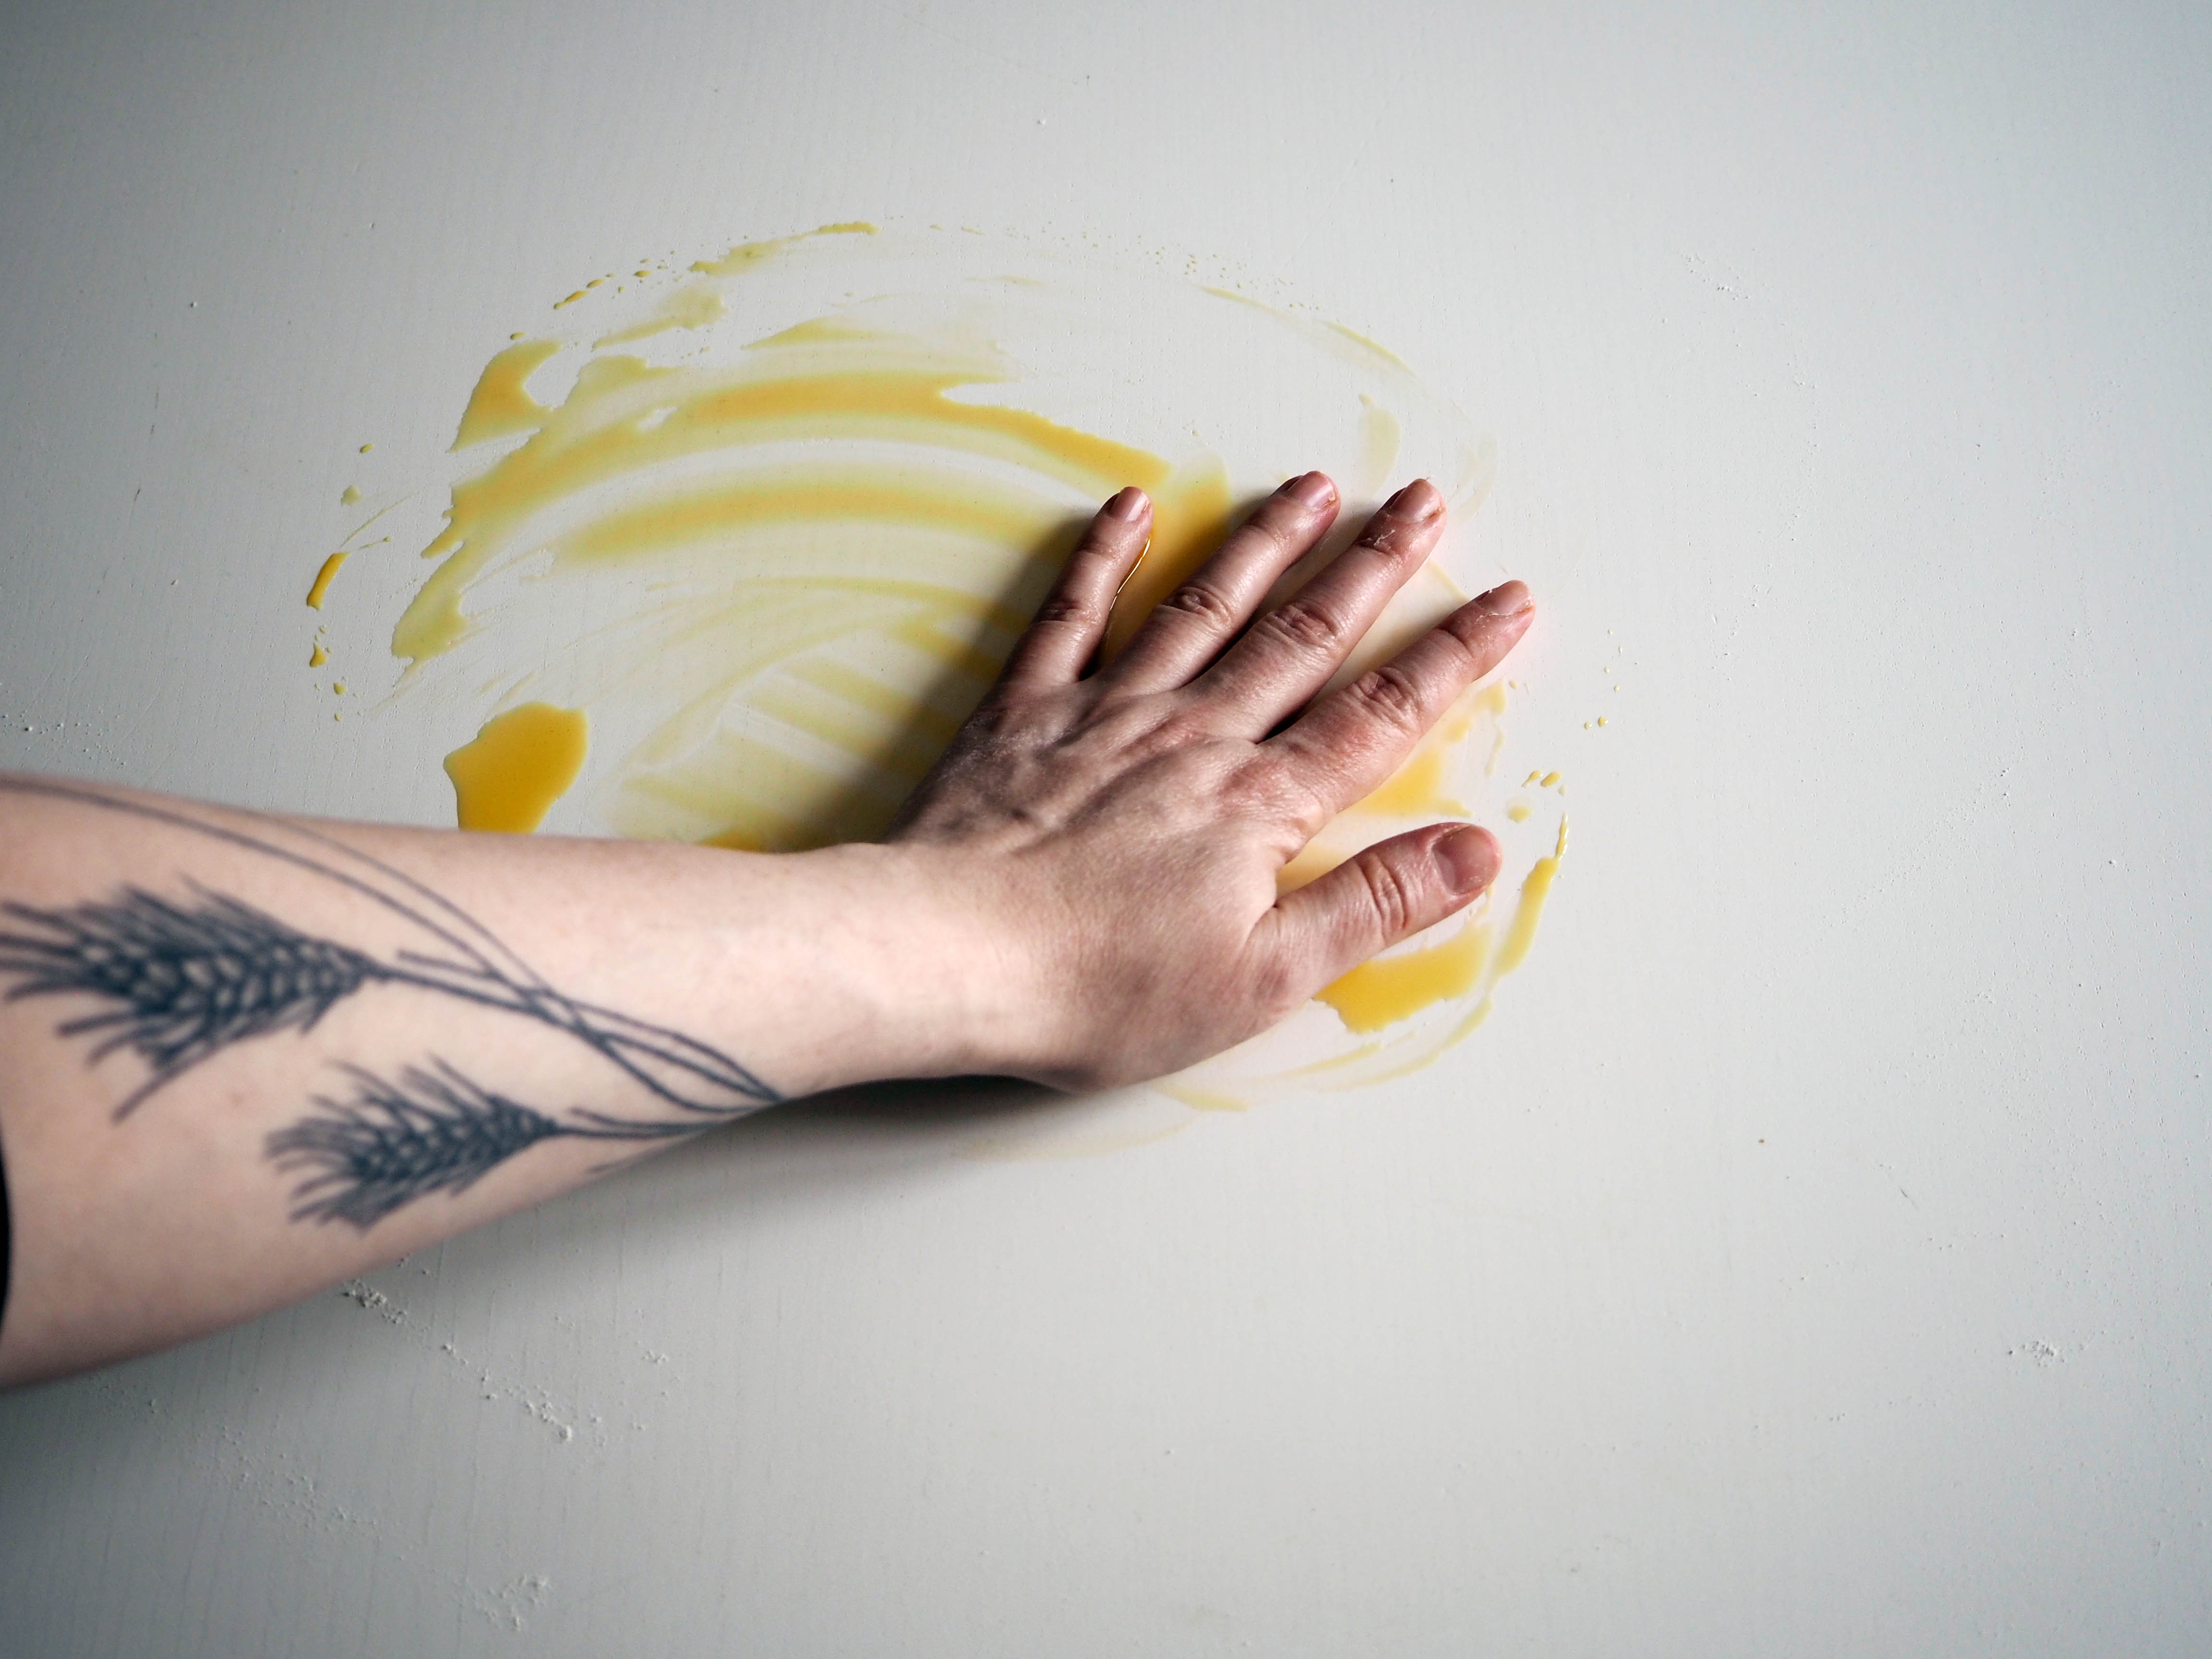
2. Put the heated milk/water mixture to a mixing bowl. If you have a standing mixer with kneading function you can use that, or if you don’t have any machine, you can perfectly do the buns with hand kneading. Add yeast and sugar to the liquids, stir a little and leave it to activate for about 5 minutes. It should get bubbly as you see in the 4. picture below which shows that yeast is activated.

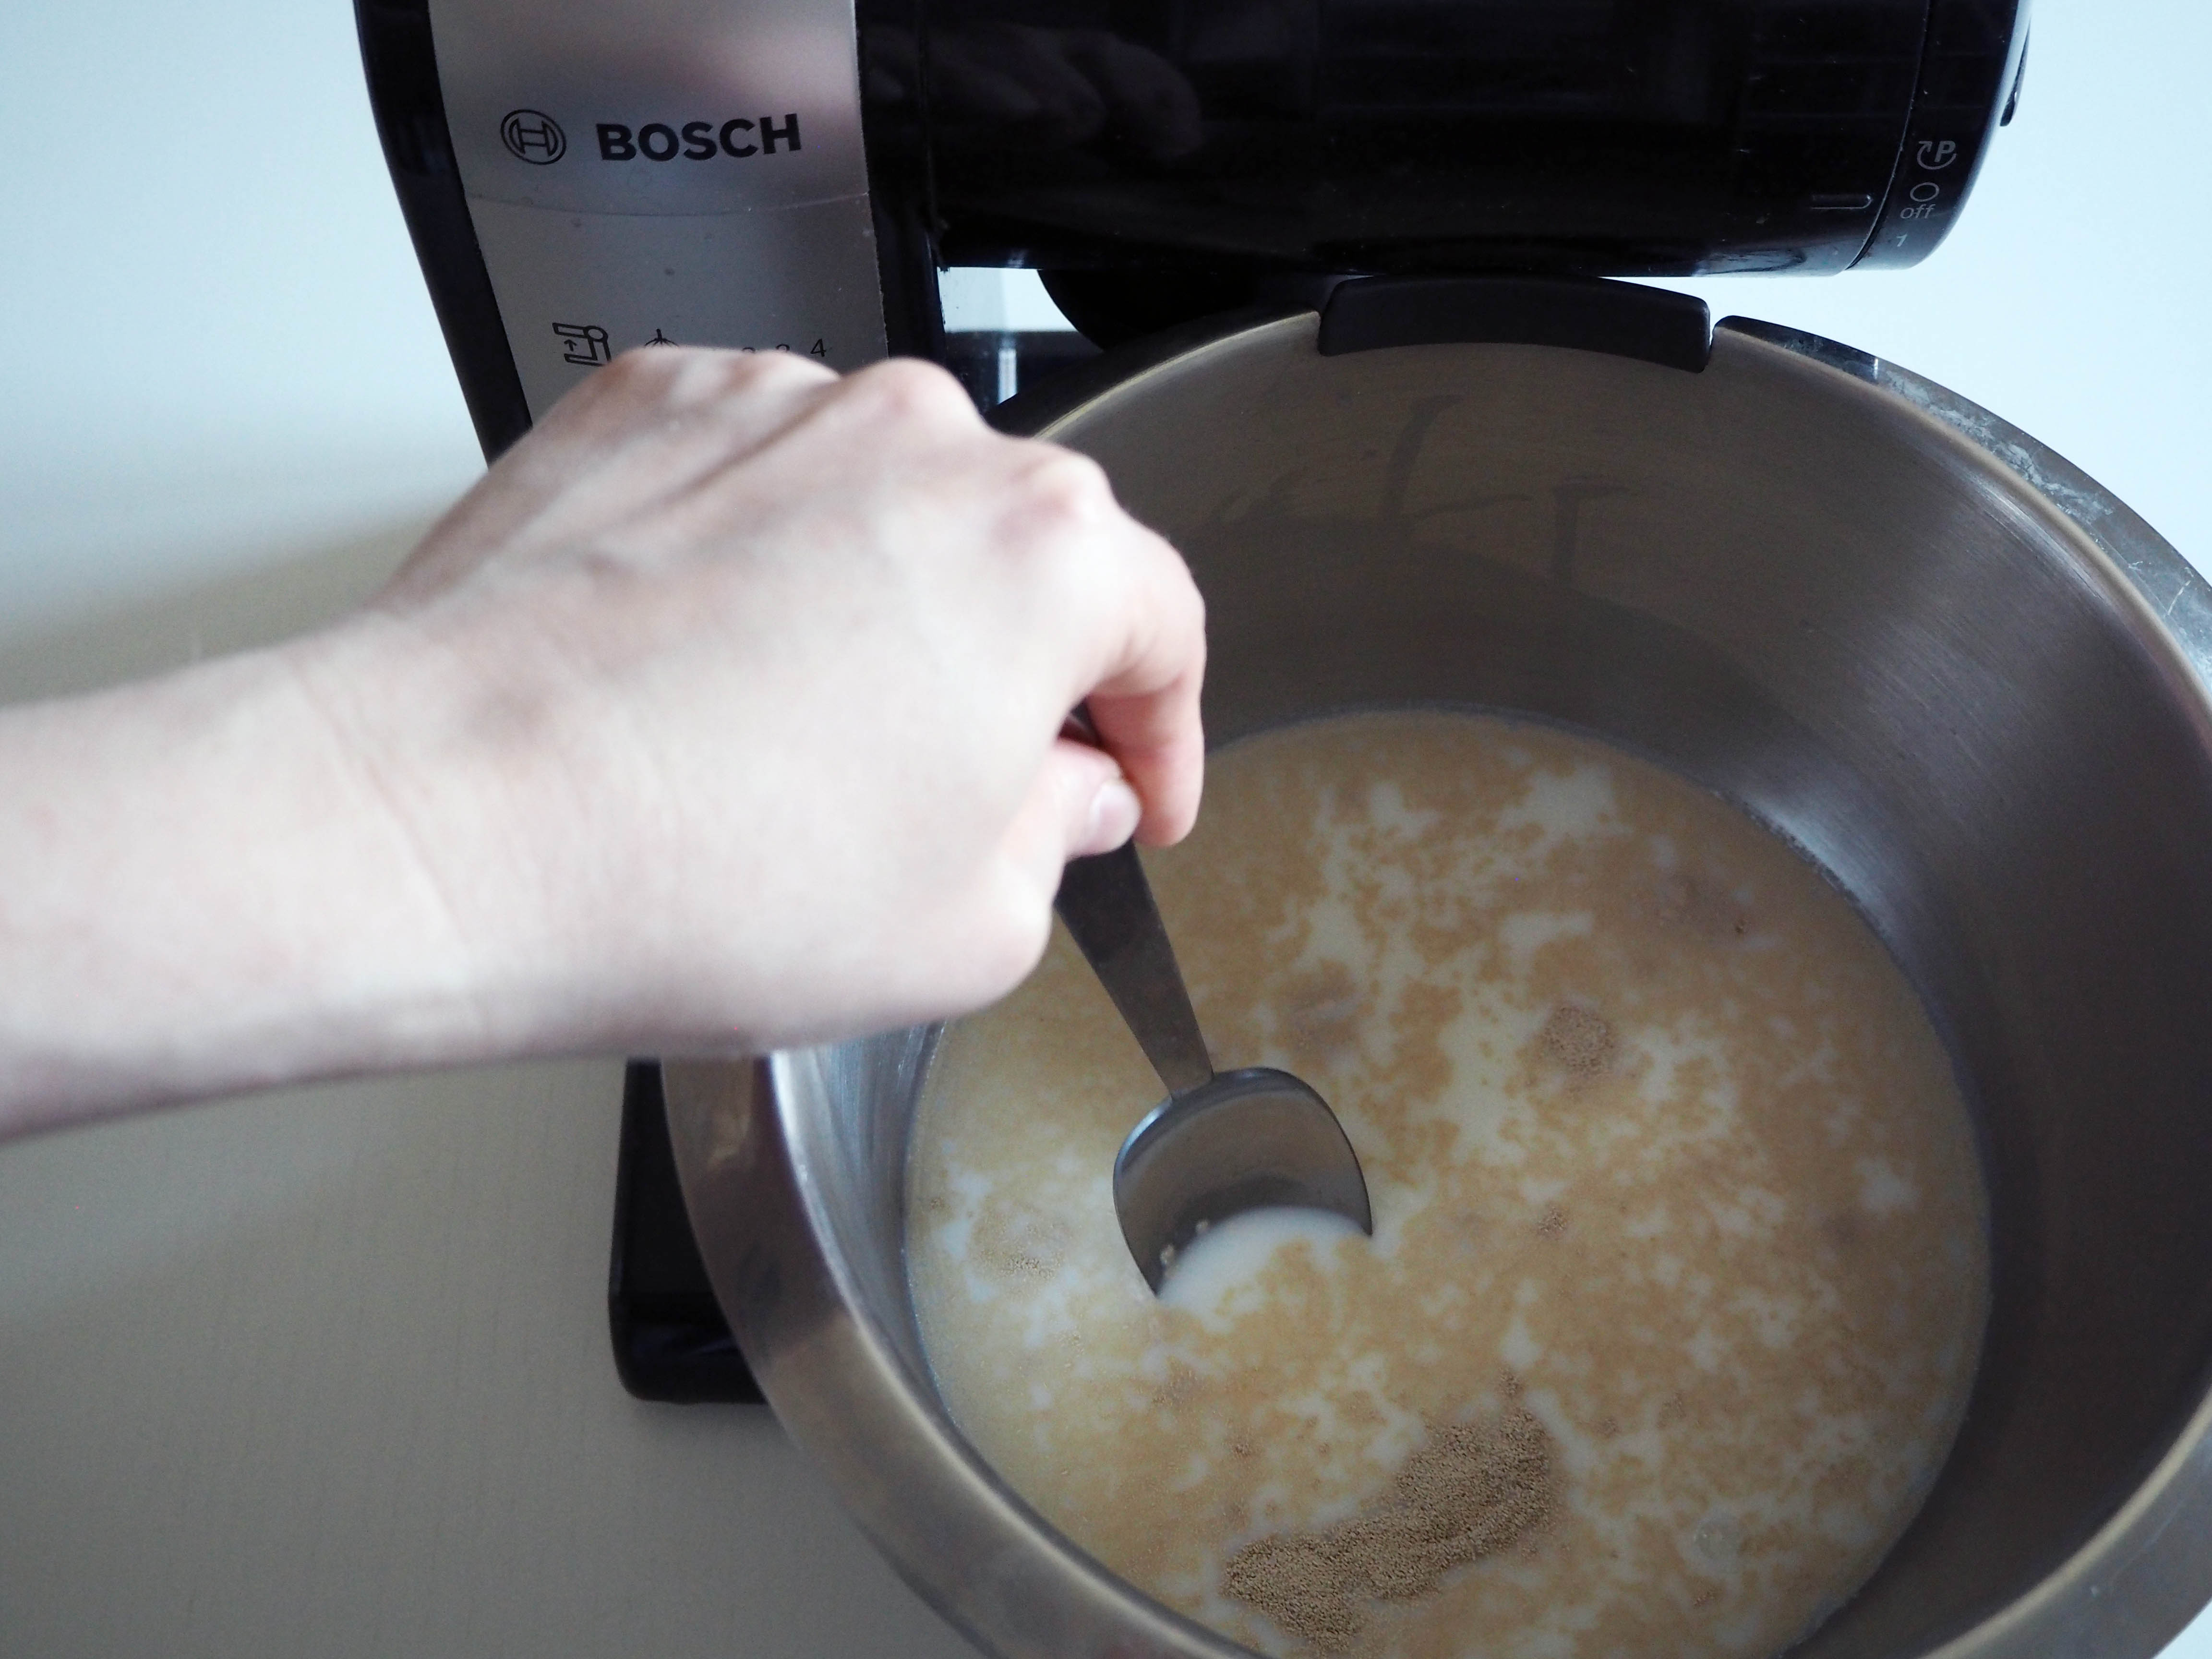

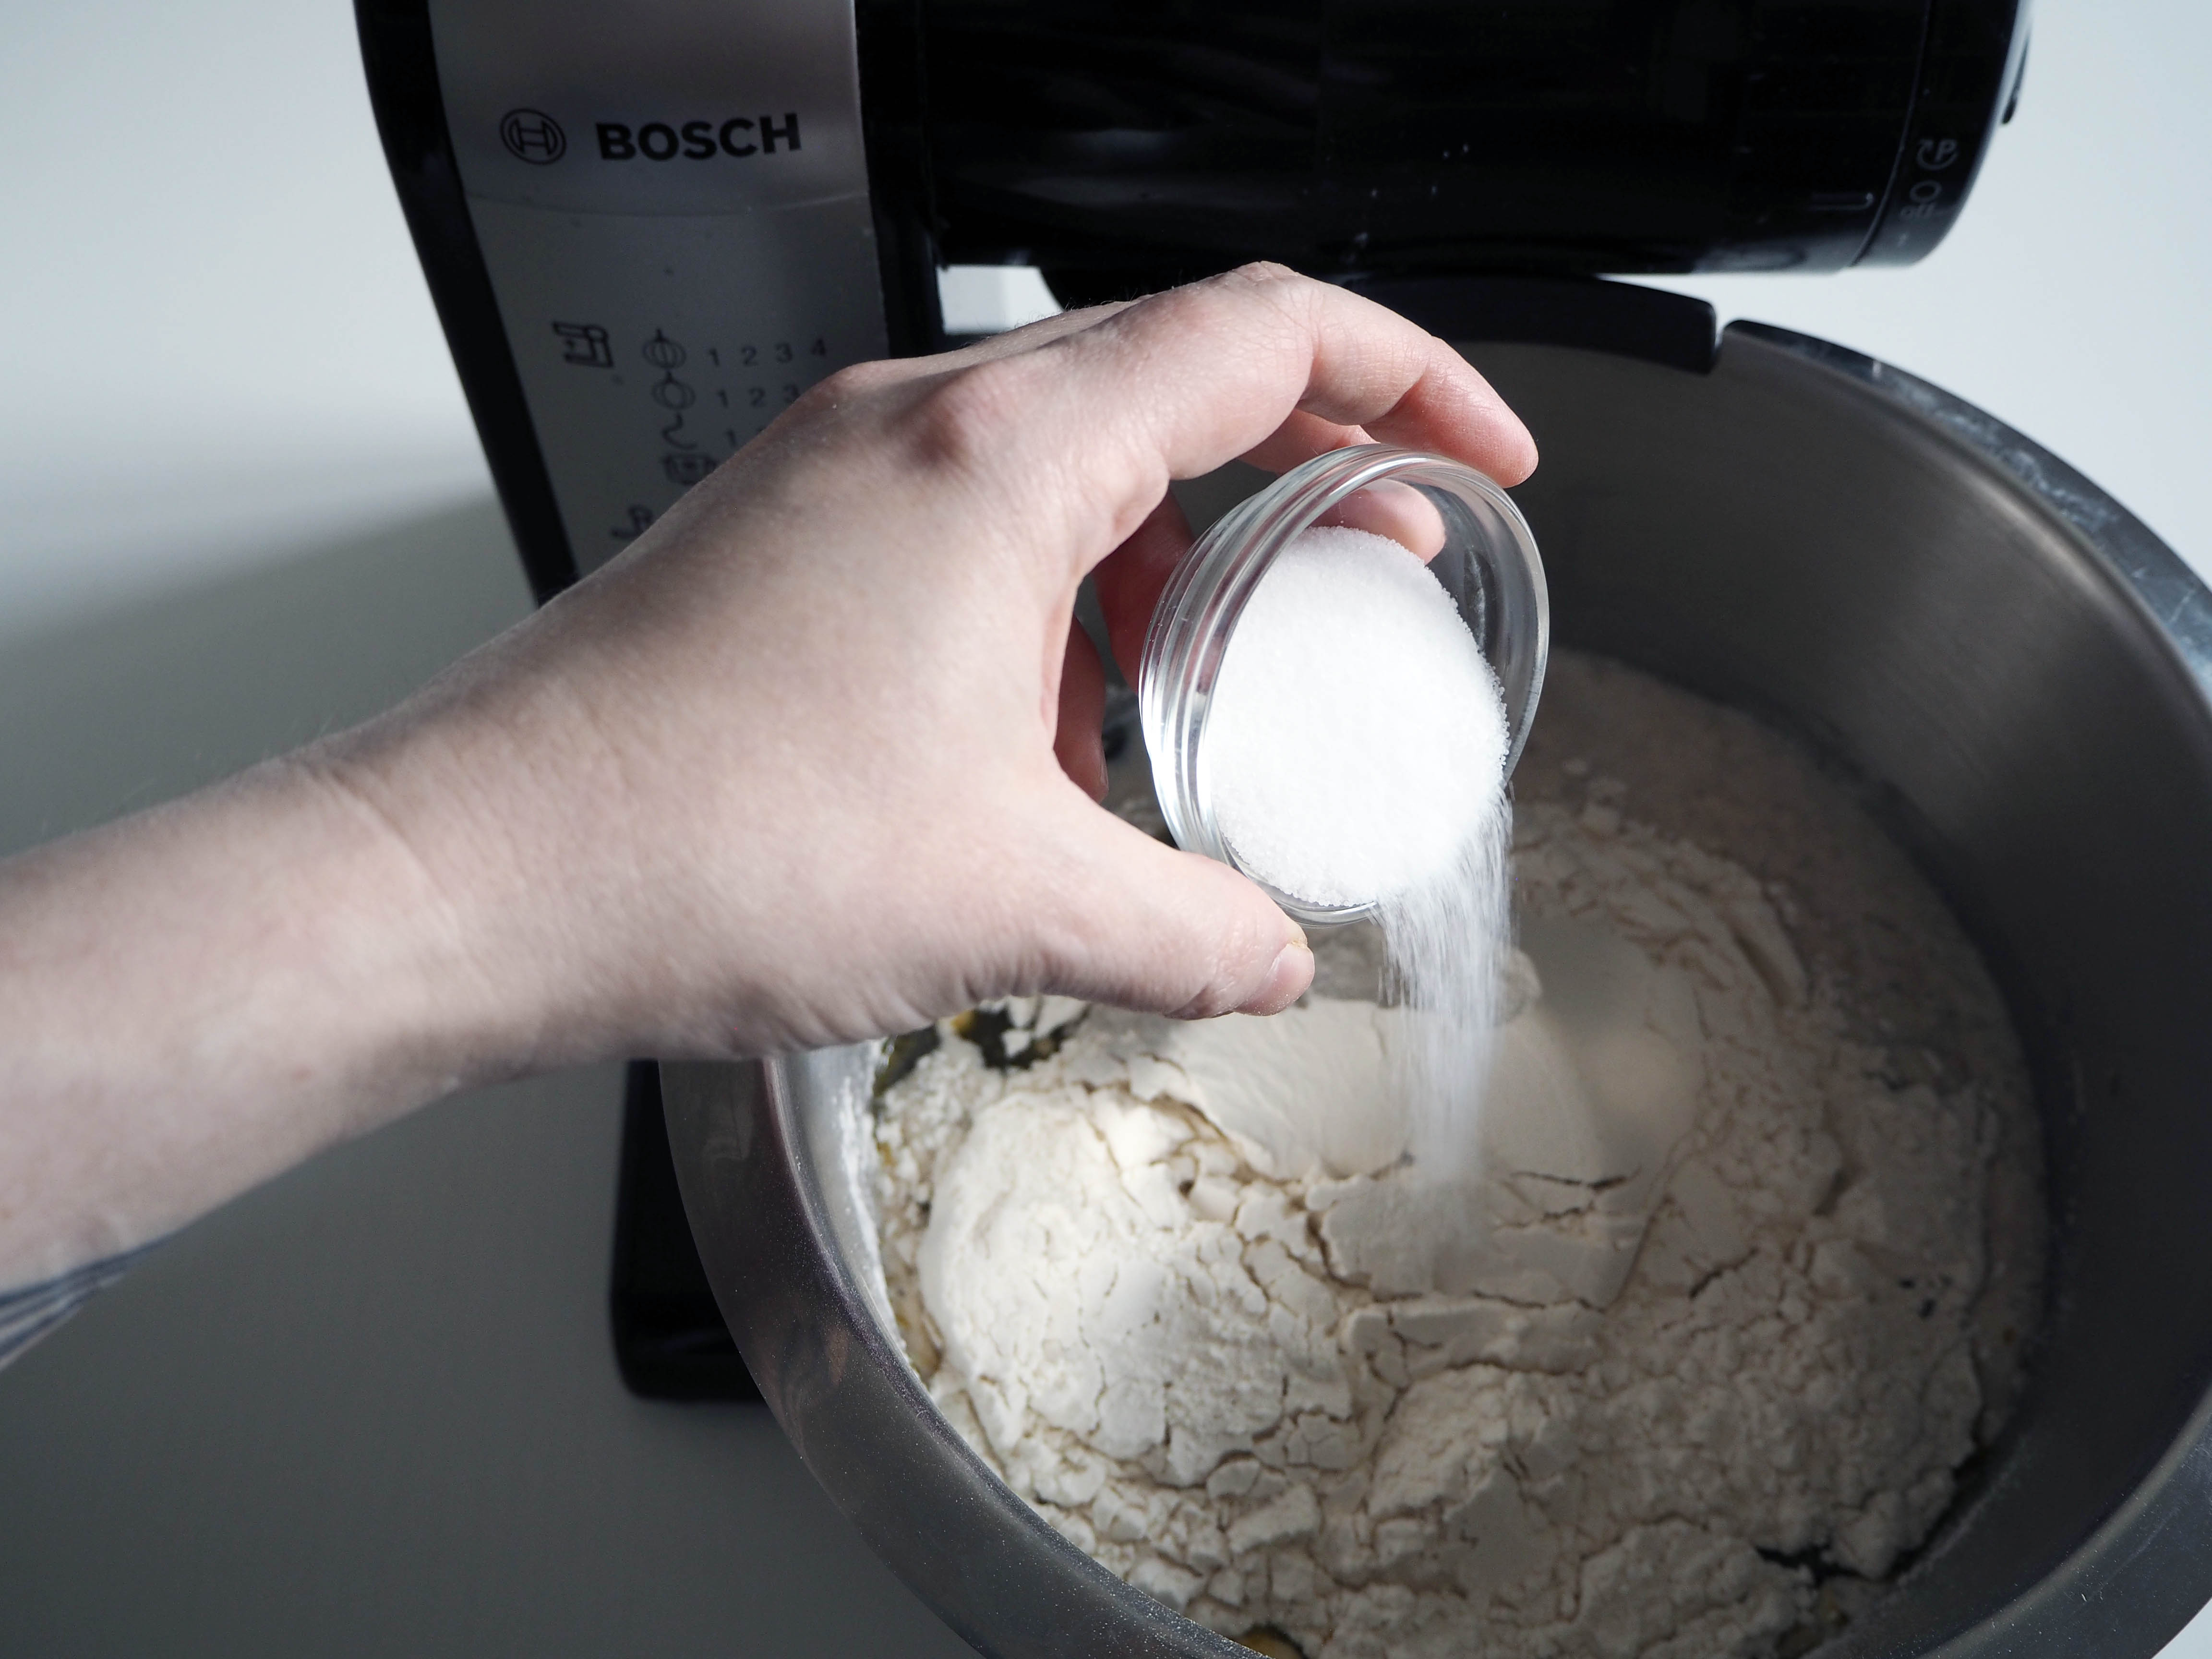
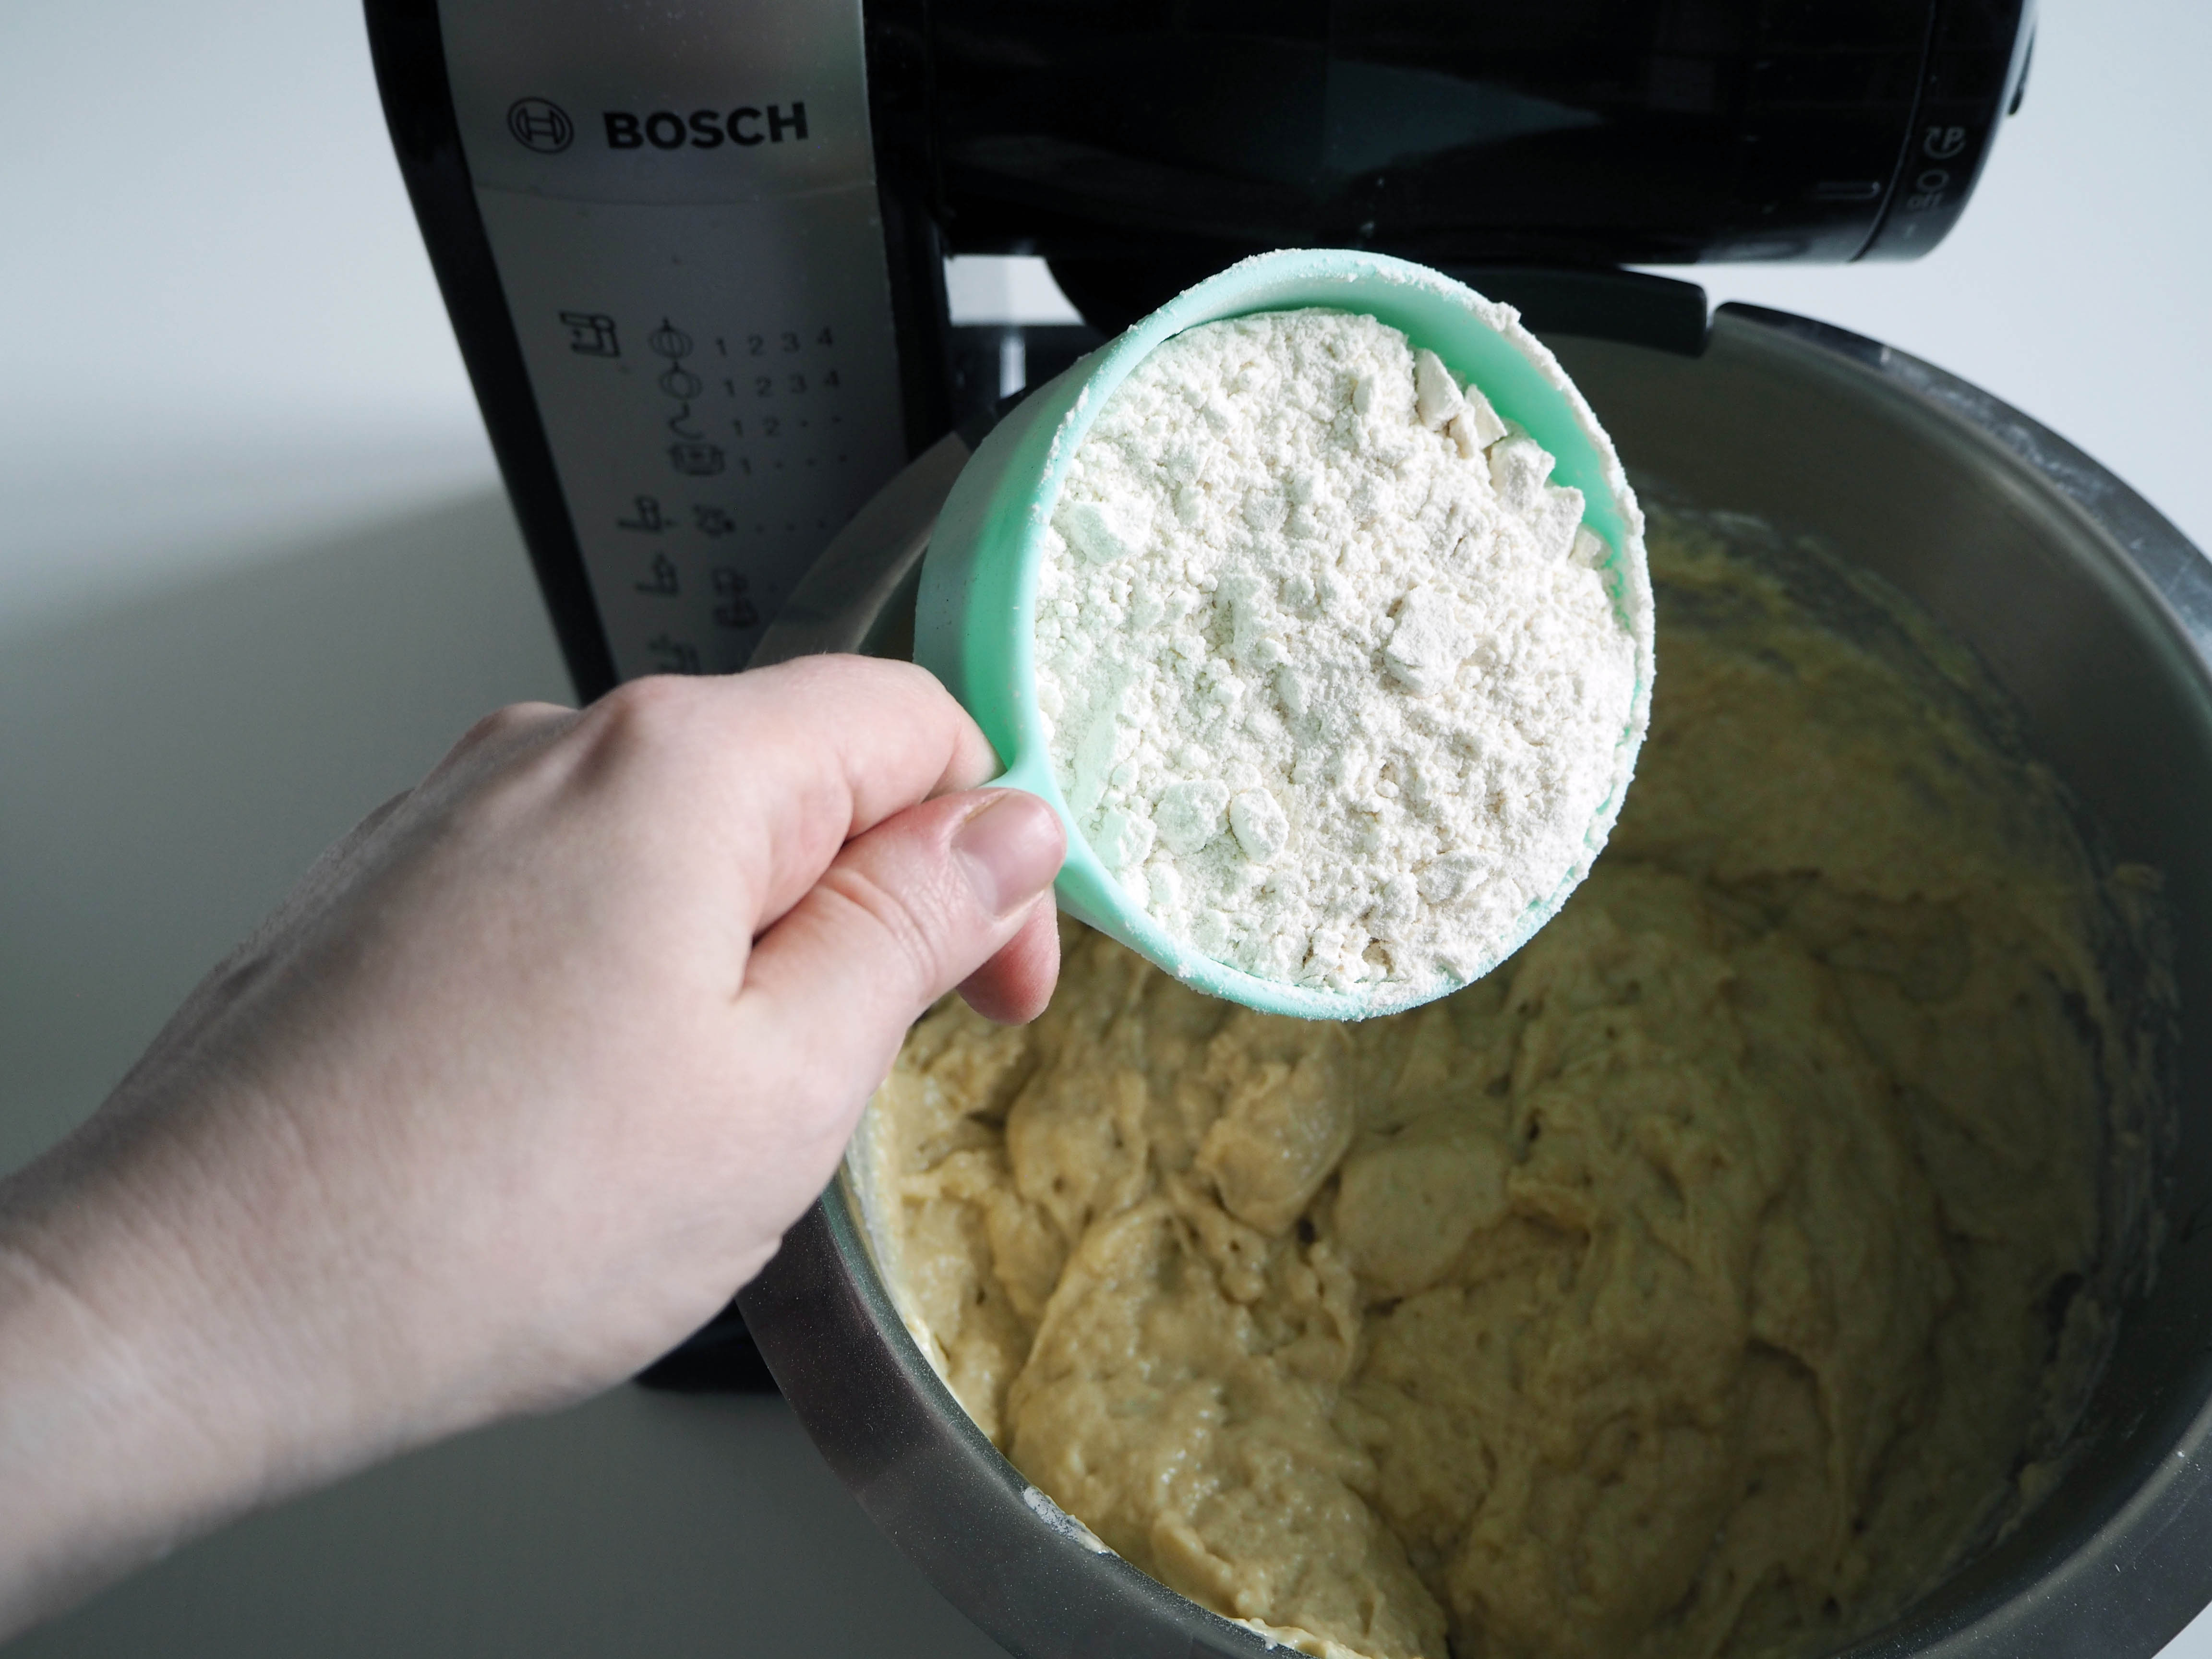
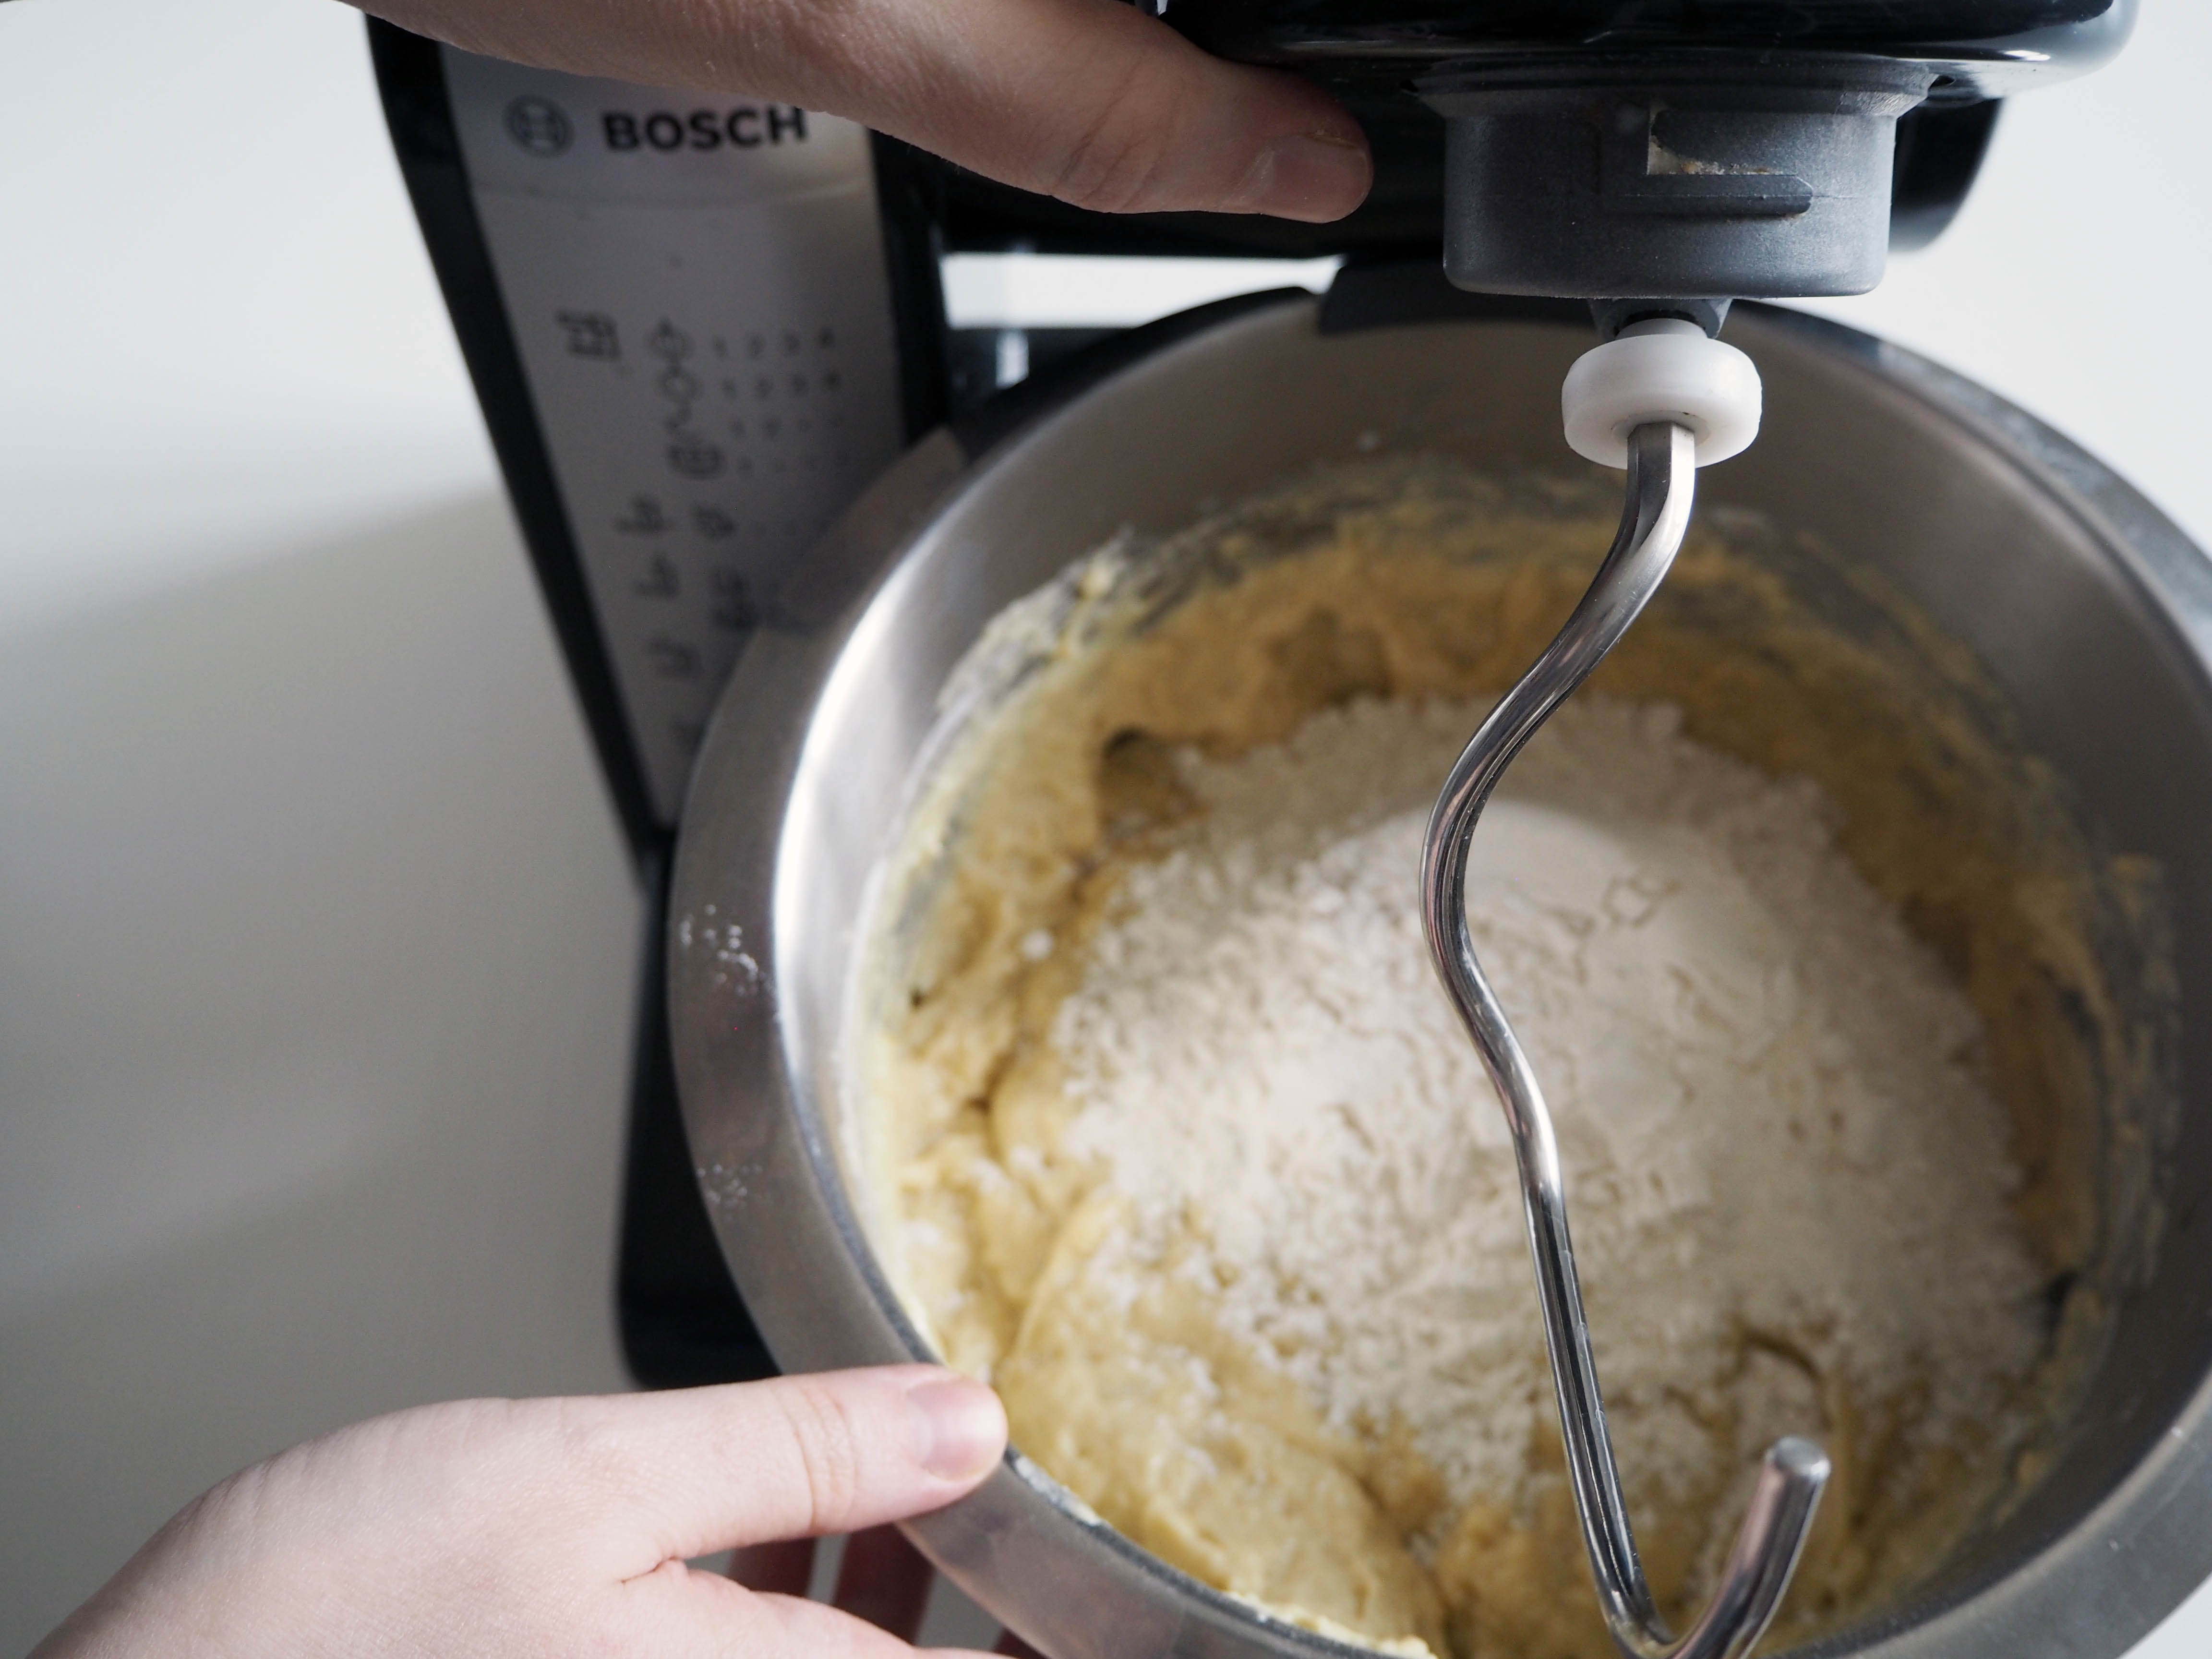
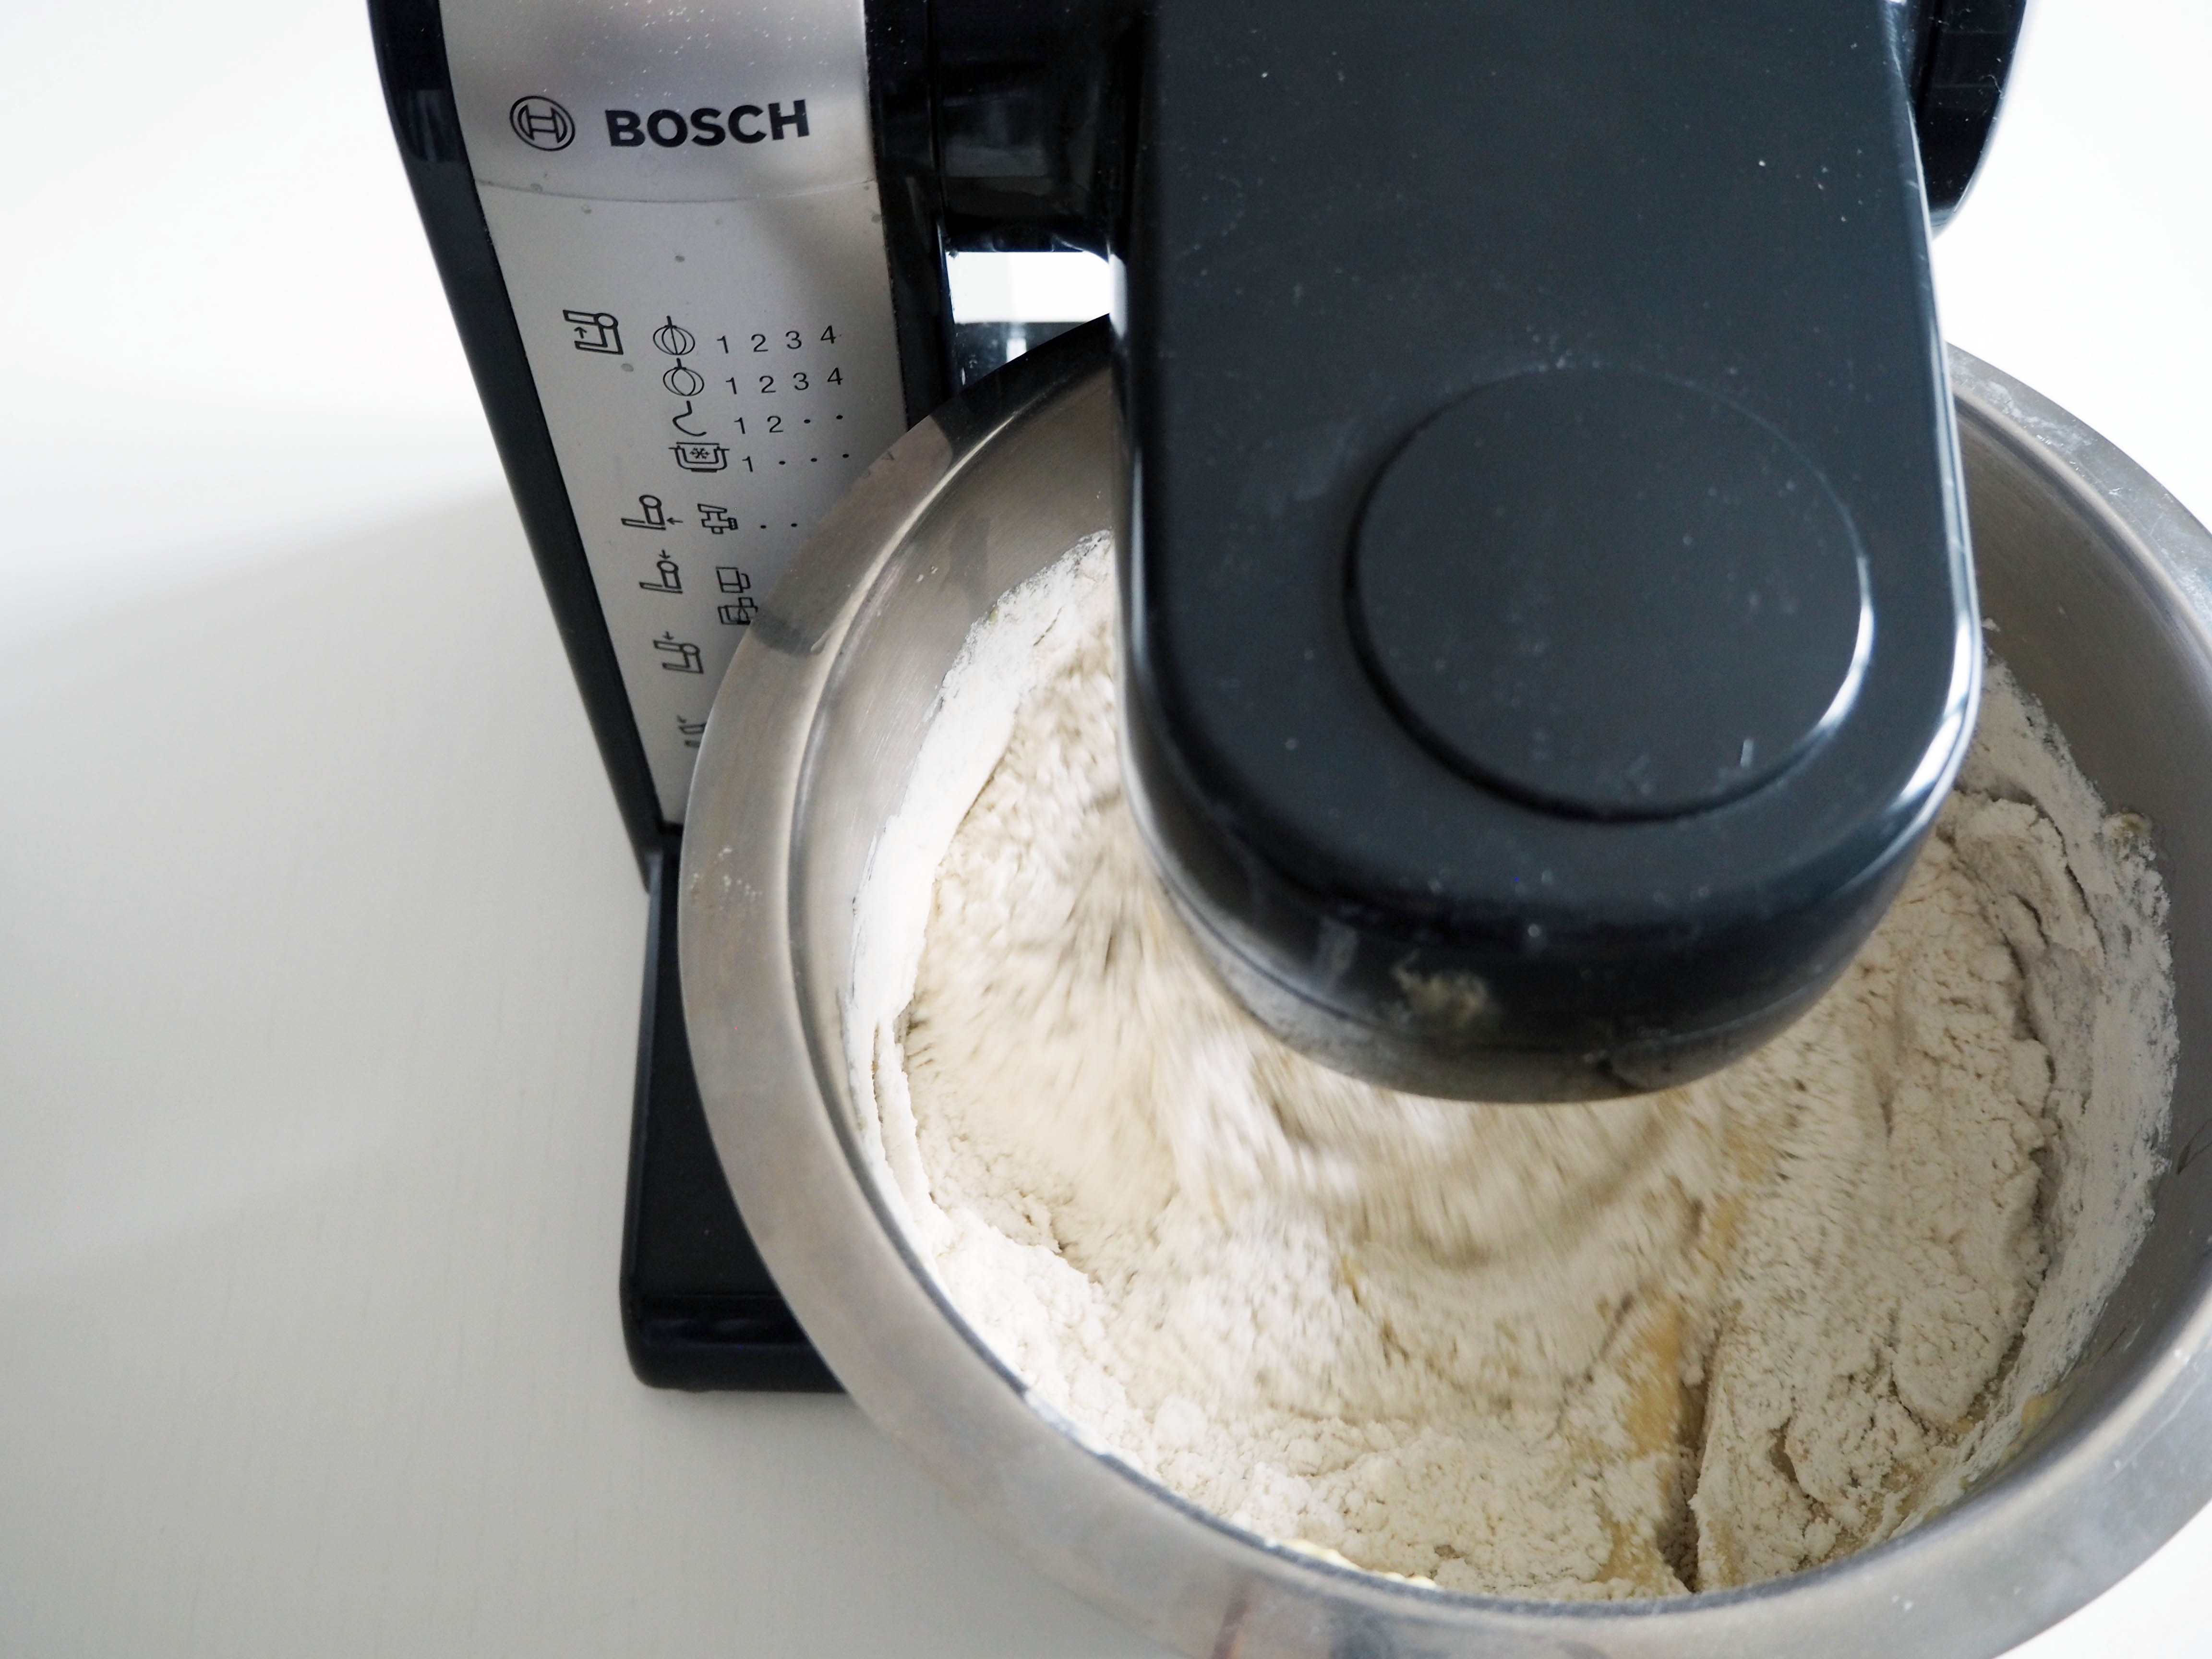
3. Add olive oil, egg whites, about 12.5 dl / 5 cups of flour and salt and start mixing until they are all incorporated.


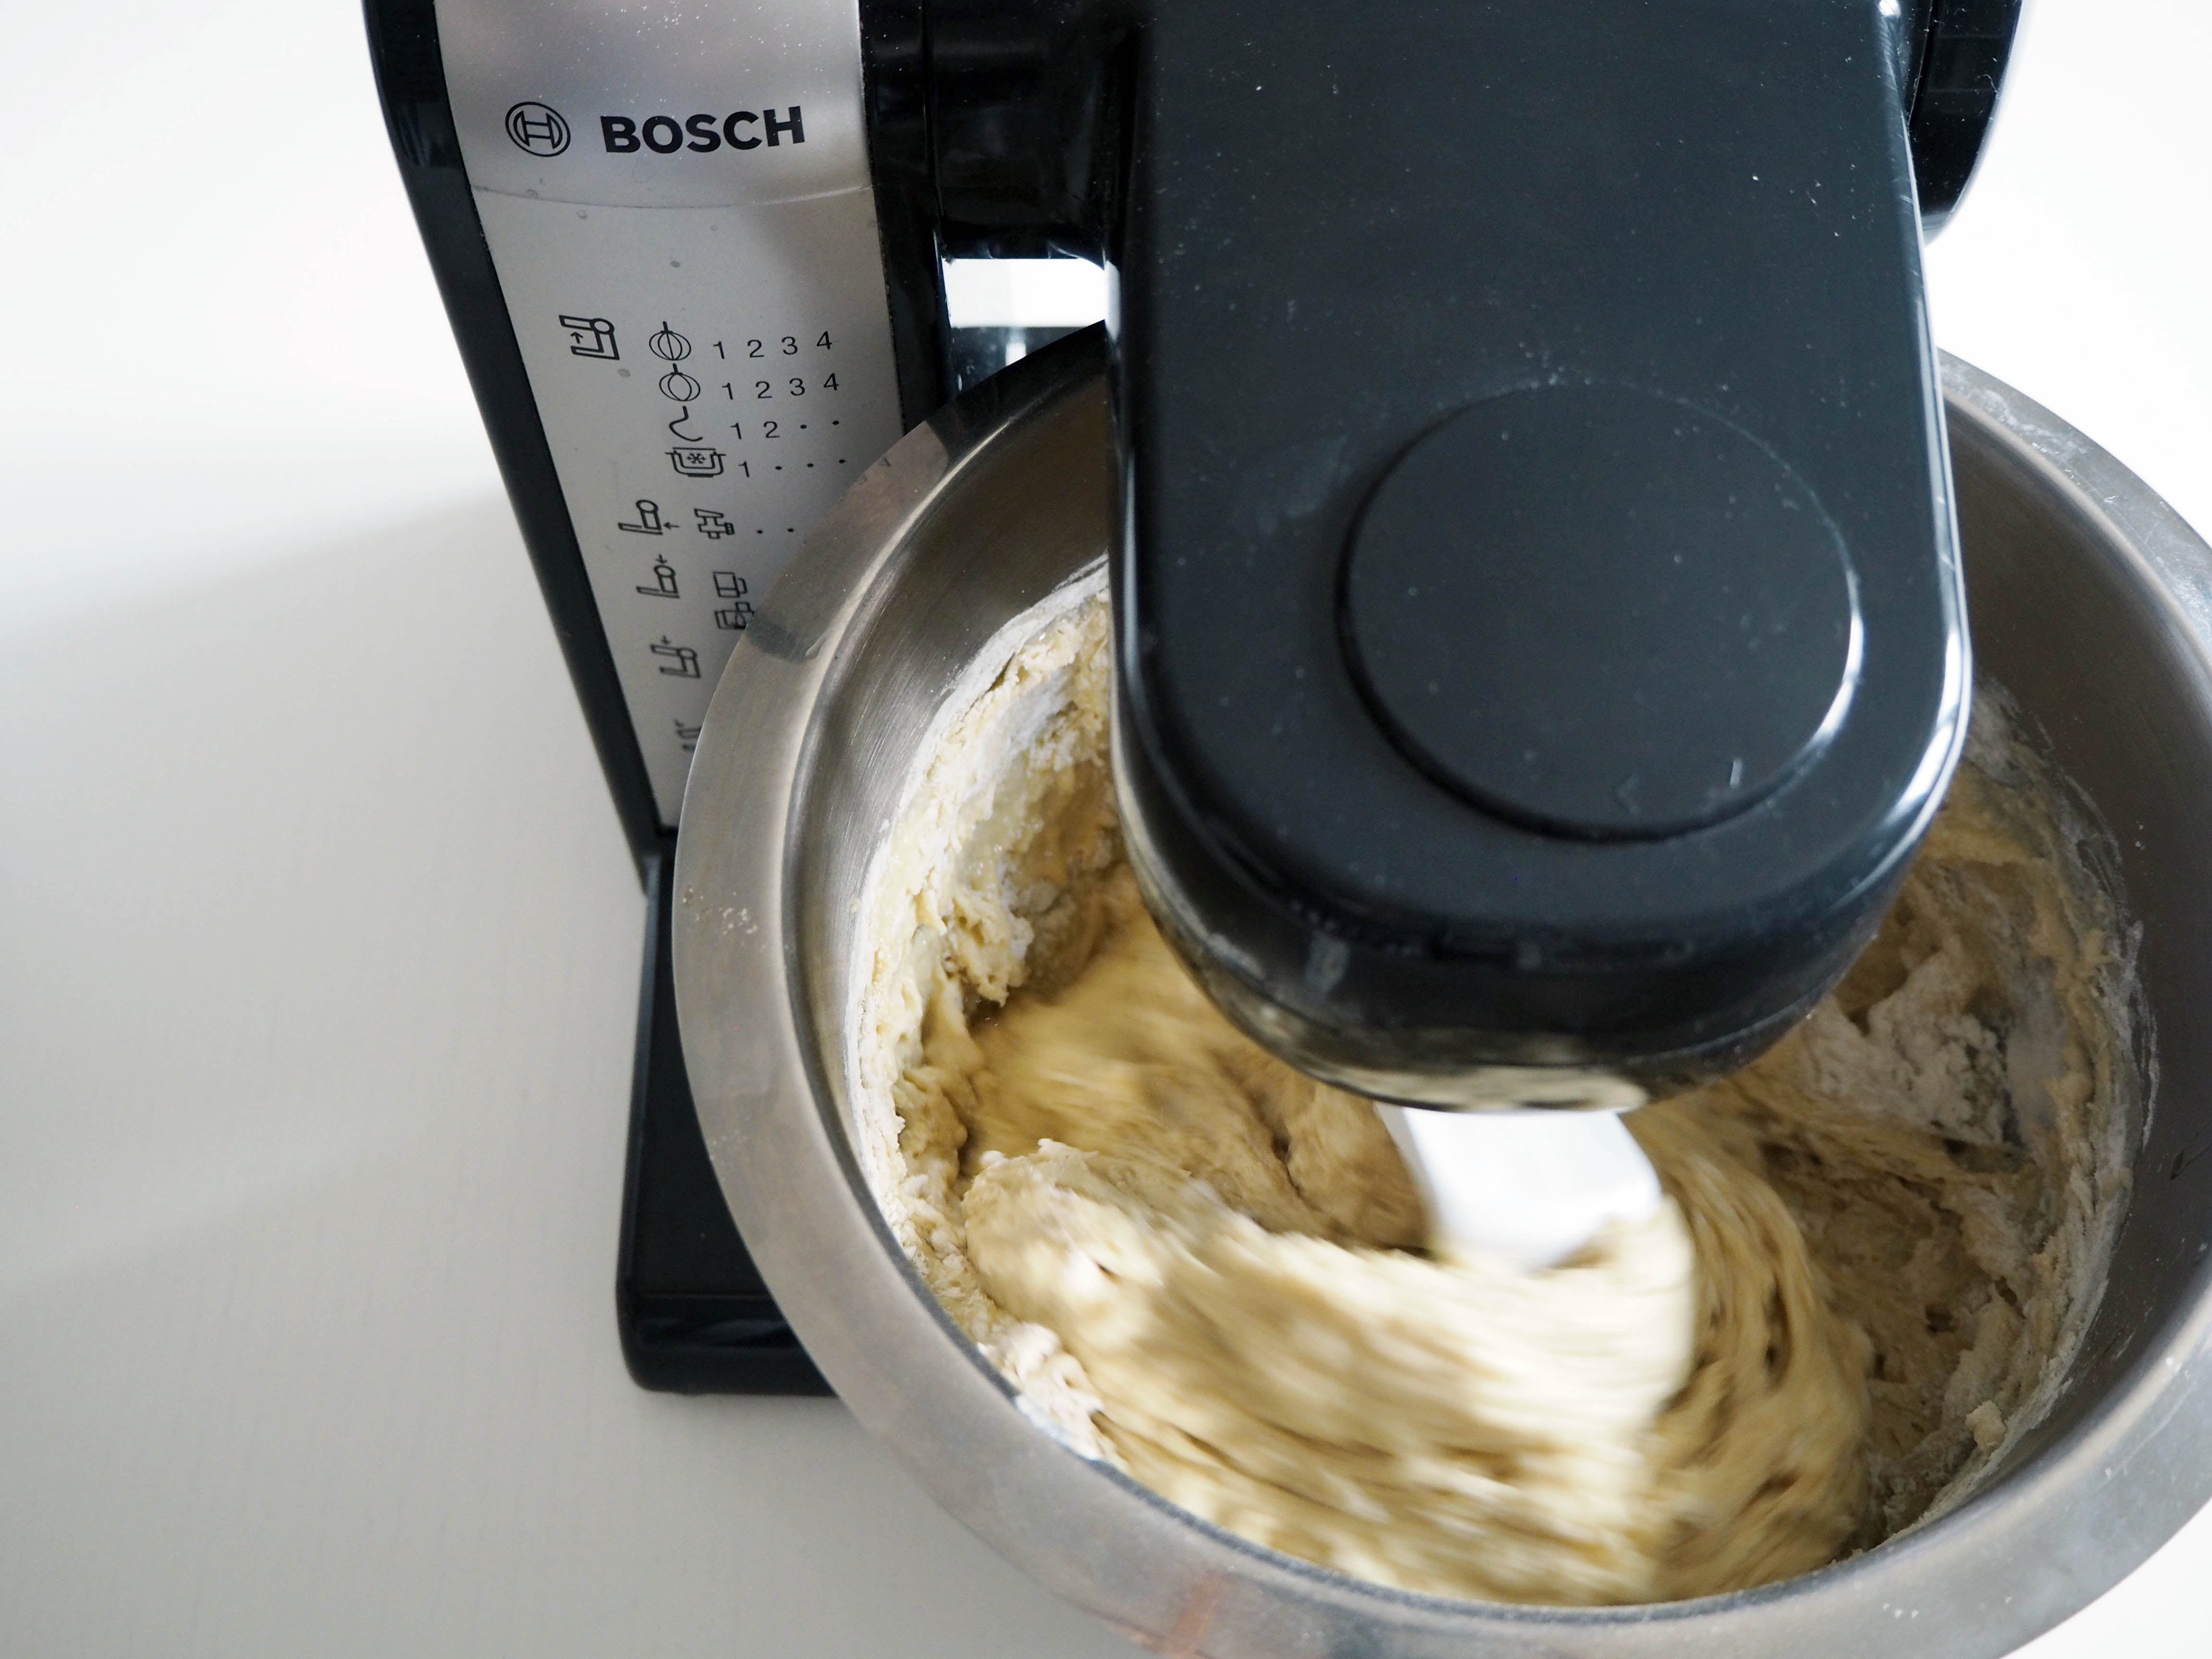
4. Once you have rather well mixed ingredients, change to kneading attachment, add more flour and start kneading. I added 1 cup / 2.5 dl flour at a time and ended up with the desired dough consistency with 8 cups / 2 lt flour. Because each flour brand is different, I suggest you do this flour addition gradually too. What you need to have is a smooth and slightly / just a bit sticky dough, do not try to get a very dry and non-sticky dough.

5. In the meantime, grease a big bowl with some olive oil. You will use this bowl to ferment the dough.
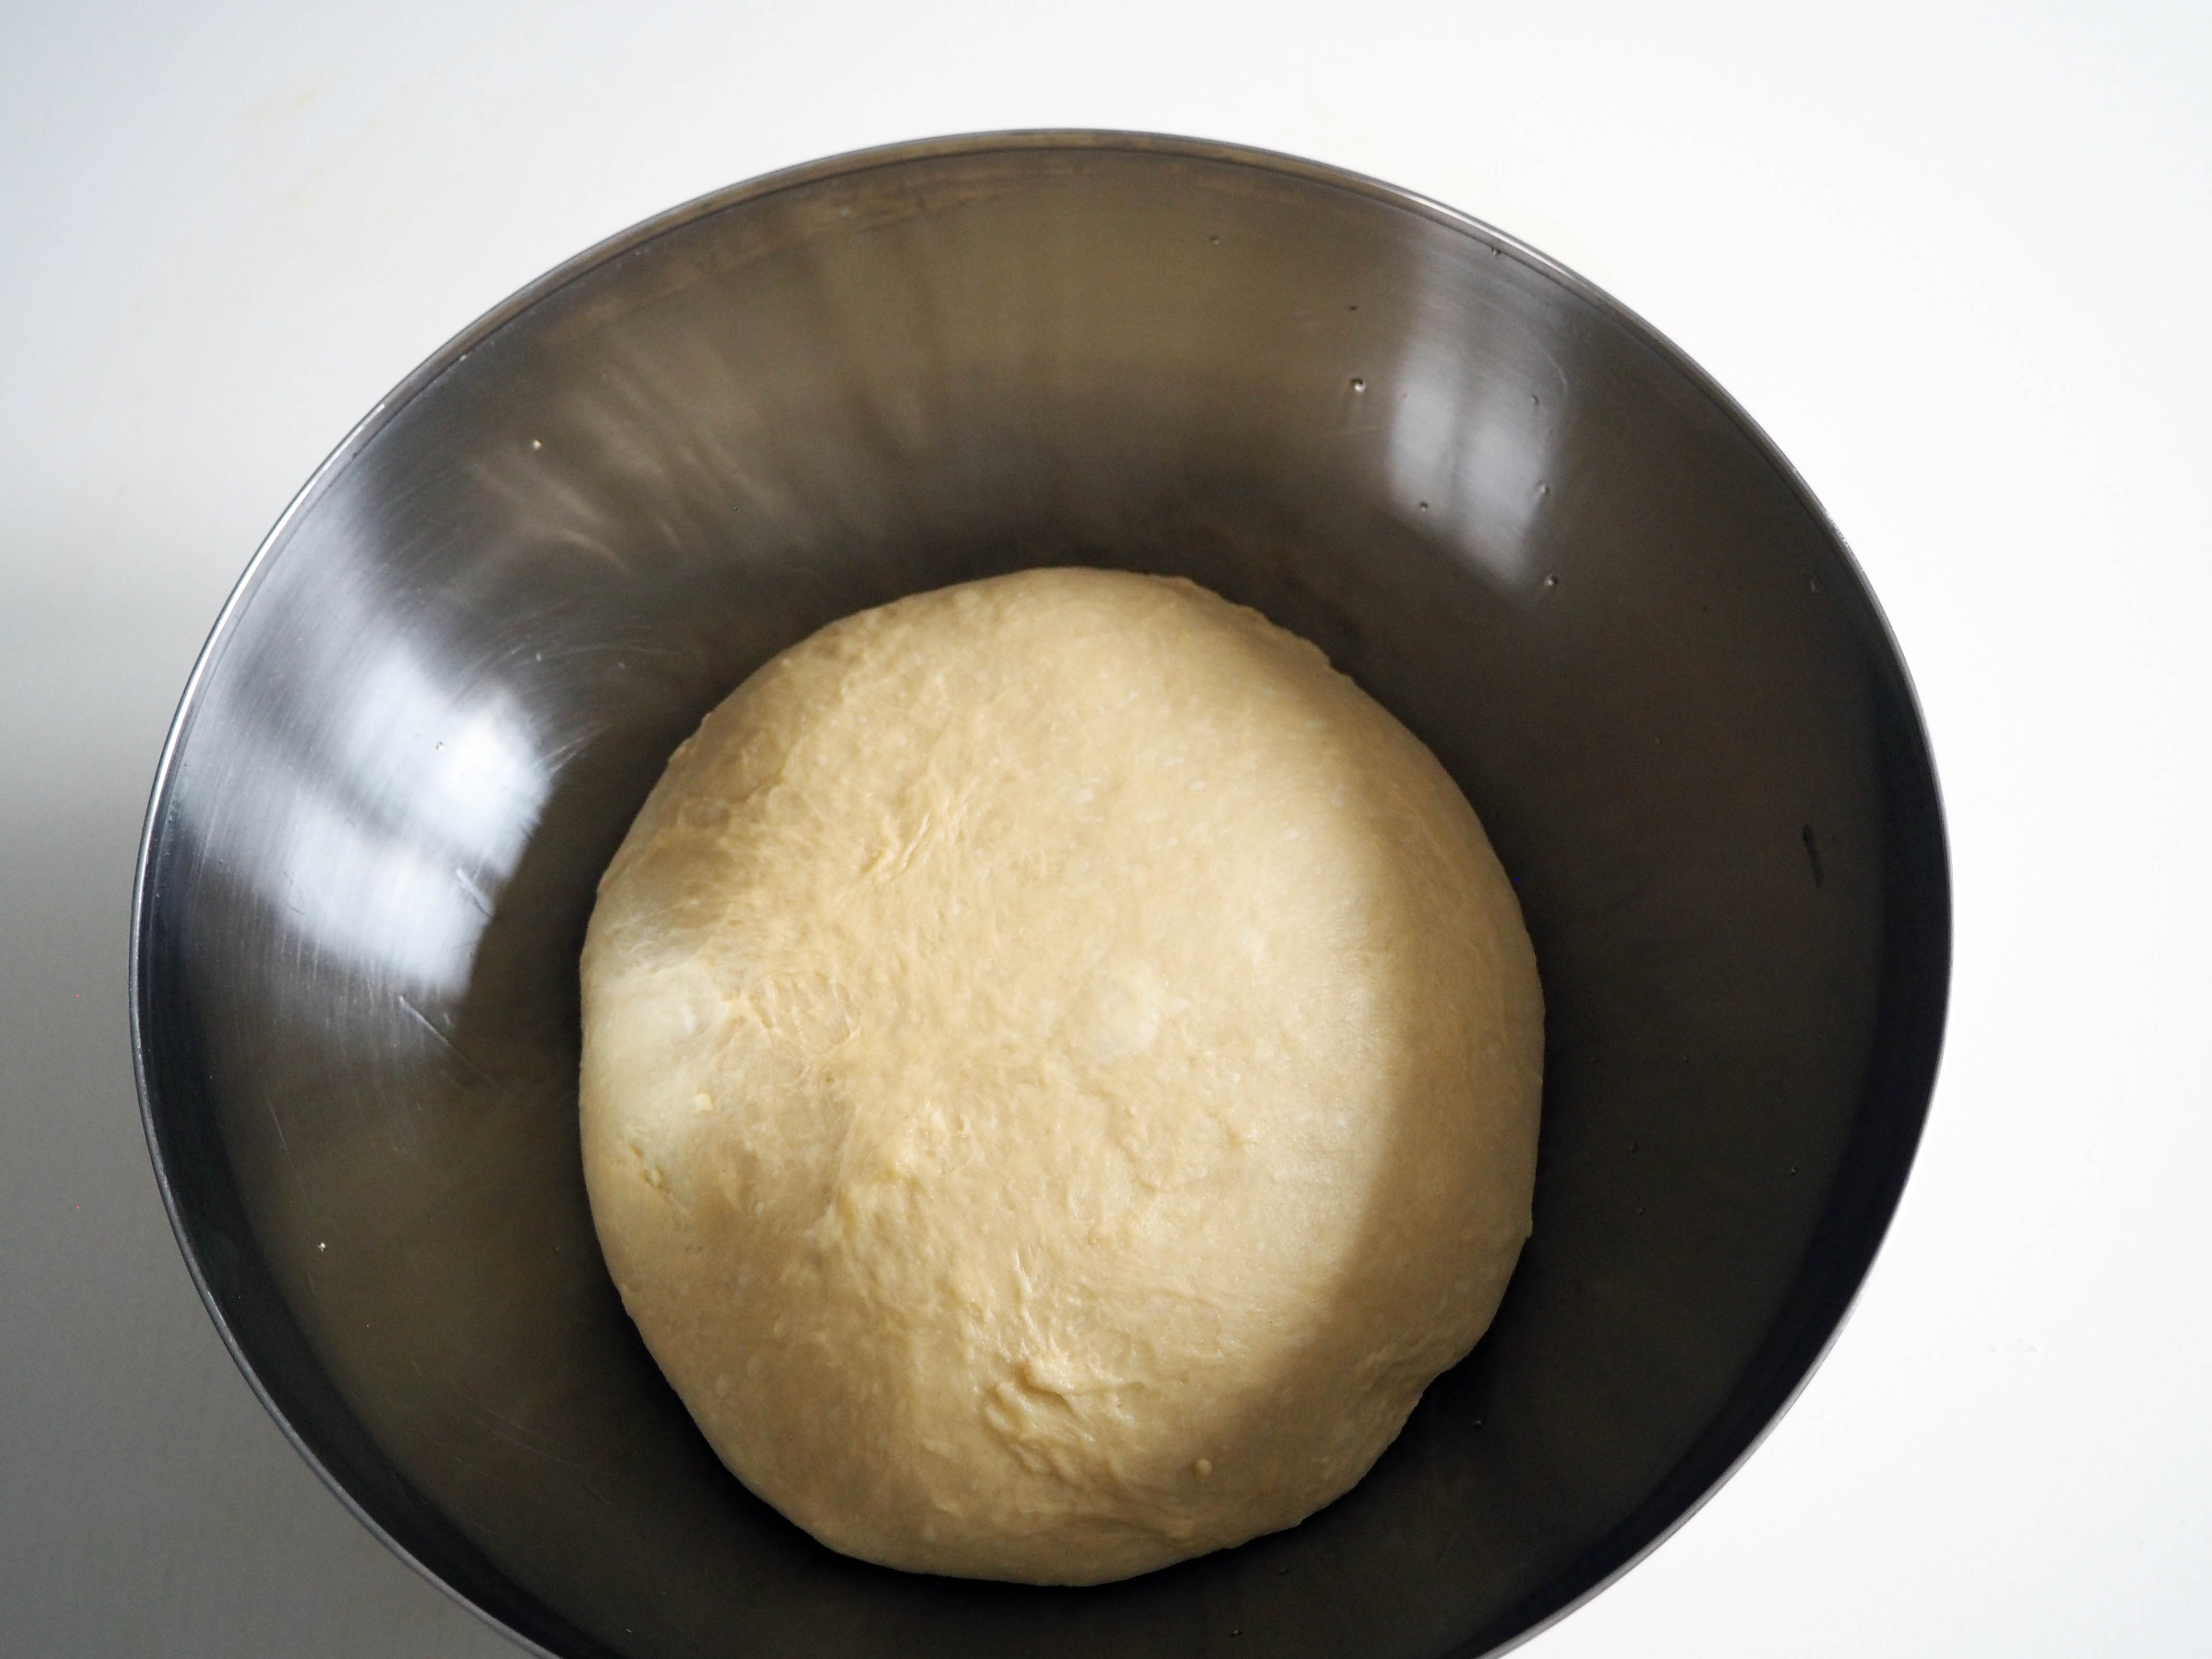
6. Put some more olive oil on your work surface and dump the dough in mixer bowl on this surface. Knead a little bit more to give its final smoothness and turn it into a ball. If you are not going to use this surface again for an hour, you can leave it like this so that you can use its greasiness for further shaping.


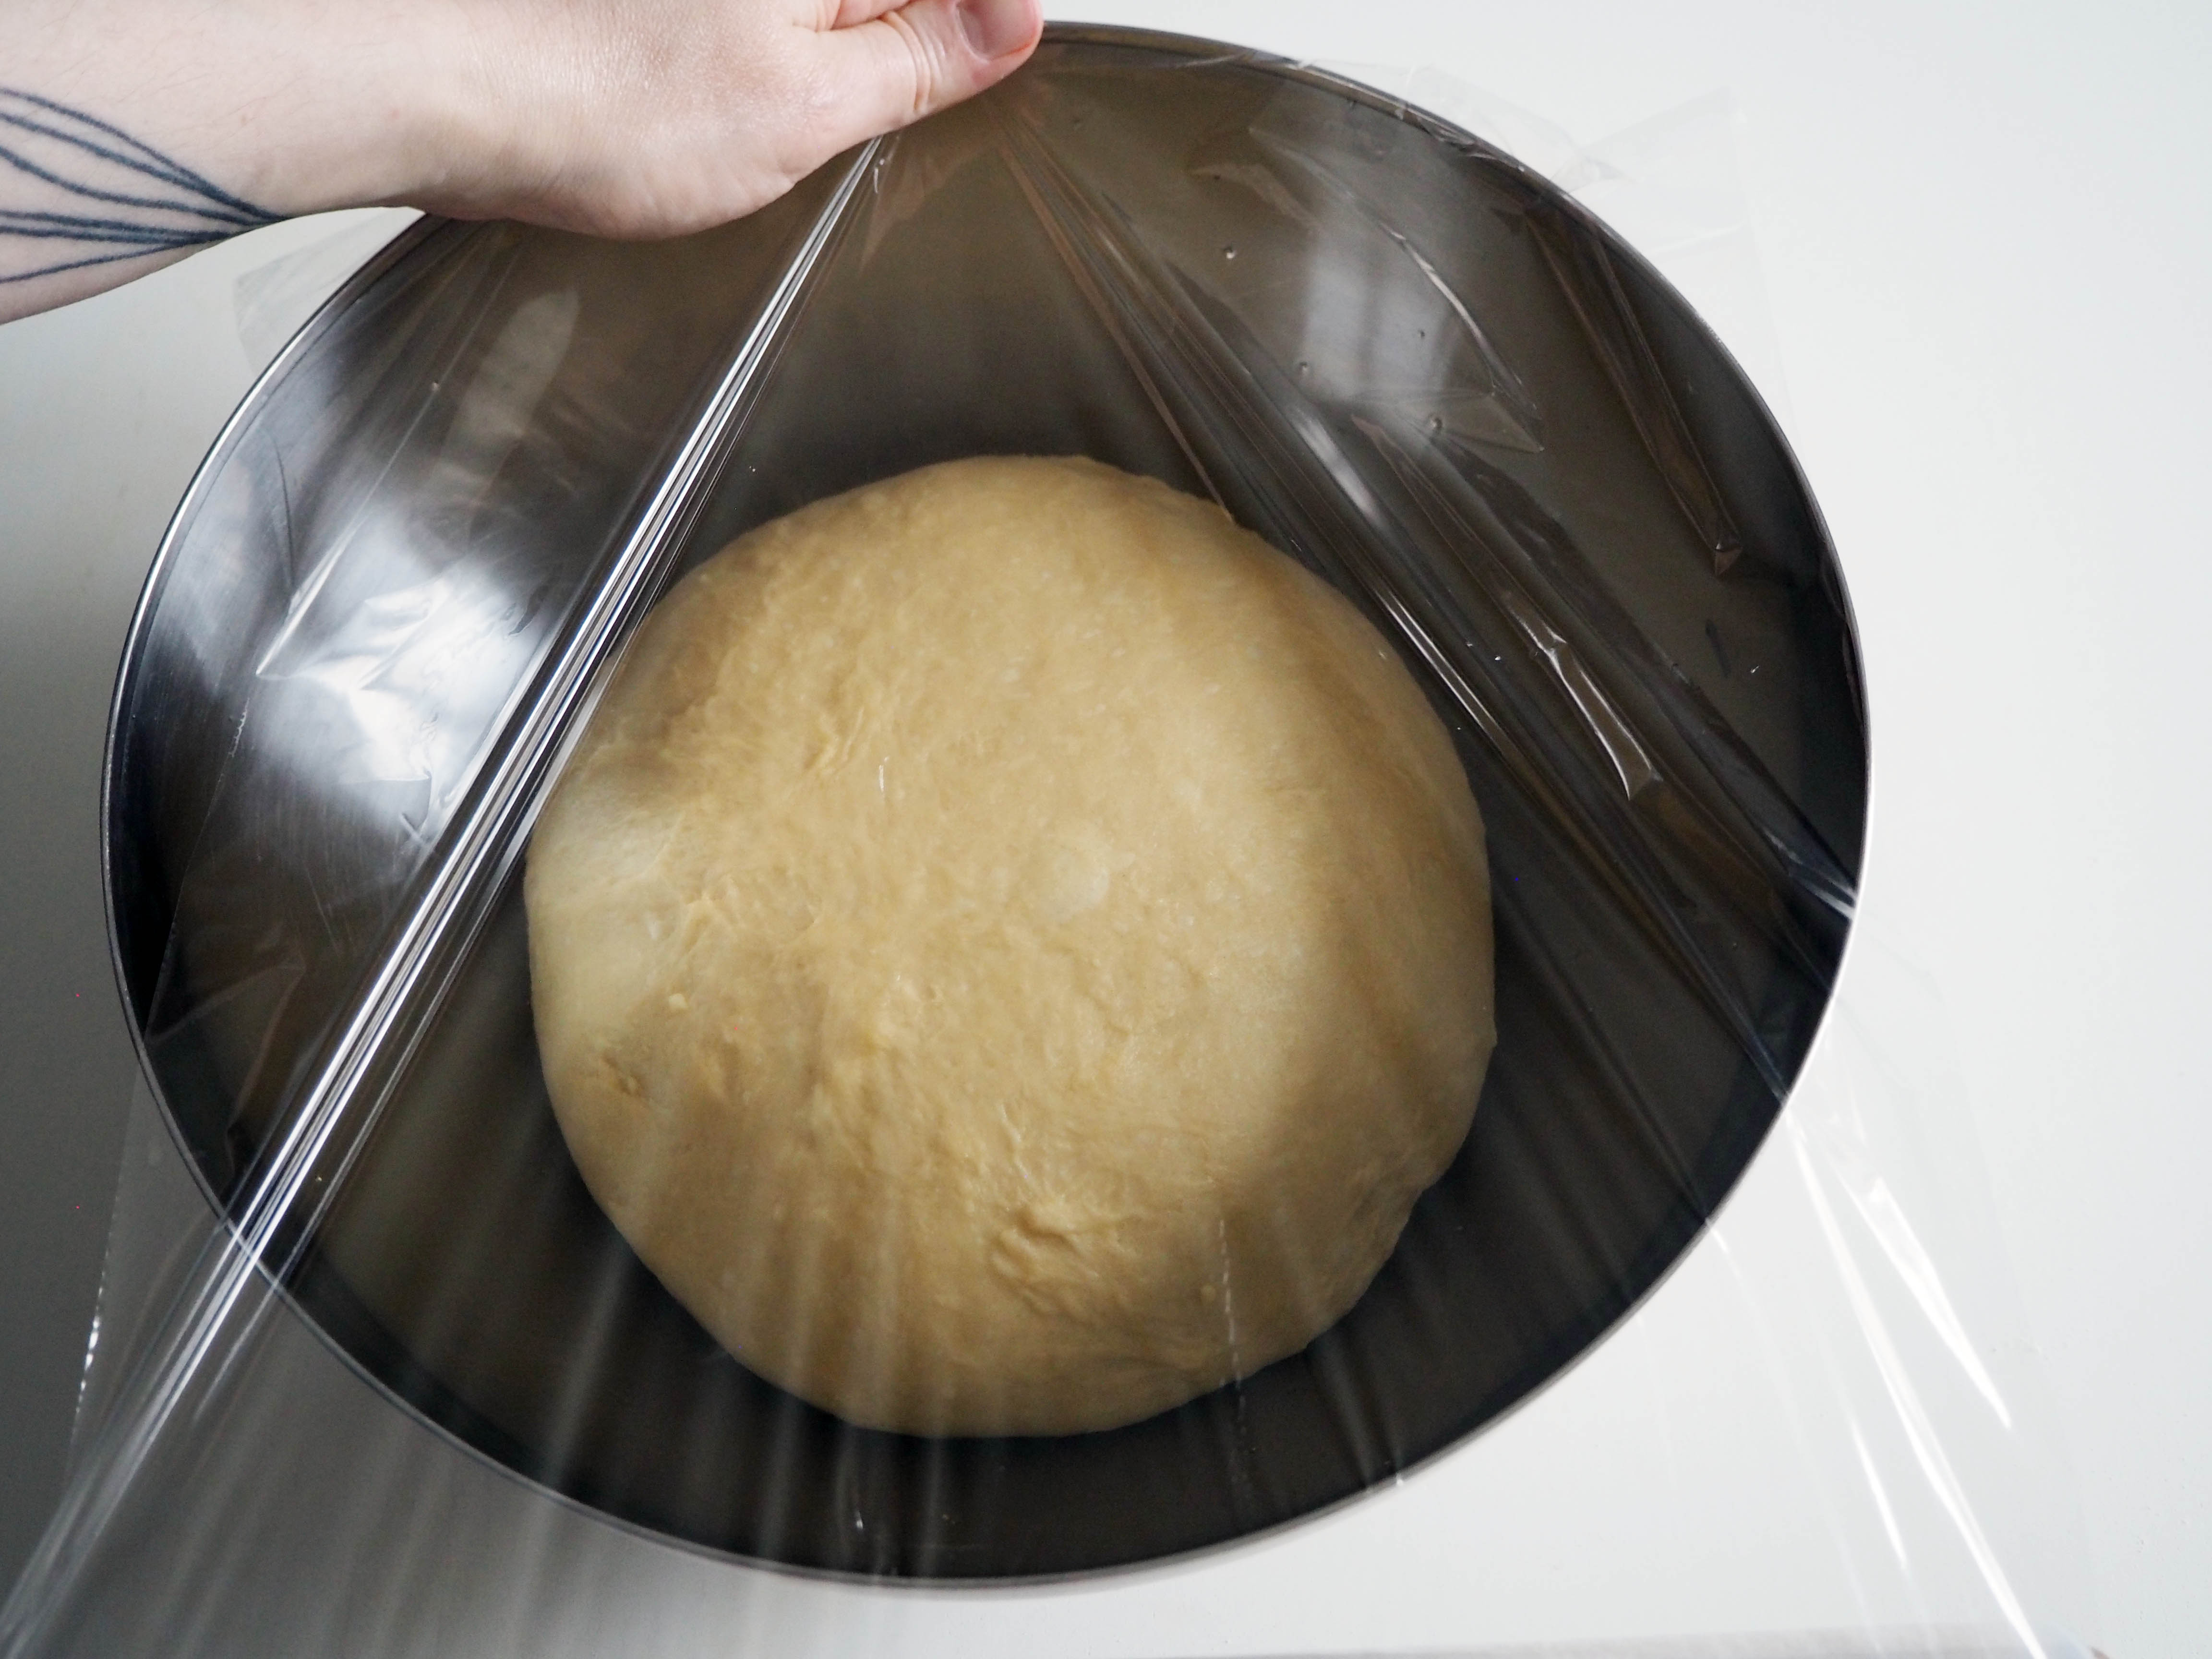
7. Put the dough ball in the greased bowl and cover with a stretch film. Let it rise in a warm spot in your kitchen for about an hour, until it gets double in size.
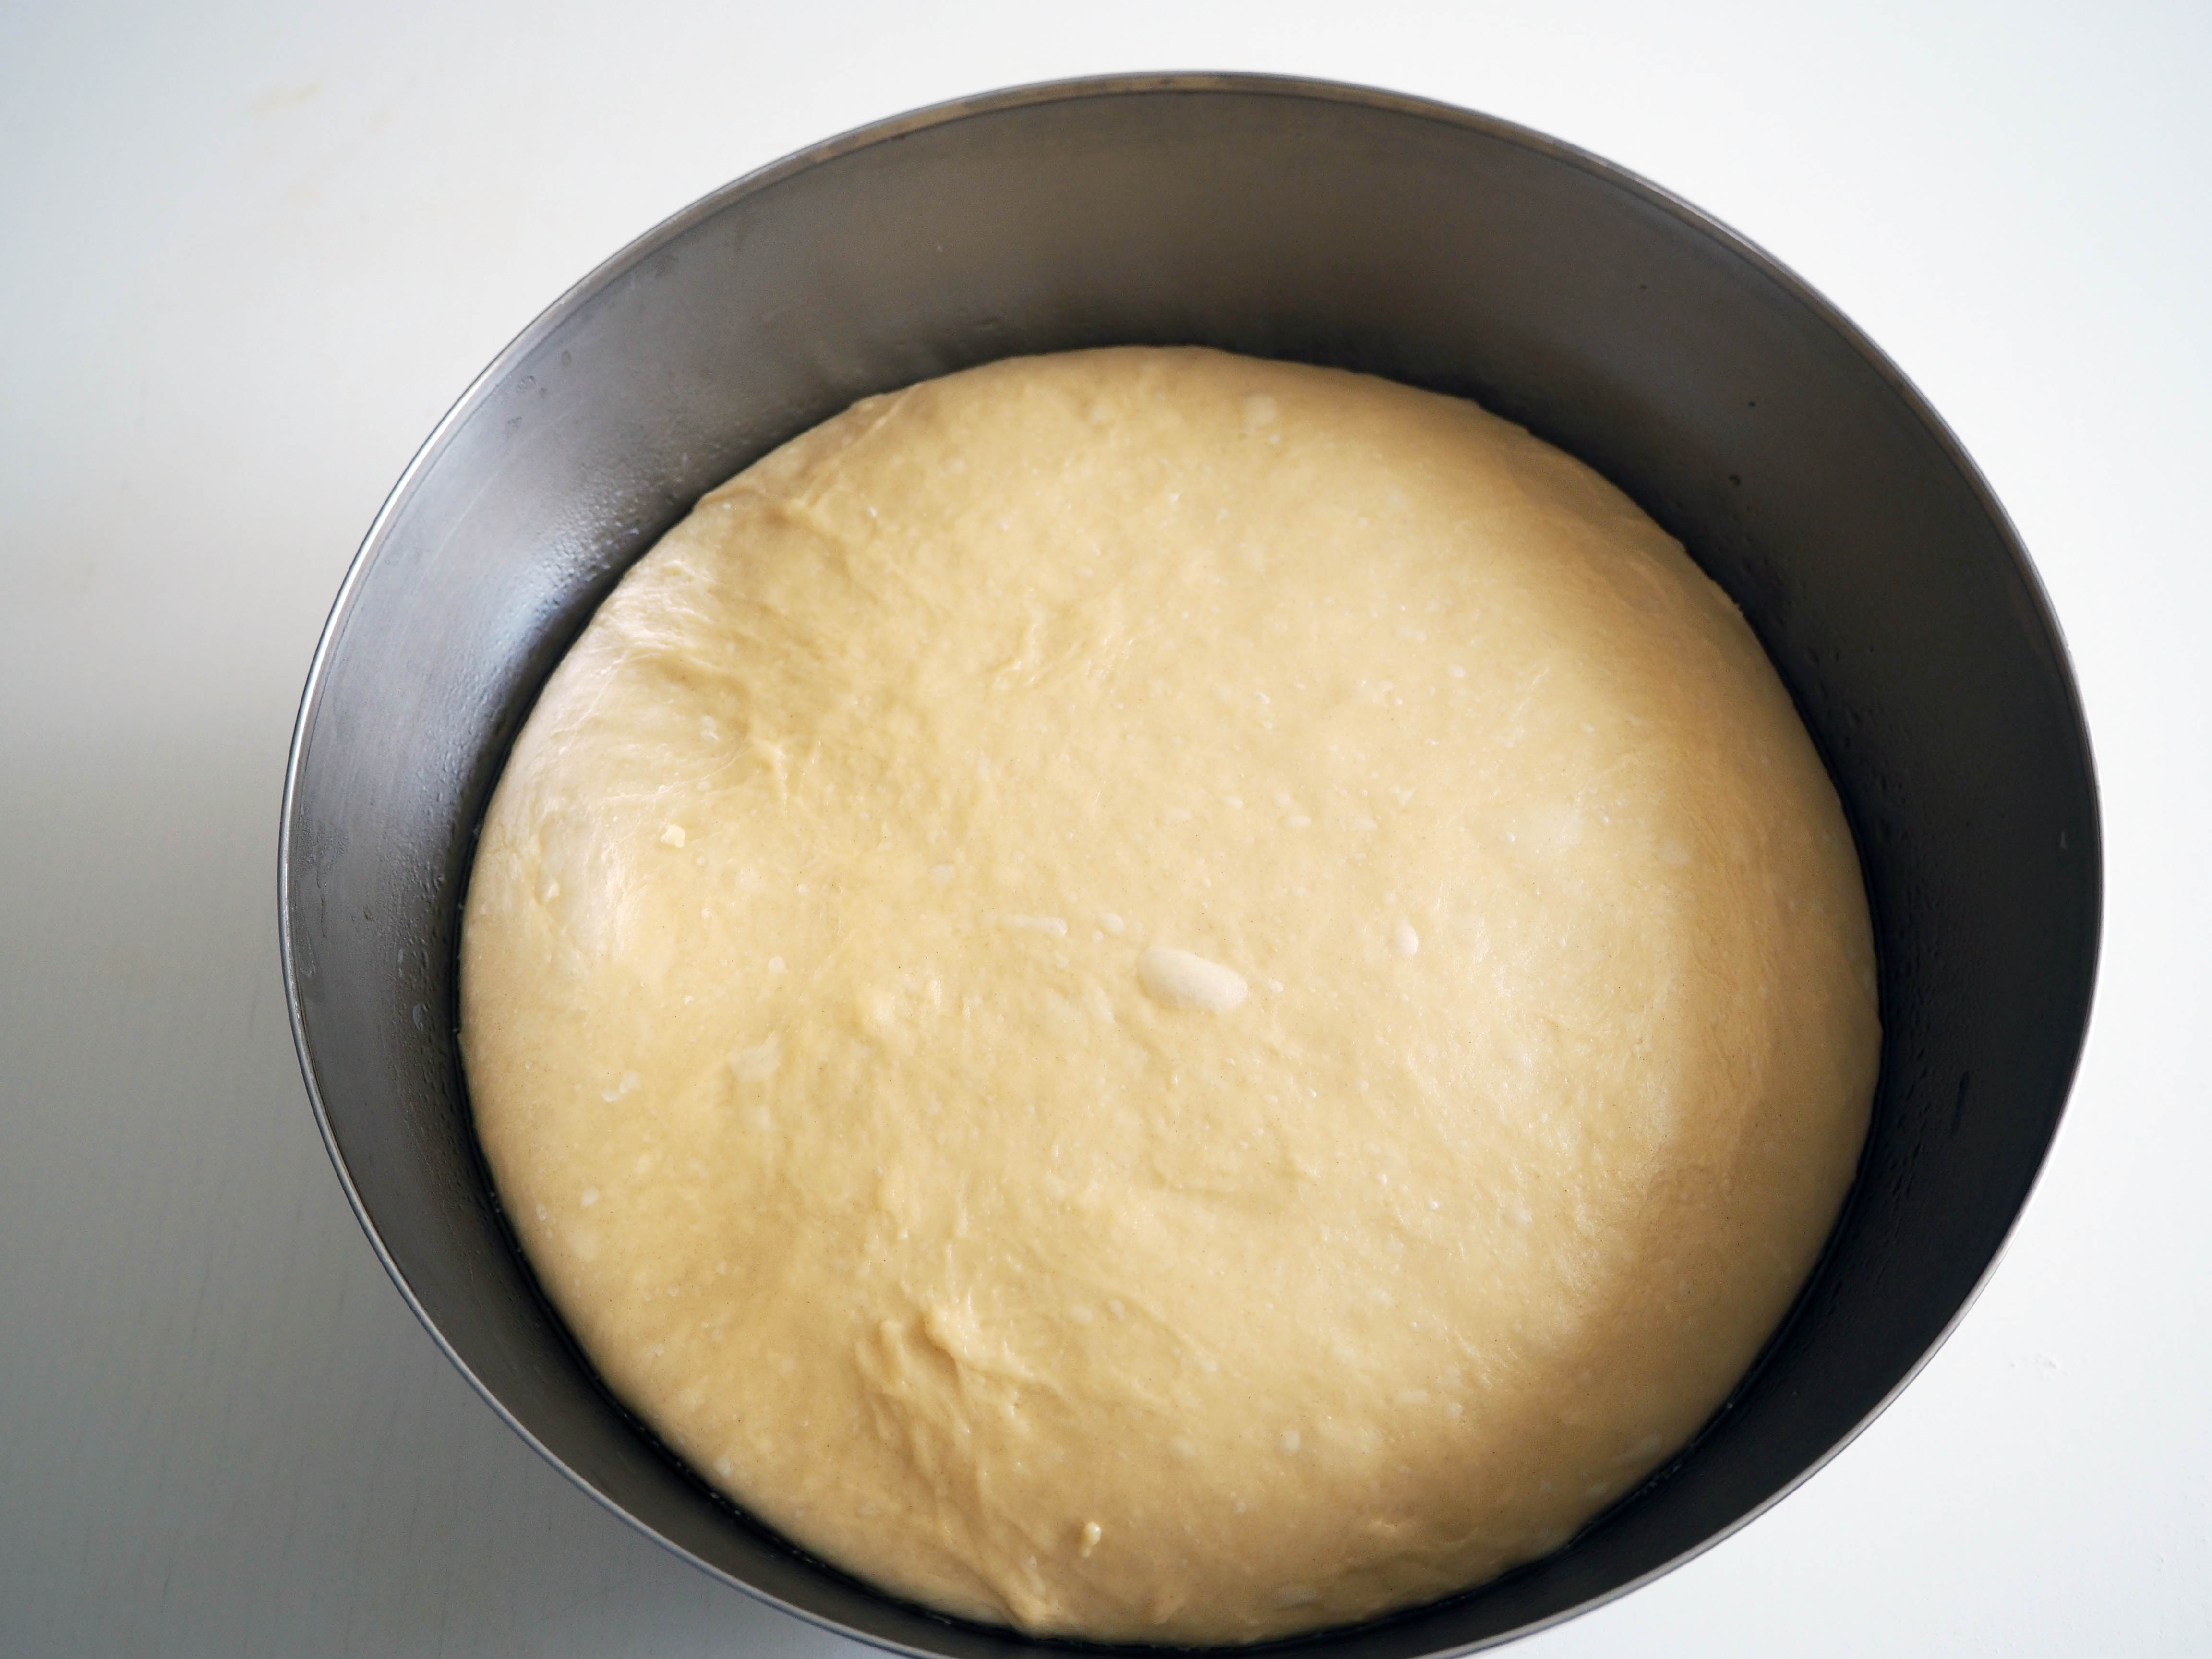
8. When your dough is doubled as you see in the photo, you are ready to go forward.
9. Preheat the oven to 220C. Prepare a few (I needed 3) oven trays with baking papers on.
10. If you haven’t cleaned your work surface yet after step 6, put your dough directly on the surface – if you cleaned it already, put JUST A LITTLE BIT olive oil to grease it again and then put your dough. Cut pieces about a satsuma size – if you have a kitchen scale then perfect: each piece should weigh about 70 gr. Cover the cut pieces with a clean kitchen towel while shaping so that they don’t get dry.


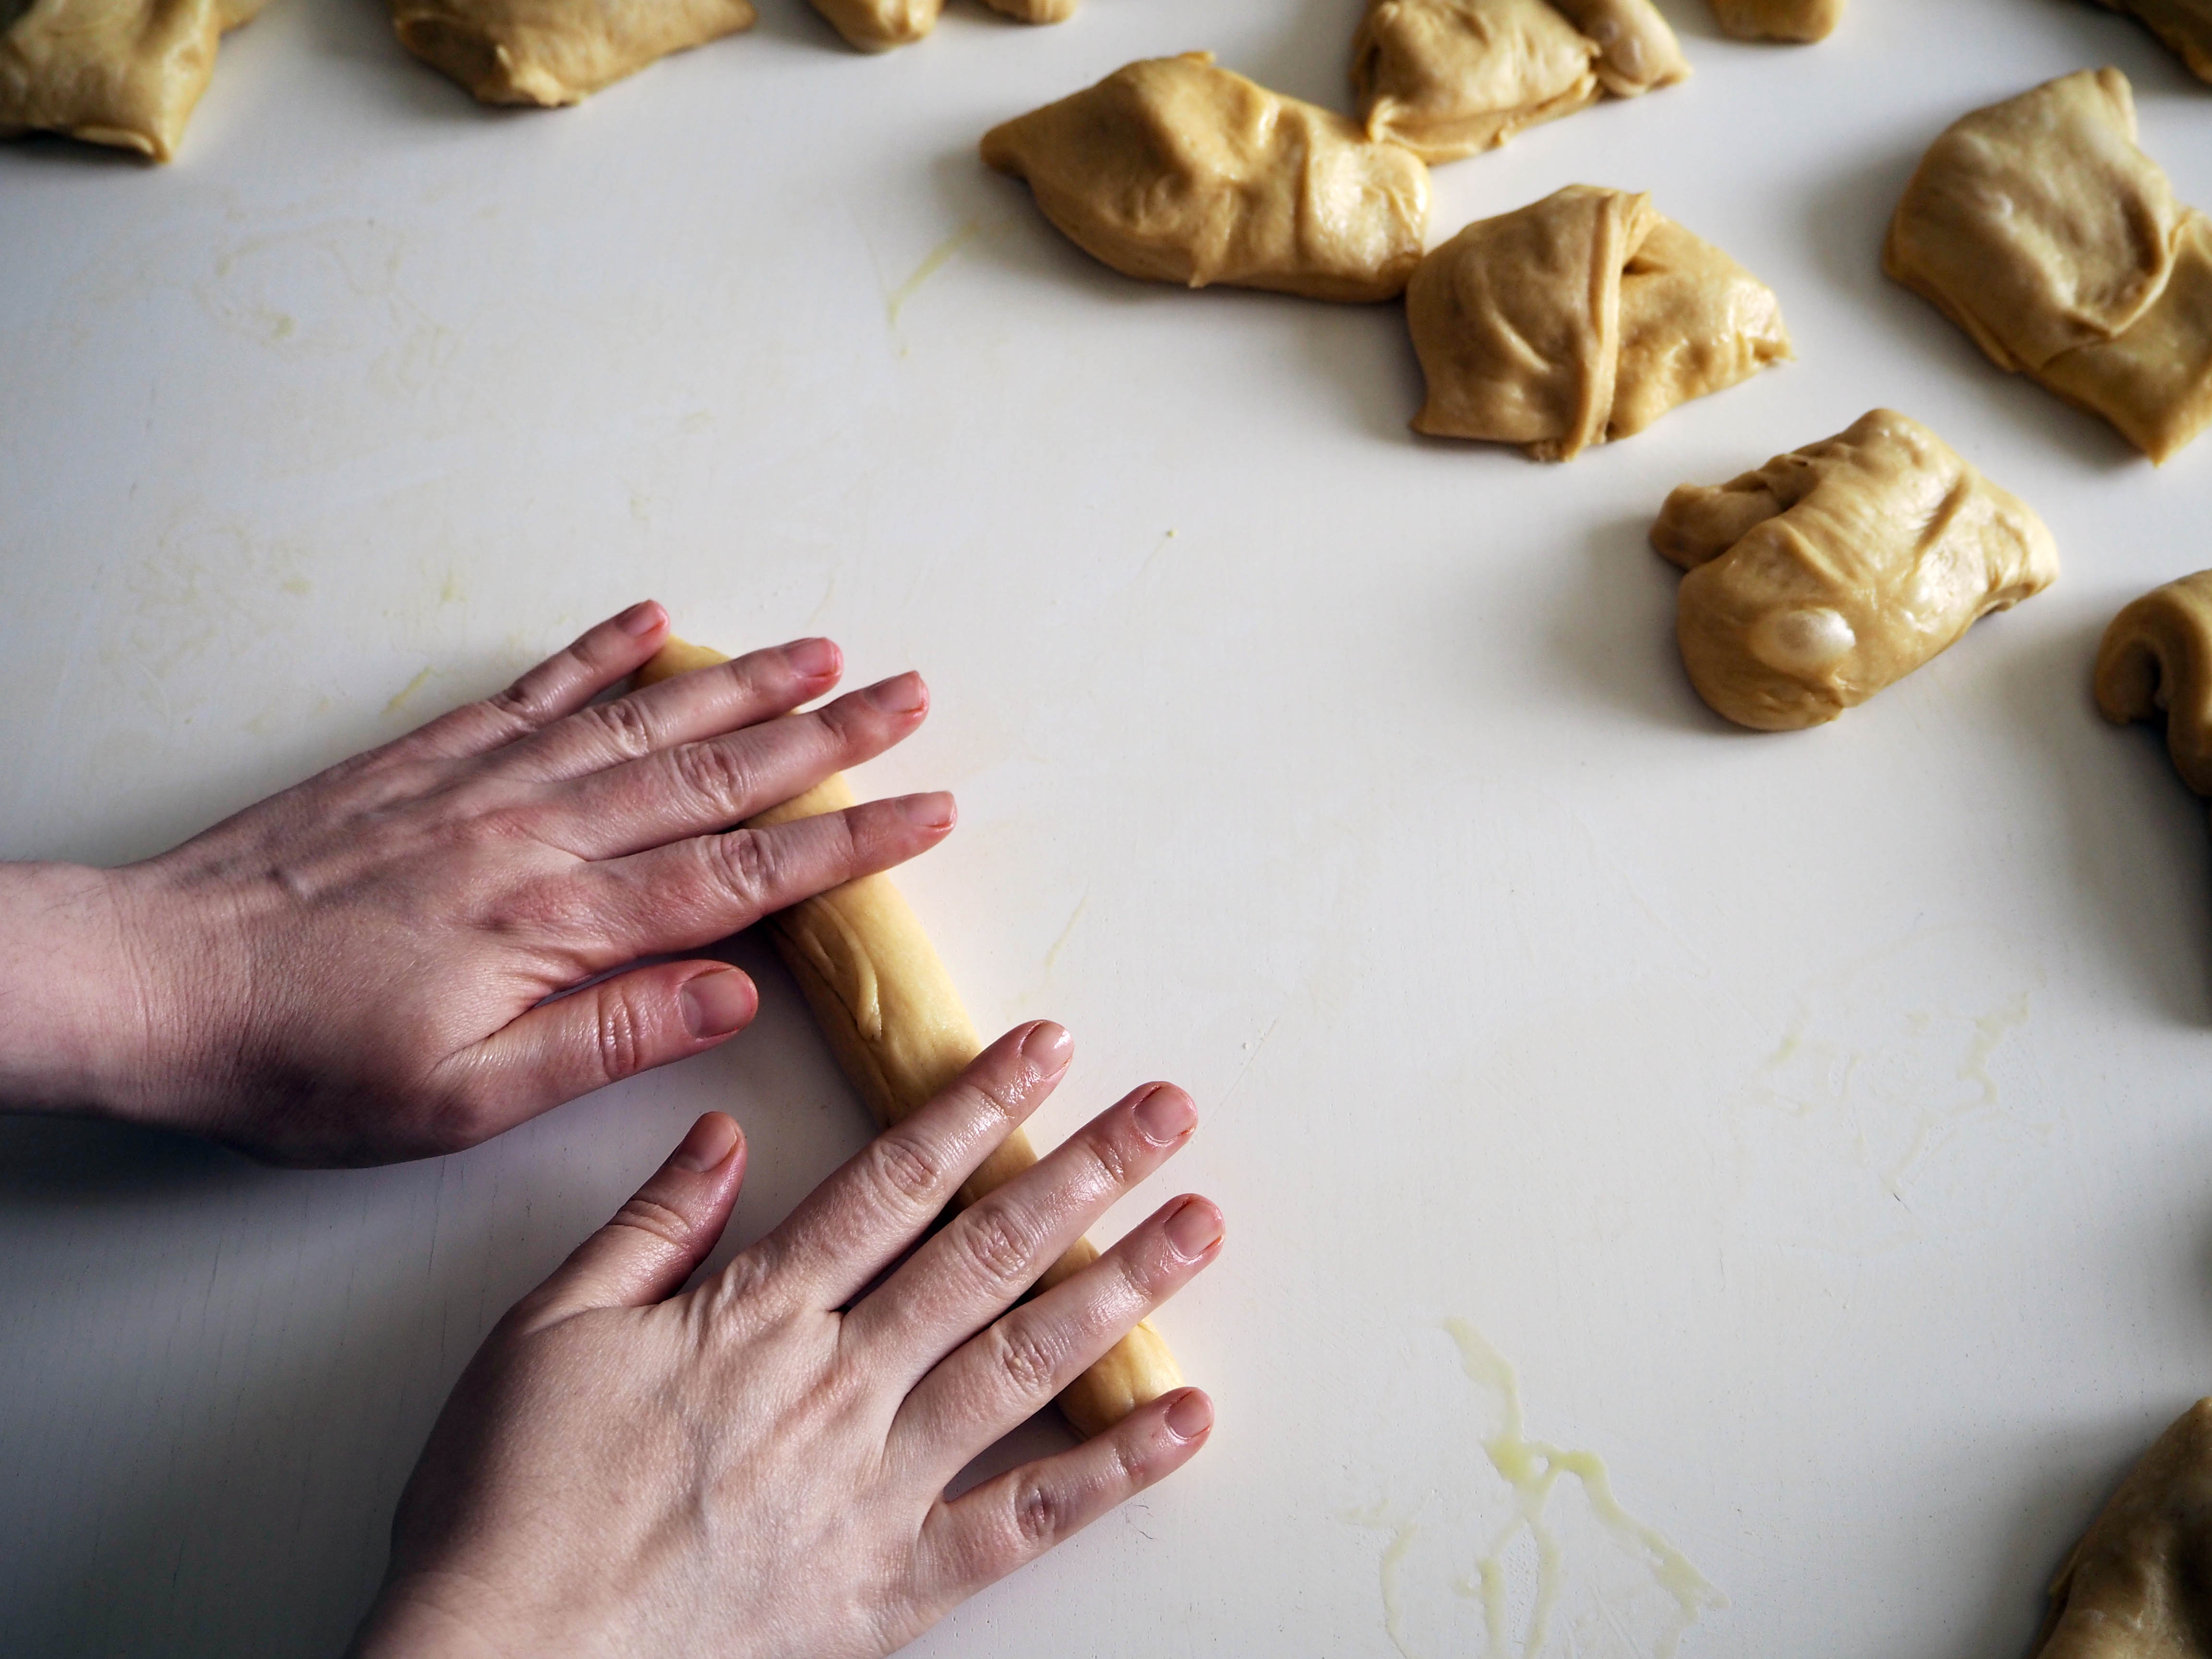
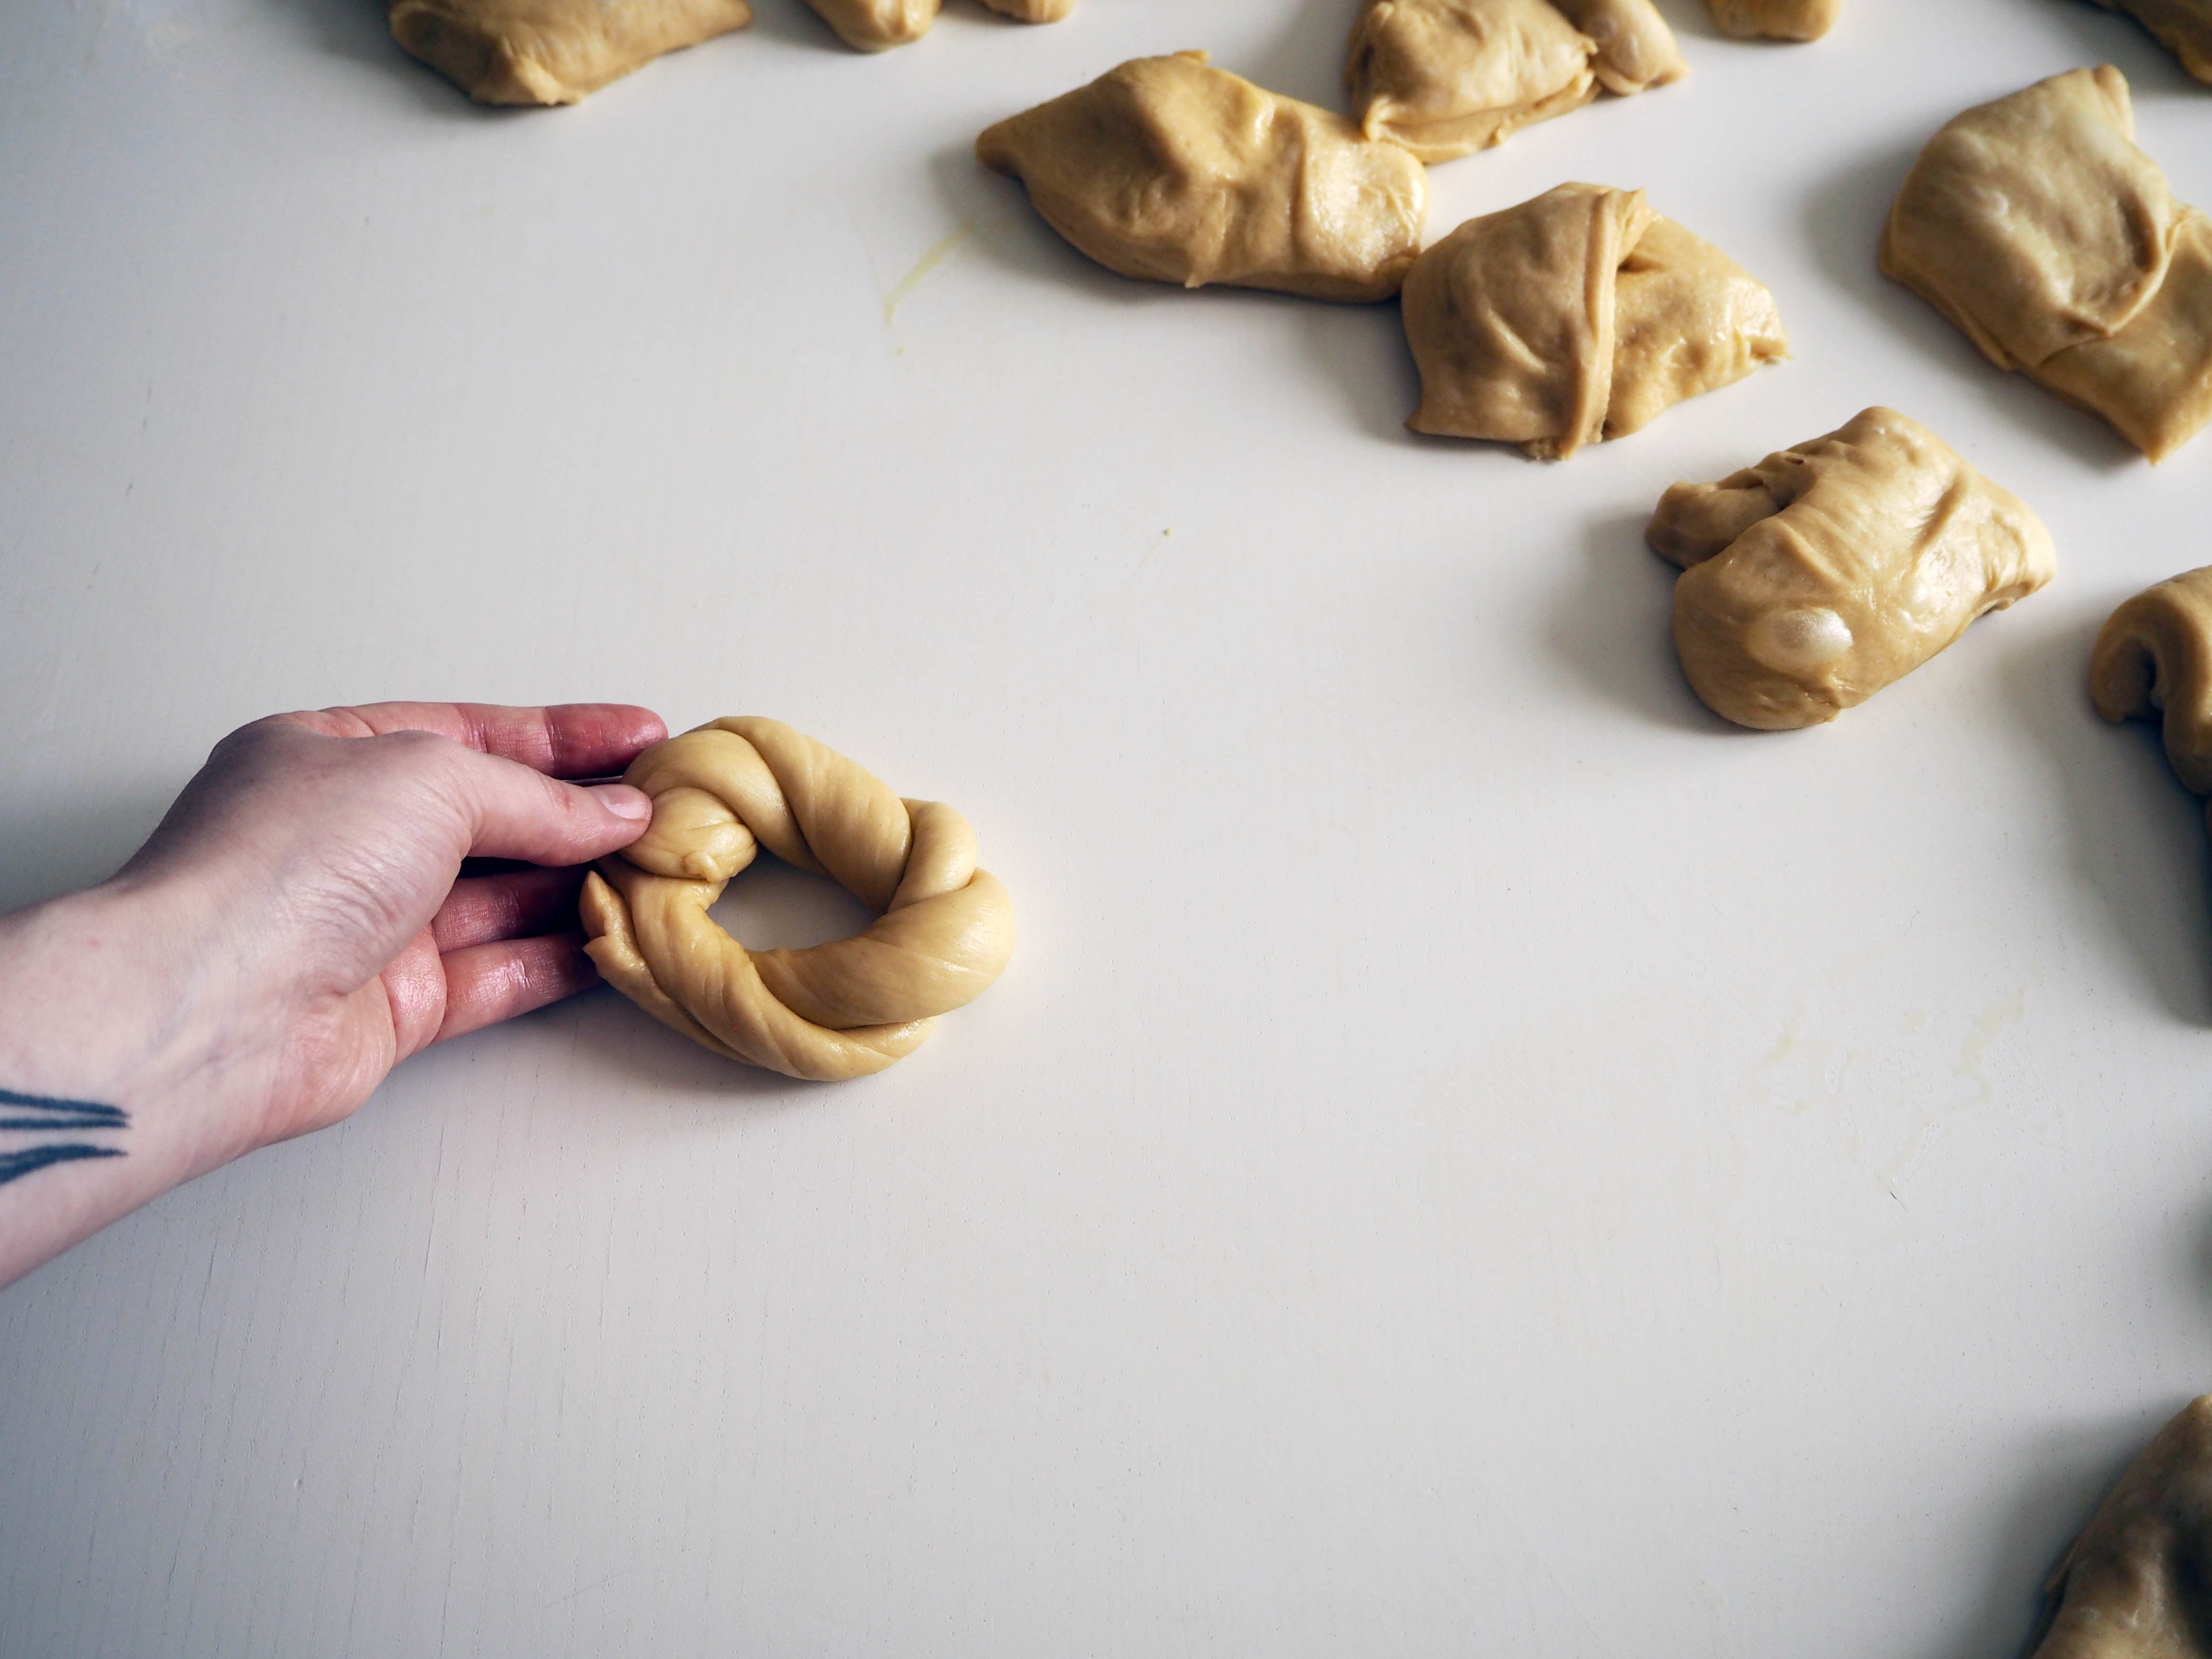
11. Take one piece and roll into a stick that is 50 cm long. Fold in two and then shape it as you see in the photos. You can pinch the ends to stick together or you can fold or you can find your own way of attaching them.


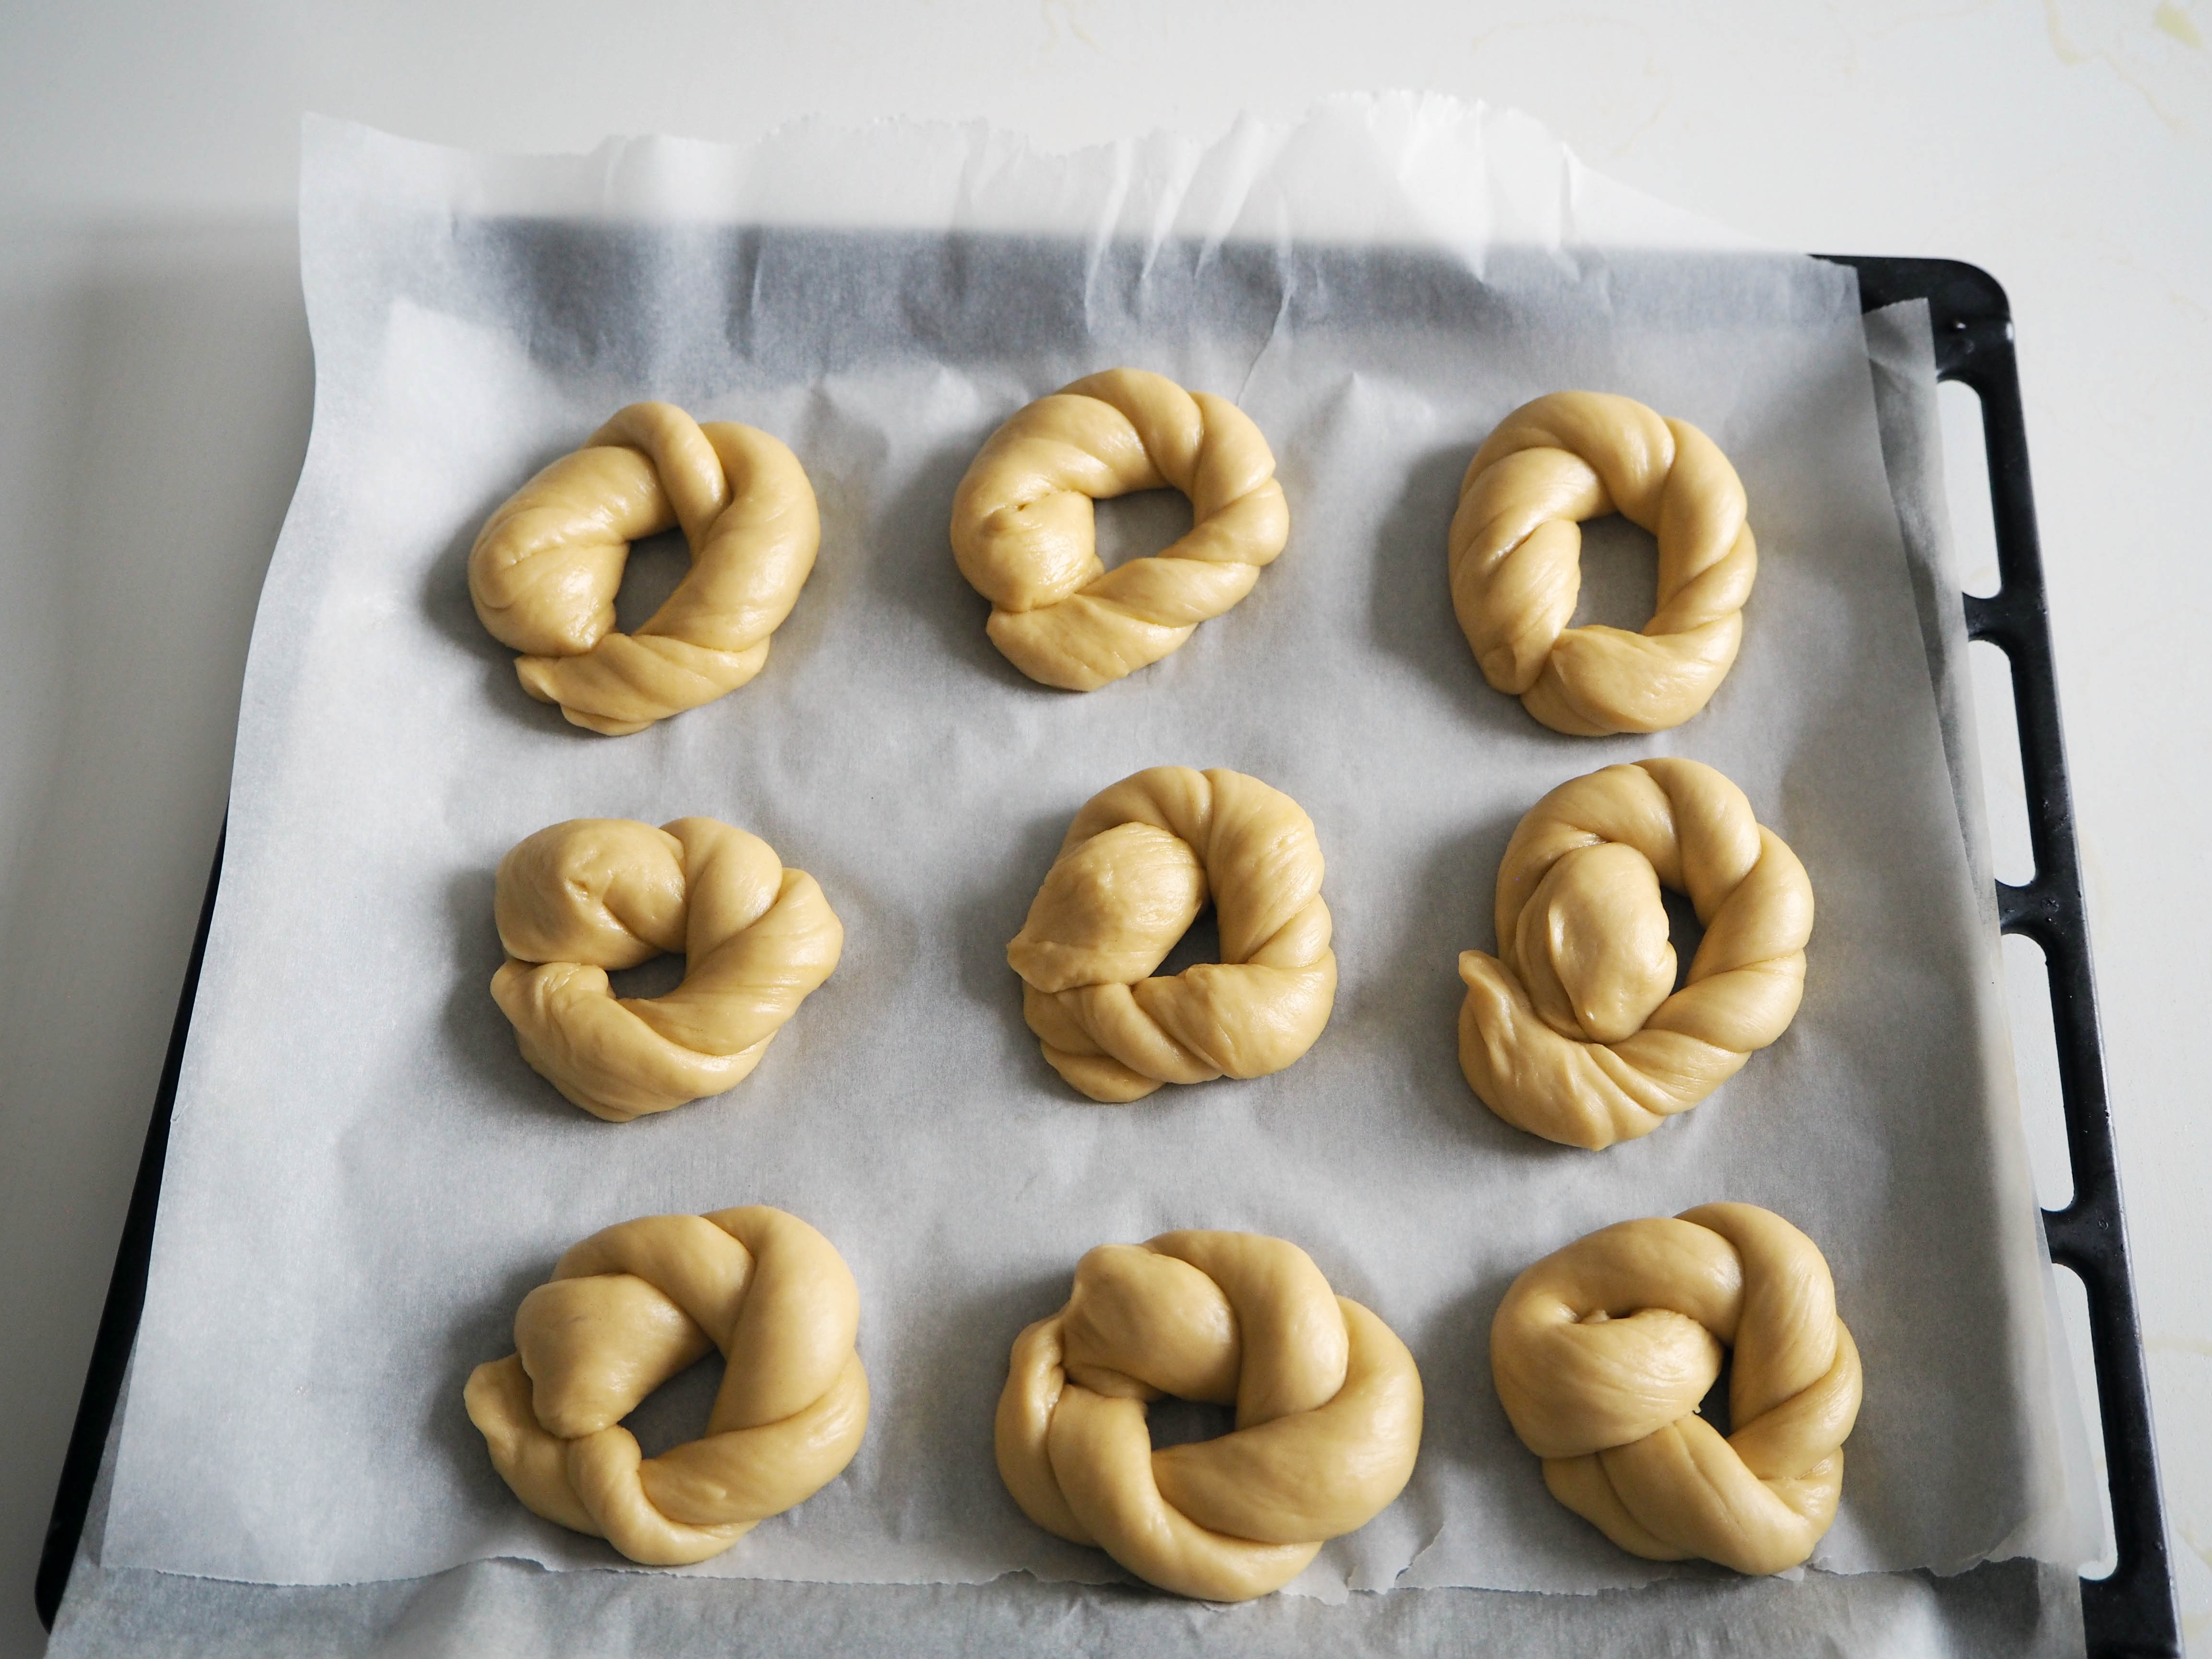
12. Put all shaped buns on prepared oven trays and cover with a kitchen towel for final proofing for about 20 minutes.
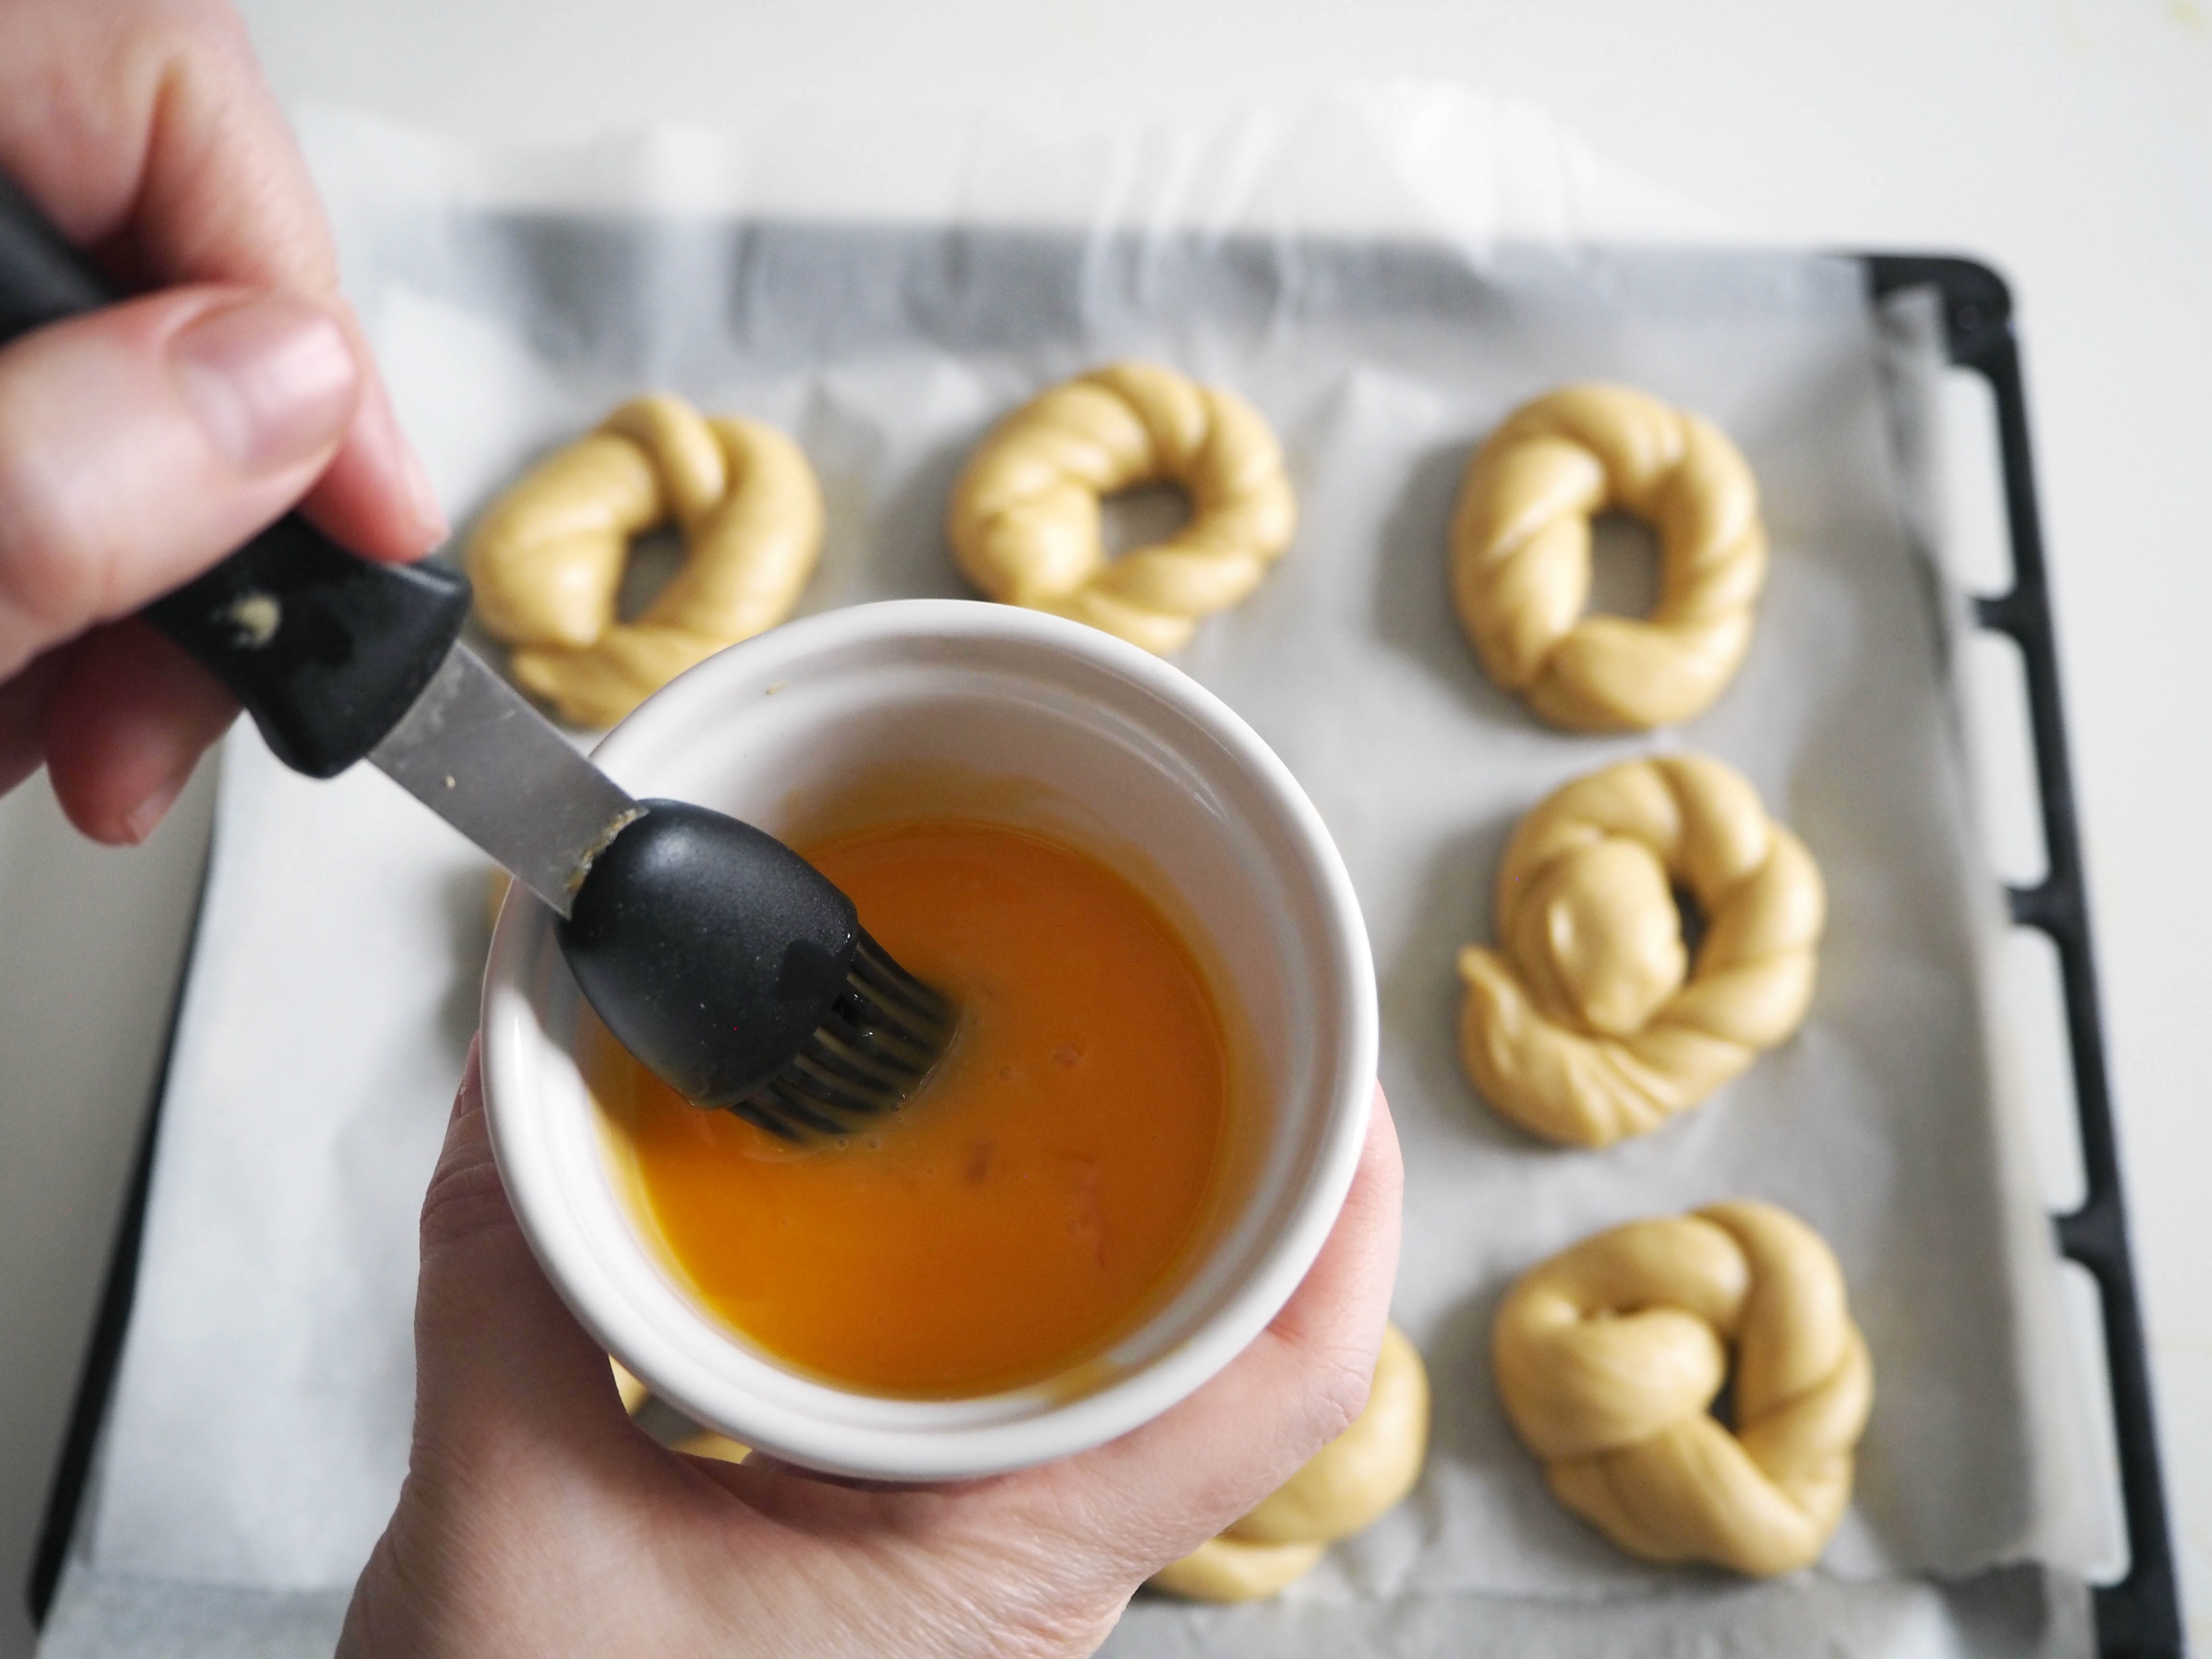
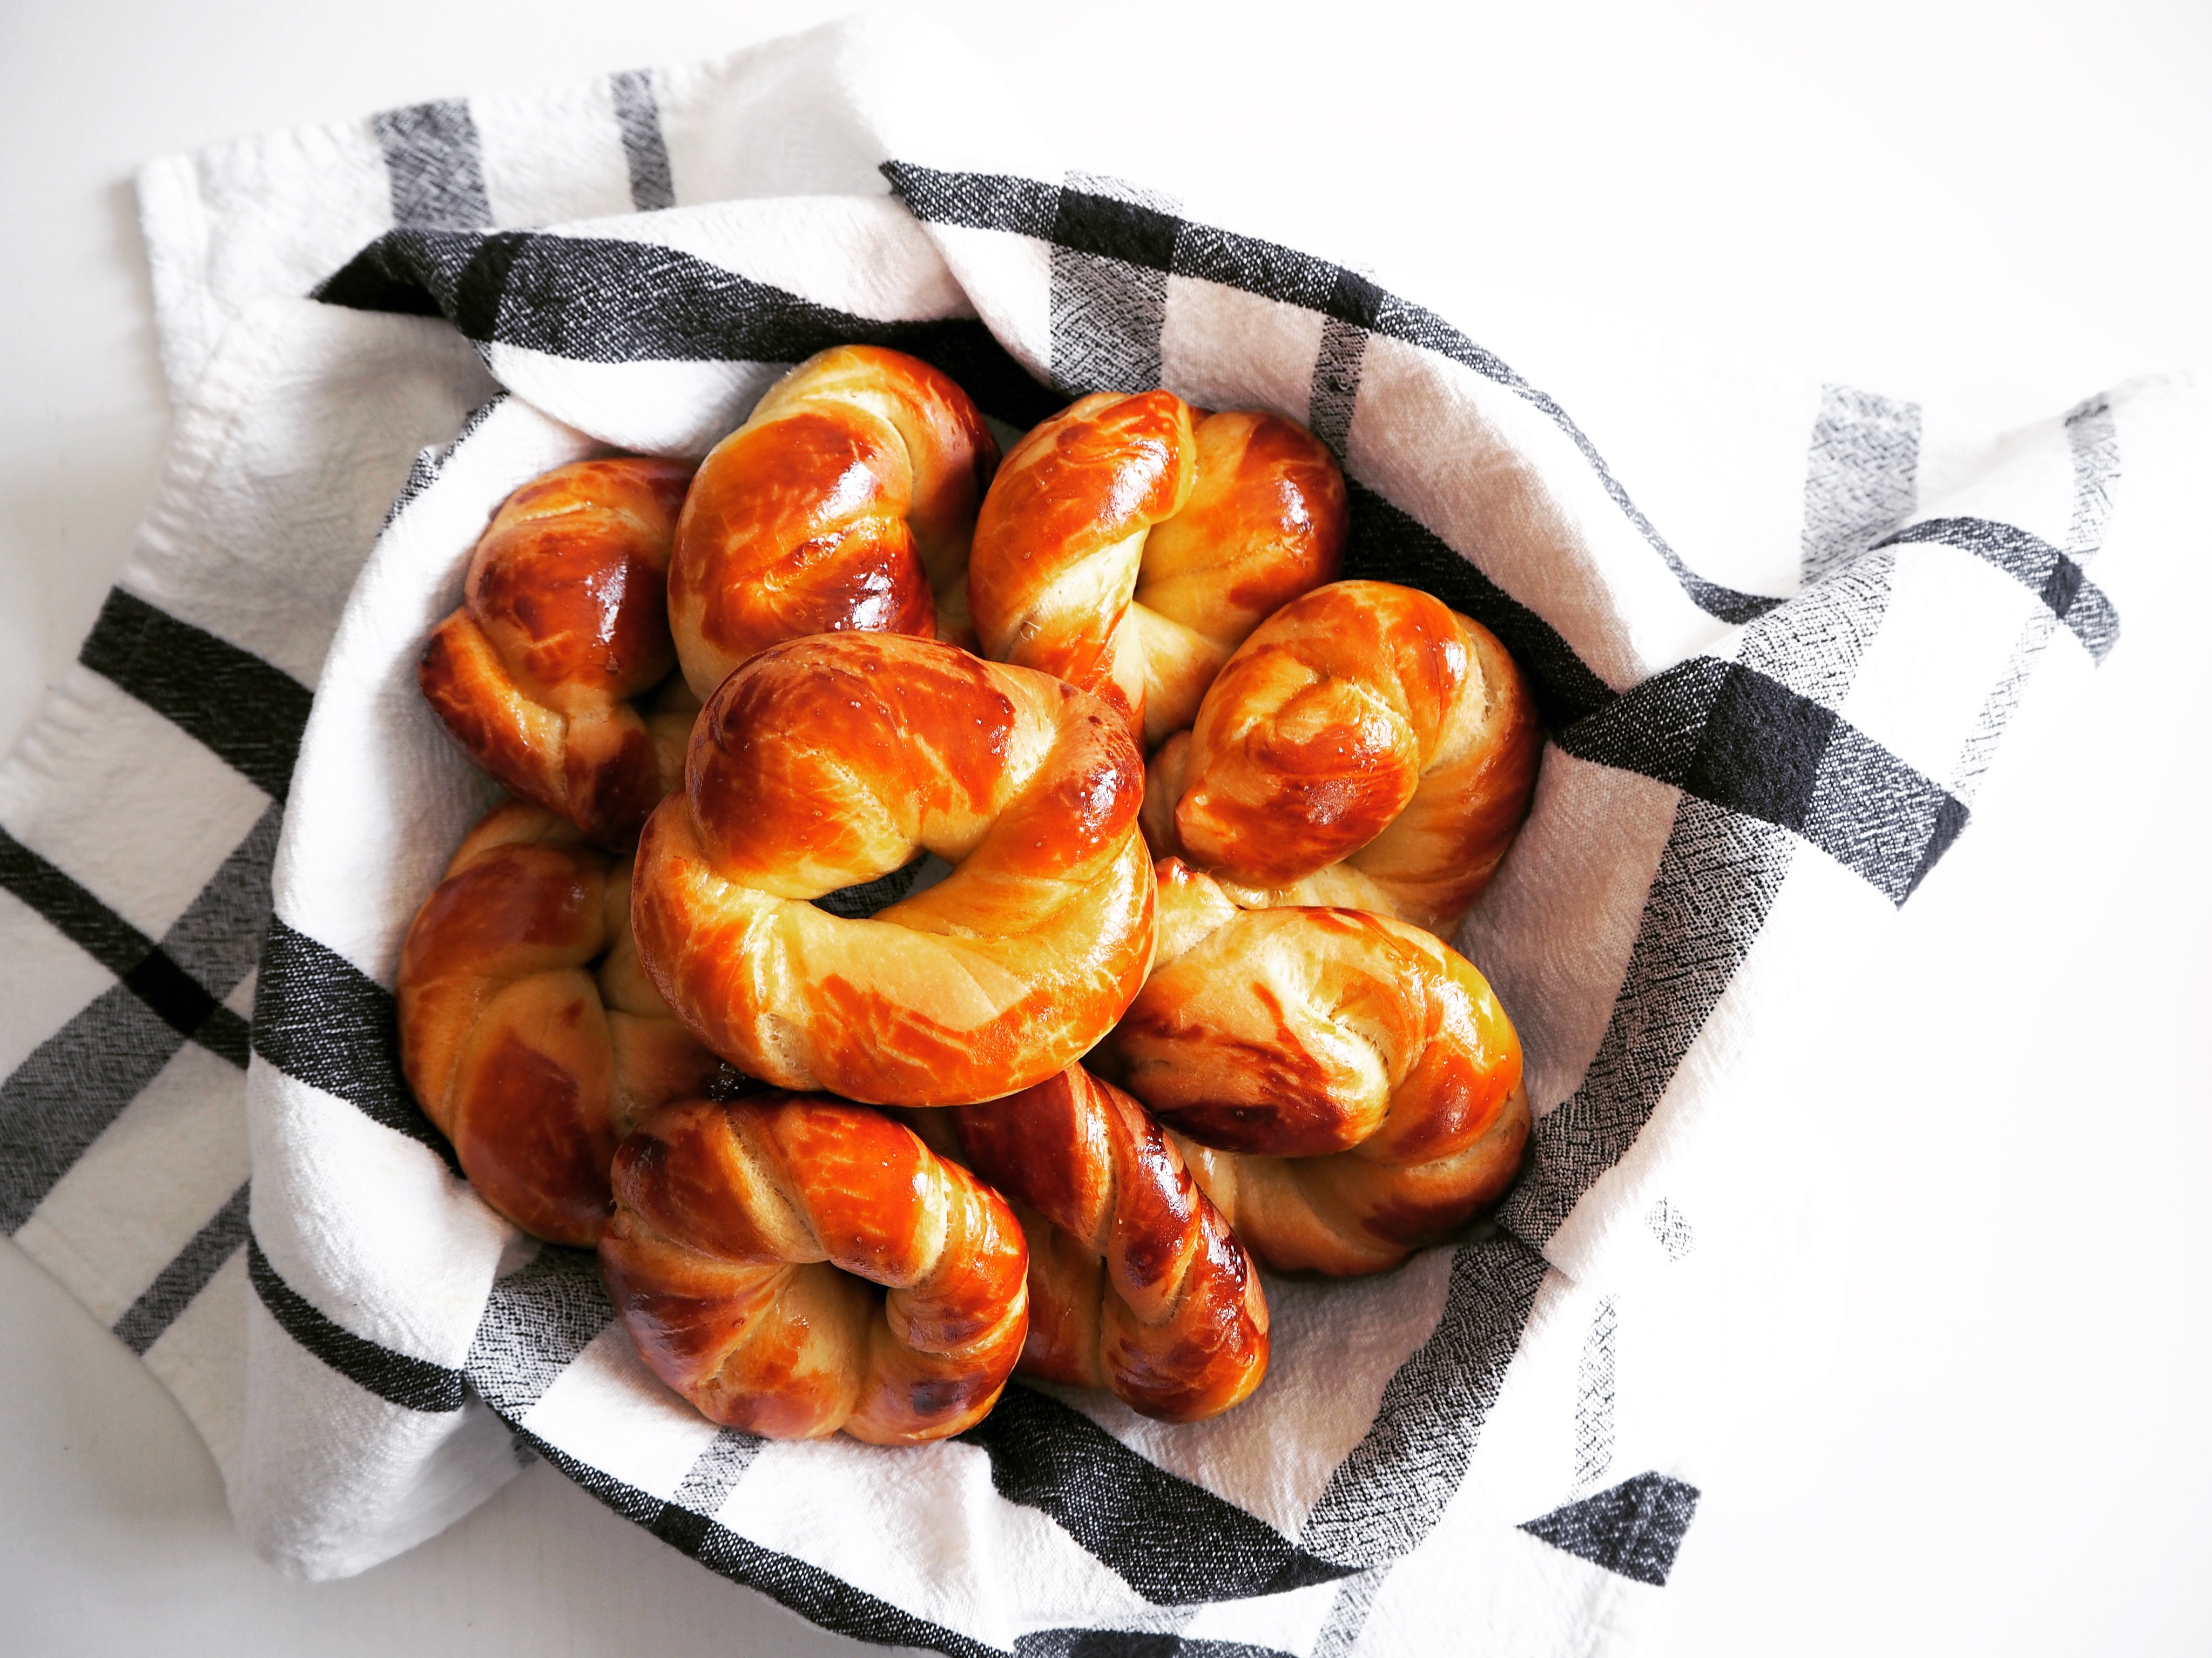
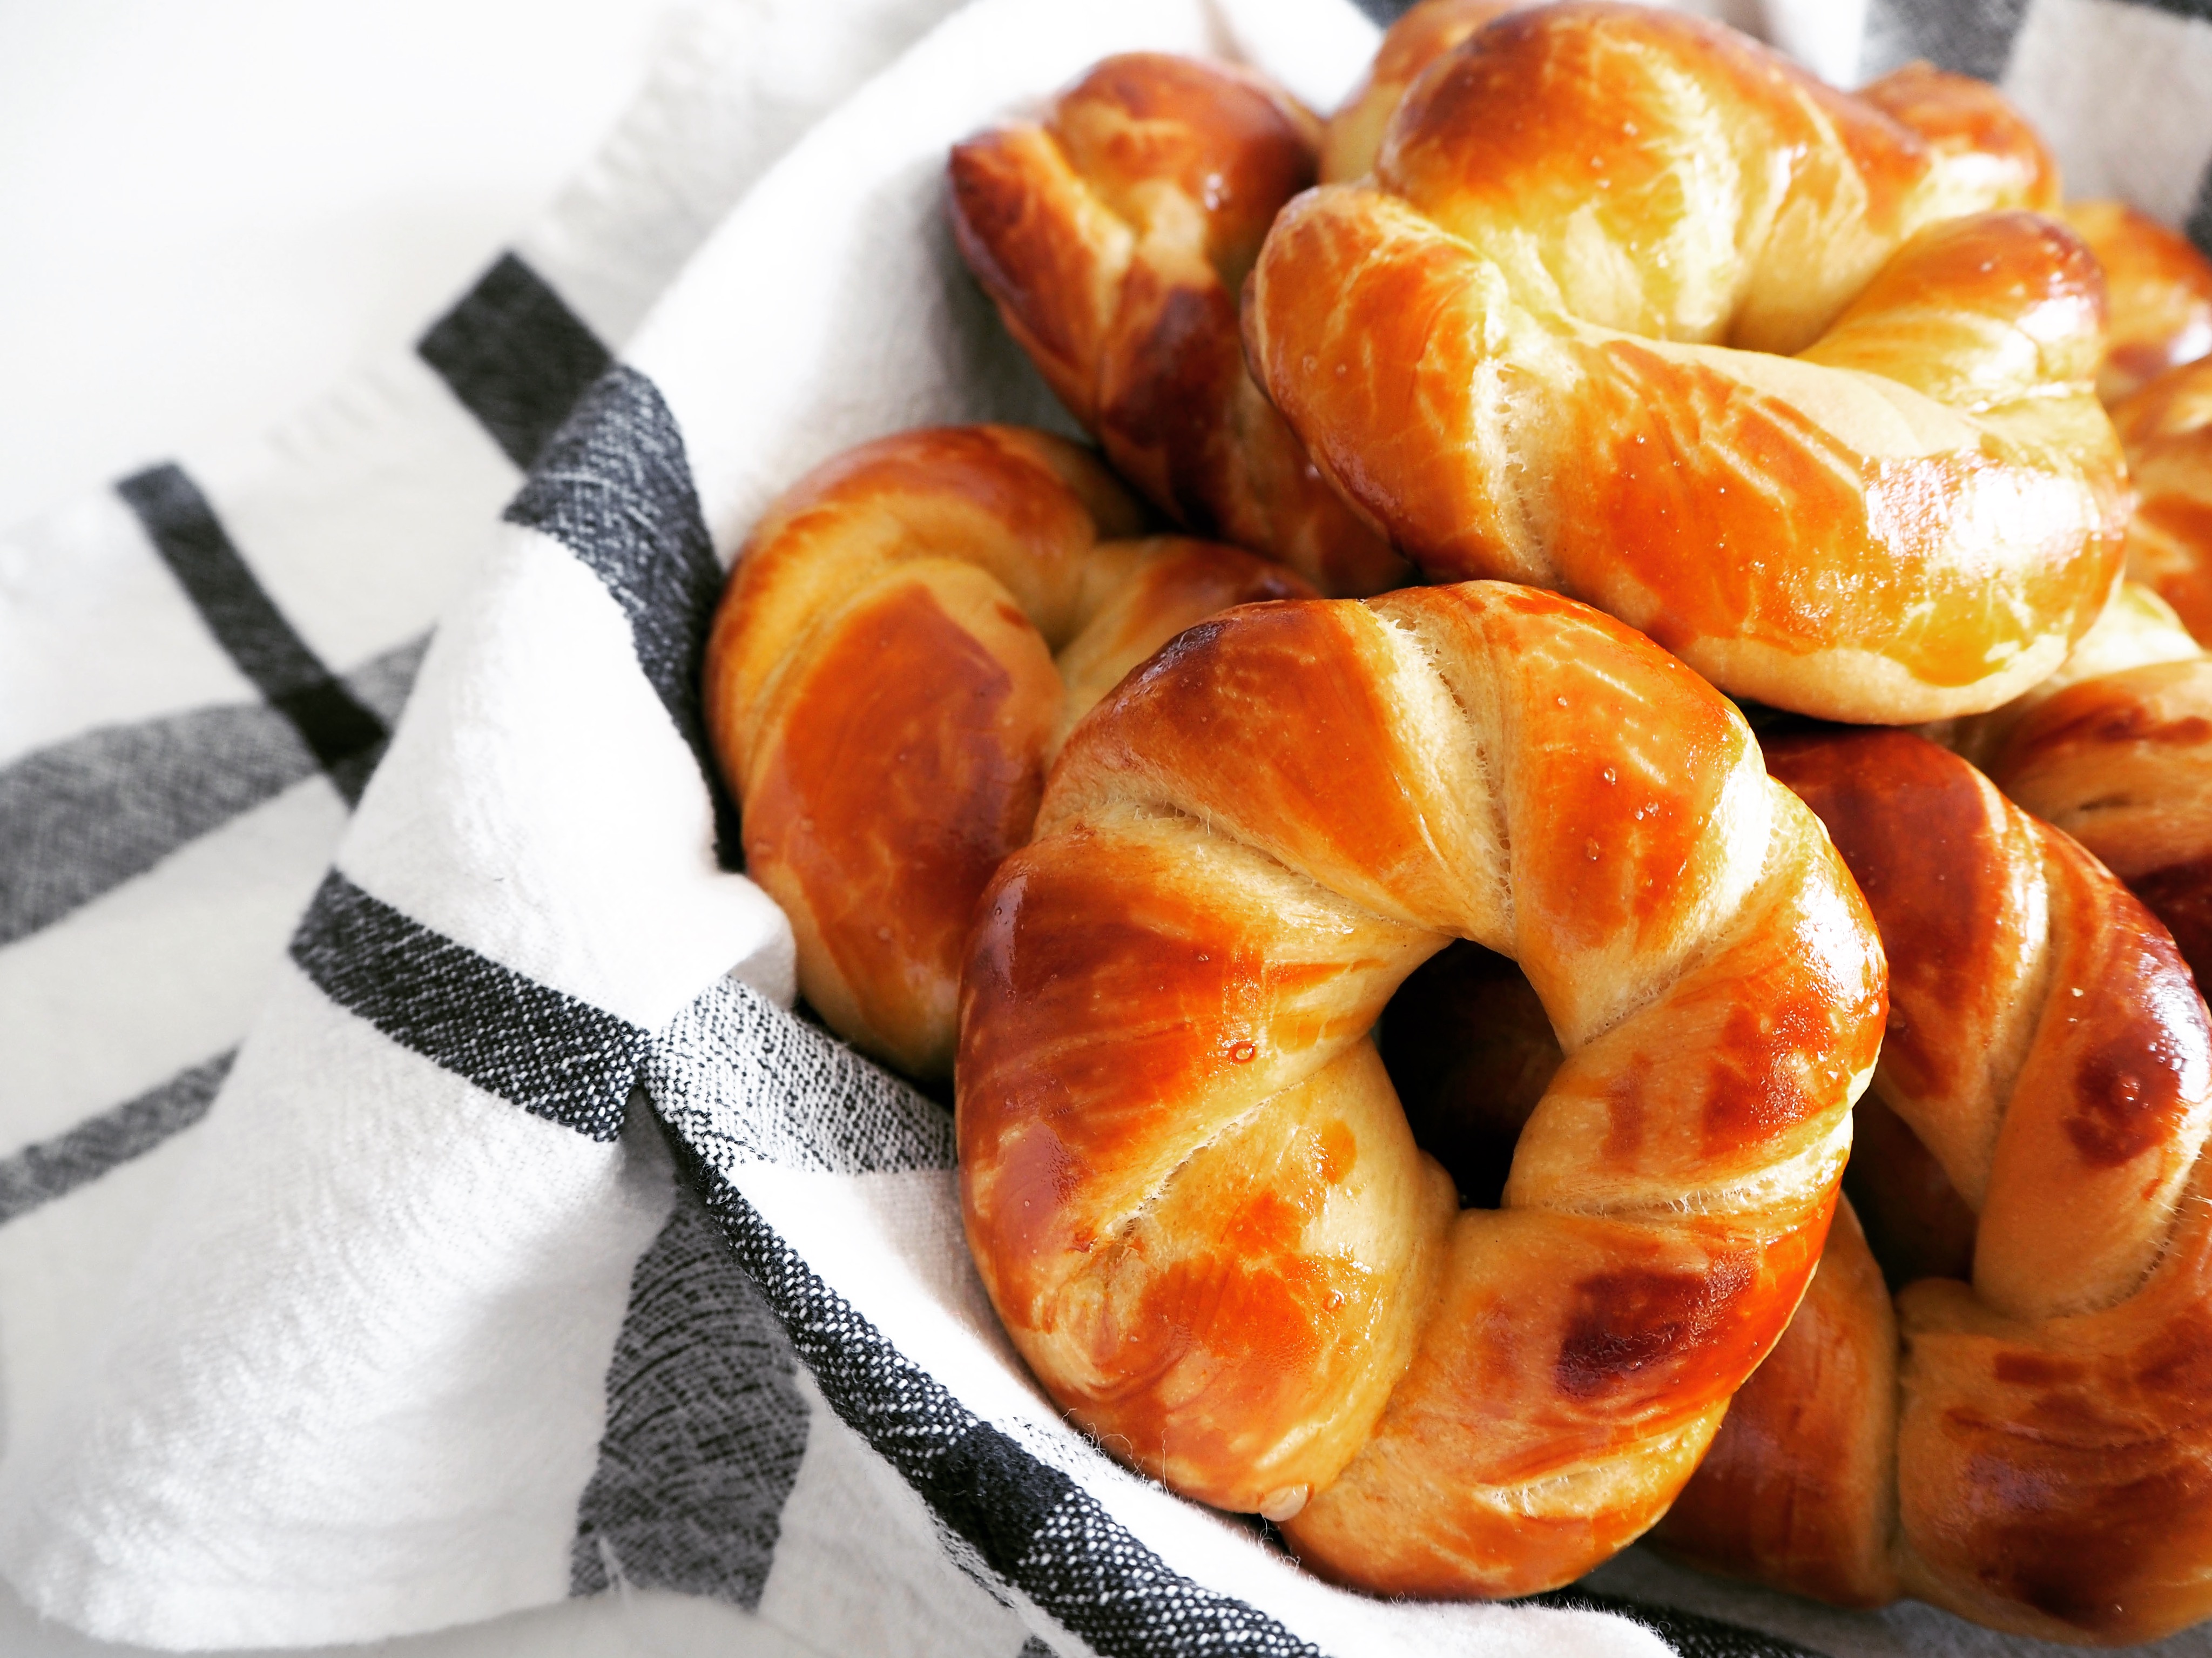
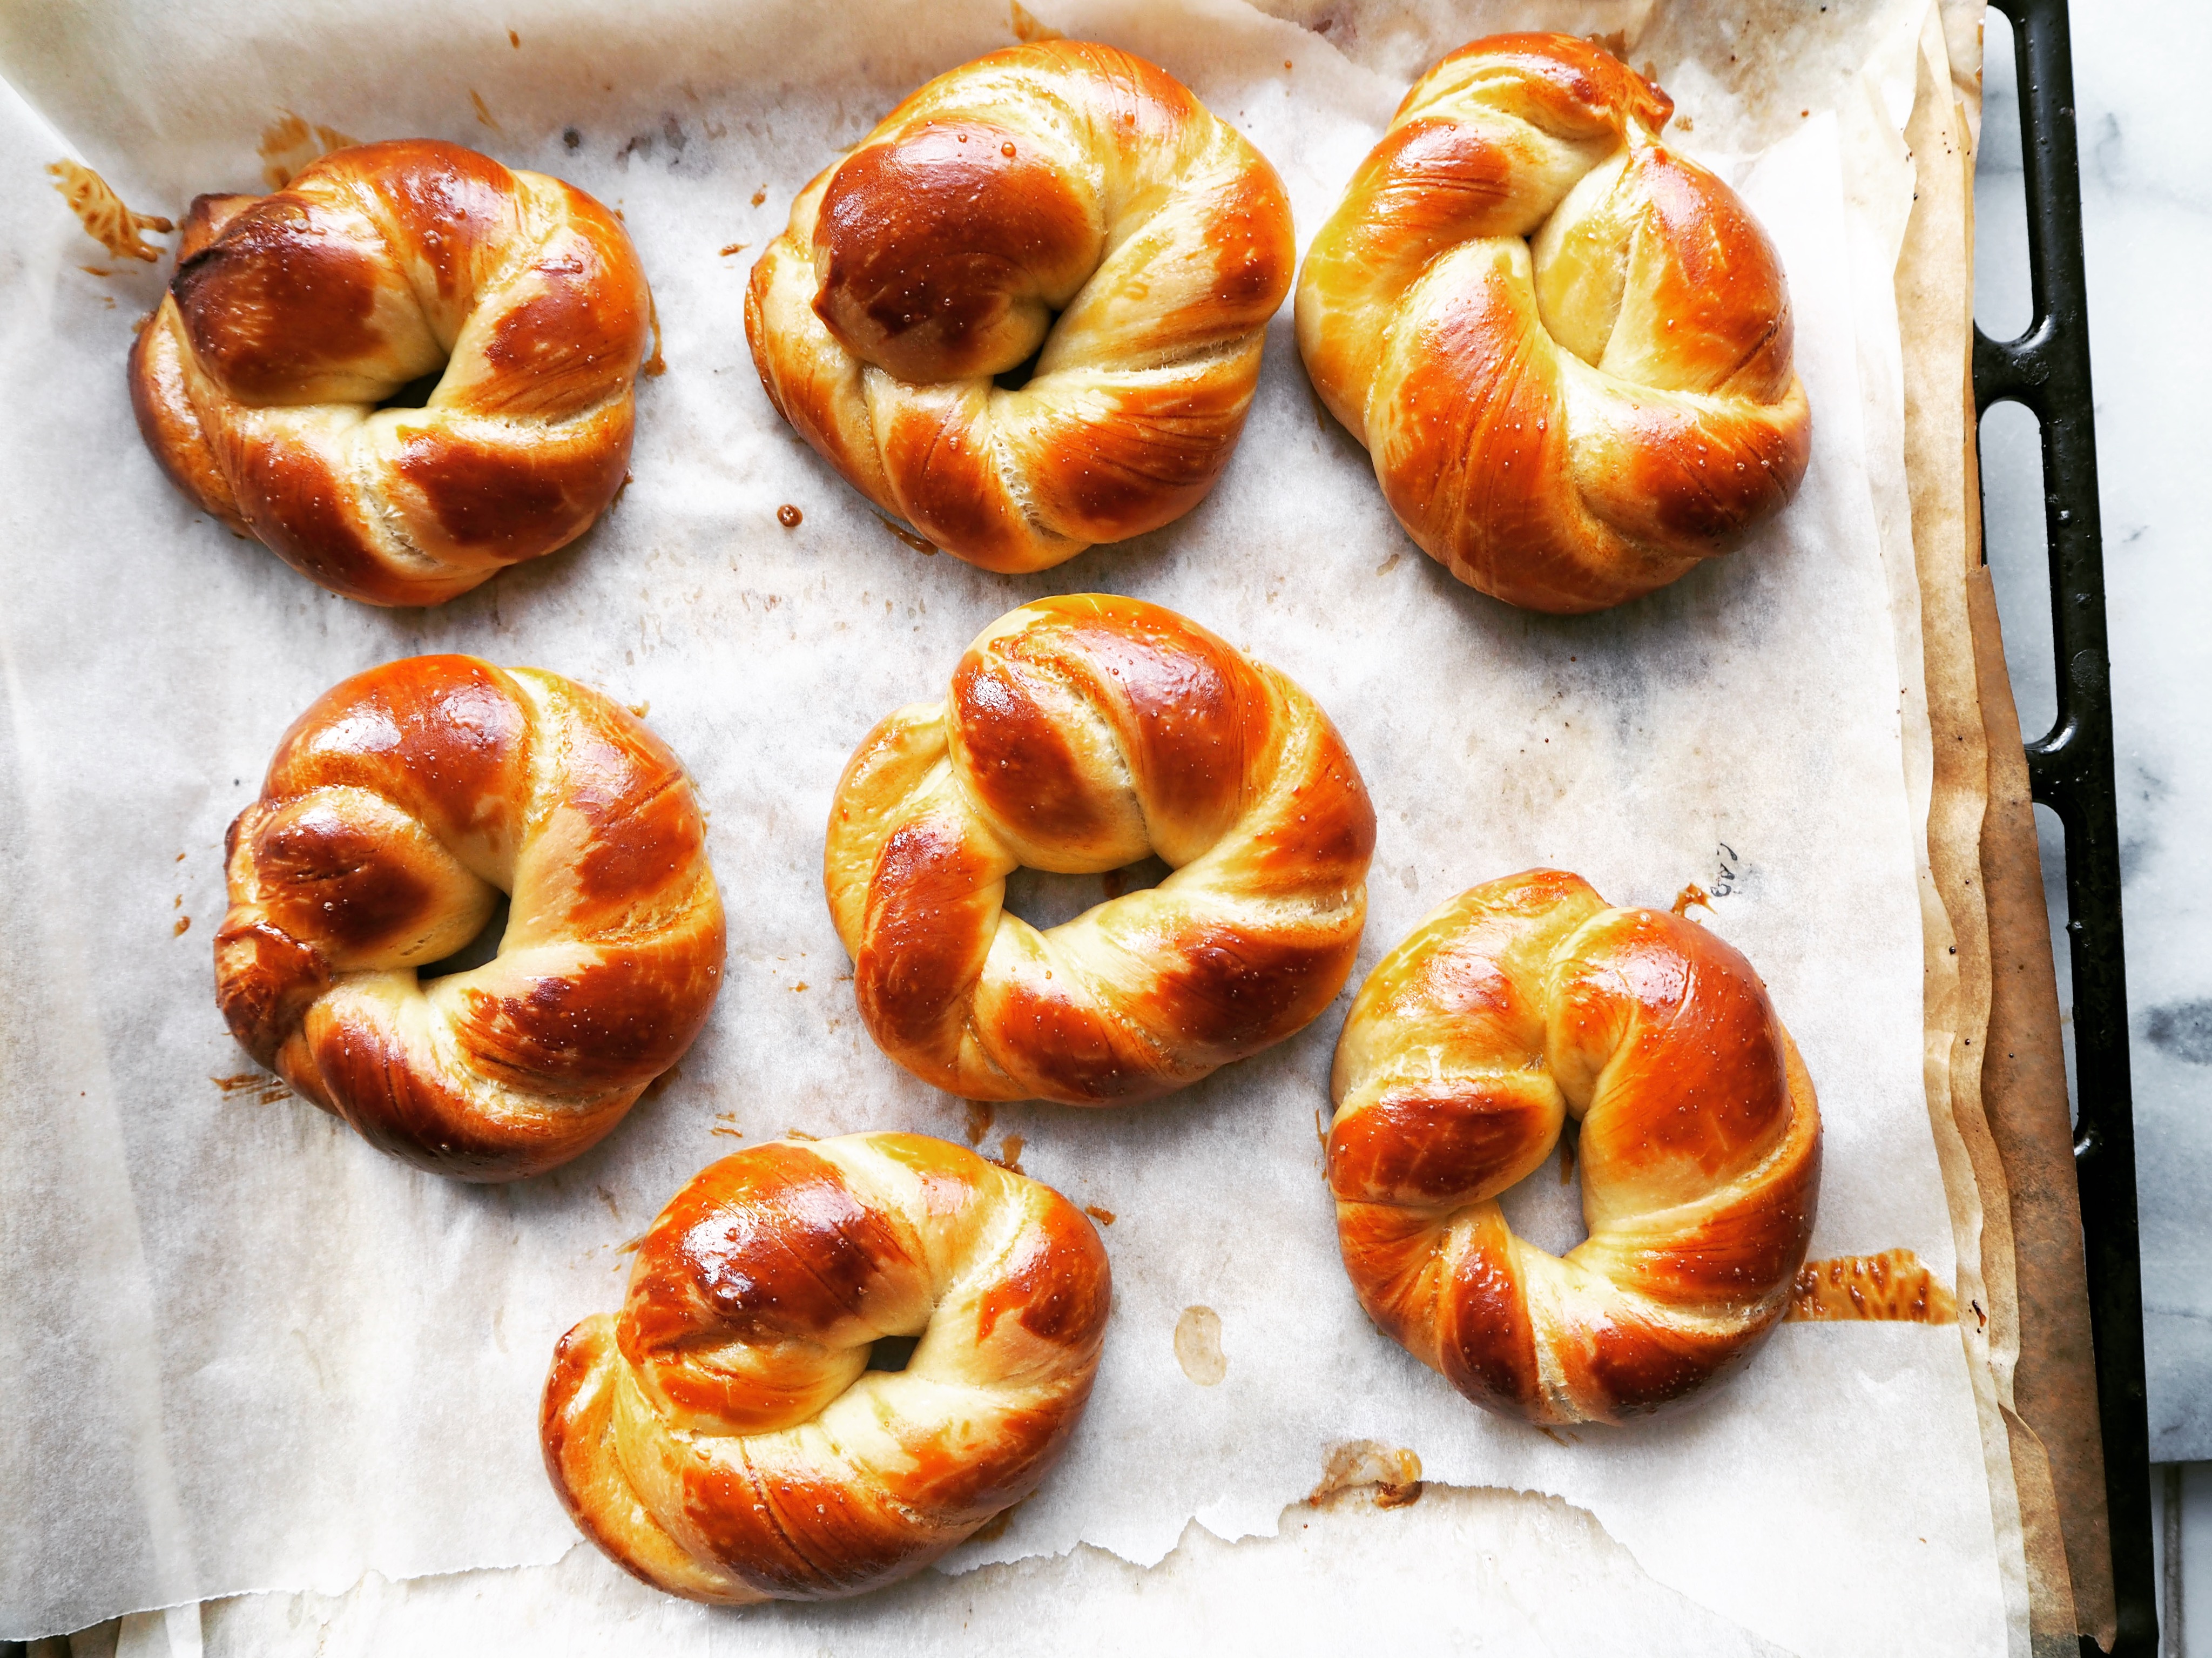
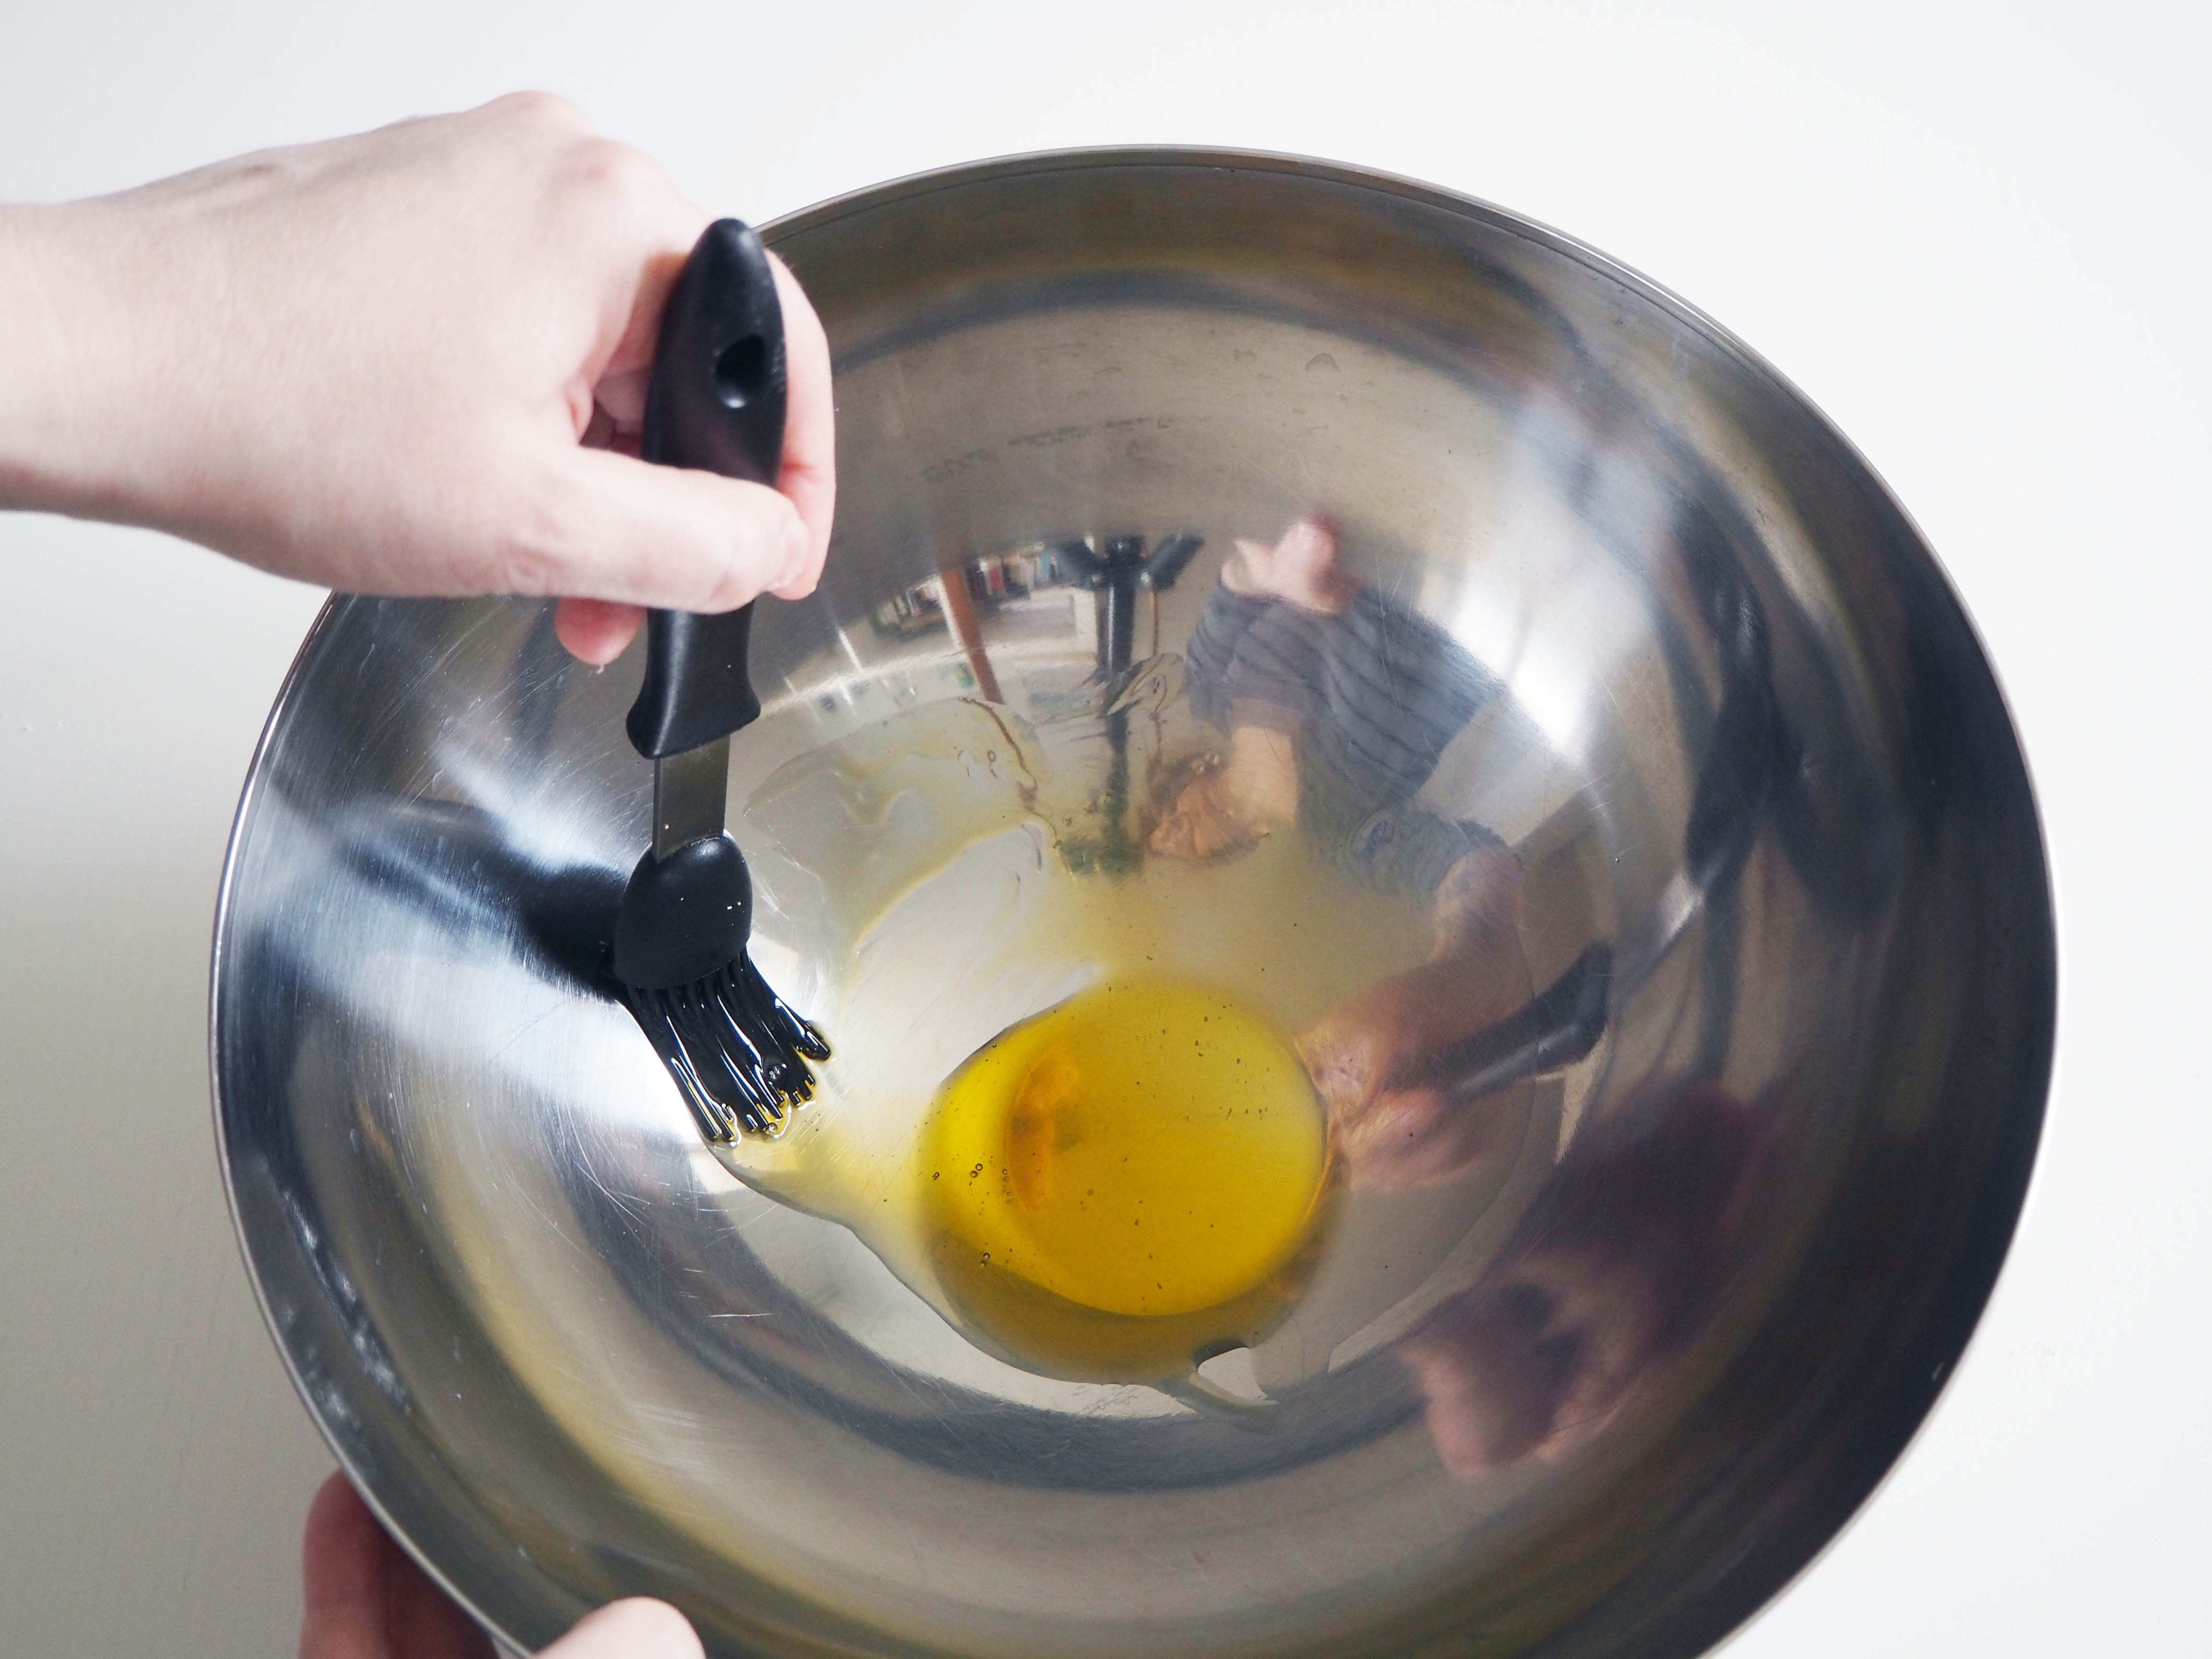
13. After final proofing, brush each bun generously with egg yolks (the more generous you are, the lovelier their final colour). Put the ready buns in the oven, on top rack and bake until they are golden brown colour (in my oven, it takes 20 minutes, I suggest you start checking your buns at 15 minutes mark when you are baking them for the first time to see how your oven works on them). When they are baked, cool them to room temperature then put them in a bowl with kitchen towel and cover with more kitchen towels to keep them soft. In room temperature, when they are packed like that, they would be good and soft to eat even until next morning. You can also freeze the buns. Enjoy!