
Yes it is! For Finnish readers, the only problem may be to find it because I only know 2 shops in Itäkeskus which sell kadayif (I will write about them below). But once you get a hold of it, you’ll be more than happy to make this delicious and easiest dessert.

First, a bit of info about myself and why I’ve been silent throughout July: As some of you know, I was on holiday in Sinop, Turkey. It was going great and I was planning to publish recipes even there however I had a quite serious car accident which kind of traumatised me. Surprisingly, I came out of that unrecognisable upside-down car with only minor injuries (thanks to the seat belt). But the trauma still continues a bit. I still see the accident in my dream, I hear the sound of crash in my ears, when I close my eyes I live it again. In closed spaces and in vehicles, especially cars, I have panic attacks. But now I’m back in Helsinki and back to work and I’m working constantly on mental healing. Cooking and baking definitely helps with this!
Ok now about kadayif. Whenever I think of this dessert, I remember Ramadan feasts back in my childhood. My mother and especially my aunt made it most of the time for those feasts. I always loved this dessert but I remember that one of my older brothers, Hakan, loved it the most.

Making this dessert is easy as I said: you make a simple syrup a few hours beforehand, then with only 3 ingredients, you bake the dessert and afterwards you add the syrup. That’s it.

Kadayif is actually the name of the dough – which is very finely shredded wheat dough. It is also the name of the dessert itself. Kadayif dough is used in several desserts in Middle Eastern cuisine, and it is also used a wrapping ingredient in some savoury dishes, like crispy chicken recipes or eggplant kadayif nests by Ottolenghi.
Ok then, hope you can find kadayif wherever you are and give it a go! Enjoy!
—
Ingredients:
Difficulty: ★☆☆ (Easy)
(makes about 12 big size or 24 regular size slices. Use at least 25x35cm or a 28cm diameter oven dish for this amount of kadayif. If you only have smaller dishes, then use half of the measurements and store the remaining raw kadayif in the fridge to be used as soon as possible.)
Printable PDF-recipe (no photos)
For syrup:*
1 lt (or 4 cups) water
850 gr. (or 4 1/4 cups, or 9.5 dl) granulated white sugar***
6-7 drops of lemon juice
For dessert:
500 gr. raw, fresh kadayif**
250 gr. butter
400 gr. lightly toasted hazelnuts, coarsely crushed
To serve (optional):
toasted and crushed pistachios, hazelnuts, walnuts etc.

*The syrup making process is exactly like one of my other recipes, you will see the photos of the ingredients in that recipe – the link is at step 1 below.
**In some places, there also already baked kadayif packages that you only warm up and add the syrup. It gets even easier with those, however I don’t like those packages and I don’t recommend them, I prefer using raw and fresh kadayif. In Helsinki, as far as I know, you can find kadayif in Alanya Oriental Market and Kimene Market, both of which are in Itäkeskus. The photos of the package I bought from Alanya Market is below.

***Some people commented that this is a lot of sugar. It’s a lot of sugar because this package of kadayif I used makes a big dessert. You can perfectly use half a package and hence decrease the amount of syrup (and sugar).
—
1. Prepare the syrup as in the instructions in my Sekerpare recipe, steps 1 and 2: https://mydearkitcheninhelsinki.com/2015/08/12/sekerpare-a-sweet-turkish-dessert-and-the-memories-of-a-turkish-girl/ Note that the amount of ingredients are different in 2 recipes so be careful to use the measurements here. Make the syrup a couple of hours beforehand, especially in hot summer days, since the syrup should get back to normal room temperature before you bake the kadayif (don’t put the syrup in the fridge to make it cold).
2. When the syrup is cold and you are ready to make the dessert, preheat the oven to 180C. Lightly grease your big oven dish with some butter (or vegetable oil).
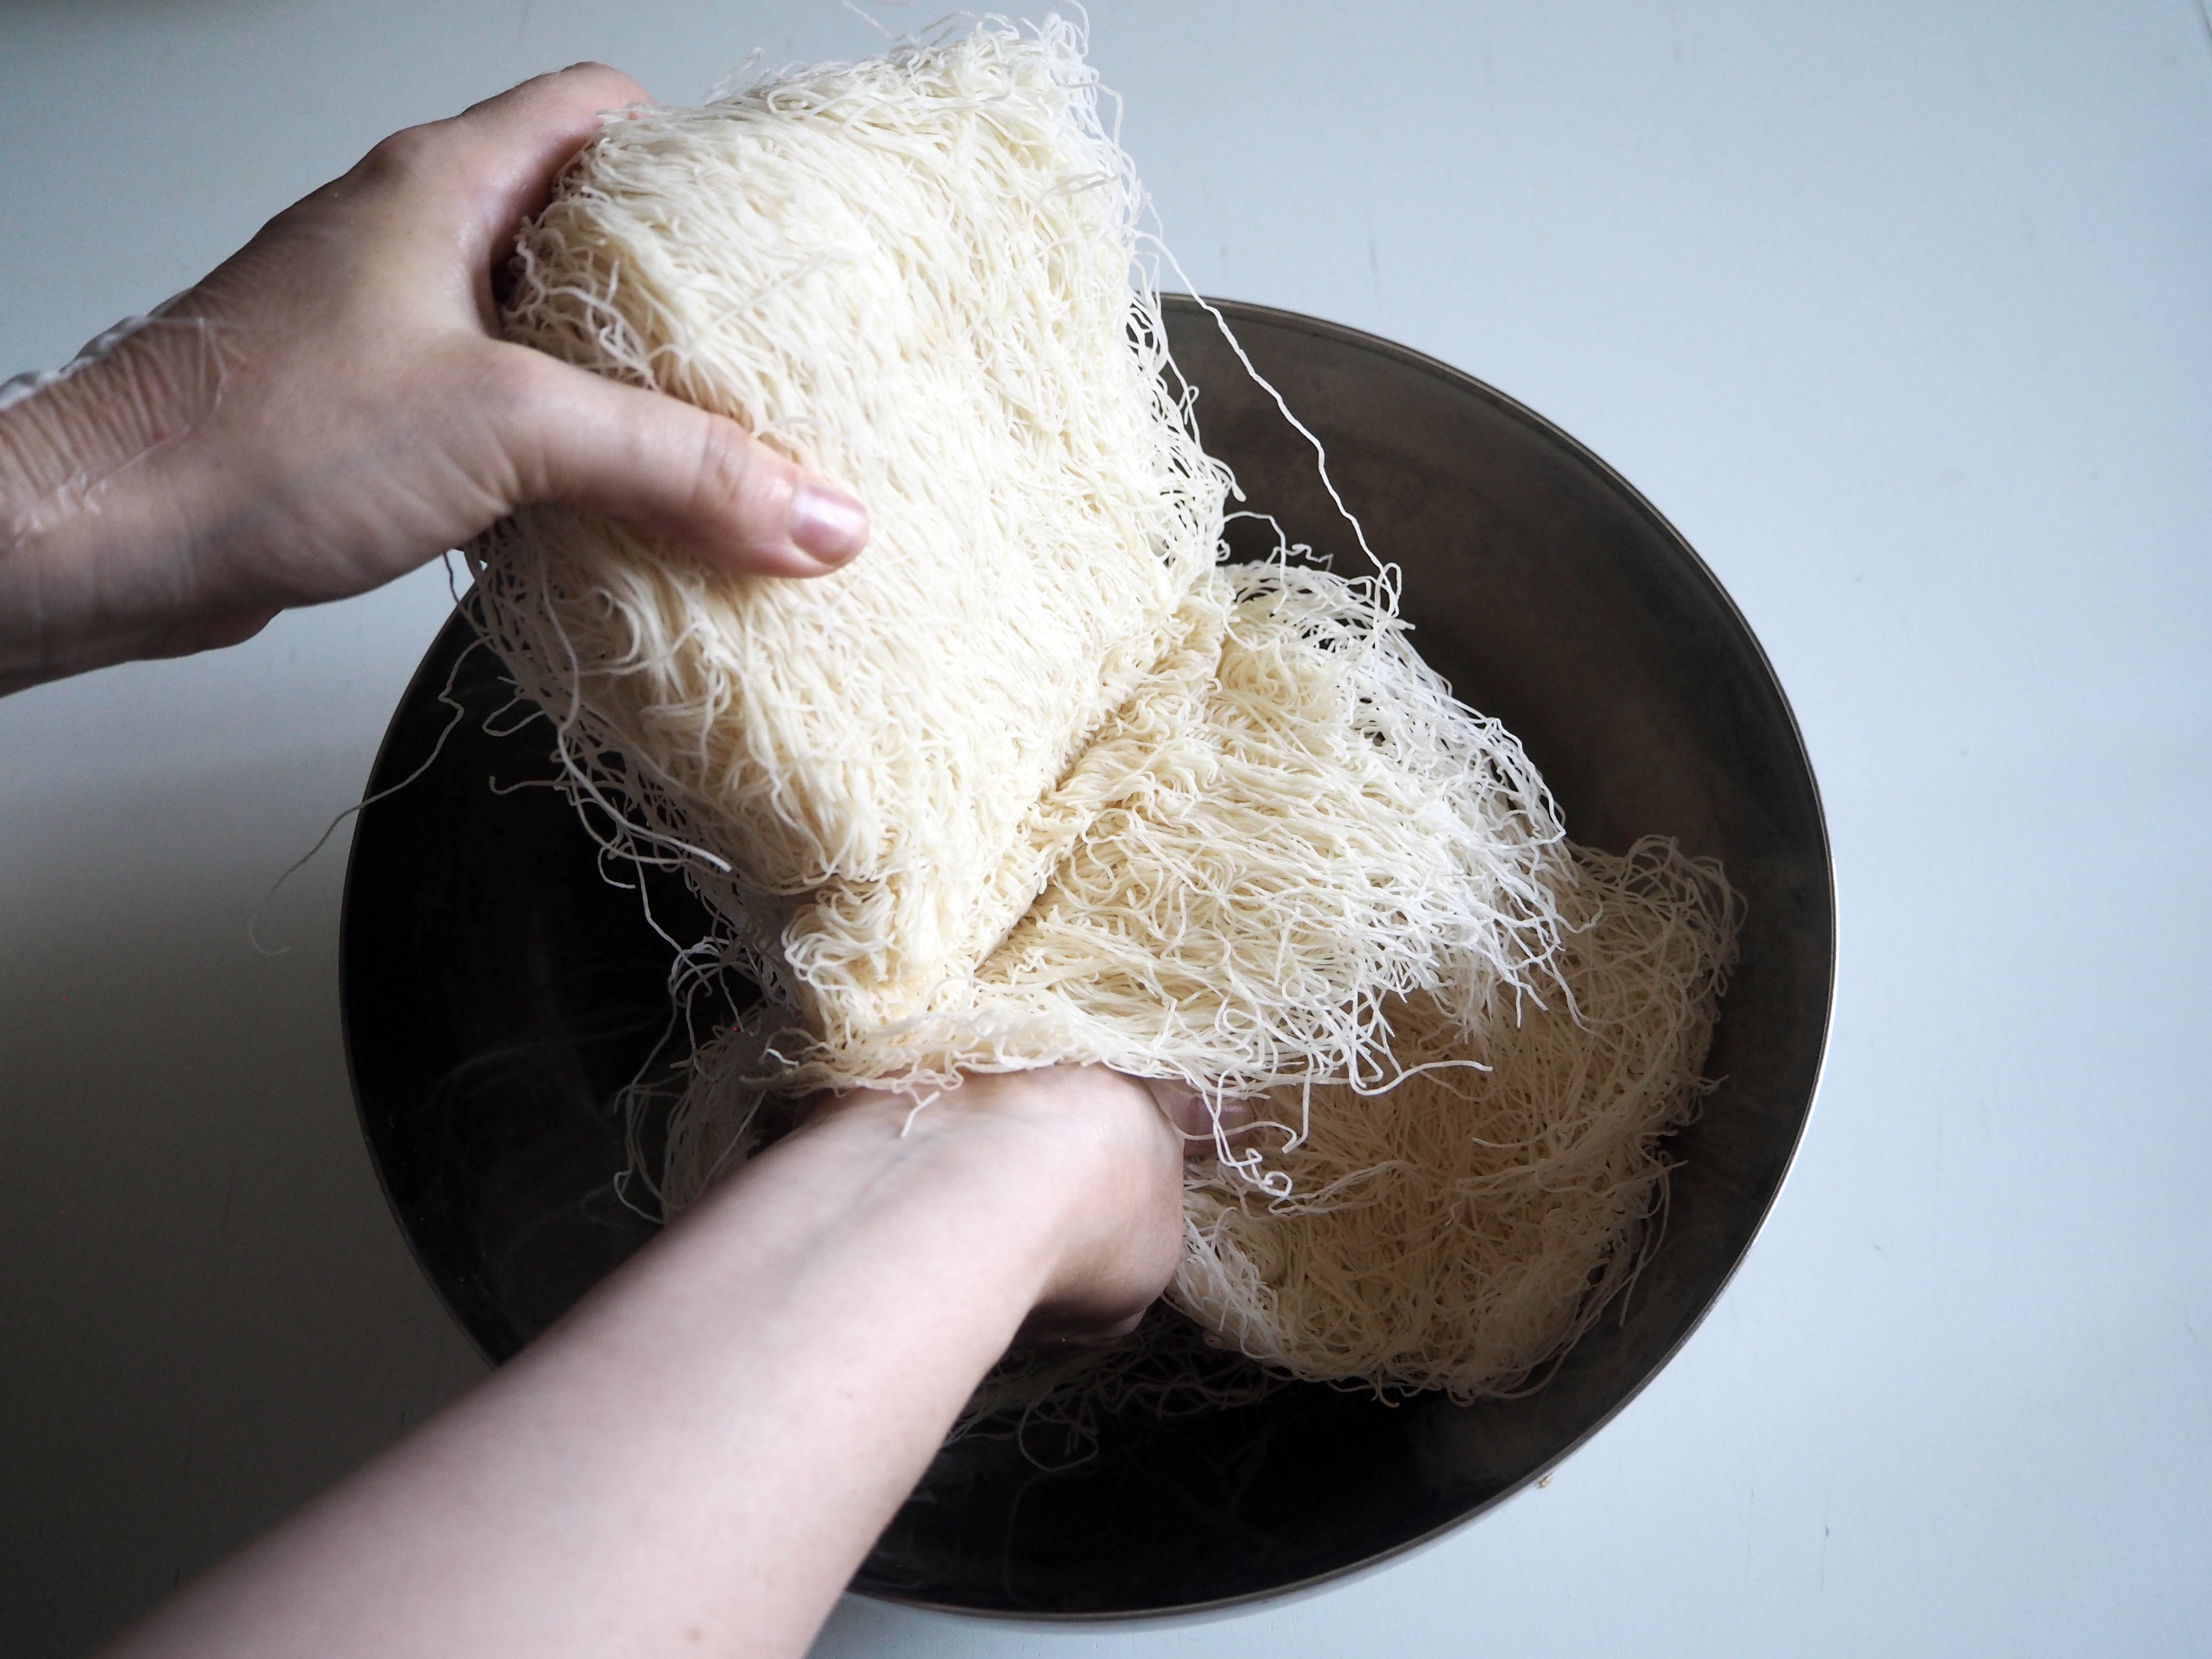
3. Open kadayif package and put it in a bowl or large tray / big plate. In the package, the dough can stick and become one big dough, so unstick the pieces.

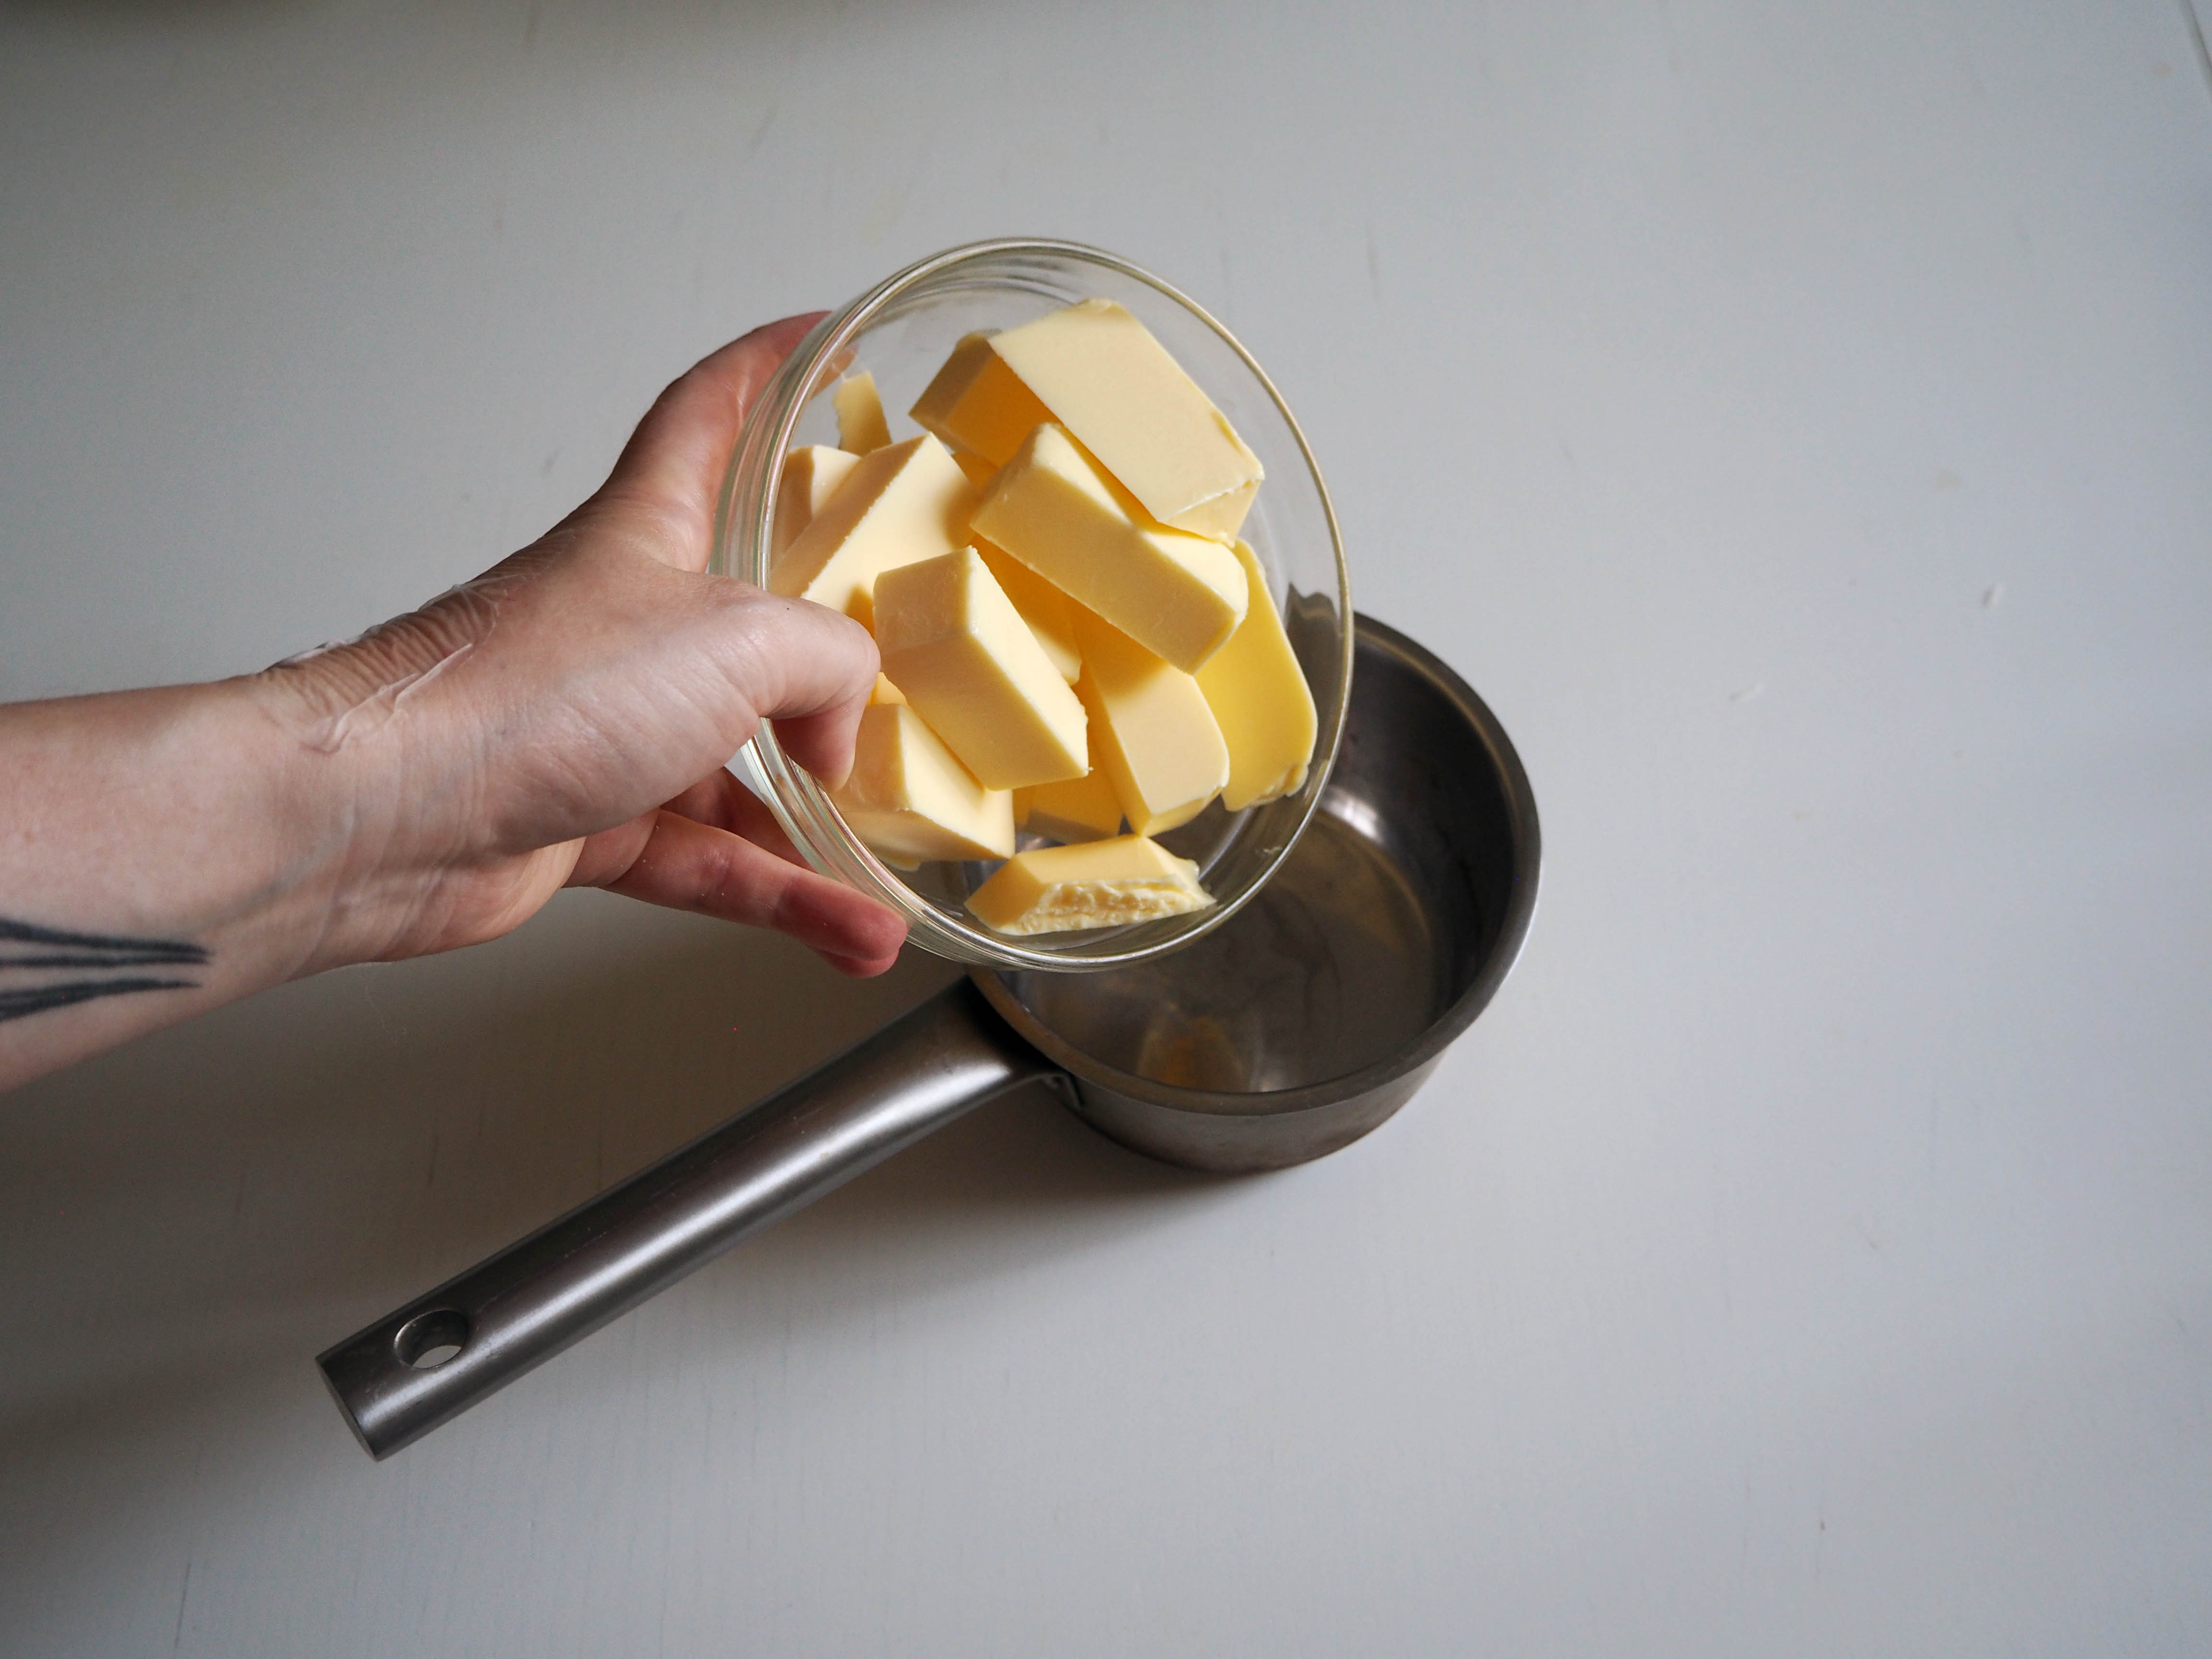
4. In a small saucepan, melt the butter.
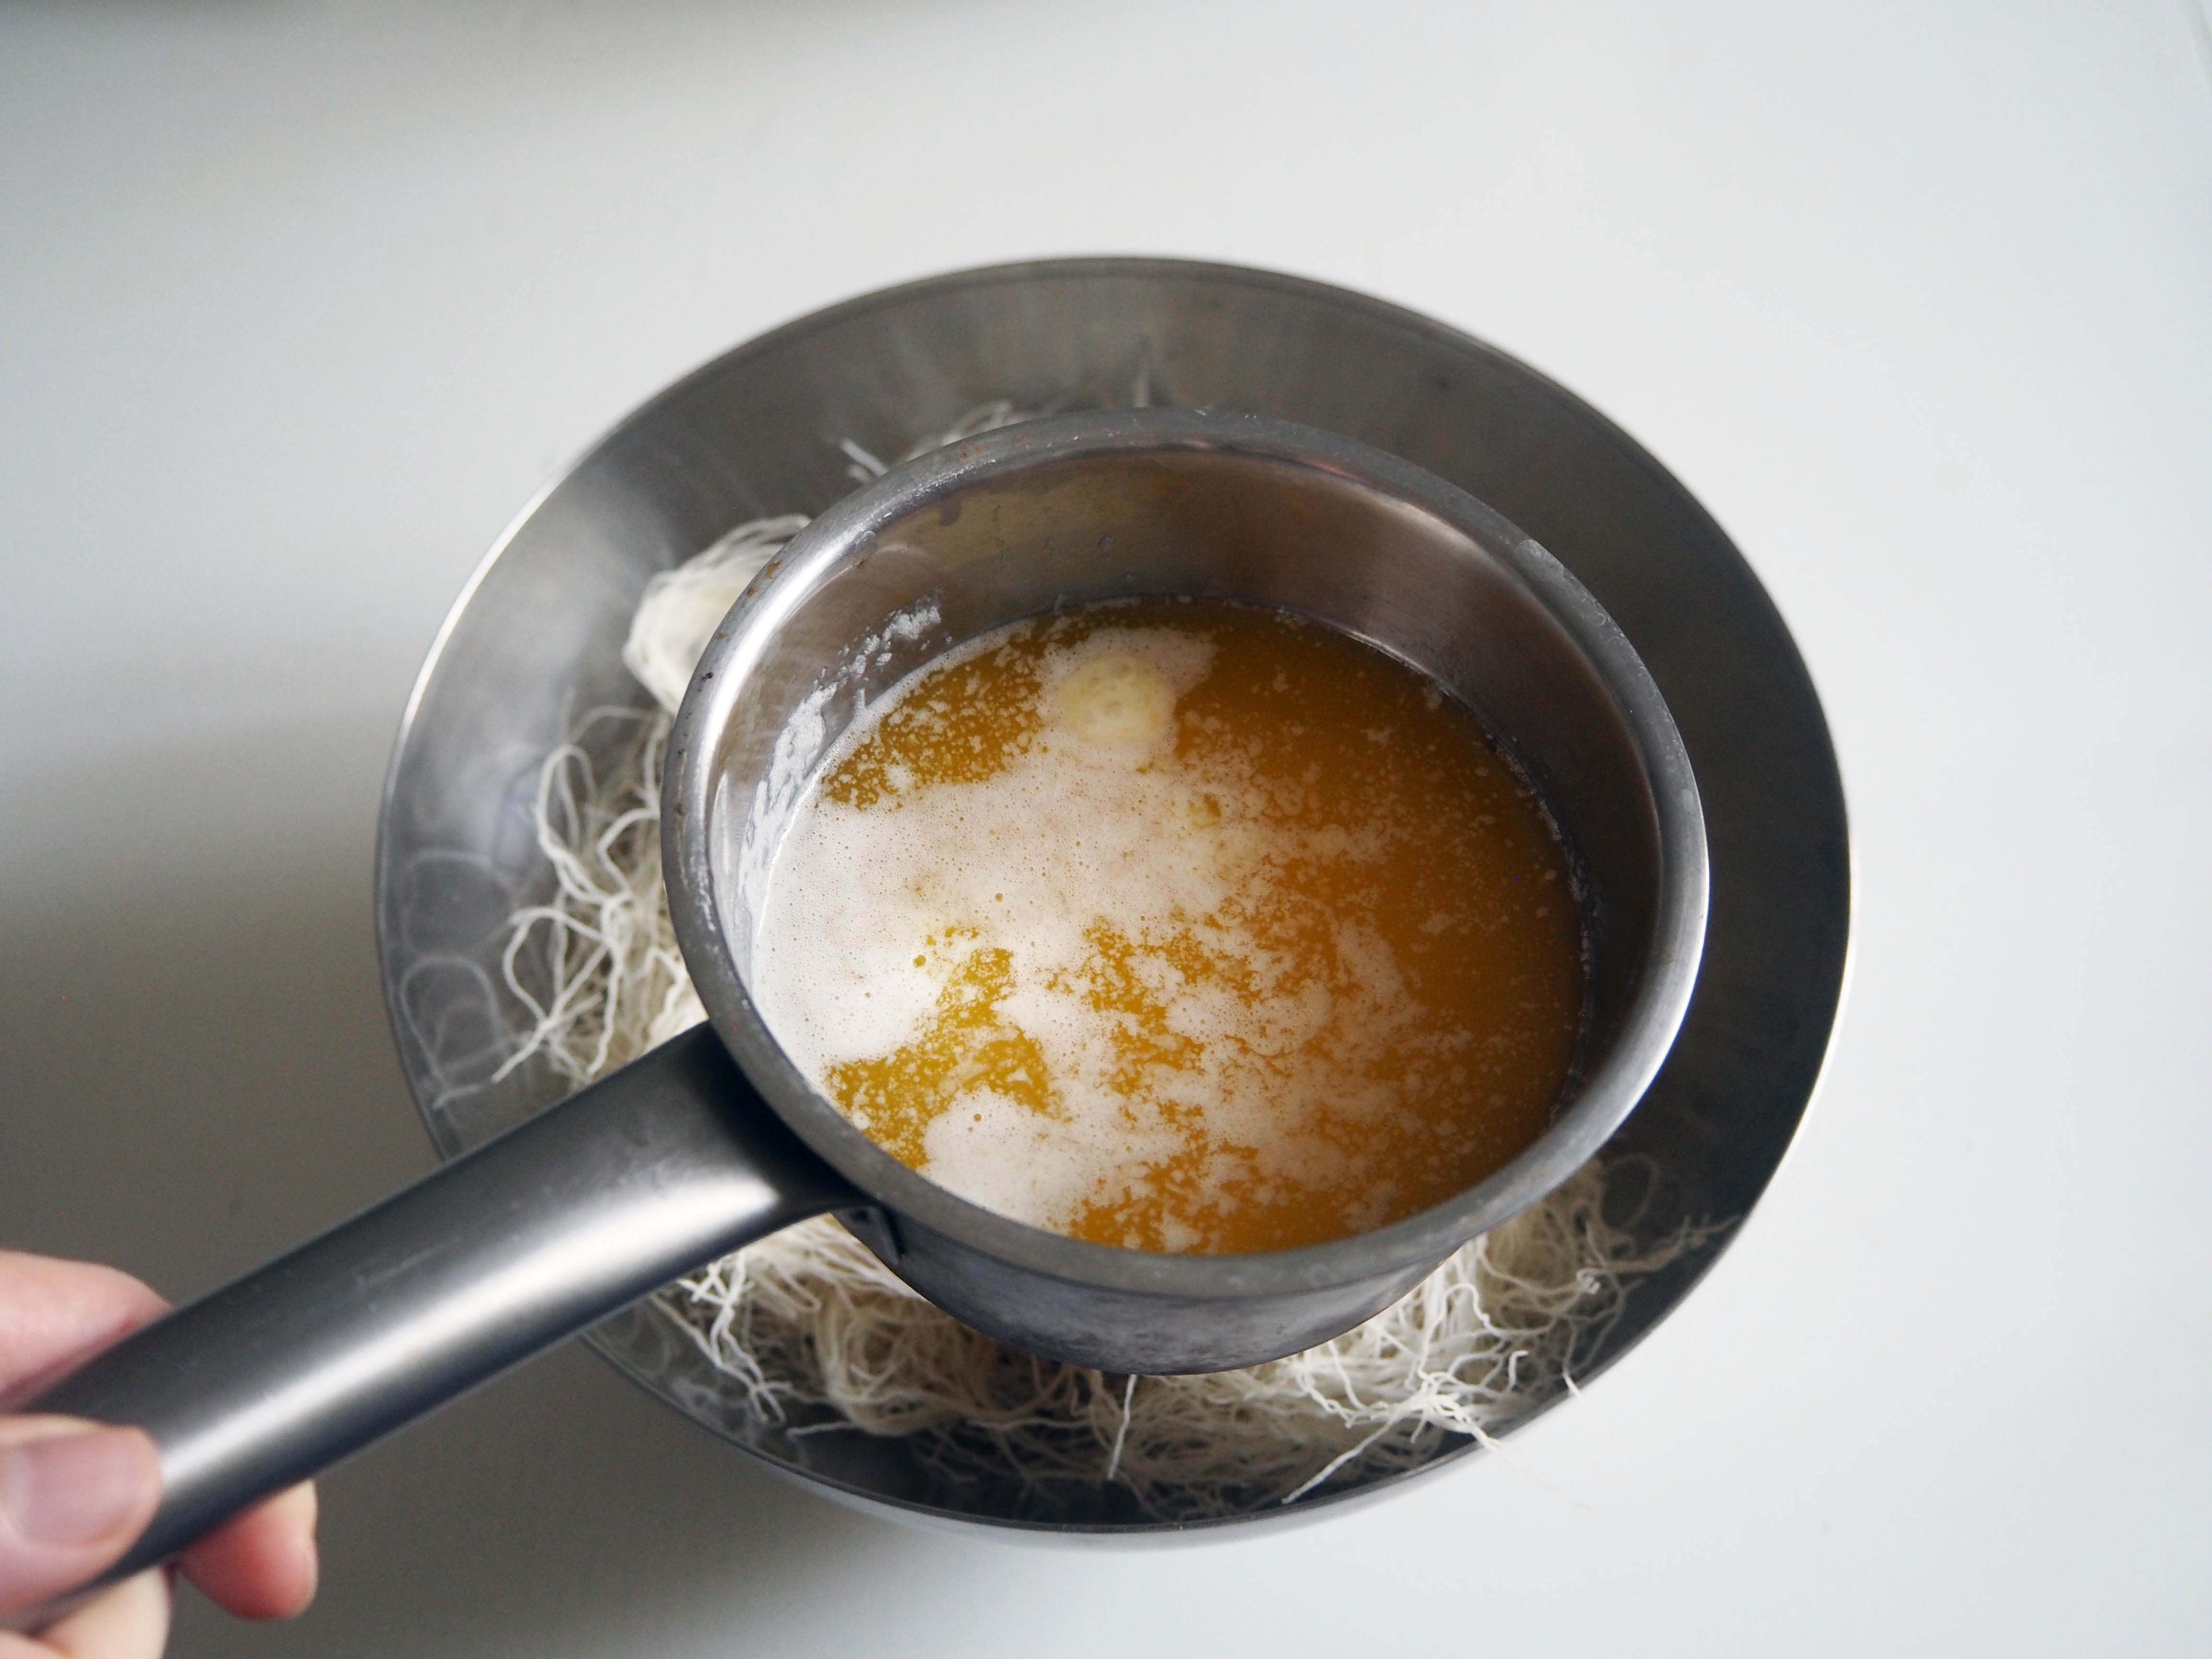
5. Pour melted butter on kadayif and using your hand, let all kadayif pieces absorb the butter. (By the way, there are still some scratches on my left hand from the car accident, that’s why I cover my hand with the bandage.)


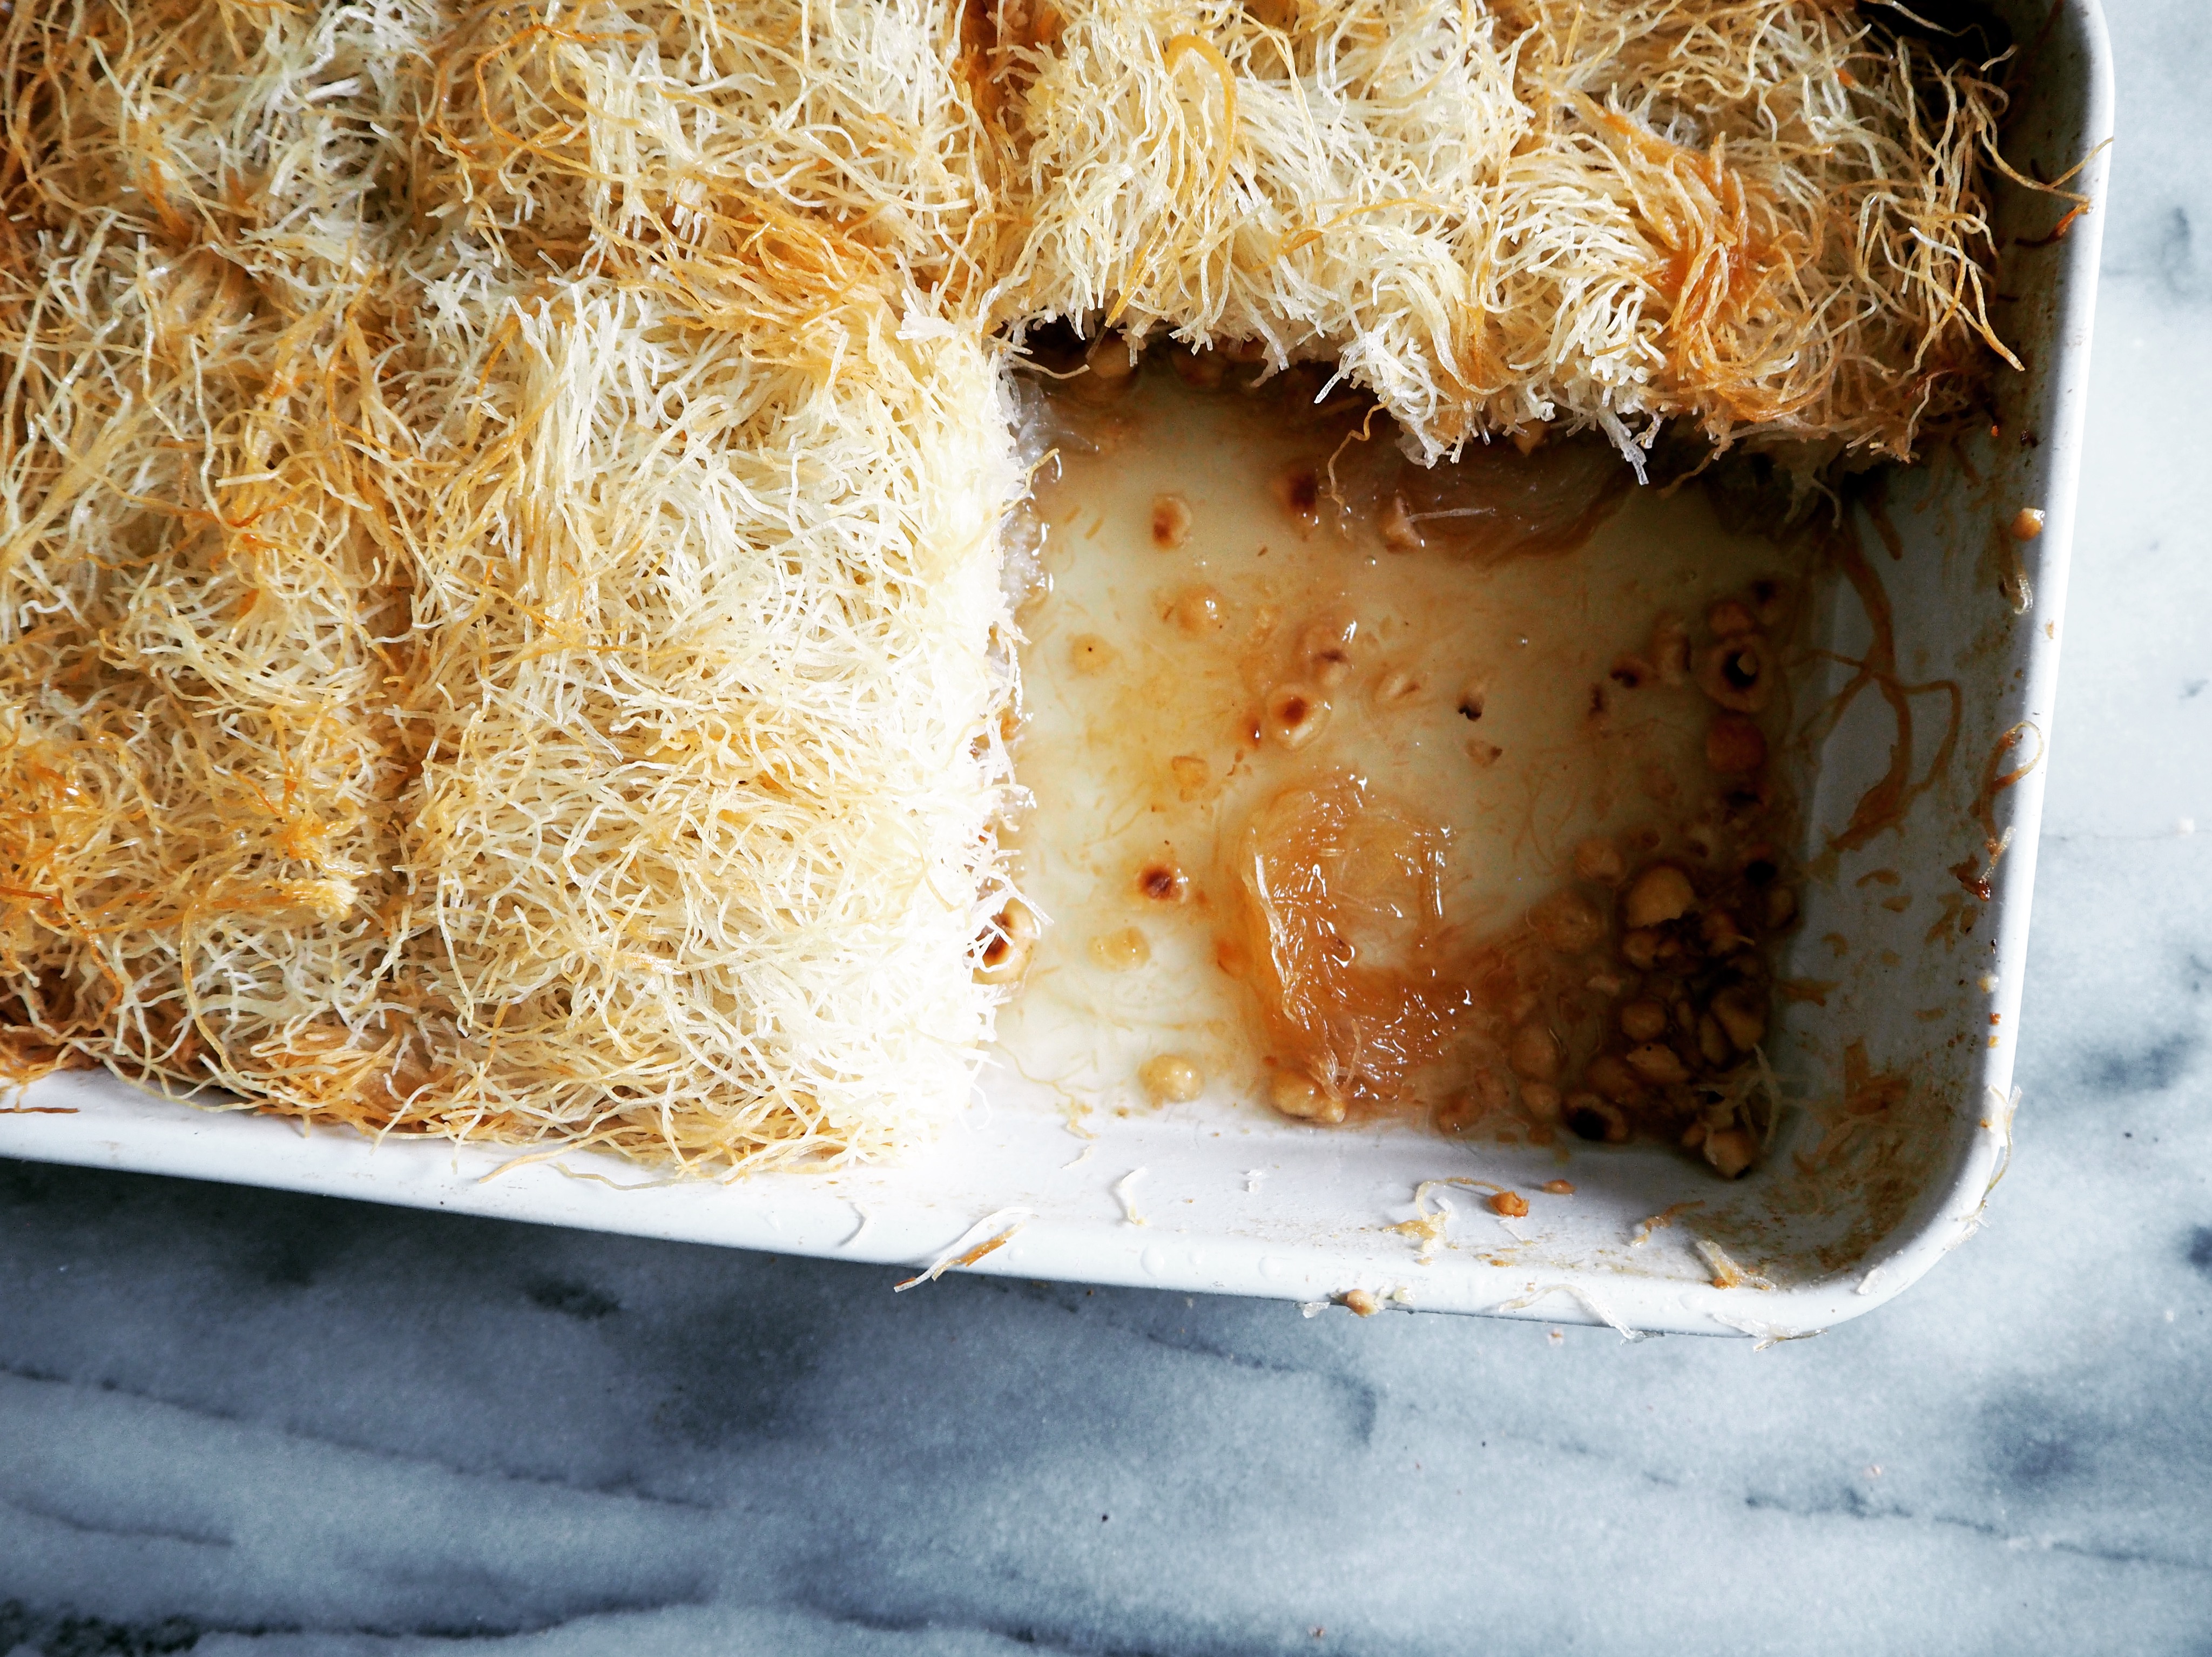
6. Put half of the buttered kadayif on your oven dish and using your hand press it well to cover the base of the dish well.


7. Spread the hazelnuts on kadayif layer and again press well with your hand.


8. Cover hazelnut layer with the remaining kadayif and one more time, press it well using your hand. Put the kadayif in the oven, in medium rack and bake for about 25 to 30 minutes, or until the top gets golden brown. In my oven, I actually baked it for 30 minutes and then increased its temperature to 200C, changed the dessert to top rack and baked for 7 more minutes to give it the best colour. You can do something like that too if you want, depending on your oven.


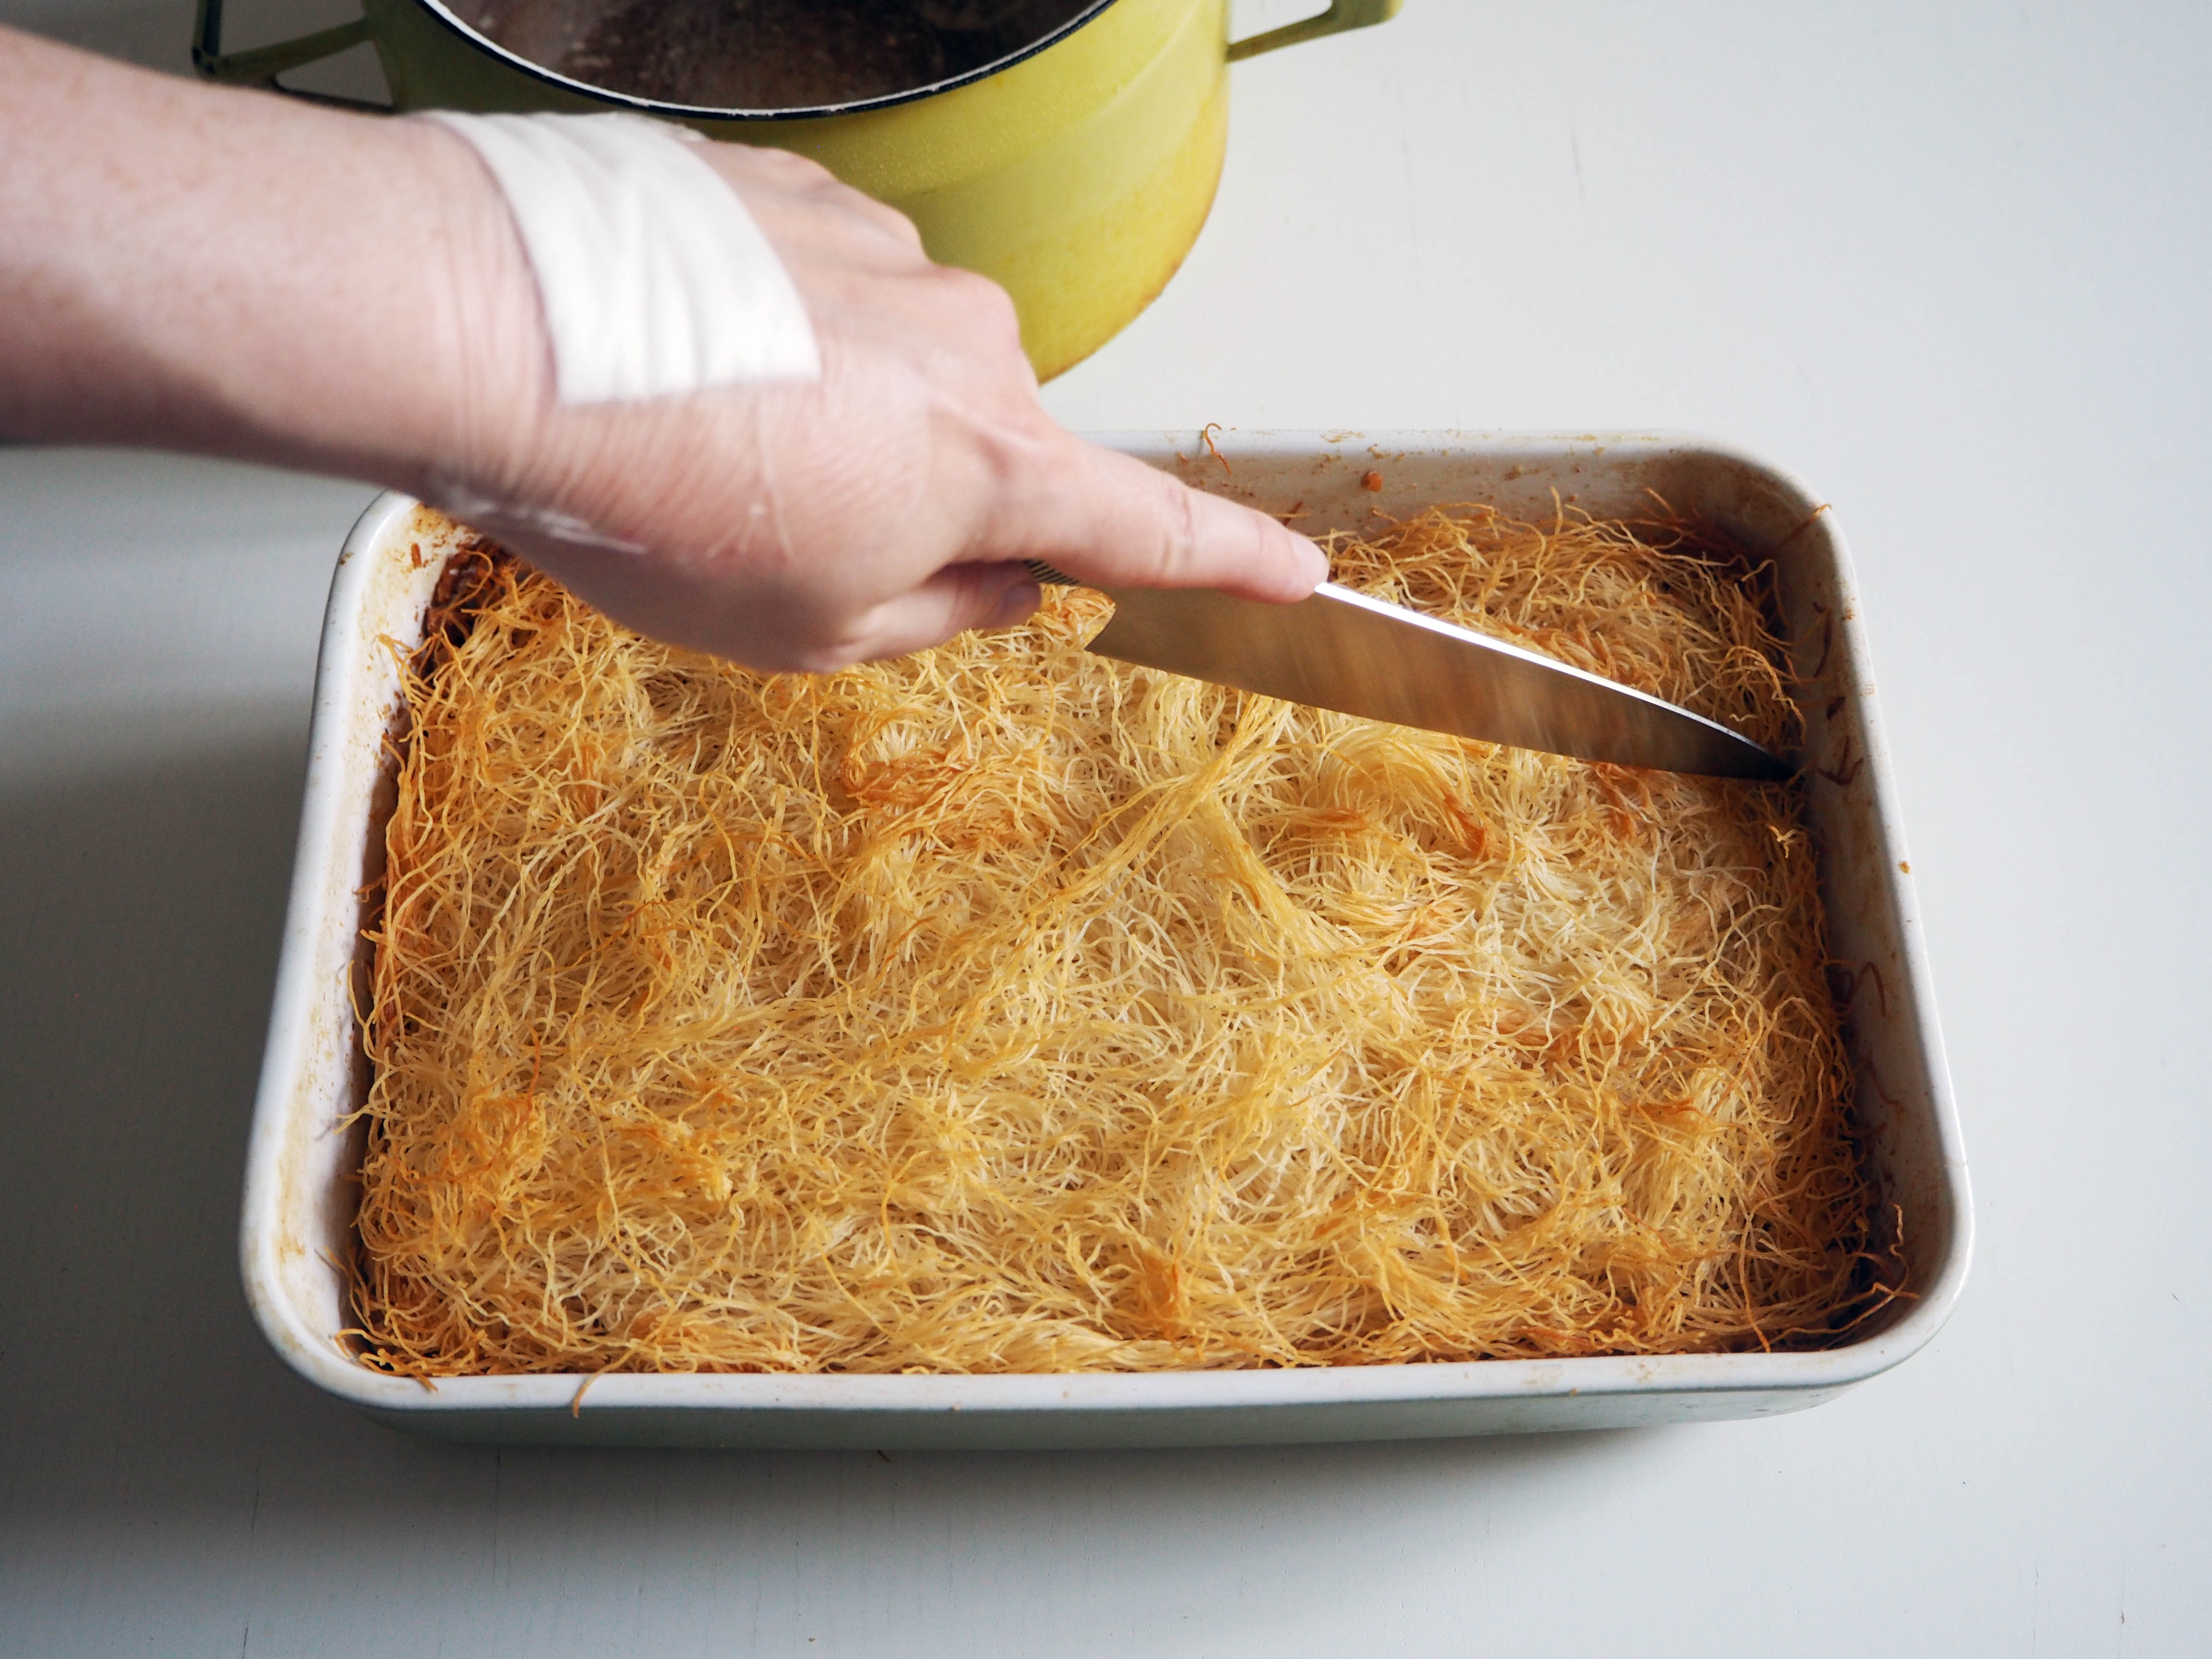
9. When kadayif is ready, take it out of the oven and let it cool for 5 minutes.

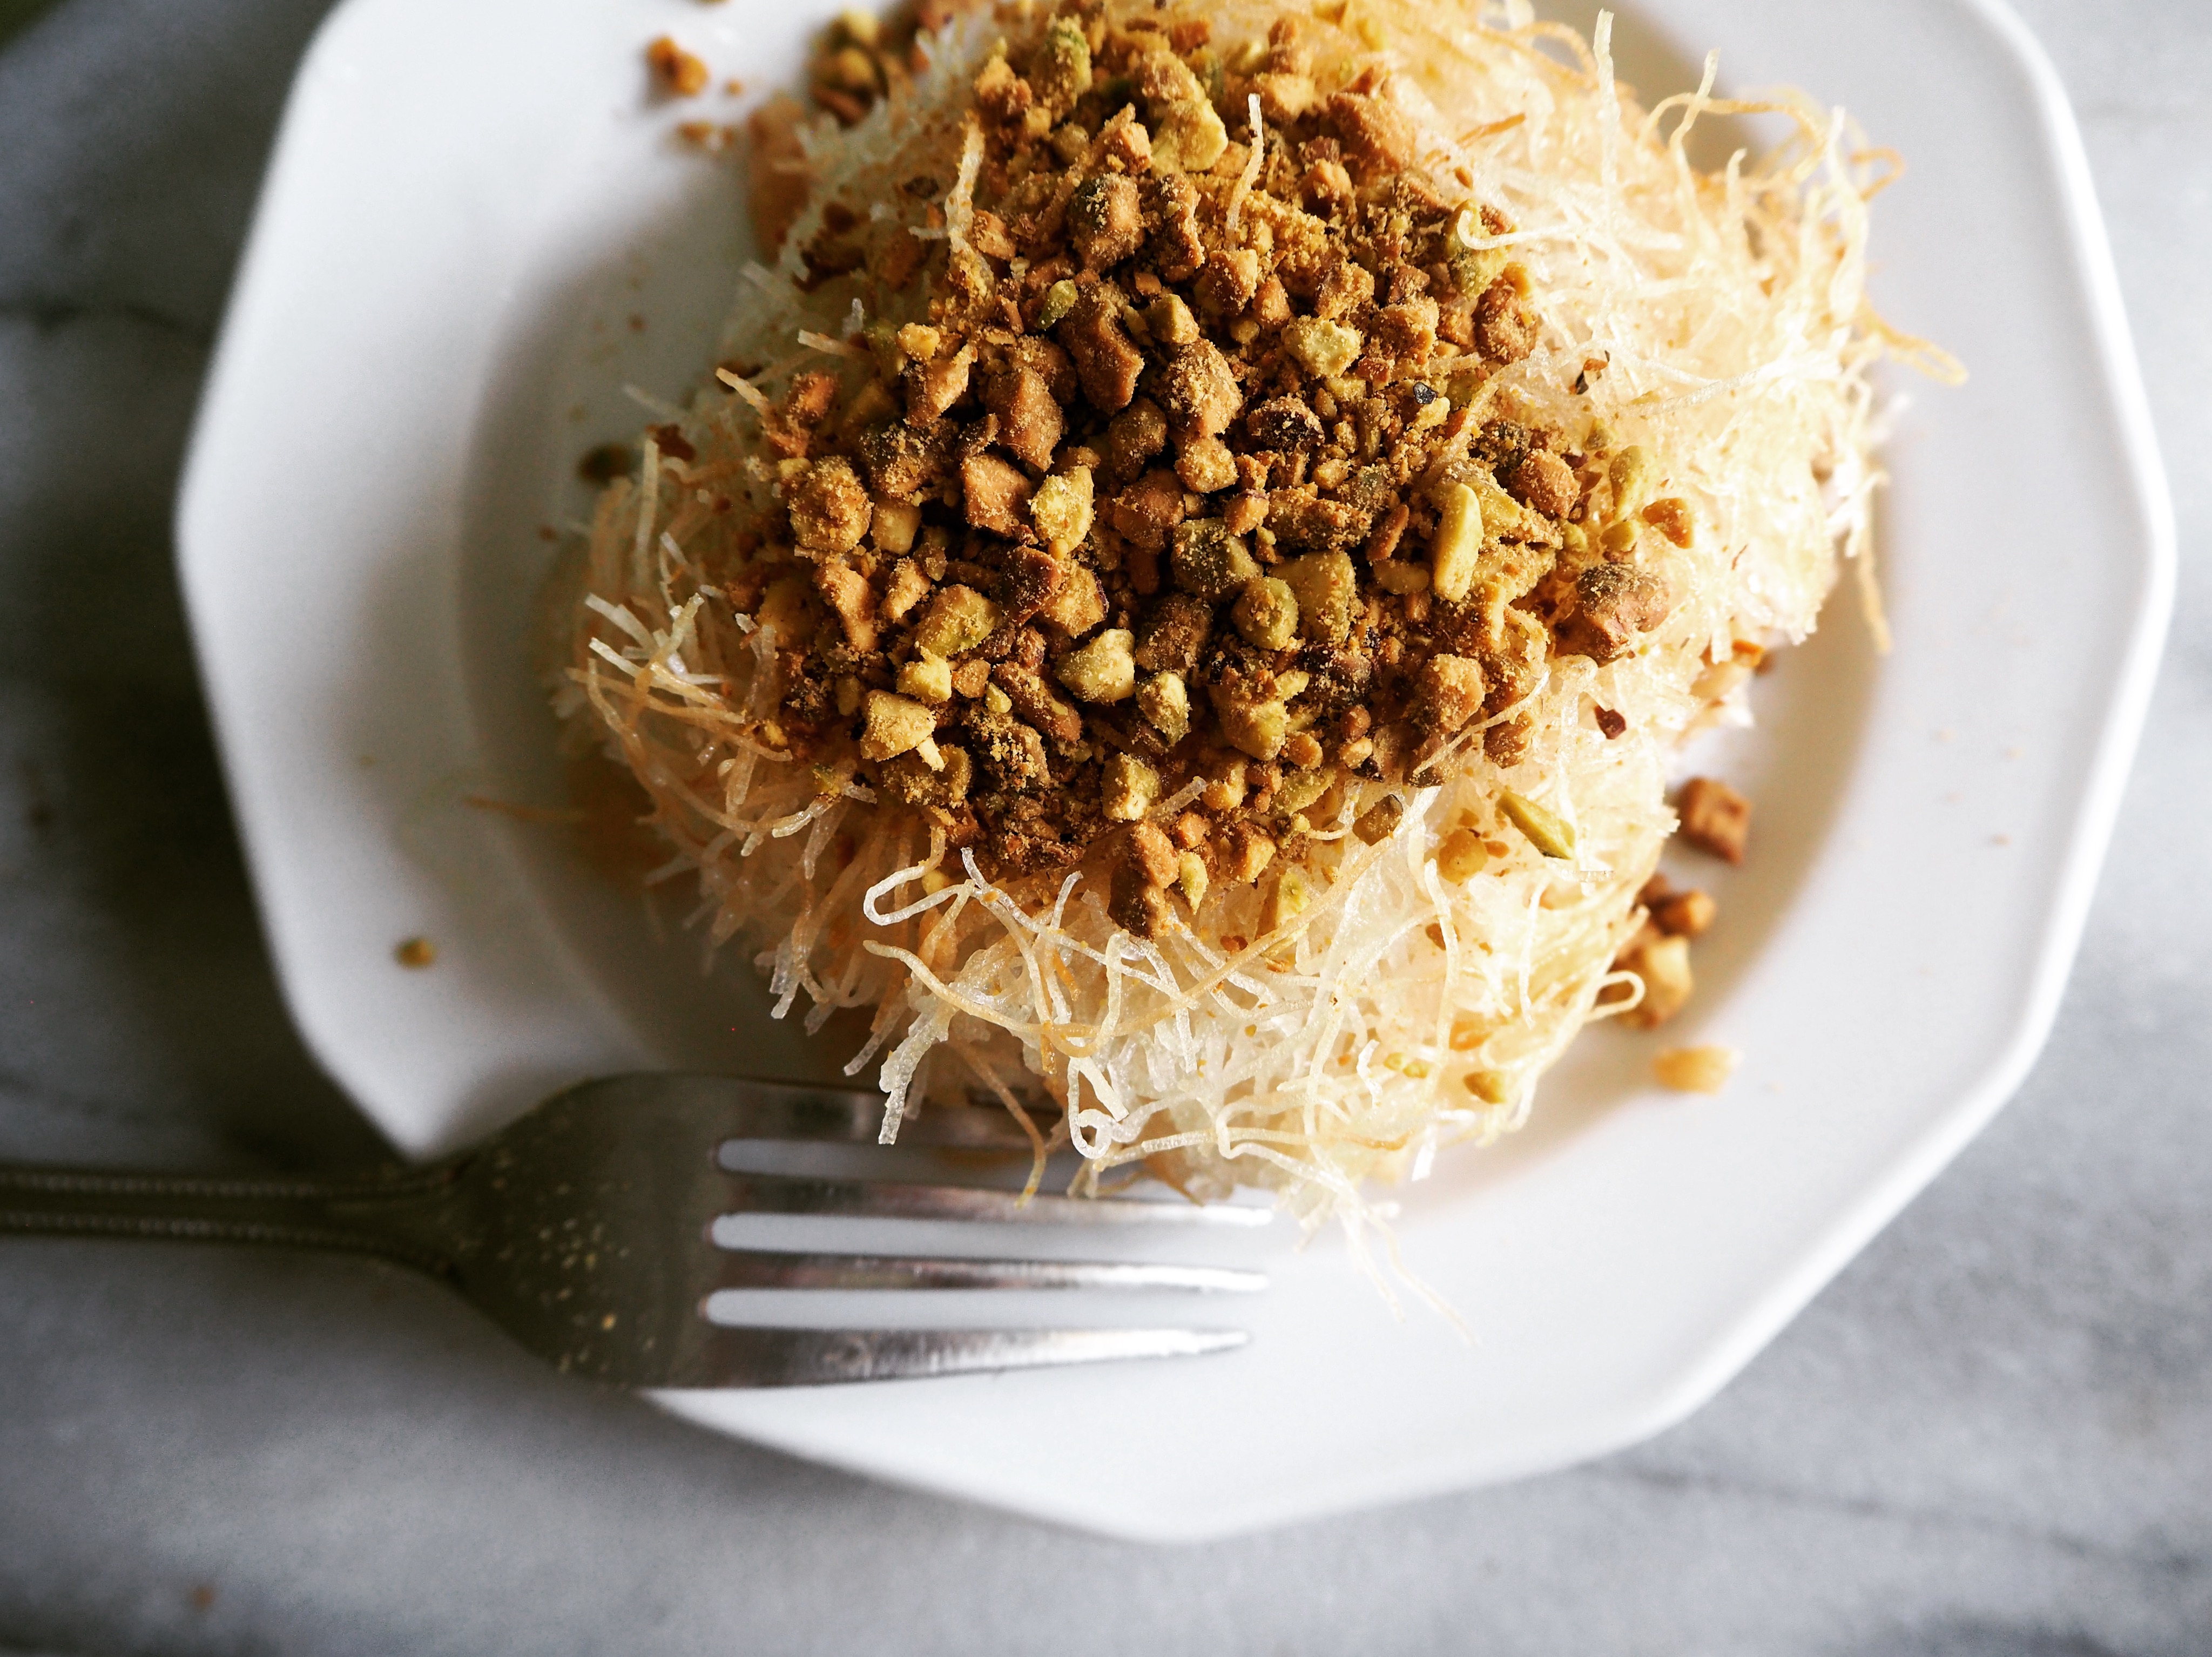
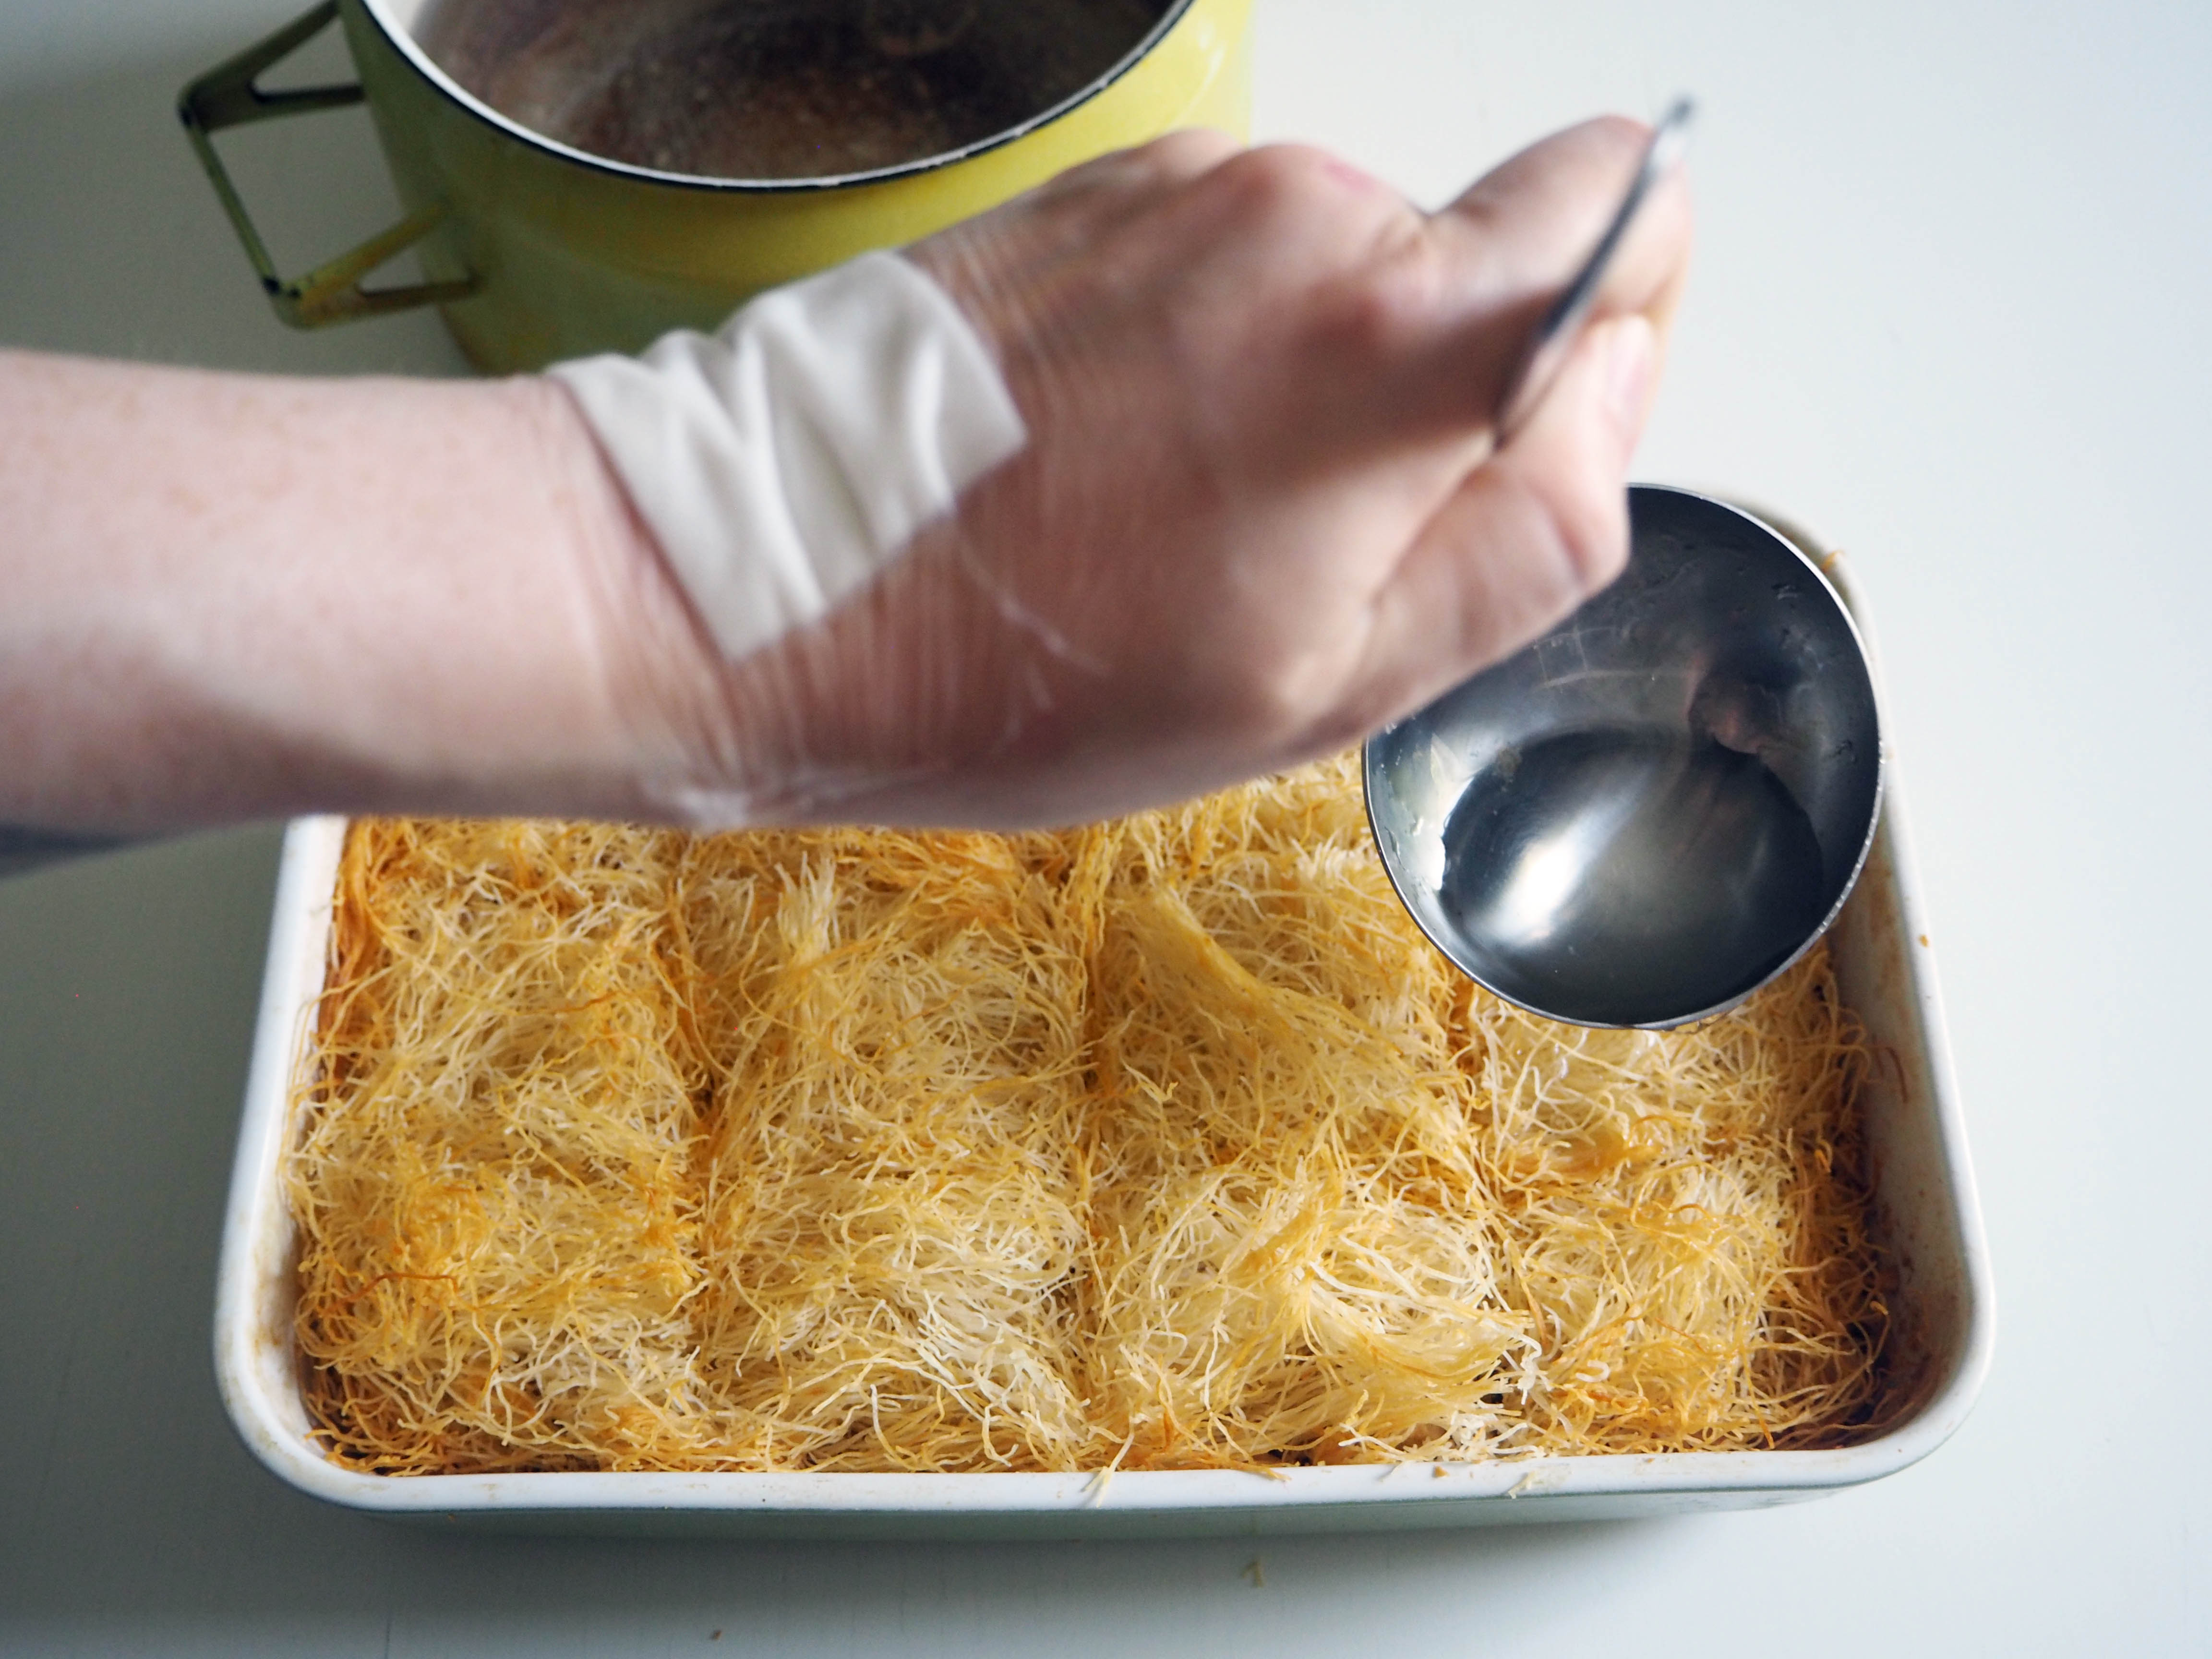
10. After 5 minutes, cut the dessert in the dish in any amount and size of slices you want and then pour the cold syrup on the dessert evenly using a ladle. Let the dessert cool down at least to room temperature before serving / eating (otherwise it might feel a bit too heavy). Spread some more hazelnuts or even better, some toasted and crushed pistachios (both are optional). Enjoy!


Take care of yourself … so glad you’re okay, that your mind is able to accept that.
Thank you!