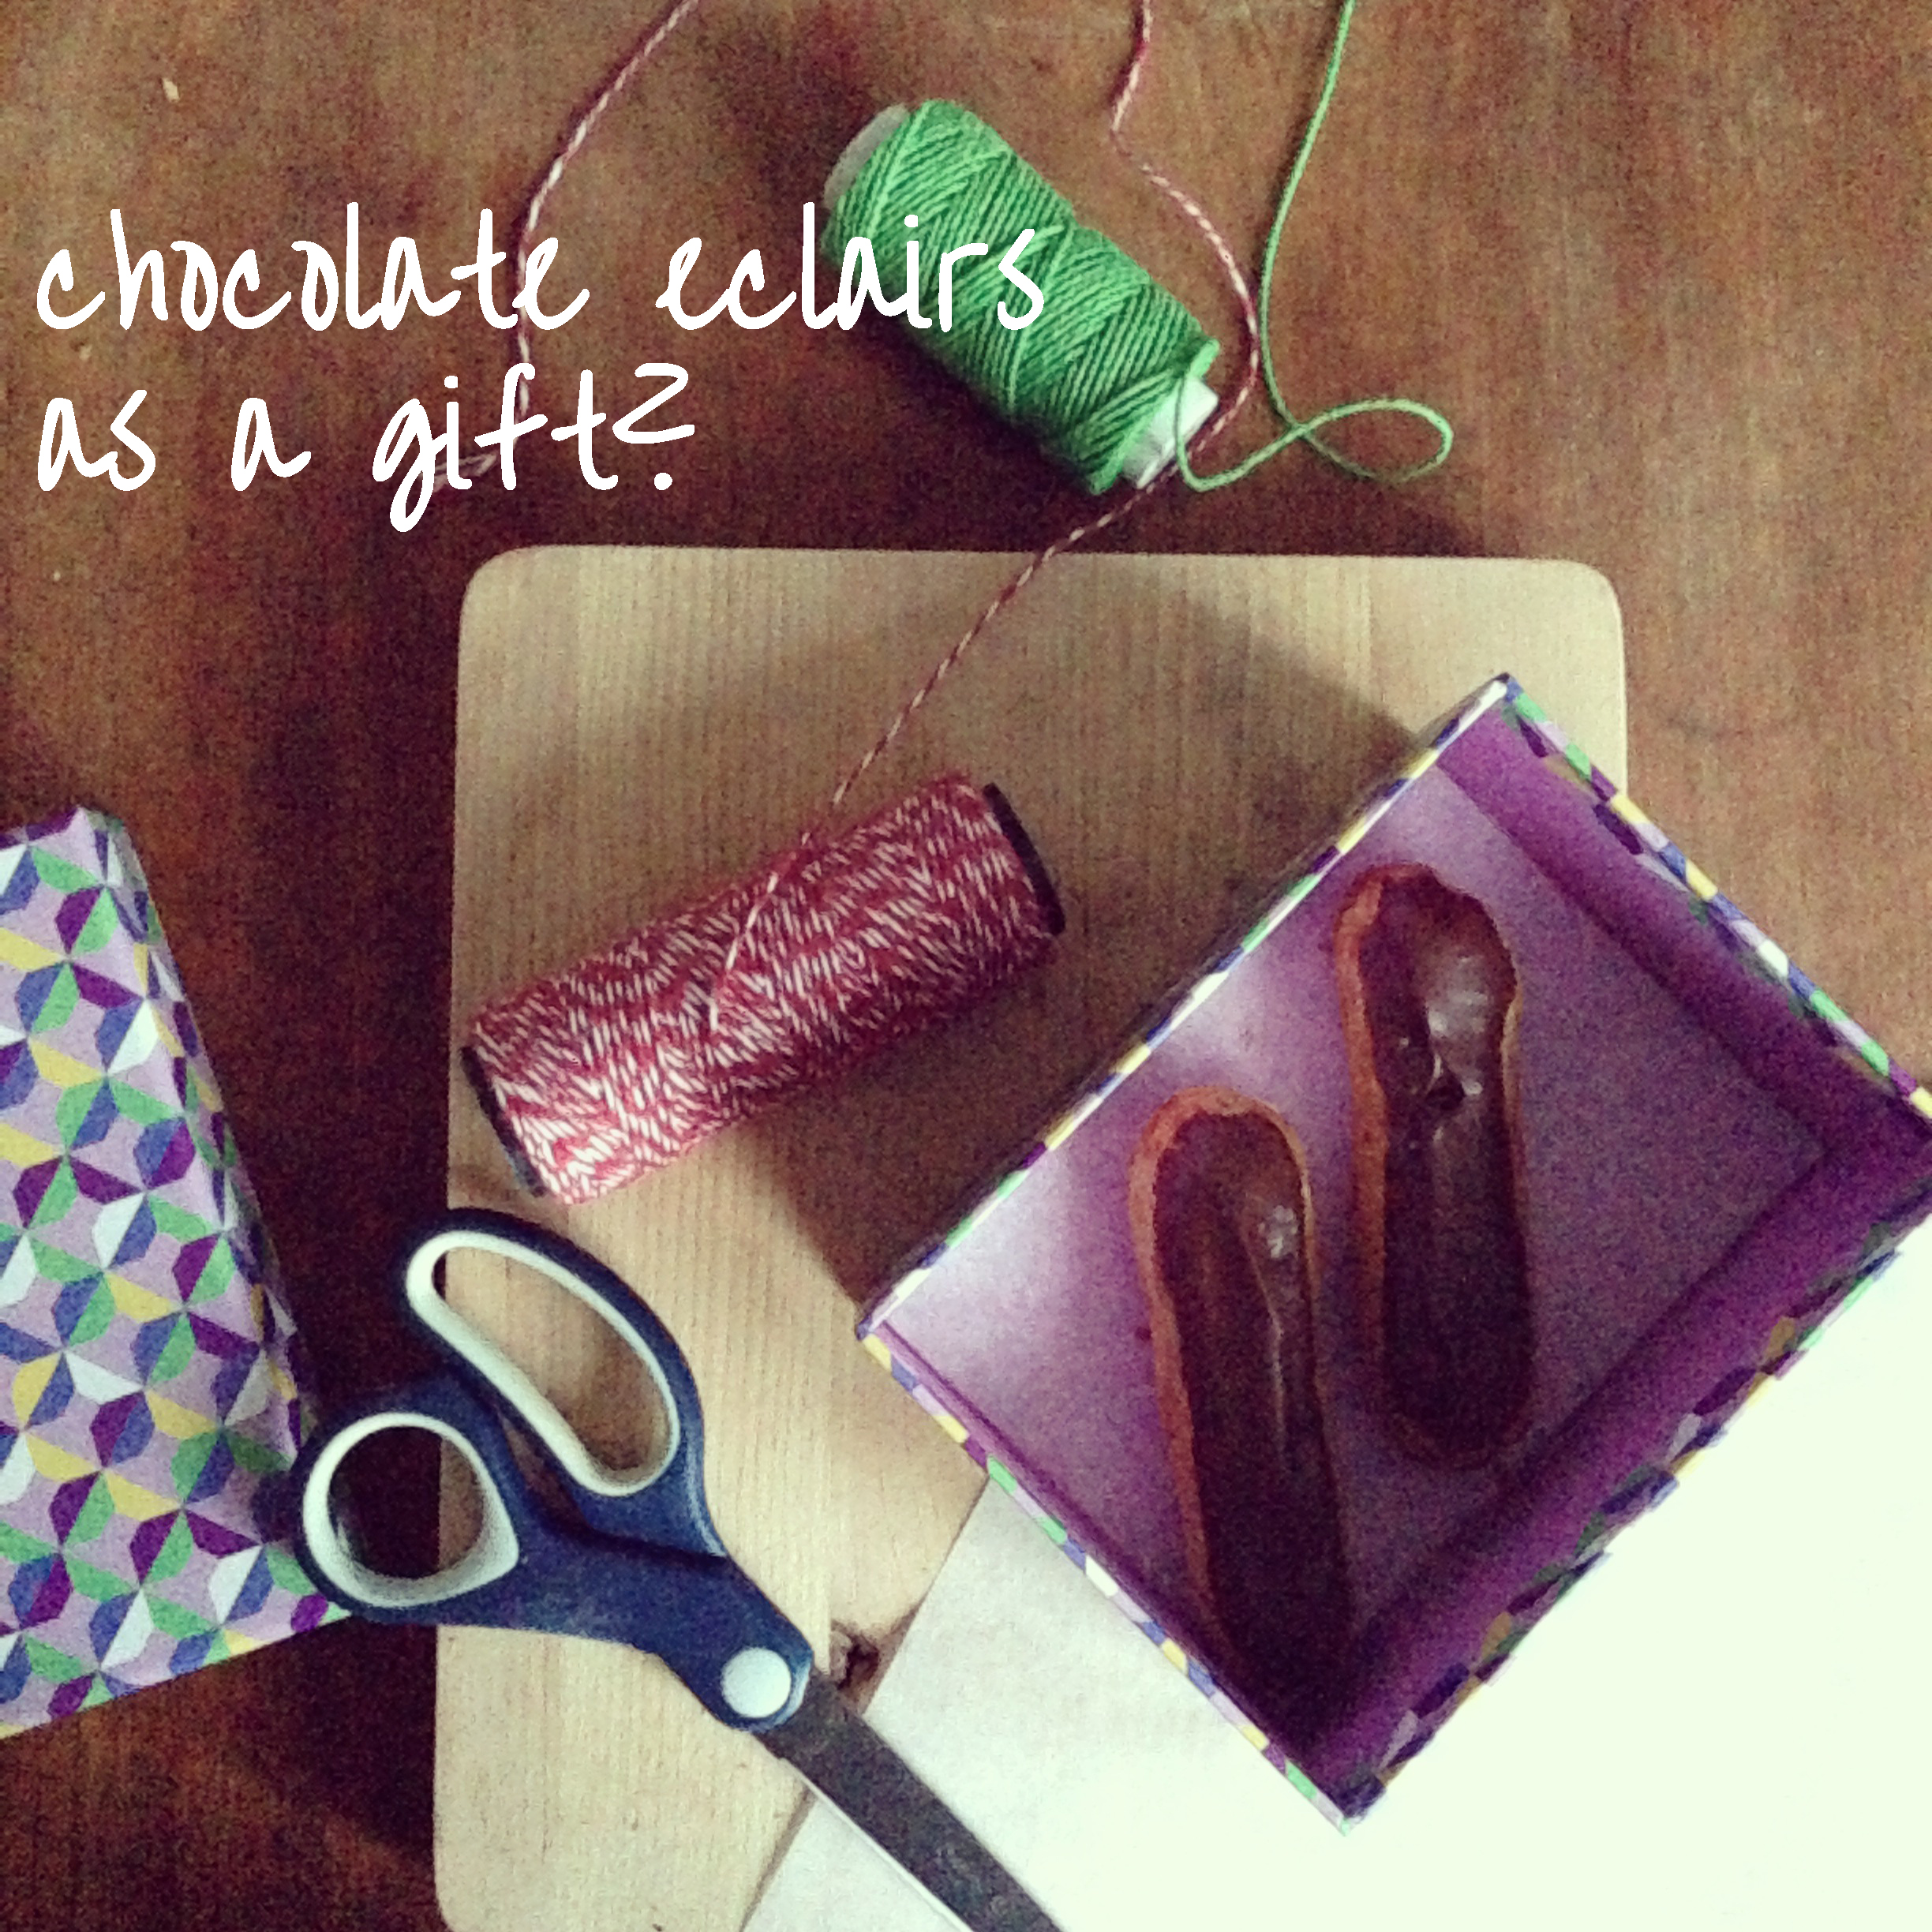
I continue my journey of baking by one pastry that looks really cute, again from French cuisine. I actually never ever liked to eat that pastry myself. It is also very common in Turkey, you can find it in many patisseries all around Istanbul and in other cities. Even the name is taken directly from French, in Turkish patisseries you can find the name written in Turkish form, but is just actually the French name itself.
Another reason for me to bake it was to practice a few things related to baking, which I am yet not so confident with – like using pastry bag. Also, it helped me to practice patience when it comes to baking – you should have a lot of time and energy to make these lovely little eclairs, it has 3 different steps and especially 2 of these steps require a lot of attention.
When I assembled together the first piece, I tasted it. It was nice, not extremely sweet, just right amount of sugar. But I still do NOT like it!
—
Ingredients:
For pastry cream:
300 ml. milk
3 egg yolks
1/4 cup granulated white sugar
20 gr. flour
15 gr. corn starch
2.5 ml. vanilla extract
For pastry:
1/2 cup flour
1/2 teaspoon granulated white sugar
1/4 teaspoon salt
55 gr. butter
120 ml. water
2 eggs
1 egg (to brush on the pastries before baking)
For chocolate glaze:
55 gr. chocolate (I should have used something else maybe, but since I personally love hazelnut chocolate, I used Geisha hazelnut chocolate for this)
60 ml. heavy whipping cream
1.5 ml. vanilla extract
2.5 ml. glucose syrup
—
Let’s make the pastry cream first:
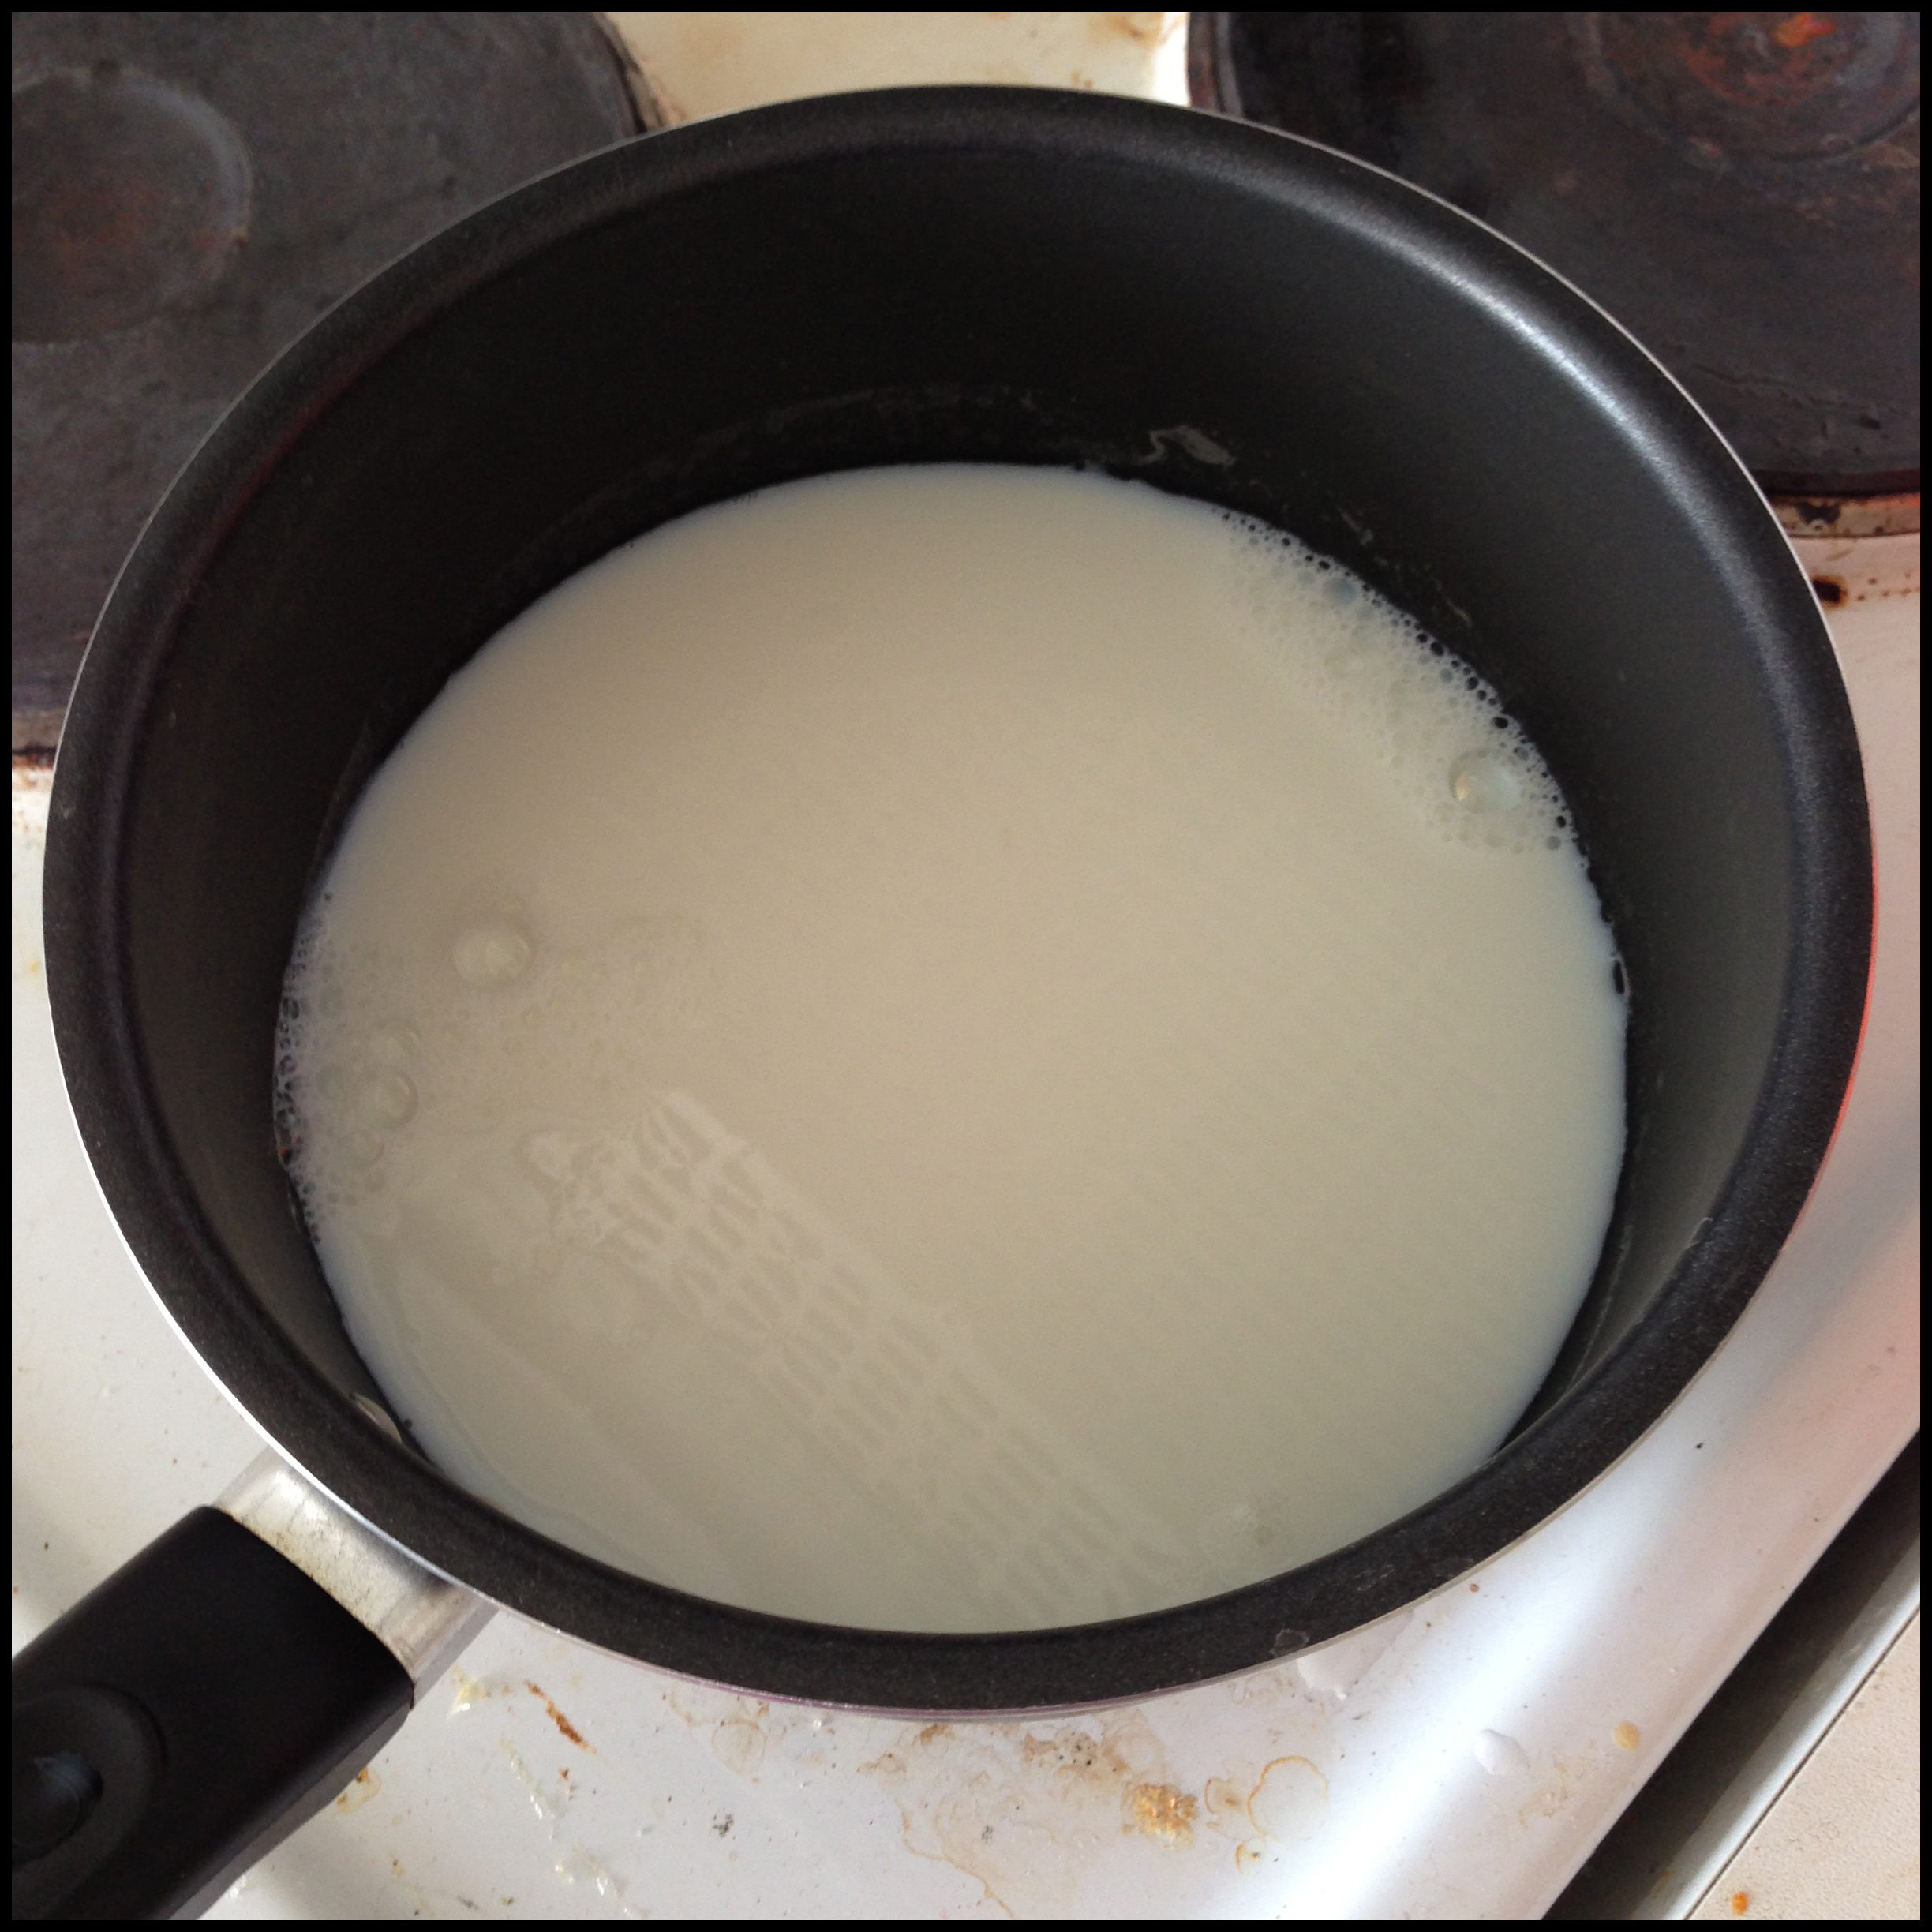
1. Put milk in a pan and bring it to a boil on medium low heat.
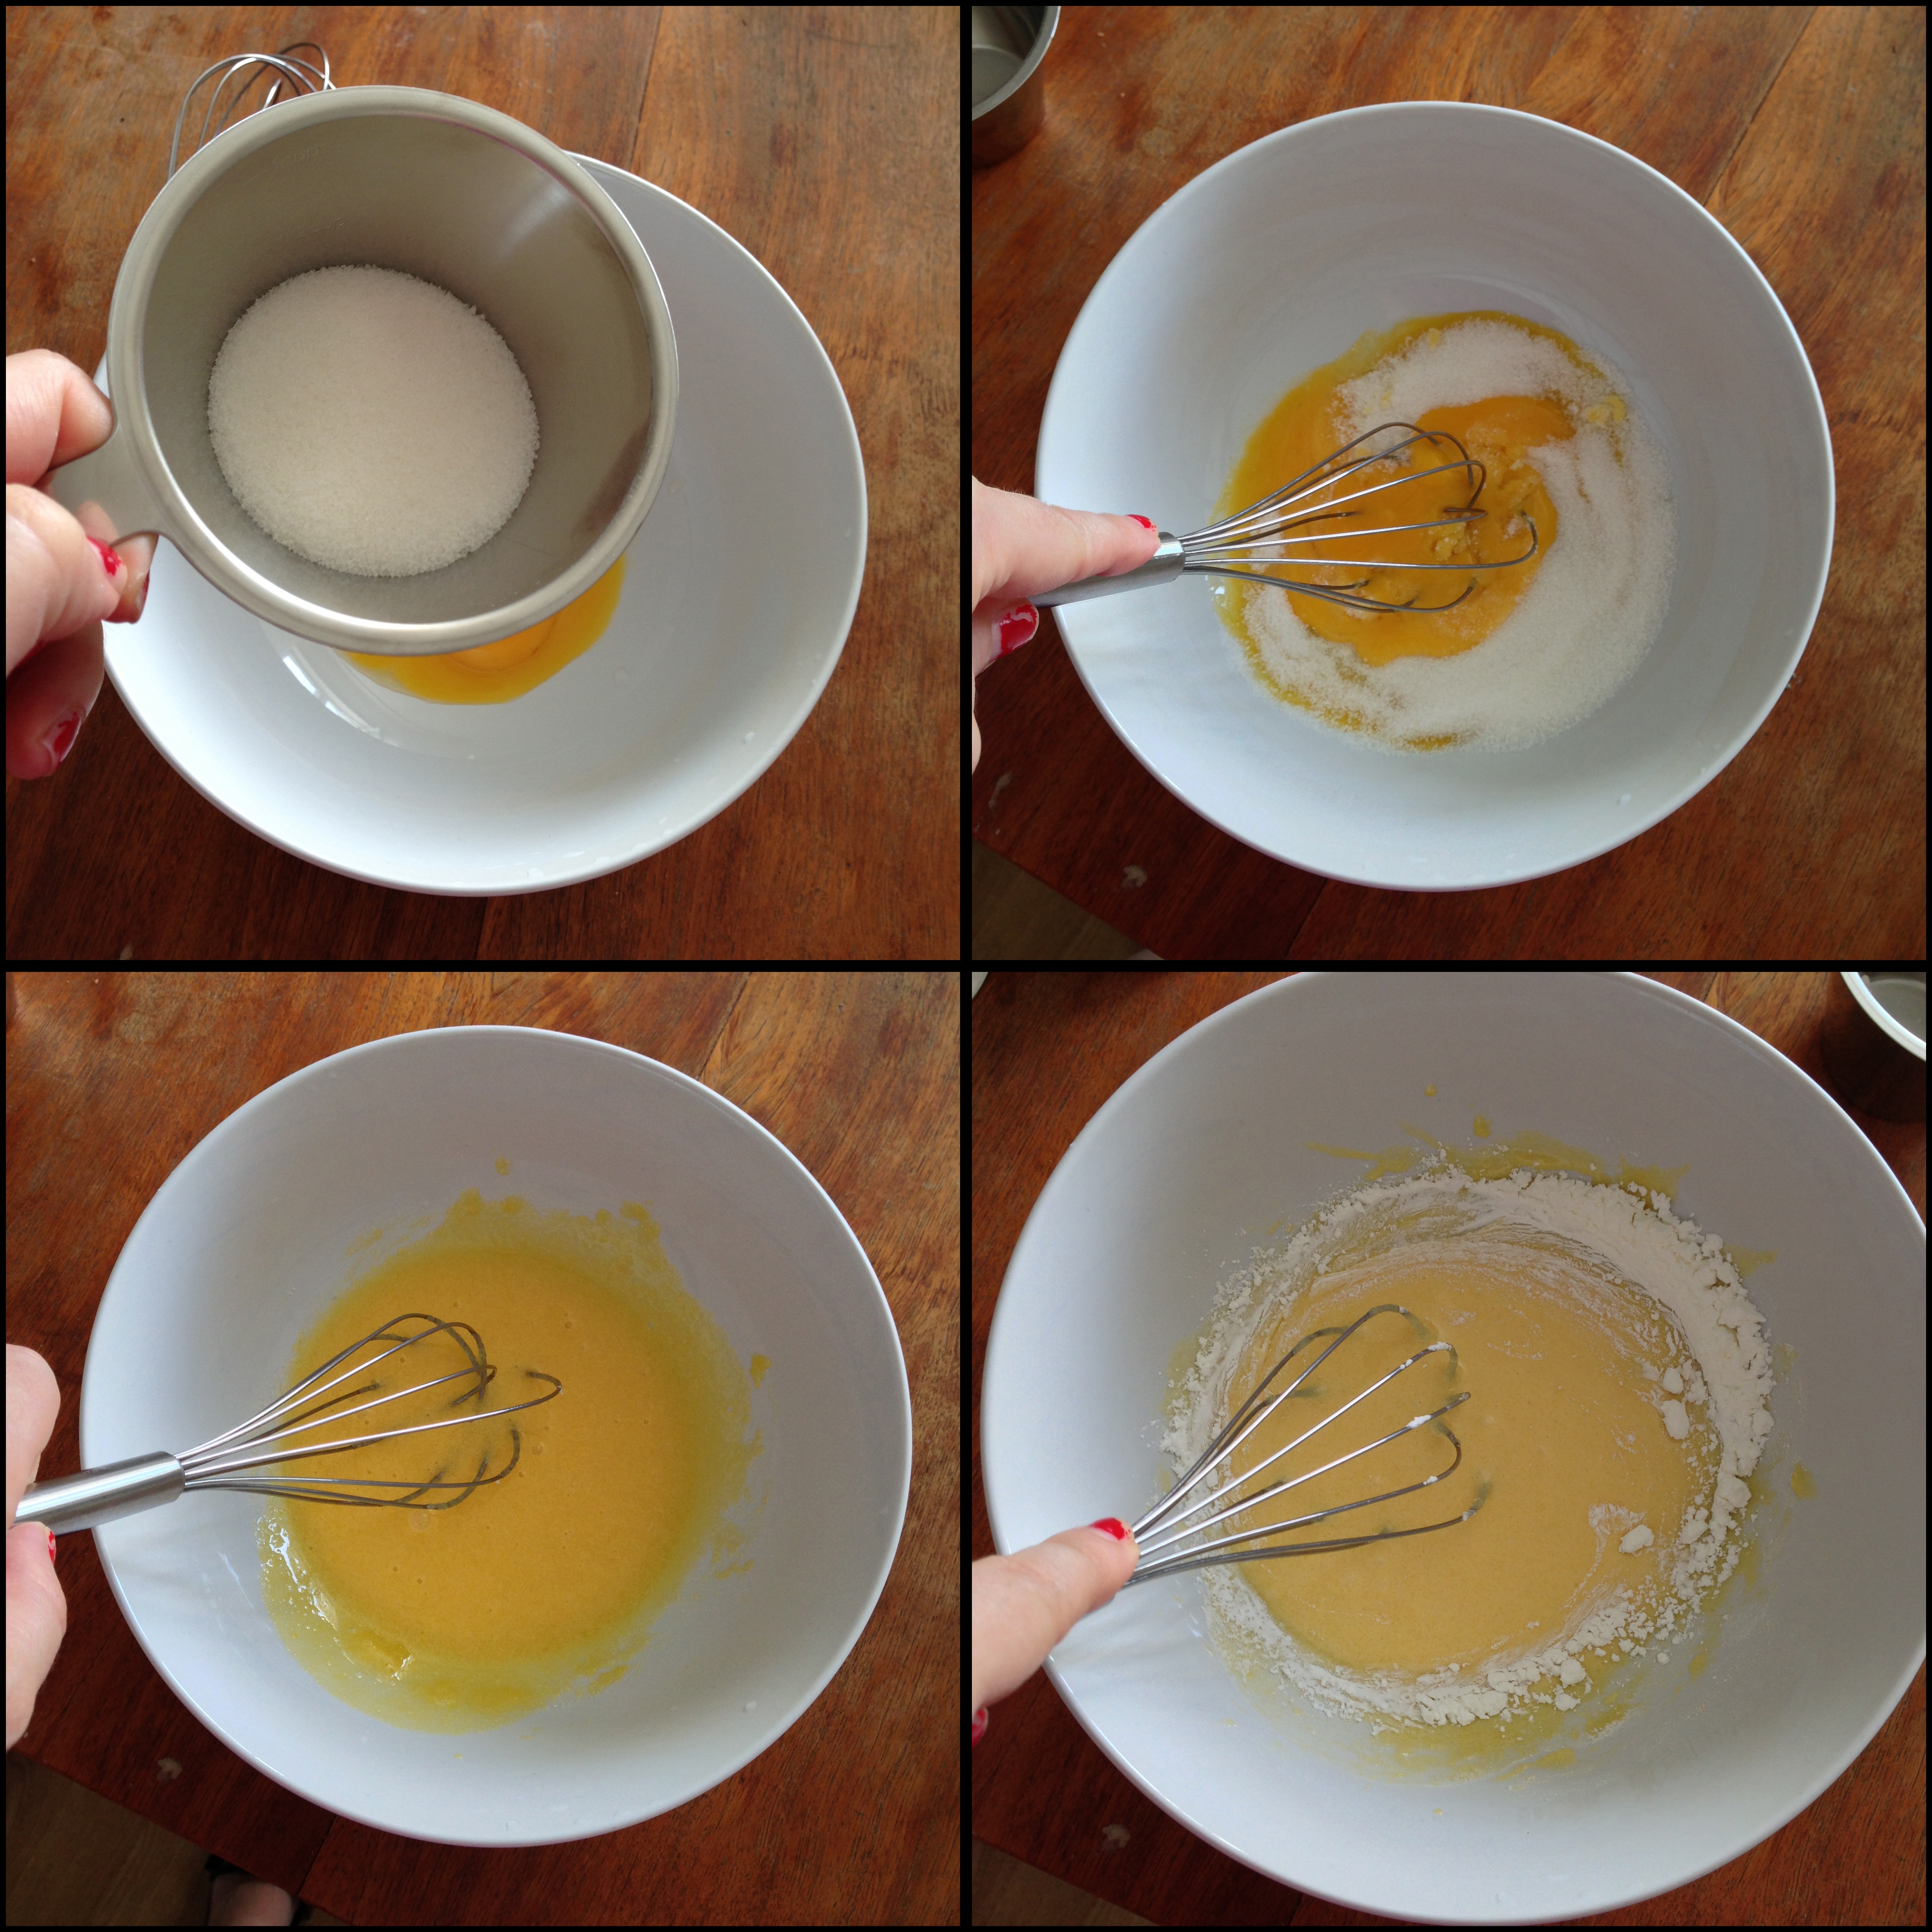
2. In a mixing bowl, put egg yolks and granulated white sugar and whisk it until you get a glossy and rather homogenous mixture. Add flour and corn starch and whisk more.
3. Pour hot milk to the mixture slowly. In the meantime whisk your mixture continuously, to prevent the eggs to be cooked. After whisking for a while in the bowl, transfer the mixture to the pan again and continue whisking it on medium low heat. When the mixture starts to gets harder, add vanilla extract and continue whisking, until you get a harder, creamy texture.

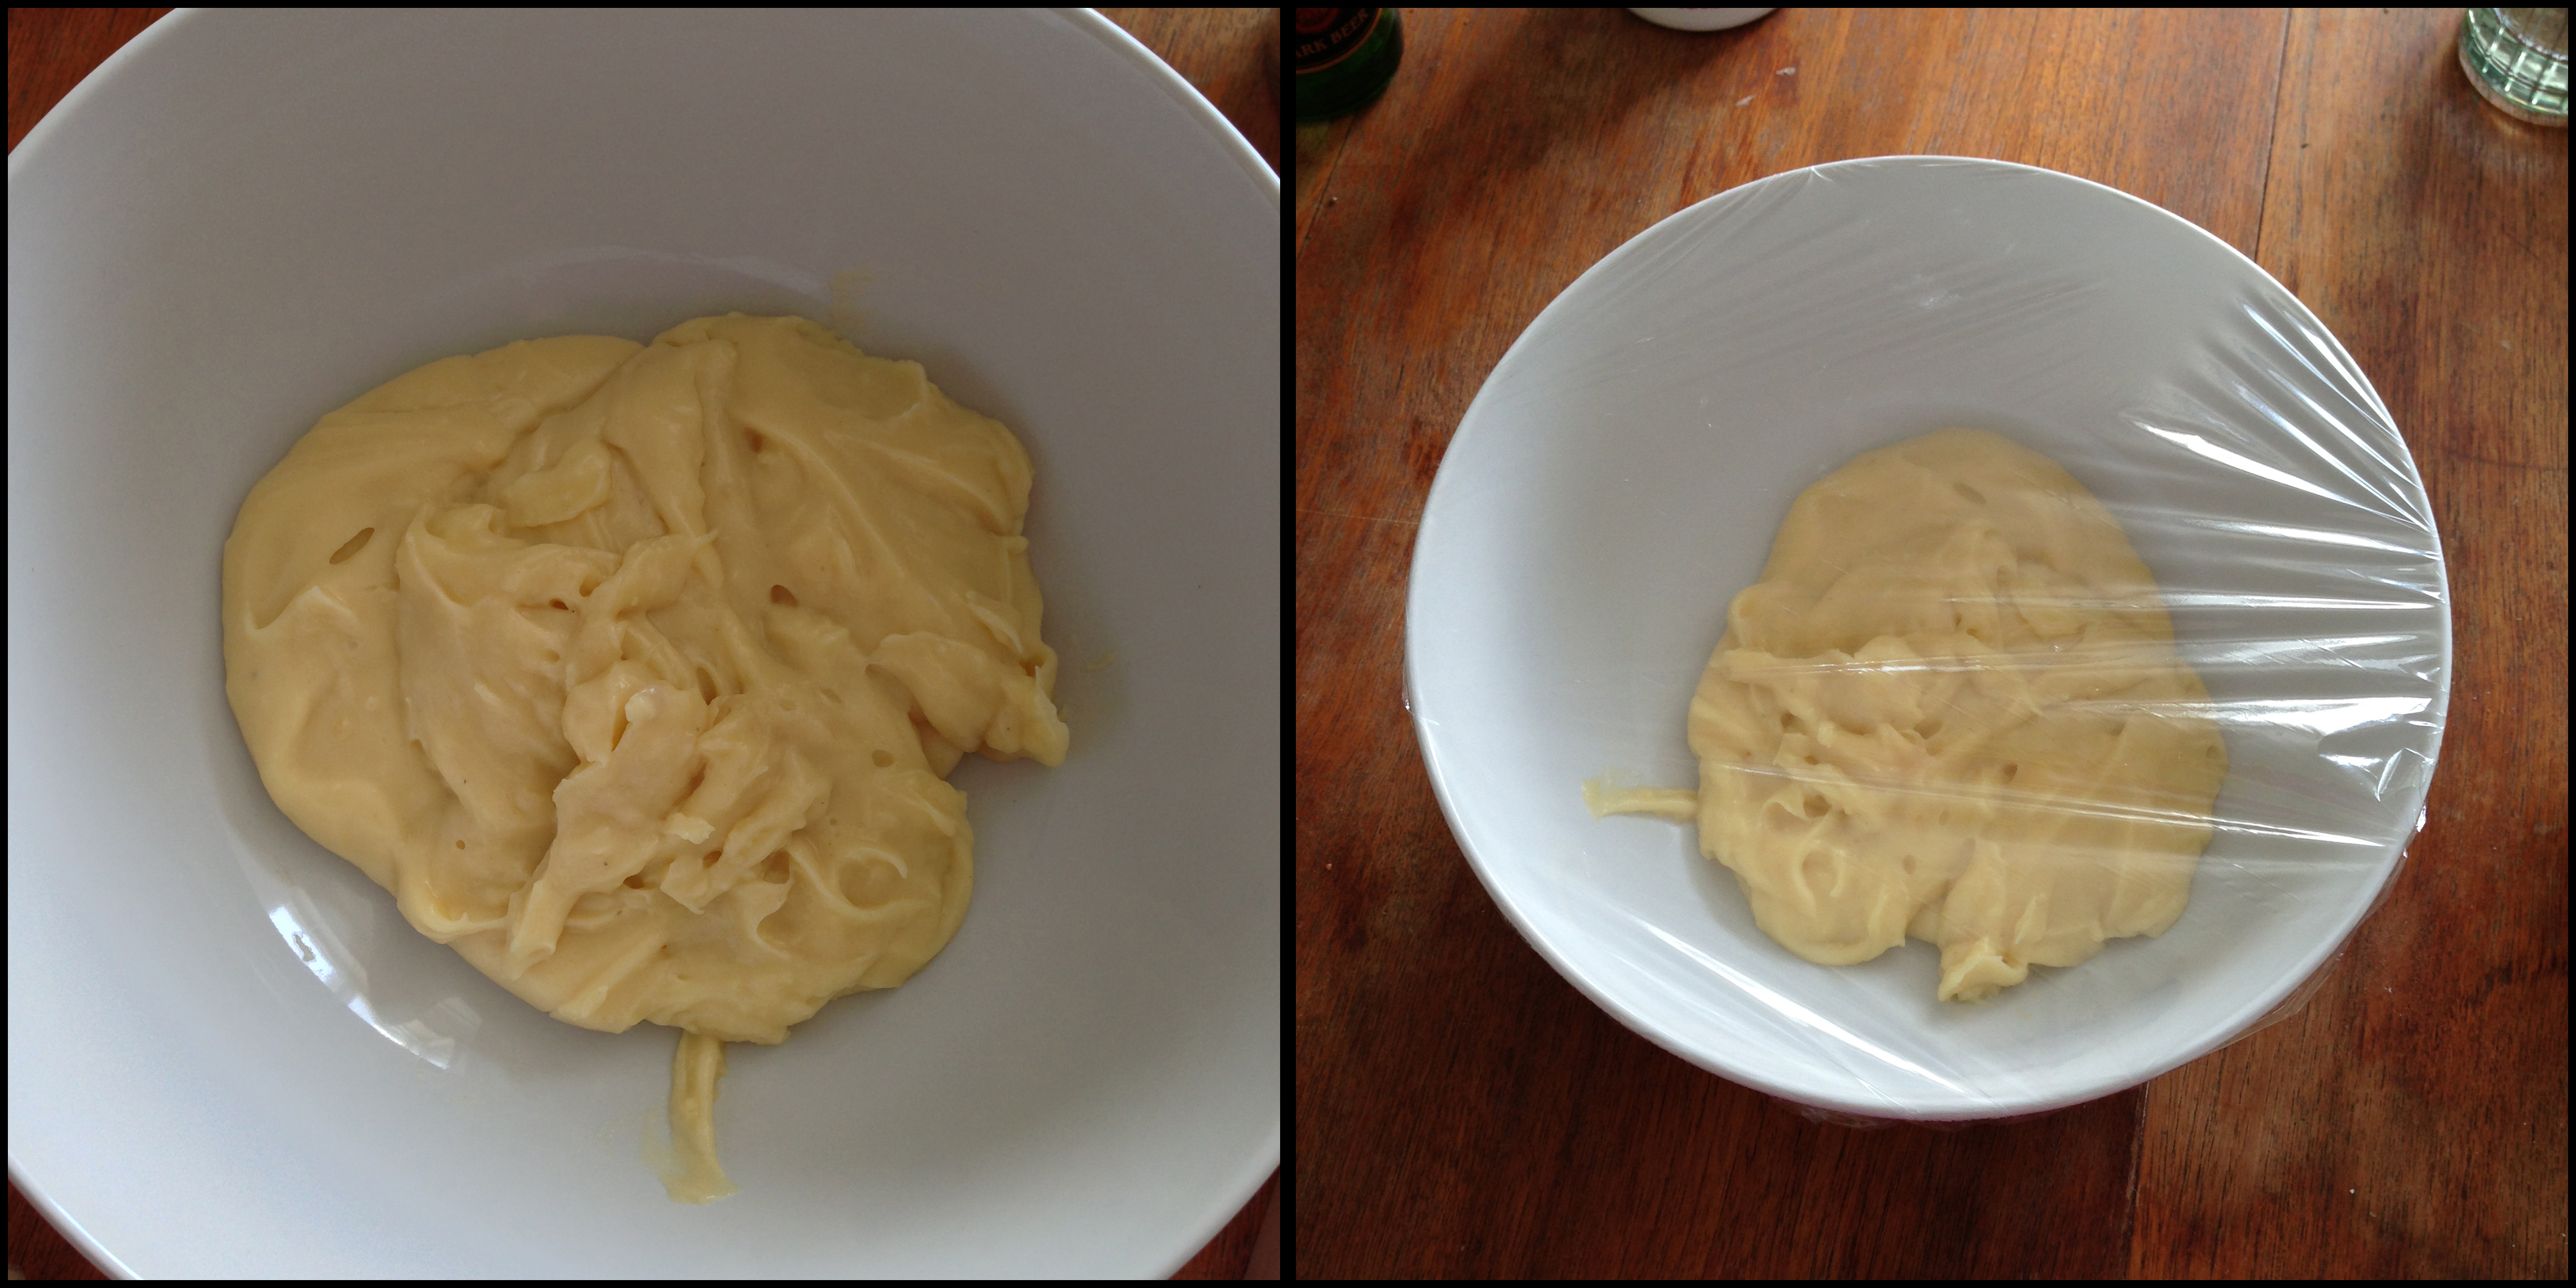
4. Take the cream away from the heat and put it back in a bowl. You need to cool it down to room temperature, that’s why I suggest you do the cream as the first step. You may also make the cream one day earlier and store it in the fridge. While waiting for the cream to cool down (and if you put in the fridge for 1 day, then while it is in the fridge), put a stretch film on the bowl.
Second step is making the pastry itself:
1. Preheat the oven to 200C.
2. Pour 120 ml. water in a pan. Cut the butter into smaller pieces and add it to the water (we cut butter into smaller pieces so that it melts easier). Melt the butter on medium high heat (and constantly check it, you would not want to burn the butter).
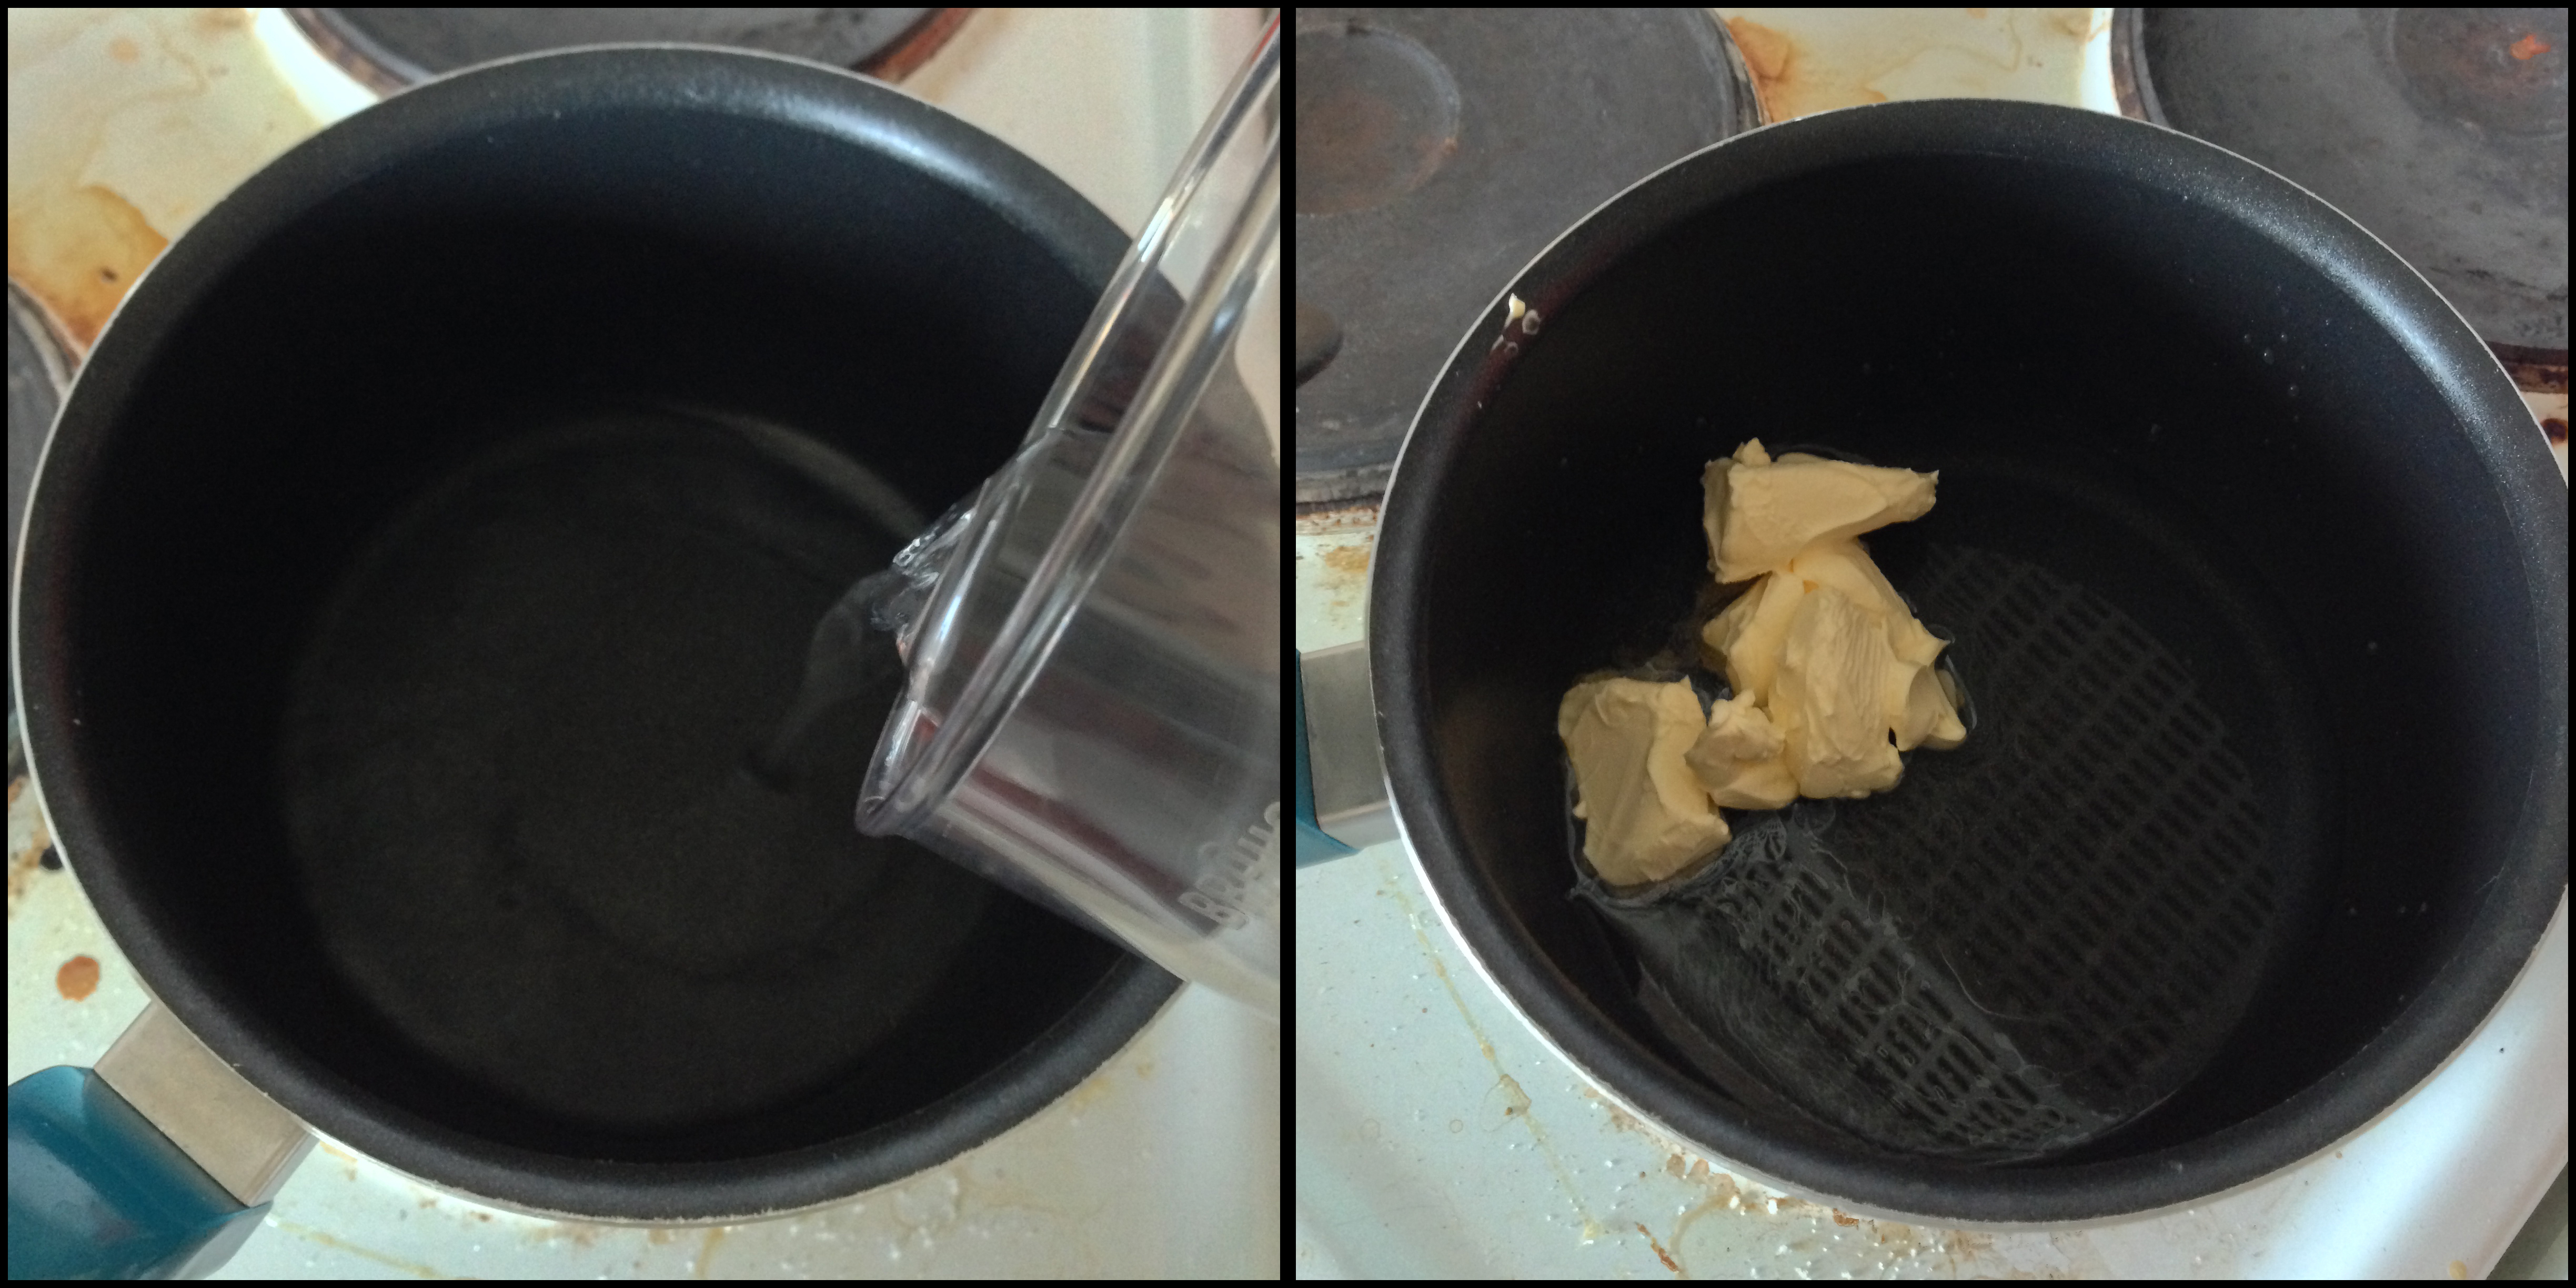
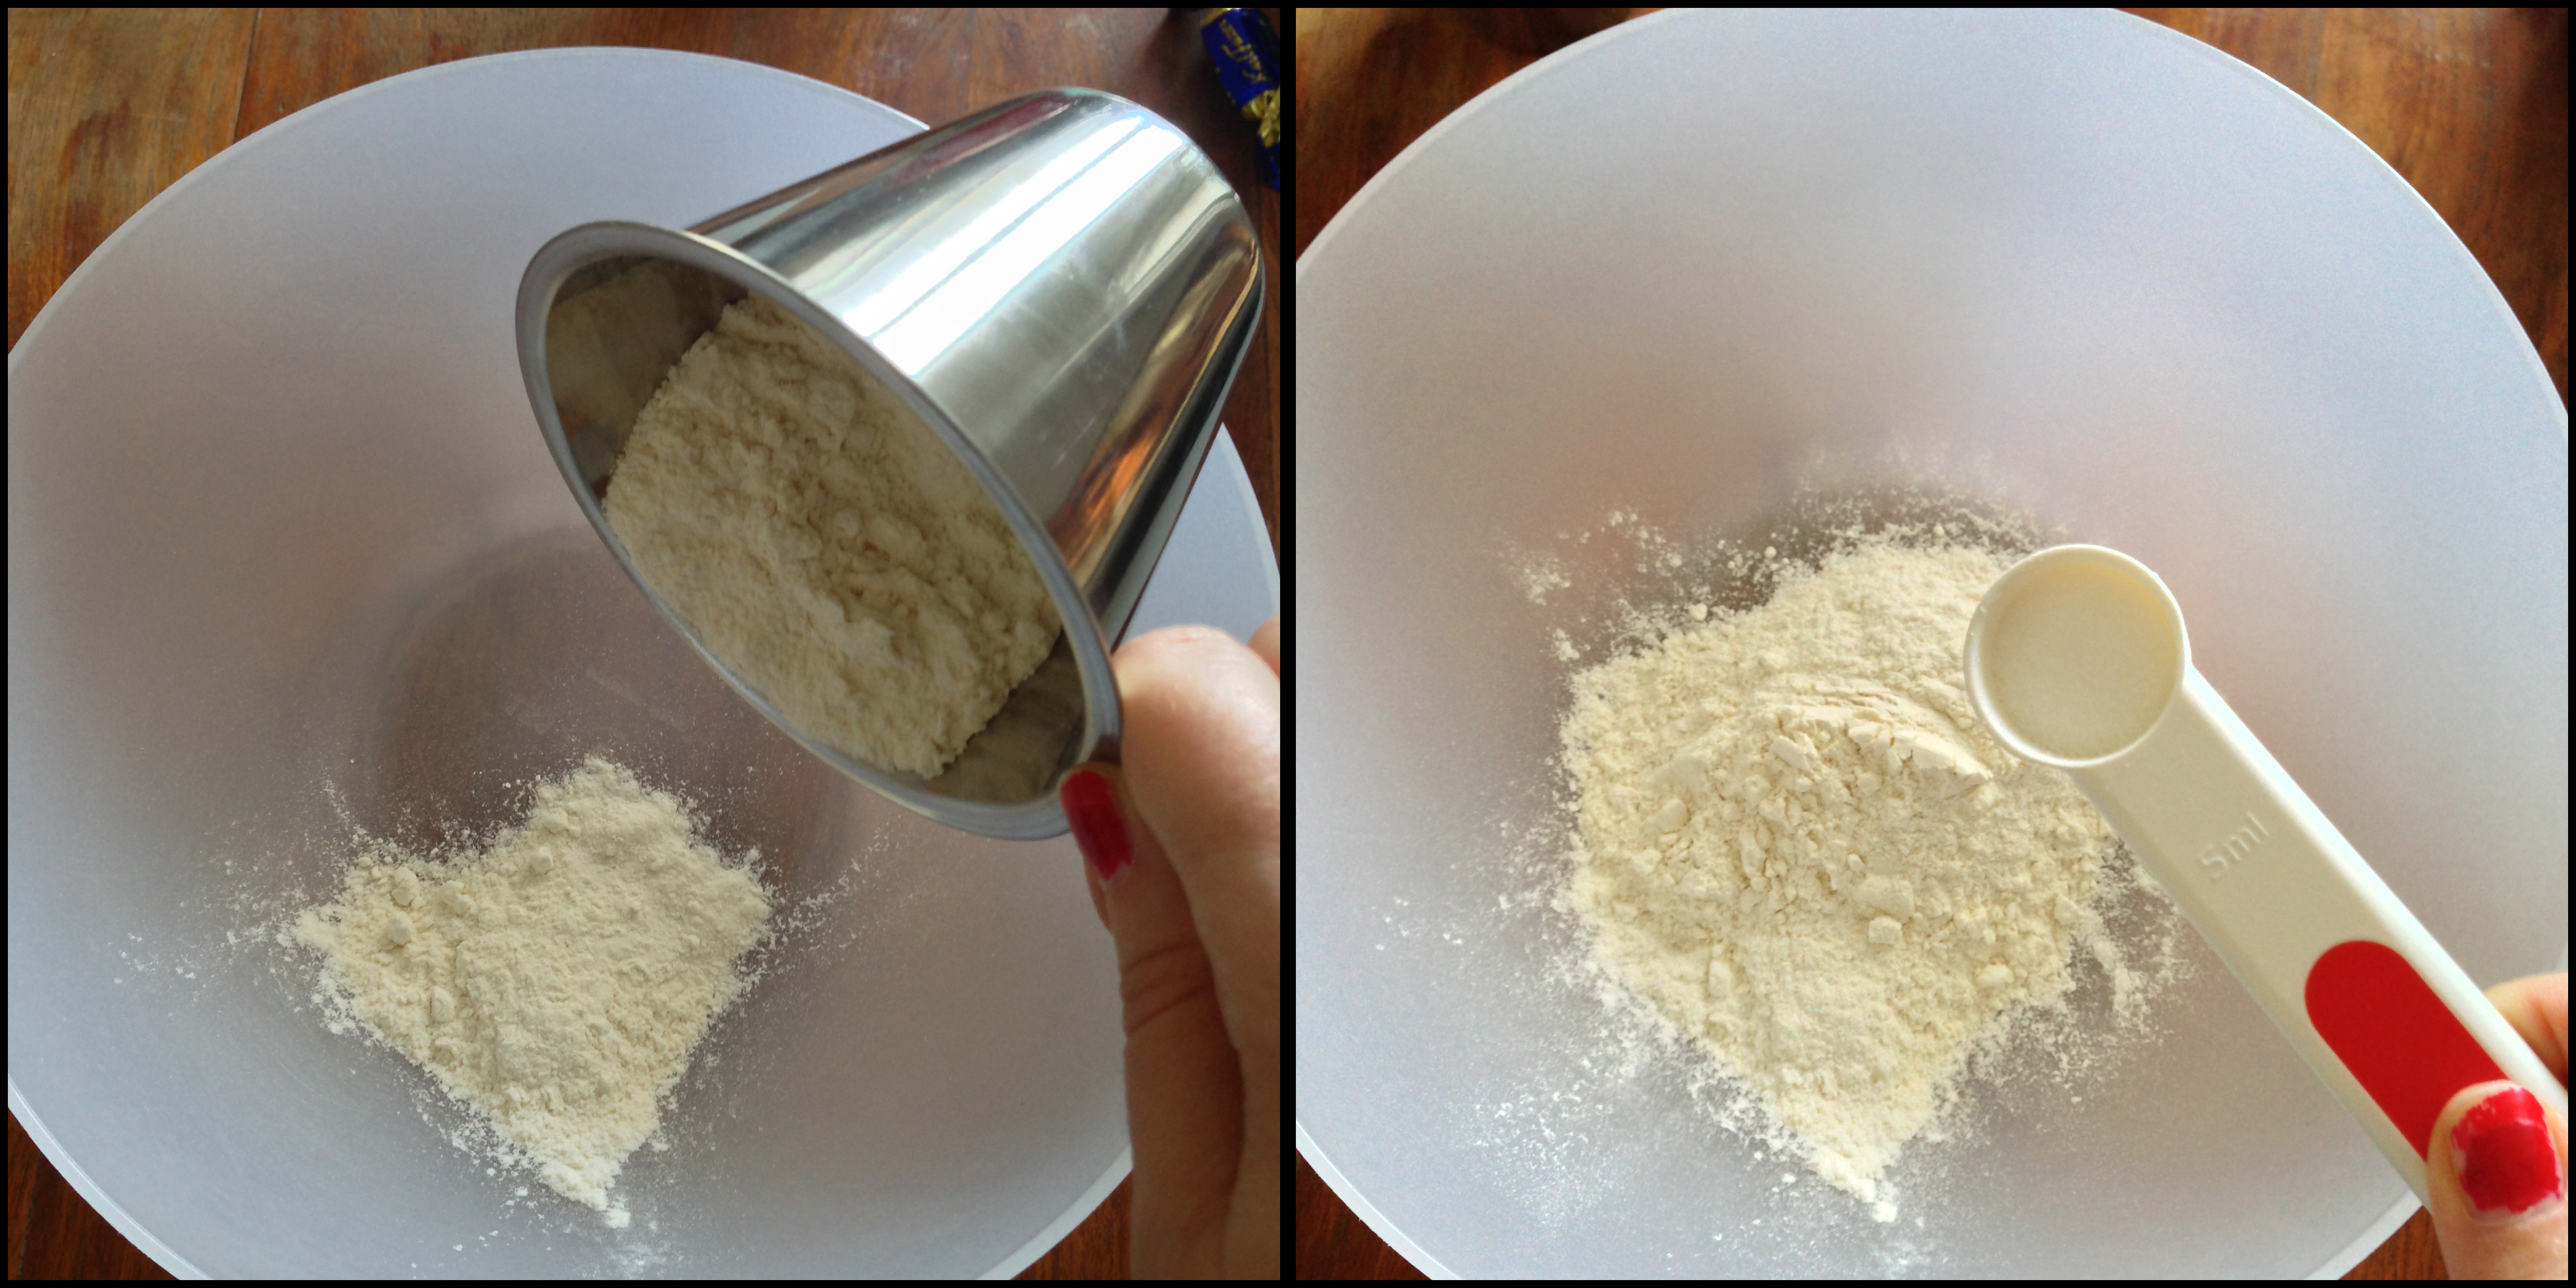
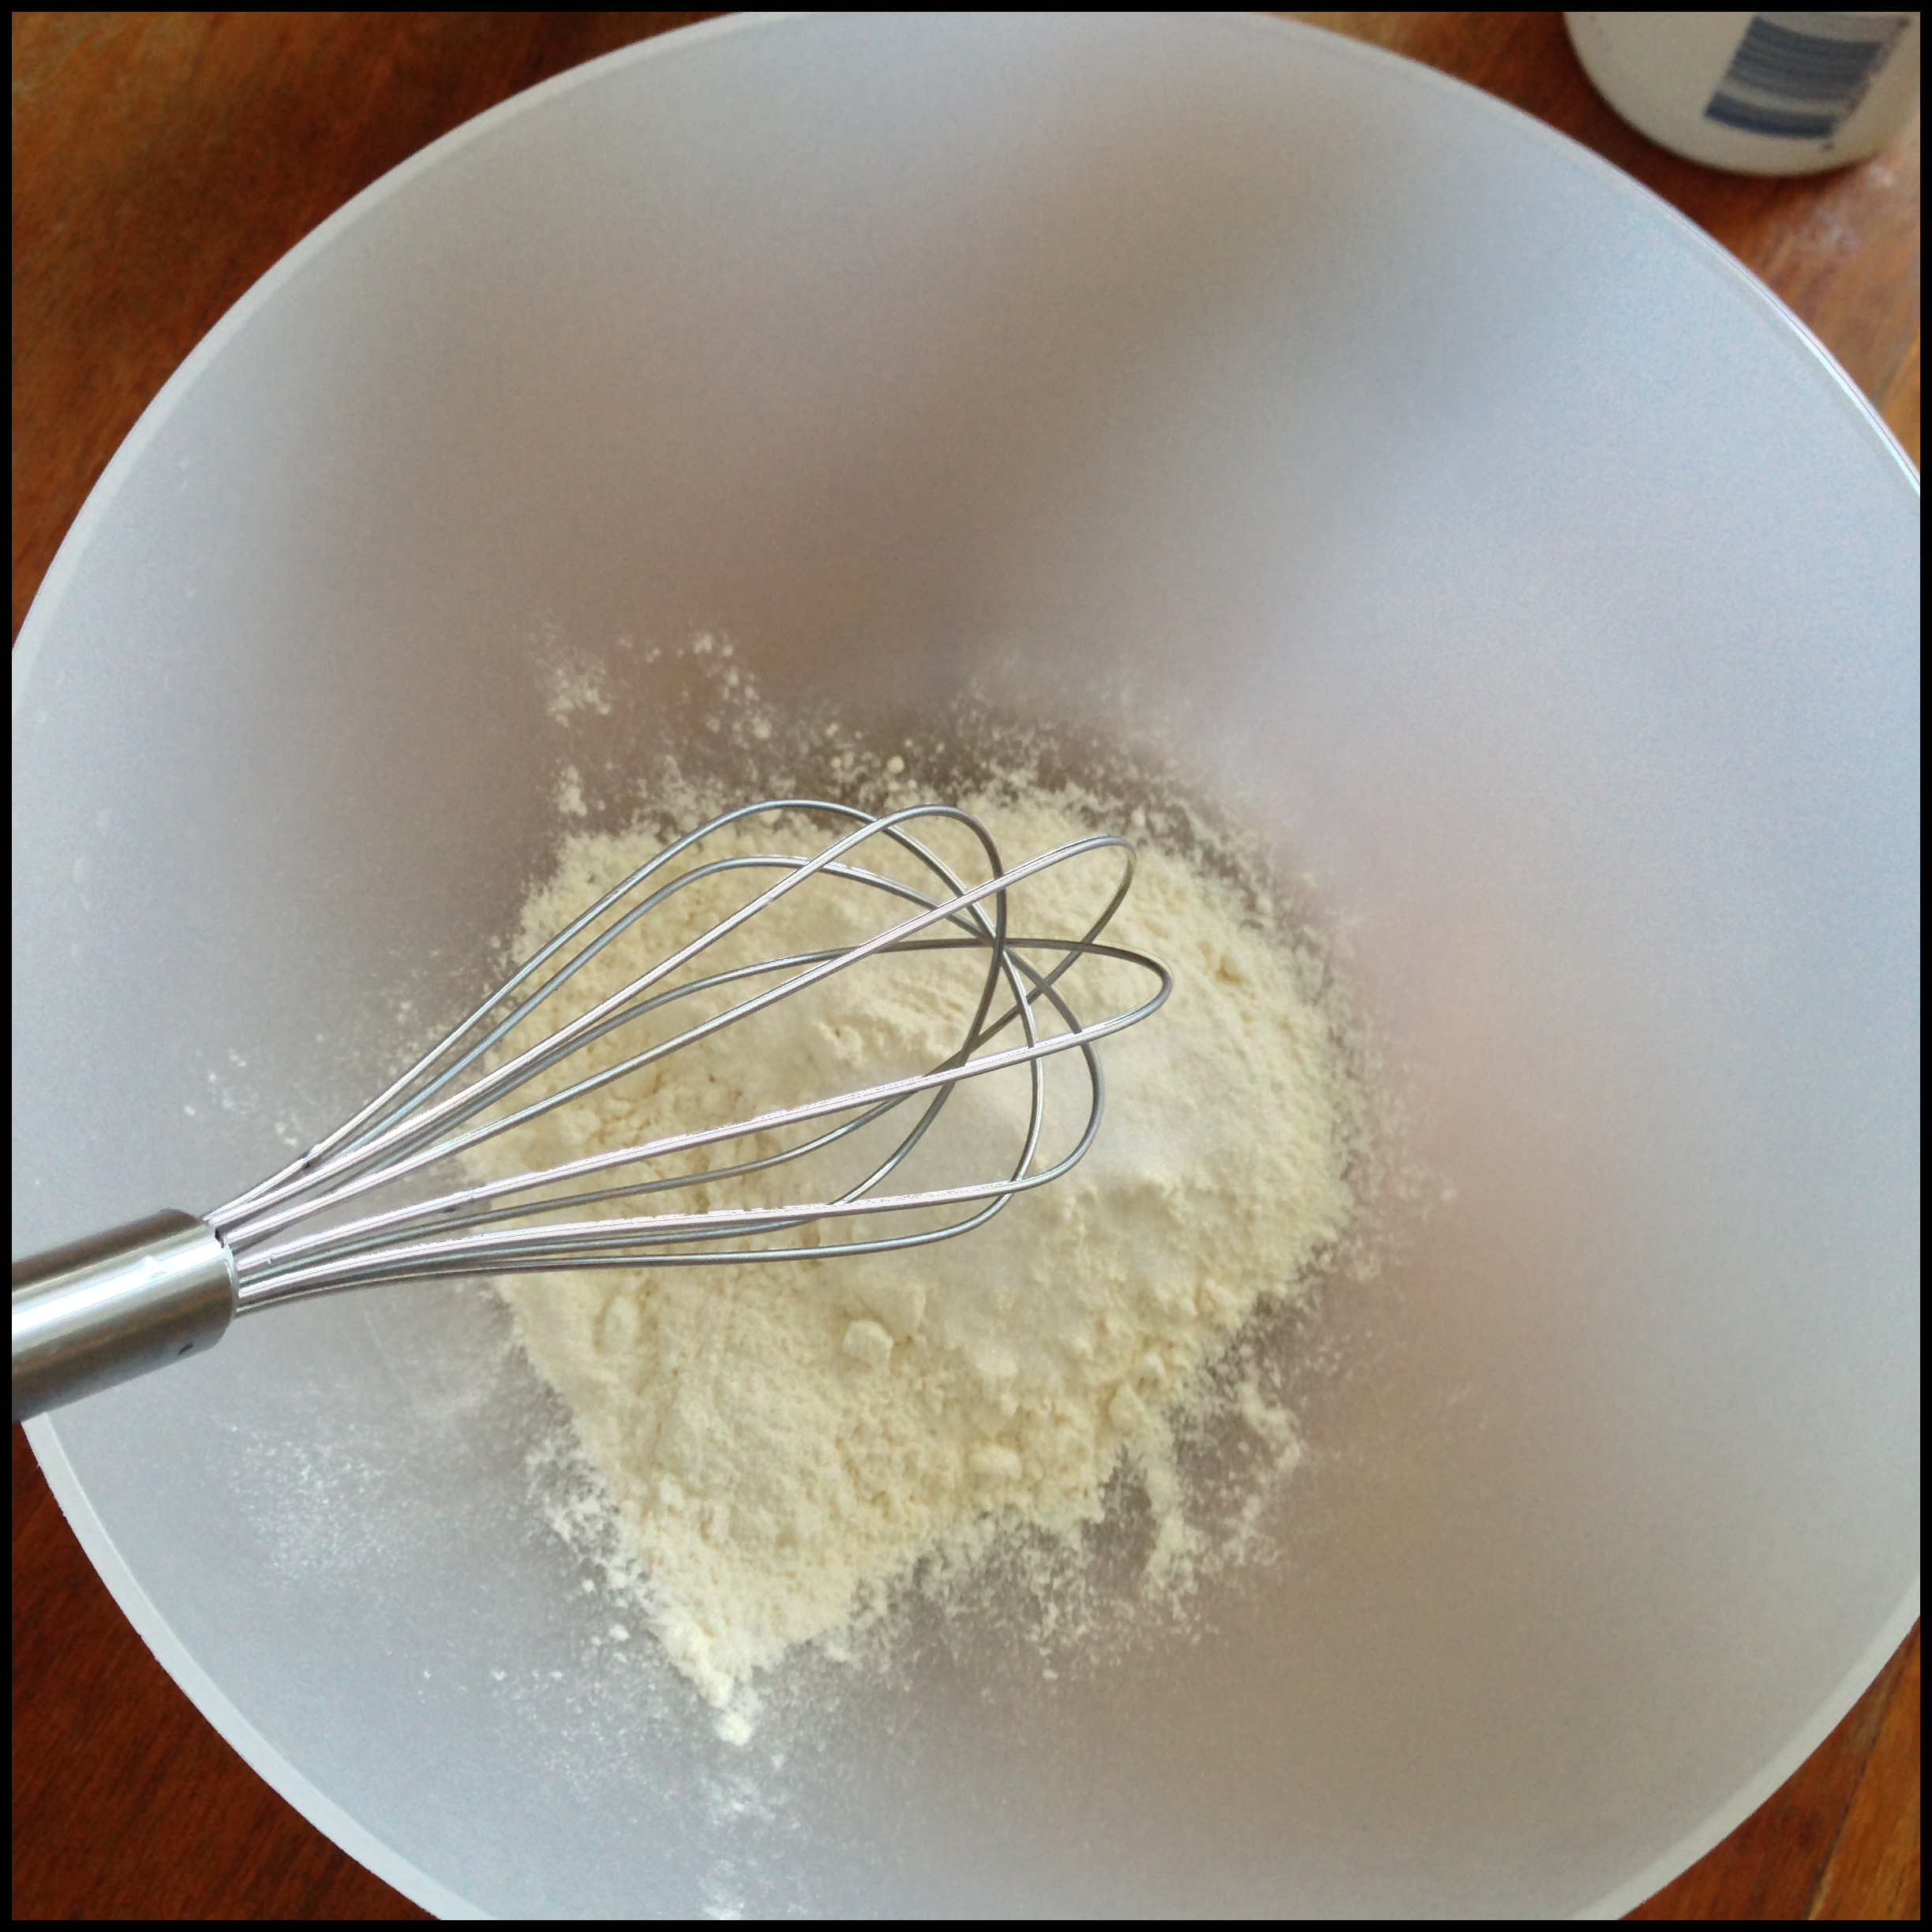
3. In a mixing bowl, put flour, sugar and salt and stir them with a whisk or just plain spoon.
4. In the meantime, butter will start boiling quite fast. Take the pan away from heat and add flour-sugar-salt mixture to the melted butter. Start whisking. It will get lumpy, do not worry. After you get a little bit of hold of it, put it back on medium high heat and continue whisking or stirring. When the batter starts getting sticky, it is ready.
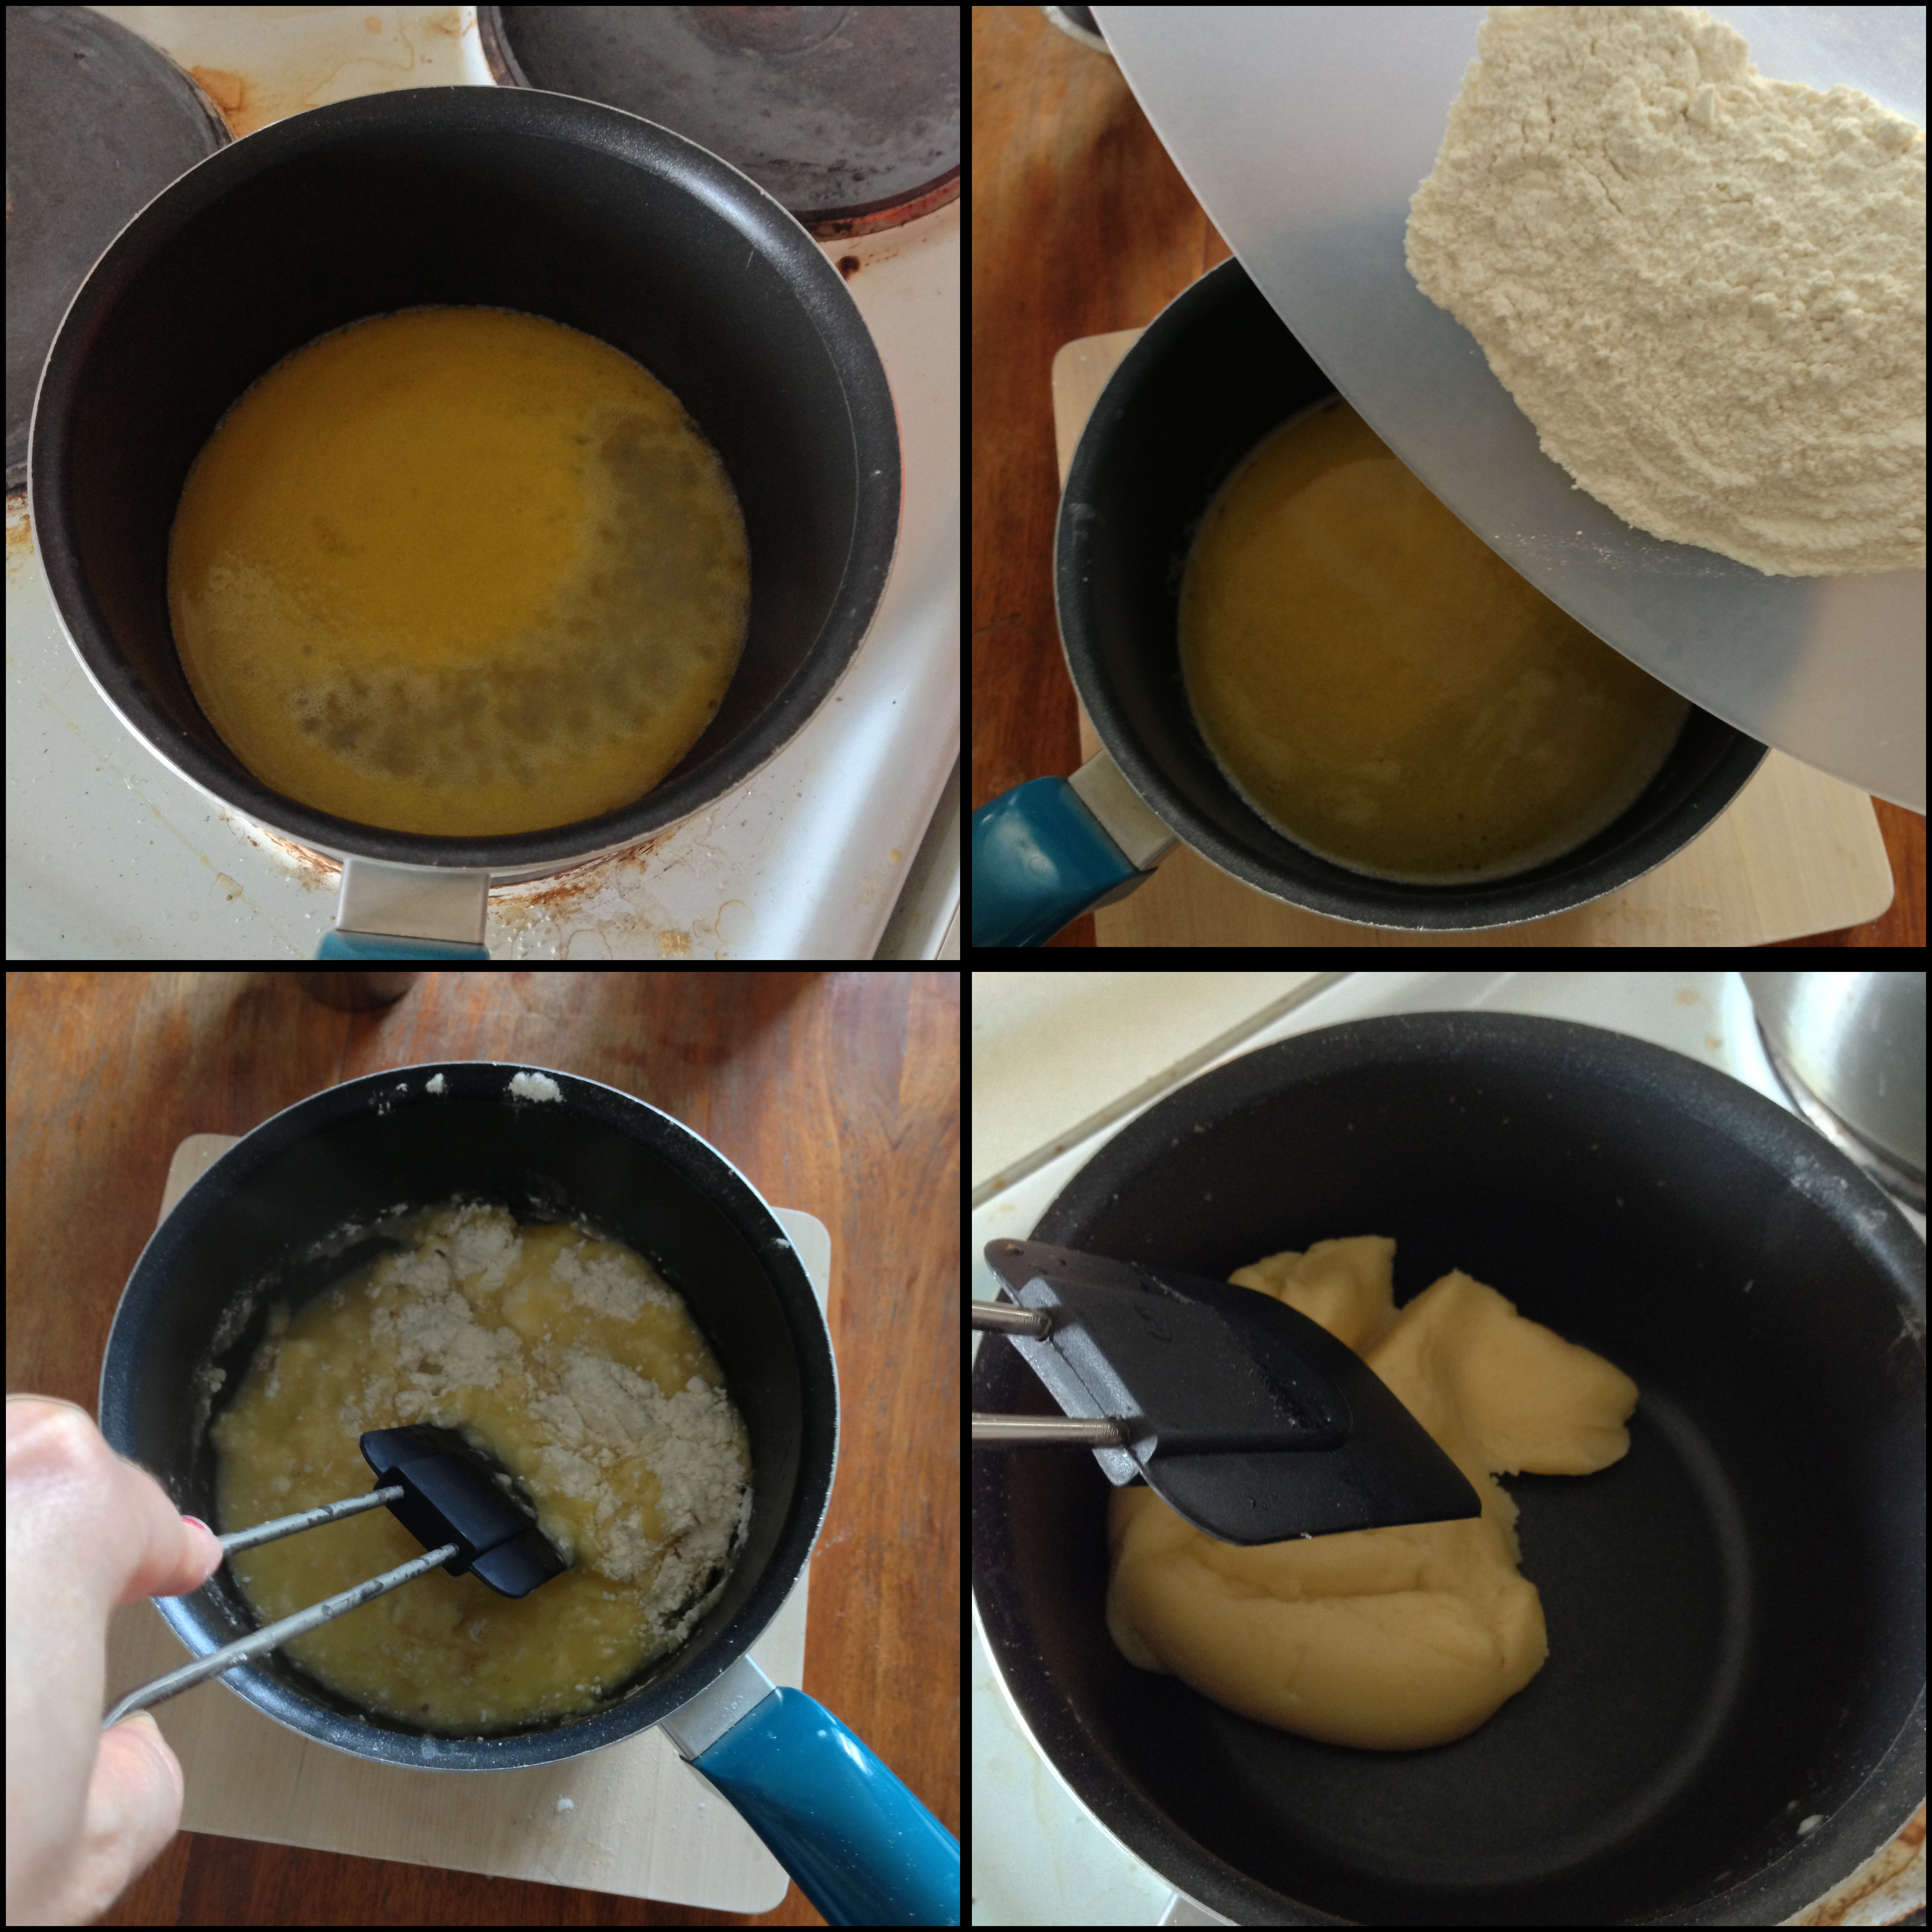
5. Transfer the batter to a heat-proof mixing bowl. Whisk it for a while to take the steam out of it and make it cool down (if you have an electric hand mixer, you can use that as well).
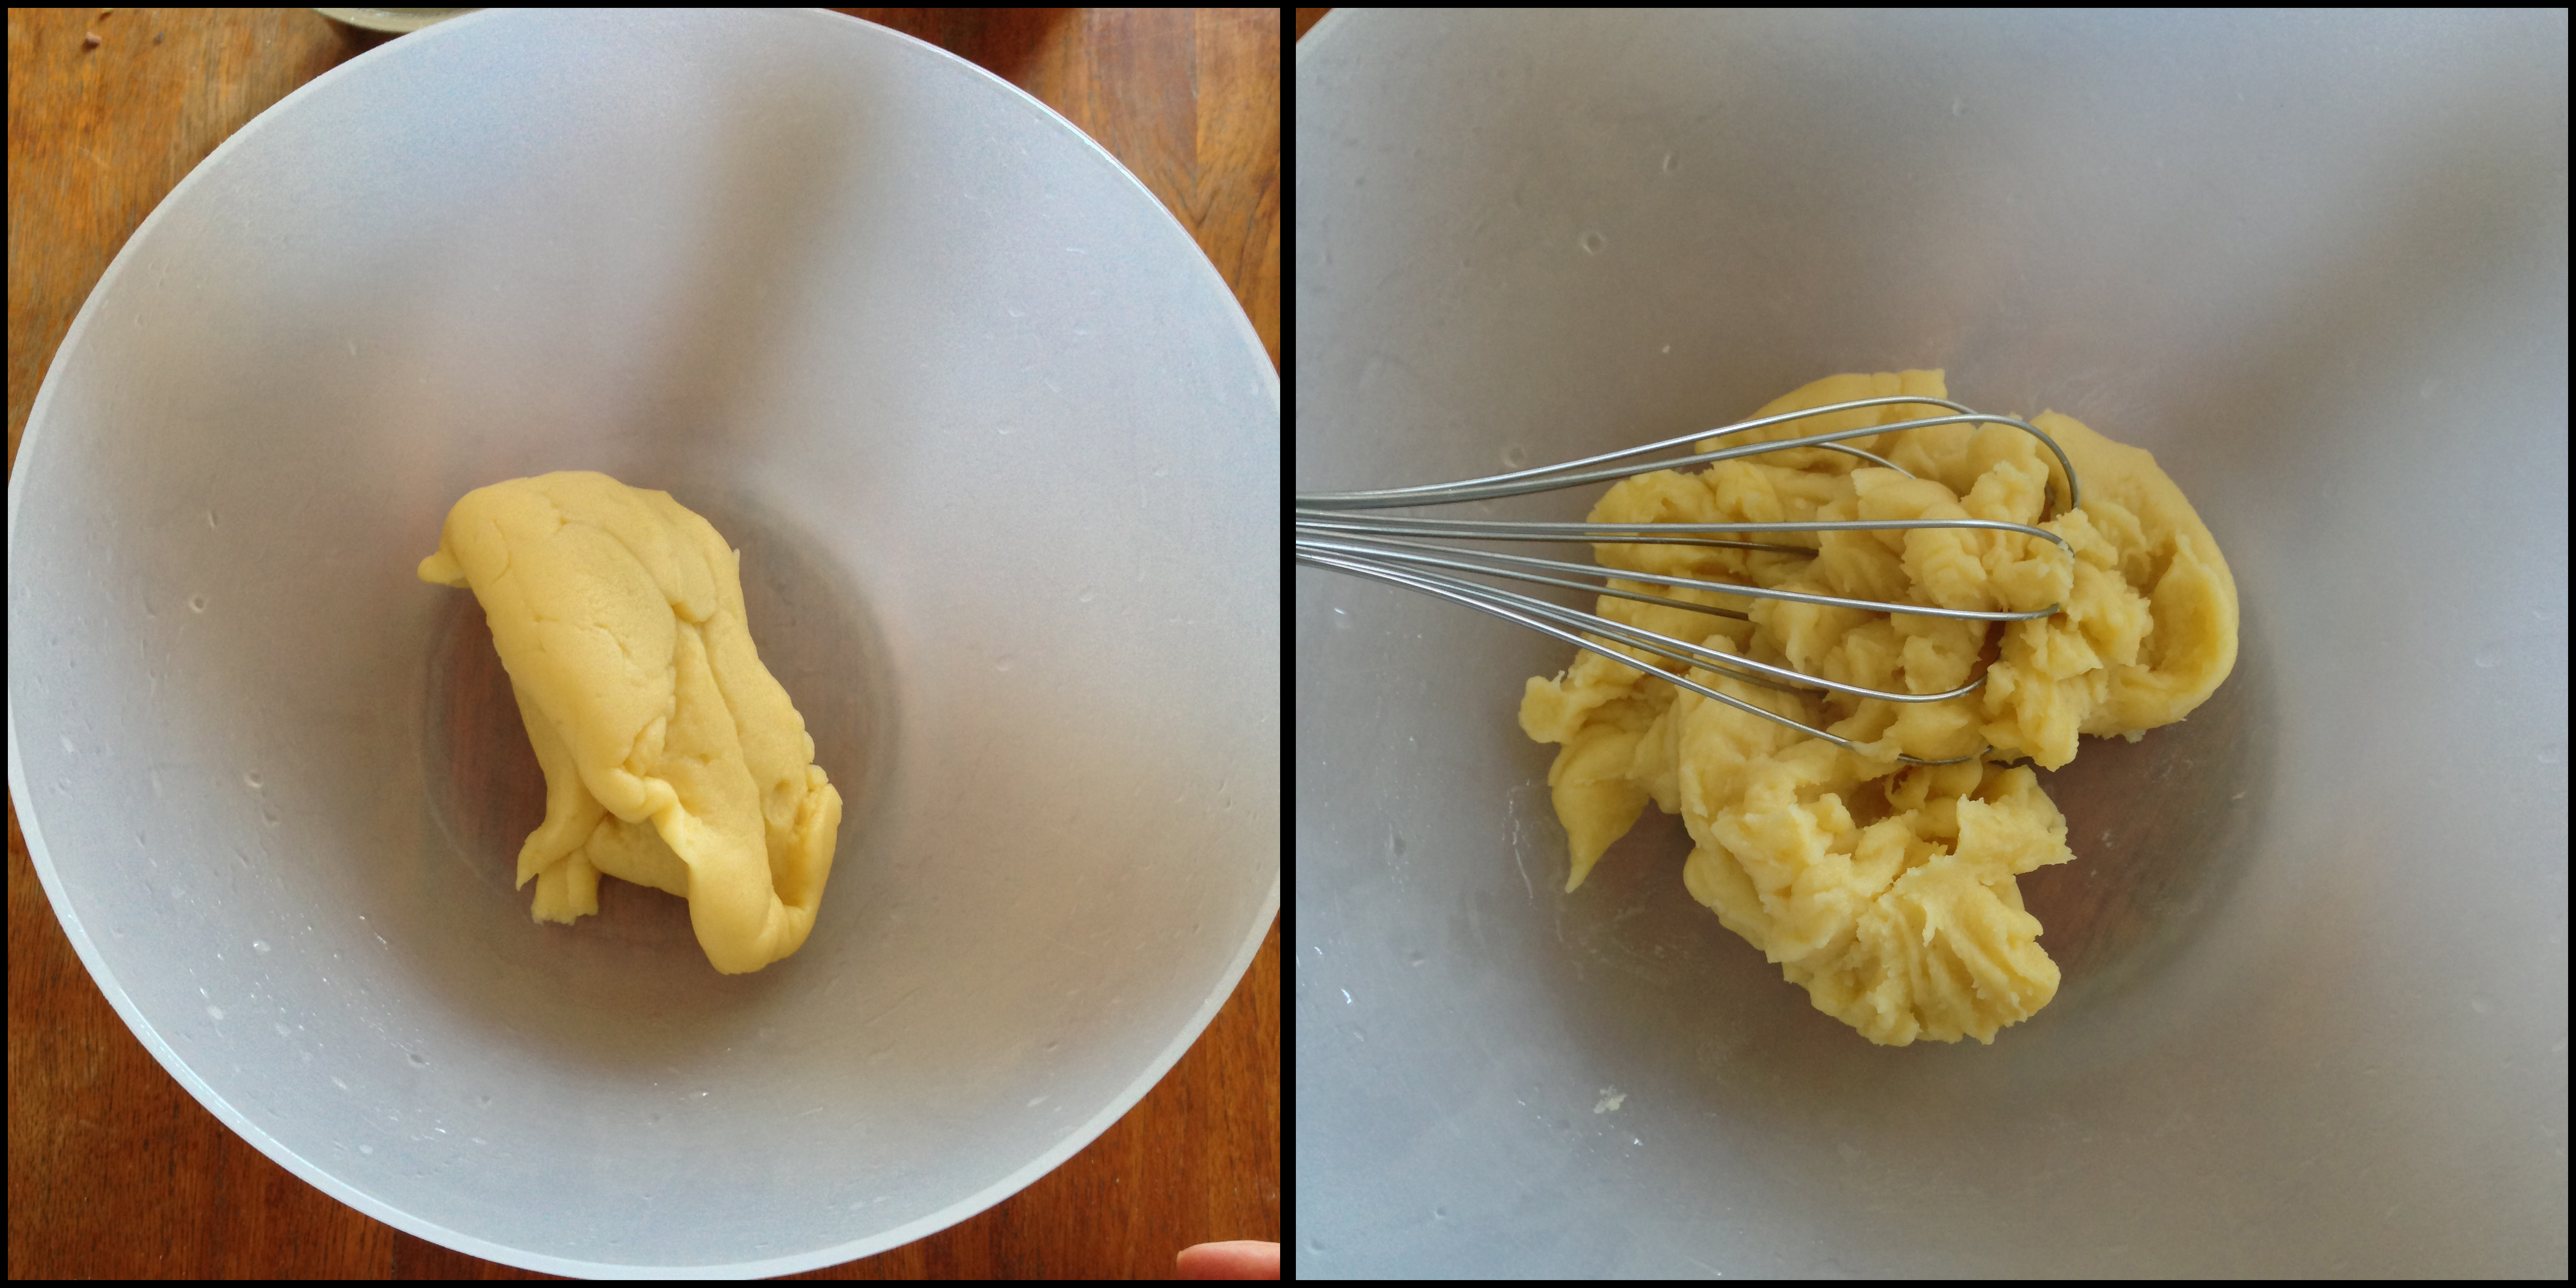
6. When the batter cools down, leave it for a few minutes by itself. In another small bowl, put crack 2 eggs and beat them briefly, with the help of a whisk or even a knife (I used knife). Pour the beaten eggs slowly and gradually to the batter and whisk the batter. For instance, first pour 1/3 of eggs and then whisk. Then other 1/3 and whisk and so on. This is because you might not need to use all the eggs (although in my case, I used them all). In the end, you should have a batter that is quite soft and which can be squeezed easily by a pastry bag.

7. Now comes squeezing! Well, for me this was the hardest part, since I still haven’t gotten hold of the pastry bag, but I am almost there now.. Anyway, take a rather large pastry bag tip – mine was 14 mm in diameter. Put the tip inside the pastry bag. Put all your batter inside the pastry bag. Put a baking sheet on the oven tray and start squeezing the batter on the baking sheet. You just need to squeeze about 7 cm long lines of pastry. Do not worry that it looks rather small, it will grow in size really well in the oven. In a small bowl, put 1 egg and brush it on the pastry pieces before putting them in the oven.

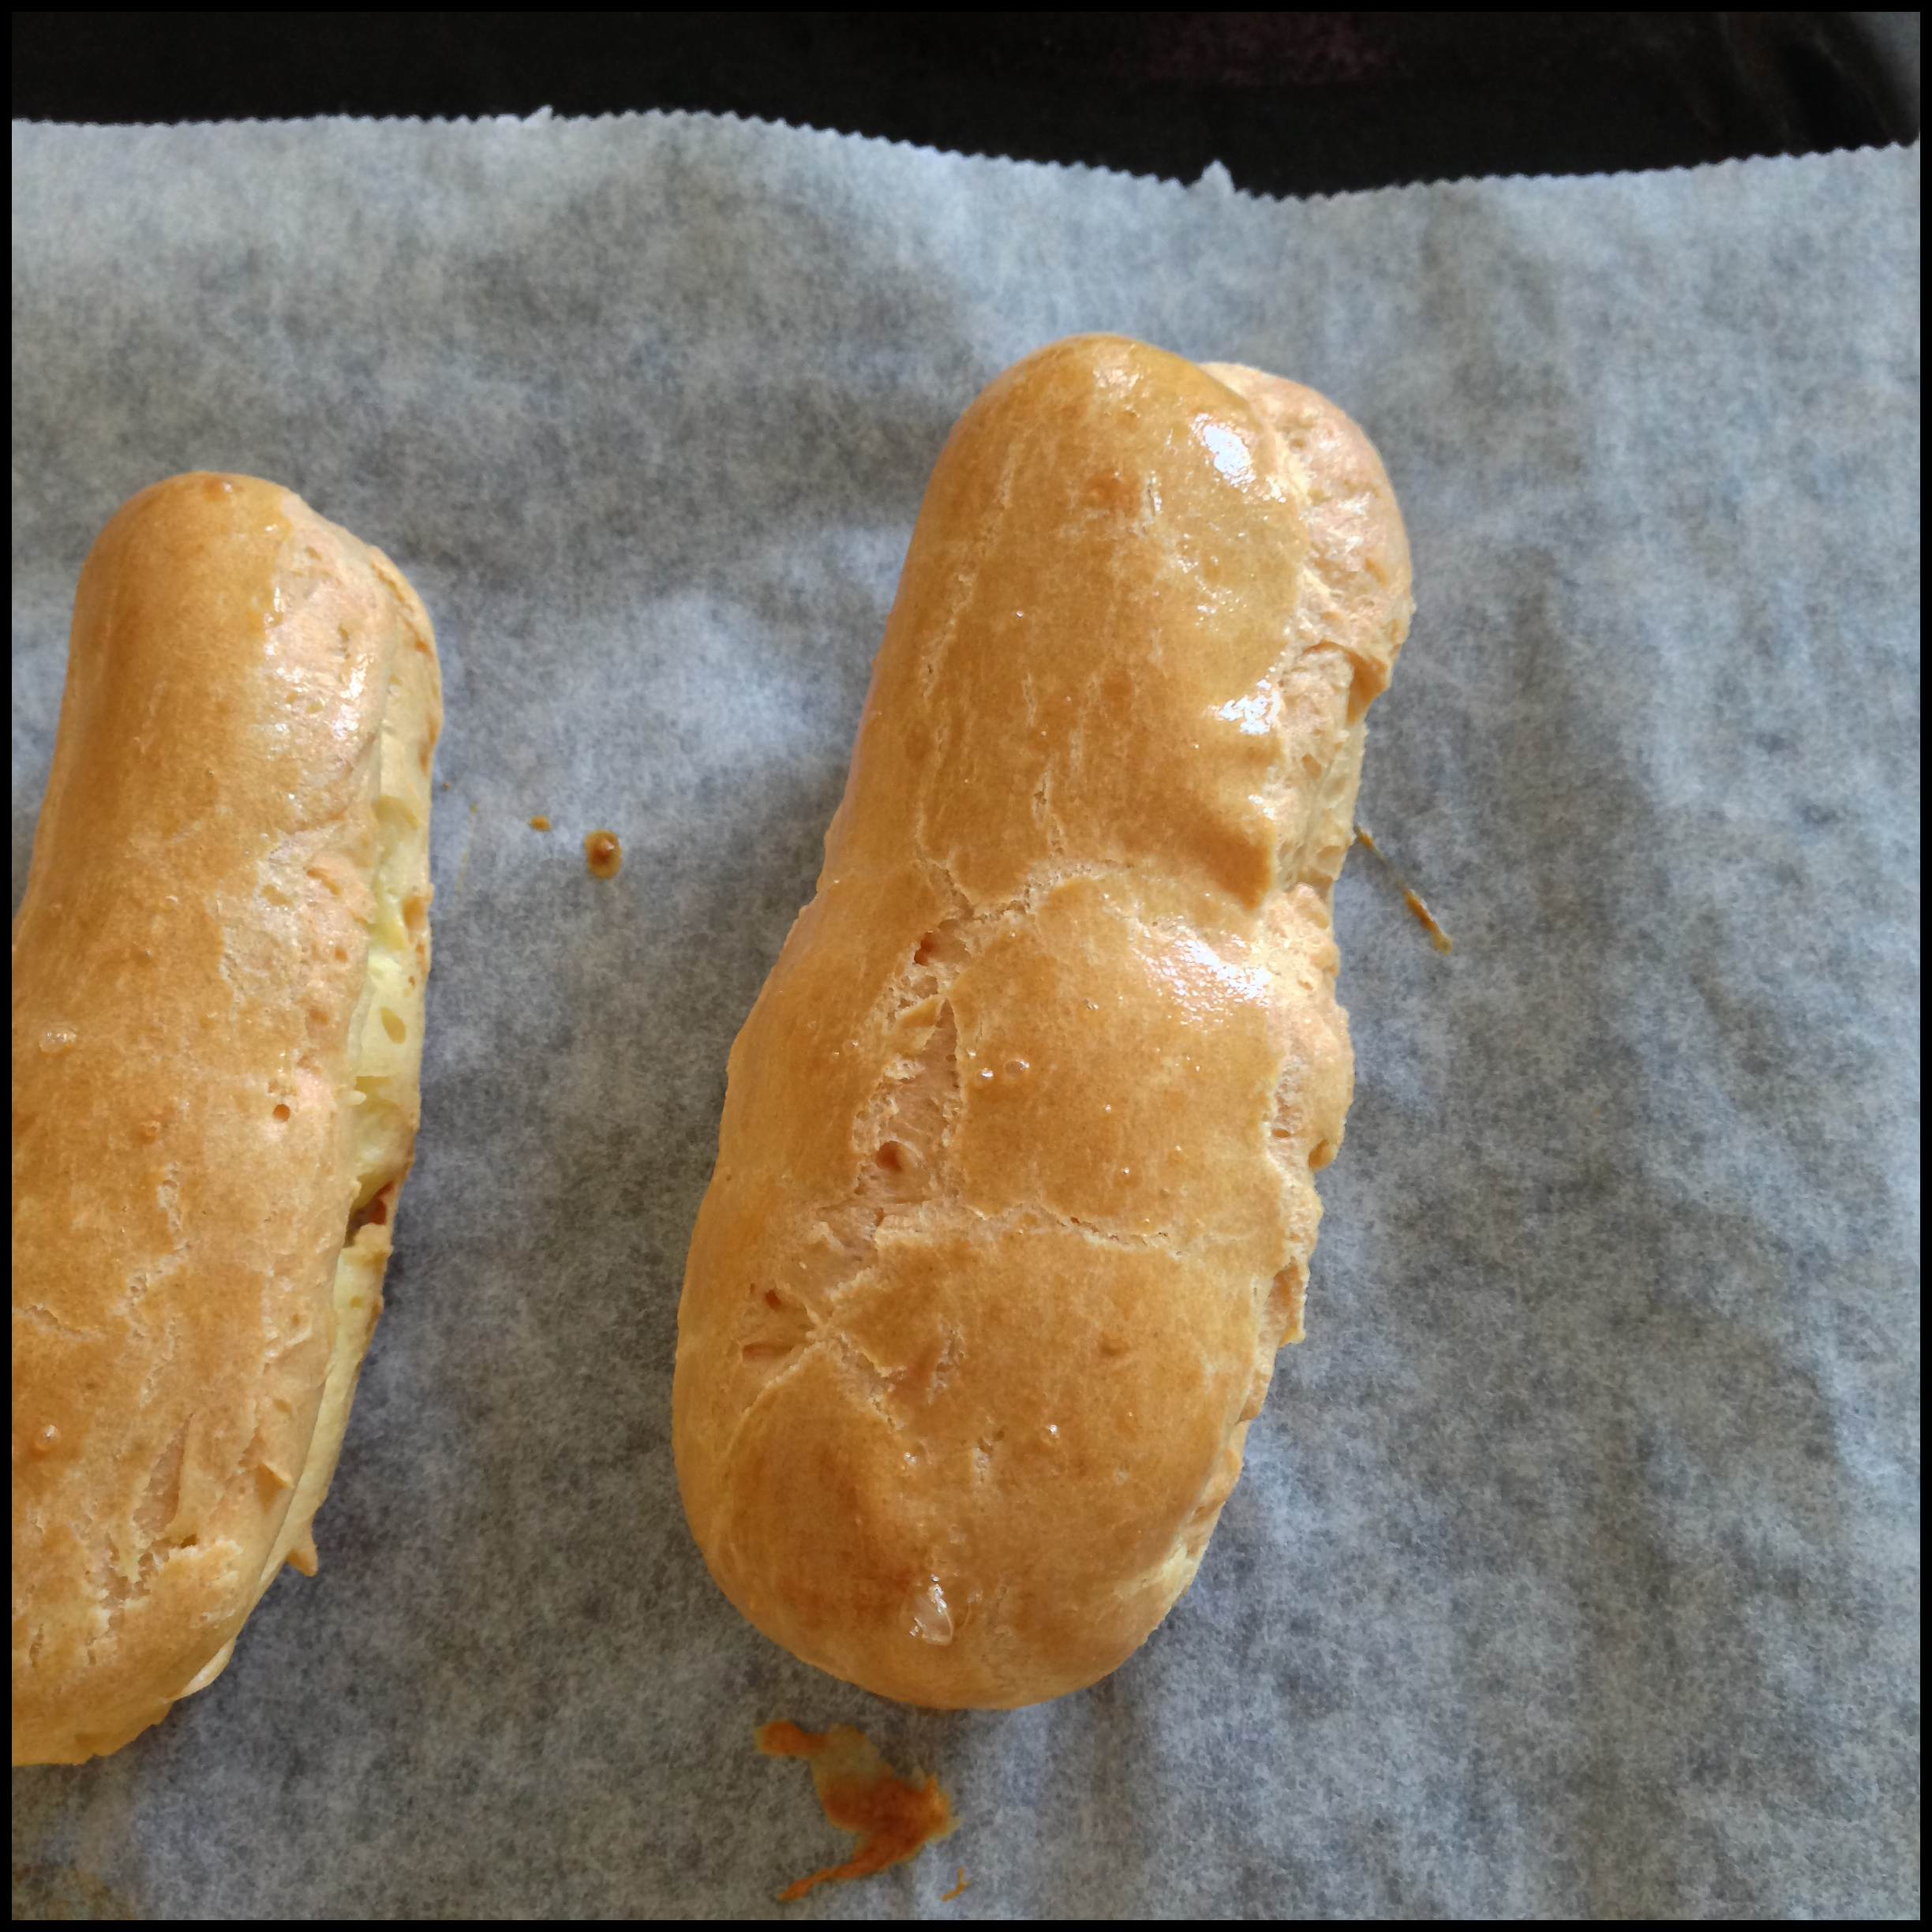
8. Put the tray in the 200C oven, in medium shelf. Bake it for 15 minutes. At the 15. minute, without taking the tray out of the oven and without opening the door of the oven, reduce the temperature to 180C and bake for about 20-25 minutes more. The first 15 minutes in higher temperature provides a nice and quick growth in size, the pastries get really cutely puffy. The rest of the baking in reduced heat provides the actual baking of pastries. When the pastries have nice golden brown colour, take them out of the oven and let them cool down for a while.
Third step is making the chocolate glaze:
1. This is a very easy and fast step, you can make it either while the pastry is baking or while it is cooling down. For chocolate glaze, first put whipping cream in a pan and bring it just to boiling on medium low heat. In the meantime, chop the chocolate into small pieces. When cream boils, pour it on the chocolate pieces and start whisking. Whisk it until it gets smooth and homogenous.
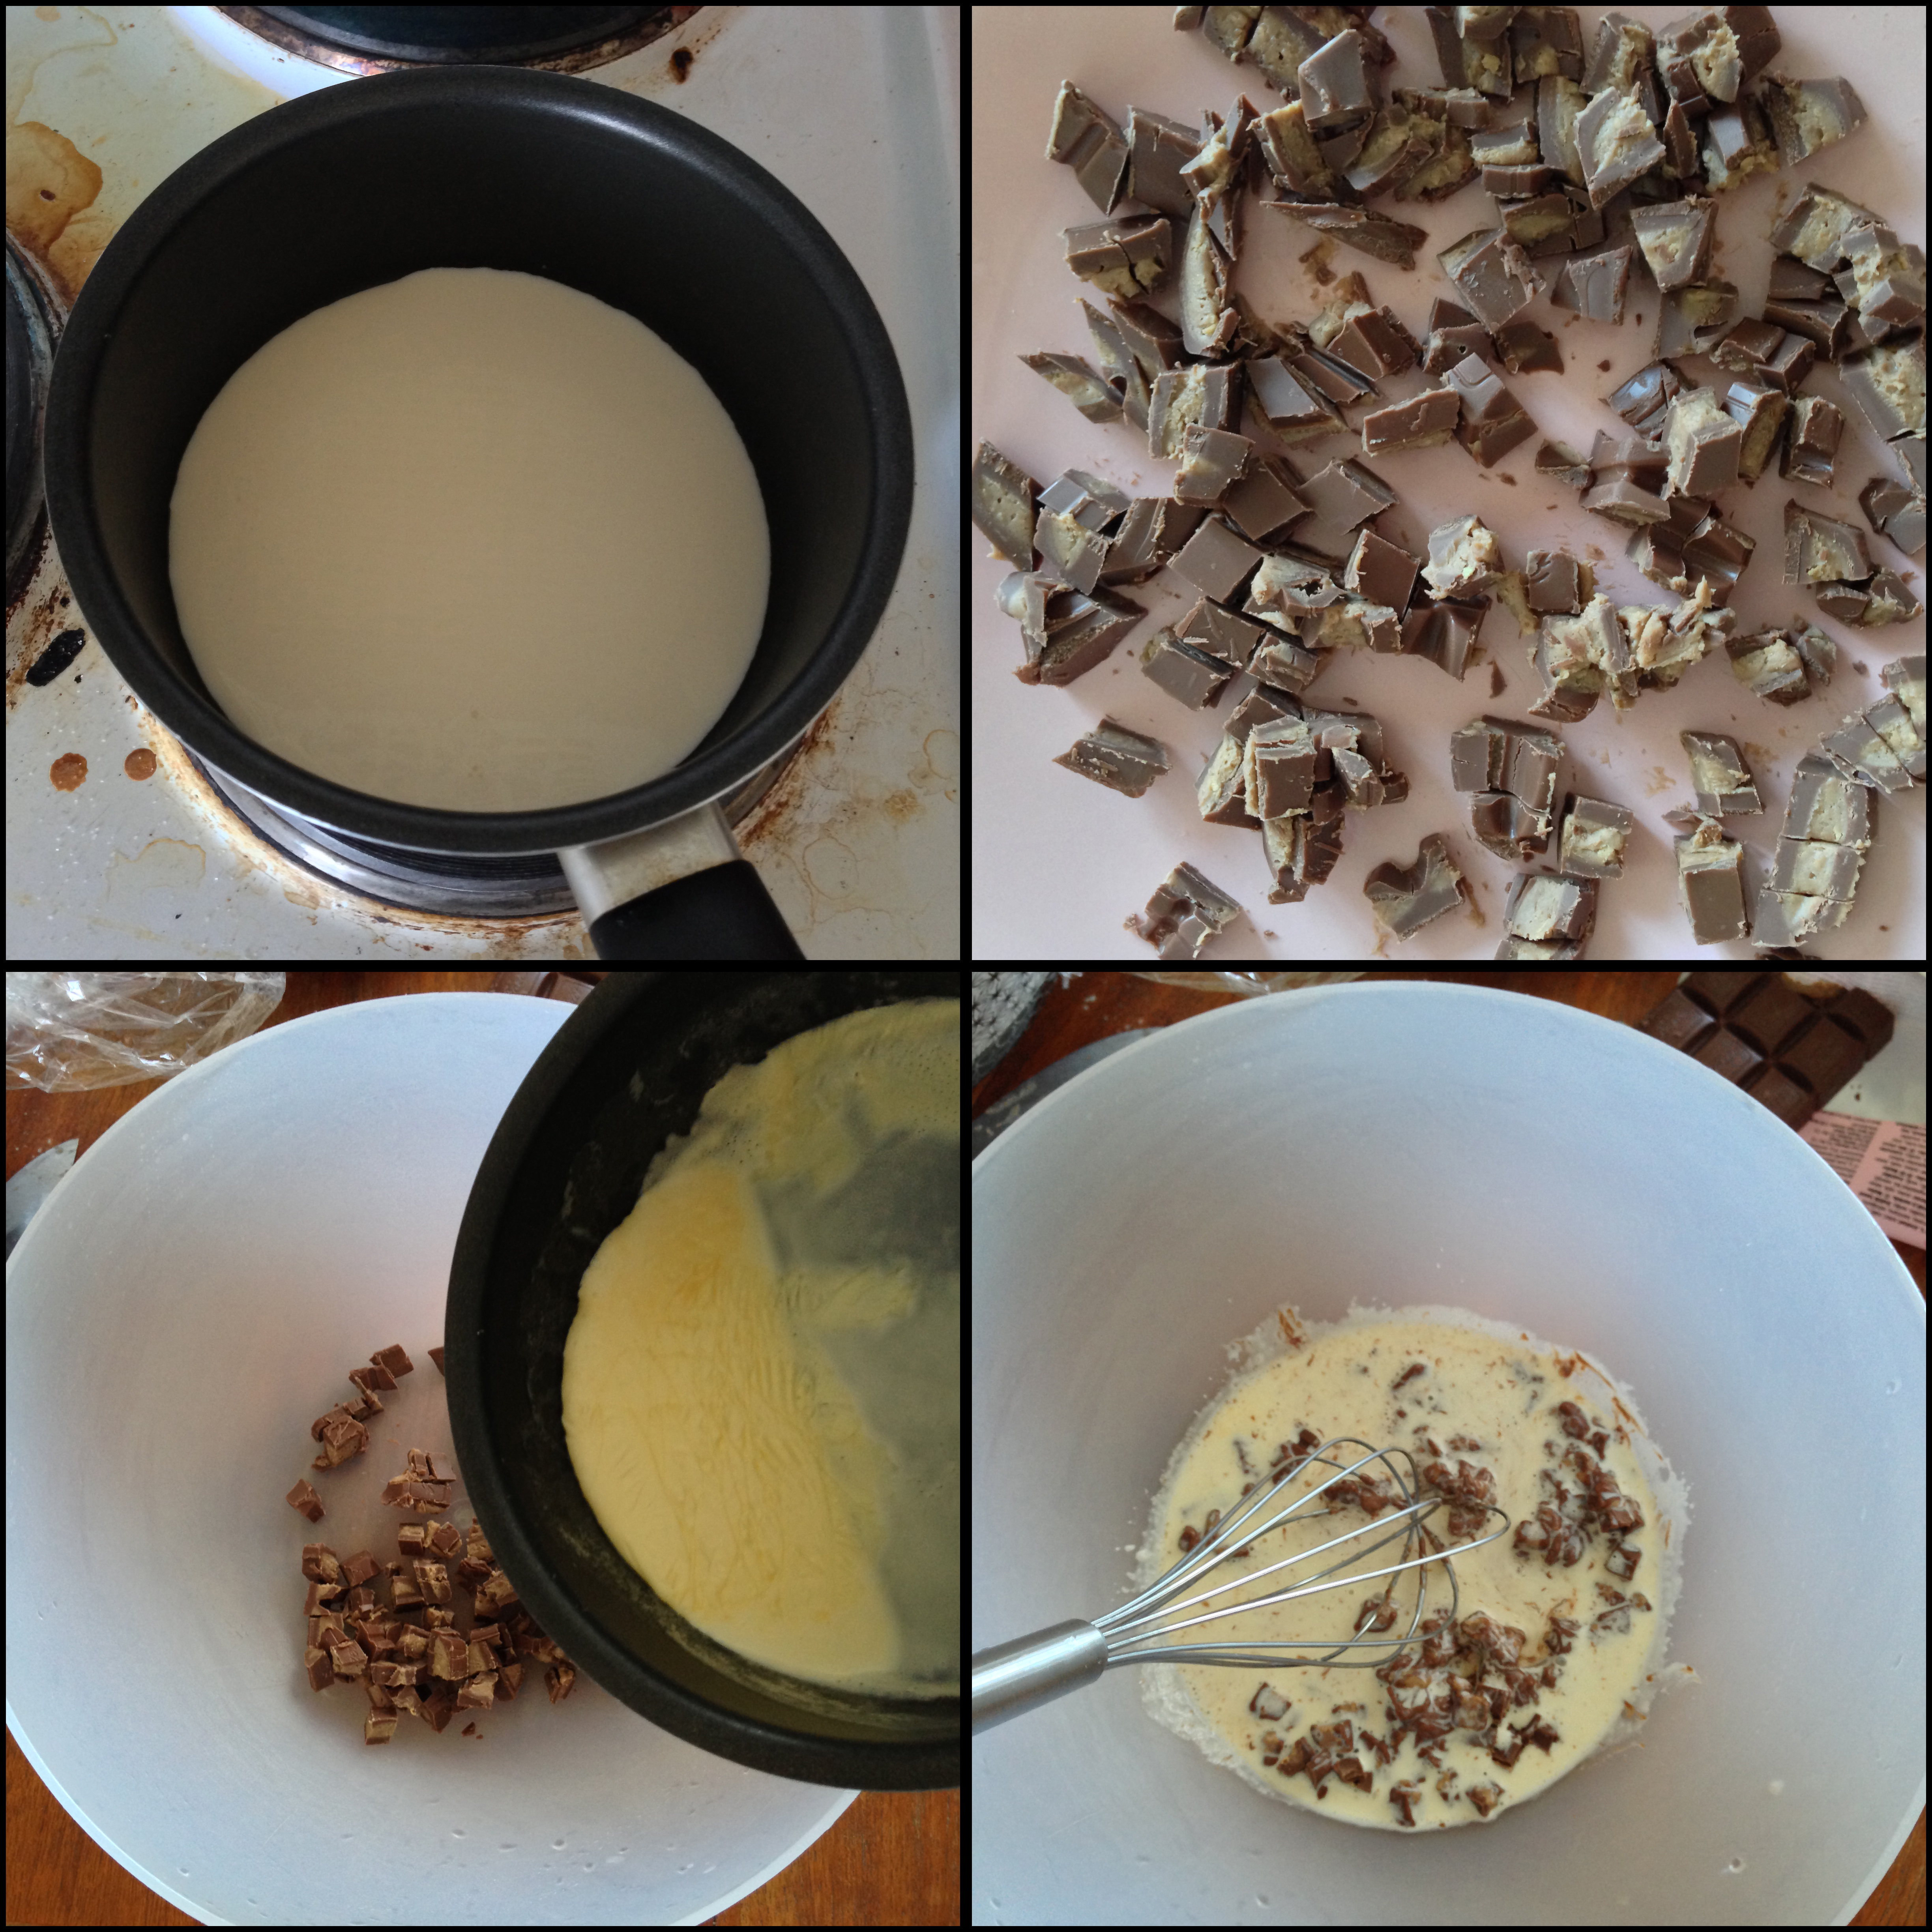
2. To get a glossy texture, add some glucose syrup in the chocolate mixture and whisk again.


Assembling the pastry:
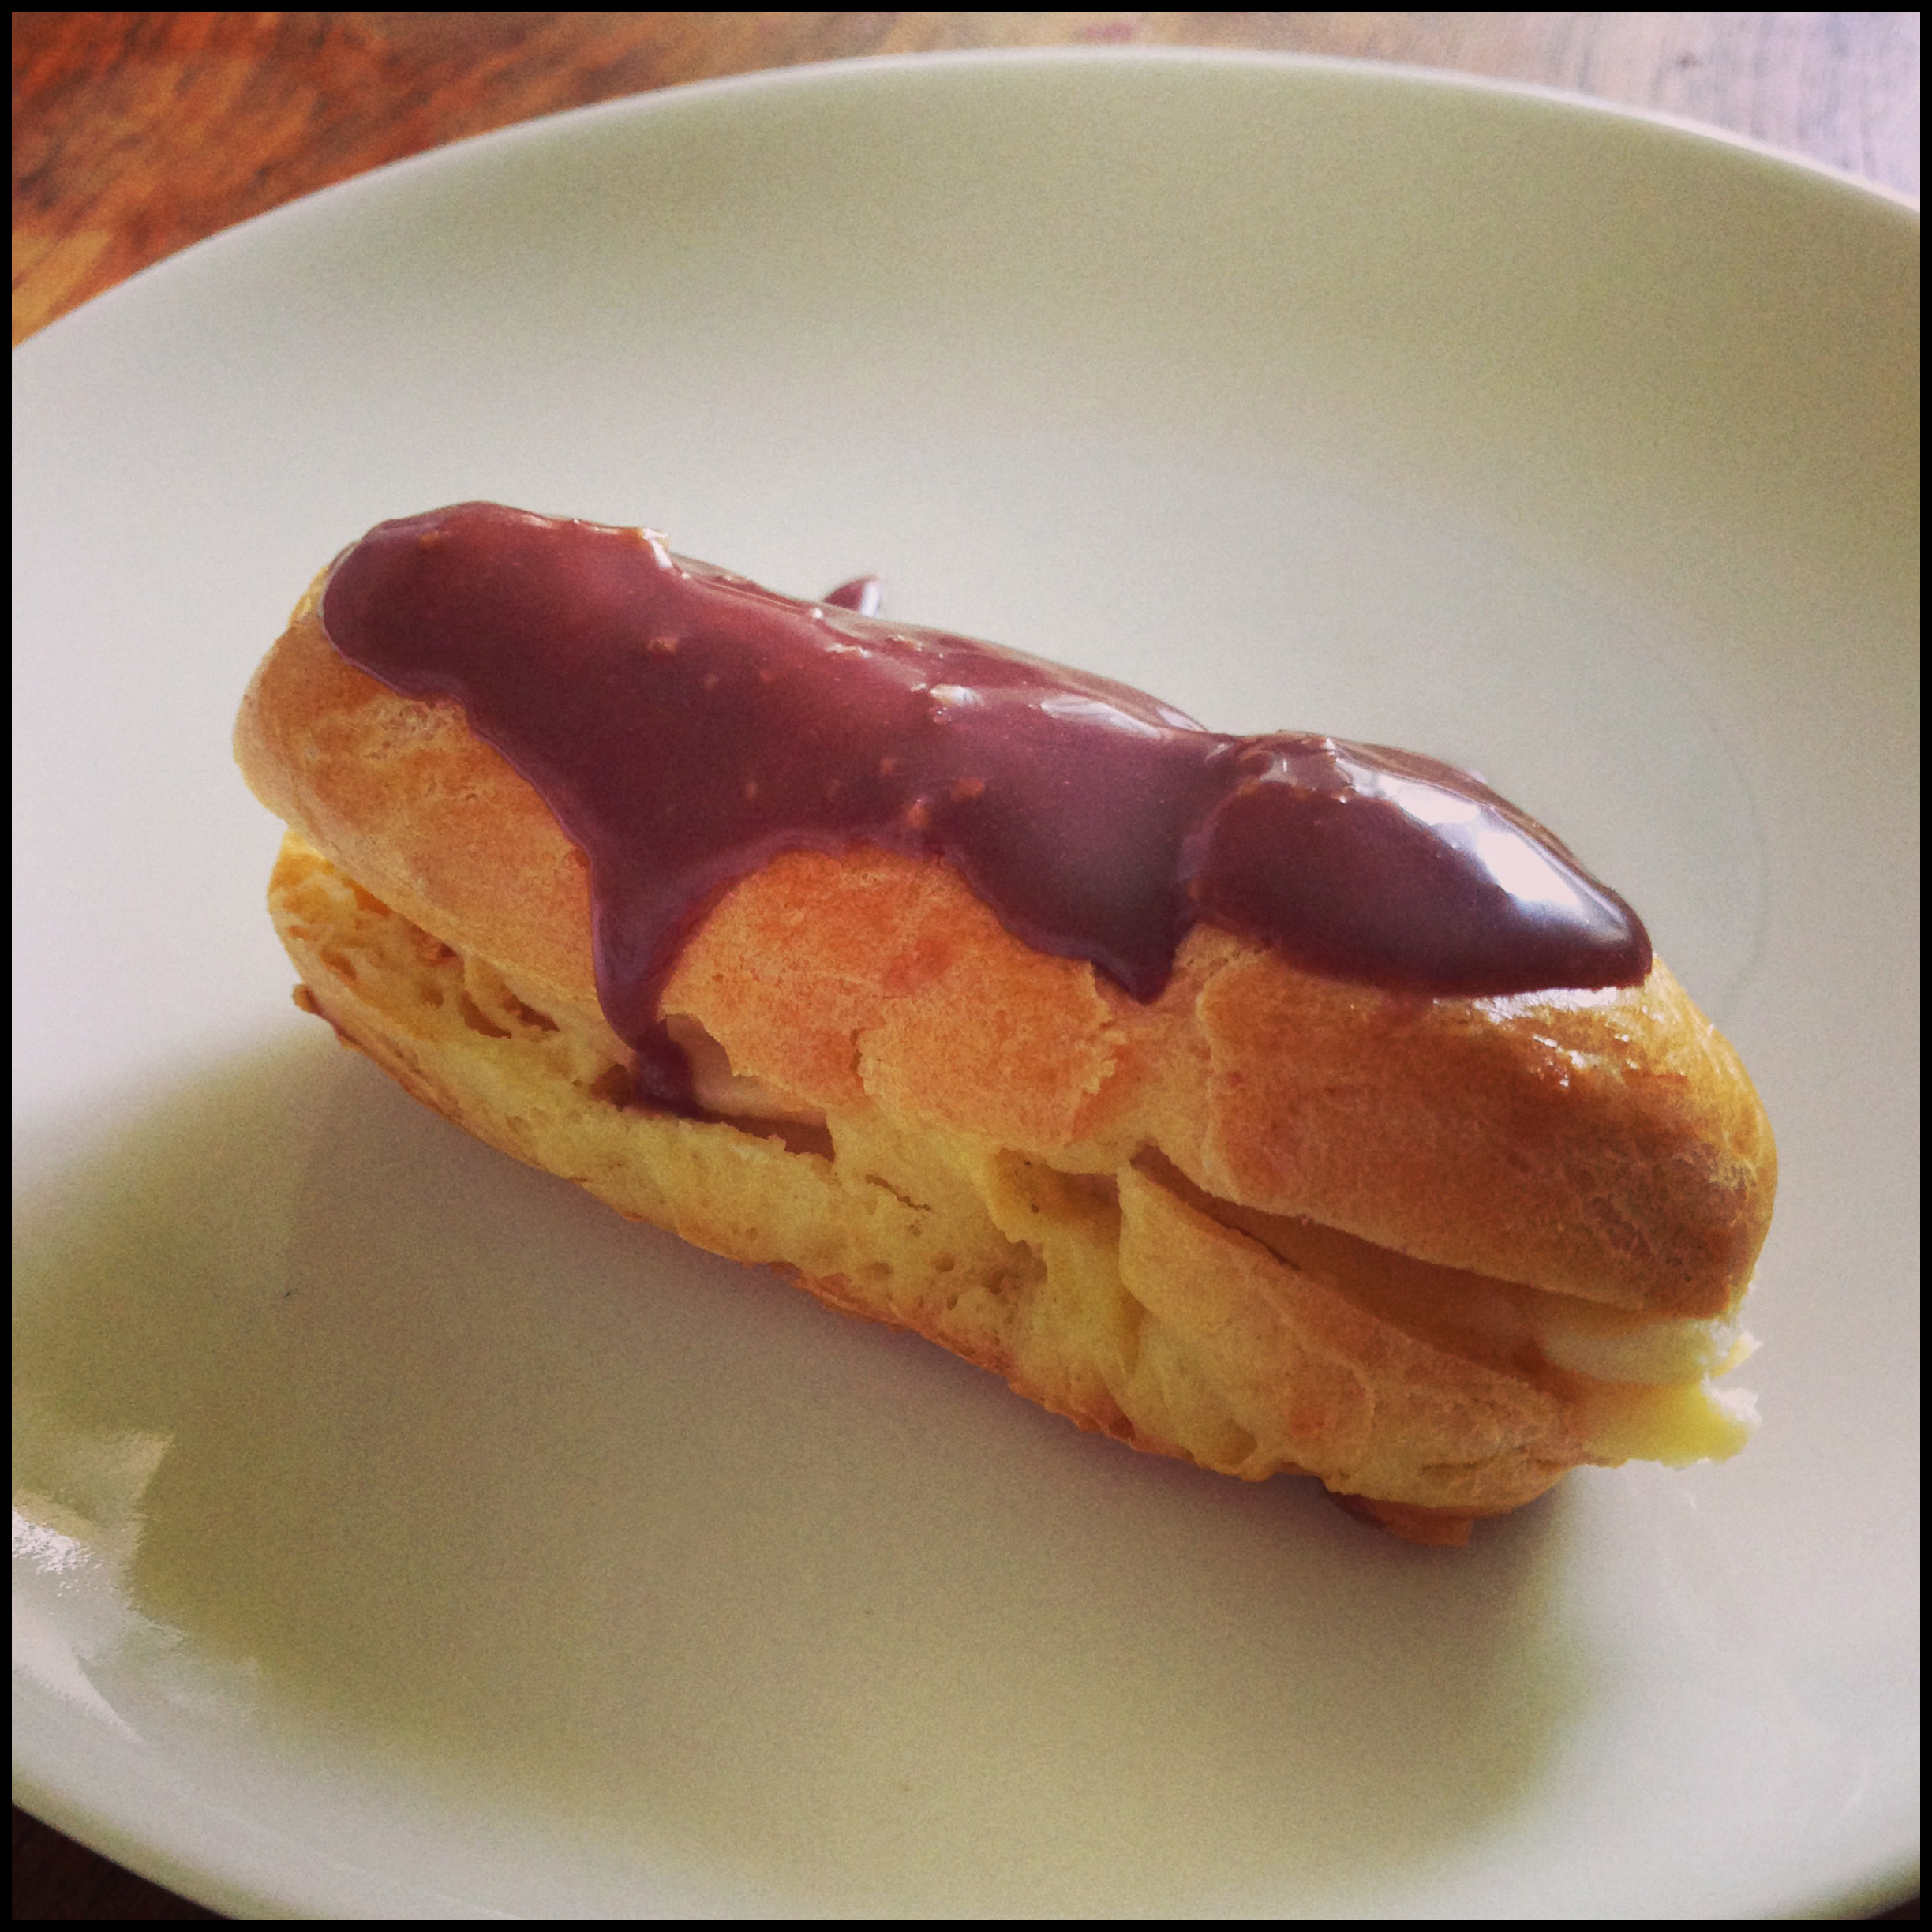
1. Now comes the last step – assembling the pastry. At this step, if you made your pastry cream a day earlier, or if you nevertheless put it inside the fridge, take it out and with the help of a whisk, spoon or a spatula, give it a little bit of stir because it will be very stiff when it comes out of the fridge.
2. Take a pastry bag tip as seen in the first photo below. Put this tip inside a pastry bag. Put all the pastry cream inside pastry bag and put it aside. Take one of the baked pastry pieces, cut it in halves right along through the edge. Squeeze pastry cream all along the bottom pastry half as seen in the last photo below.

3. Take the pastry half that will be put above. Dip the outer shell of this half to the chocolate glaze and put it on the other half as the chocolate part will be the top surface.

4. Your eclair is ready! You can serve it immediately or you can put it in the fridge for a later serving. They do look cute, don’t they???

Miam, miam…..
oh! ekler