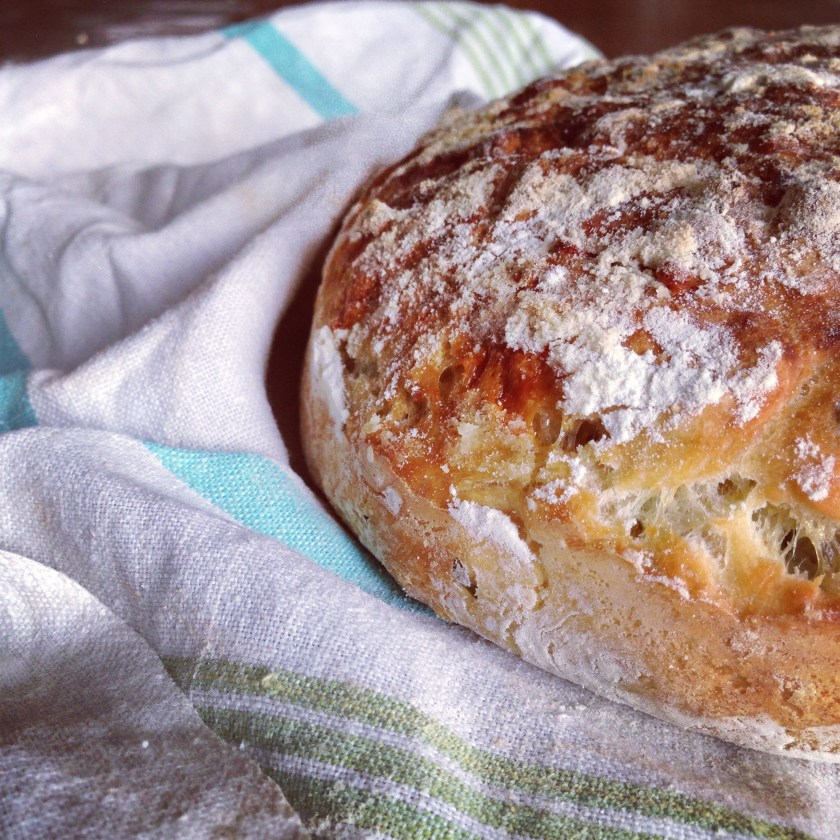
Have you ever baked bread? Bread is such an essential and basic food that once you are able to make one – and if it is especially a nice, crusty bread with several flavours, then you will feel really happy and accomplished. Well, at least you feel like you can really feed people now!
I have been making bread for a while now, you can already see some recipes in the blog. But it has been a long process of many experiments actually, to have a really nice and appealing crust on the bread while inside it is soft and delicious. Of course I cannot say that I have perfected bread baking, but I have gone a long way.
This bread recipe, you can use just as it is, you can just skip the extra ingredients and bake basic bread, or you can change the extra ingredients and end up with different flavours. I do not know the first source of this bread recipe because it appears in various blogs and websites, but I got the idea from “Simply So Good” blog and I modified the process of actual baking according to my previous experiments.
The bread is really good in the first day, the second and third day it still tastes good but toasting is essential (according to my taste, but you might think differently).
Enjoy this bread with your friends, accompanied by some nice cheese or olive oil. And please read carefully the steps below about baking process. I could not take pictures of the whole process step by step since I needed both of my hands, but I will try to explain it the best way I can, by words.
—
Ingredients:
(makes 1 round bread)
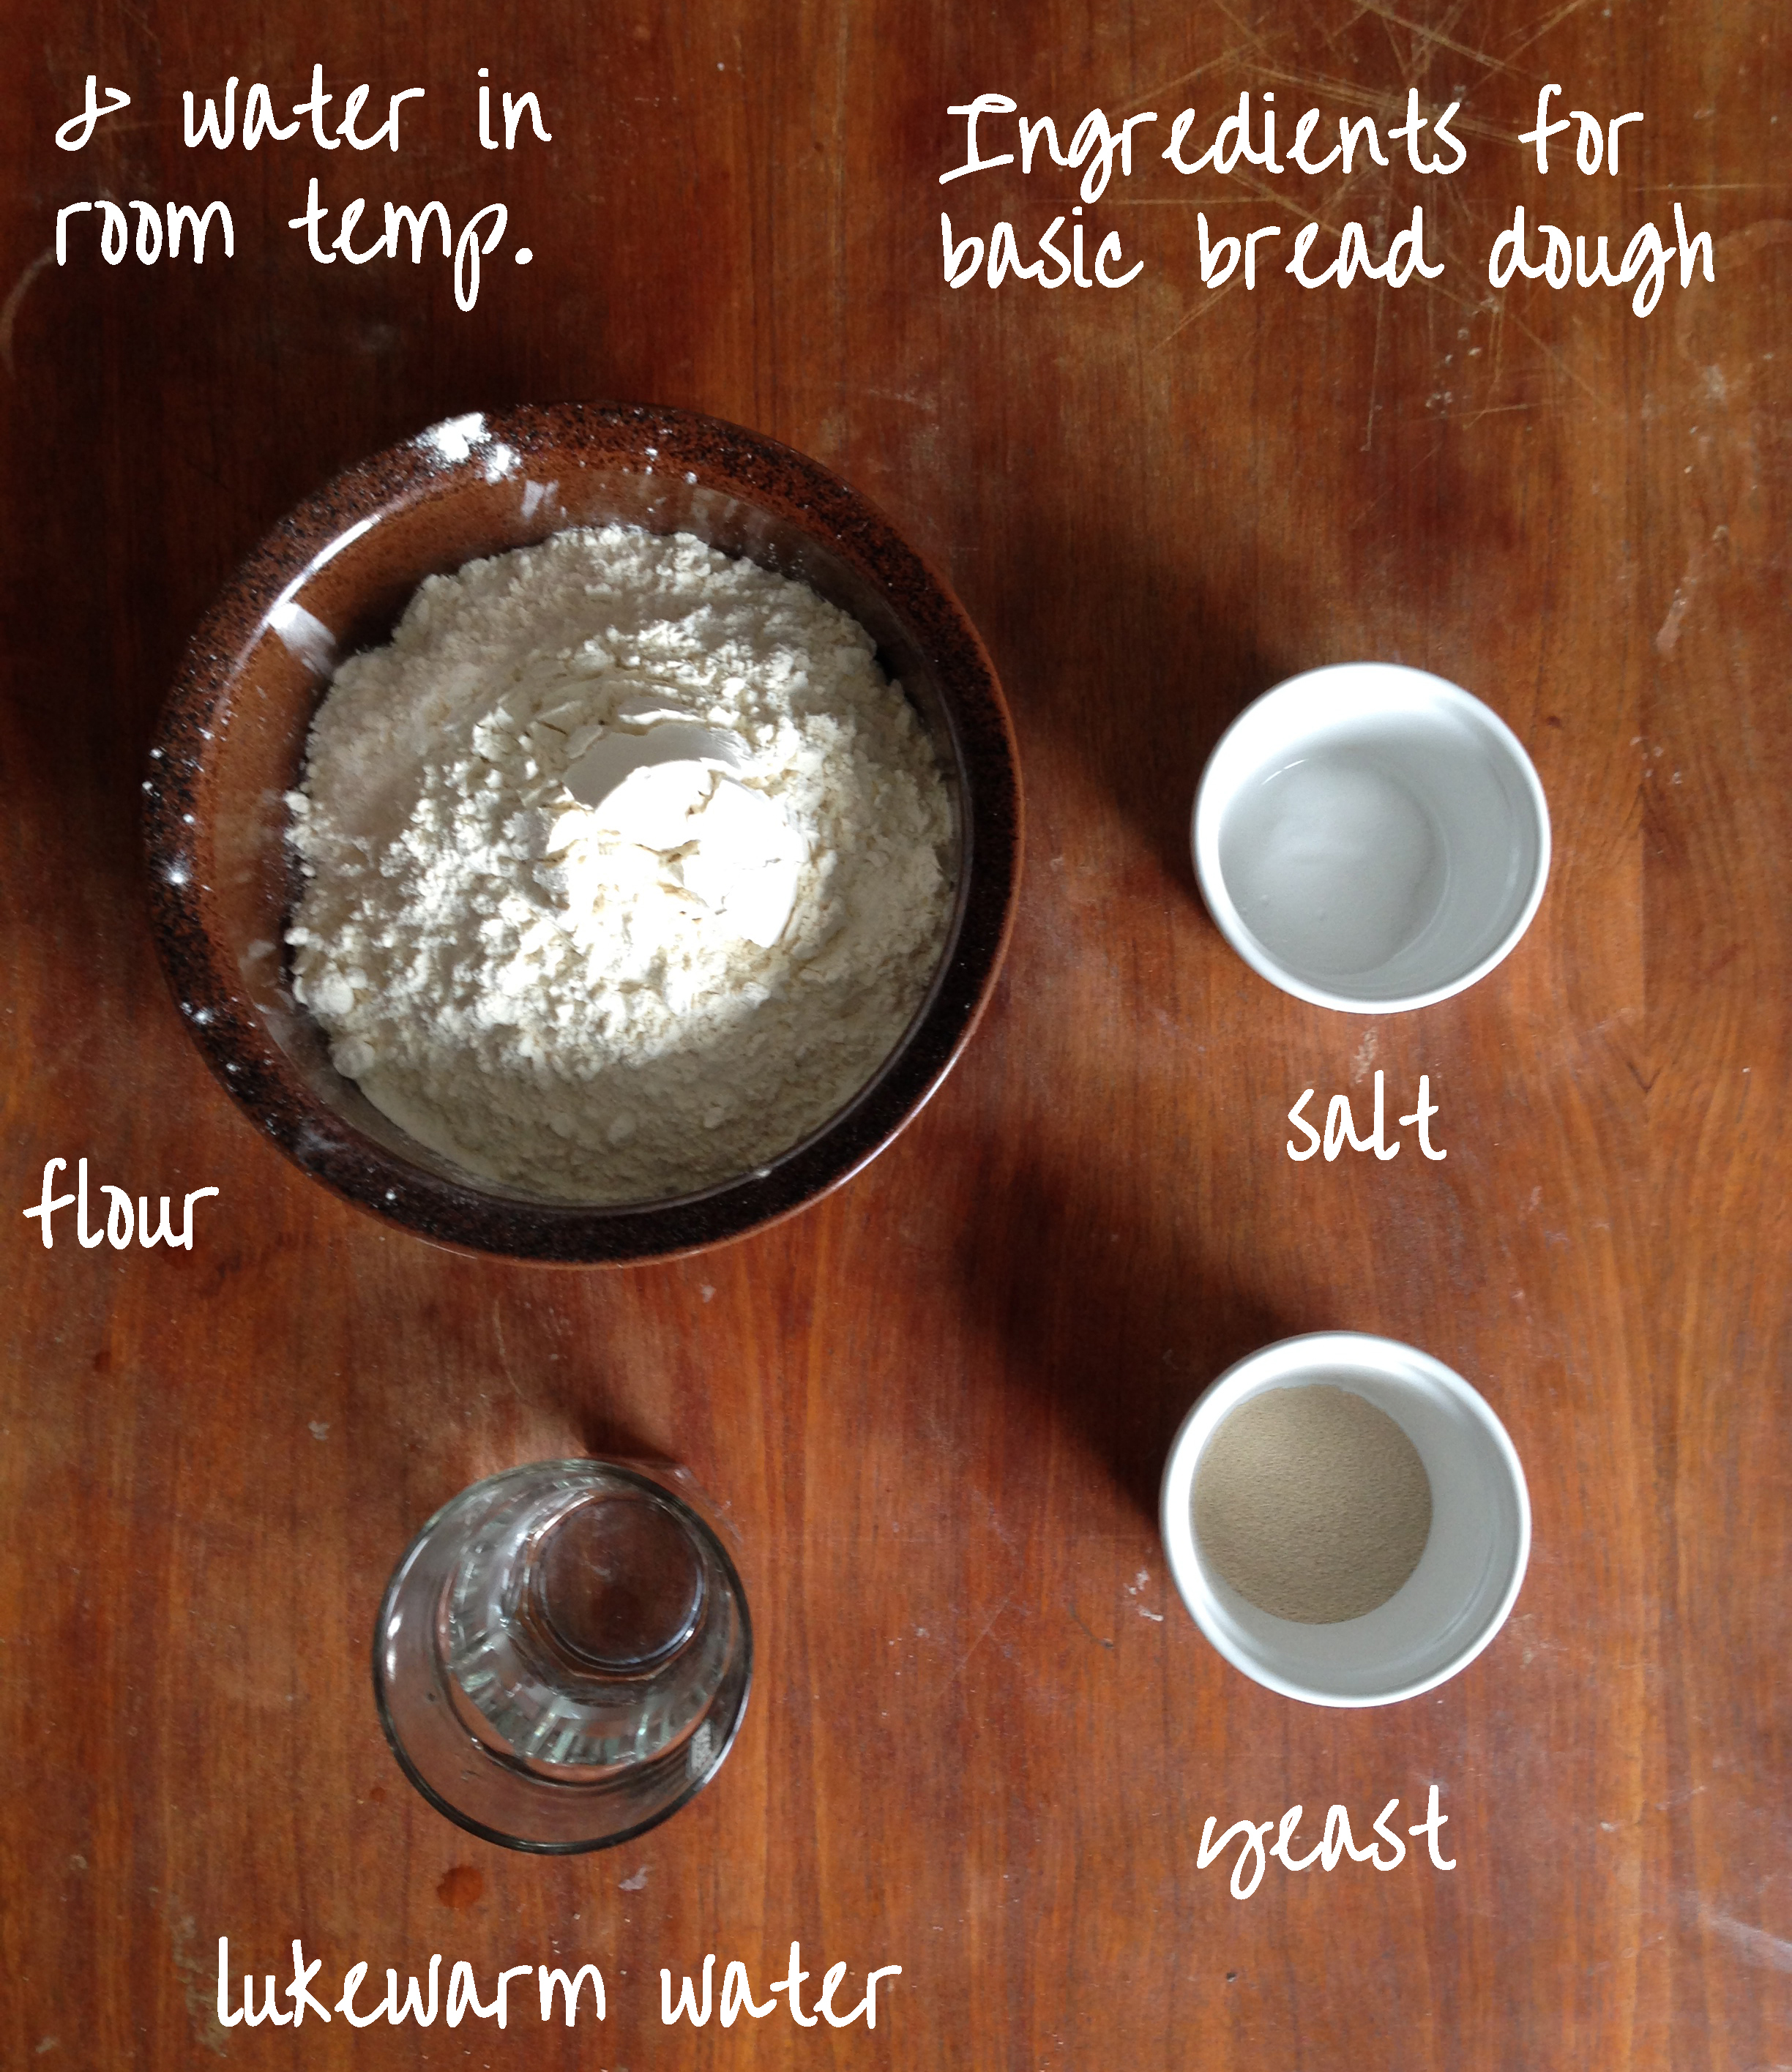
For the basic bread dough:
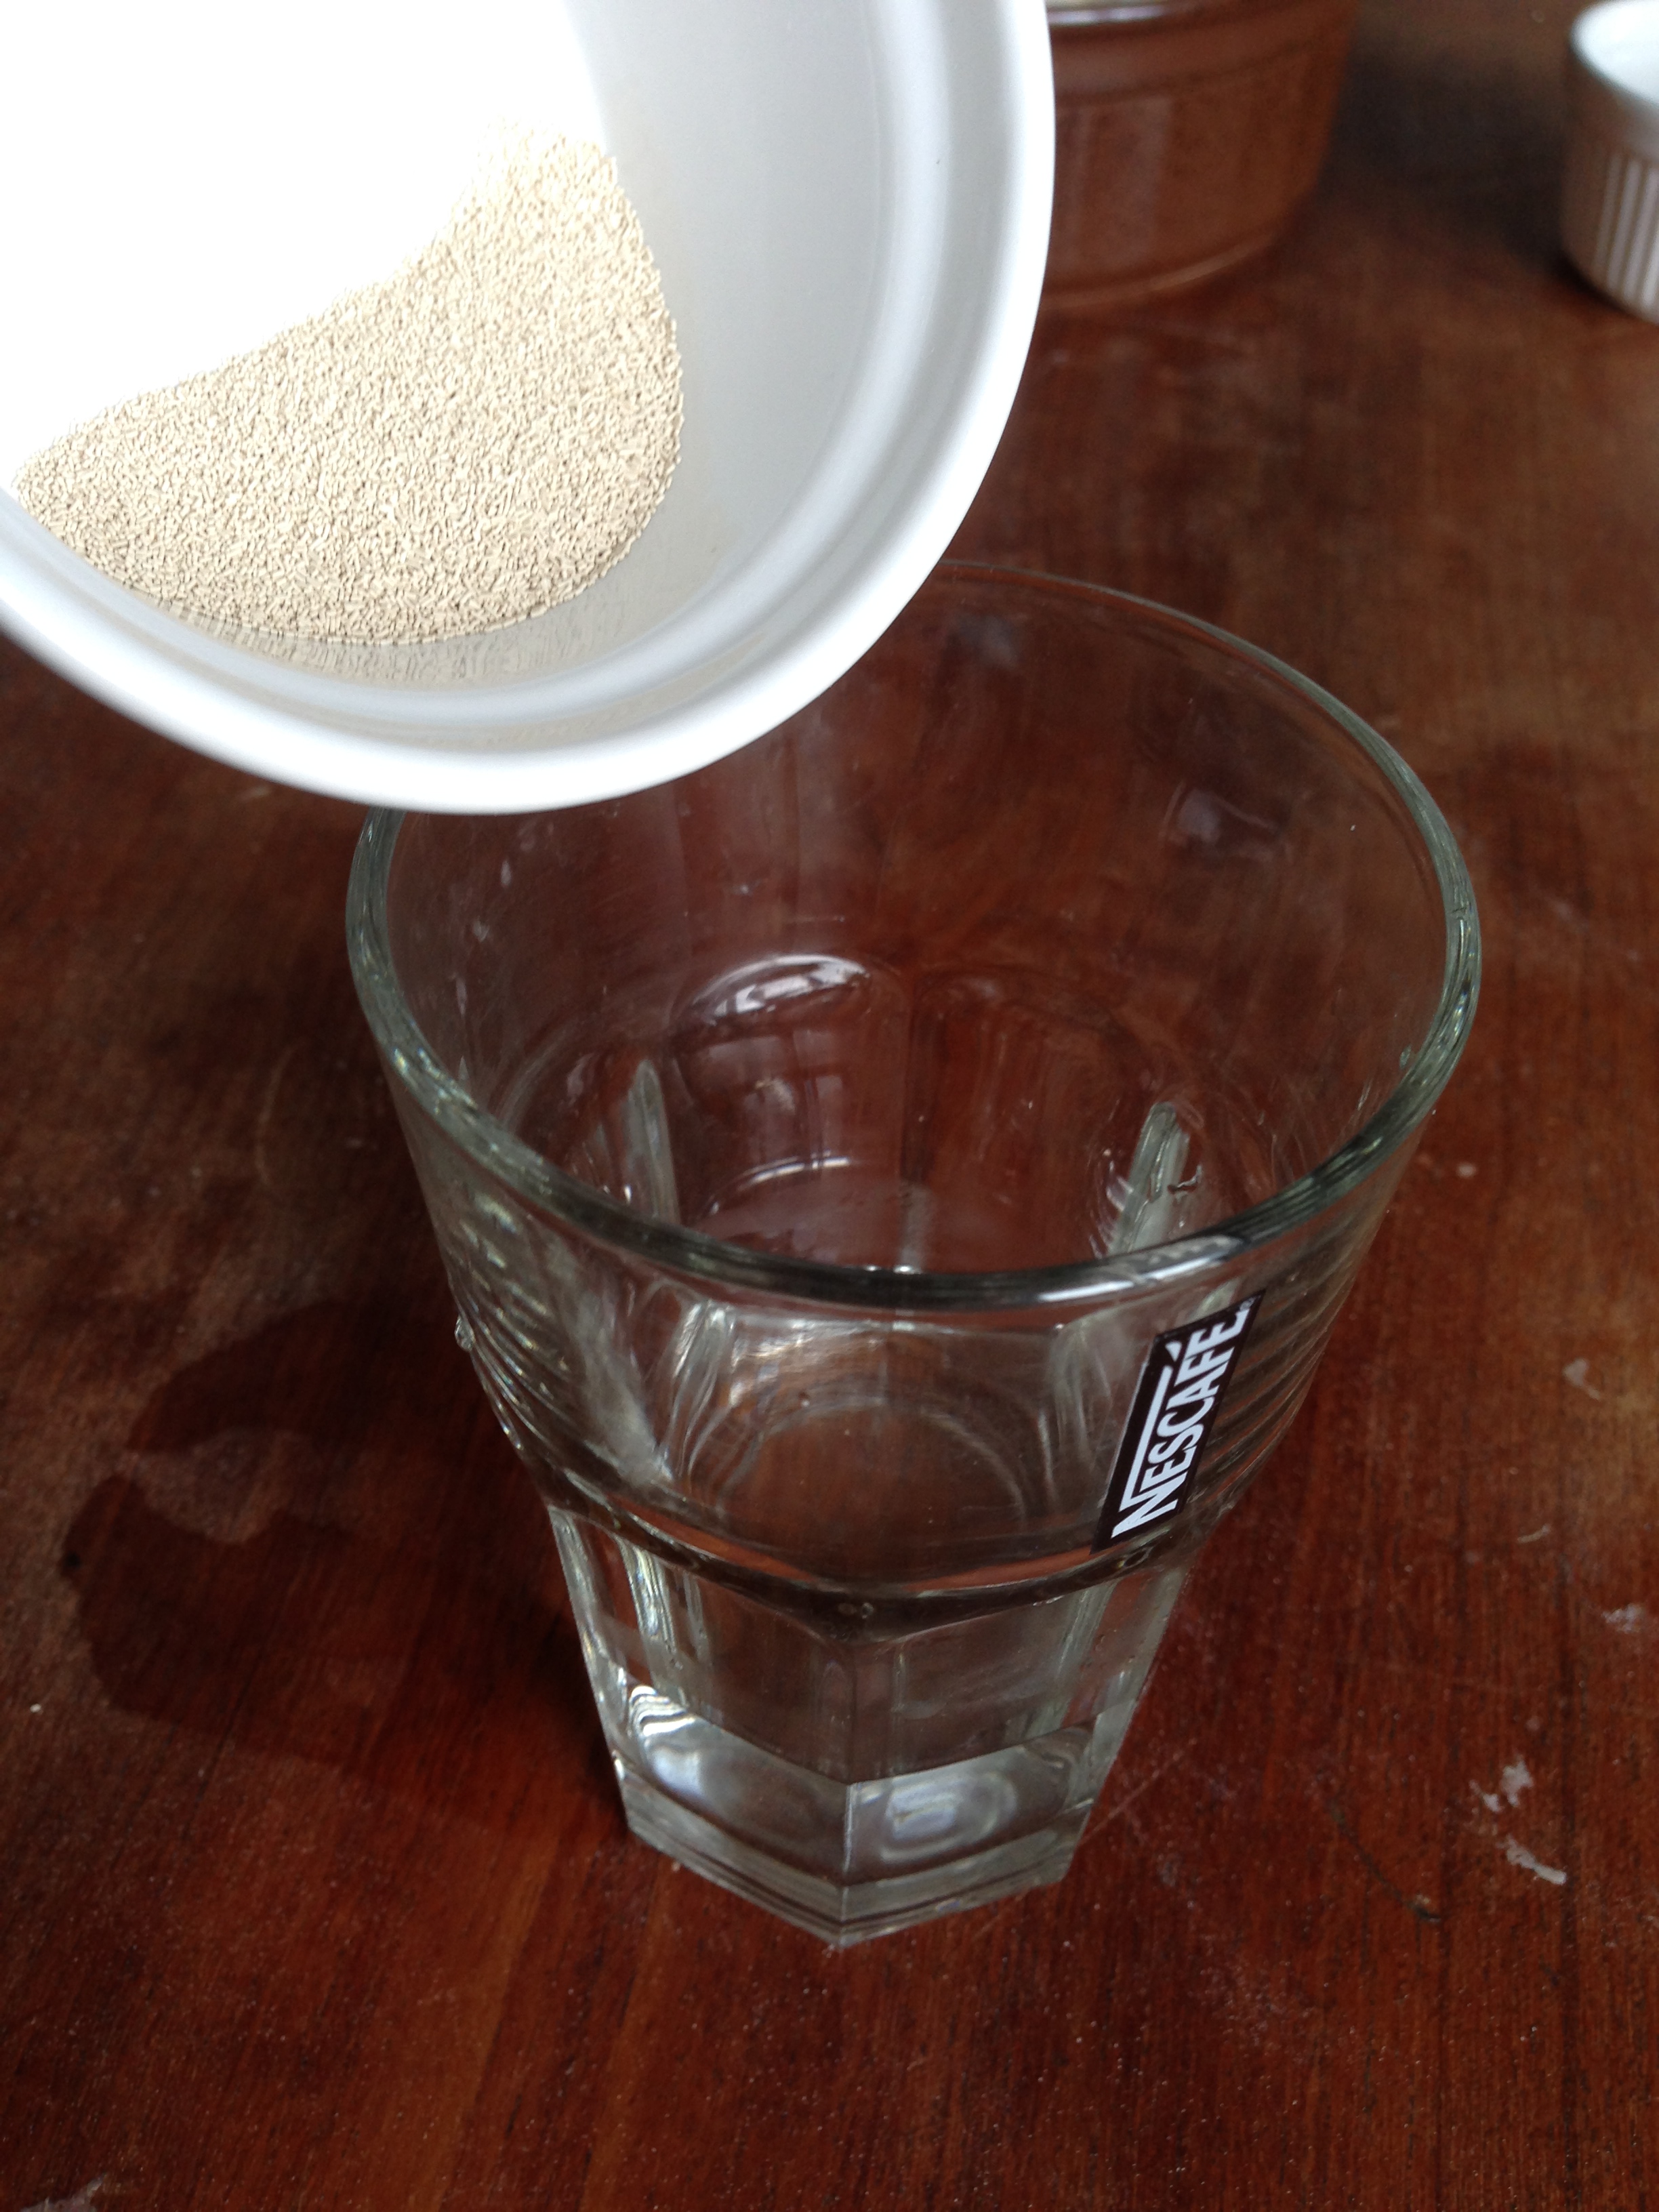
1/4 cup / 60 ml lukewarm water
2 tsp / 10 ml dry yeast
3 cups / 720 ml flour
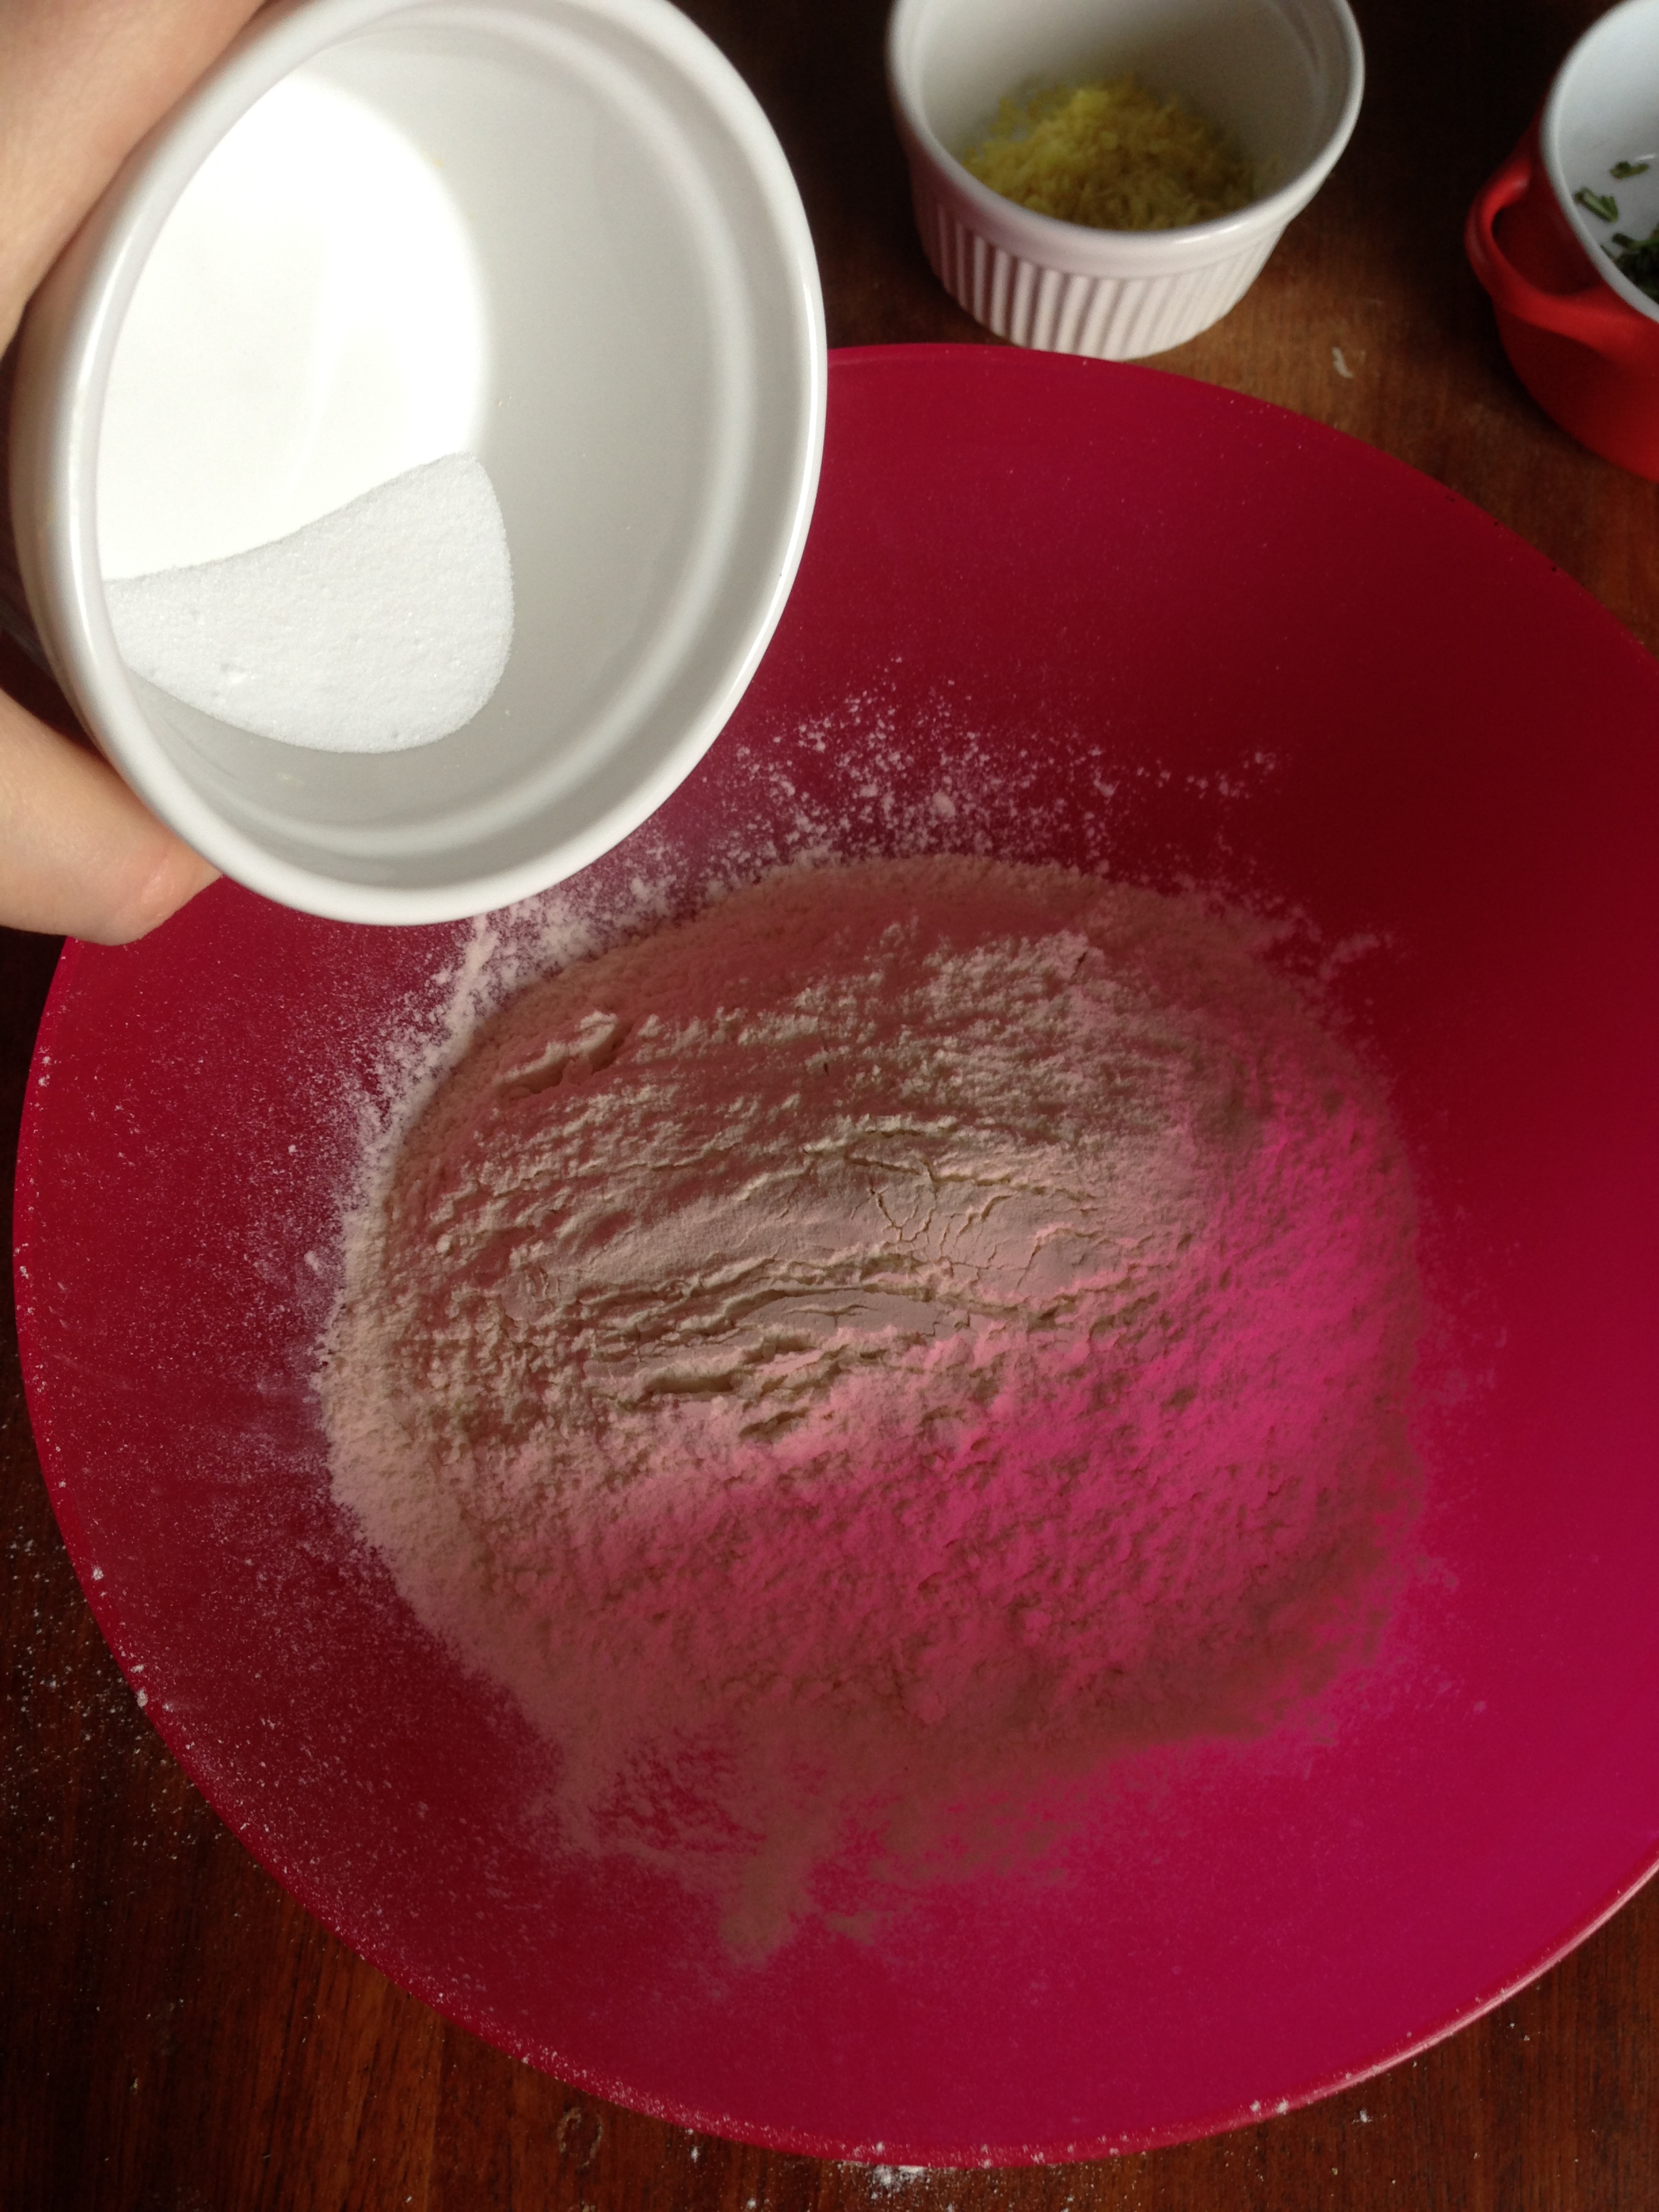
2 tsp / 10 ml salt
1 1/2 cups / 360 ml water (in room temperature)
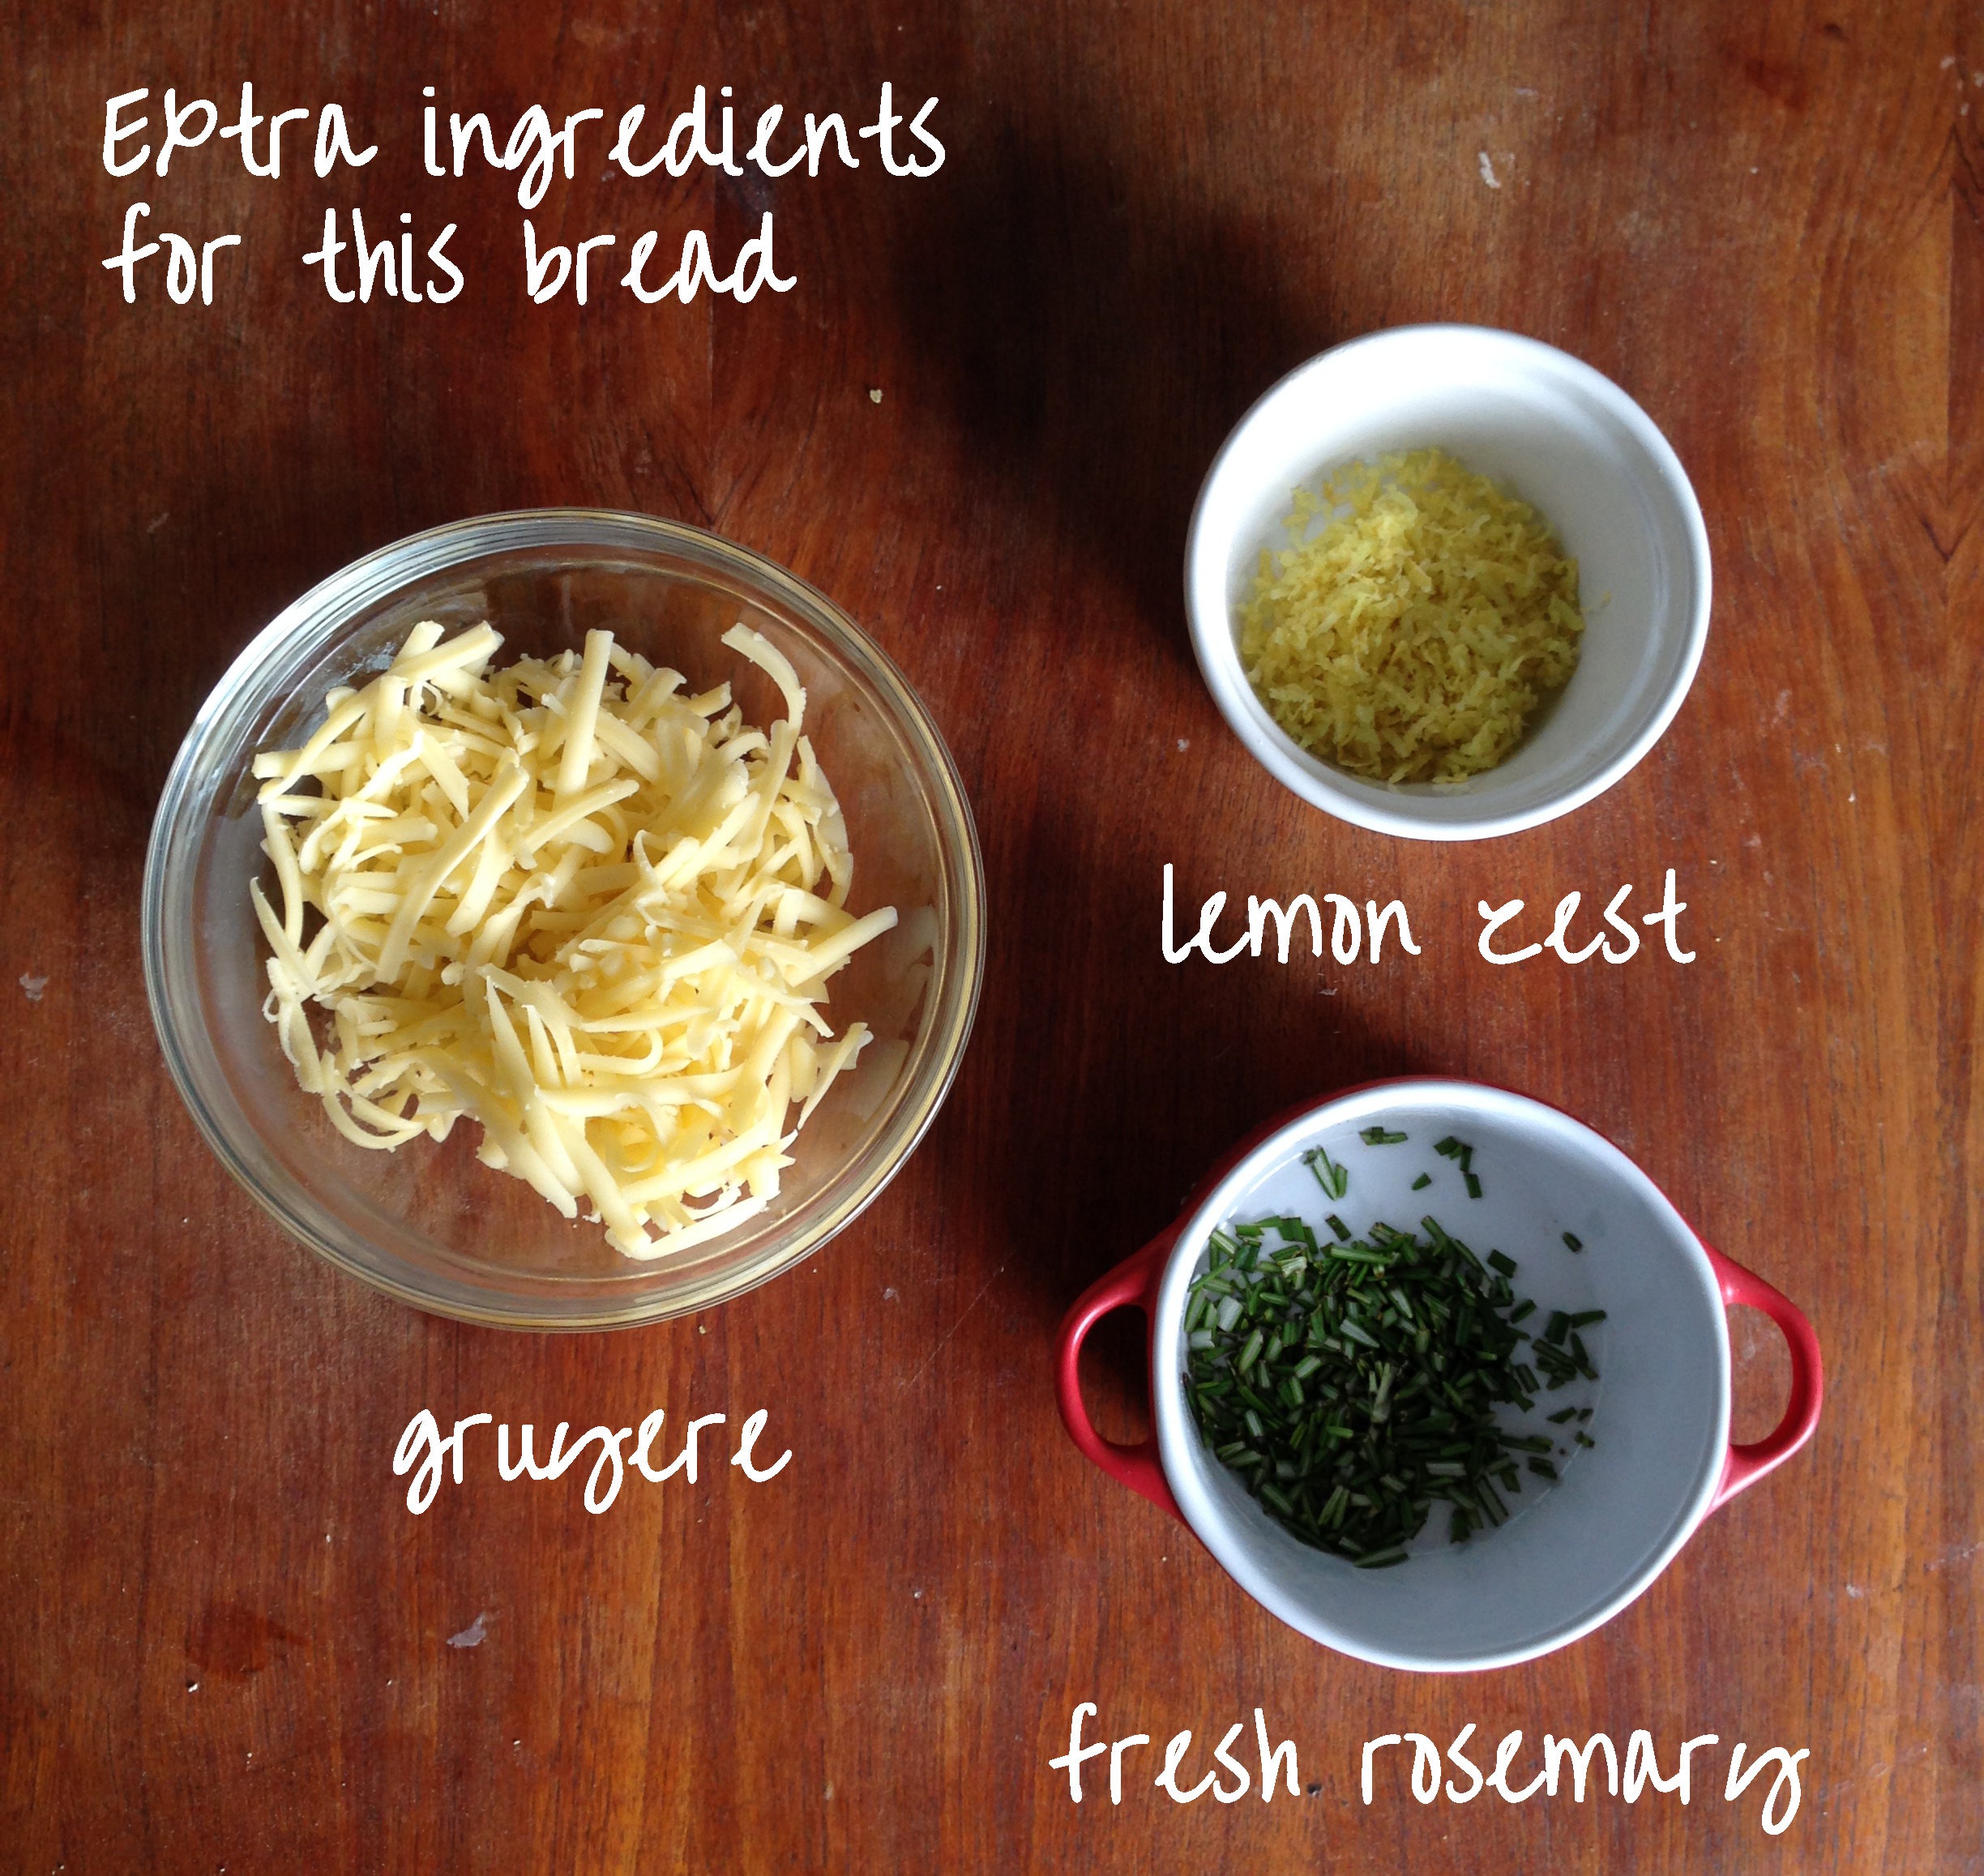
Extra flavours for this particular bread:
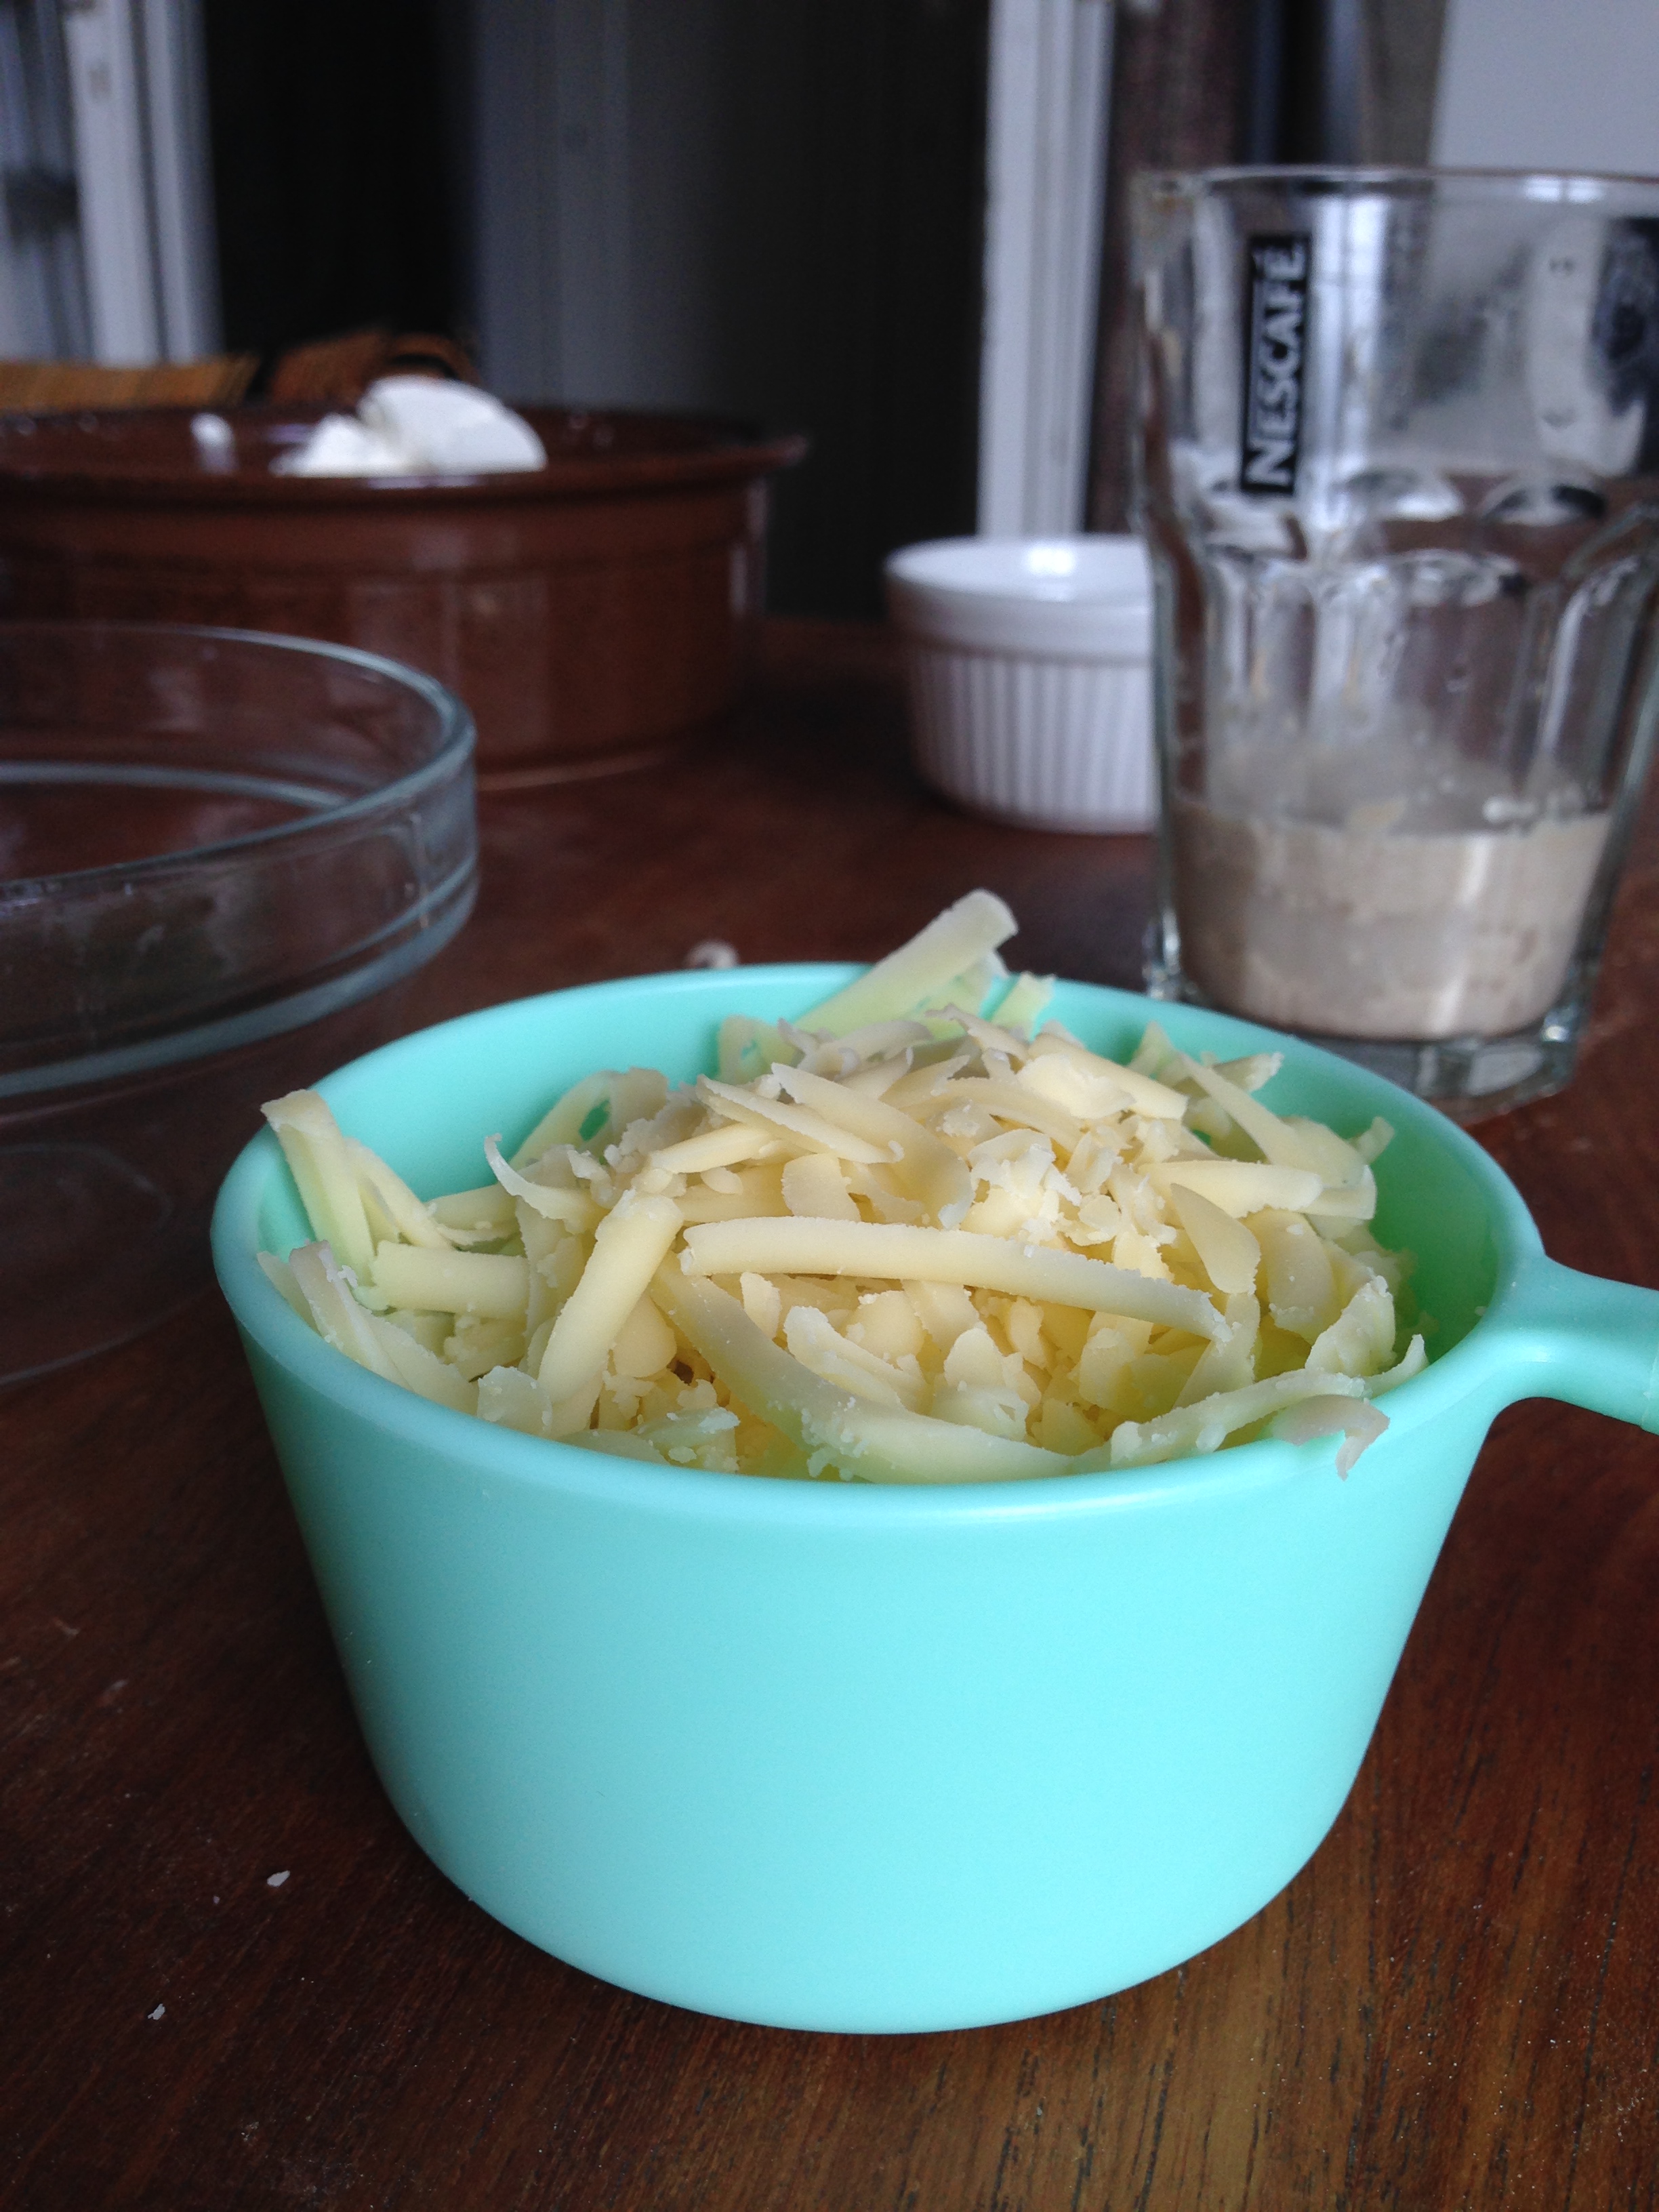
2 1/2 cups / 600 ml grated gruyere
1/4 cup / 60 ml chopped fresh rosemary
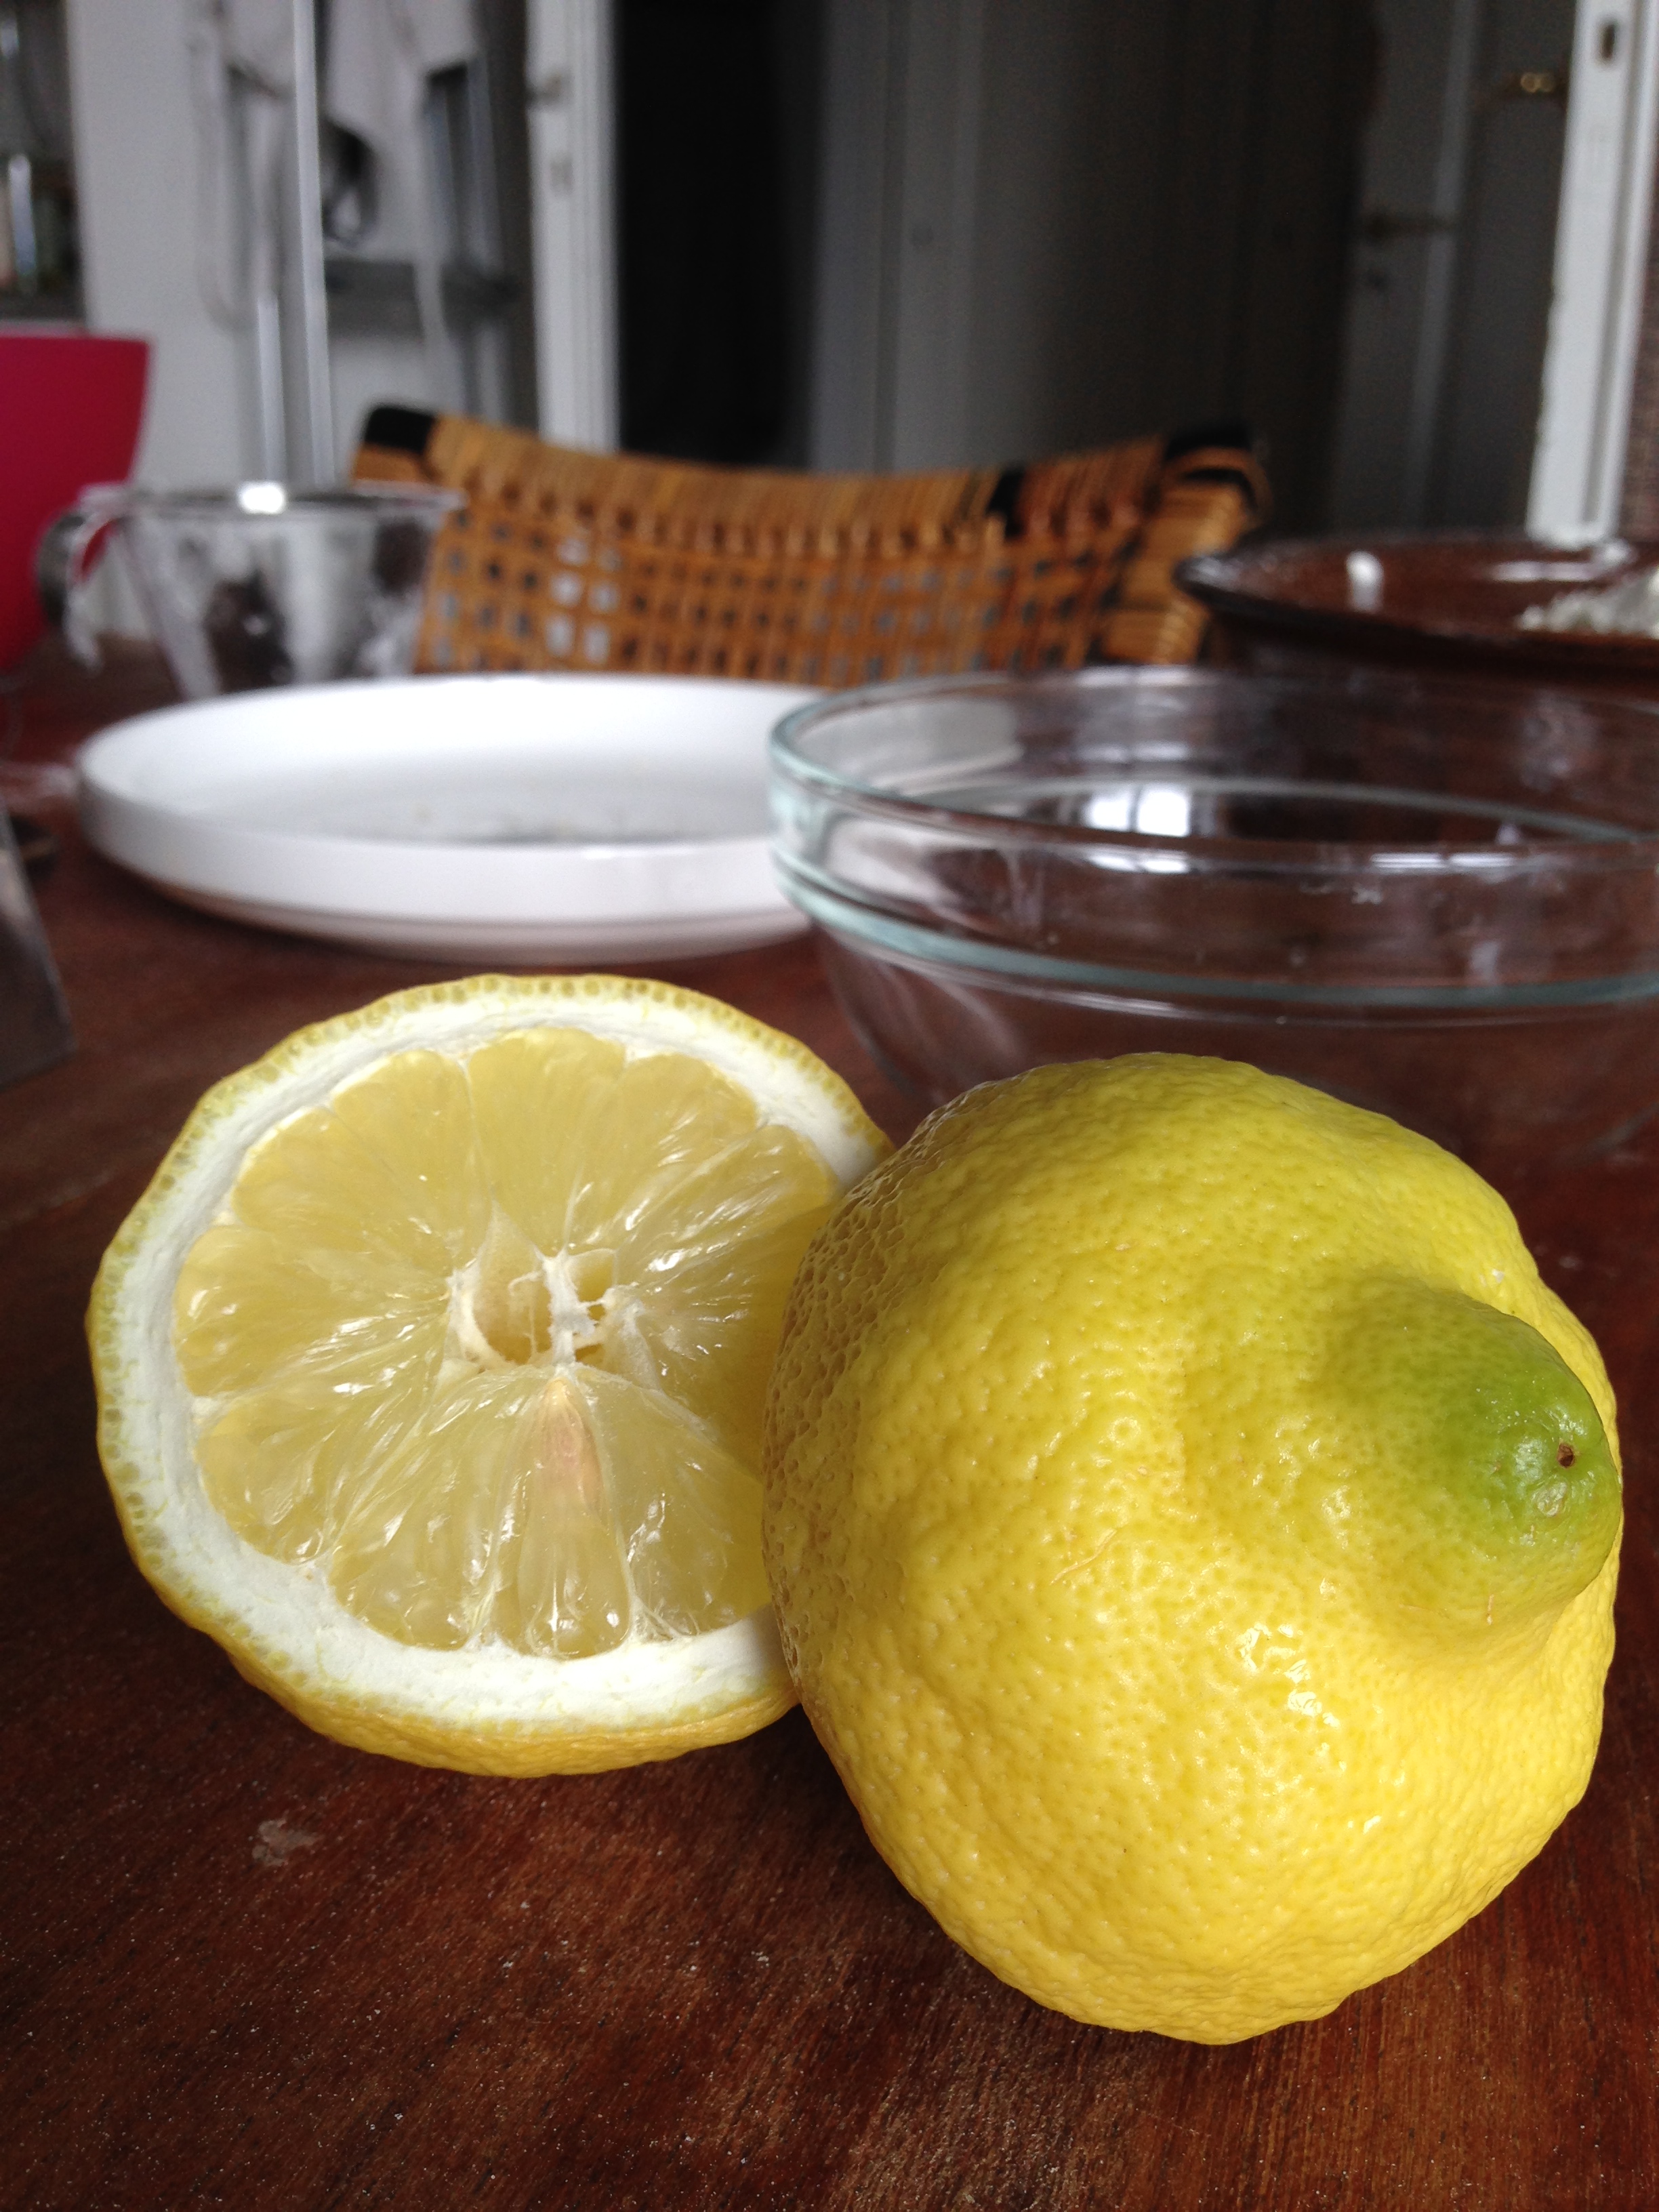
Zest of one lemon
Soundtrack: Yann Tiersen – Amelie Soundtrack
—
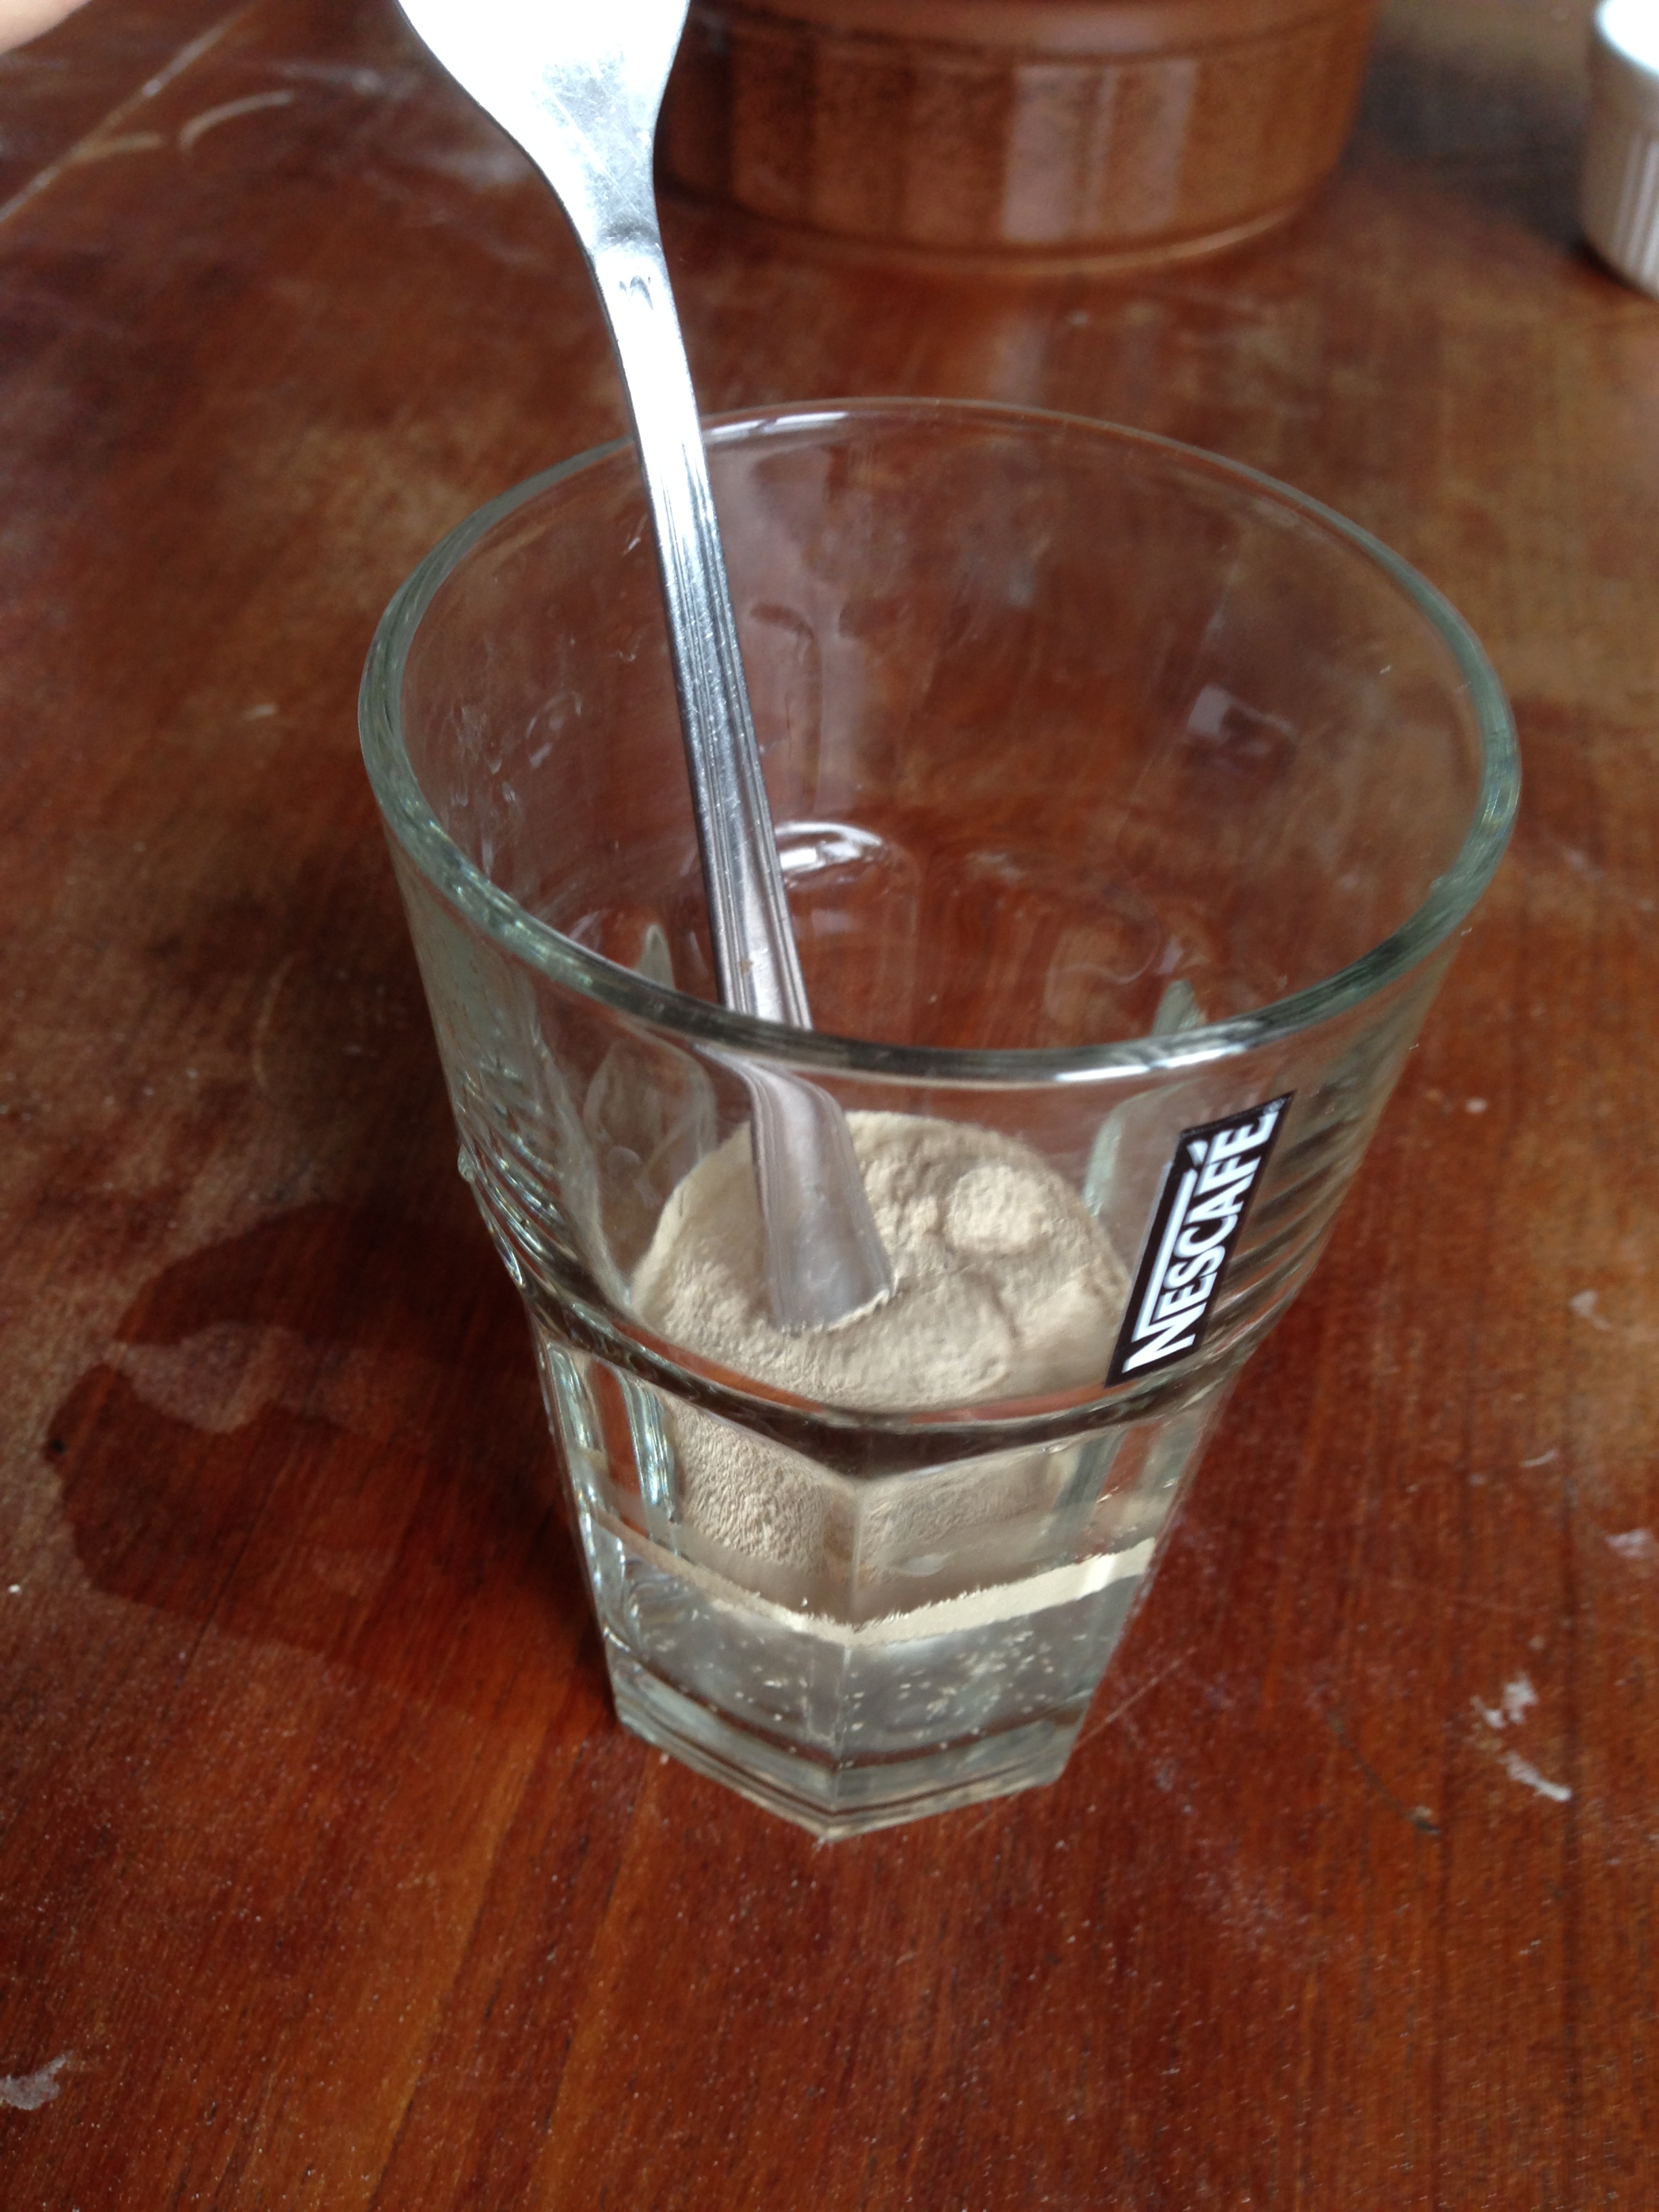
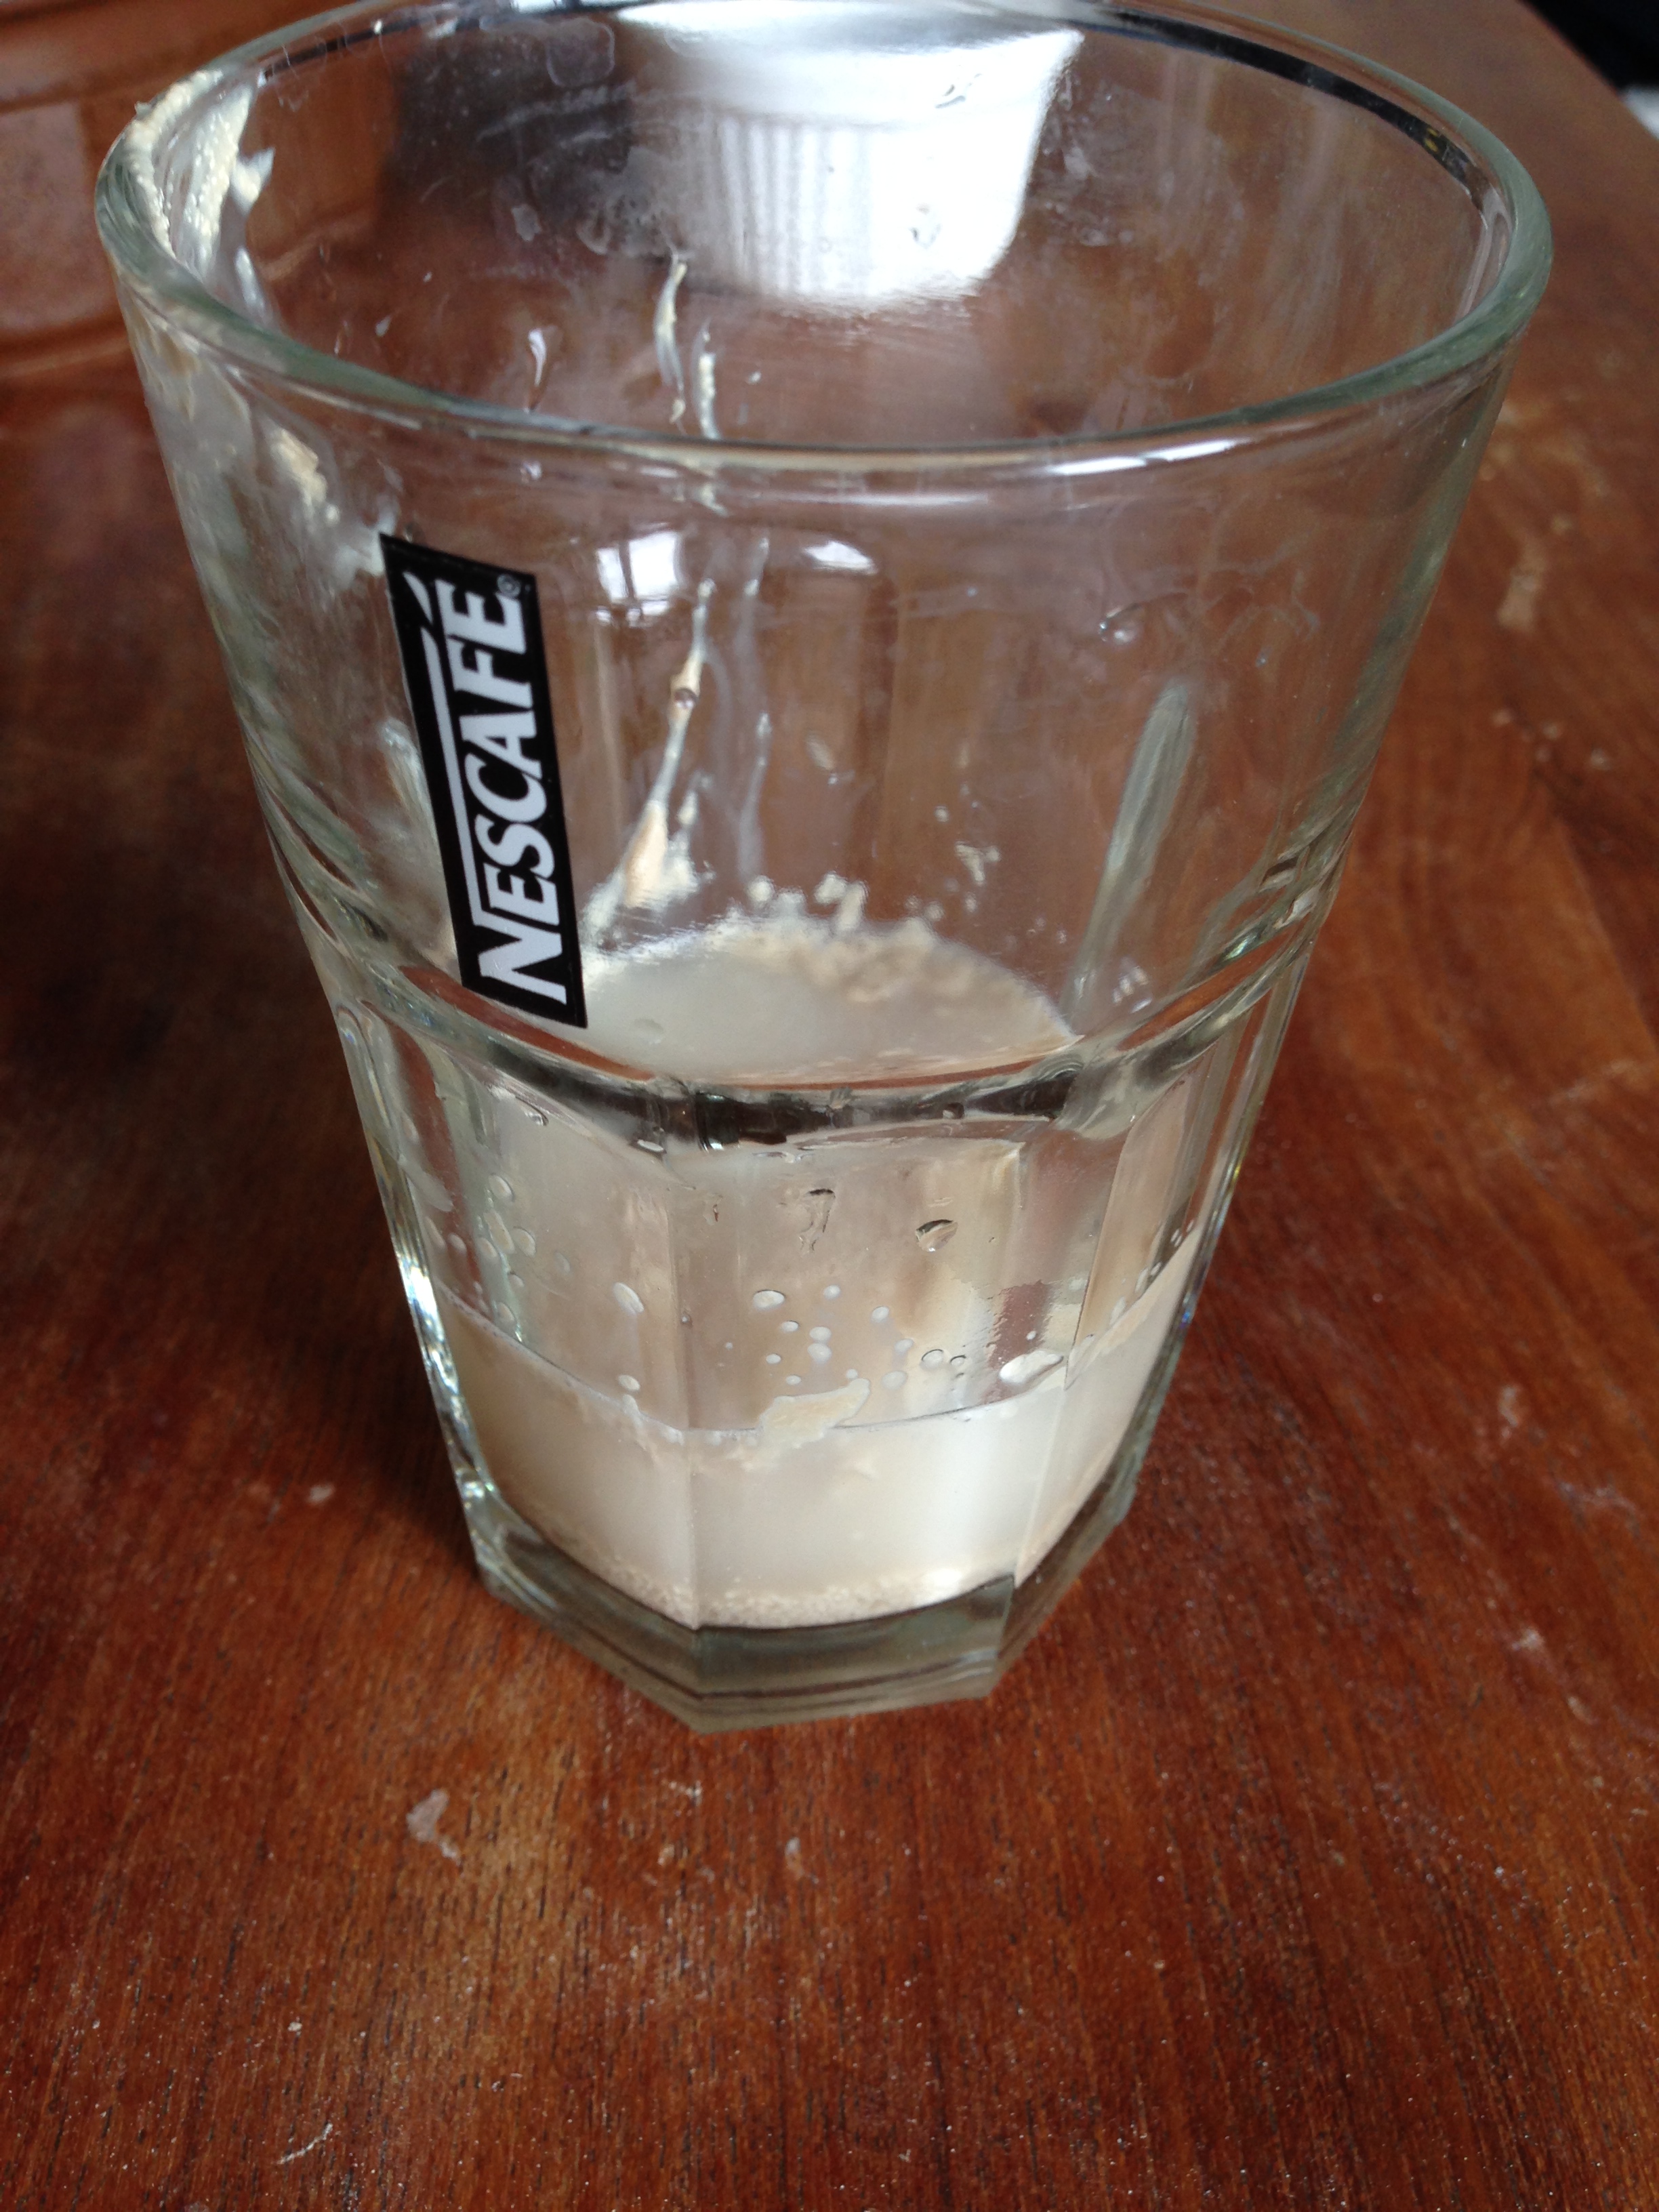
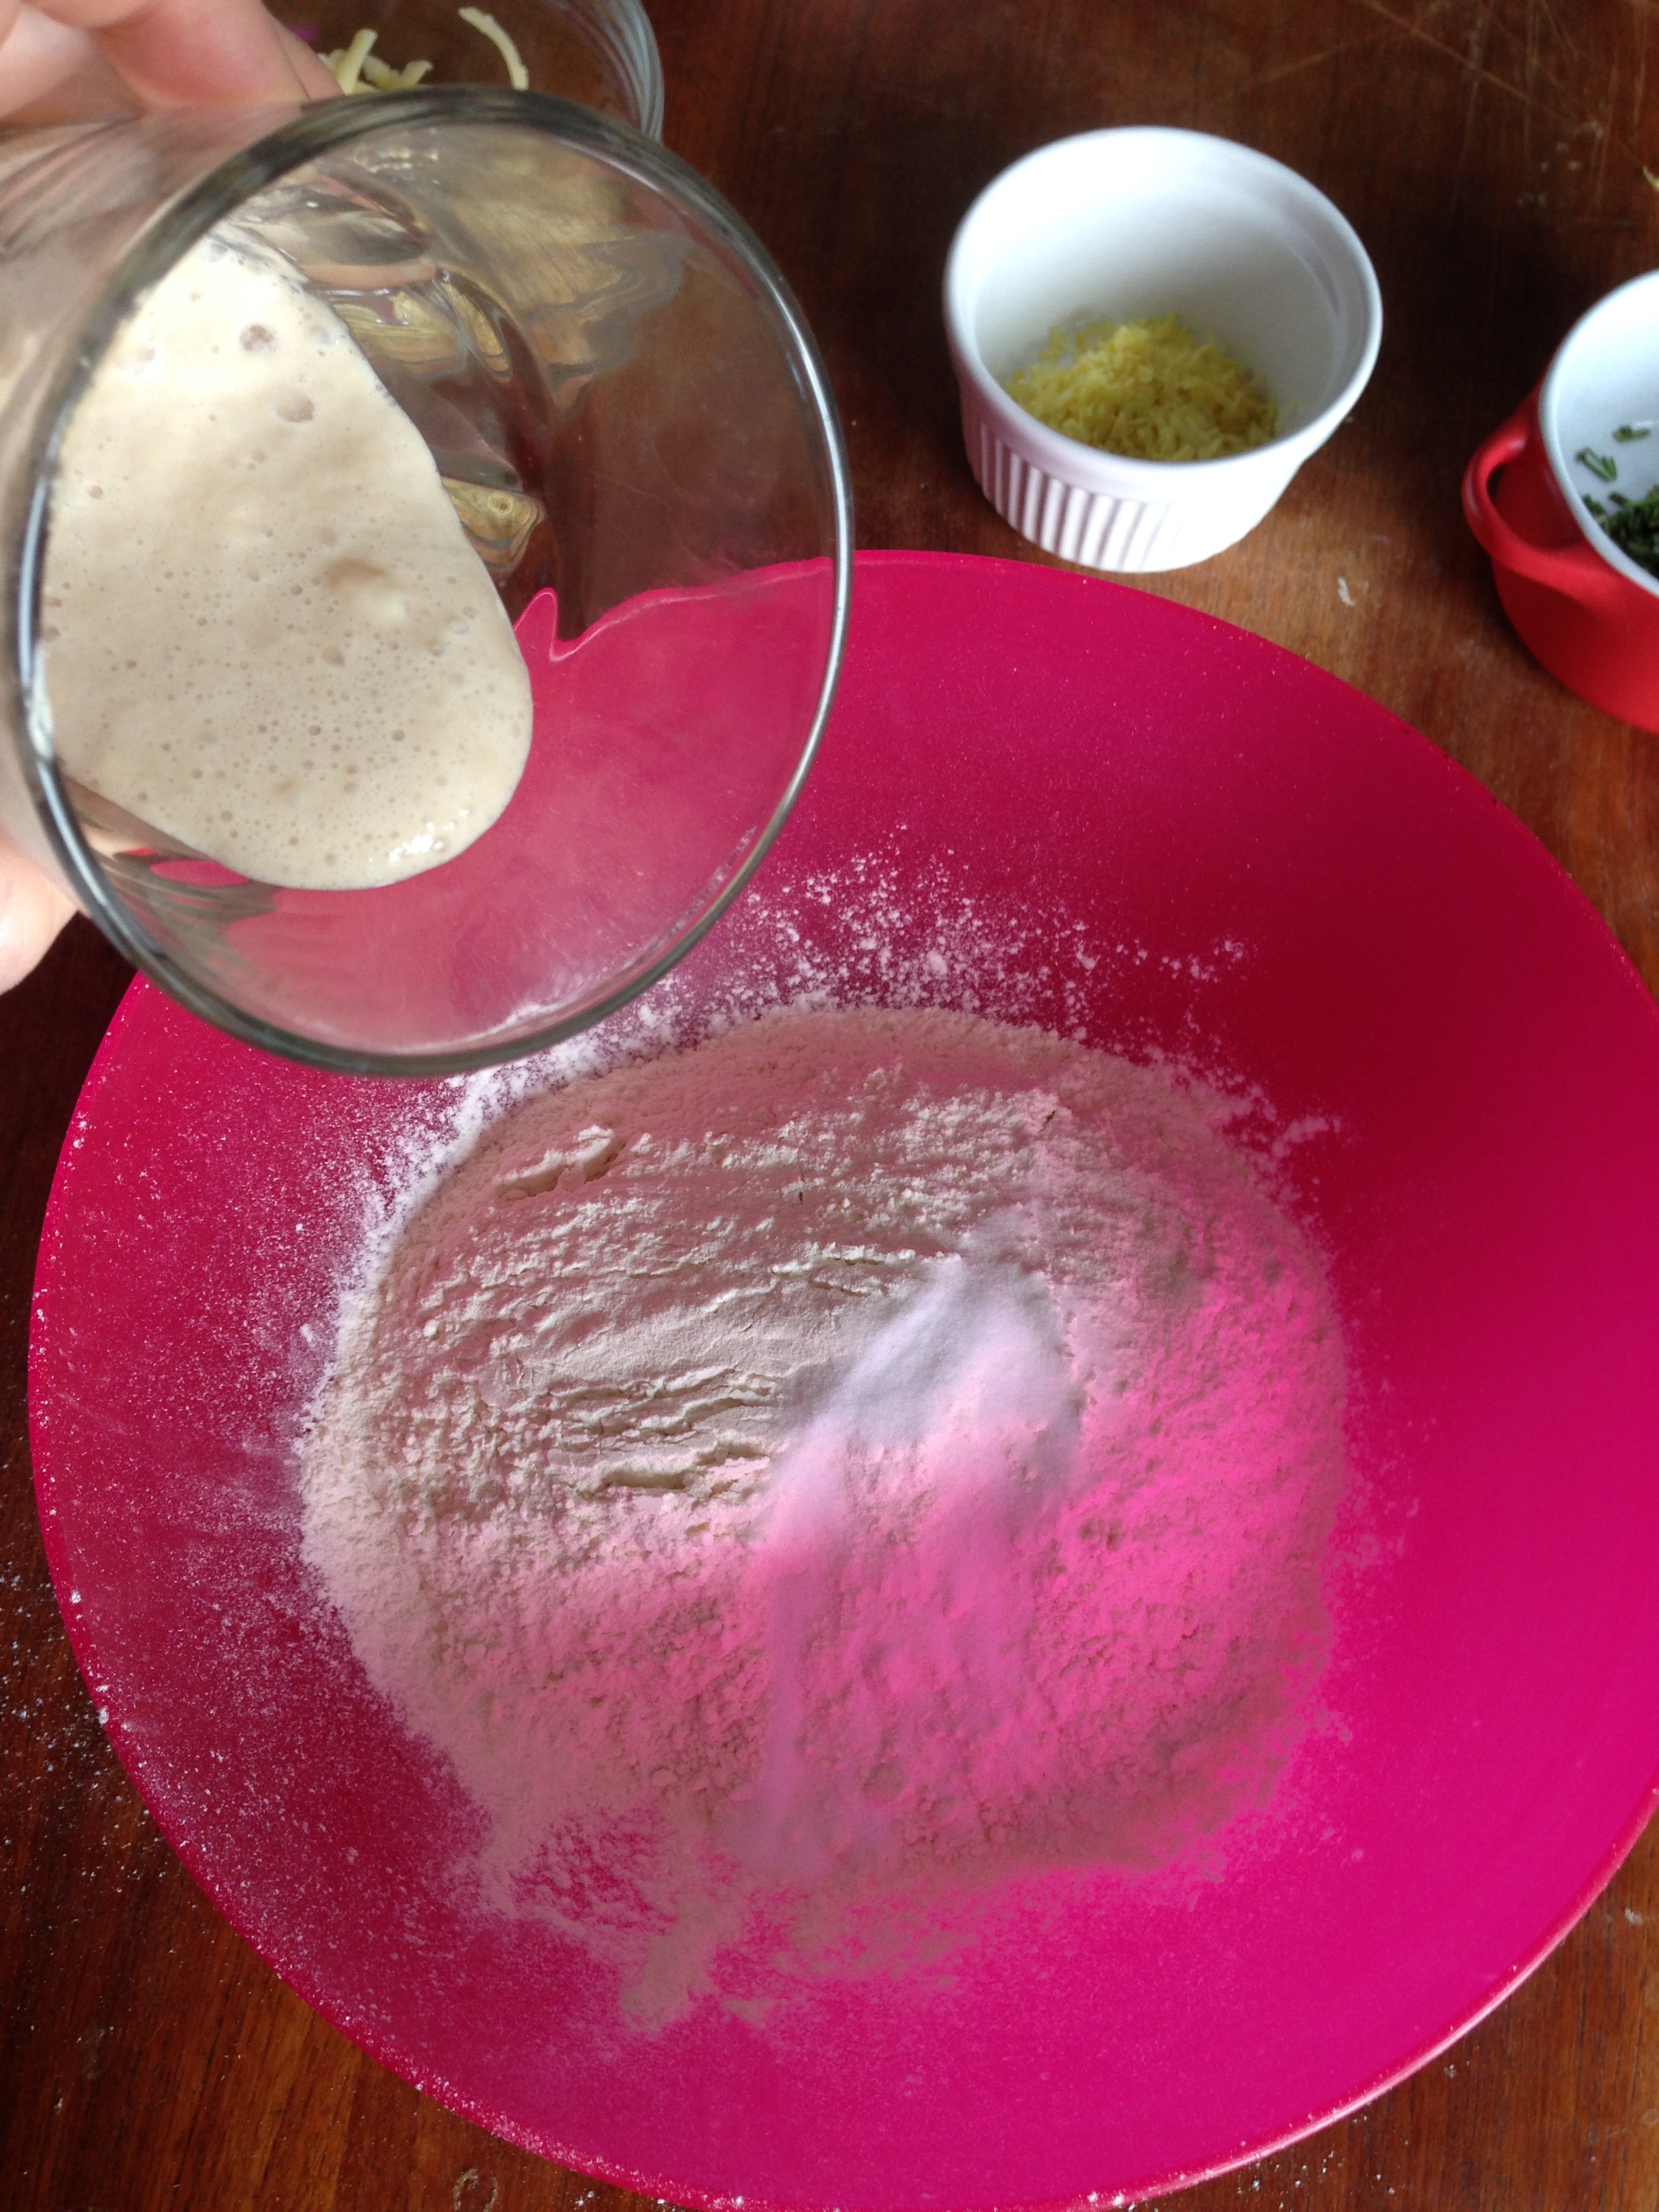
1. Pour the yeast inside lukewarm water. Stir a bit and leave it for 15 minutes so that the yeast activates.
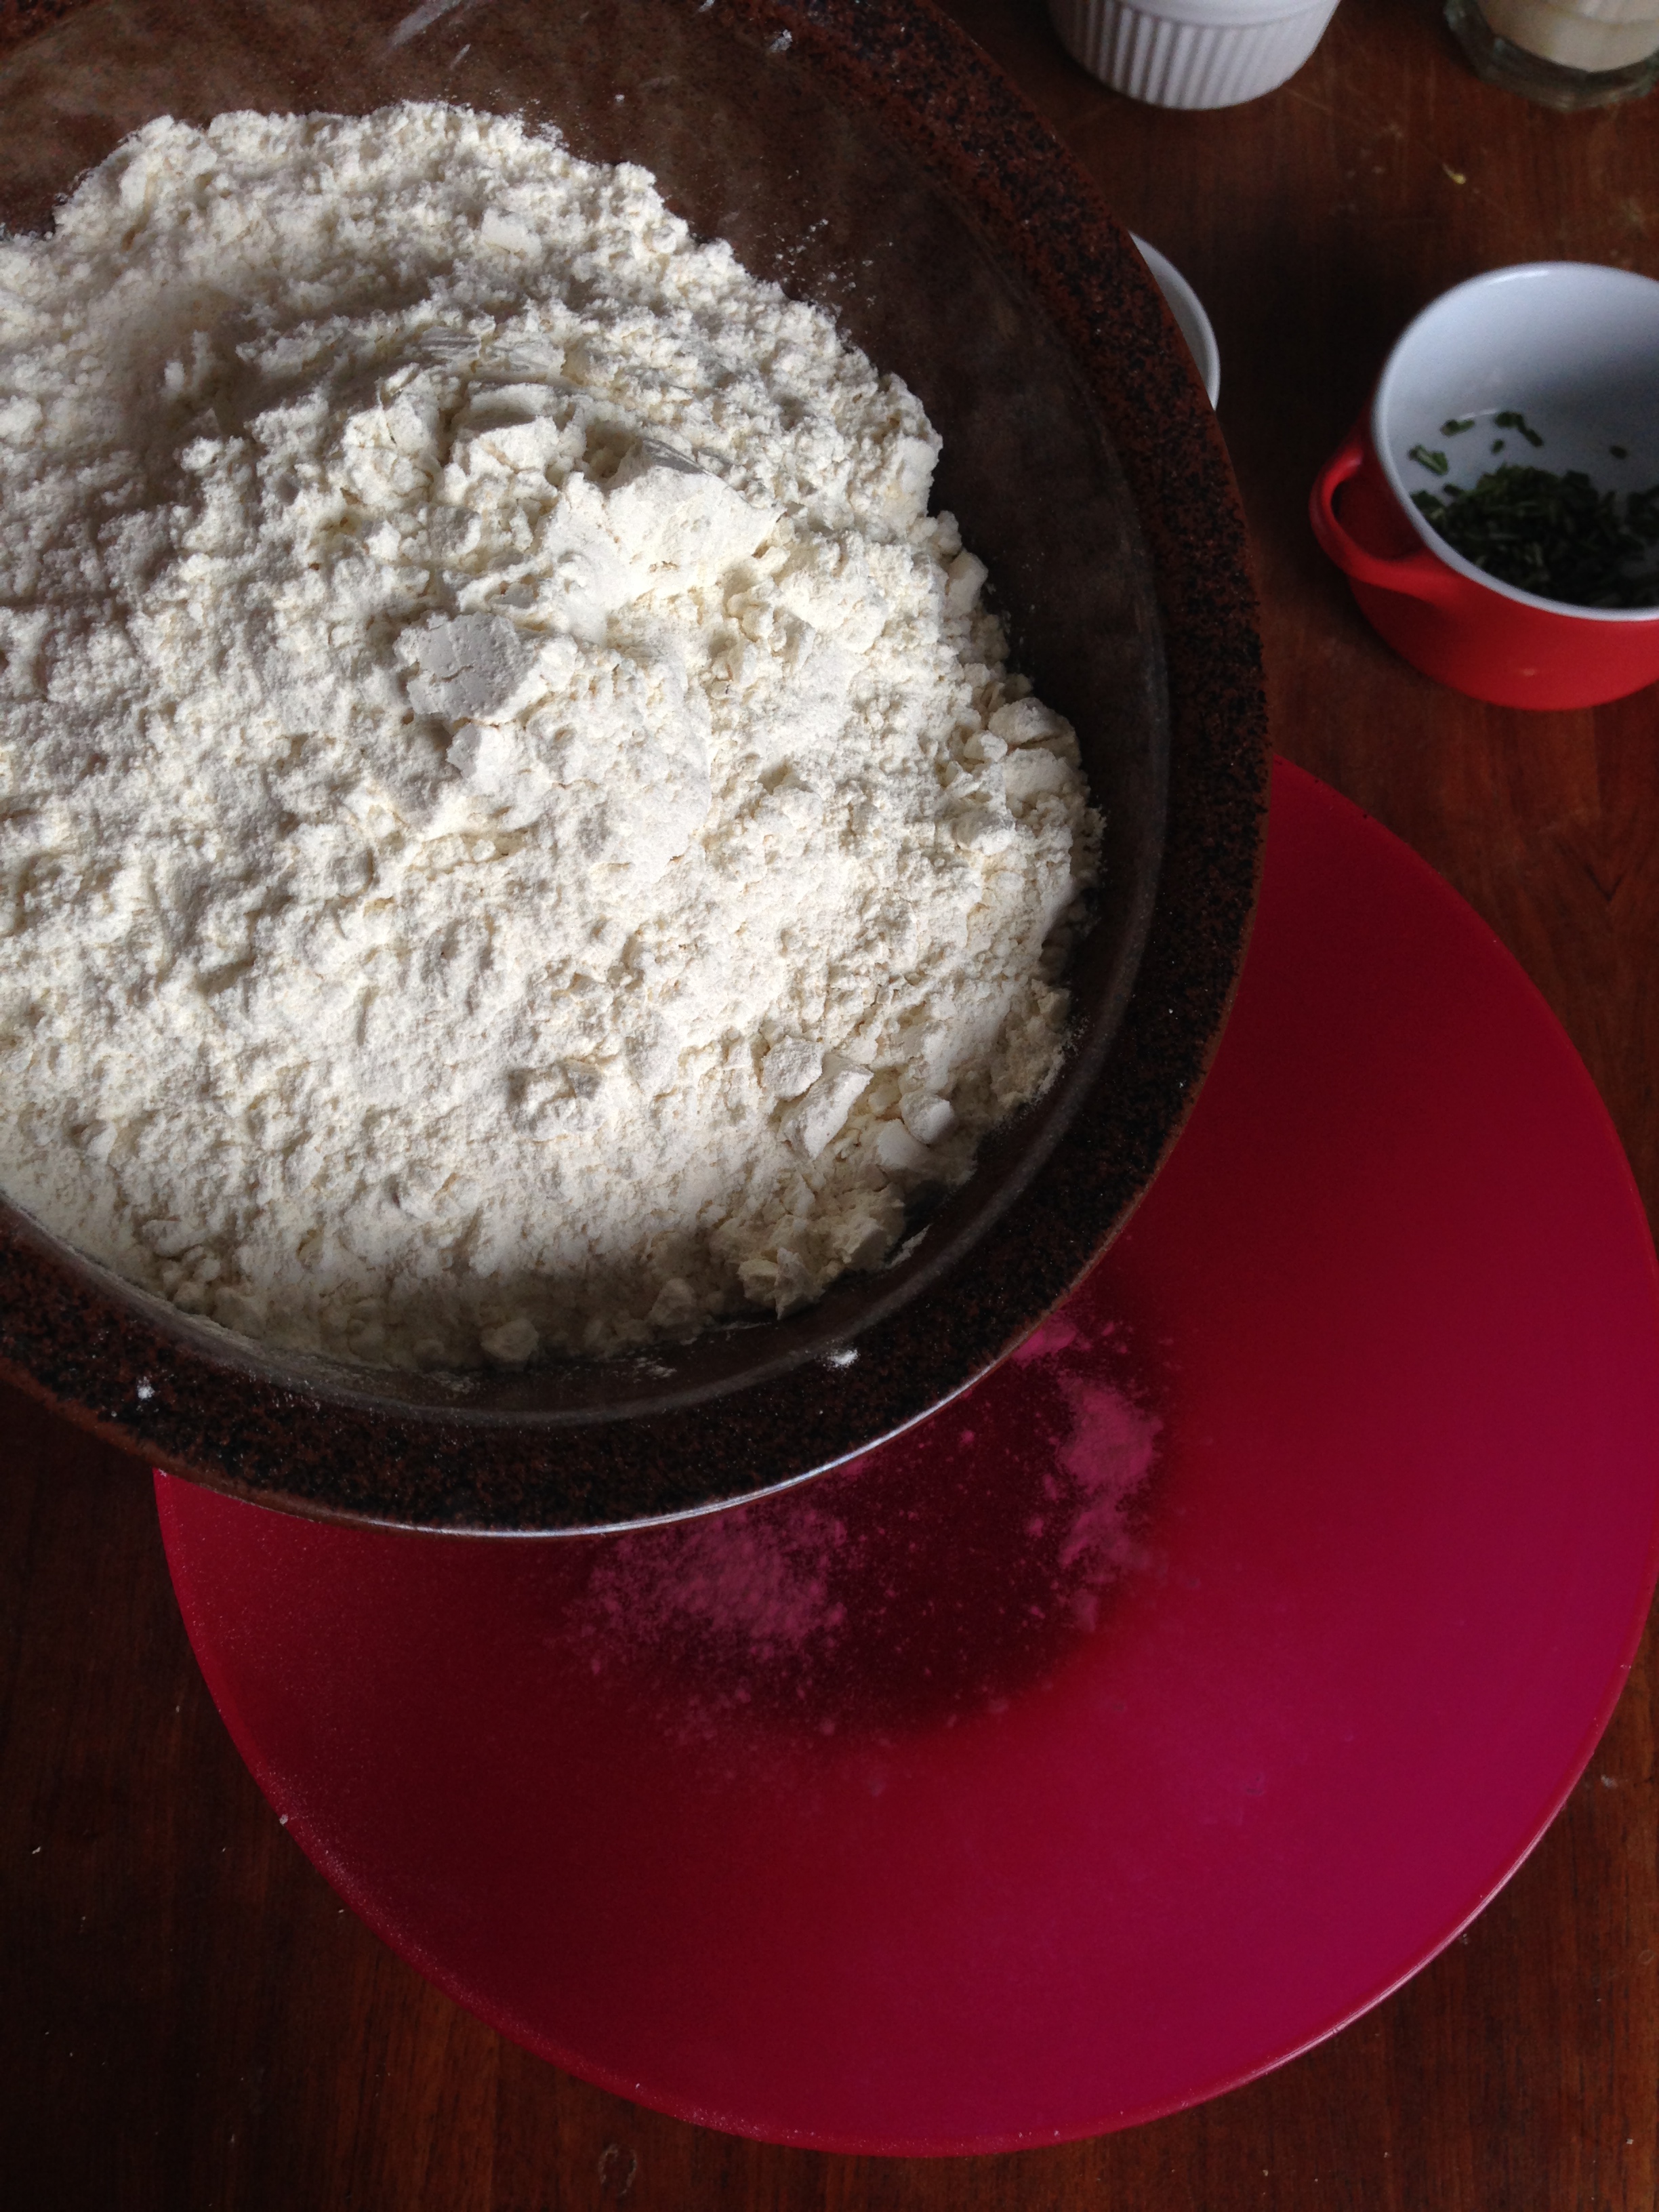
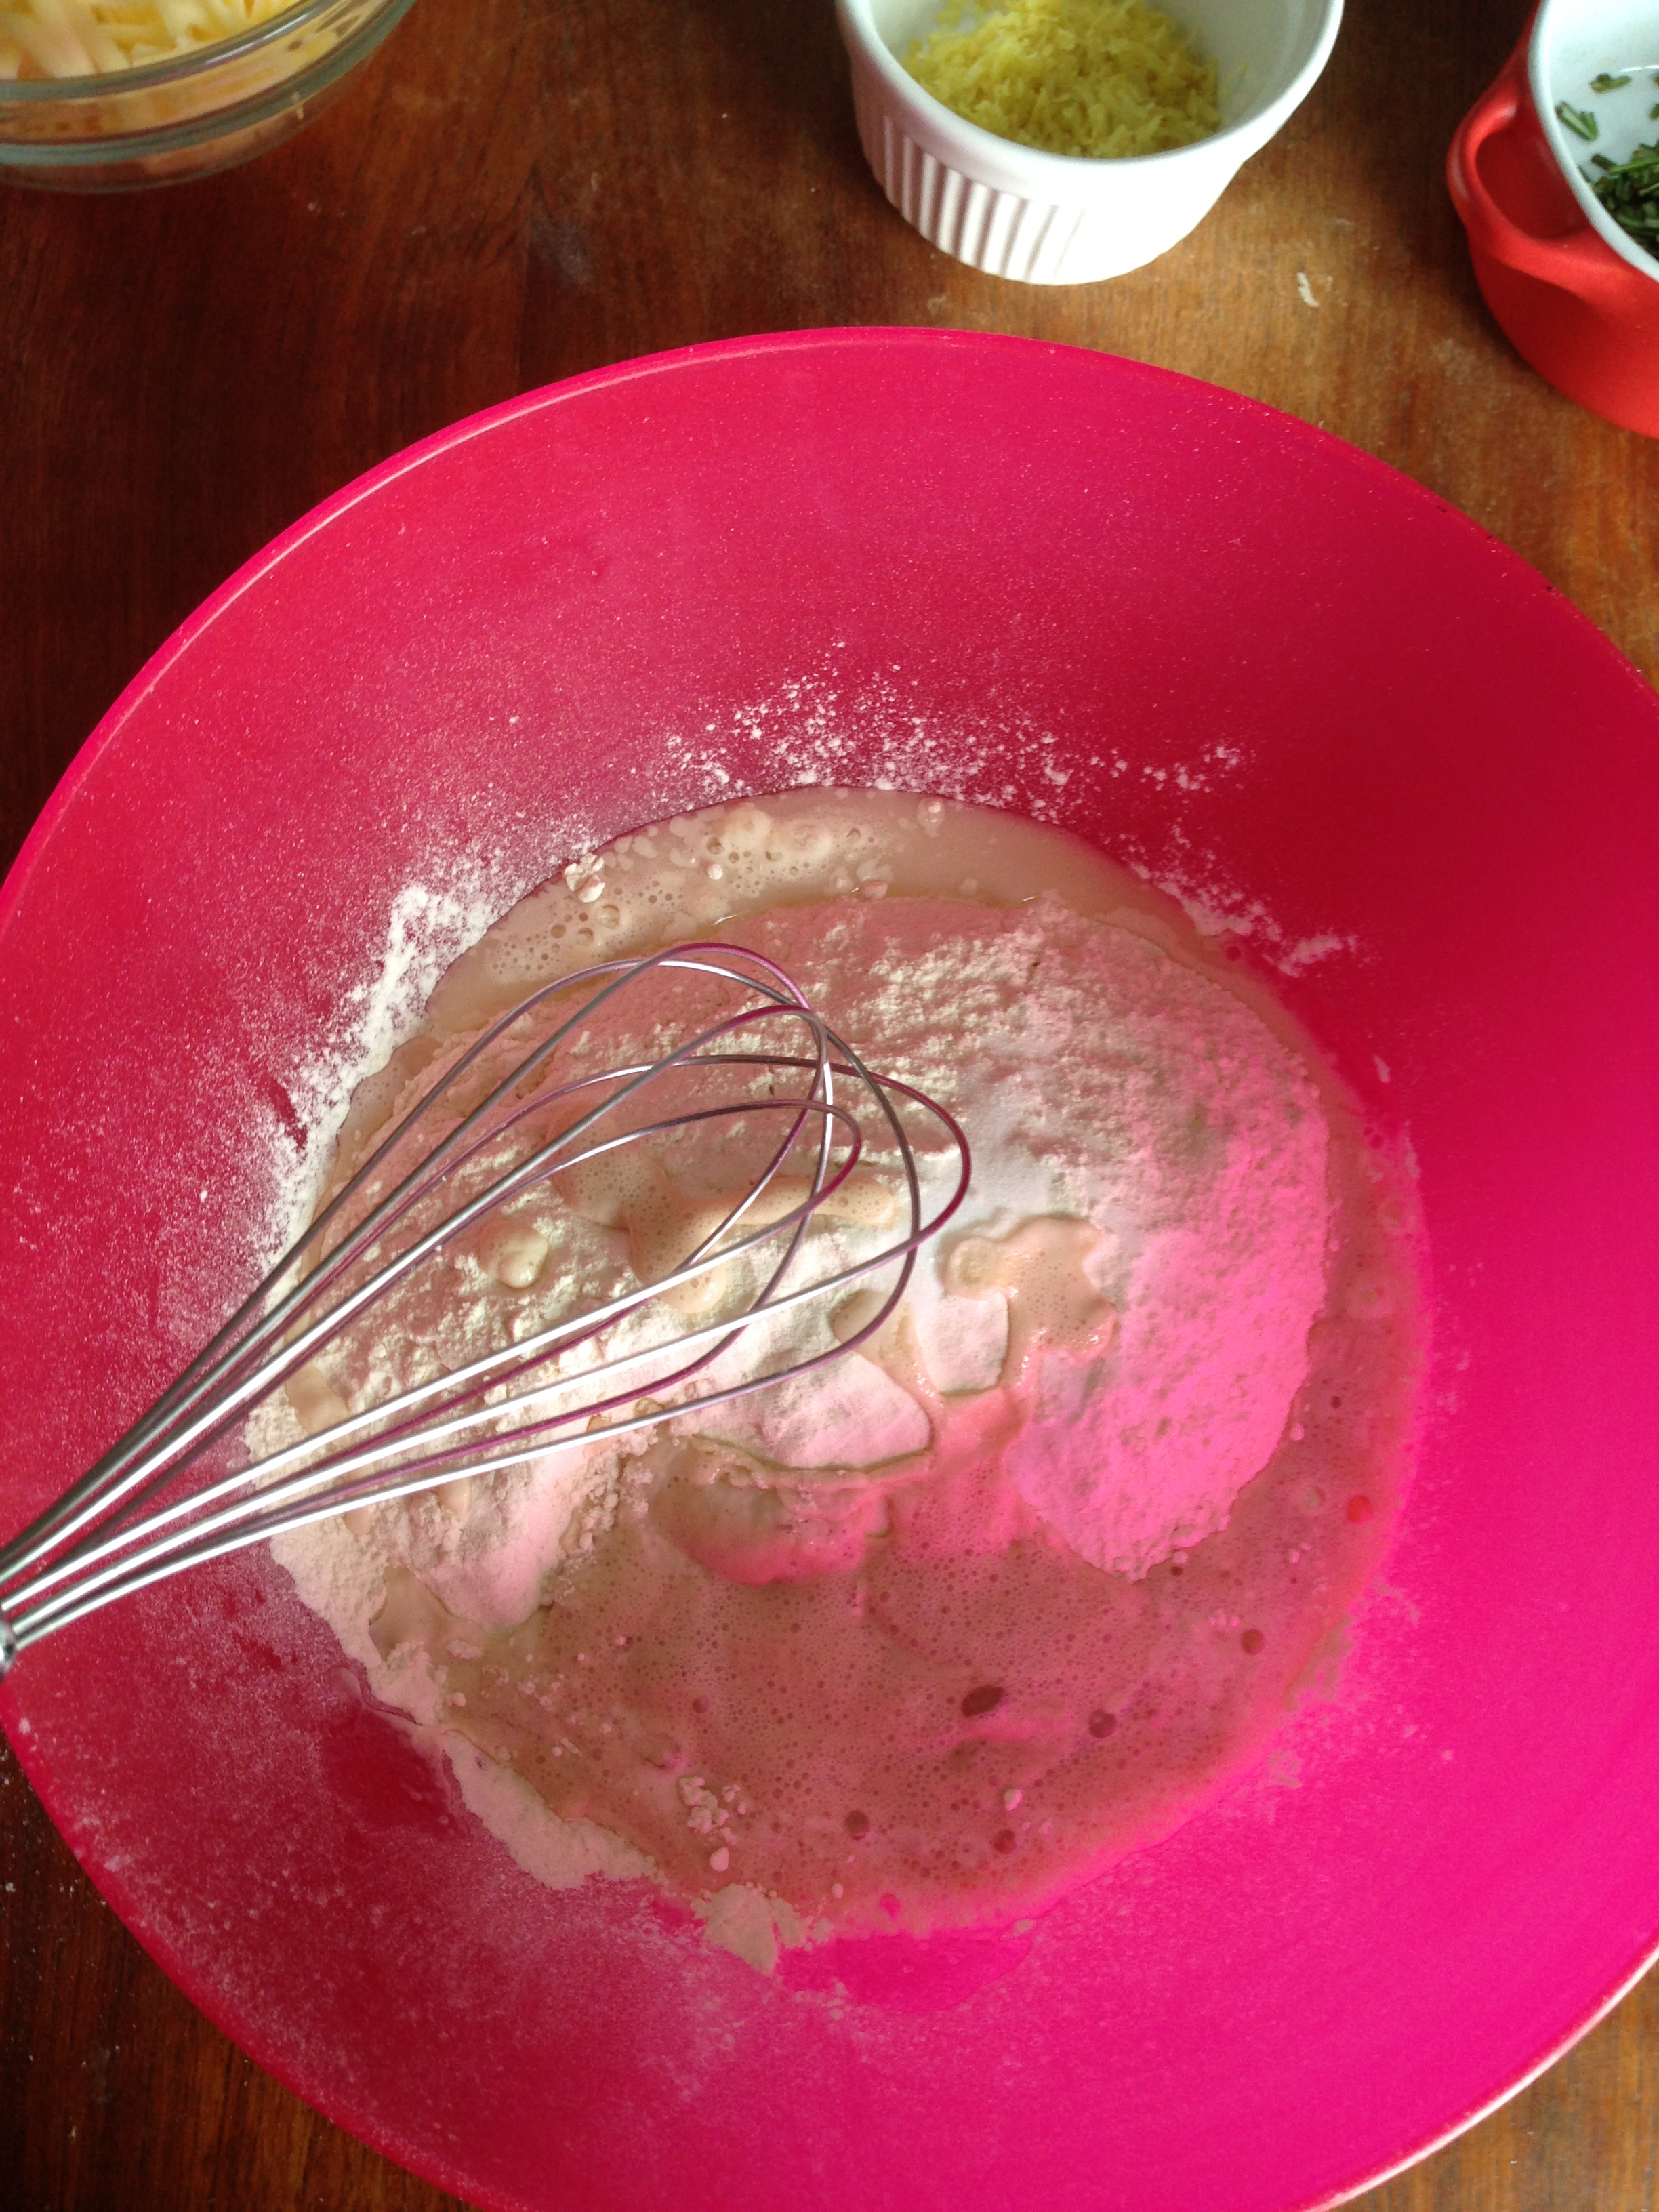
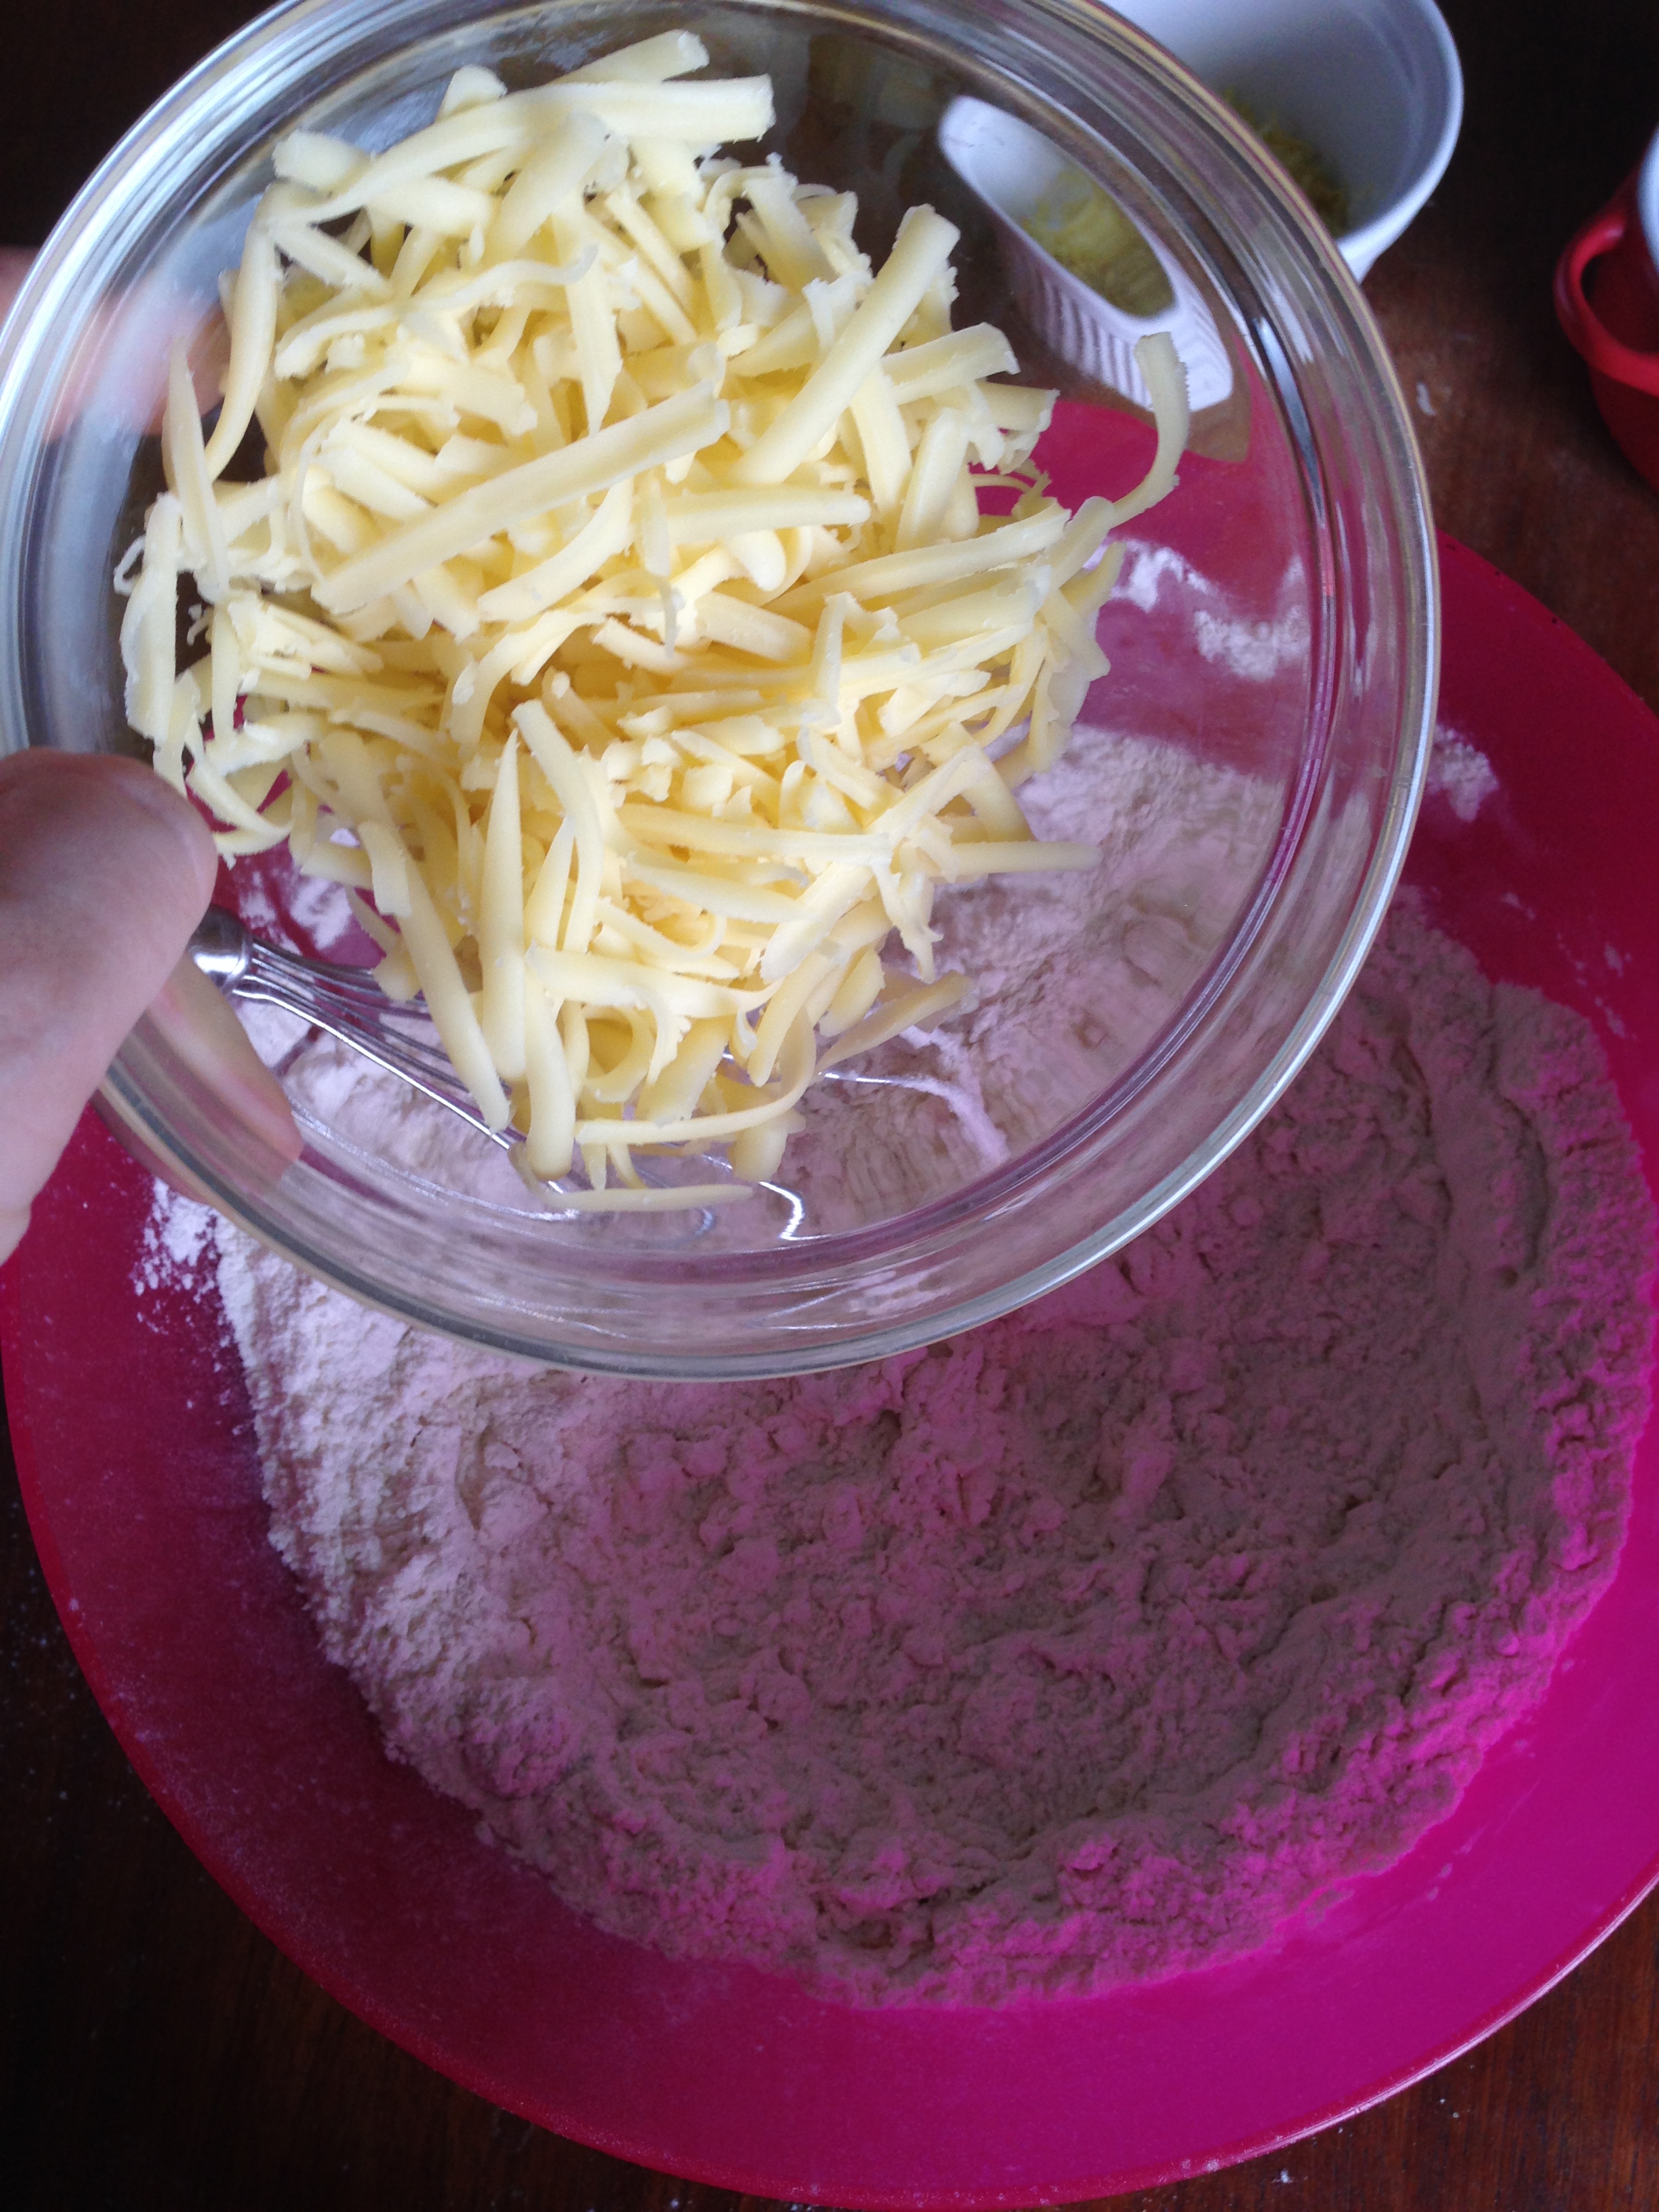
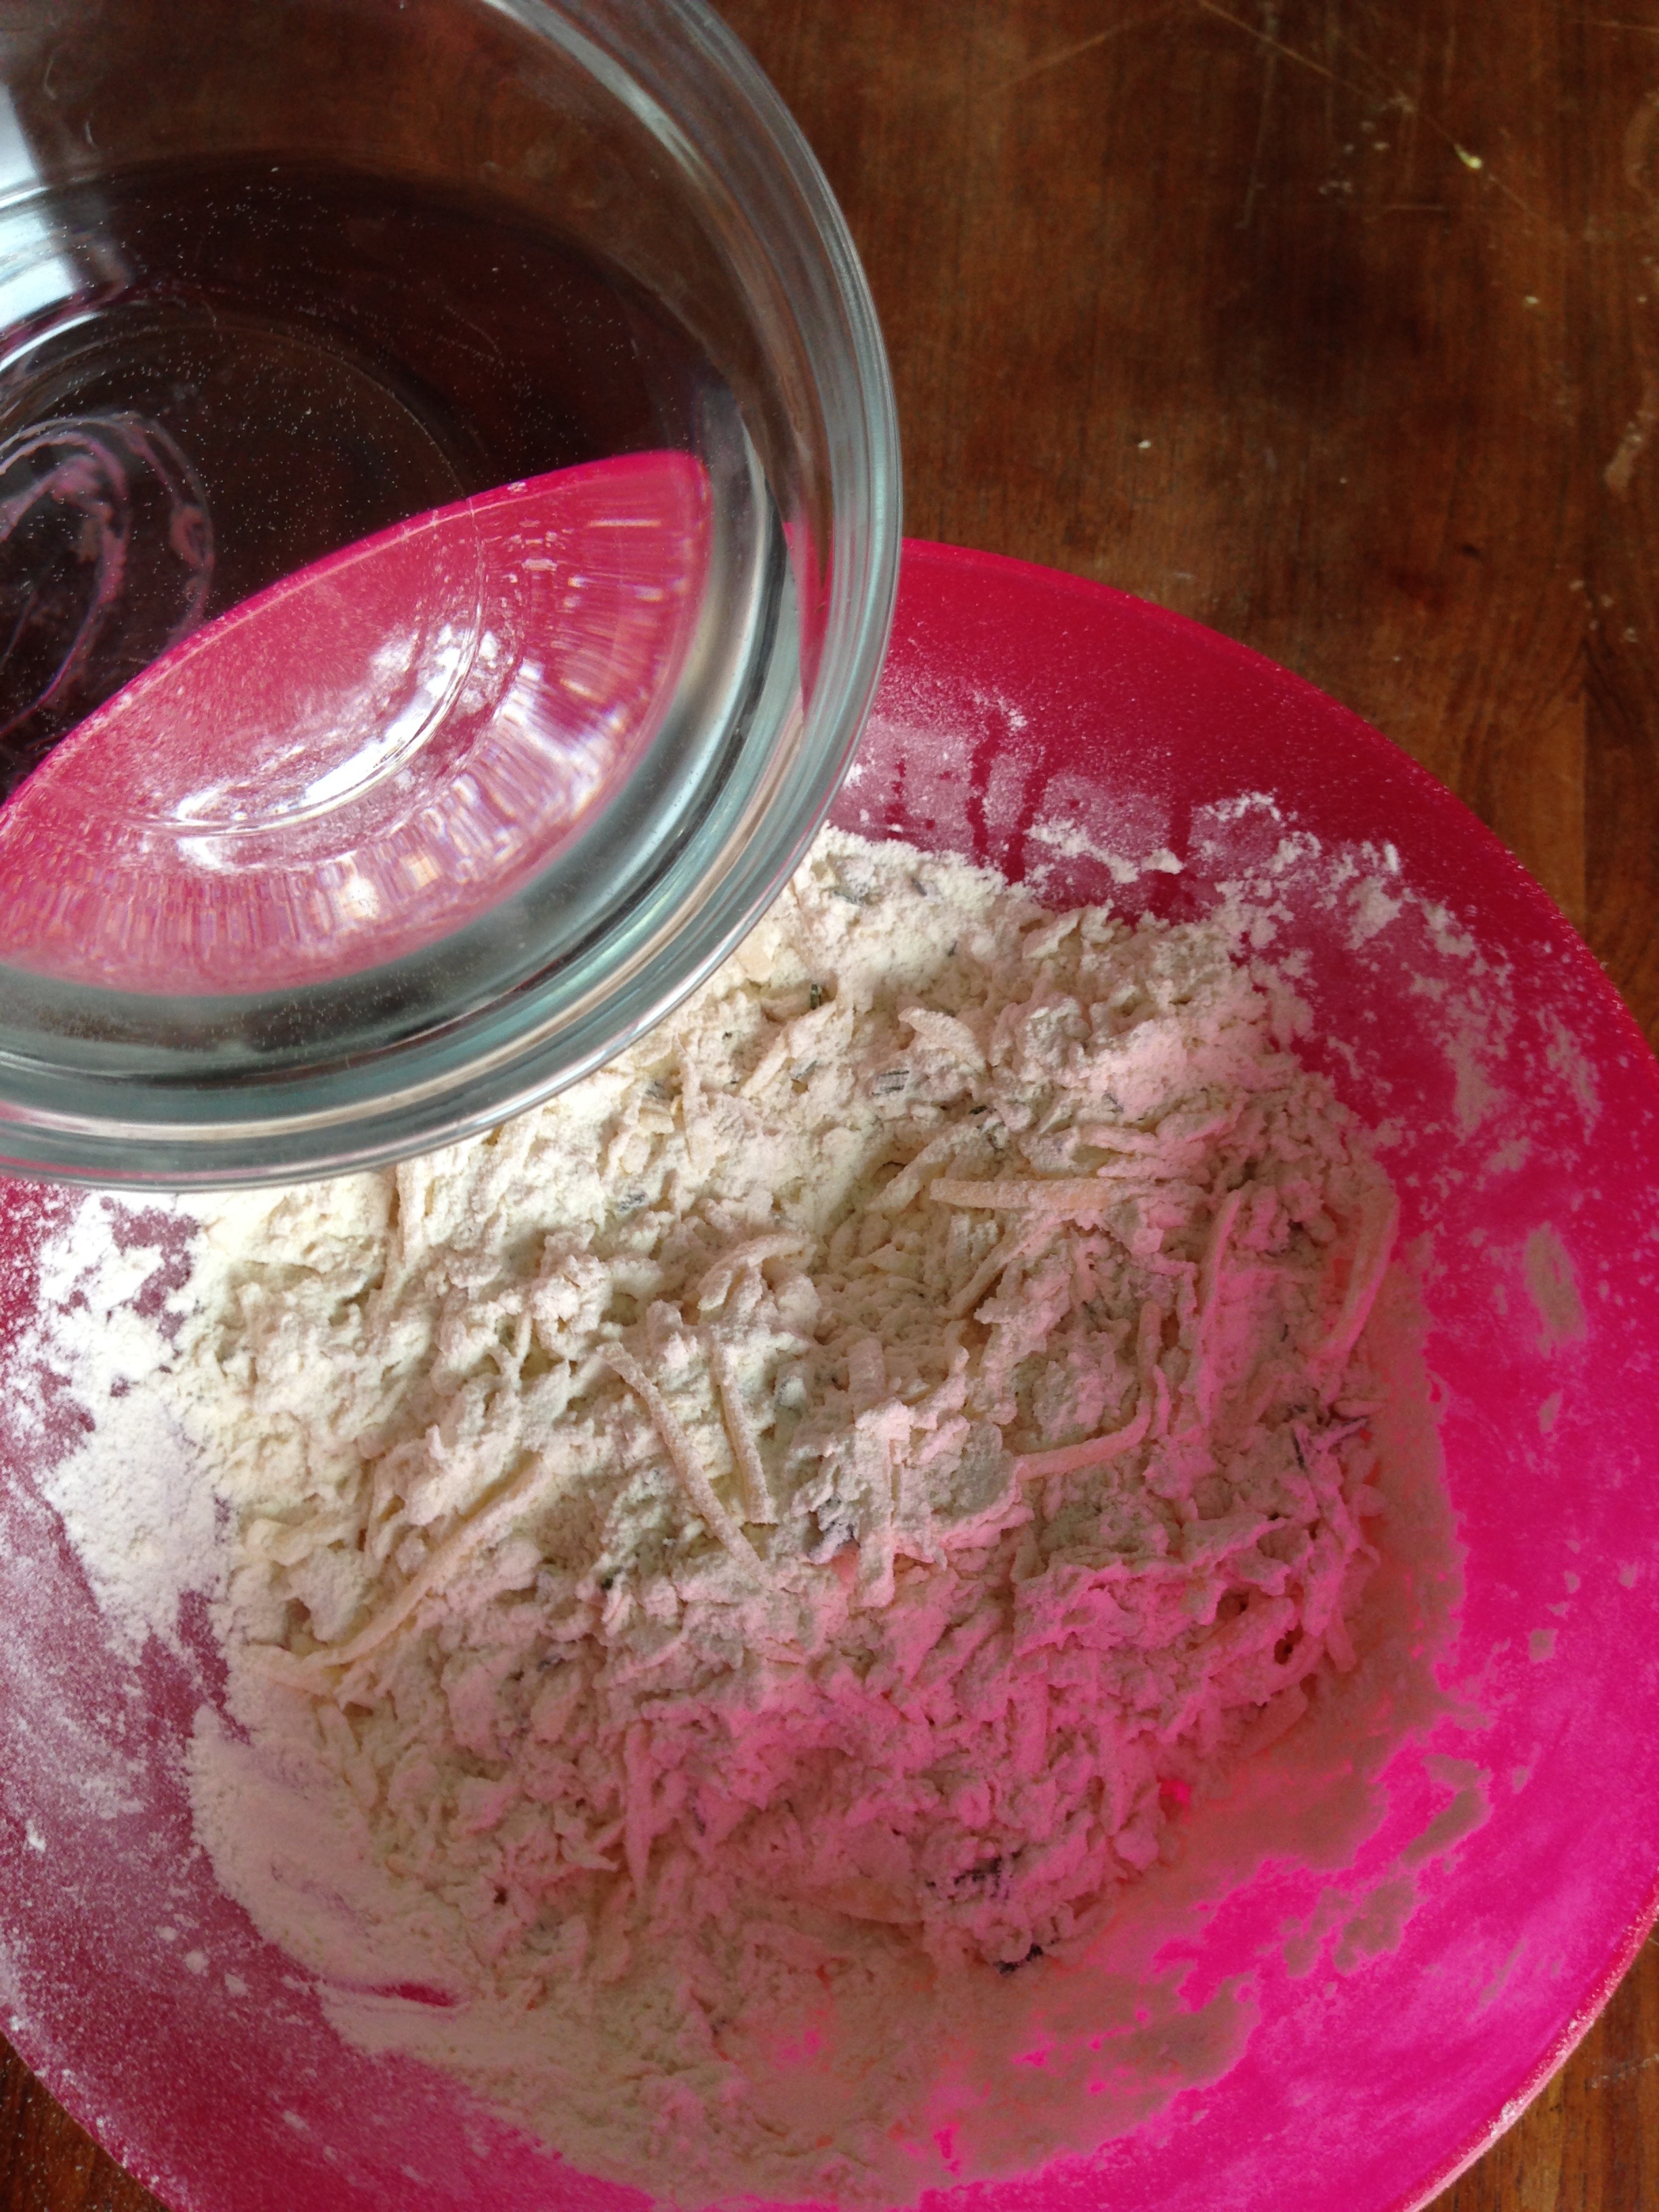
2. In a big mixing bowl, put flour, salt and yeast/water mixture and whisk or mix with a wooden spoon until the ingredients are mixed thoroughly (do not knead!!!).
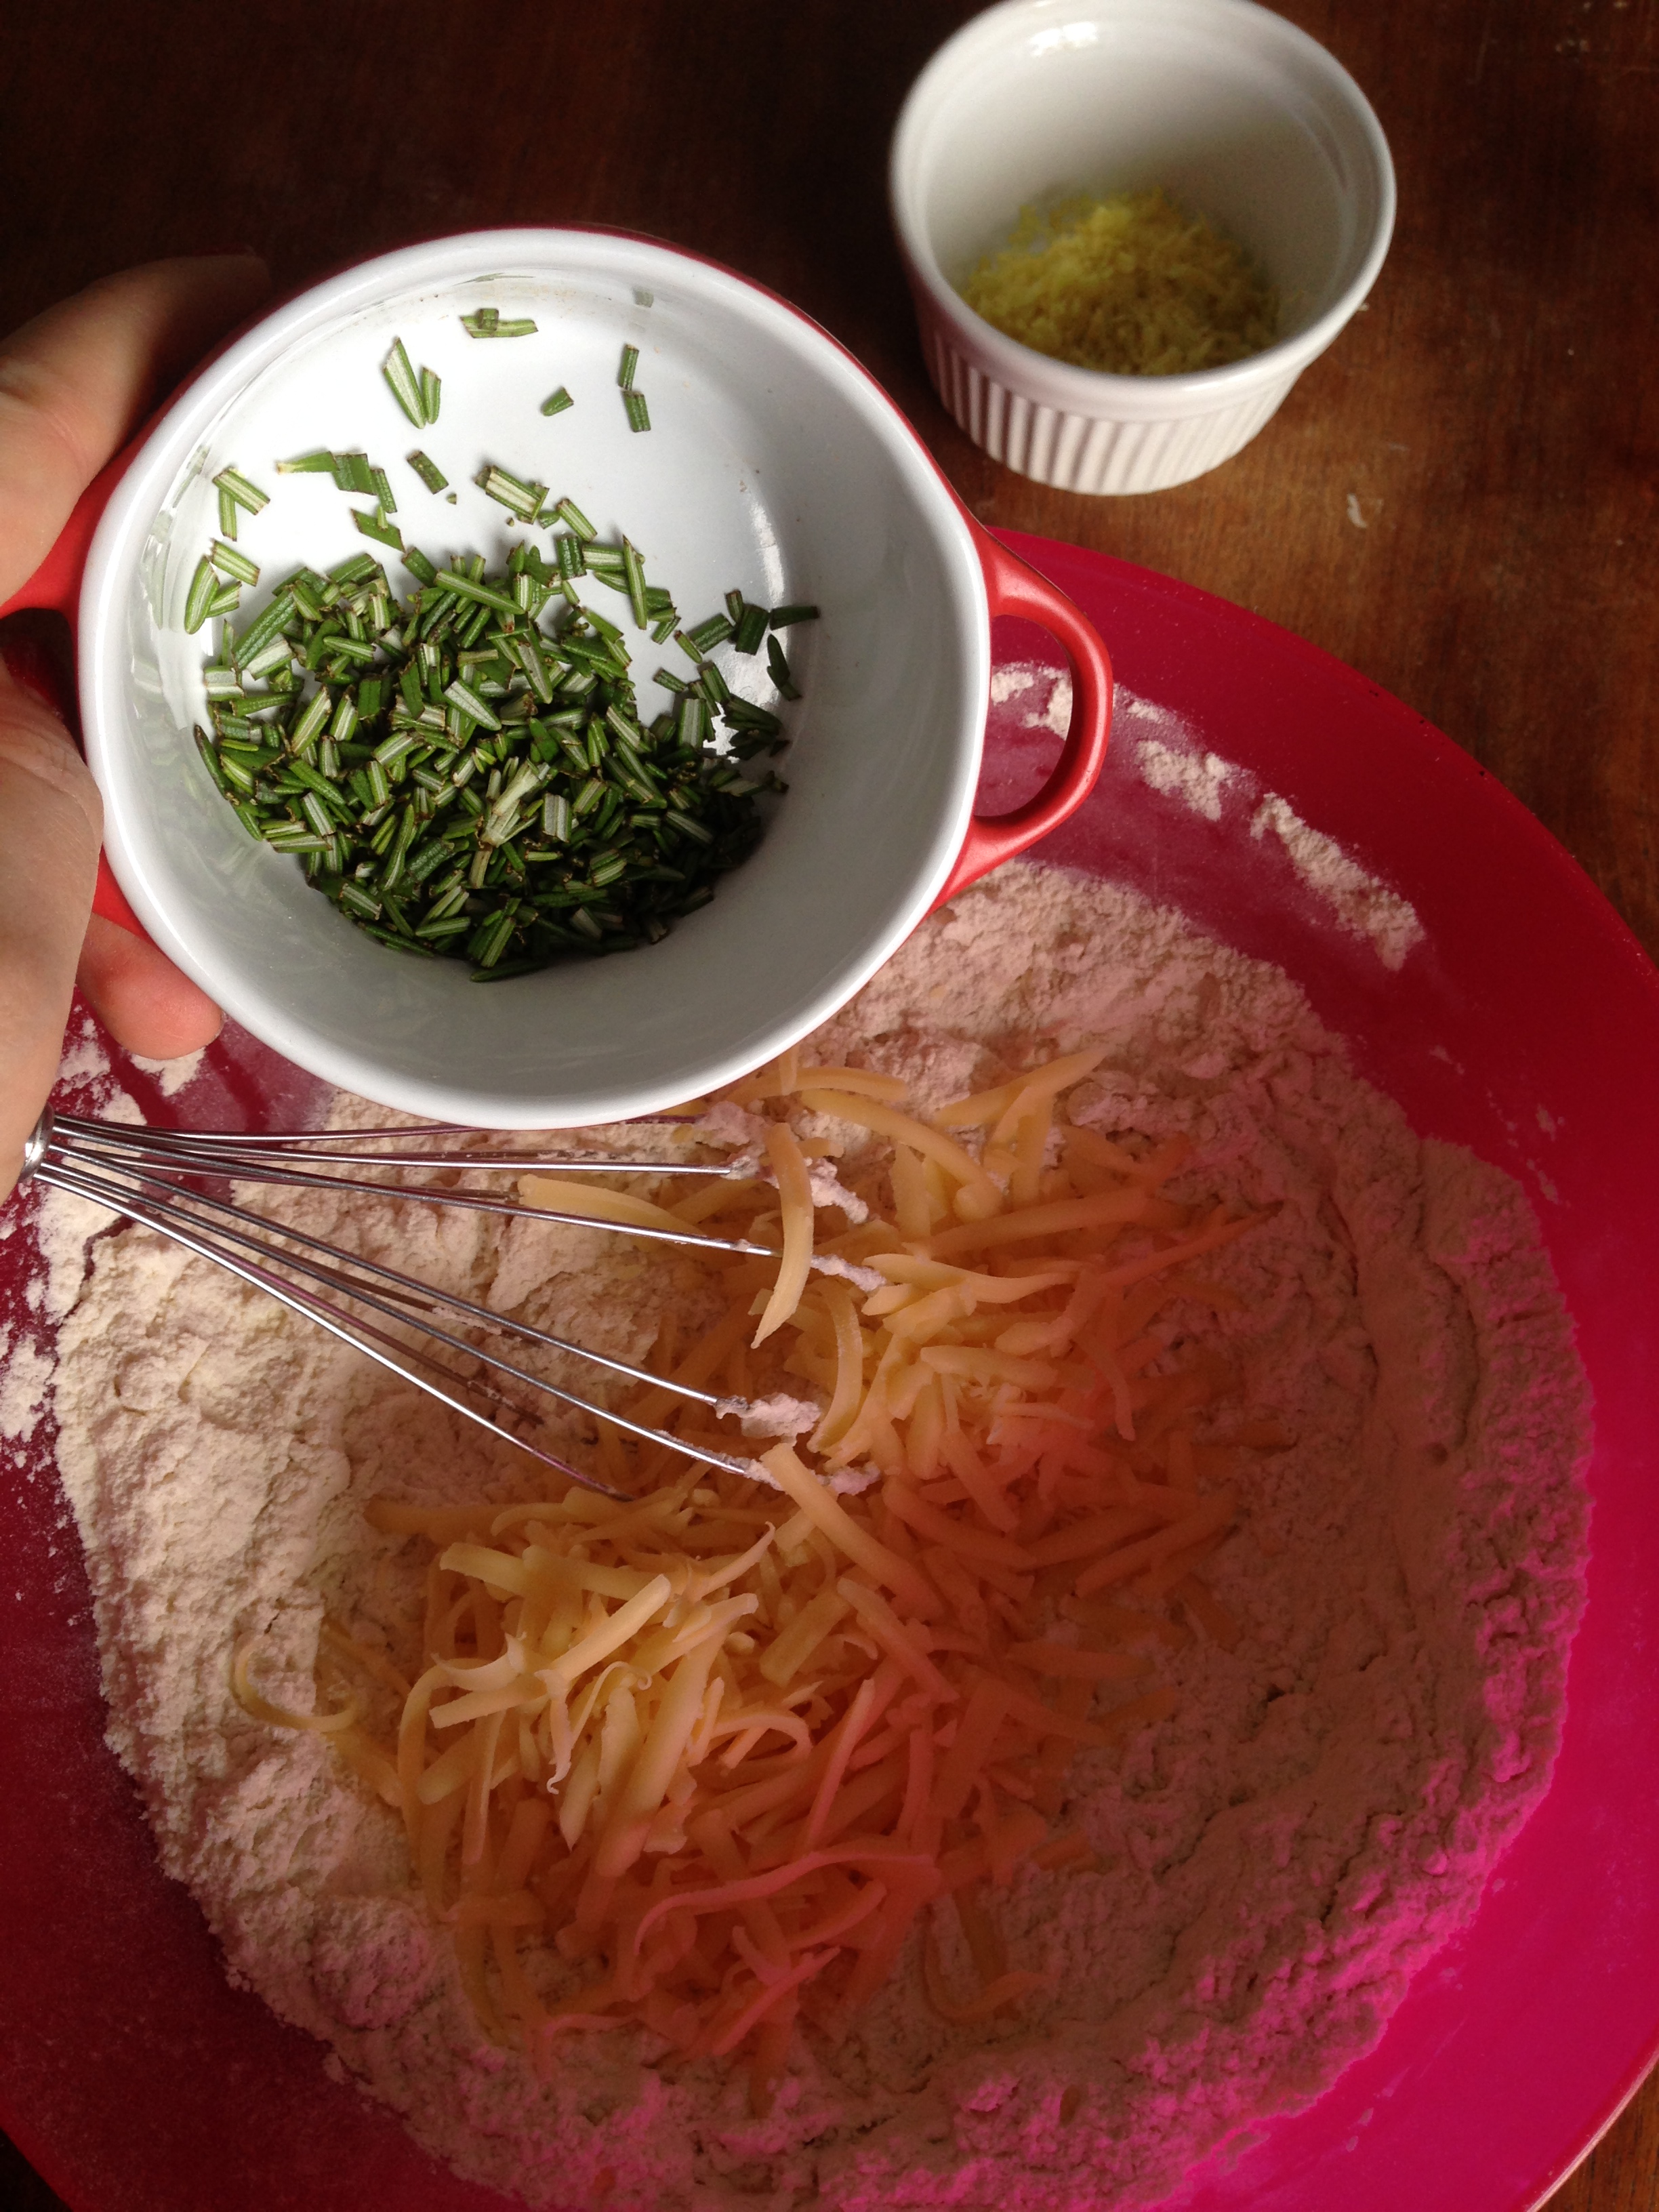
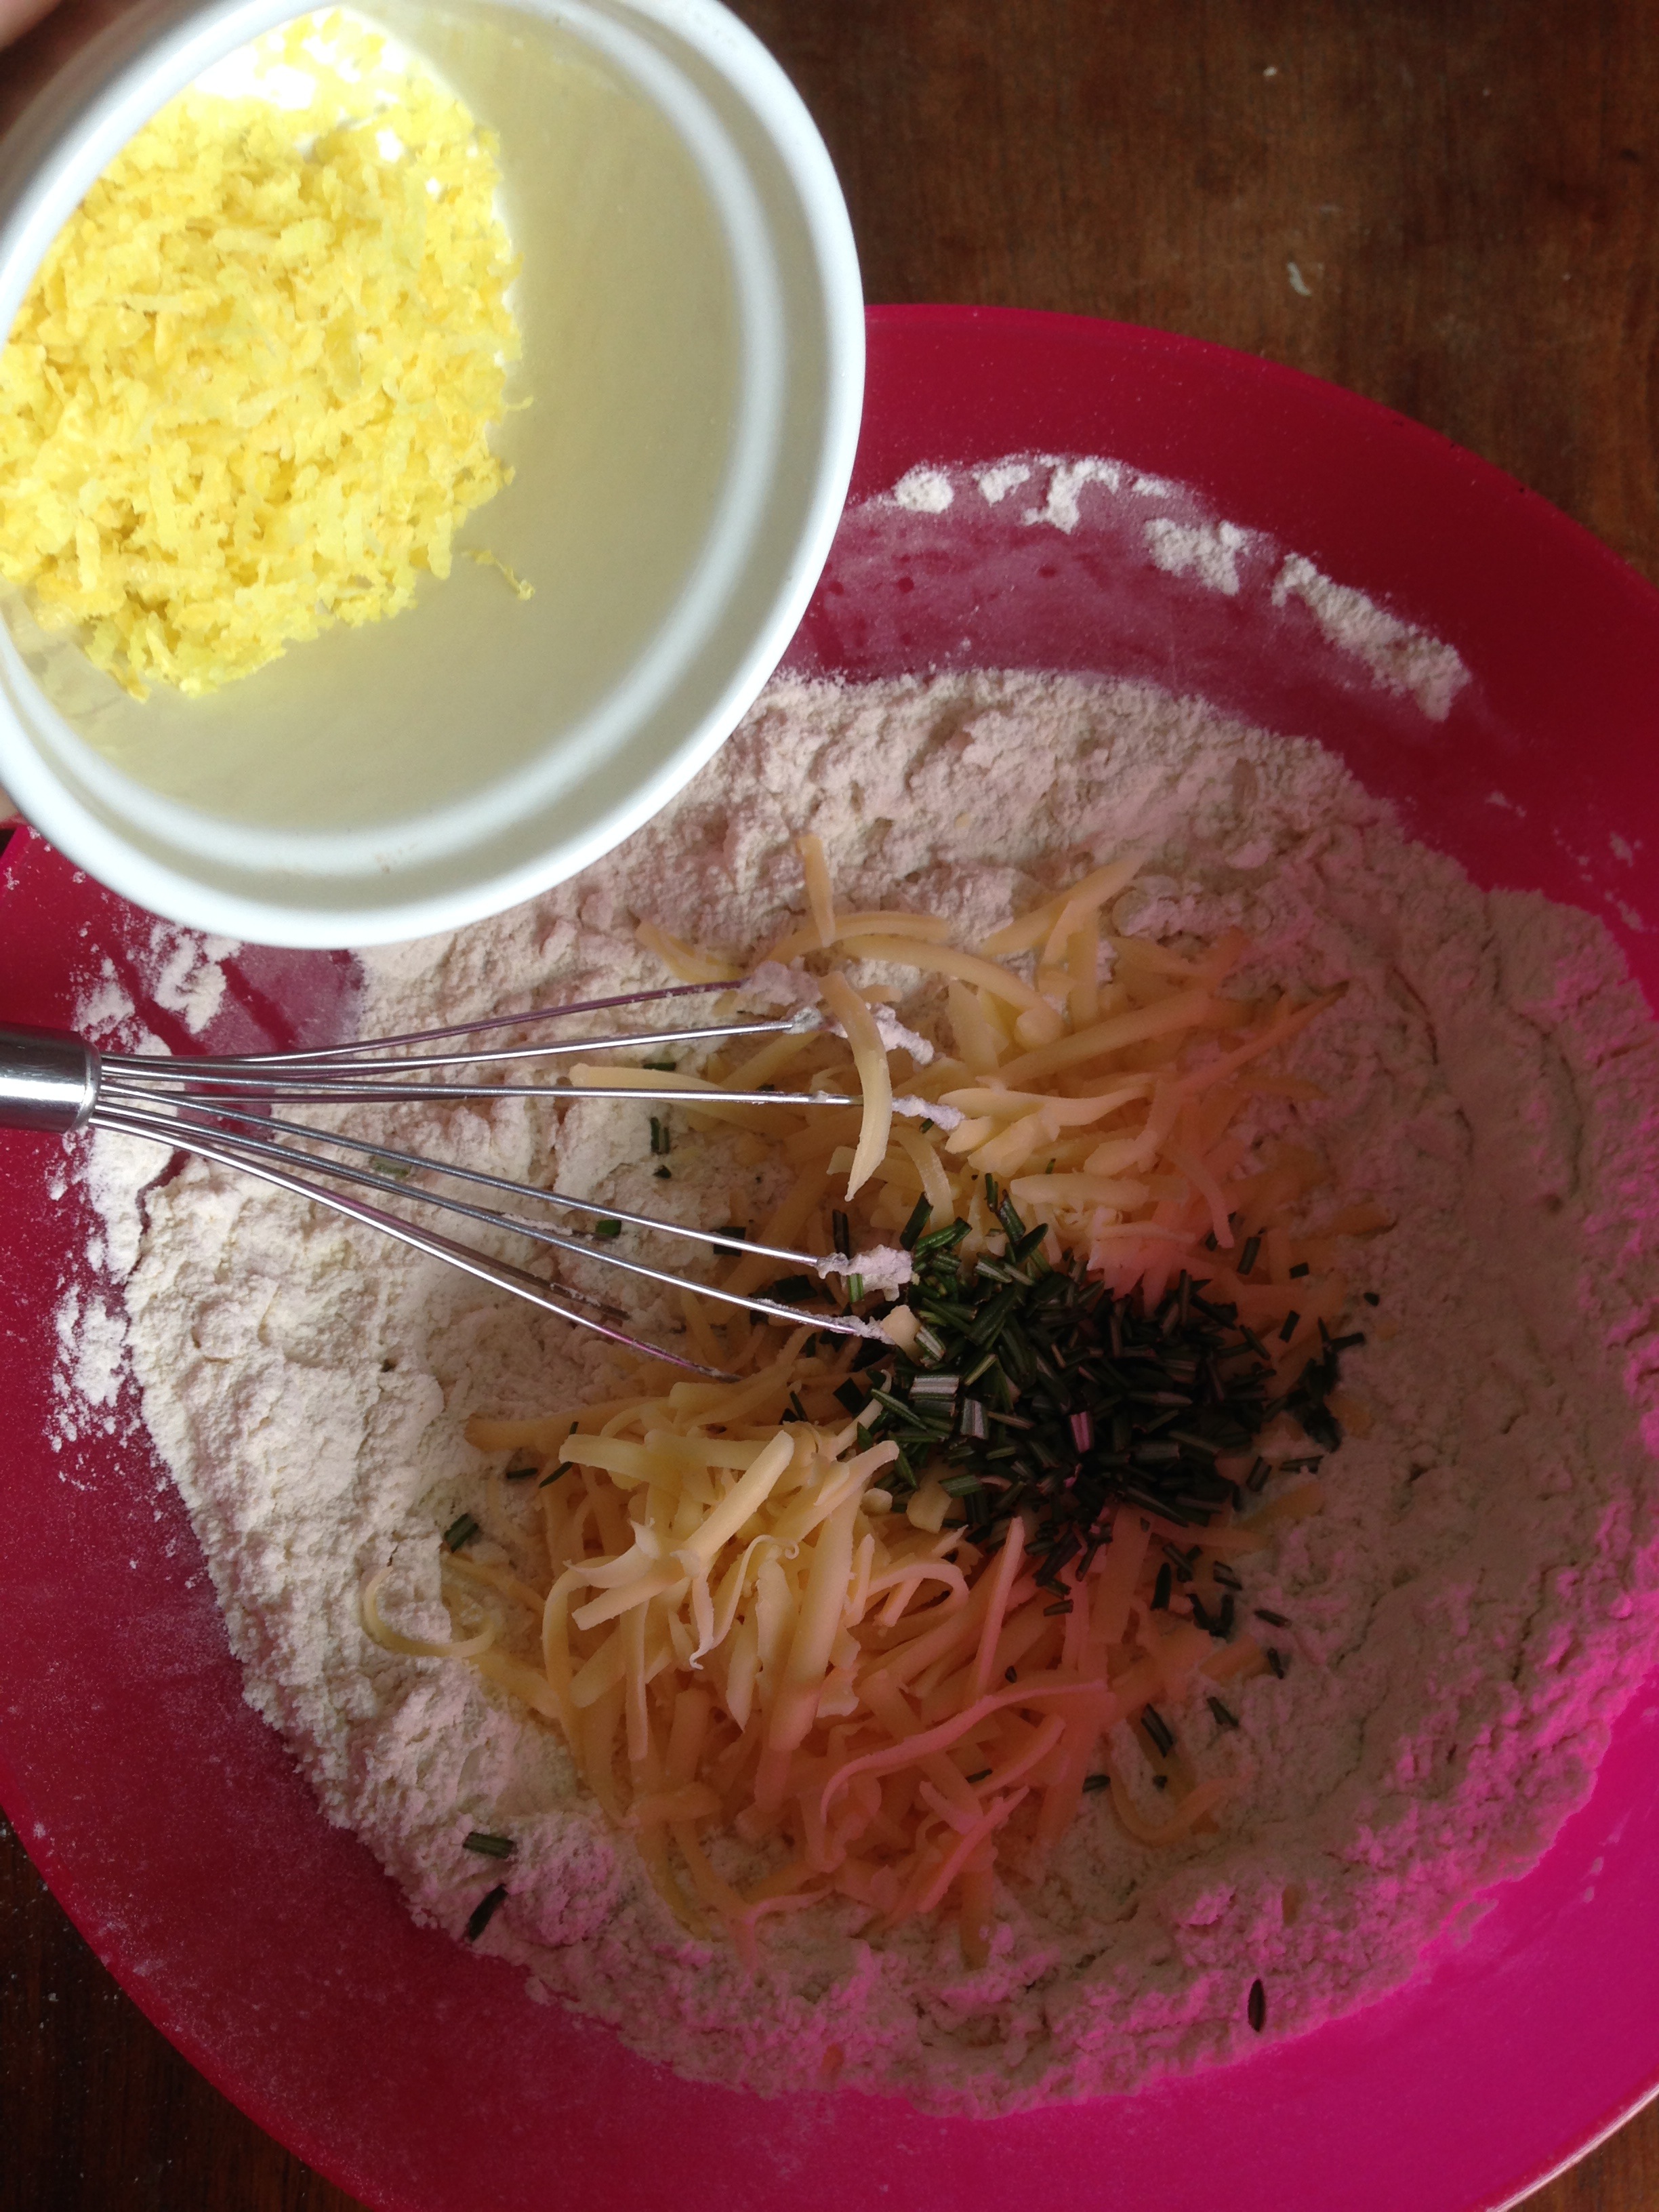
3. To the flour mixture, add gruyere, rosemary and lemon zest and whisk / mix more.
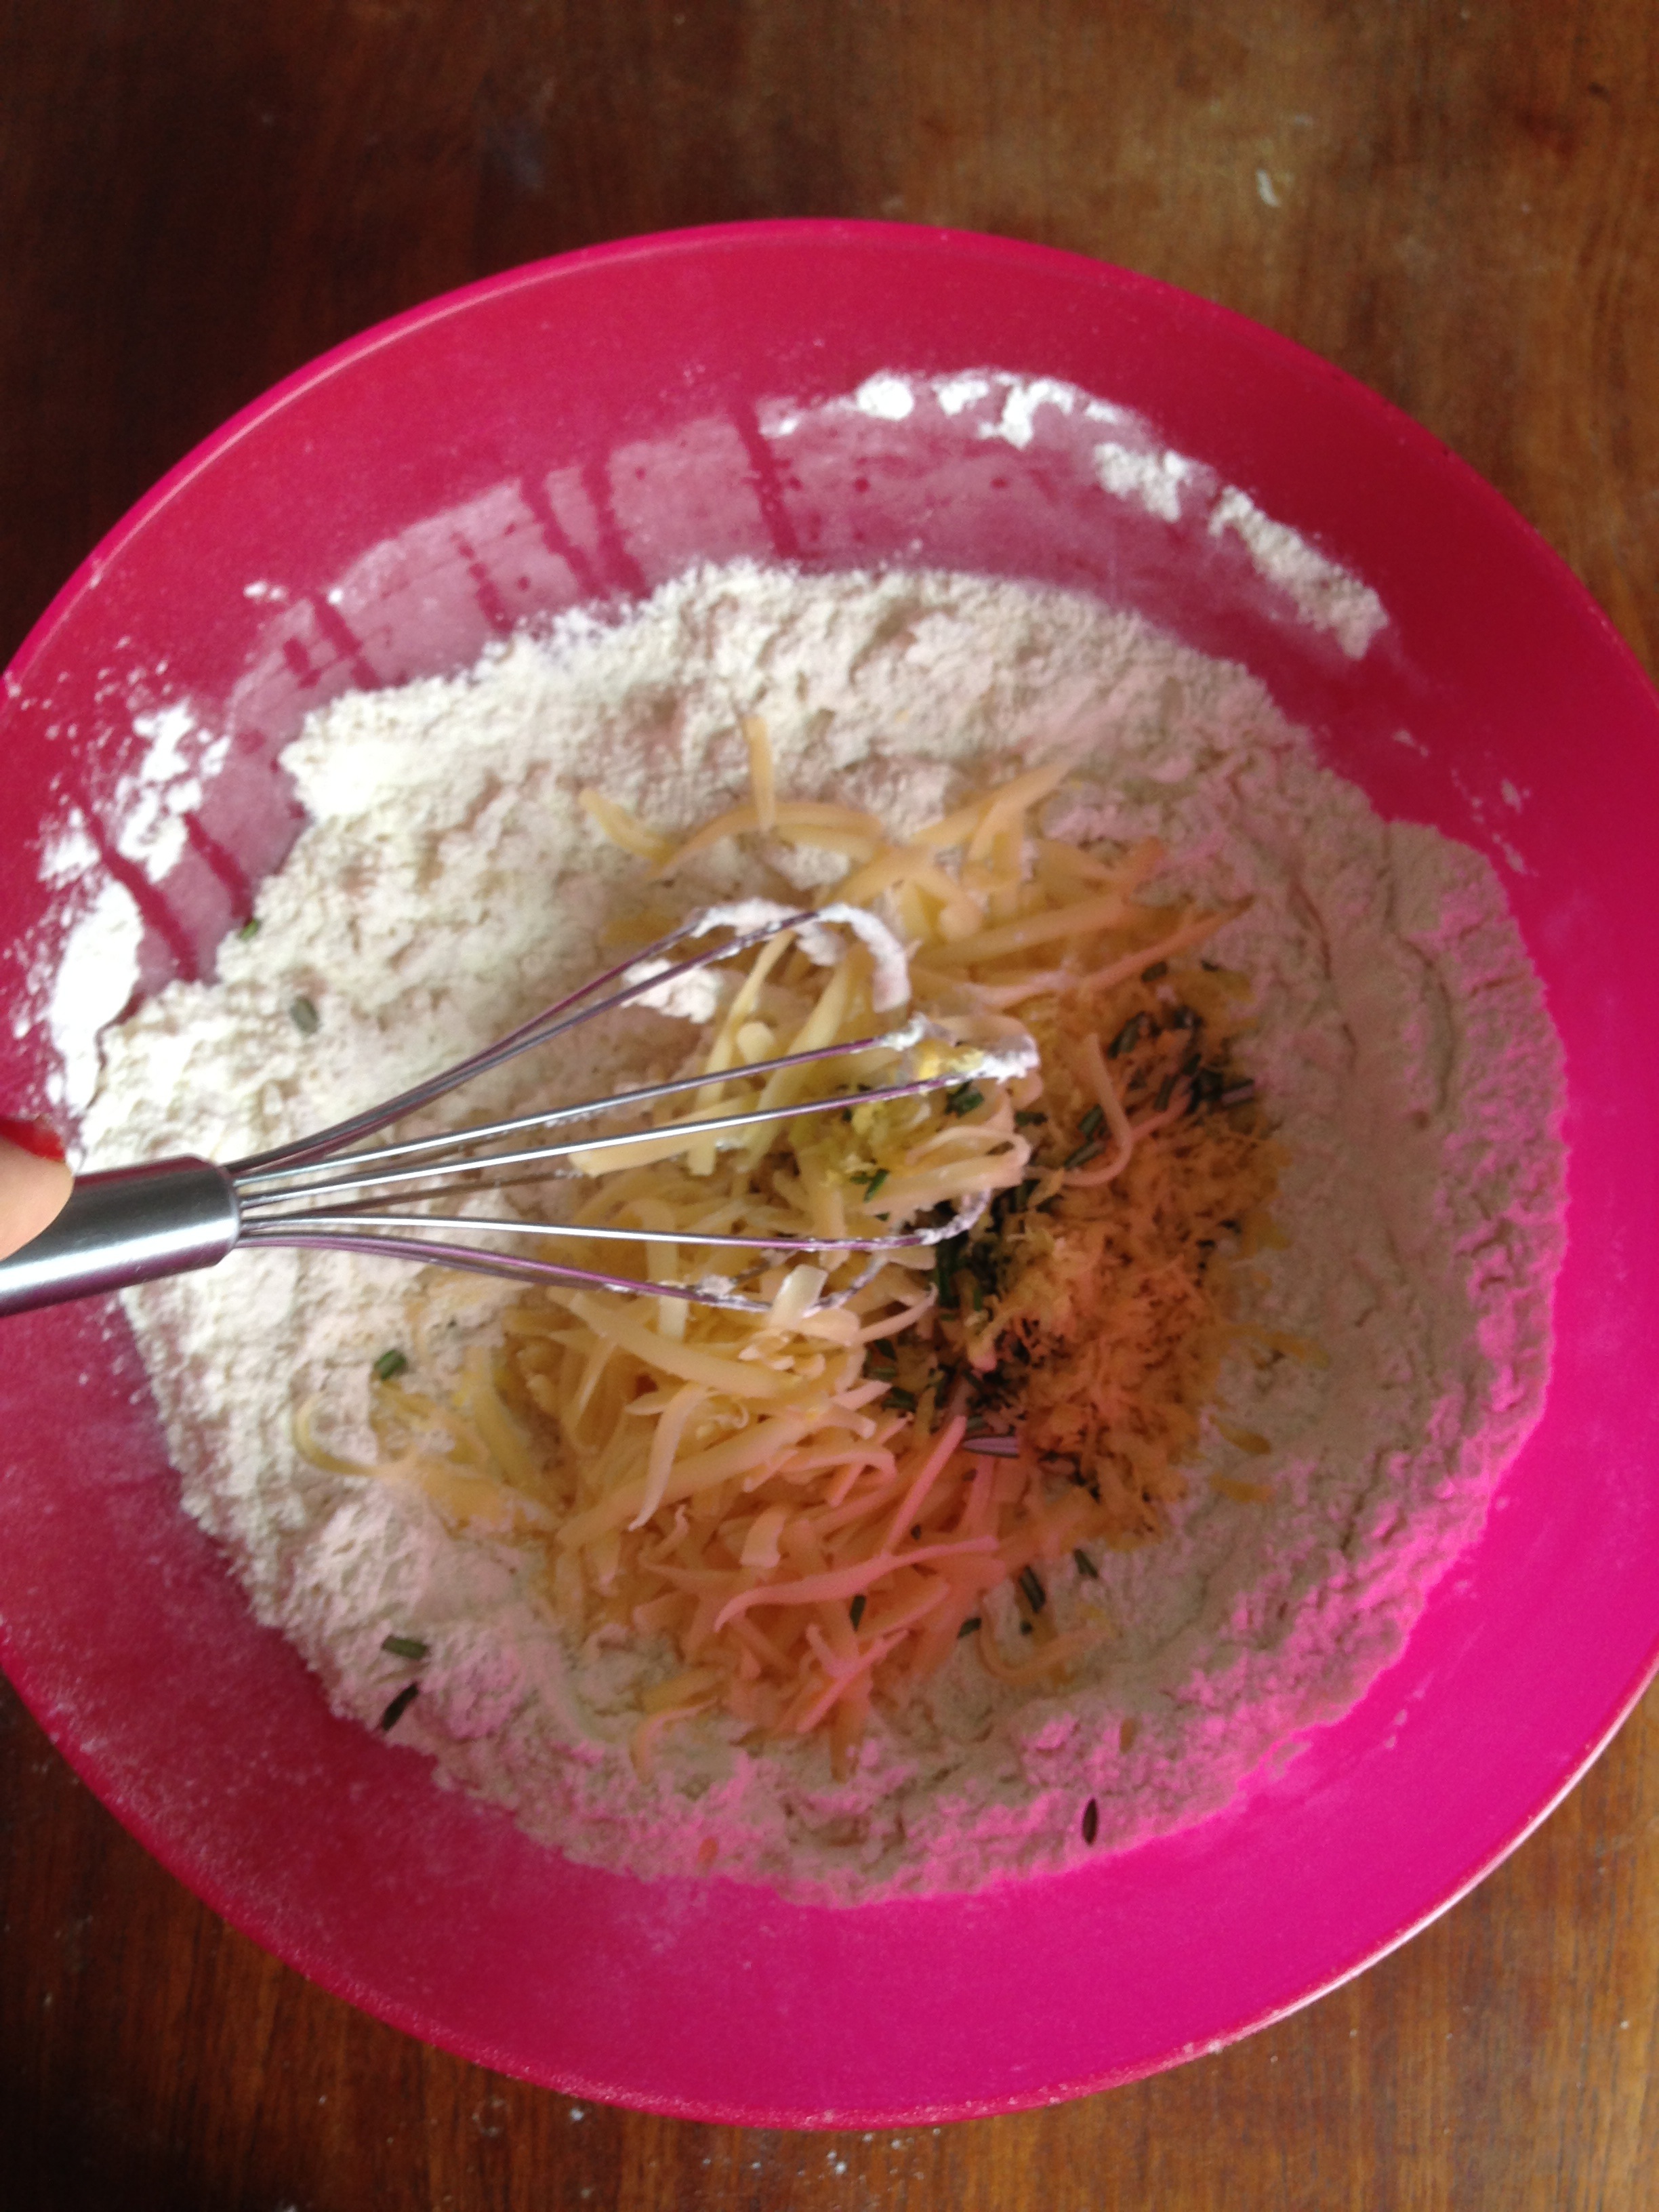
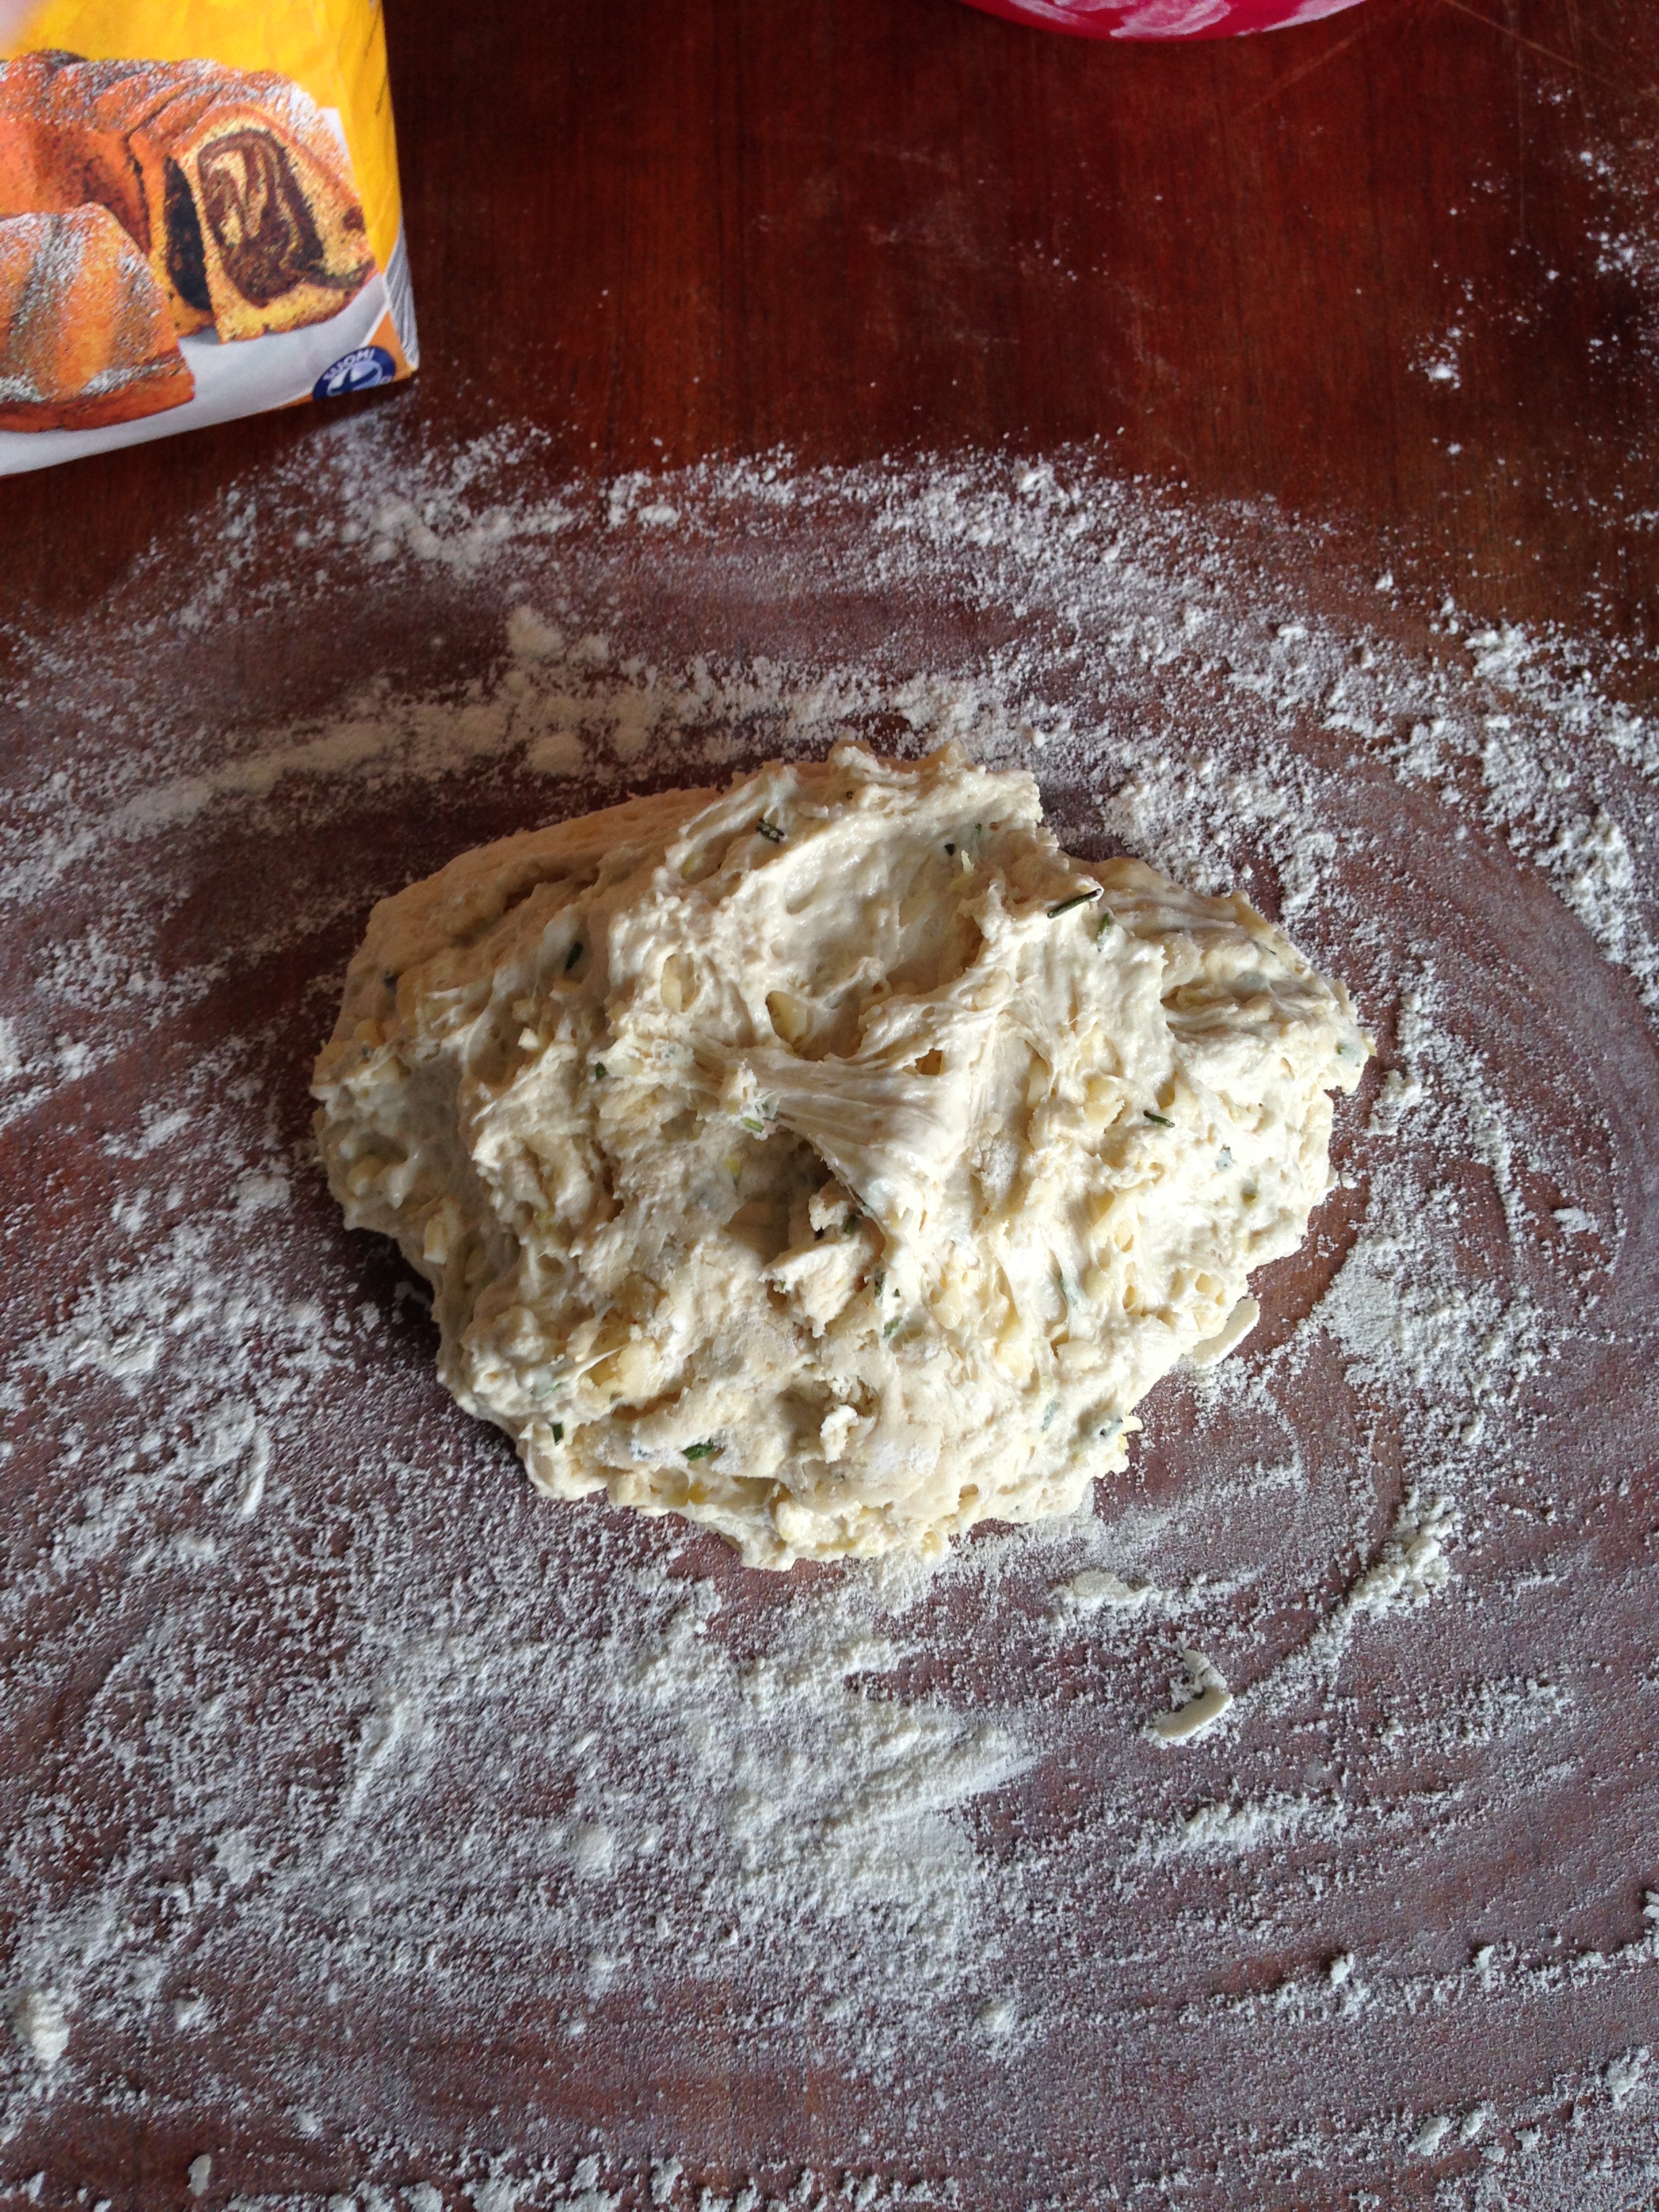
4. Add water in room temperature to the mixture and continue whisking or mixing until all the dry ingredients are moist and you have a sticky dough.

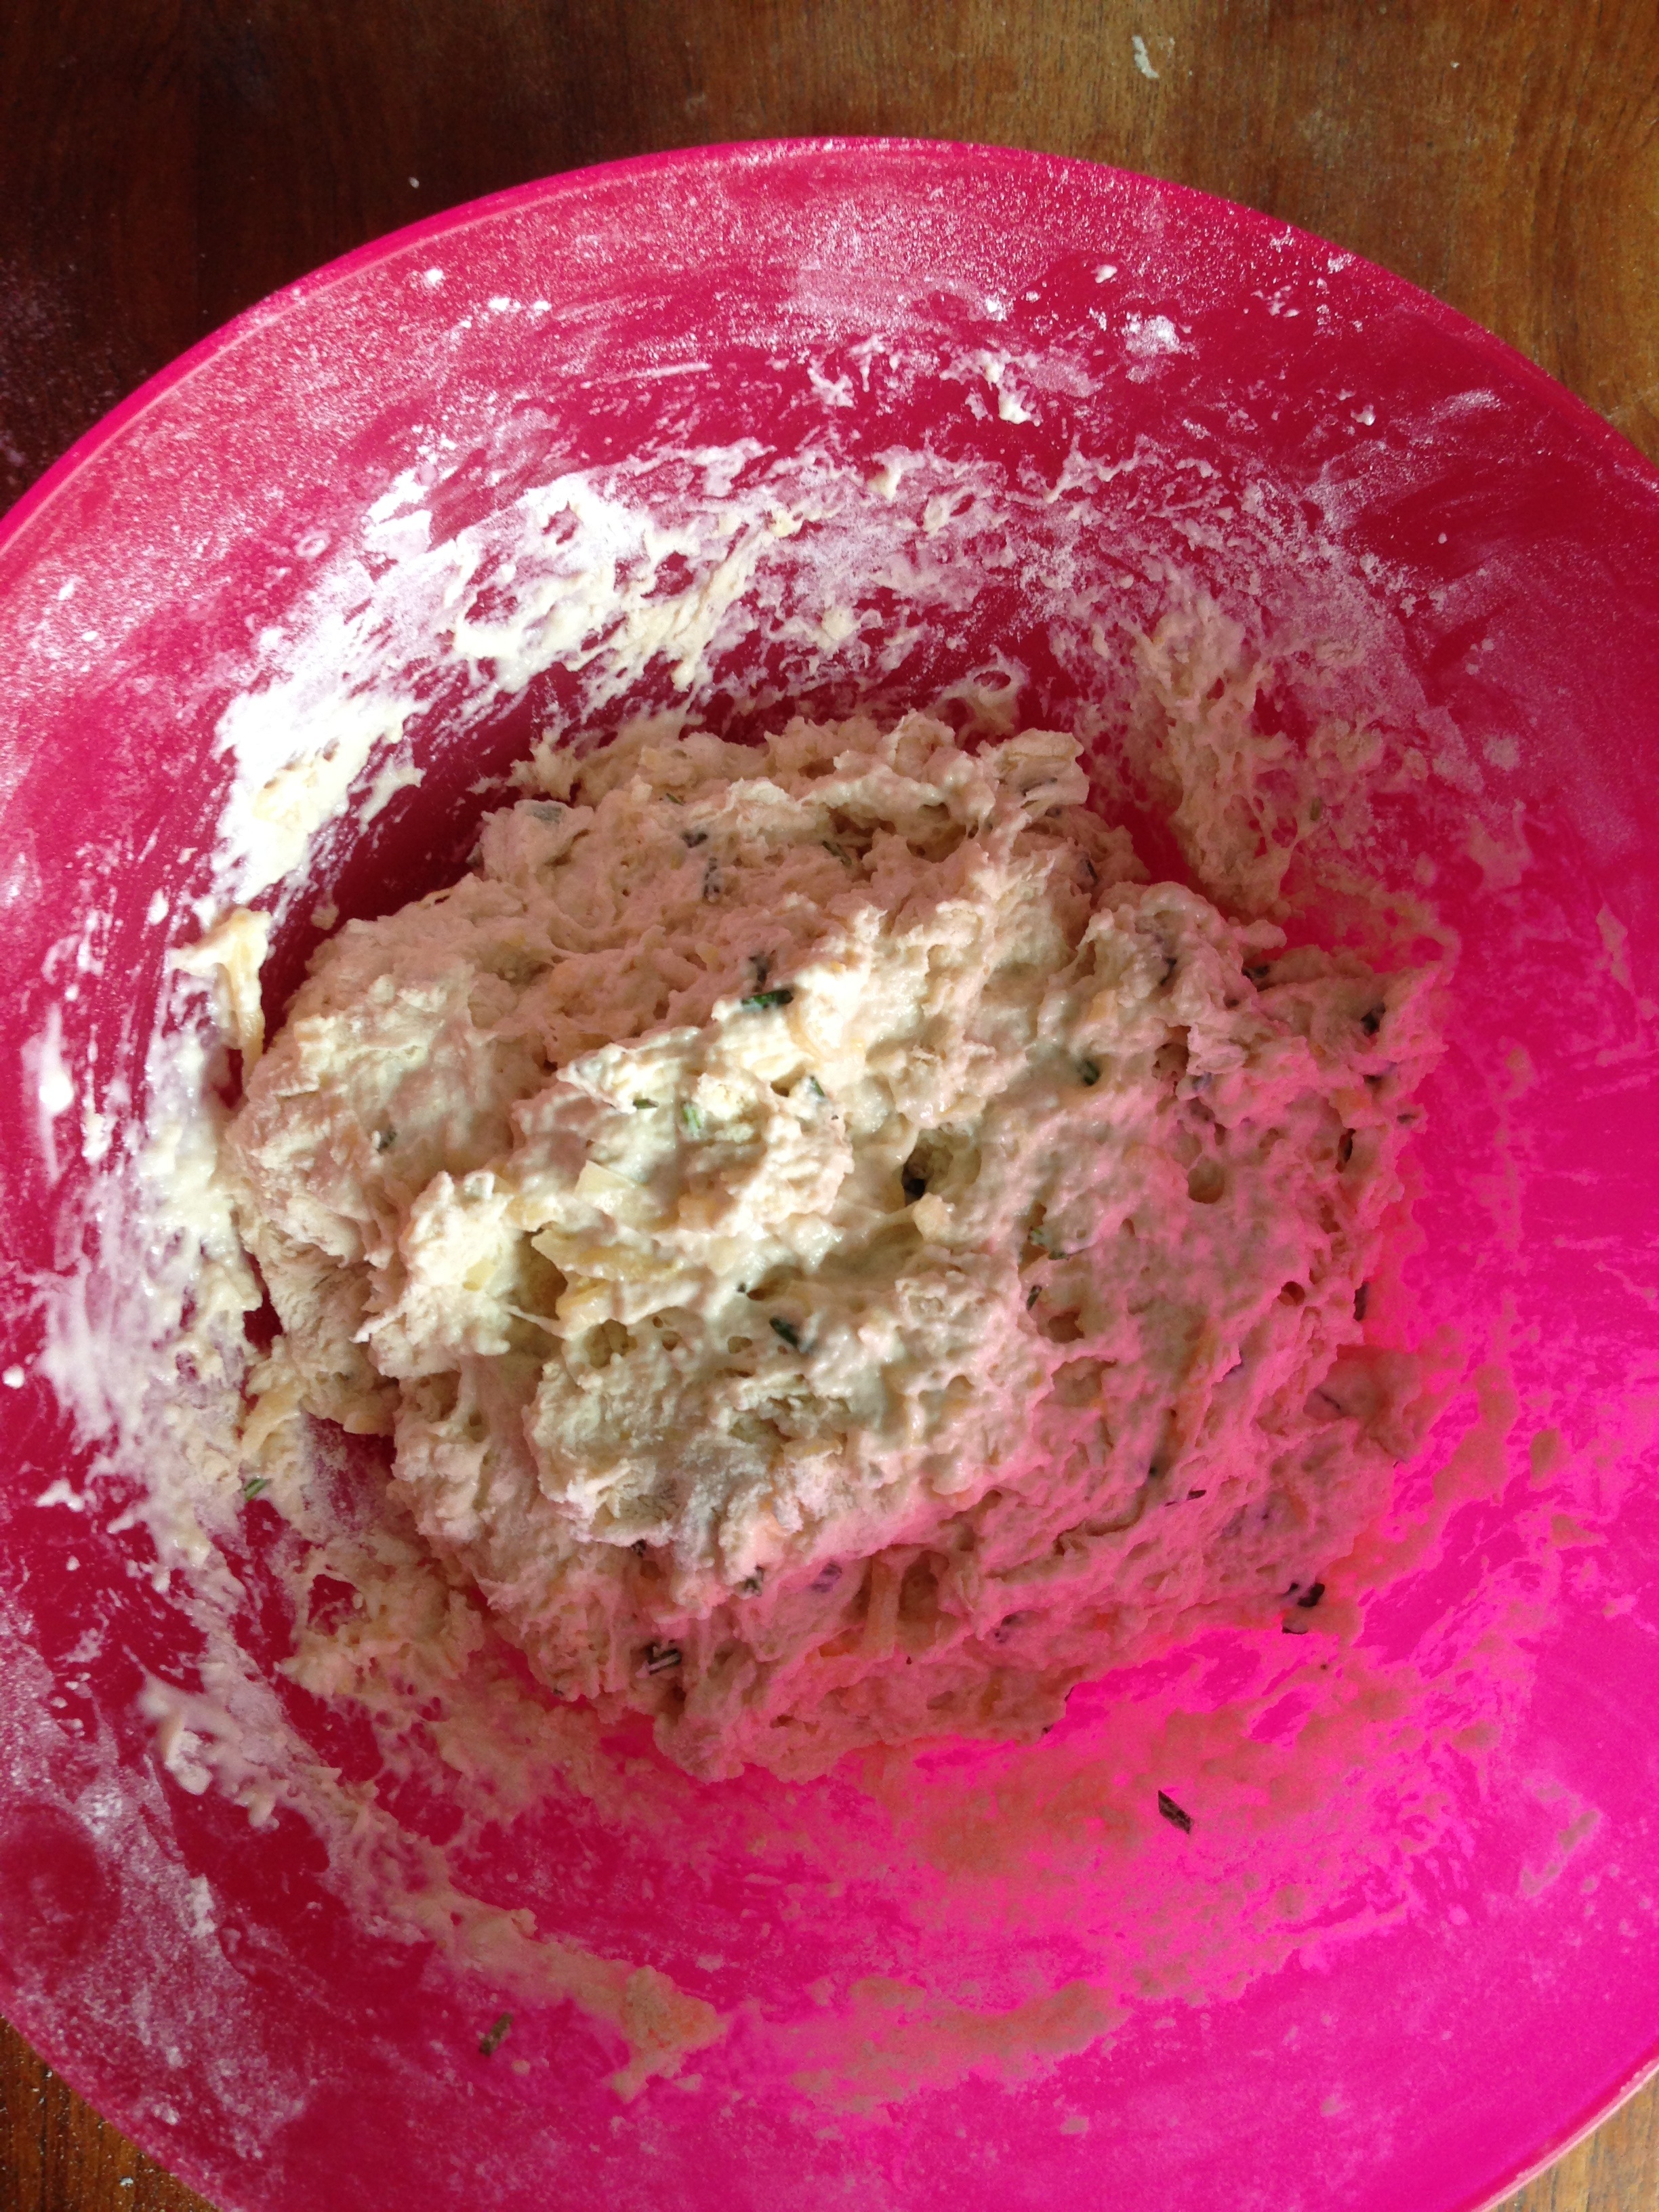
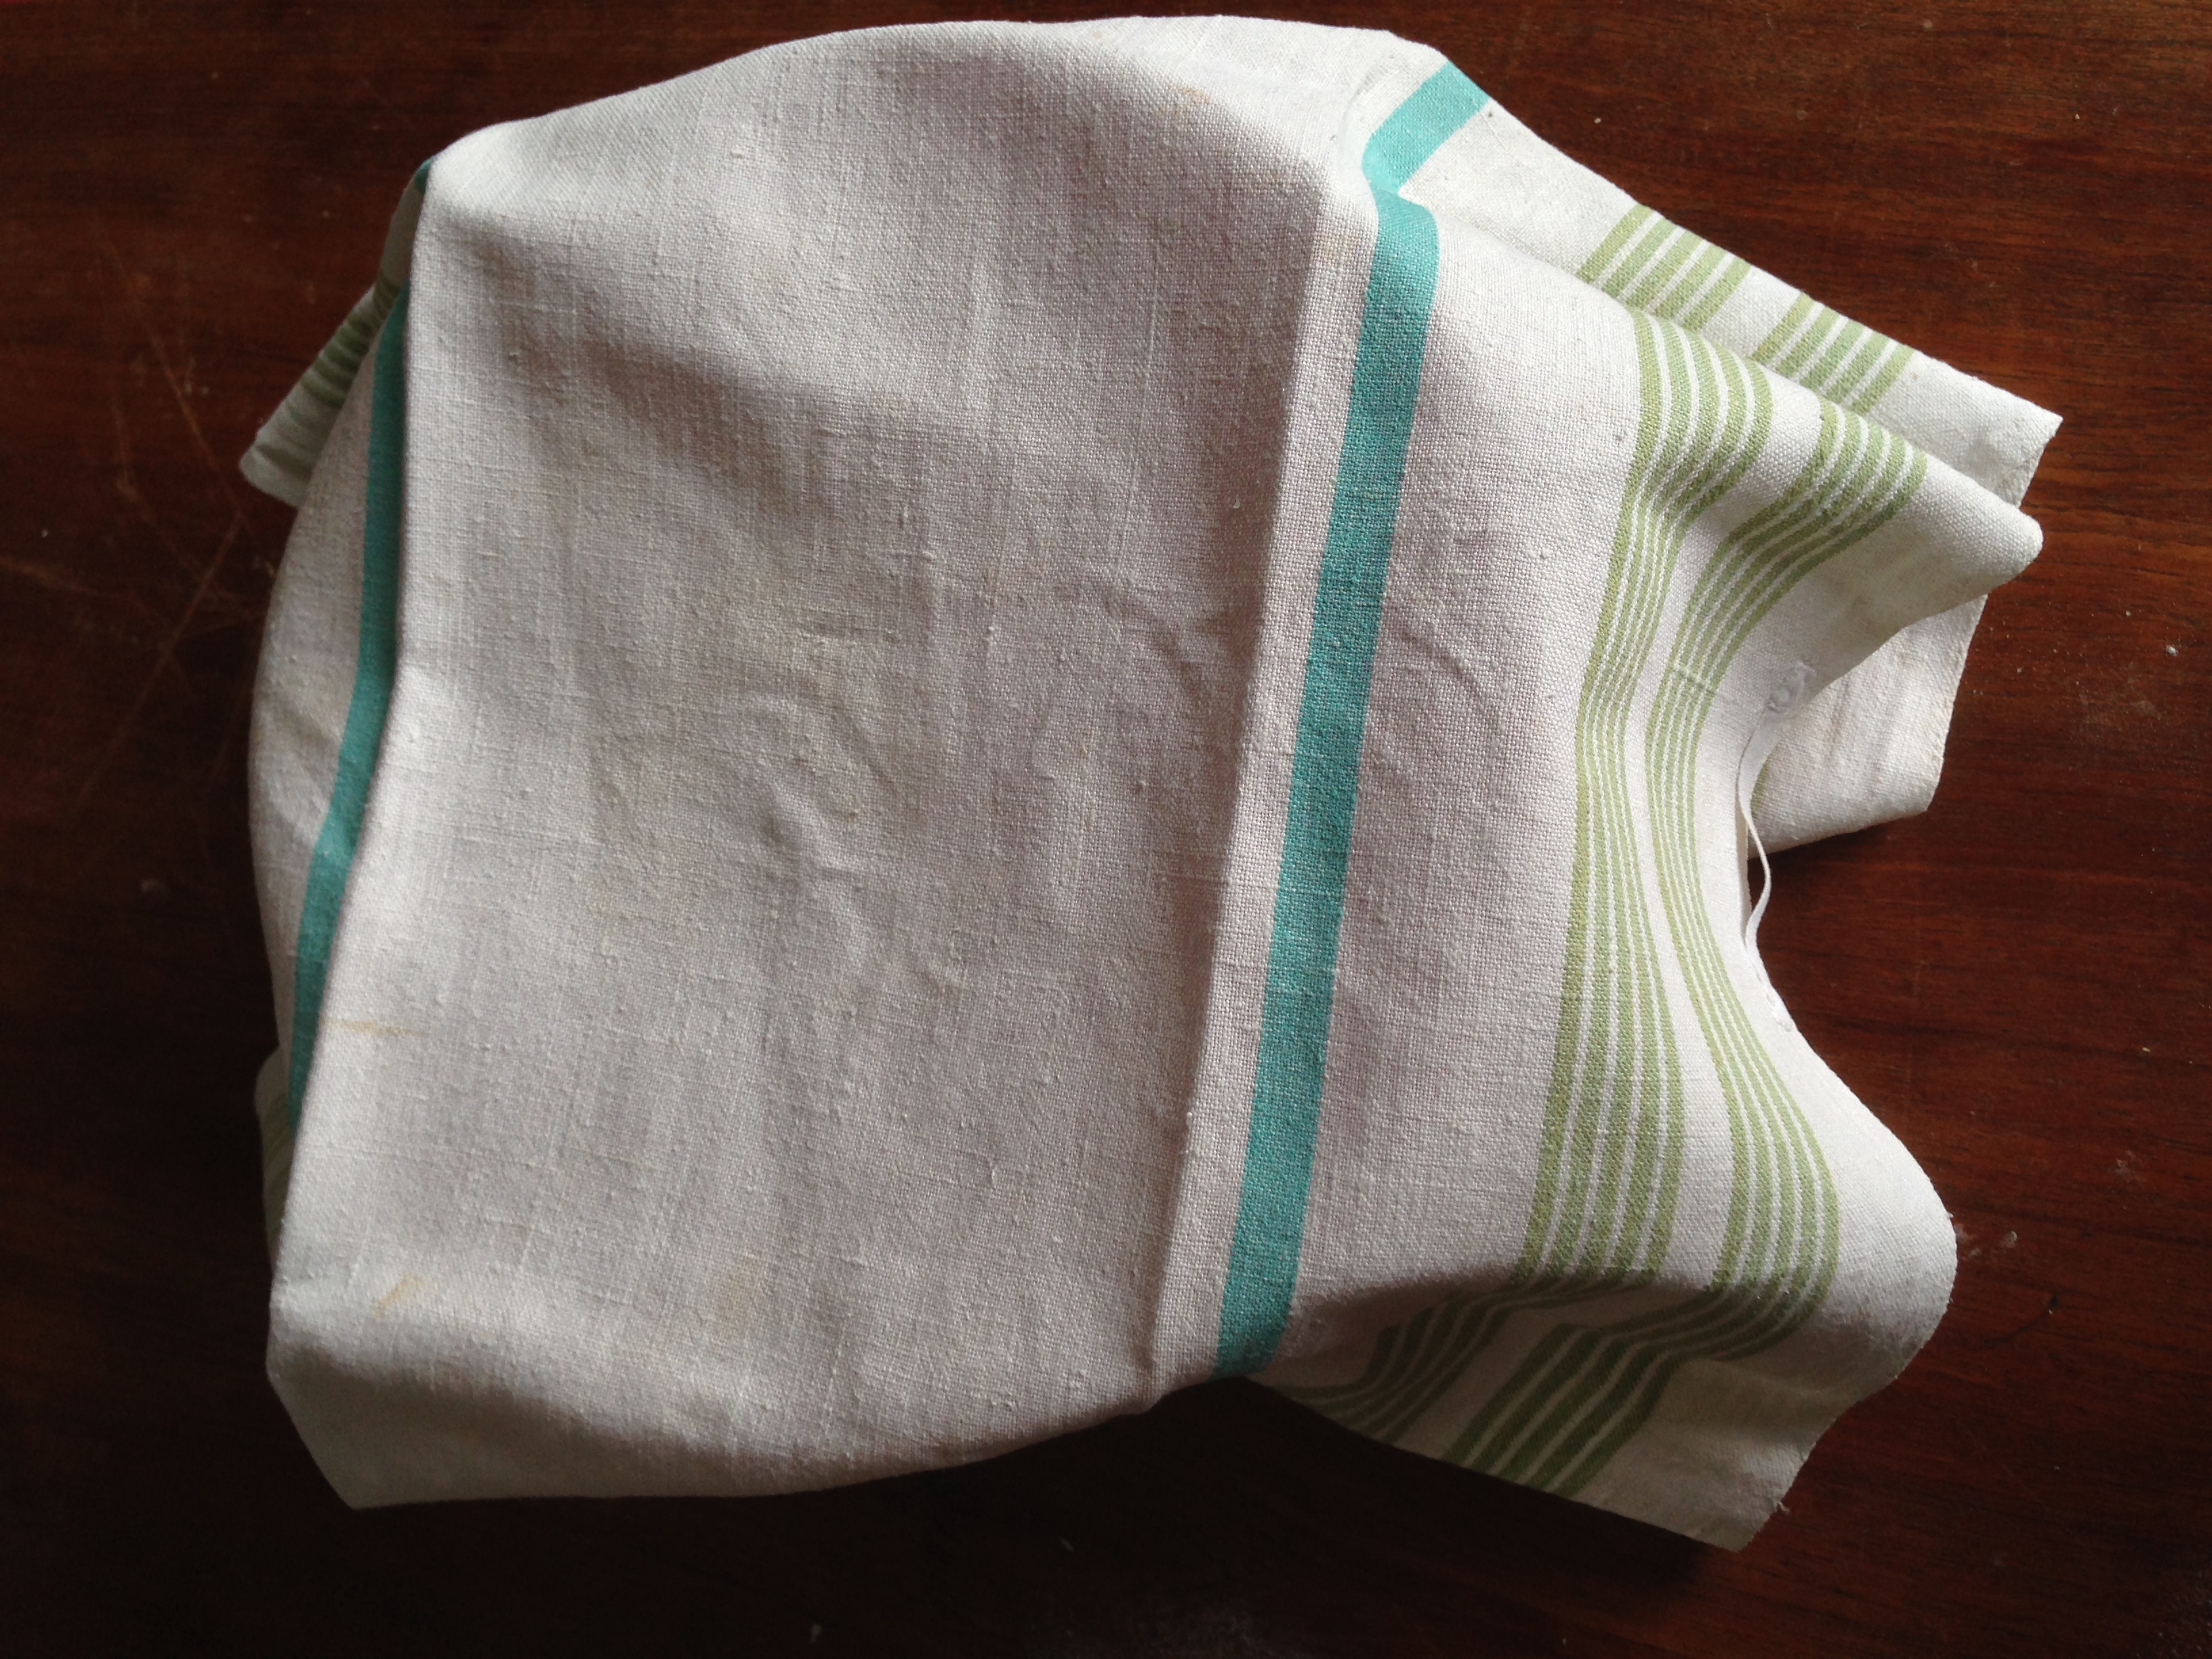
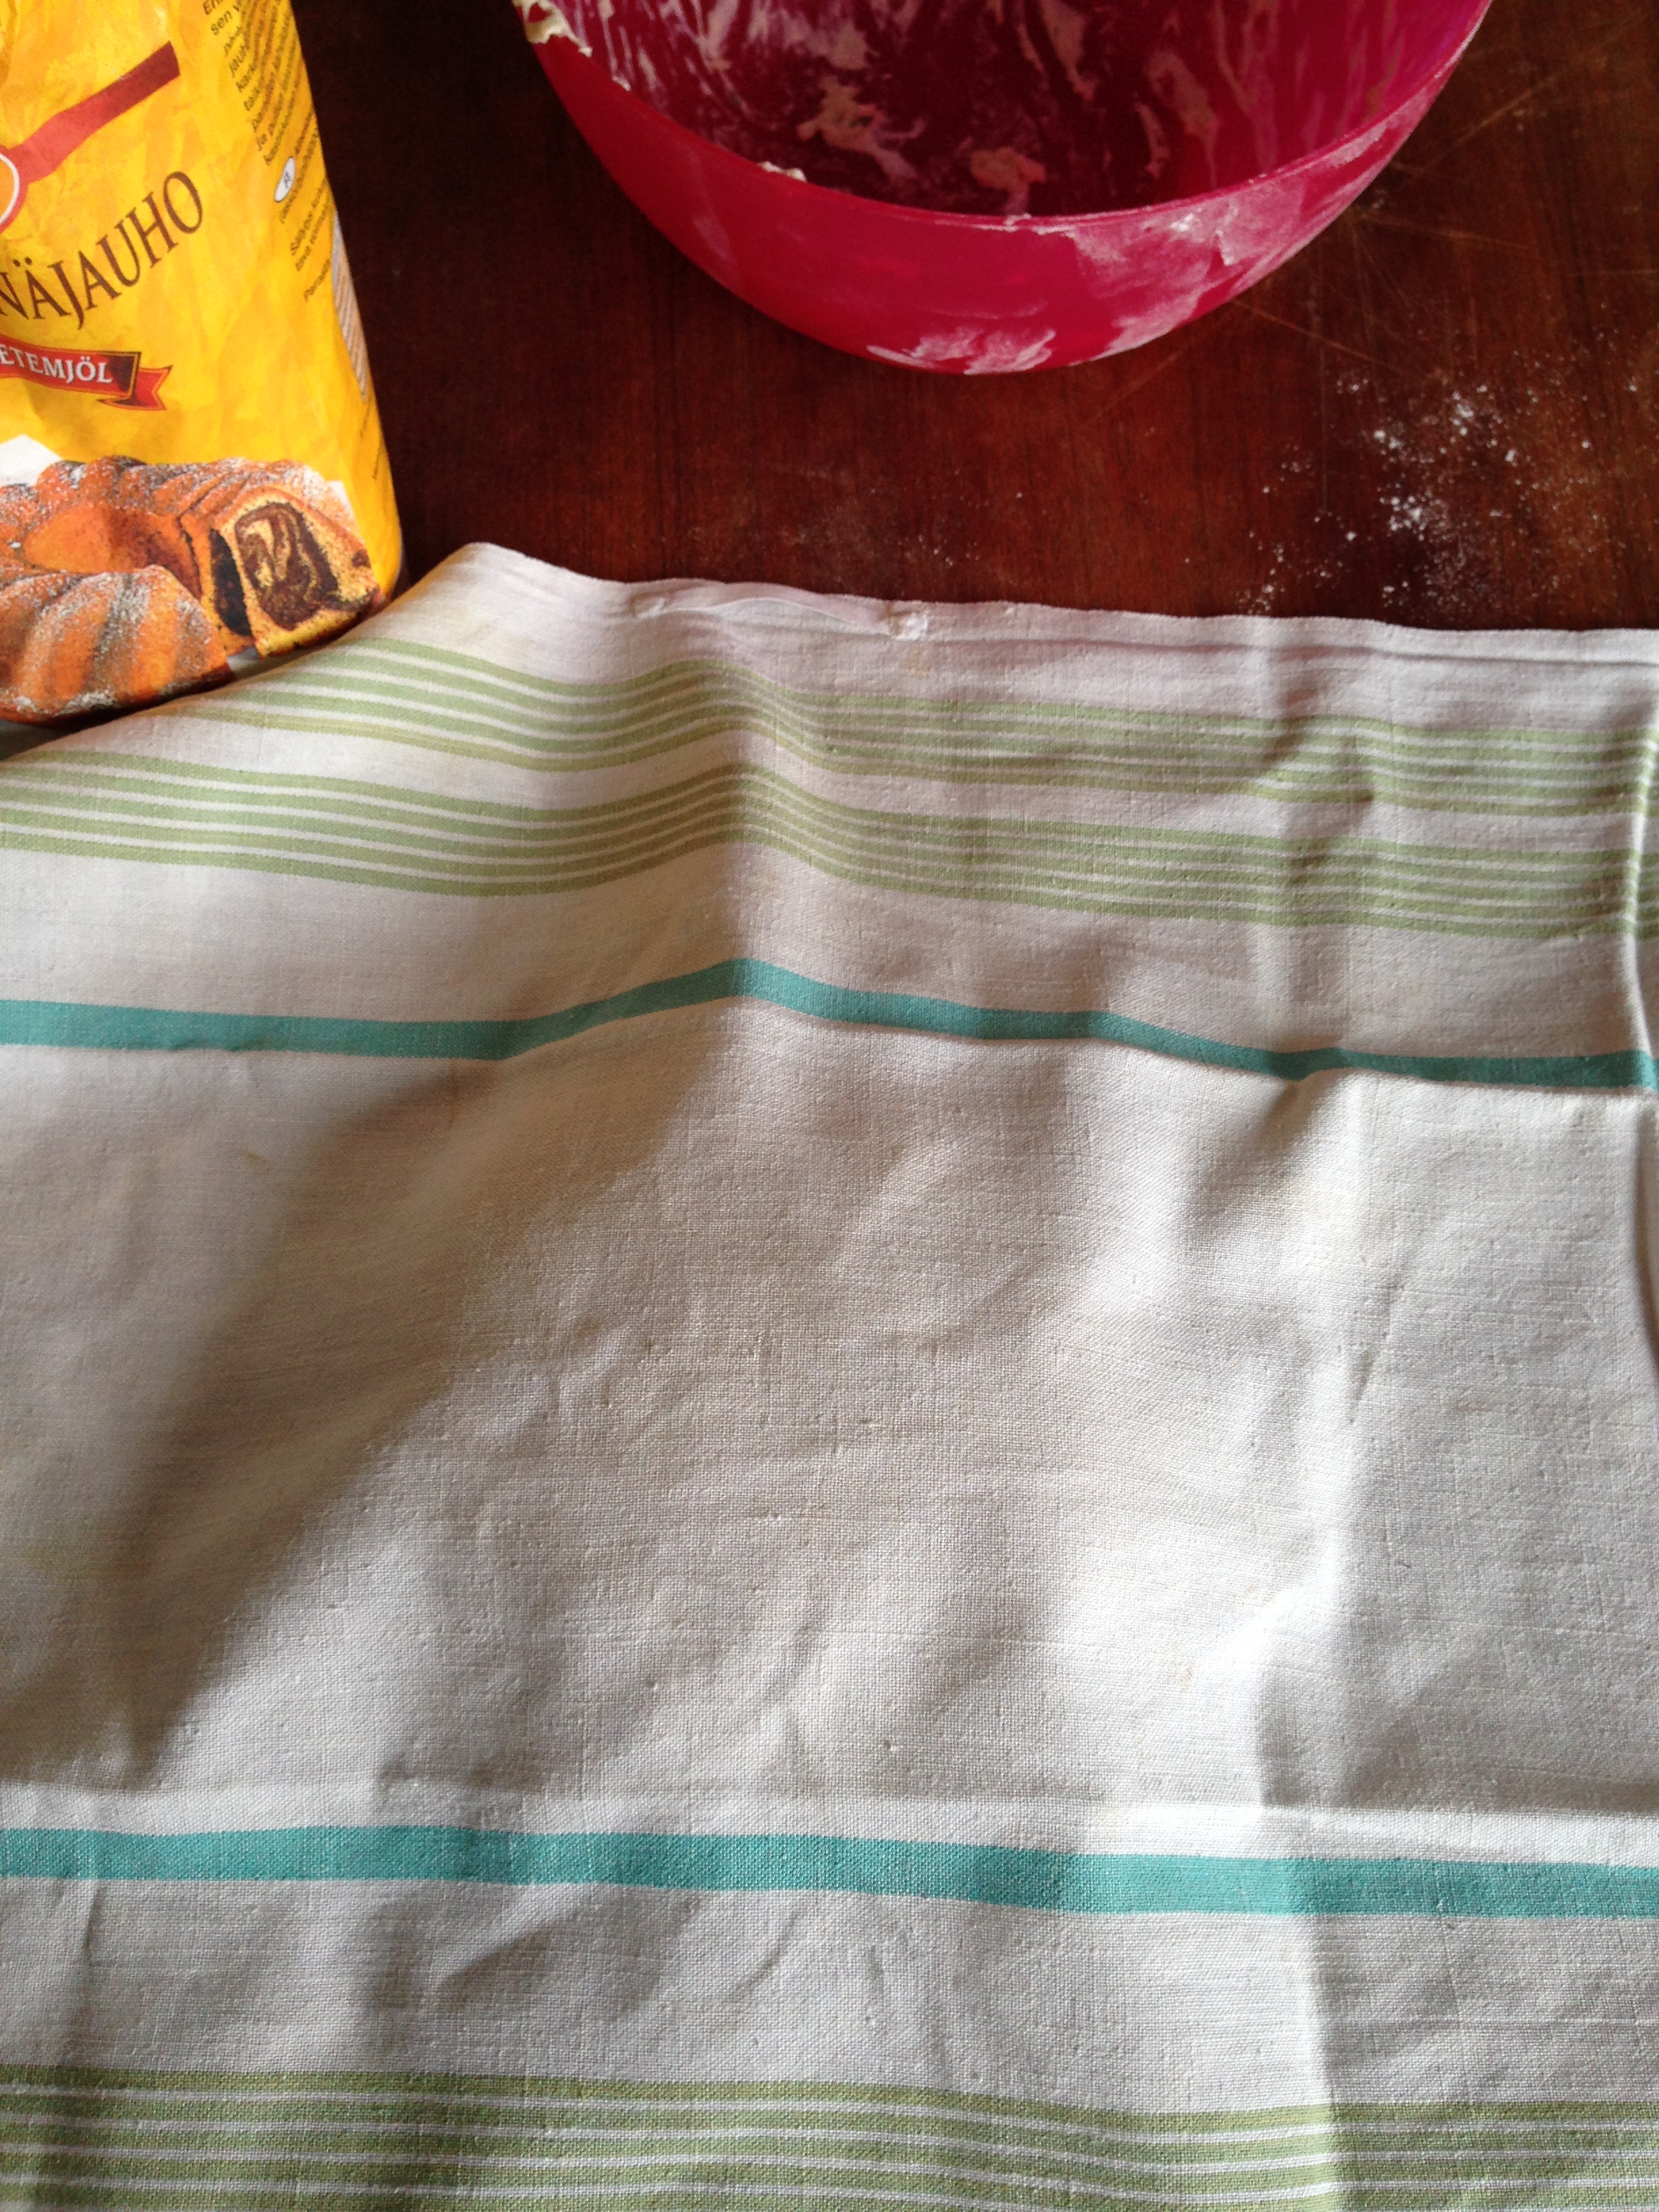
5. Cover the bowl loosely with a cloth and leave it to proof. Now it’s good to leave for proof for 12 hours or overnight. However, I did not have such a long time, so I let it proof for 7 hours and it was still good. Just let it sit for at least 6 hours, let’s say.
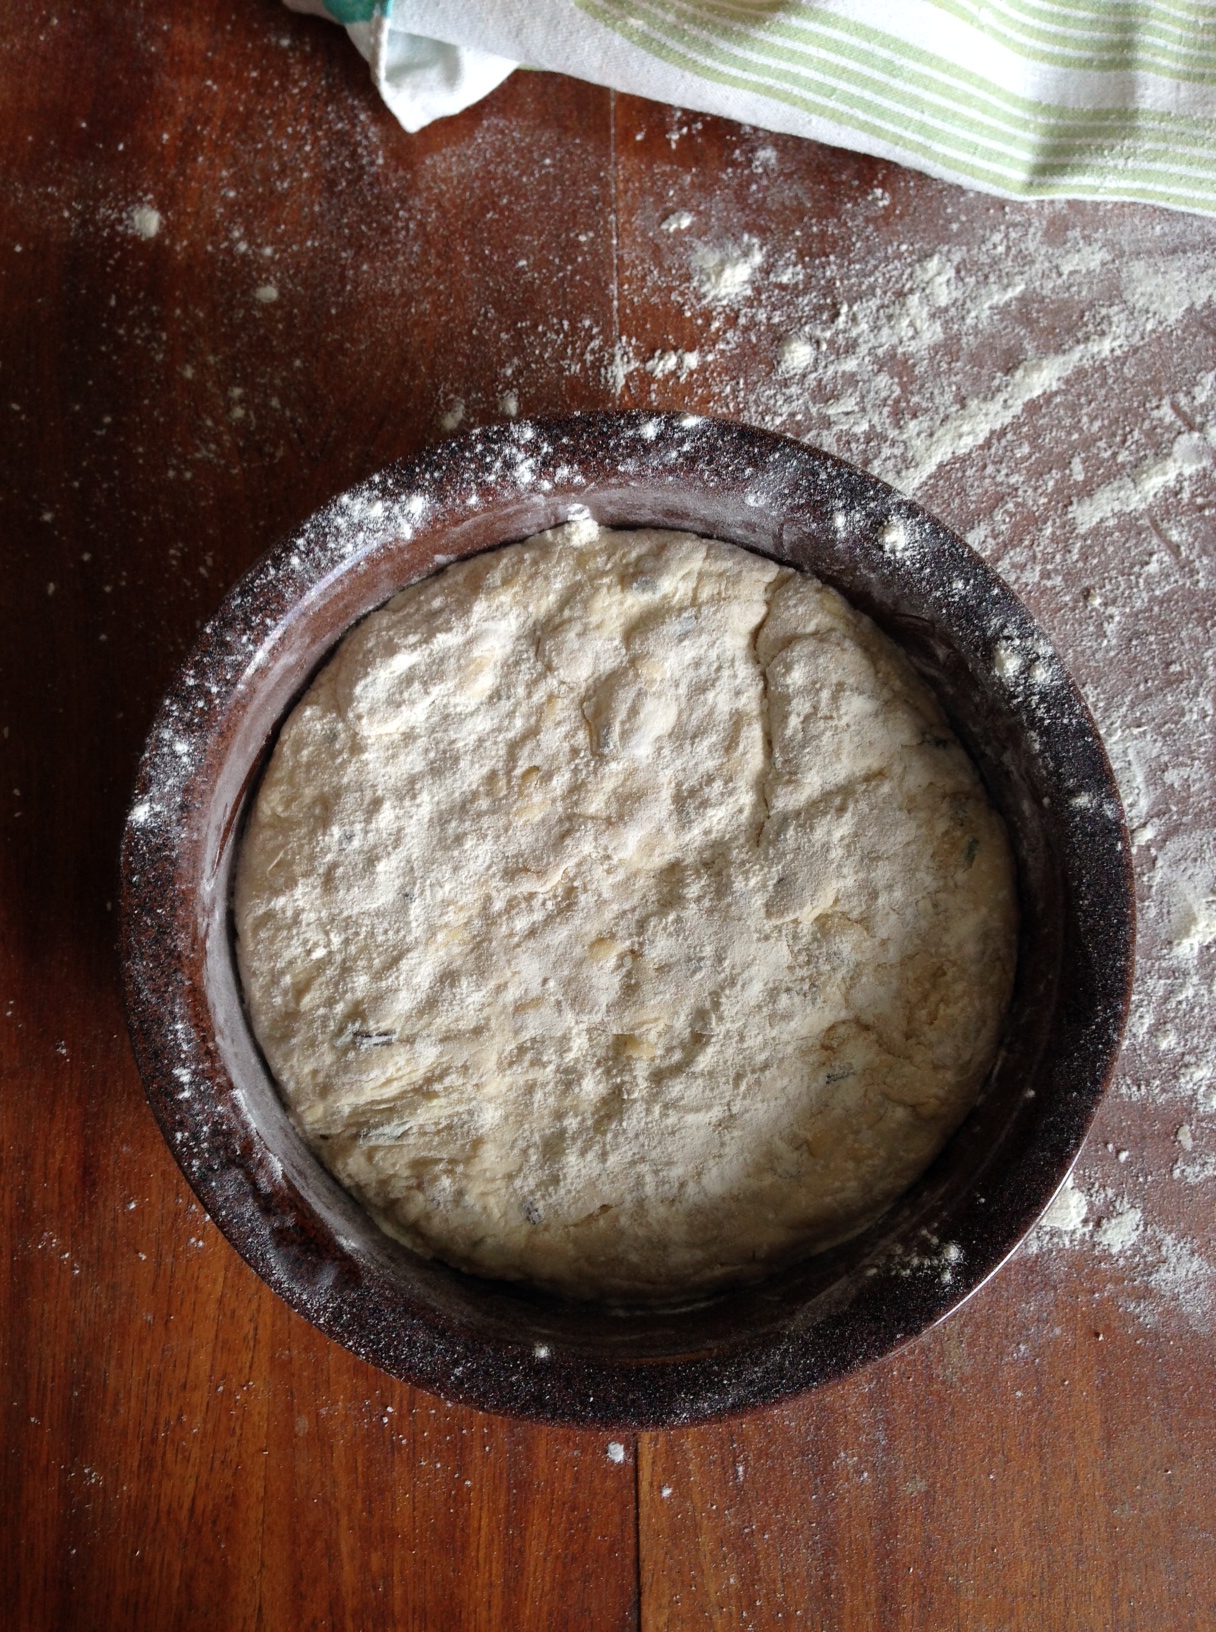
6. After 7 hours, you have a dough like seen in the picture – bigger and inside, bubbly wobbly.
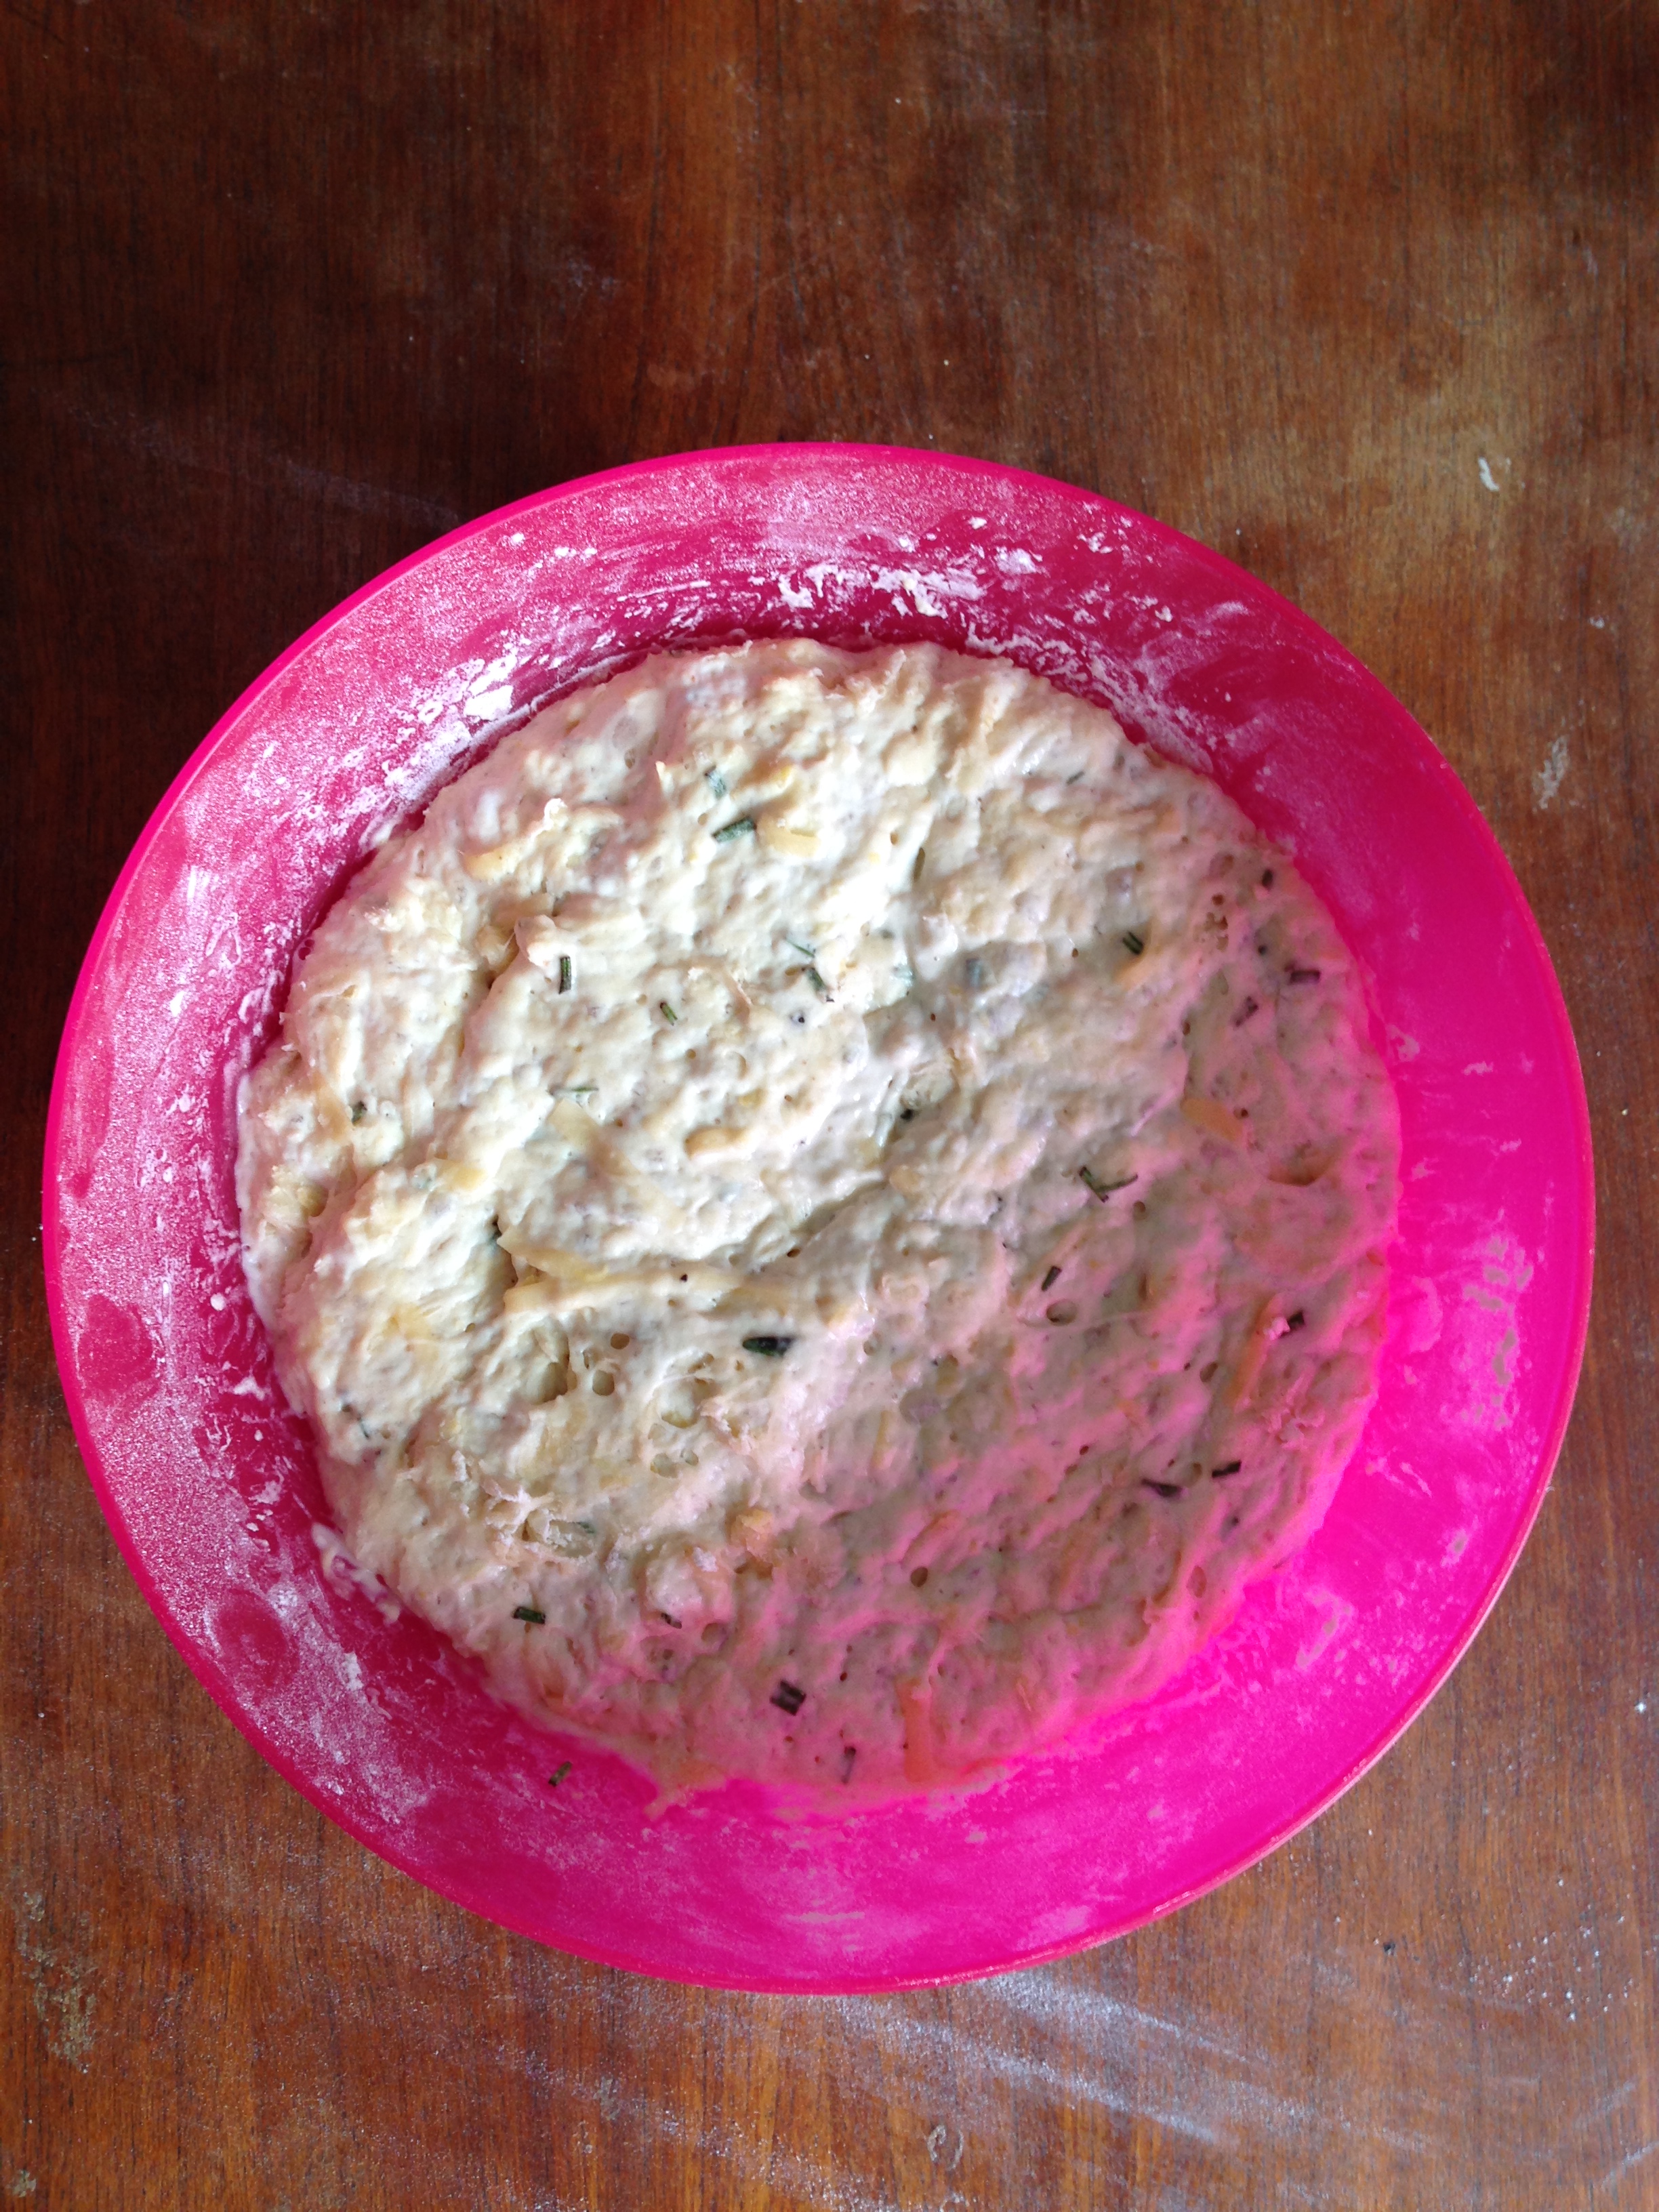
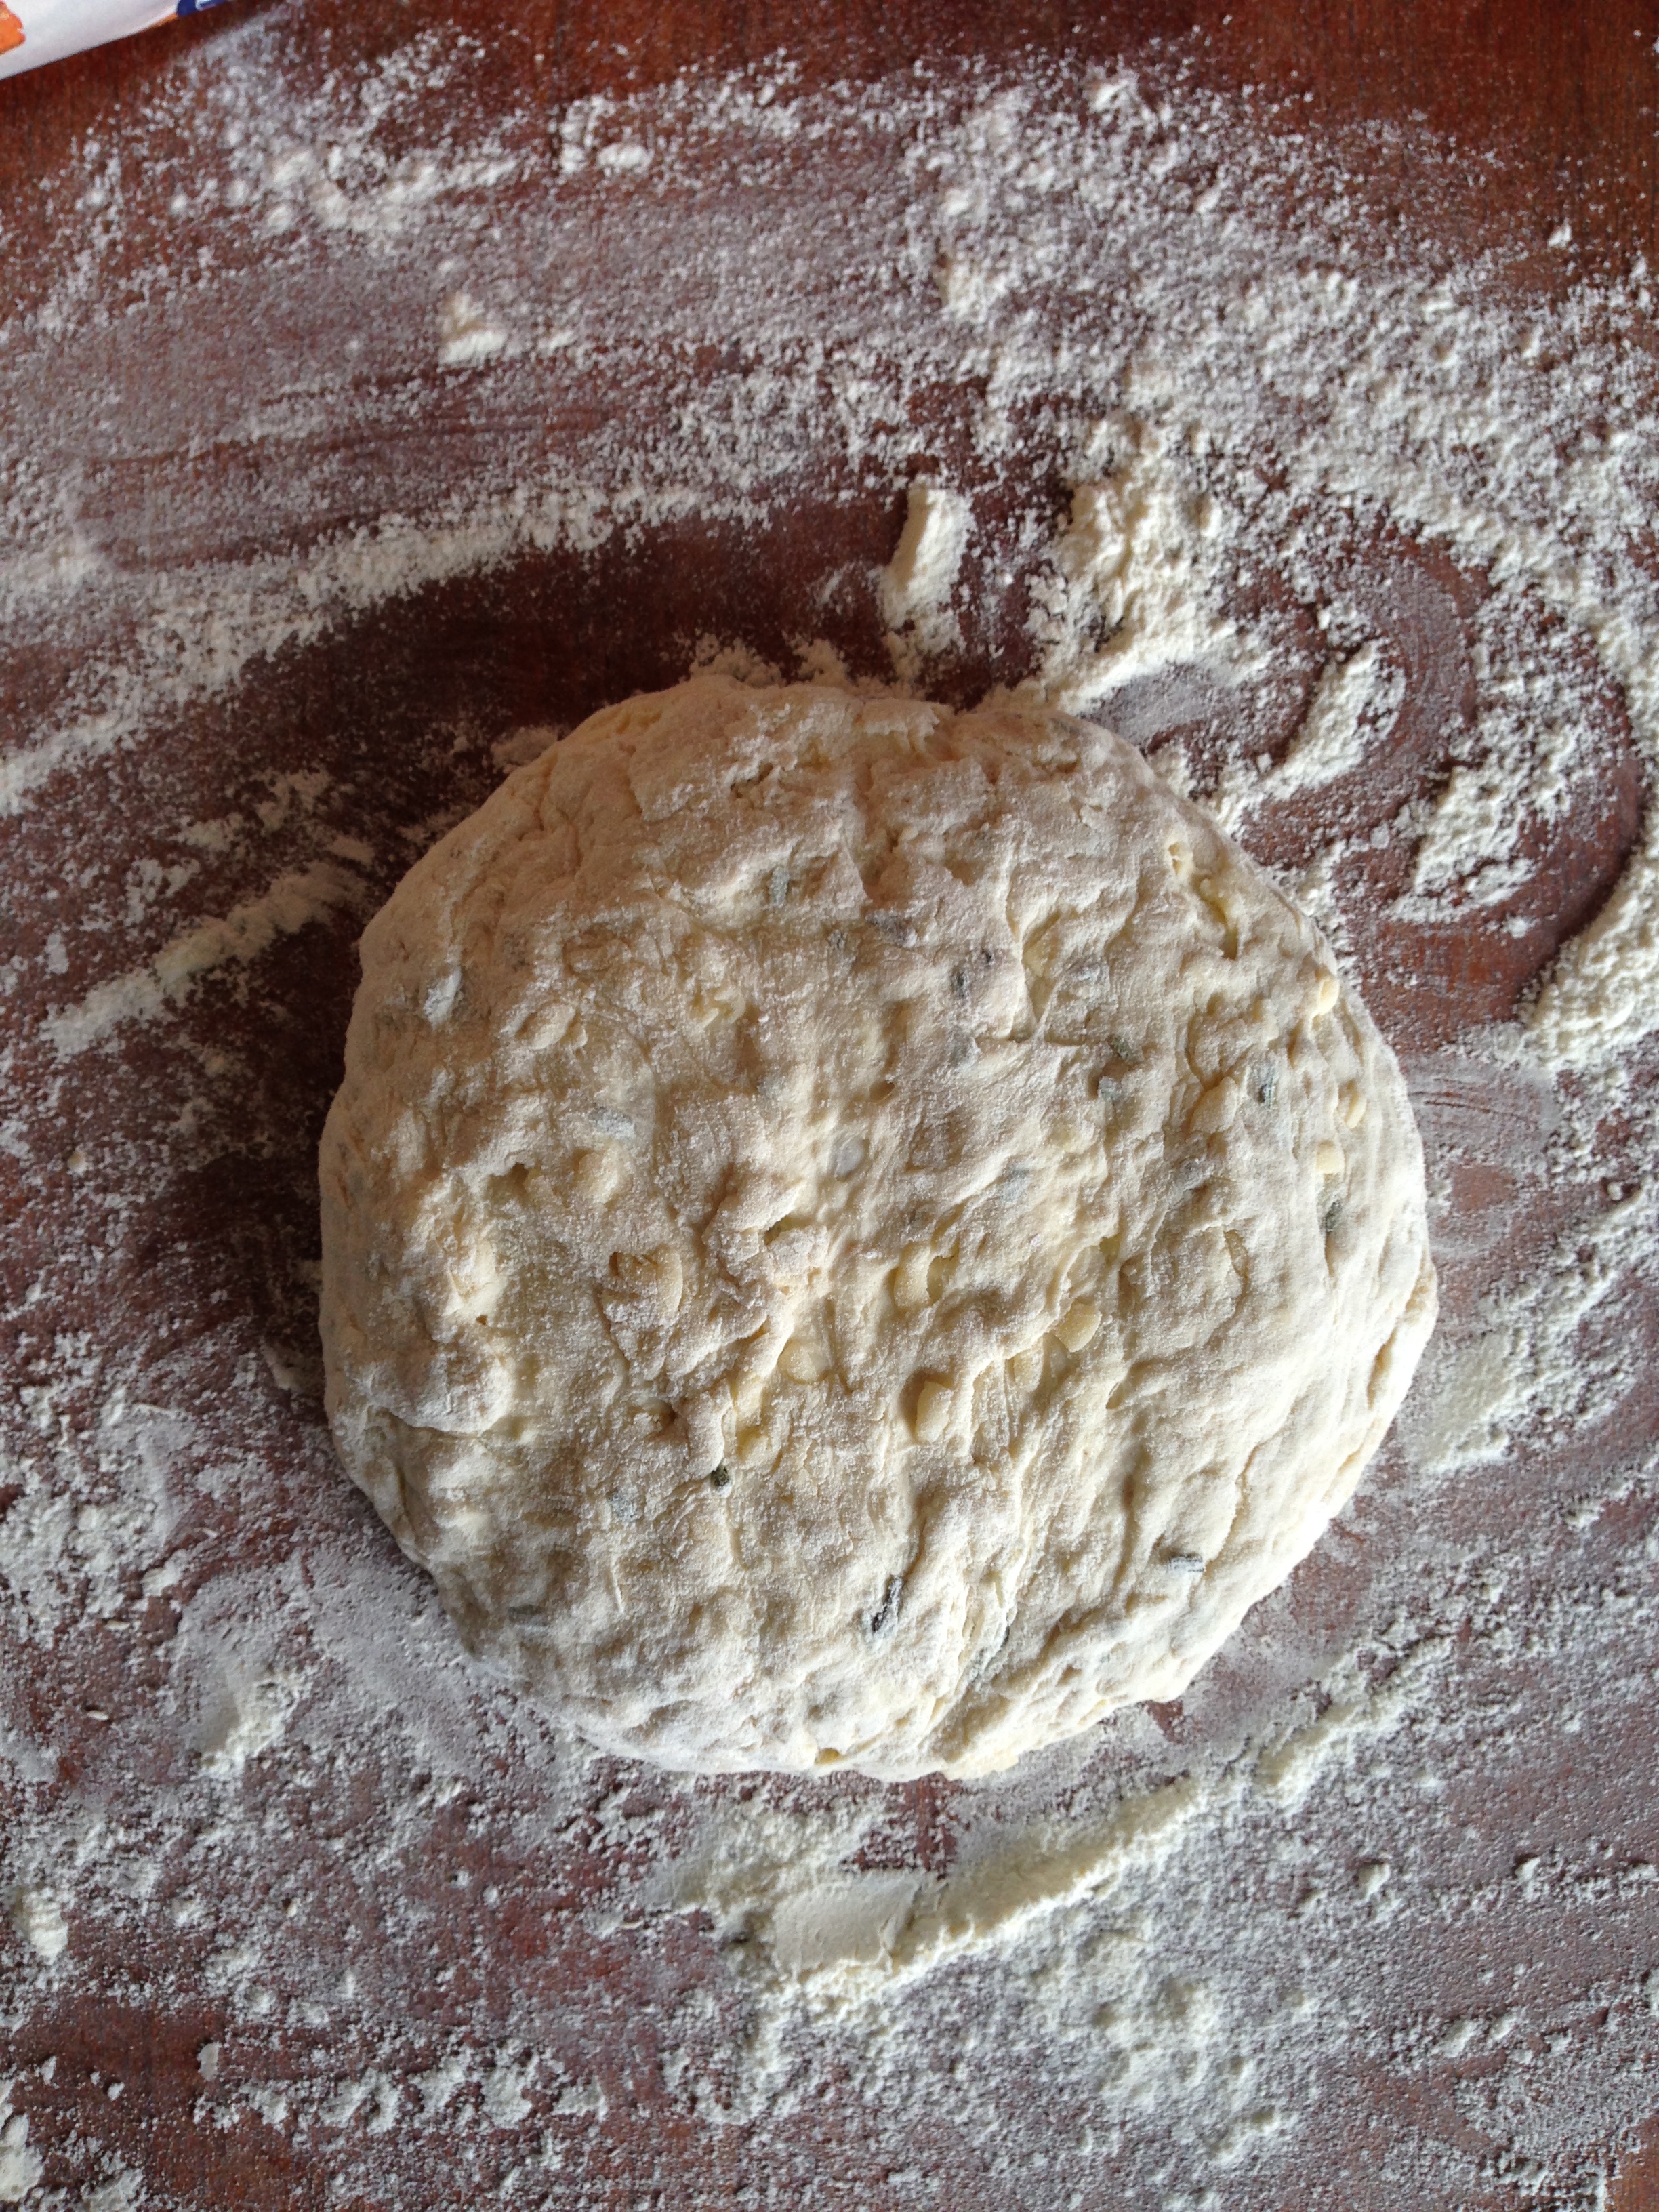
7. Spread a lot of flour on the table / counter (since bread dough is REALLY sticky). Put the dough on the counter. Flour your hands. Make the dough into a round shape – do not knead it, just adjust the shape that’s all. Then cover it again with the cloth and leave for 30 minutes more.
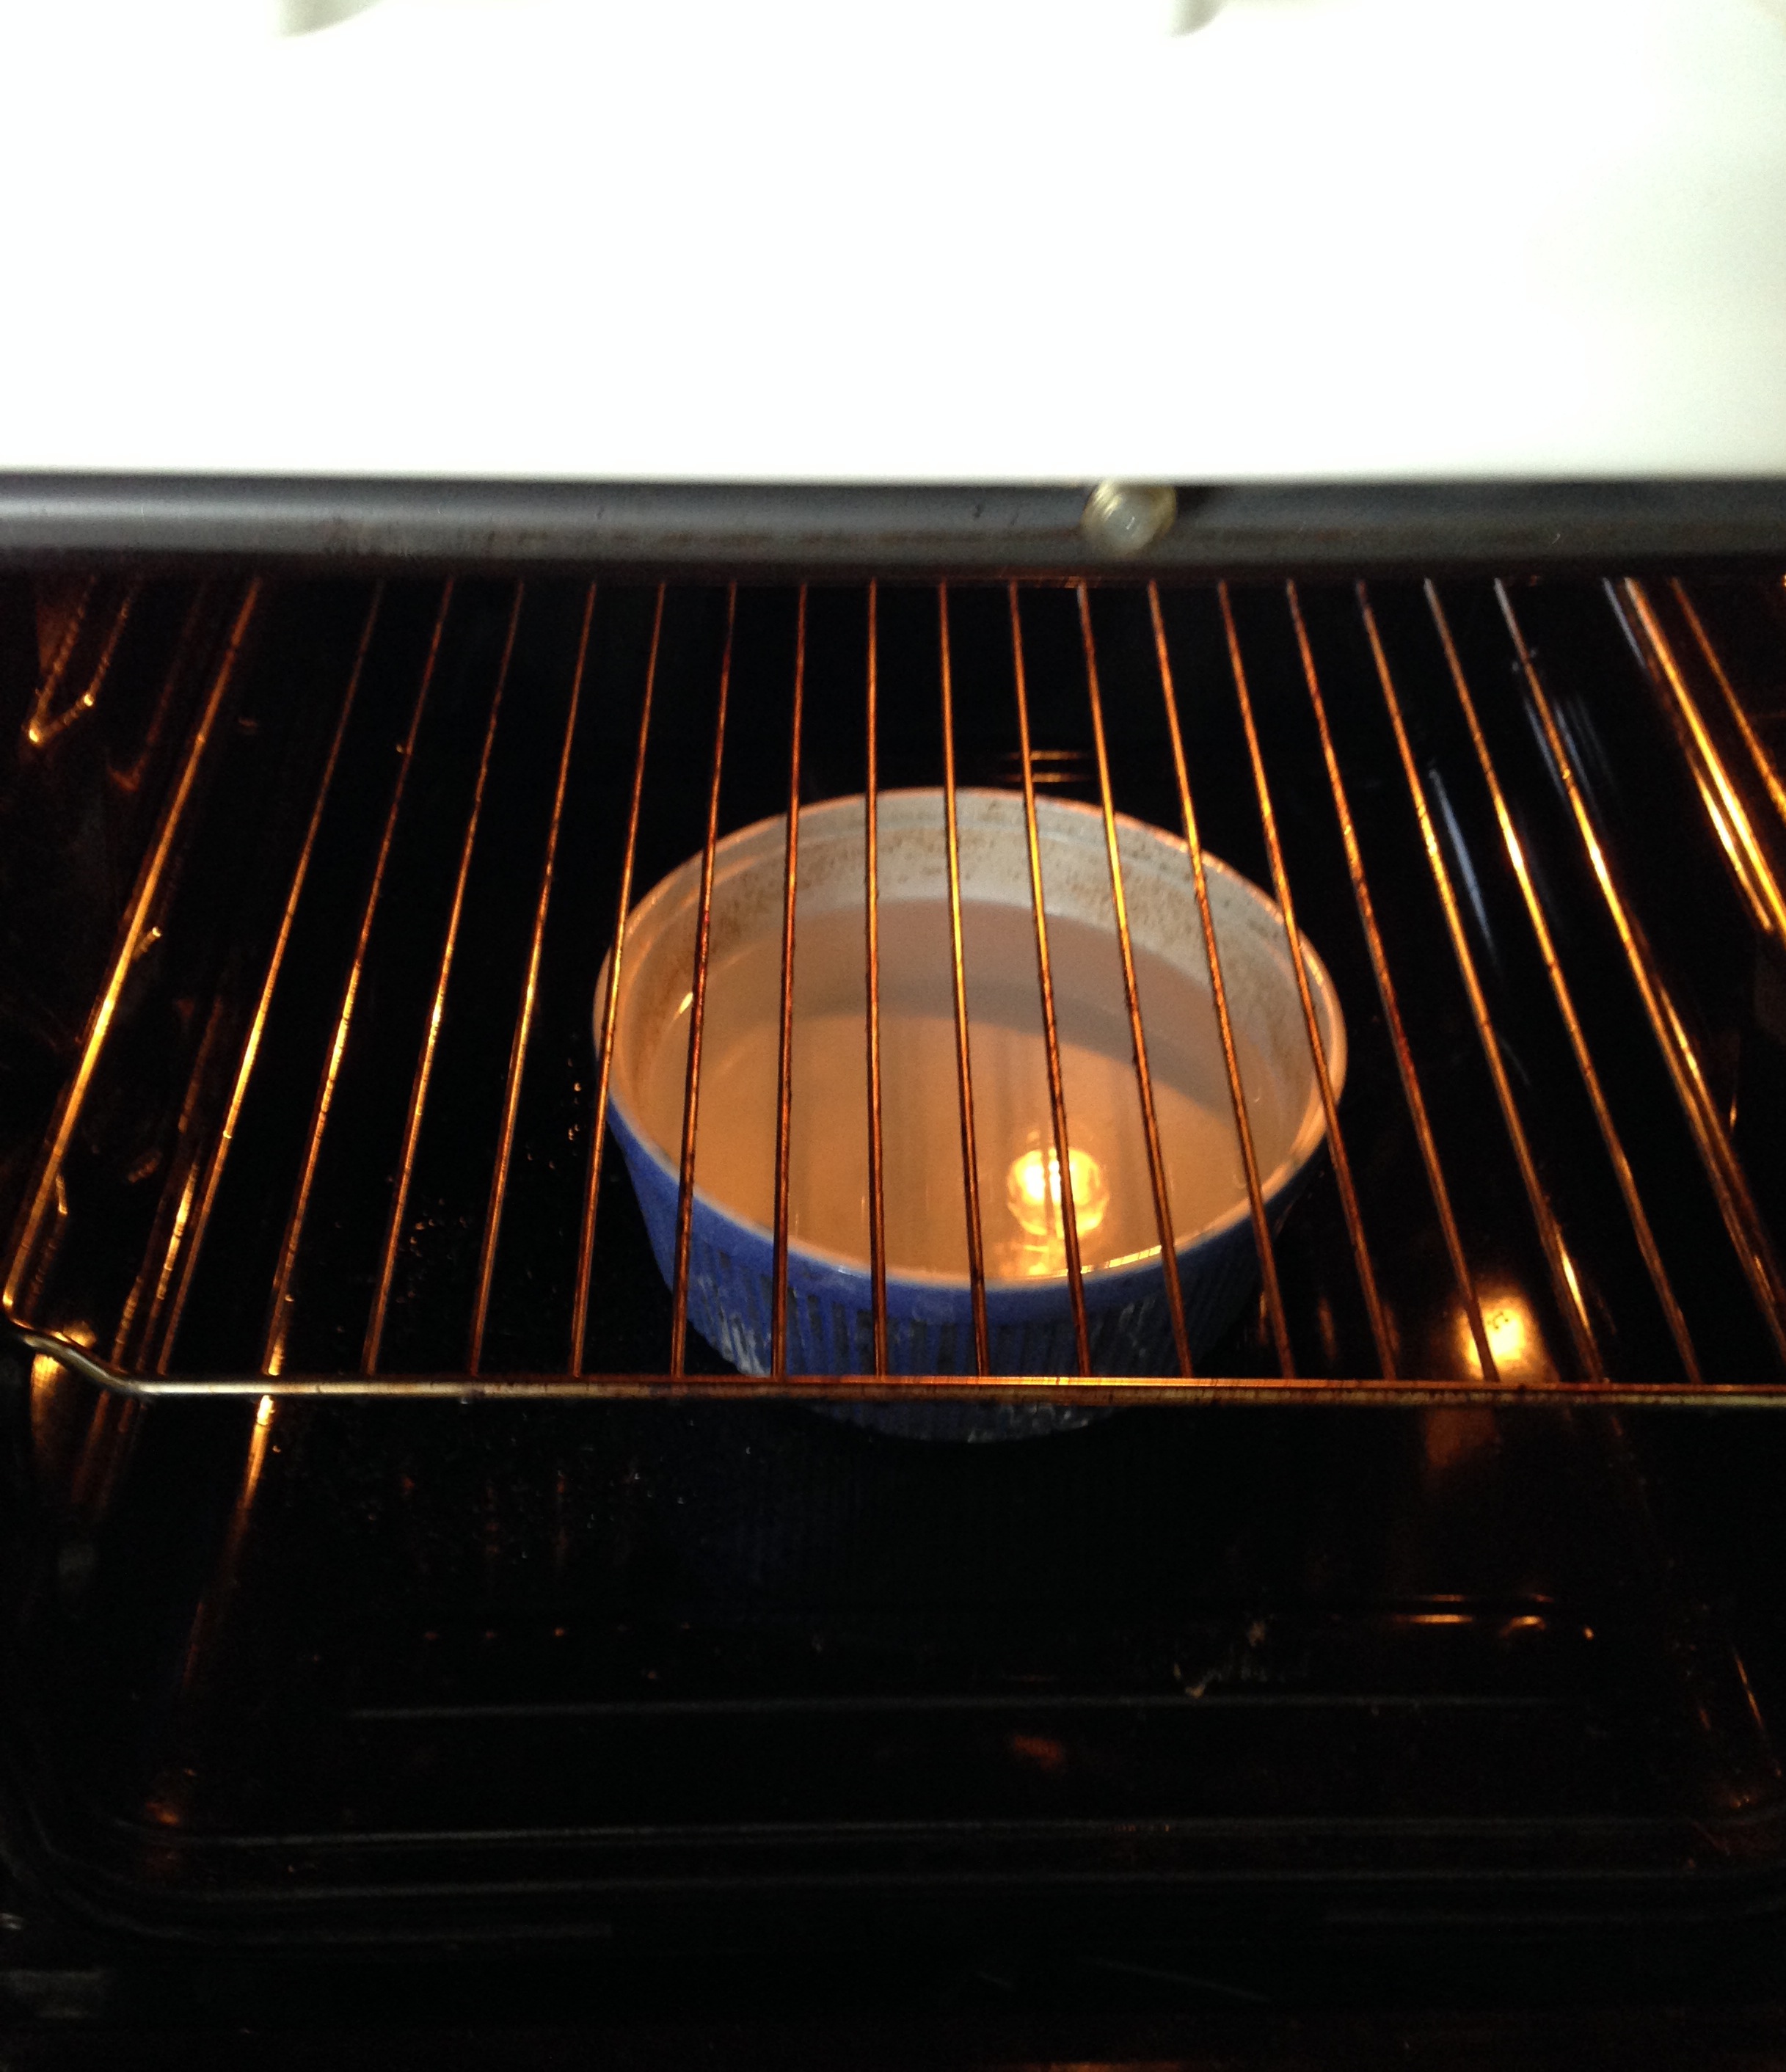
8. PREPARE YOUR OVEN: Preheat the oven to 225C. In the meantime, boil some water elsewhere. Put the boiling water in a bowl which is suitable to put inside the oven. When the oven is at the right temperature, put the bowl with water in it inside the oven, at the base of the oven. Close the door immediately and let the boiling water create a little bit of steam inside the oven. About 10 minutes is good for creating steam. You can also prepare some water in a smaller bowl outside, and quickly splash about a handful of it every now and then to the base of the oven to create immediate steam (while still also having the boiling water inside). Just make sure that you do this action quickly so that you do not lose most of the water through the open door of the oven.
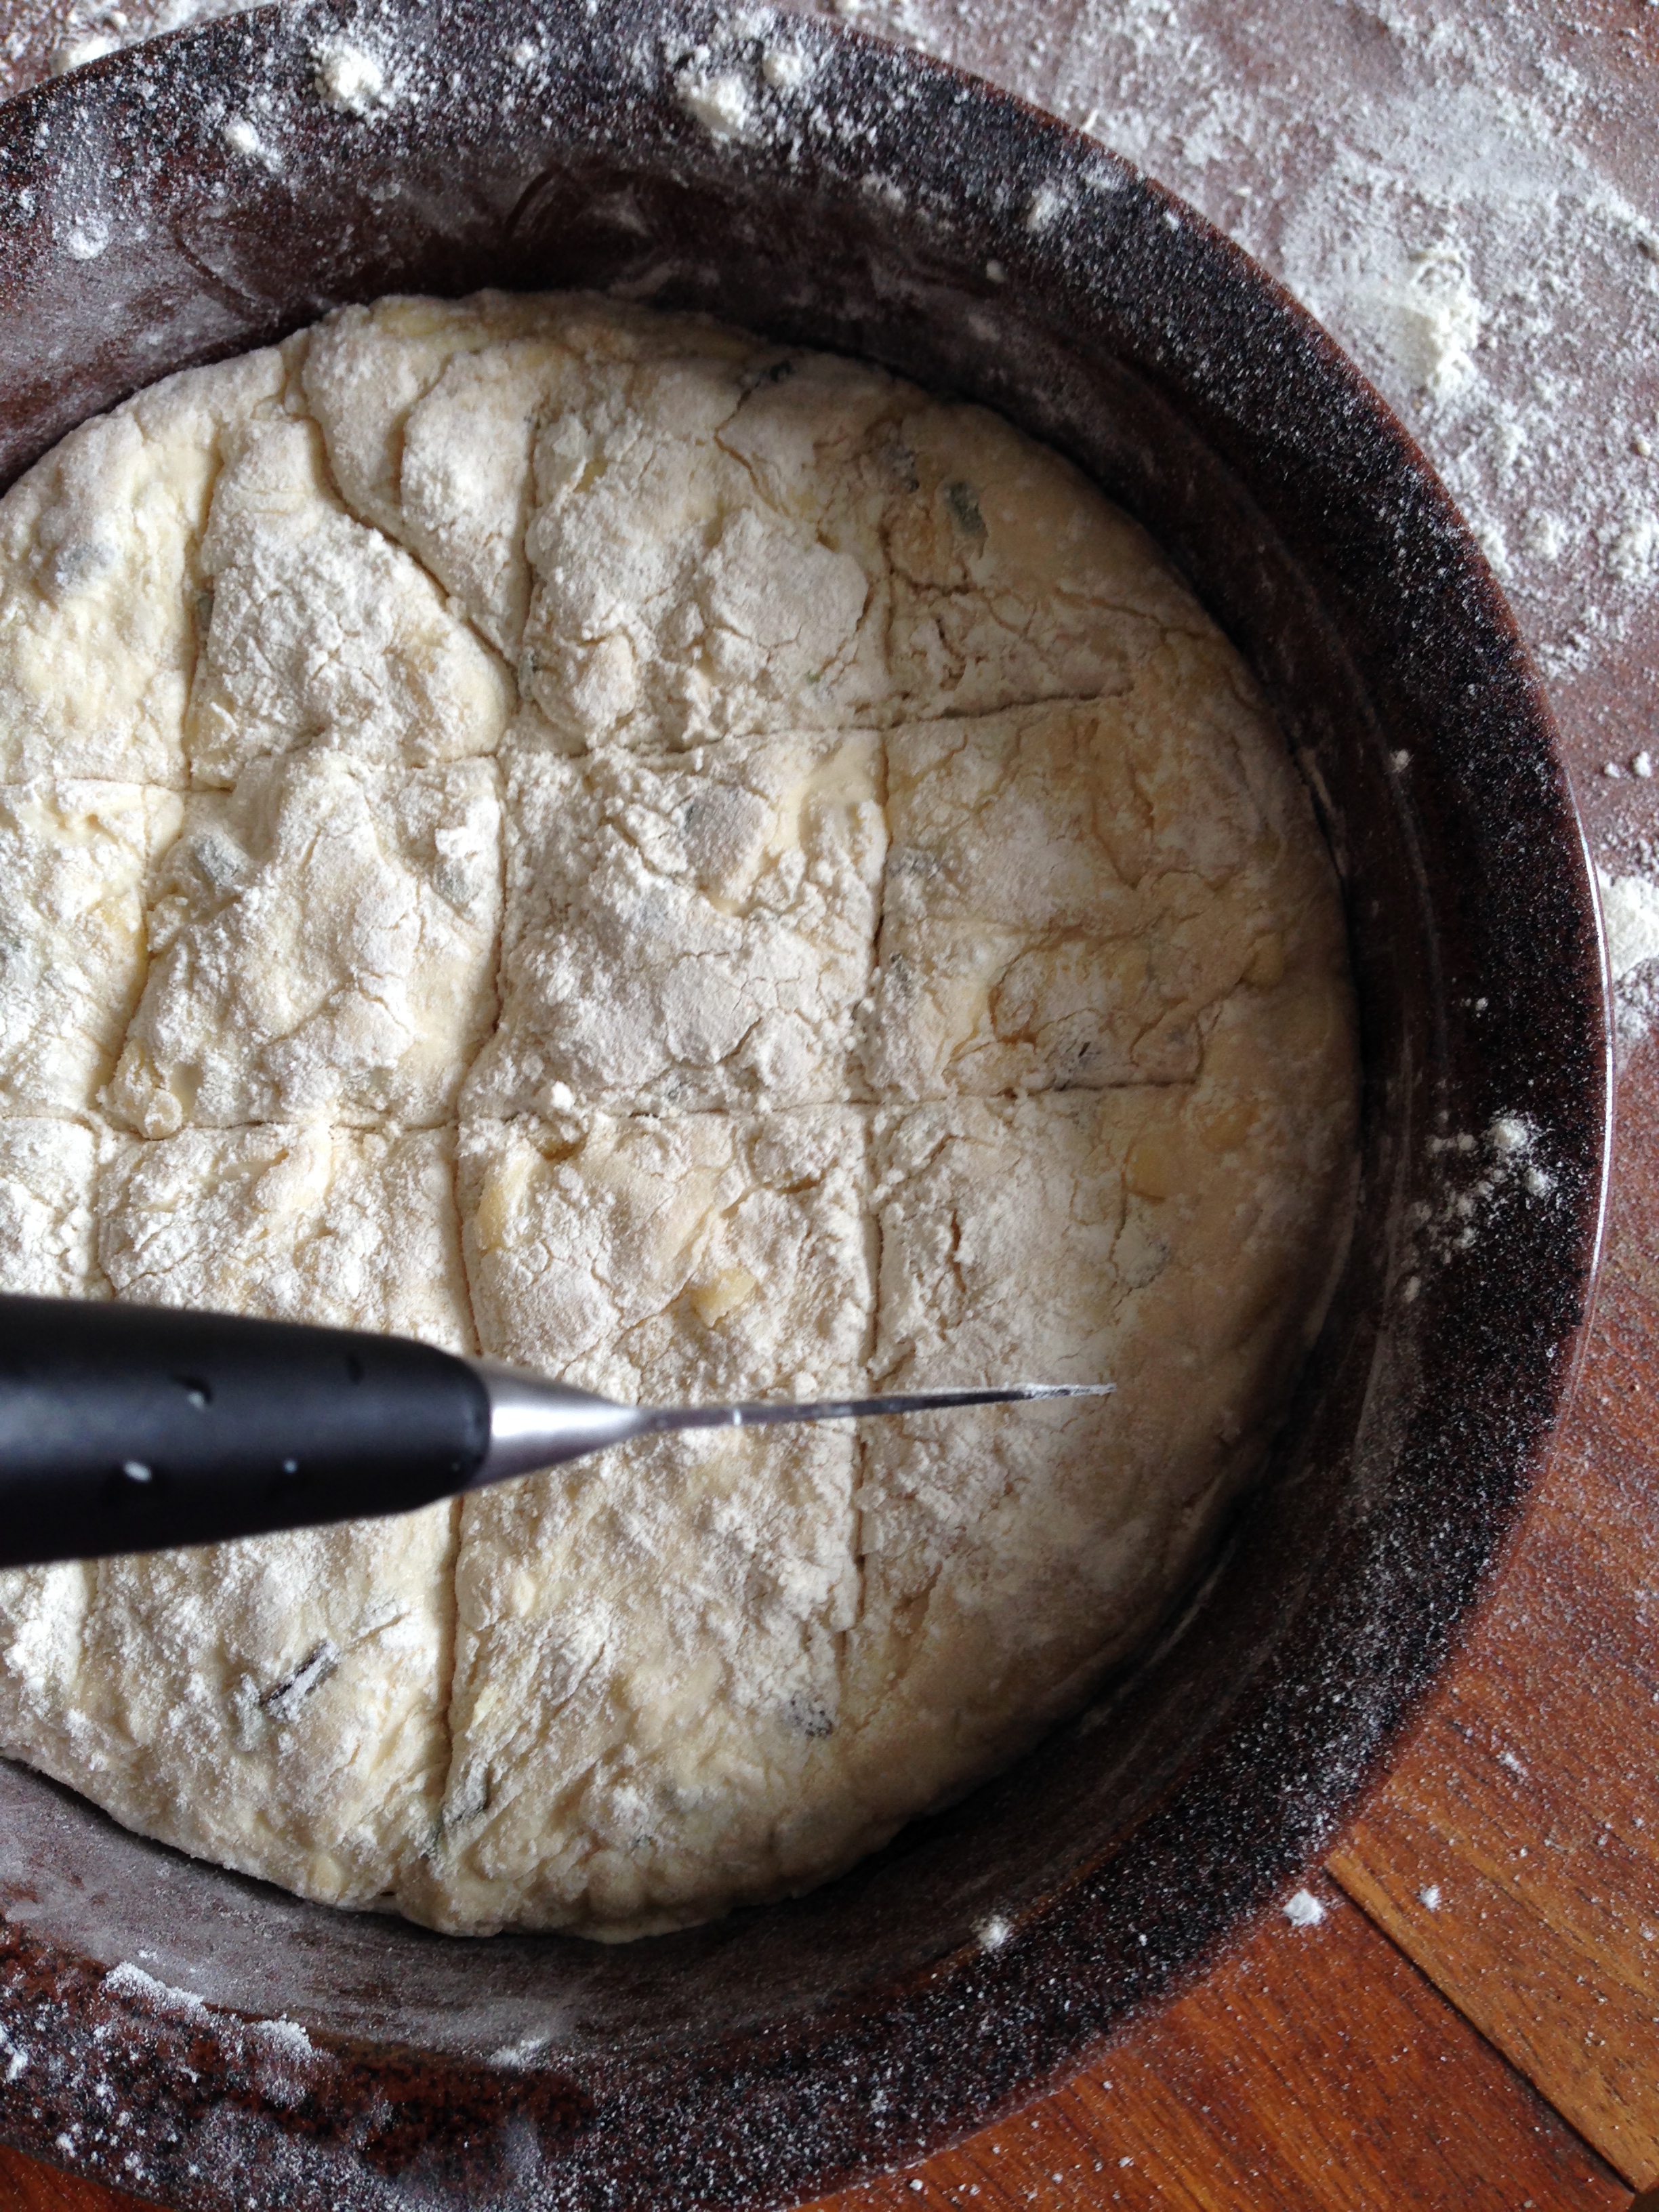
9. When your oven is ready, and you left your bread dough for 30 minutes under the cloth, prepare your dish. I always use a ceramic dish to bake bread. Just spread some flour on the dish. Gently take your dough and put it inside the dish. With a sharp knife, slash the top – or you can even use scissors. I realised that I did not do it deep enough in my bread. But well, no can do. Dust the surface of the bread with a bit of flour and you are ready to bake.
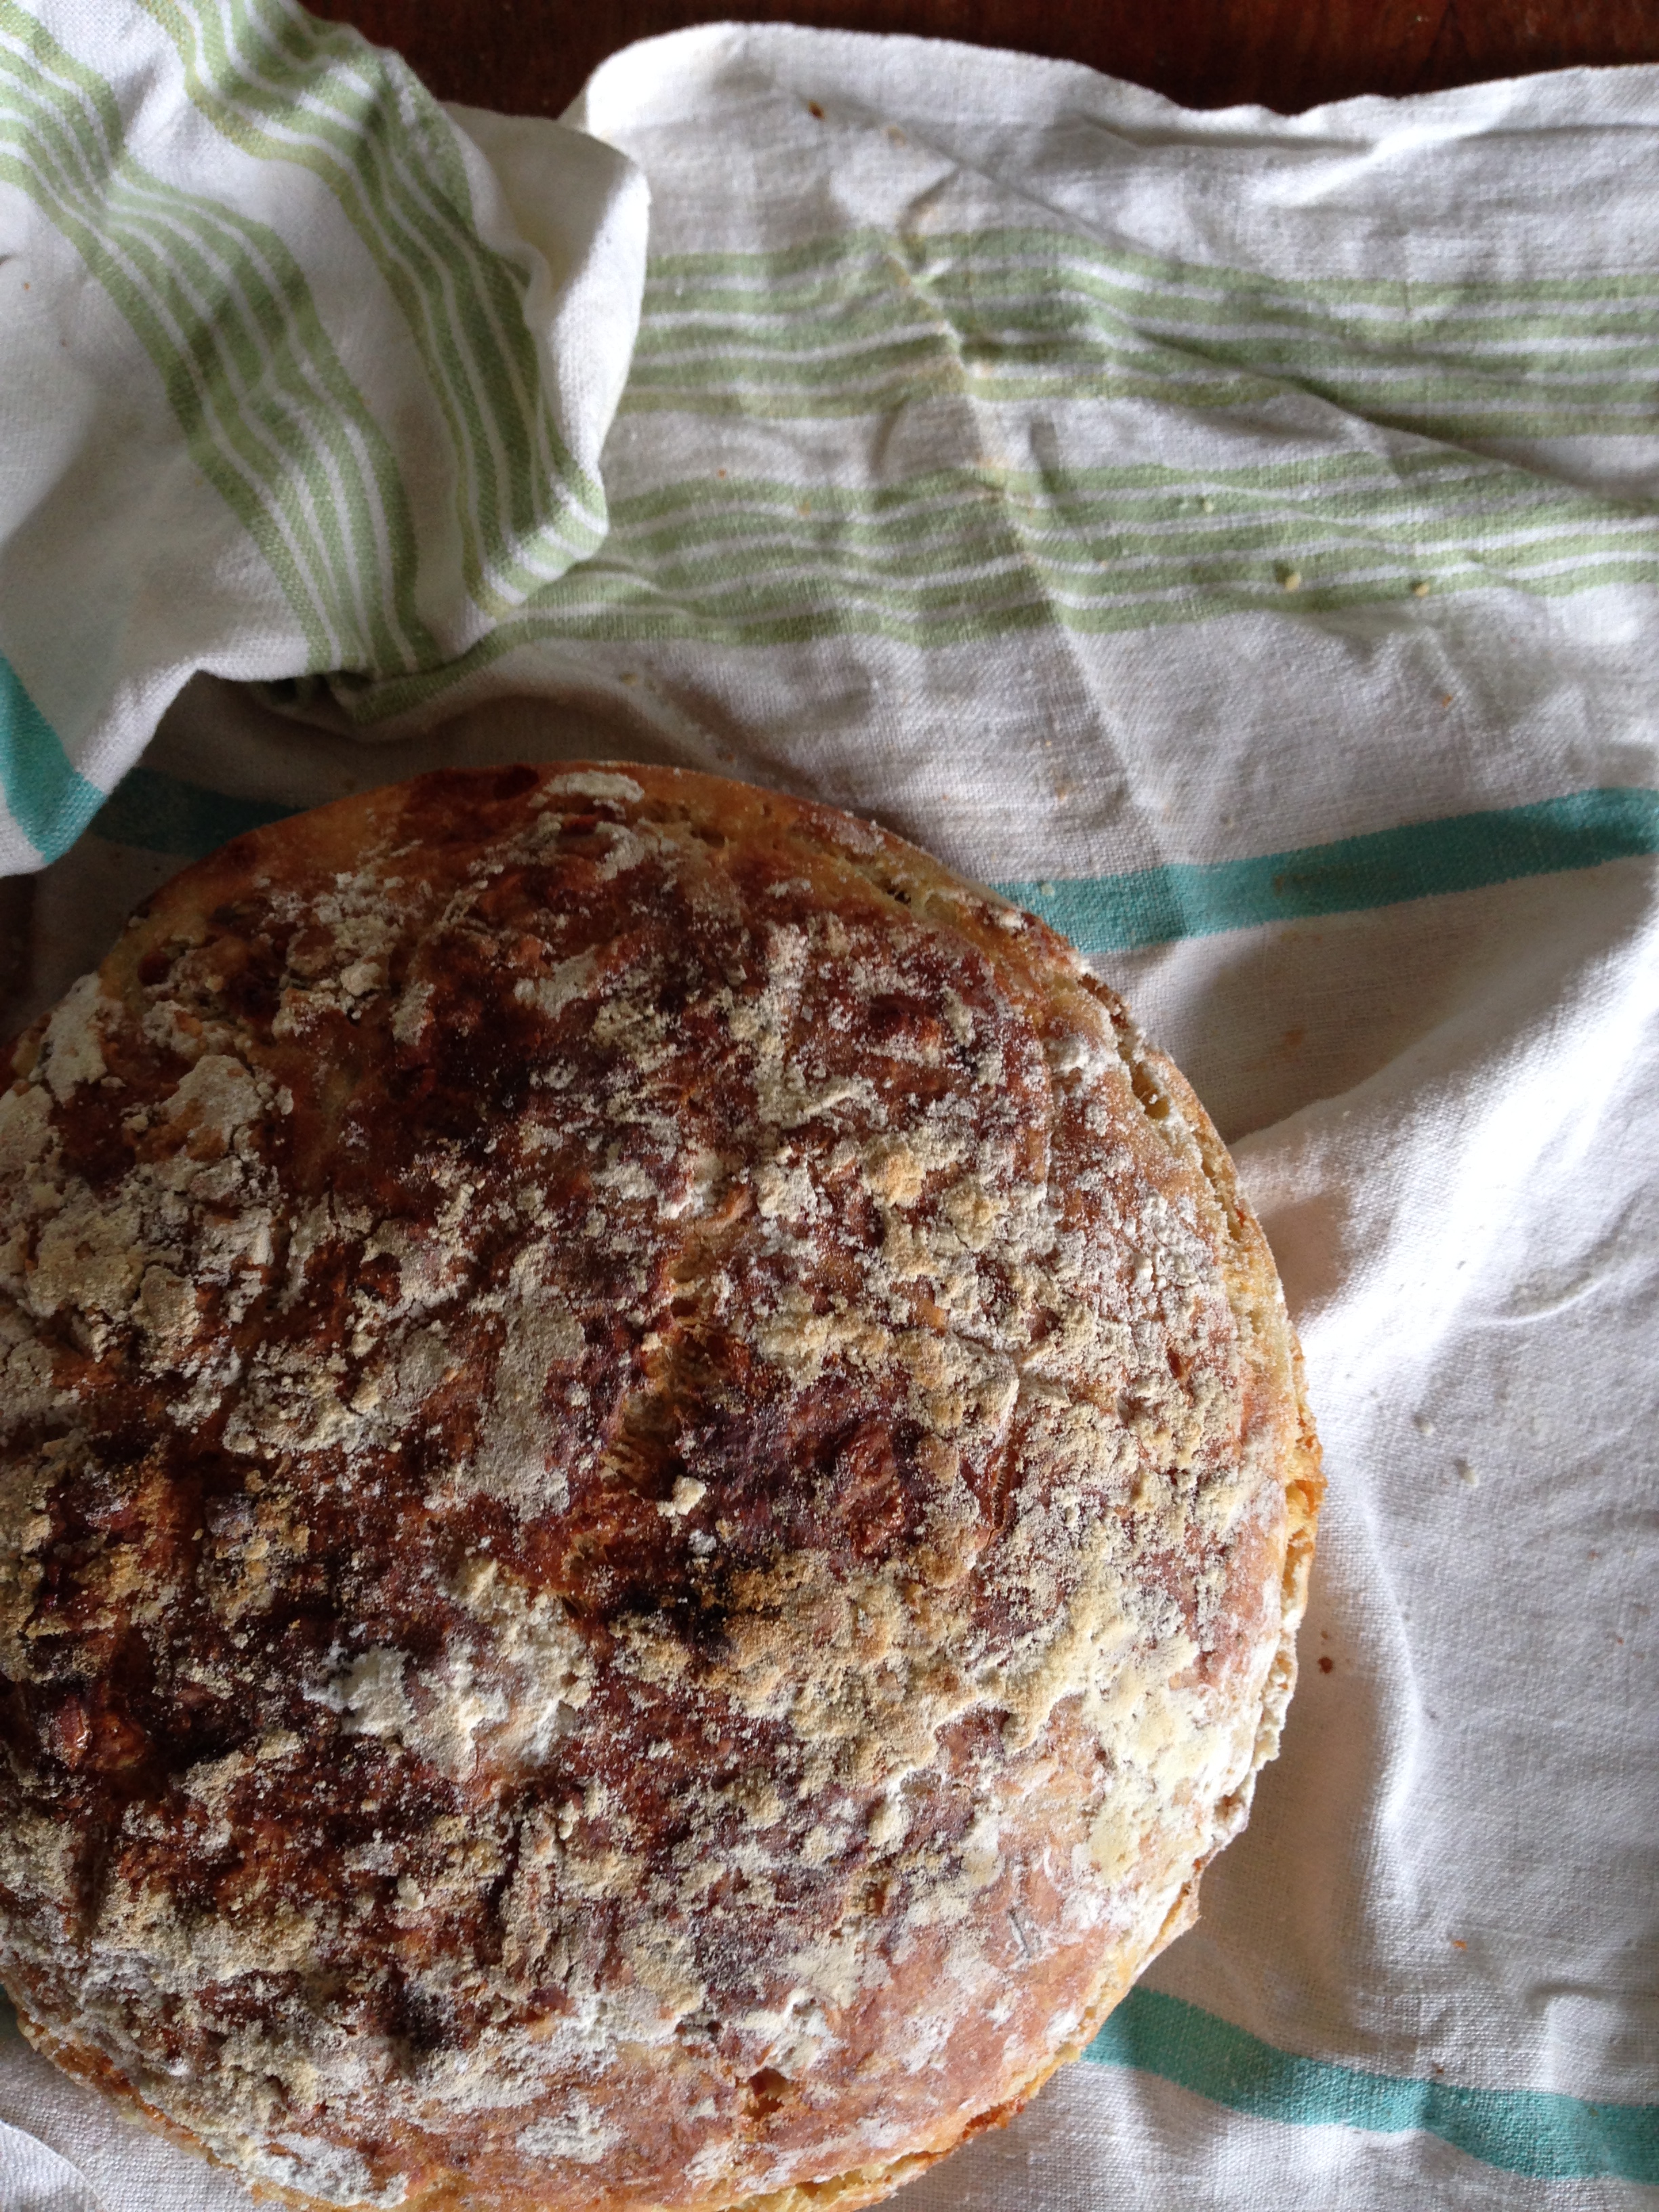
10. READ THIS – BAKING PROCESS: Right before you put your bread in the oven, splash a bit of water on the surface of the dough. After that, put the dough in the oven (in the middle rack) and very quickly close the oven door. Count 5 minutes. In the 5. minutes, open the oven door, take out the bread halfway from the oven, splash a bit more water and quickly close the door again. Count 5 more minutes and in the 5. minute do the same. Count again 5 minutes (you’re now in the 15. minute into your total baking time), splash a bit more water, and put the bread in the uppermost rack. After that you should continually checking your bread. By then, it will most probably be quite baked but you need a nice crust on the surface. So leave it there until you have a nice crust, checking all the time (you do not want to burn your bread) and when you have the crust, take it out of the oven. In order to check if it is baked in the inside, you can stick a toothpick in the middle of it and see if it comes out clean. Also, a well baked bread will have a hollow sound when you knock on it. When you take your bread out of the oven, leave it for 10 minutes inside the dish to cool and then take it out of the dish.
Enjoy your freshly home-baked bread with many different and fresh flavours!

TEŞEKKÜRLER….
Afiyet olsun!