I’ve been thinking for a while, what glorious dessert I can make for my series of Christmas recipes. And then I suddenly remembered seeing this kind of Pavlova Cake / Wreath a while ago, so I immediately baked it and prepared the recipe. What’s even better about it is that it is gluten free so it fits perfectly for my new “Gluten free Thursday” series – from now on, I will post gluten free recipes on Thursdays – hopefully every Thursday, but no big promises there…:)
If you are familiar with Pavlova Cake, it is a meringue with a soft and light marshmallowy inside, usually topped with cream and fruits, sometimes also nuts. I used the same Pavlova recipe with my mini pavlova cakes, which you can find here: https://mydearkitcheninhelsinki.com/2014/09/19/mini-pavlova-cake-simply-beautiful/

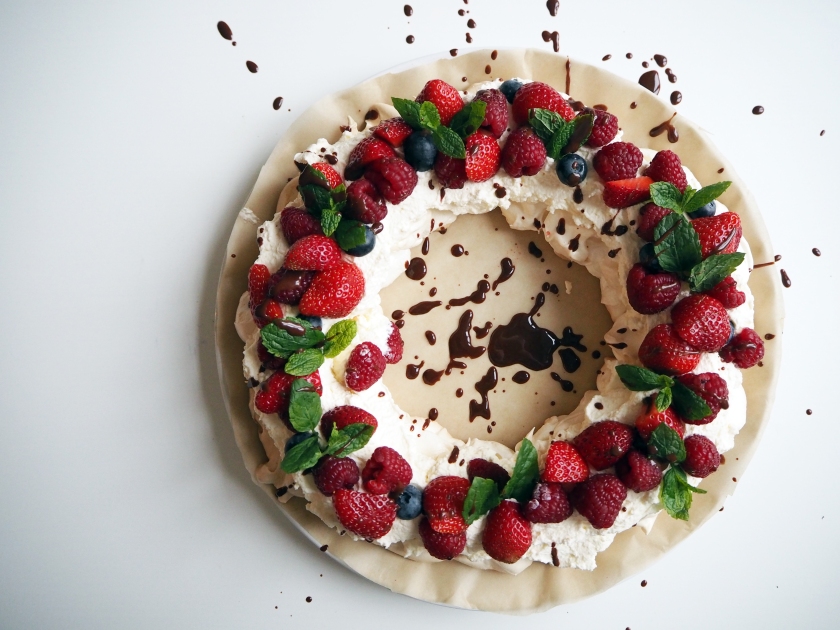
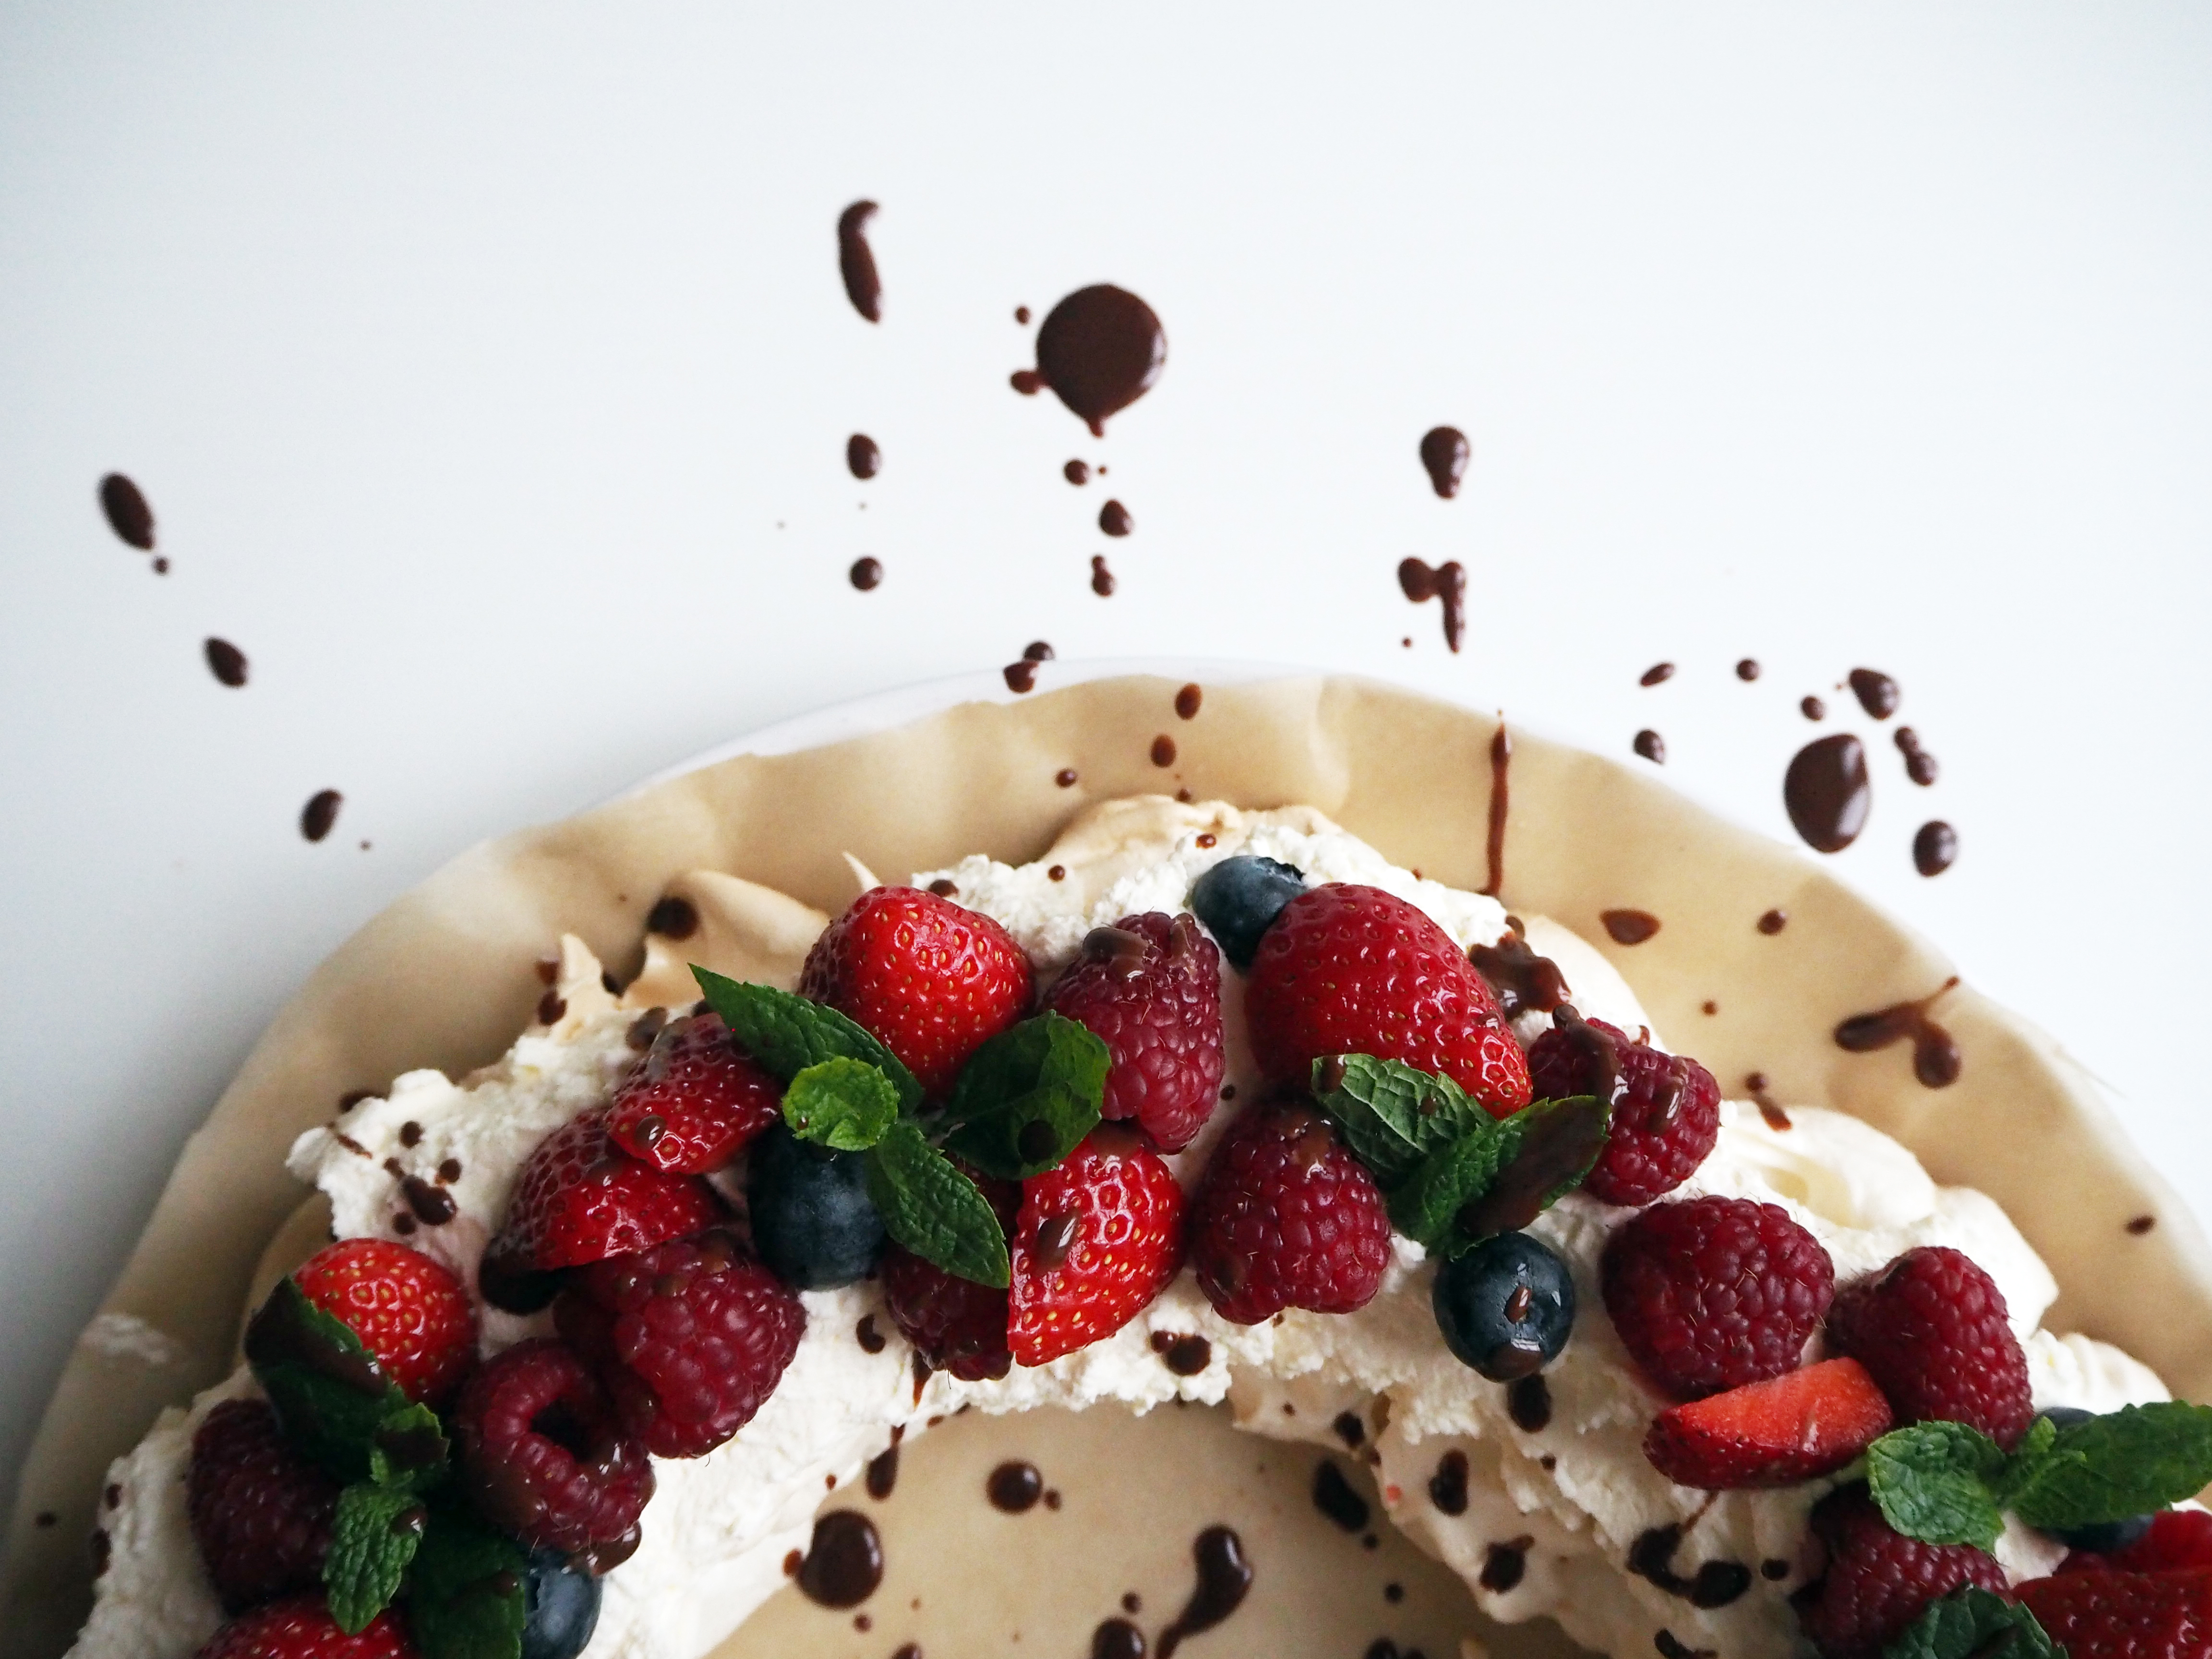
So what you simply need to do is to make the same pavlova and cream, and but just shape the pavlova as a wreath and make your assembly accordingly. I drizzled a little chocolate sauce on top, but you can keep it chocolate free and just use the fresh fruits. You can also add nuts to this if you like, roasted slivered almonds would go great!
If you are going with the chocolate sauce option, I adopted the recipe from Tesco Real Food. The original chocolate sauce recipe requires 100 gr. sugar and 5 tbsp golden syrup but I omitted those from my sauce and it turned out just fine. I used 70% dark chocolate (gluten free, with no traces of gluten related ingredients). If you are using chocolate in gluten free recipes then I advice you to check the ingredients carefully, sometimes in the list you will see that it may contain “traces” of some ingredients that are bad for people allergic to gluten.
Enjoy your light and colourful Pavlova Christmas wreath!
—
Ingredients:
Difficulty: ★★☆ (medium)
(size: I used 24 cm. springform cake pan base for the circle I used to create the shape)
For the cake: (photo of ingredients is in the mini pavlova recipe)
5 egg whites
1 cup / 2 dl.+ 2 tbsp+ 2 tsp granulated white sugar
1 tsp white vinegar
2 tsp cornstarch
1/2 tsp vanilla extract
1/4 tsp salt
1/2 tsp cream of tartar (or a pinch of lemon juice)
For the cream: (photo of ingredients is in the mini pavlova recipe)
1 2/3 cup / 4 dl. heavy cream (I doubled the amount of cream I used in mini pavlova recipe)
2 tbsp powdered sugar
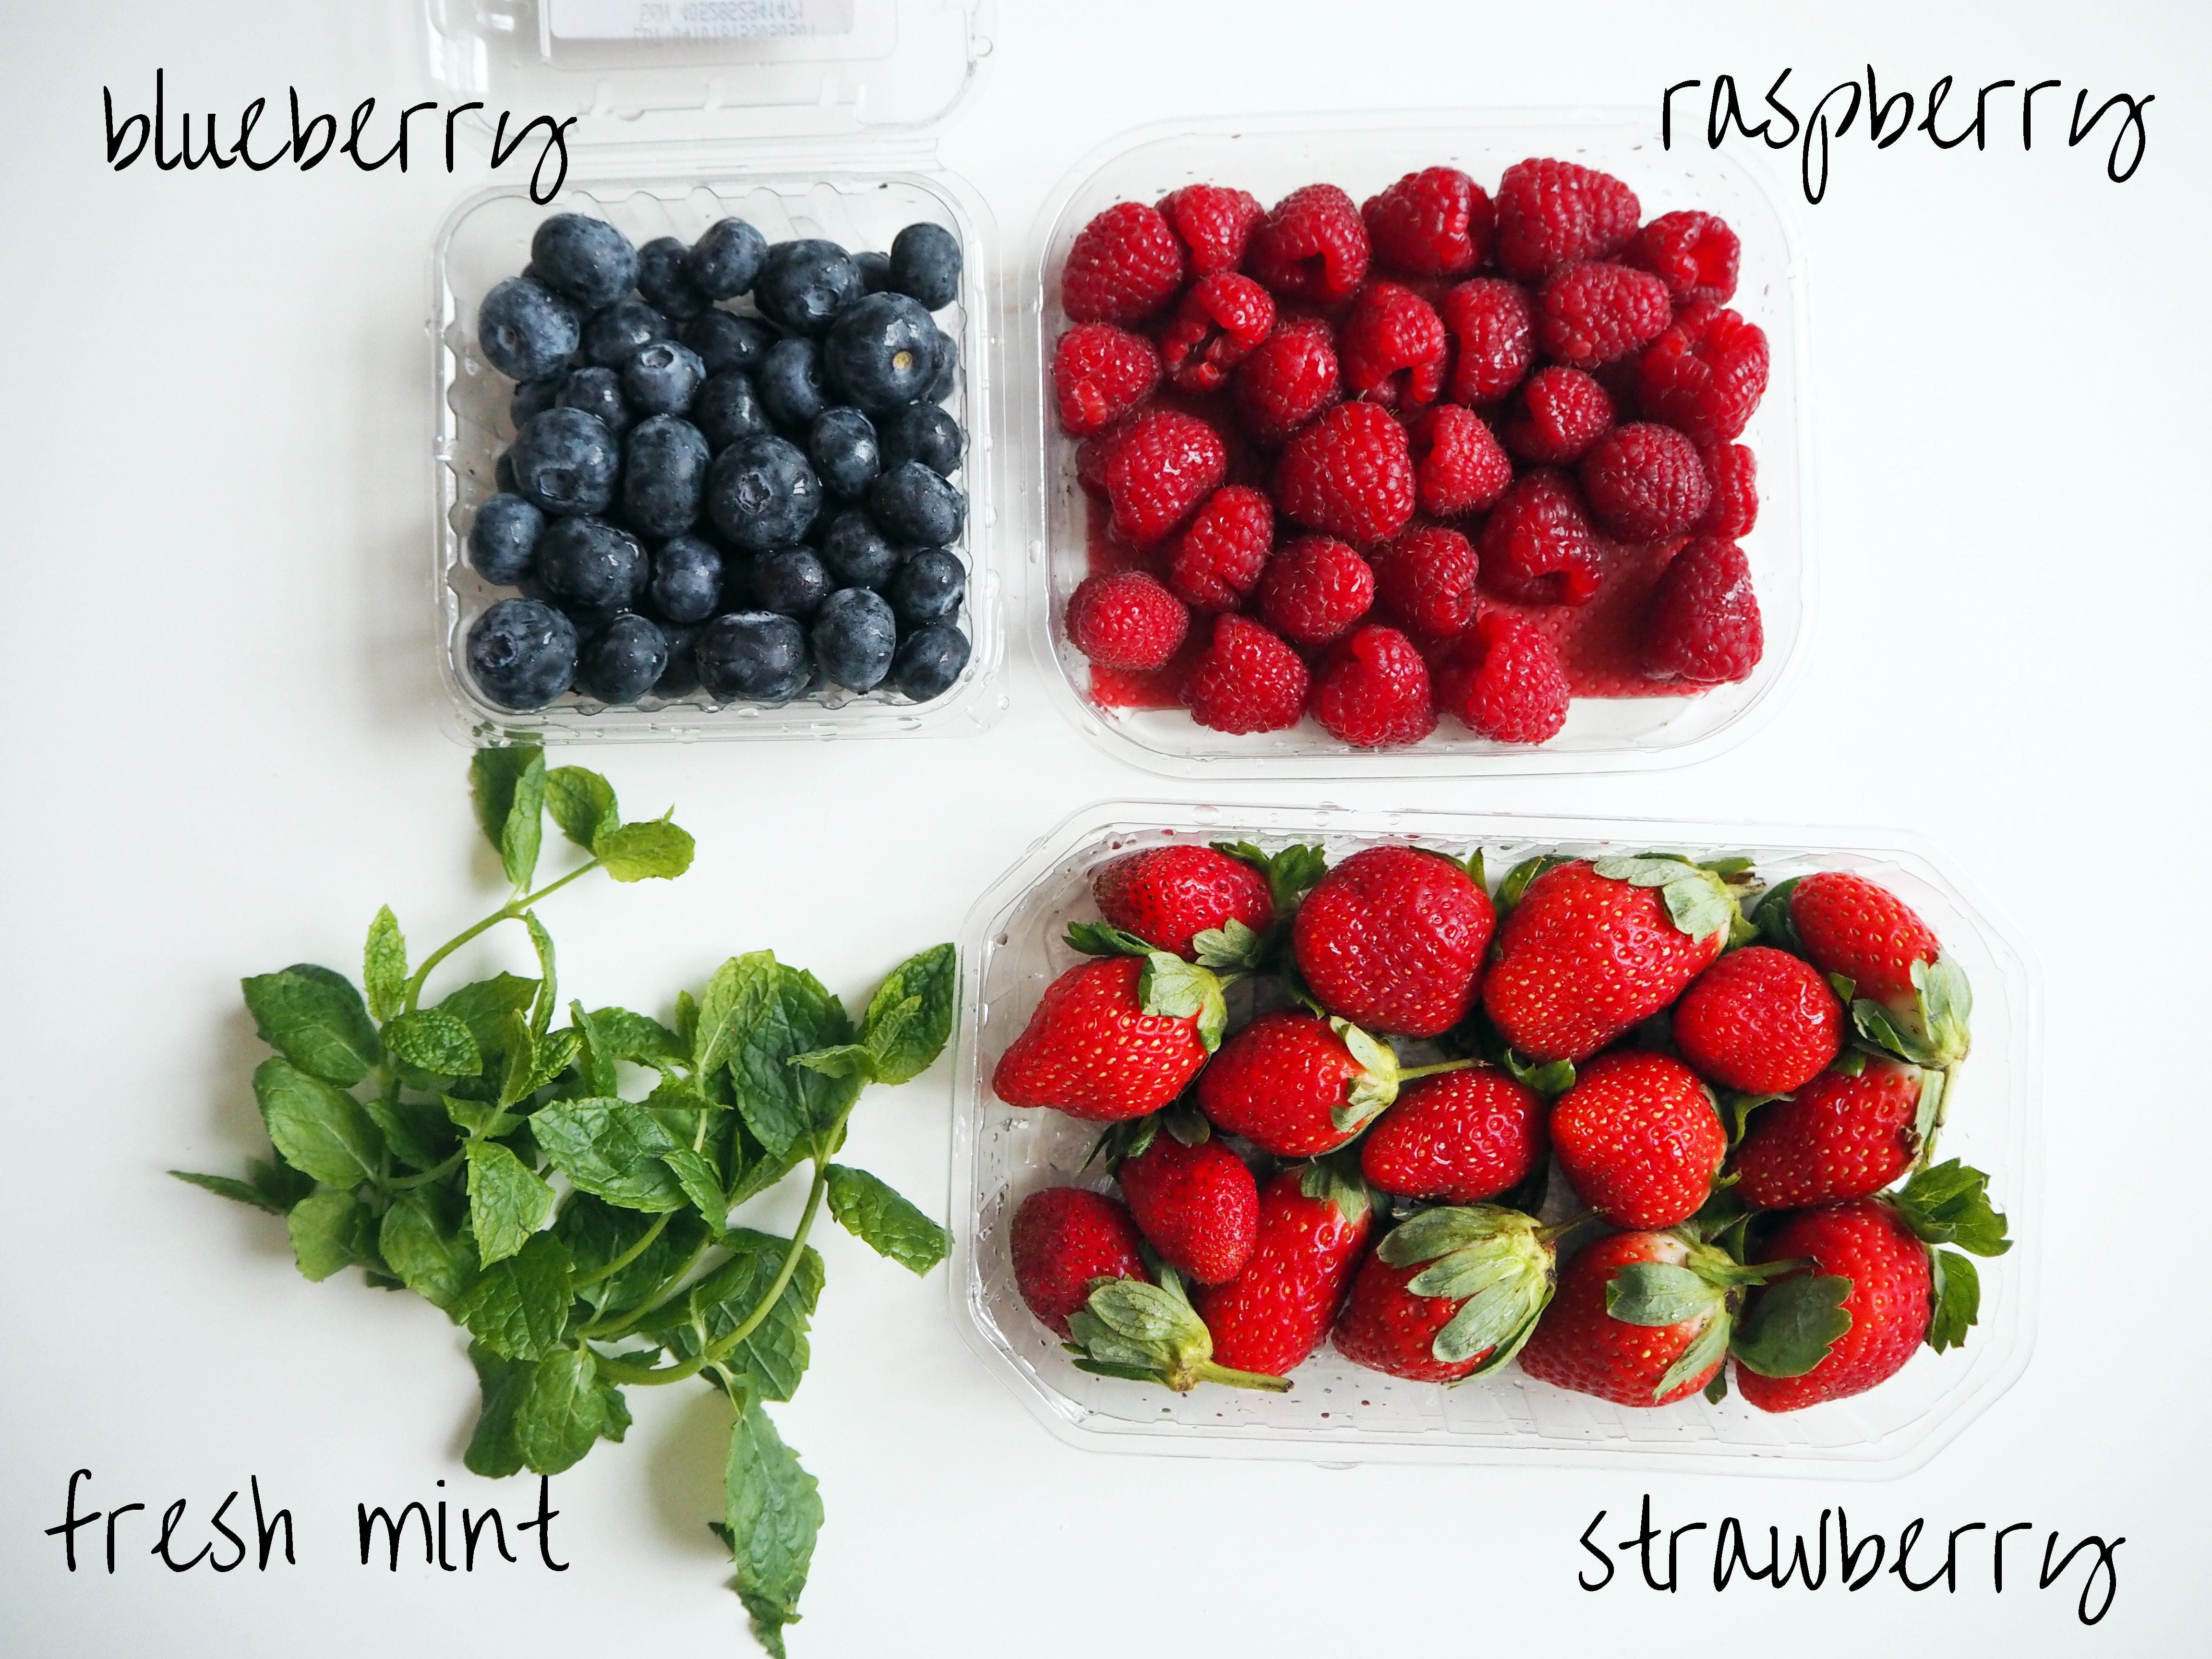
For topping:
Strawberries
Raspberries
Blueberries
Fresh mint
(pomegranate would also taste great with those!)
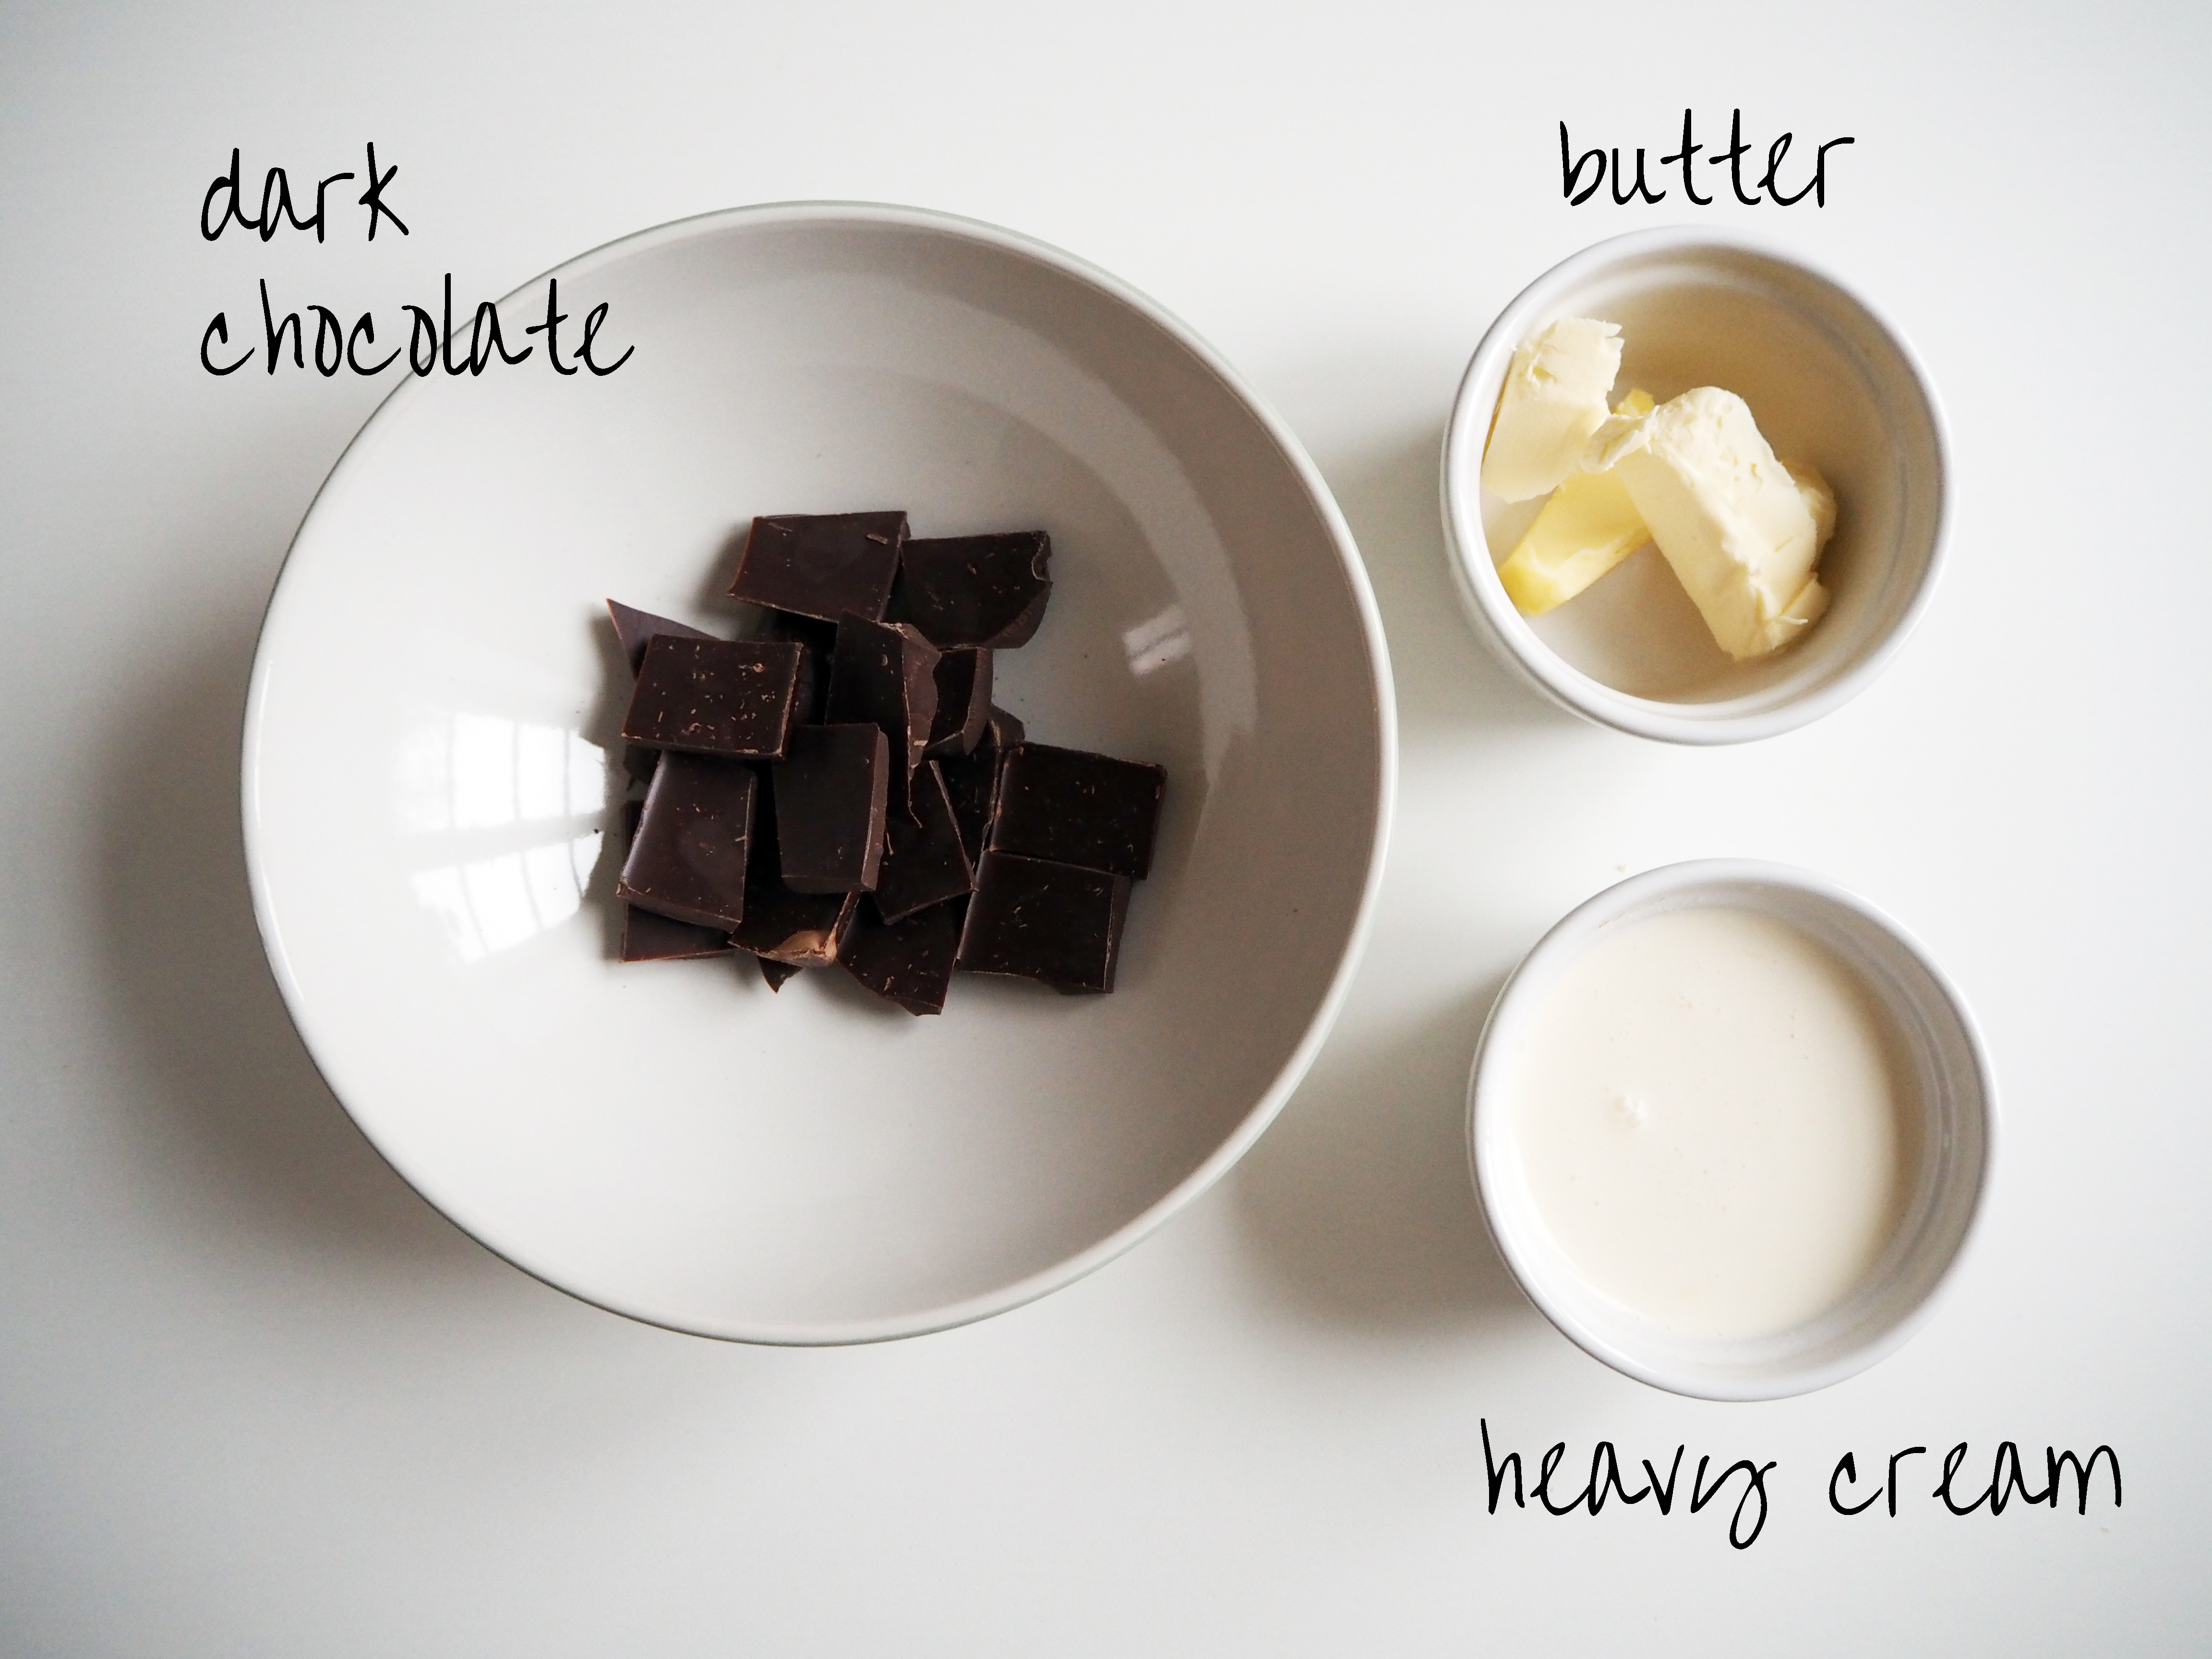
Chocolate sauce:
1/2 cup minus 2 tbsp / 1 dl heavy cream
100 gr. dark chocolate
2 tbsp / 28 gr. butter
(optional: add 100 gr. granulated white sugar and 5 tbsp golden syrup – I didn’t..)
—
1. Preheat the oven to 150C.
2. In the recipe for mini pavlovas on https://mydearkitcheninhelsinki.com/2014/09/19/mini-pavlova-cake-simply-beautiful/, apply steps 3-7 to make the meringue.
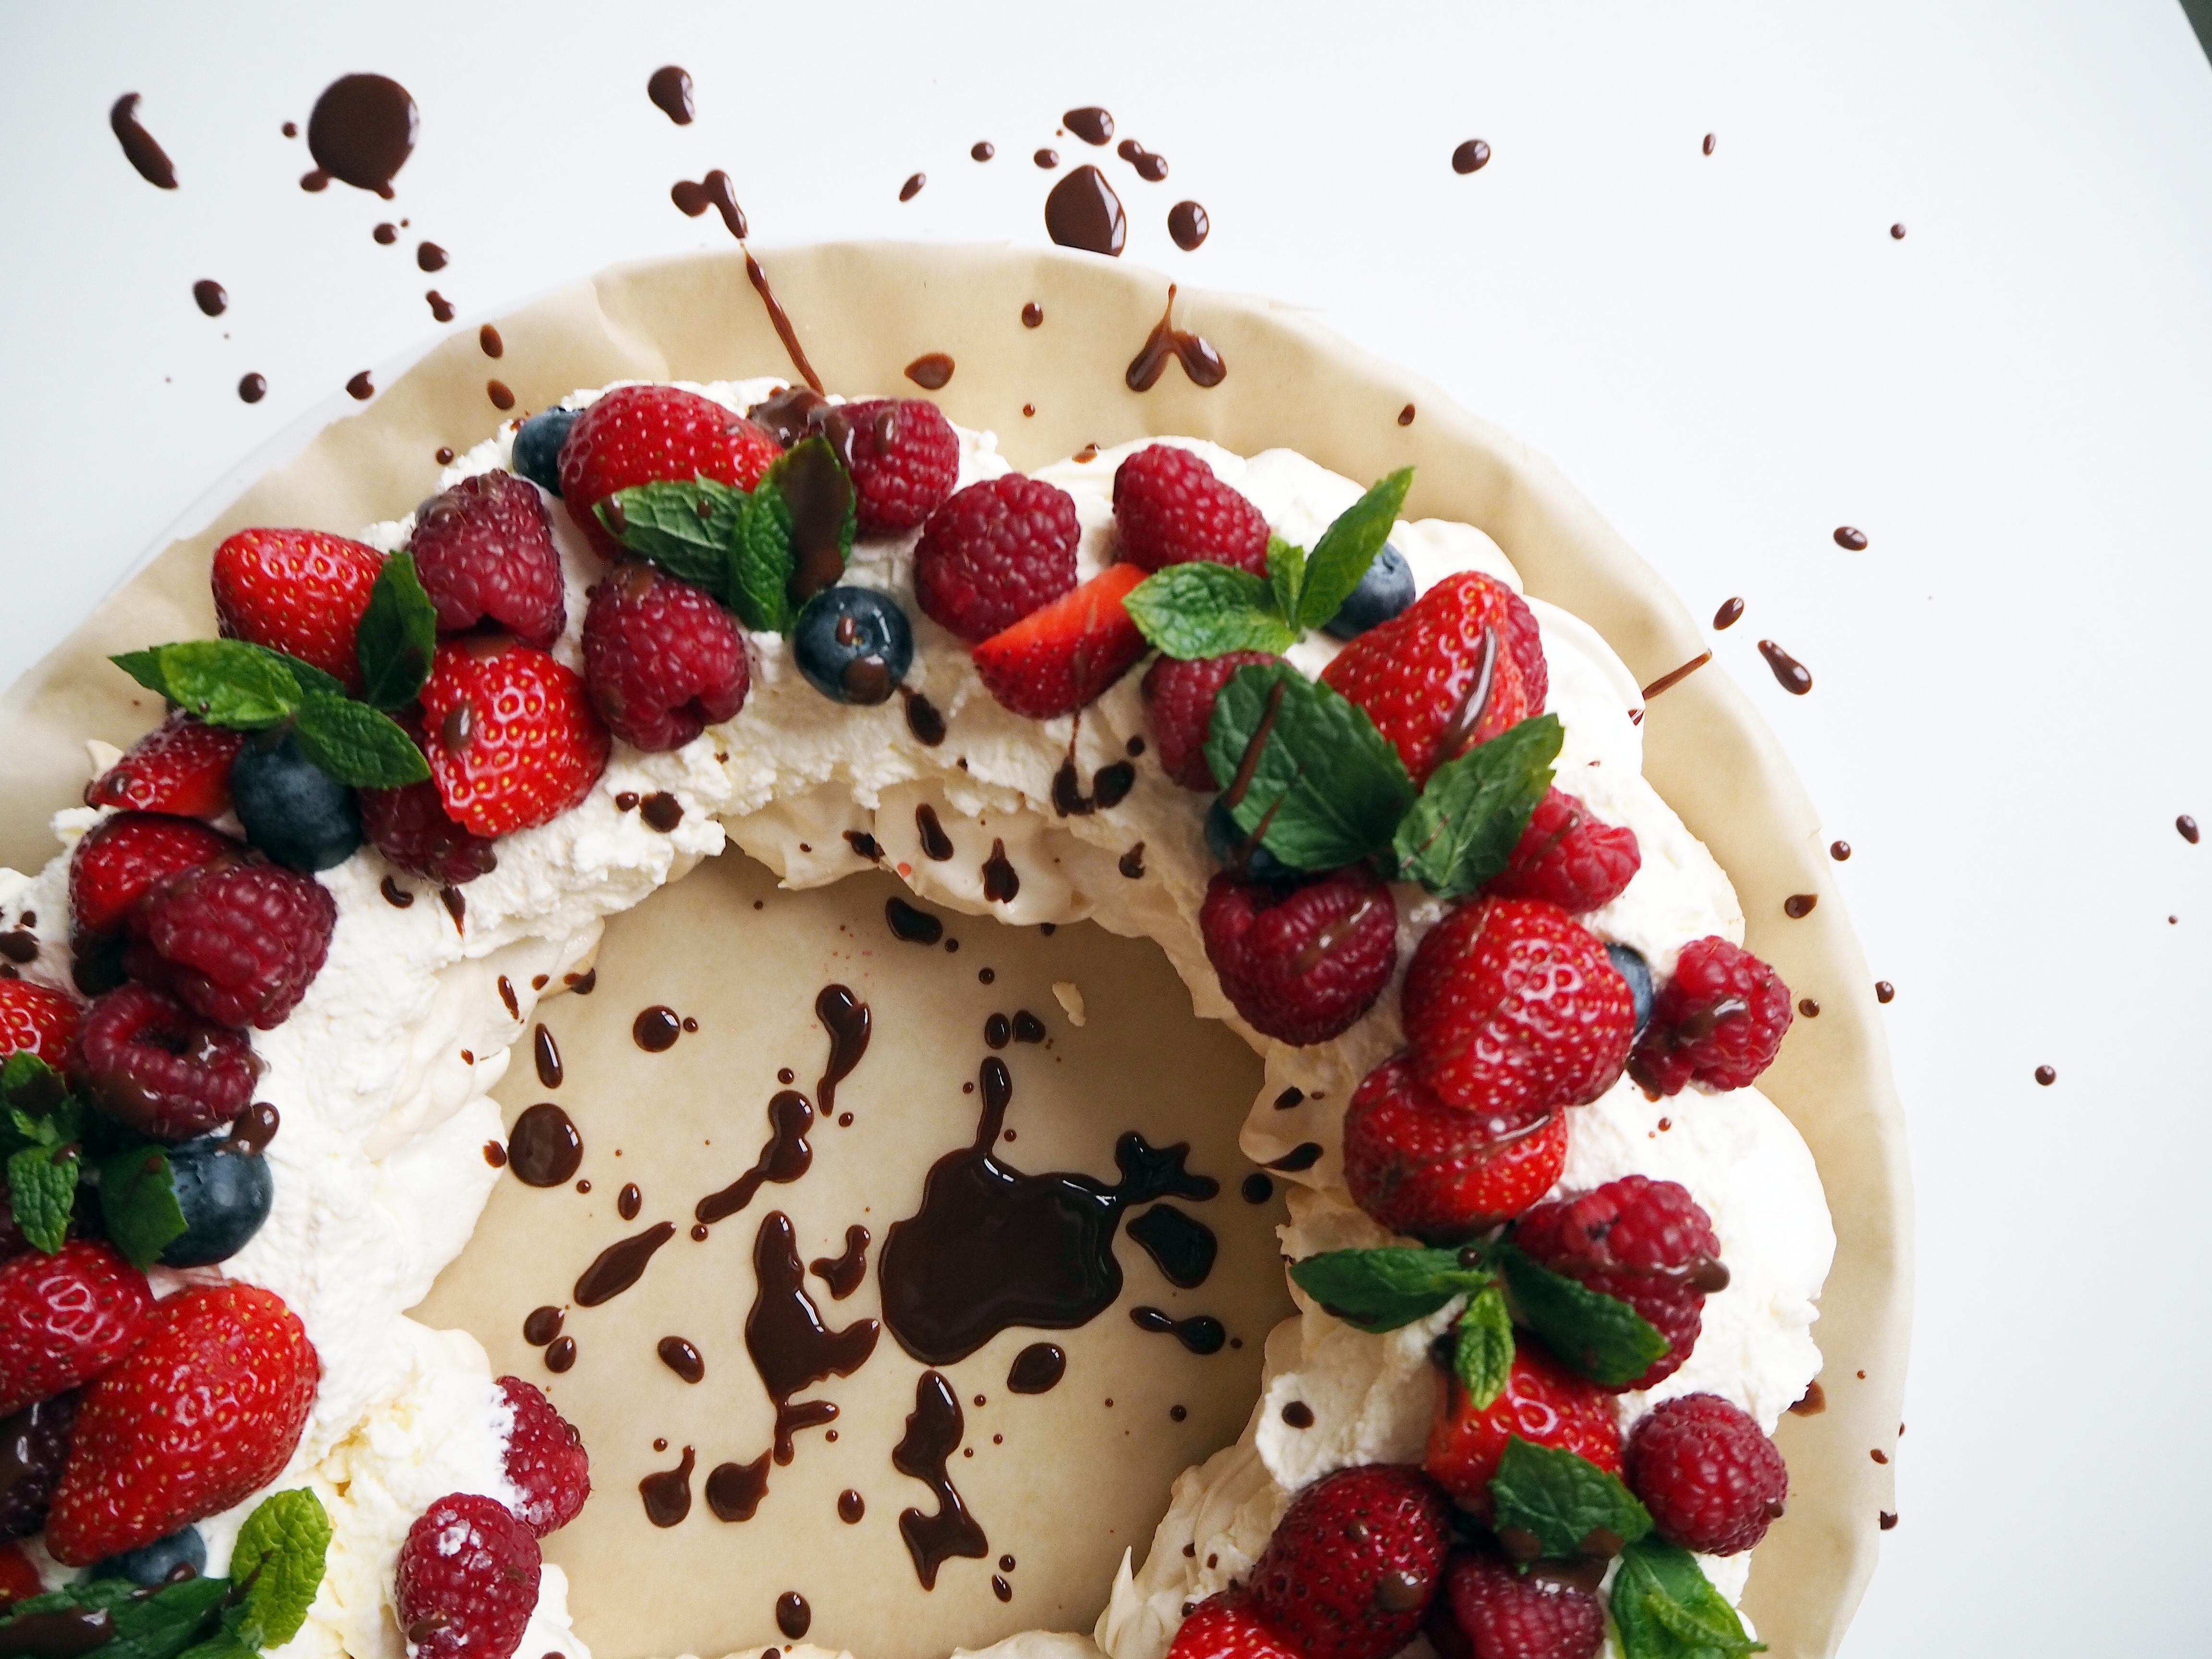
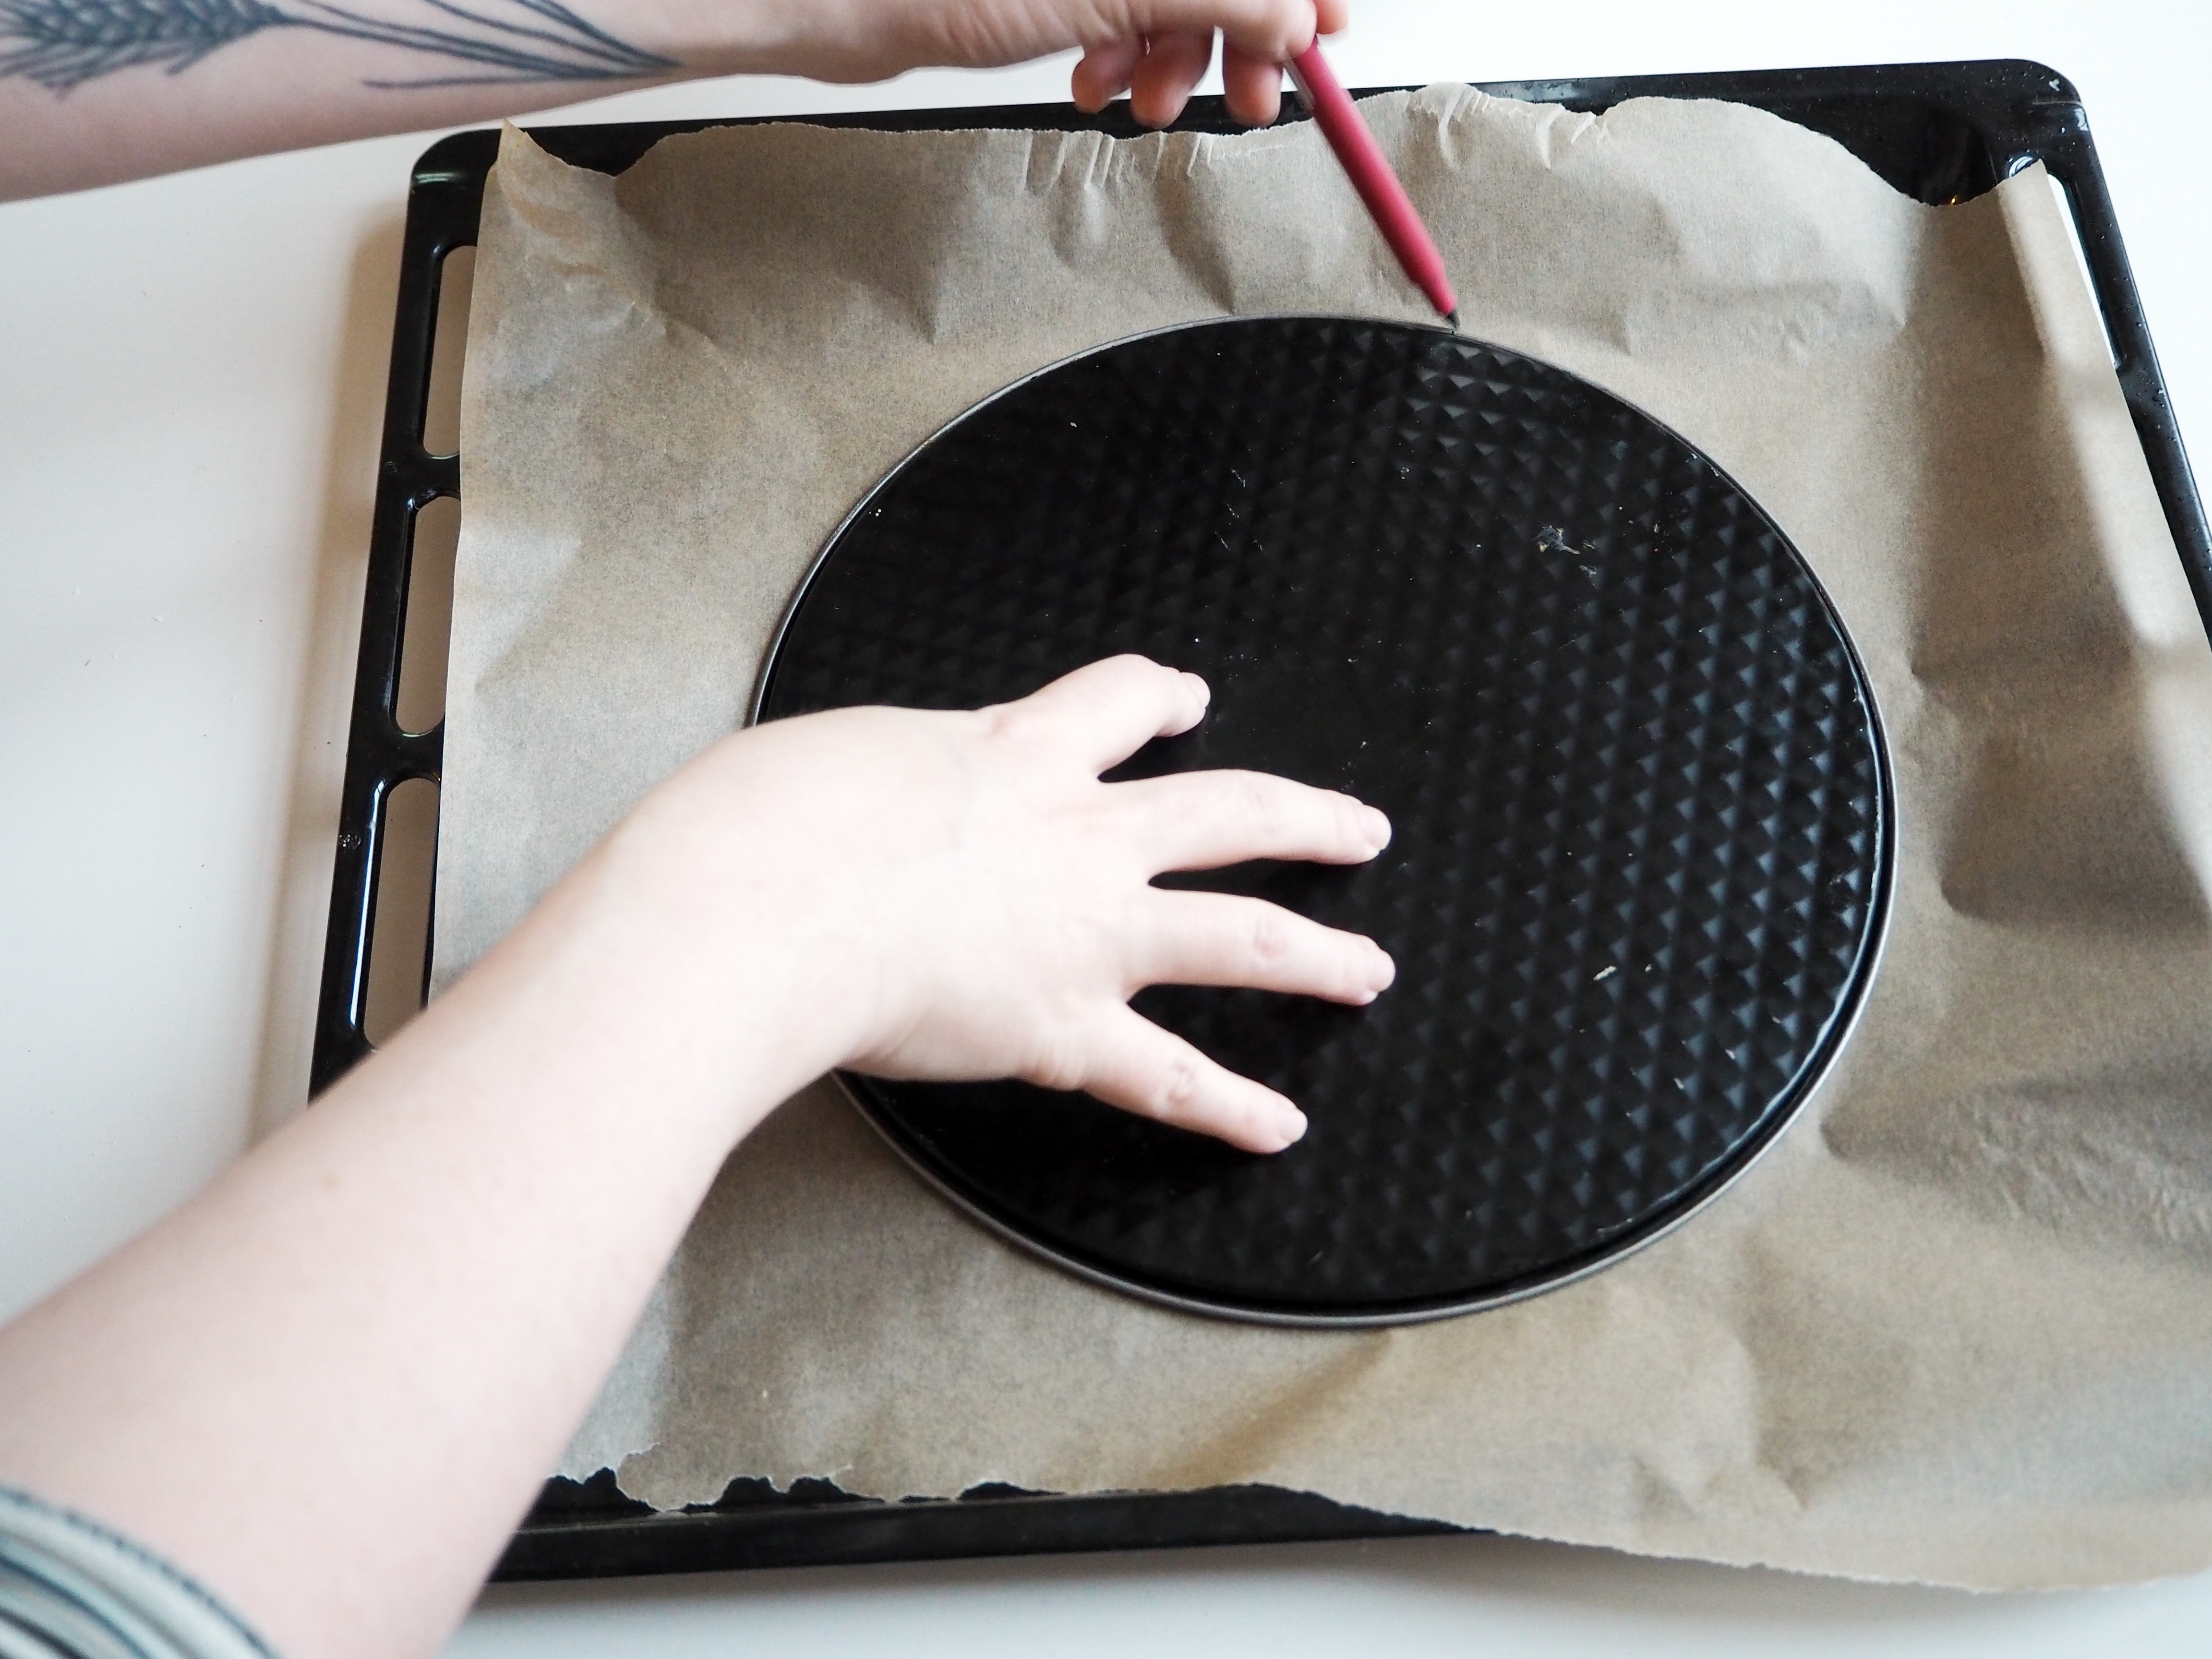
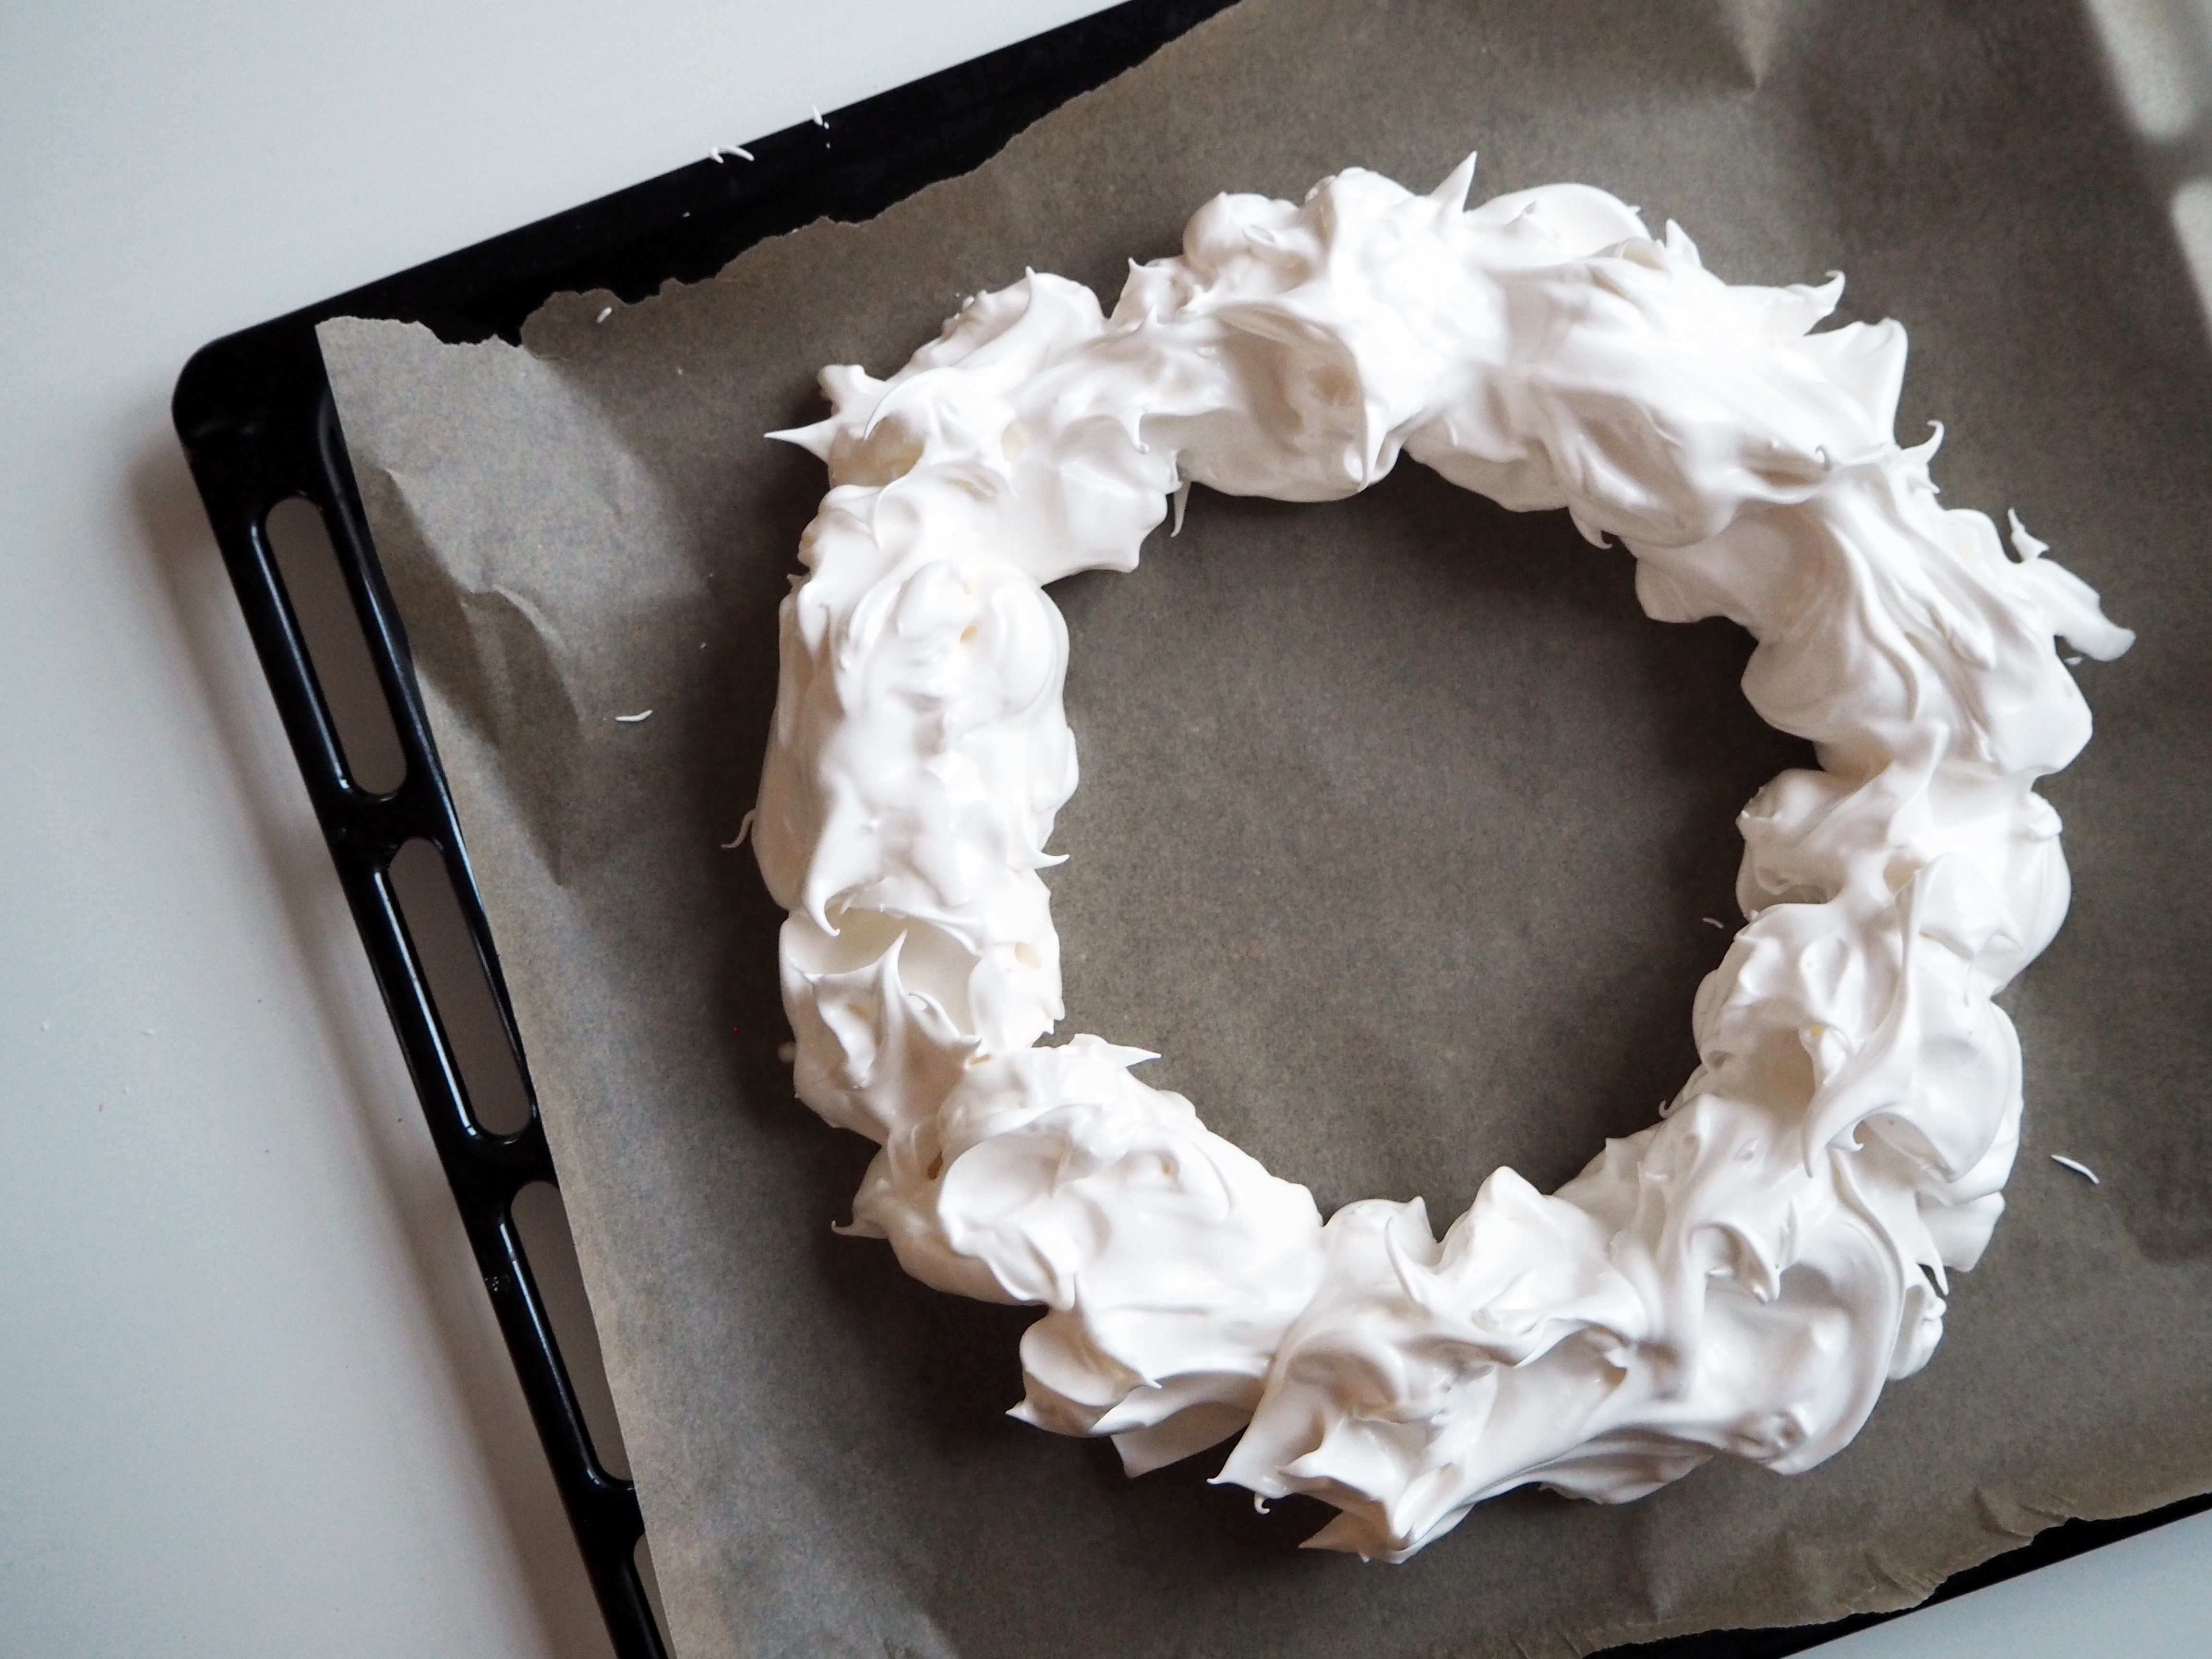
3. Take a plate or, like me, the base of a spring form pan, and draw a circle on a baking sheet. This will be your guide while shaping the pavlova. Turn the baking sheet so that the side with ink does not touch your cake.
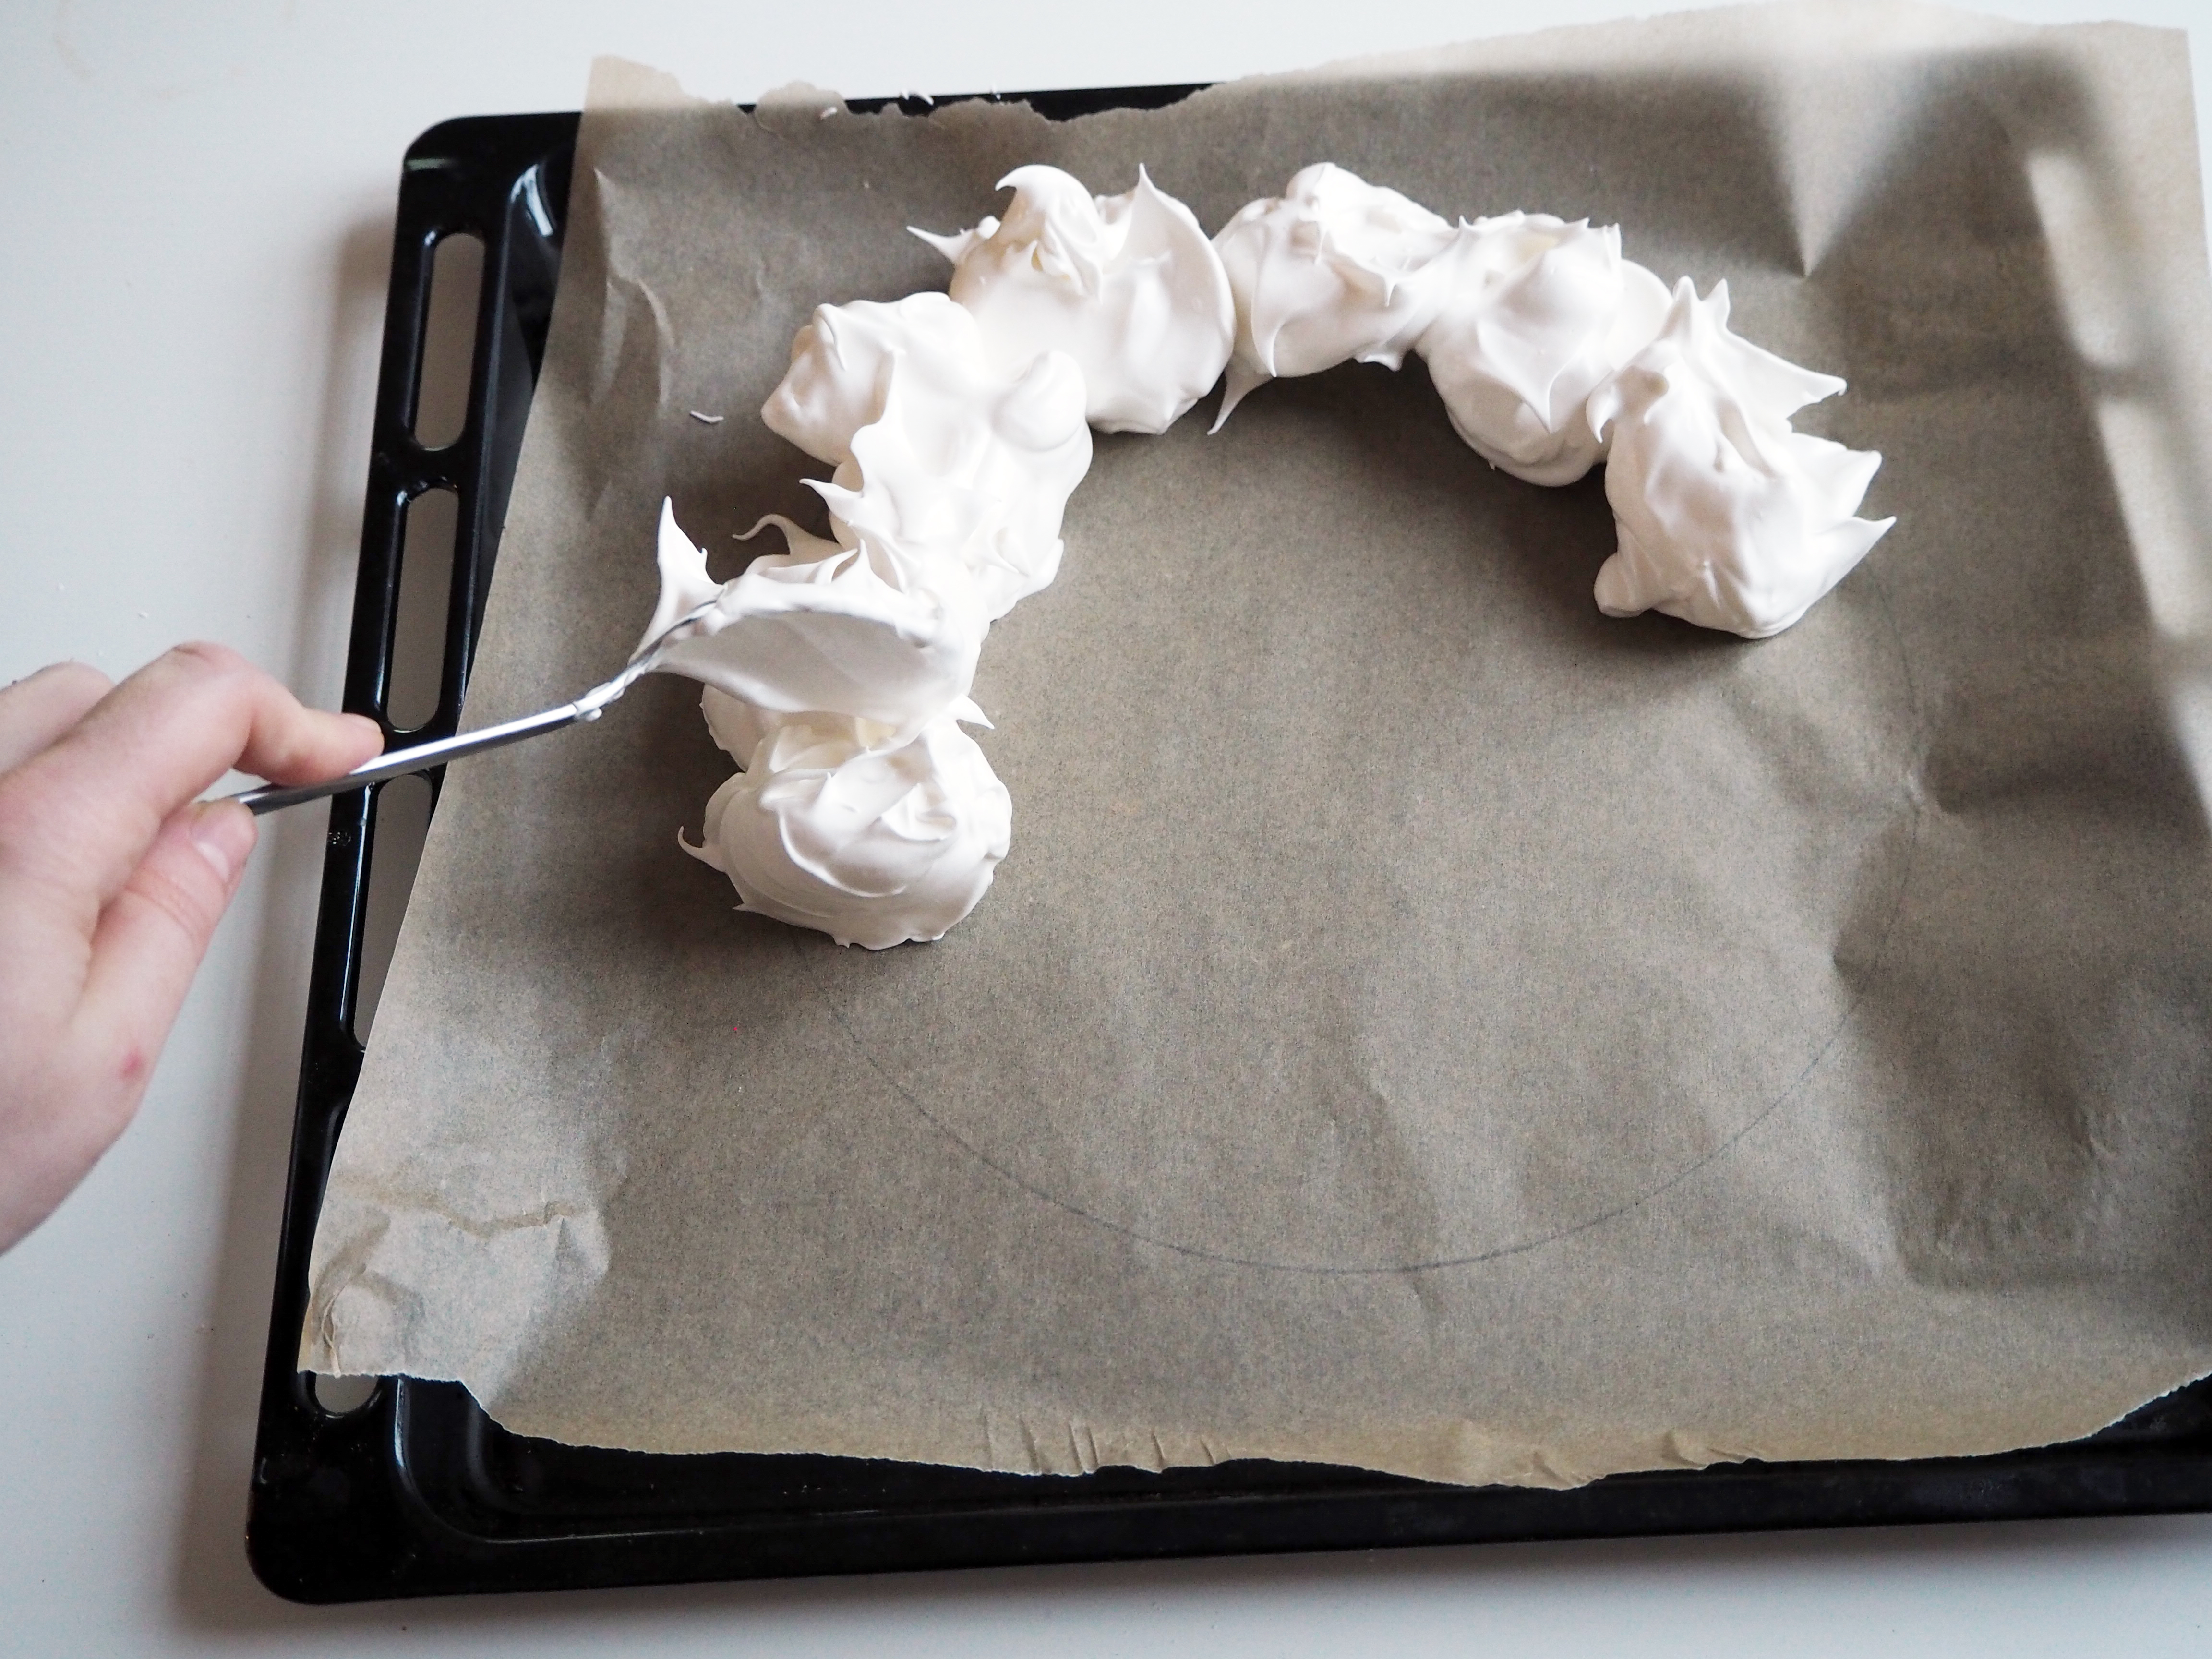
4. By taking 1 spoon at a time from the meringue, give the shape of the wreath on baking sheet as seen in the photo.
5. Put the cake in the oven in middle rack. Bake for 40 minutes, then turn off the heat. Put a wooden spoon on the oven door to leave it ajar and keep the meringue inside until the oven cools down completely.
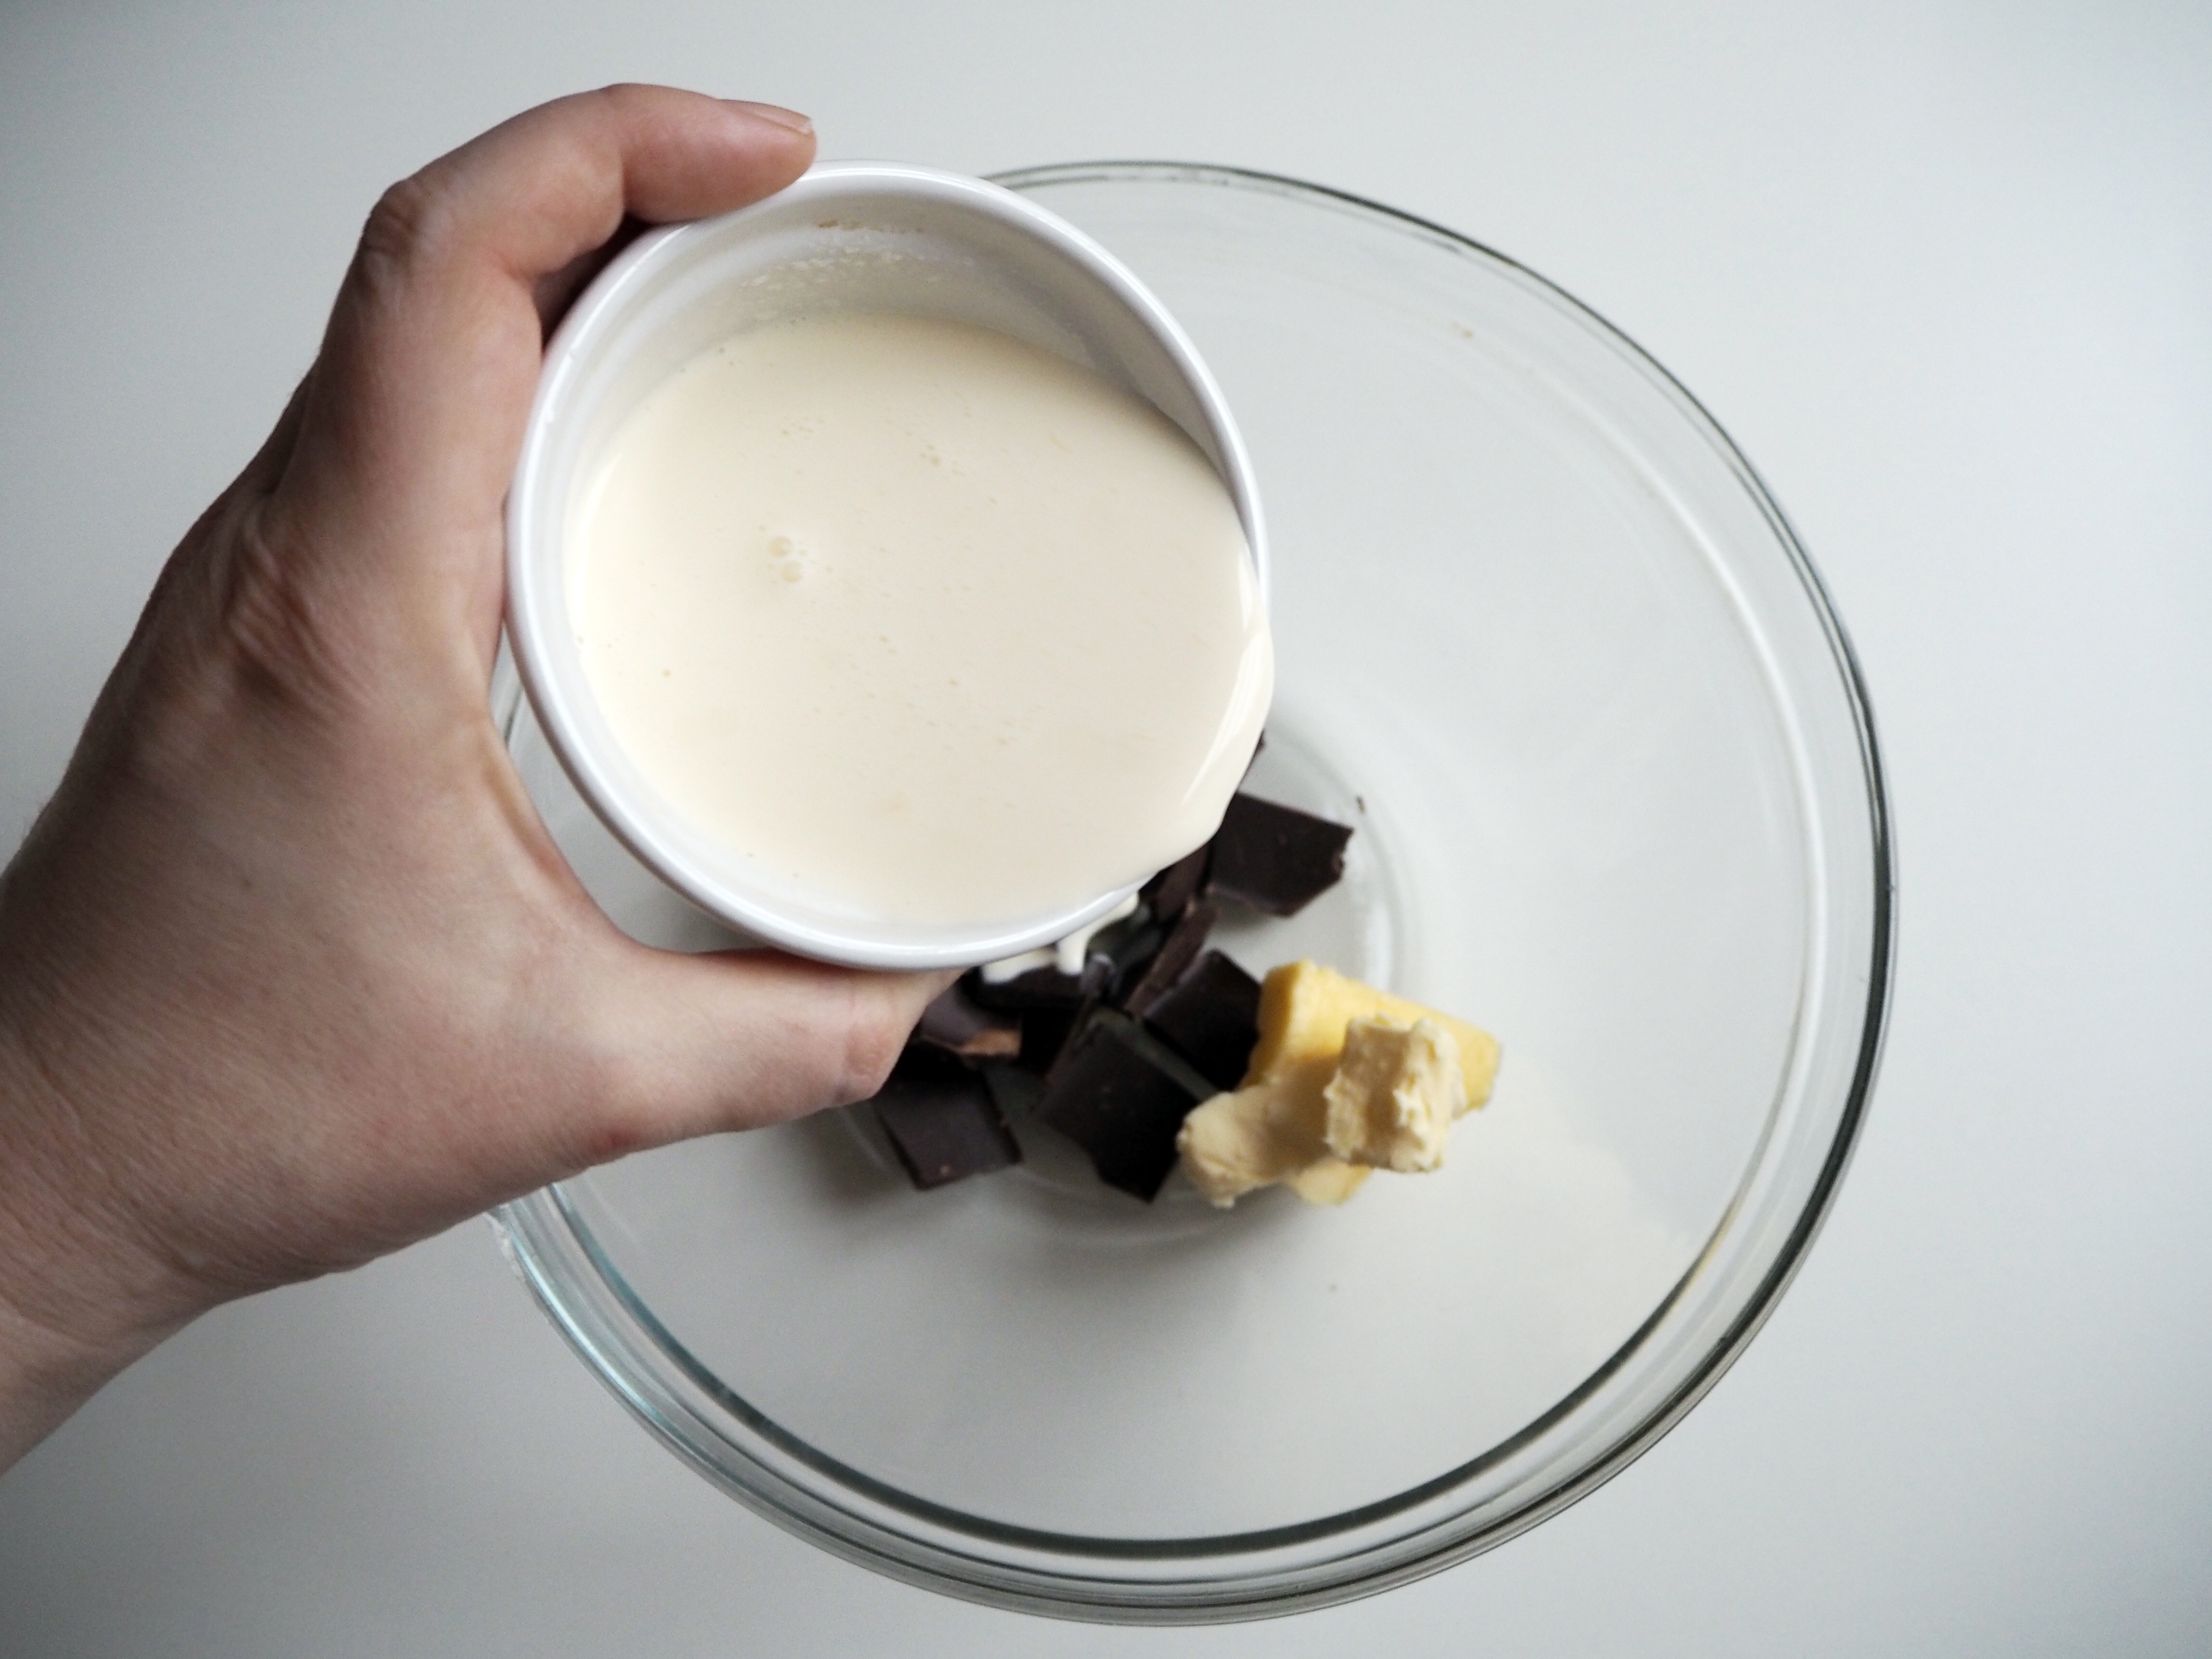
6. Once the meringue is cooled in the oven and is ready to assemble, make chocolate sauce: put the ingredients for chocolate sauce in a heat proof bowl and melt the chocolate in bain-marie style (that is, the bowl will be on top a simmering pot of water on the stove).
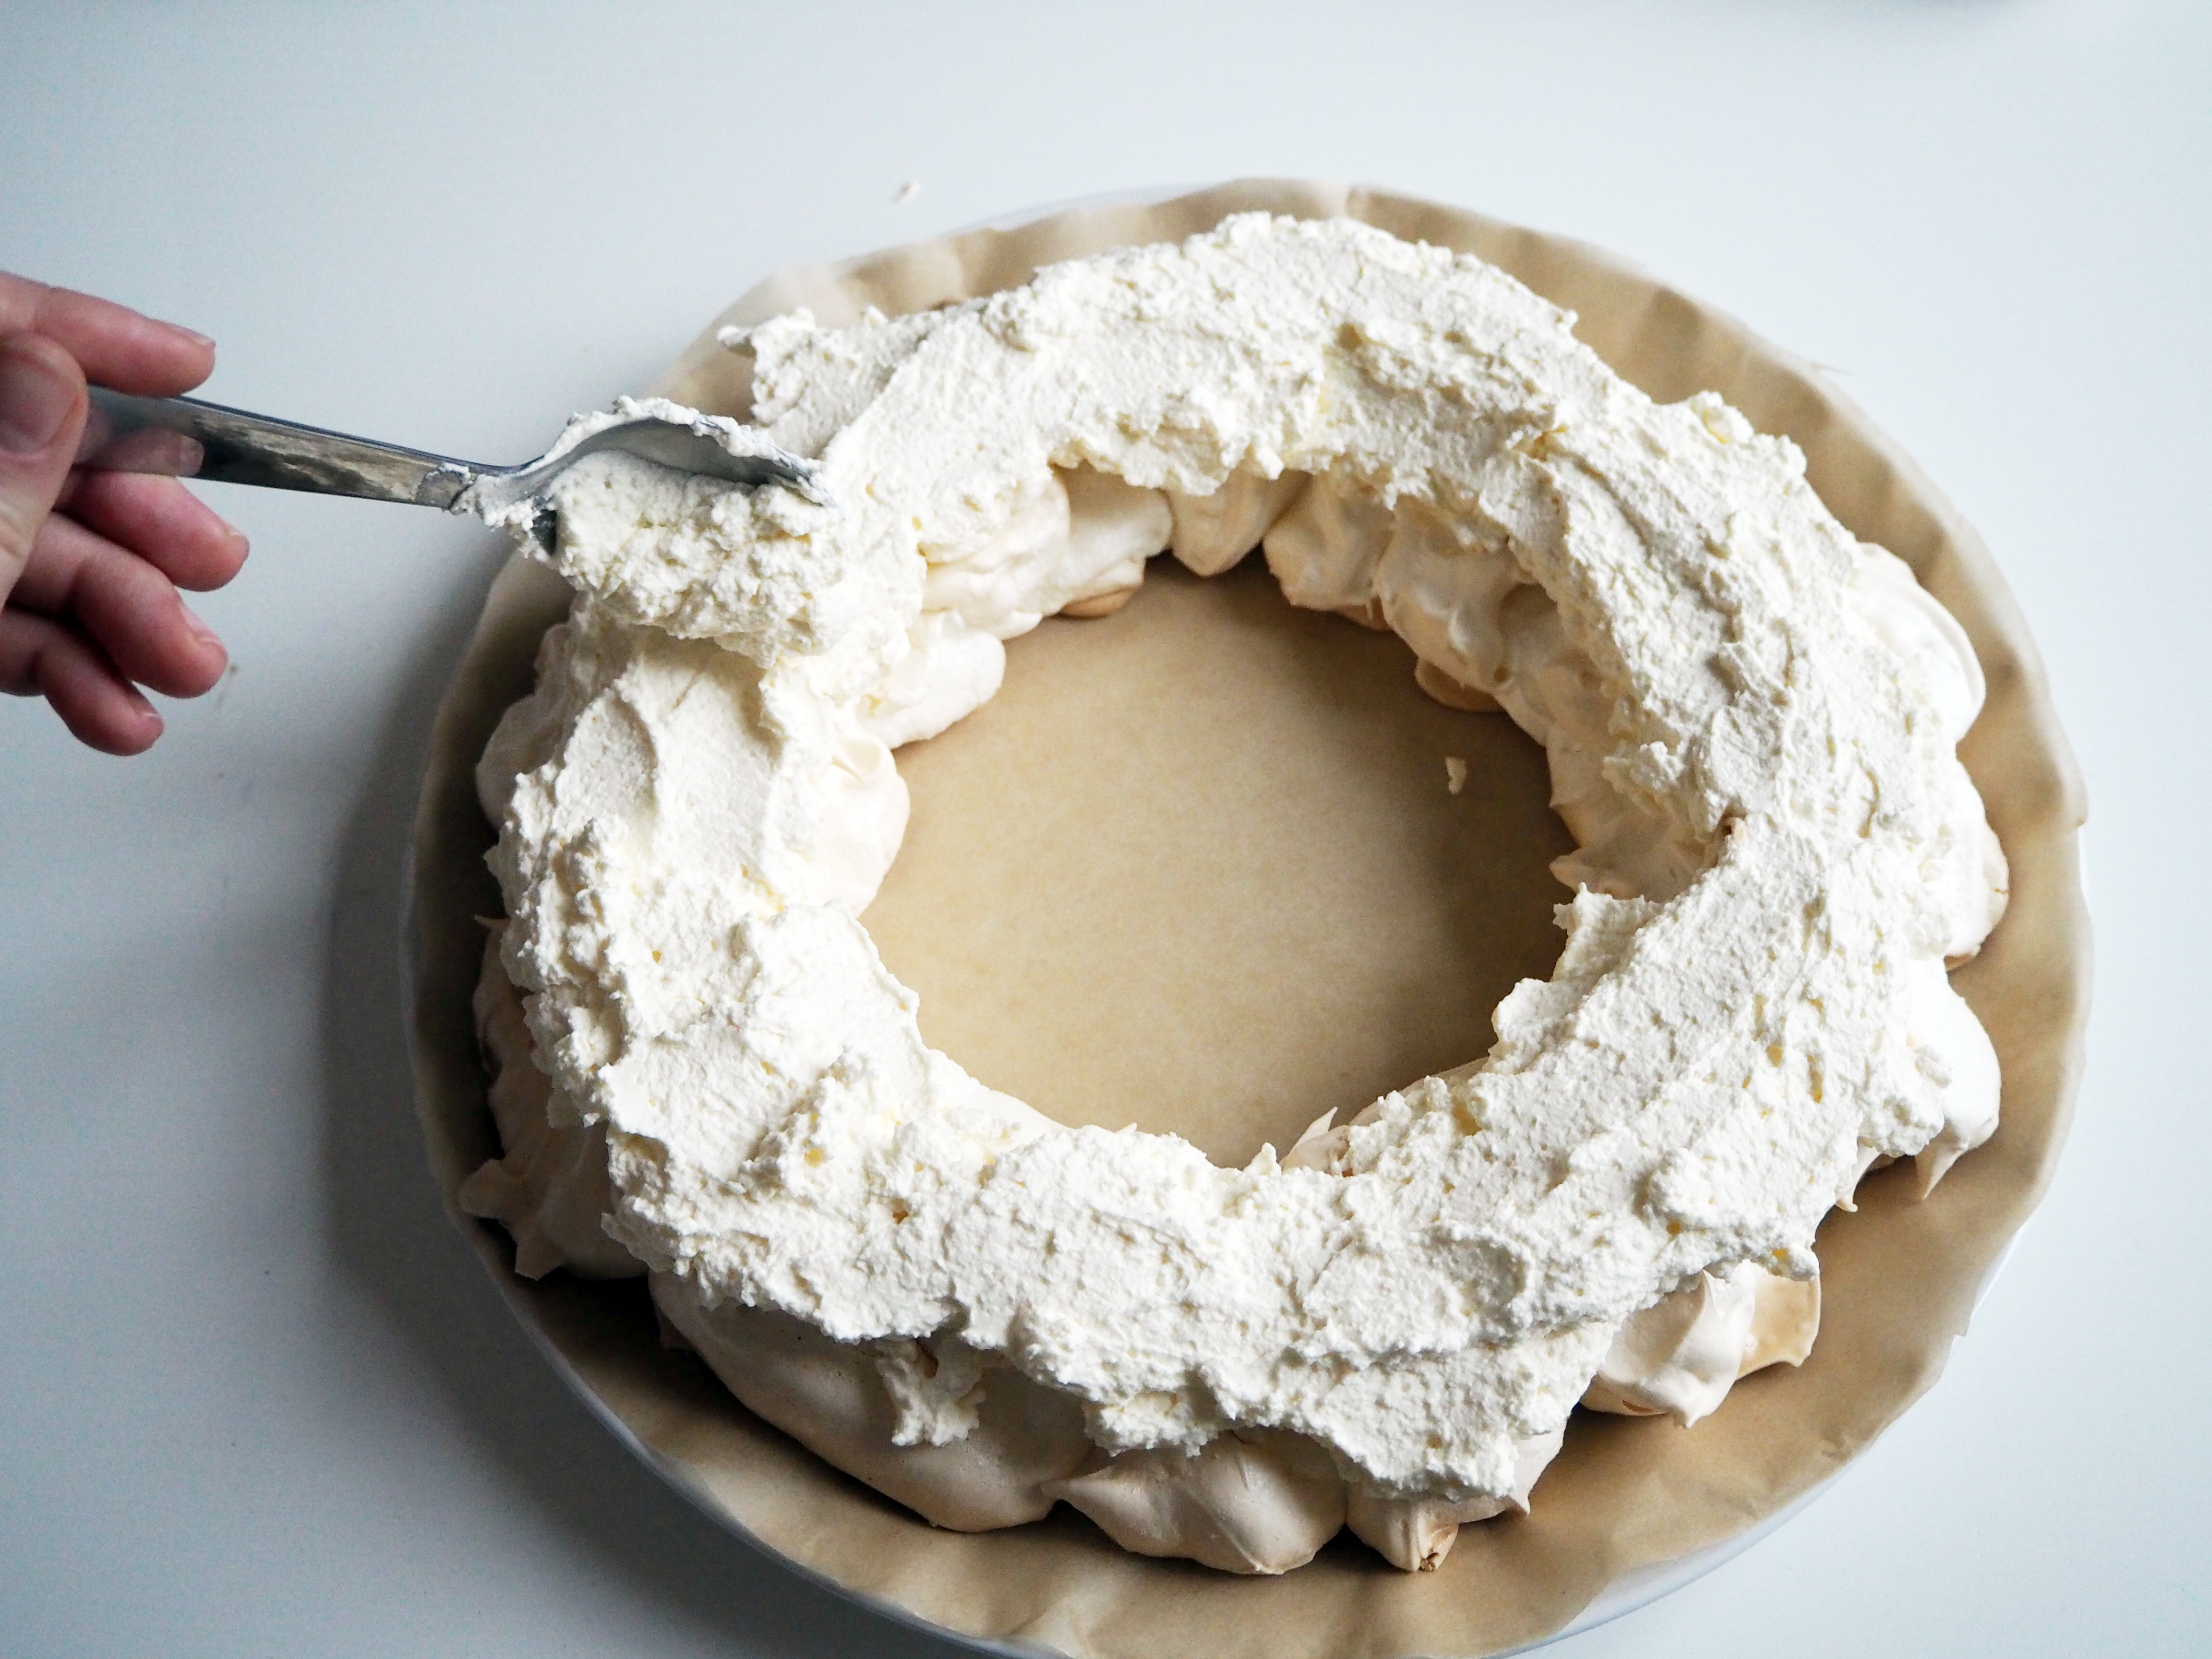
7. Prepare also the cream, as in step 10 of mini pavlova cake recipe.
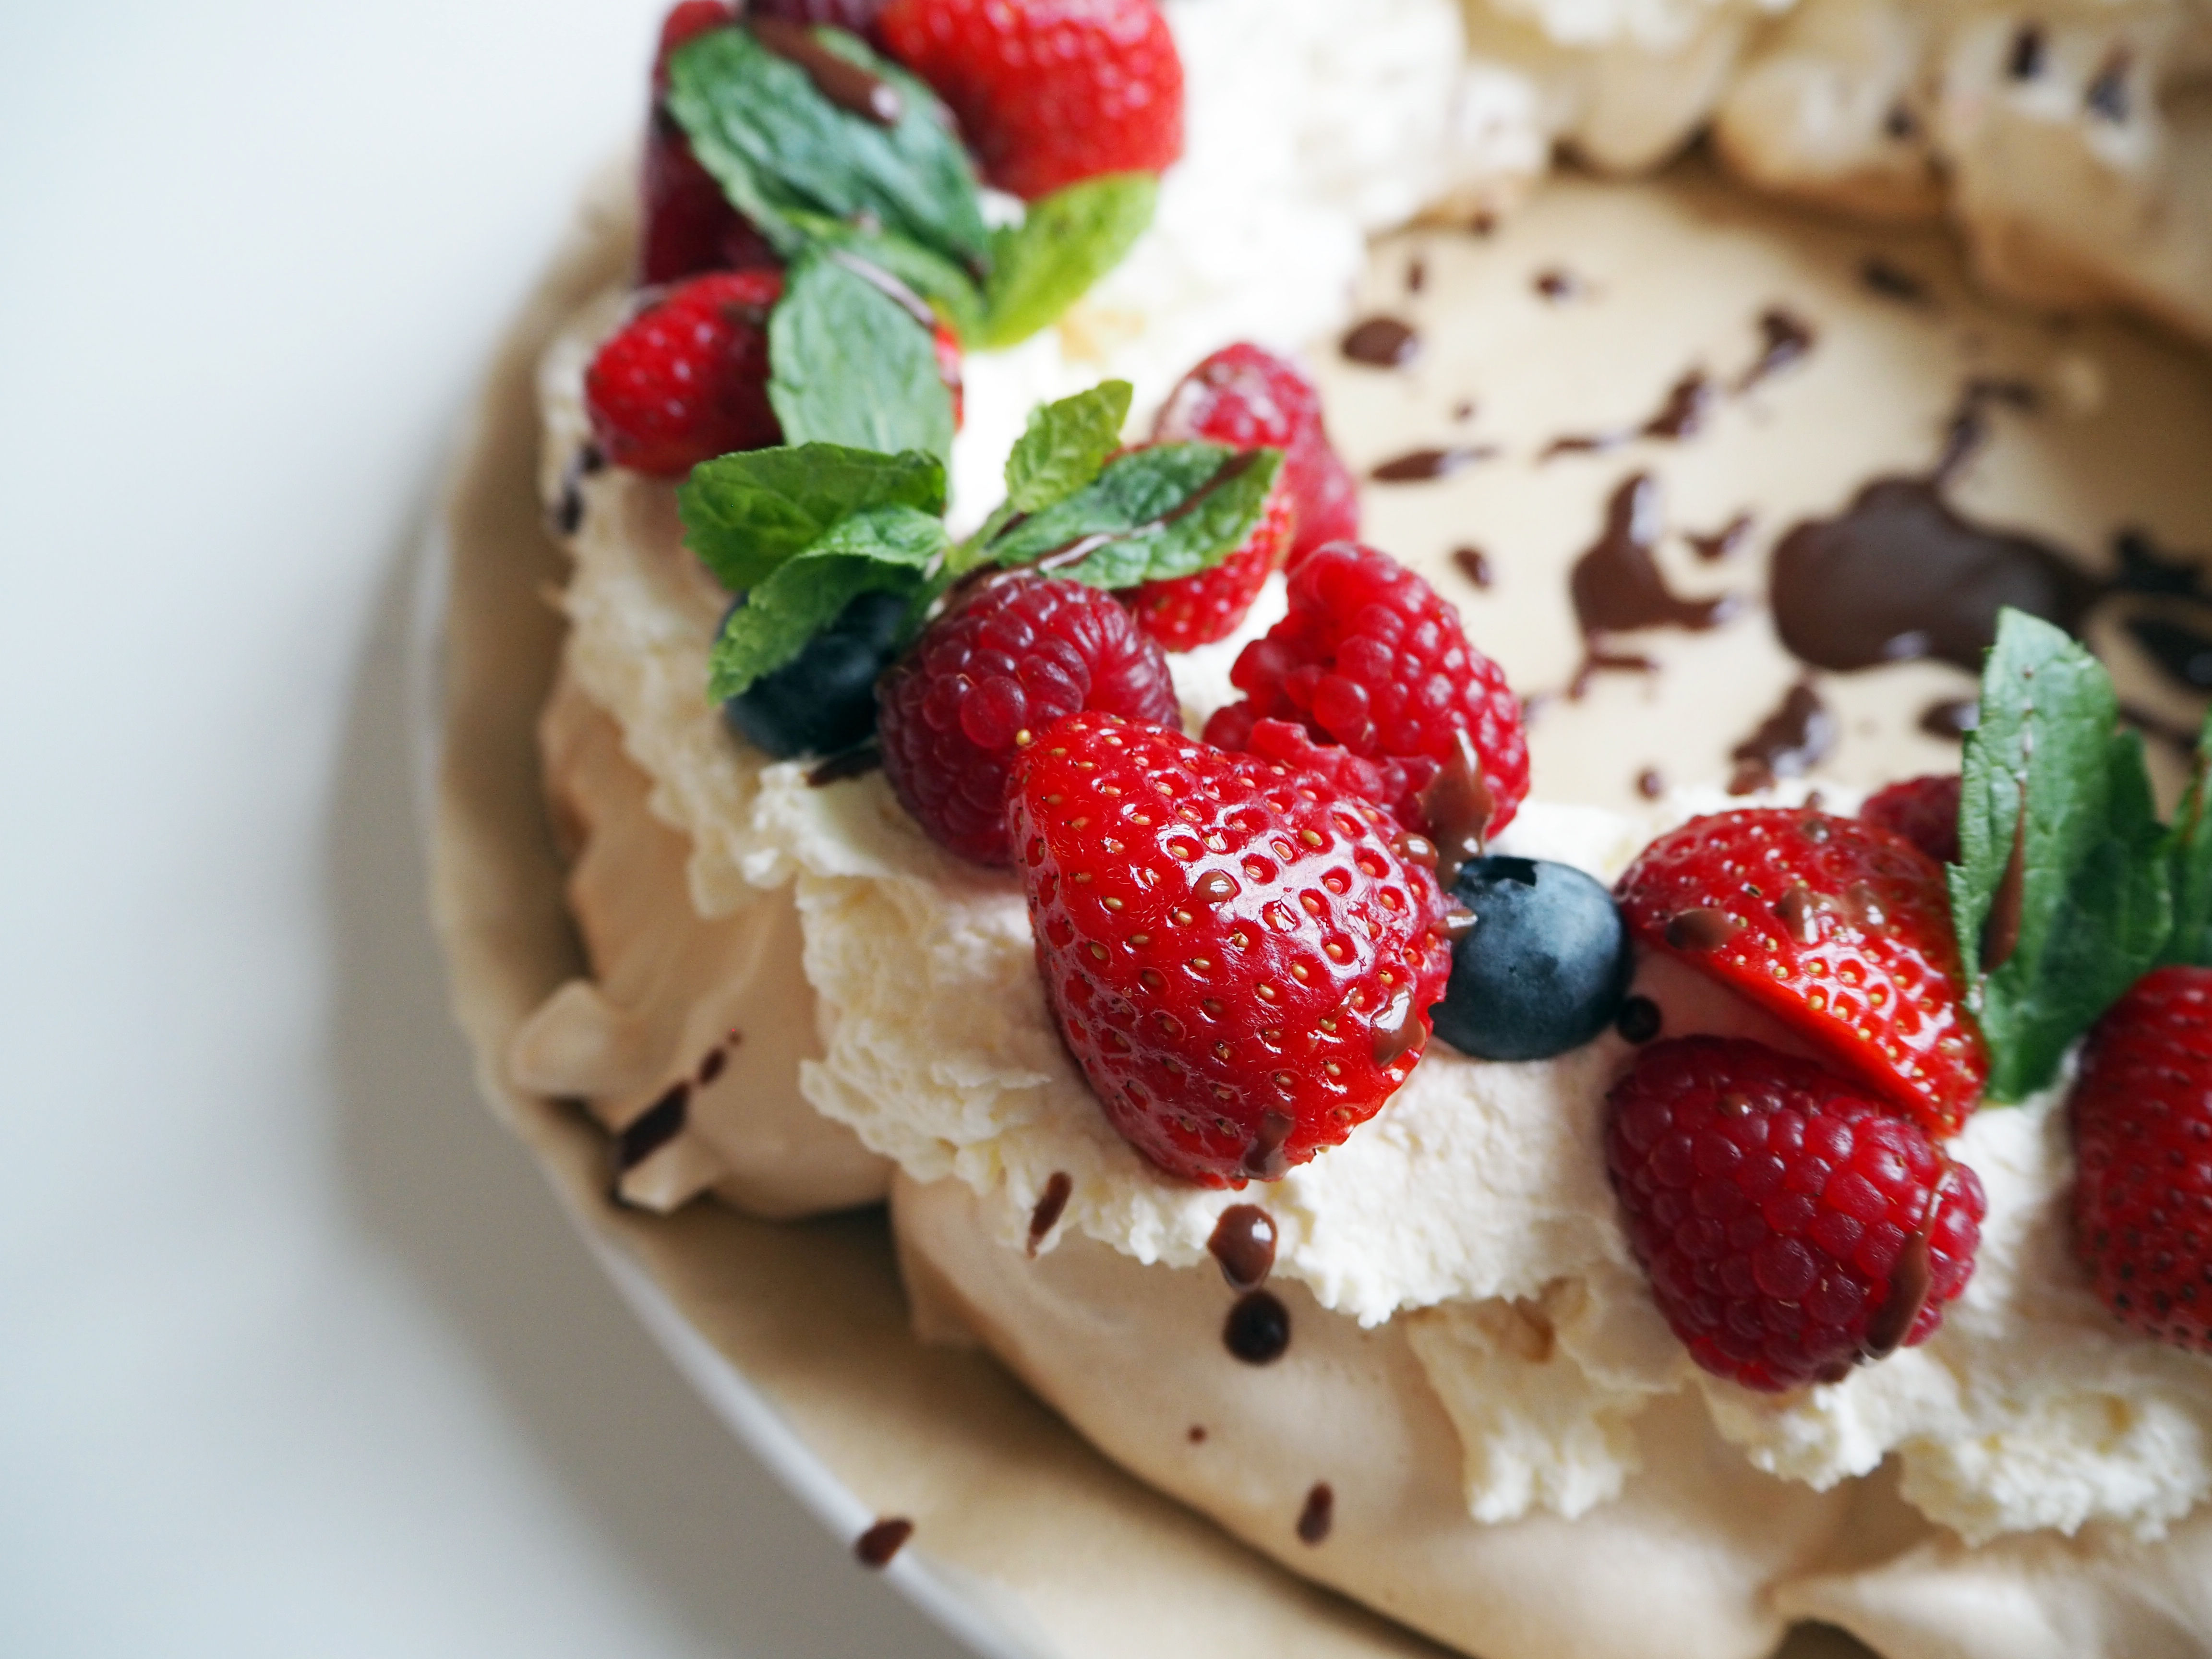
8. Now assemble: Transfer the meringue gently to a plate or to a clean sheet etc. Put cream on top. Decorate generously with fruits and mint leaves. Drizzle with chocolate sauce. Enjoy!


looks delicious.
love your tattoo by the way :)
thanks!
I love that one too, that’s why I’m trying to show it in my photos as much as possible hehehe