As I wrote in my previous post yesterday, exactly 1 year ago, I started blogging about food. I could never imagine how much it would change my life. I could never imagine that baking would be my whole life and that I would even think of a career with it.. But here I am, after a year’s adventure of baking and cooking – I finally became comfortable in the kitchen.
So I’ve been thinking for a while, which recipe should be the first one I give after the first birthday.. Should it be something Turkish, should it be a birthday cake, should it be something Finnish..? But of course, Finnish! Having Shrove Tuesday this week, what could be a better idea than giving the recipe for the famous Finnish pastry “Laskiaispulla”? You can also find this bun in other Scandinavian countries, but I am not sure if there is any difference between each other.

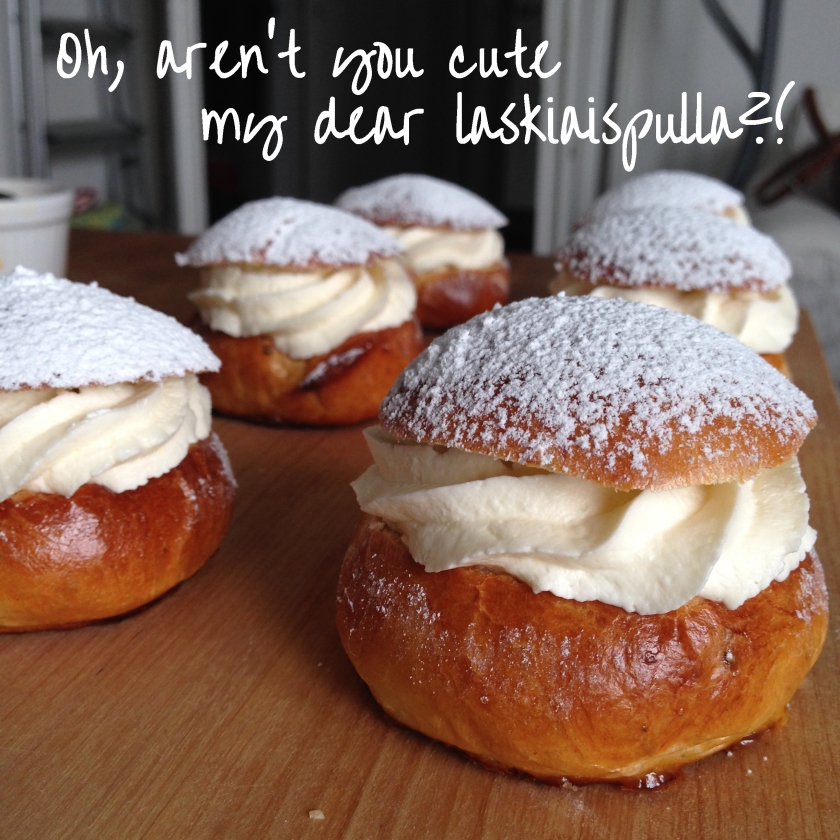
These buns are really cute with a little hat on them. In between the bun and the hat, there is either cream and almond paste or cream and jam. I found almond paste in K-market during the weekend, but I decided to use the jam I have at home – next time, though, I am going to make it with almond paste. And as in any other Finnish pastry, the signature ingredient is cardamom! I feel that without cardamom, you cannot make Finnish pastry! (Well of course you “can”, but it would not be as authentic as it should be..)


So enjoy your buns and do not eat them all yourself – share with friends!! And, (this is for friends in Helsinki) if you have time, go and eat Laskiaispulla at least once in Cafe Esplanad – but try to go there as a group of 4, since they are the biggest buns ever!!!!
(Note – The recipe is adapted from: http://karaimame.wordpress.com/2011/03/08/laskiaispulla/)
—
Ingredients:
(Makes 20 buns)
For the dough:
1 egg
2 3/4 cups / 420 gr / 7 dl white flour
100 gr. butter
1 cup / 2.5 dl milk
1/2 cup / 1 dl granulated white sugar
1/2 tsp / 2.5 ml salt
2 tsp / 10 ml ground cardamom
1 package / 11 gr dry yeast
Sugar flakes (optional – I did not use it)
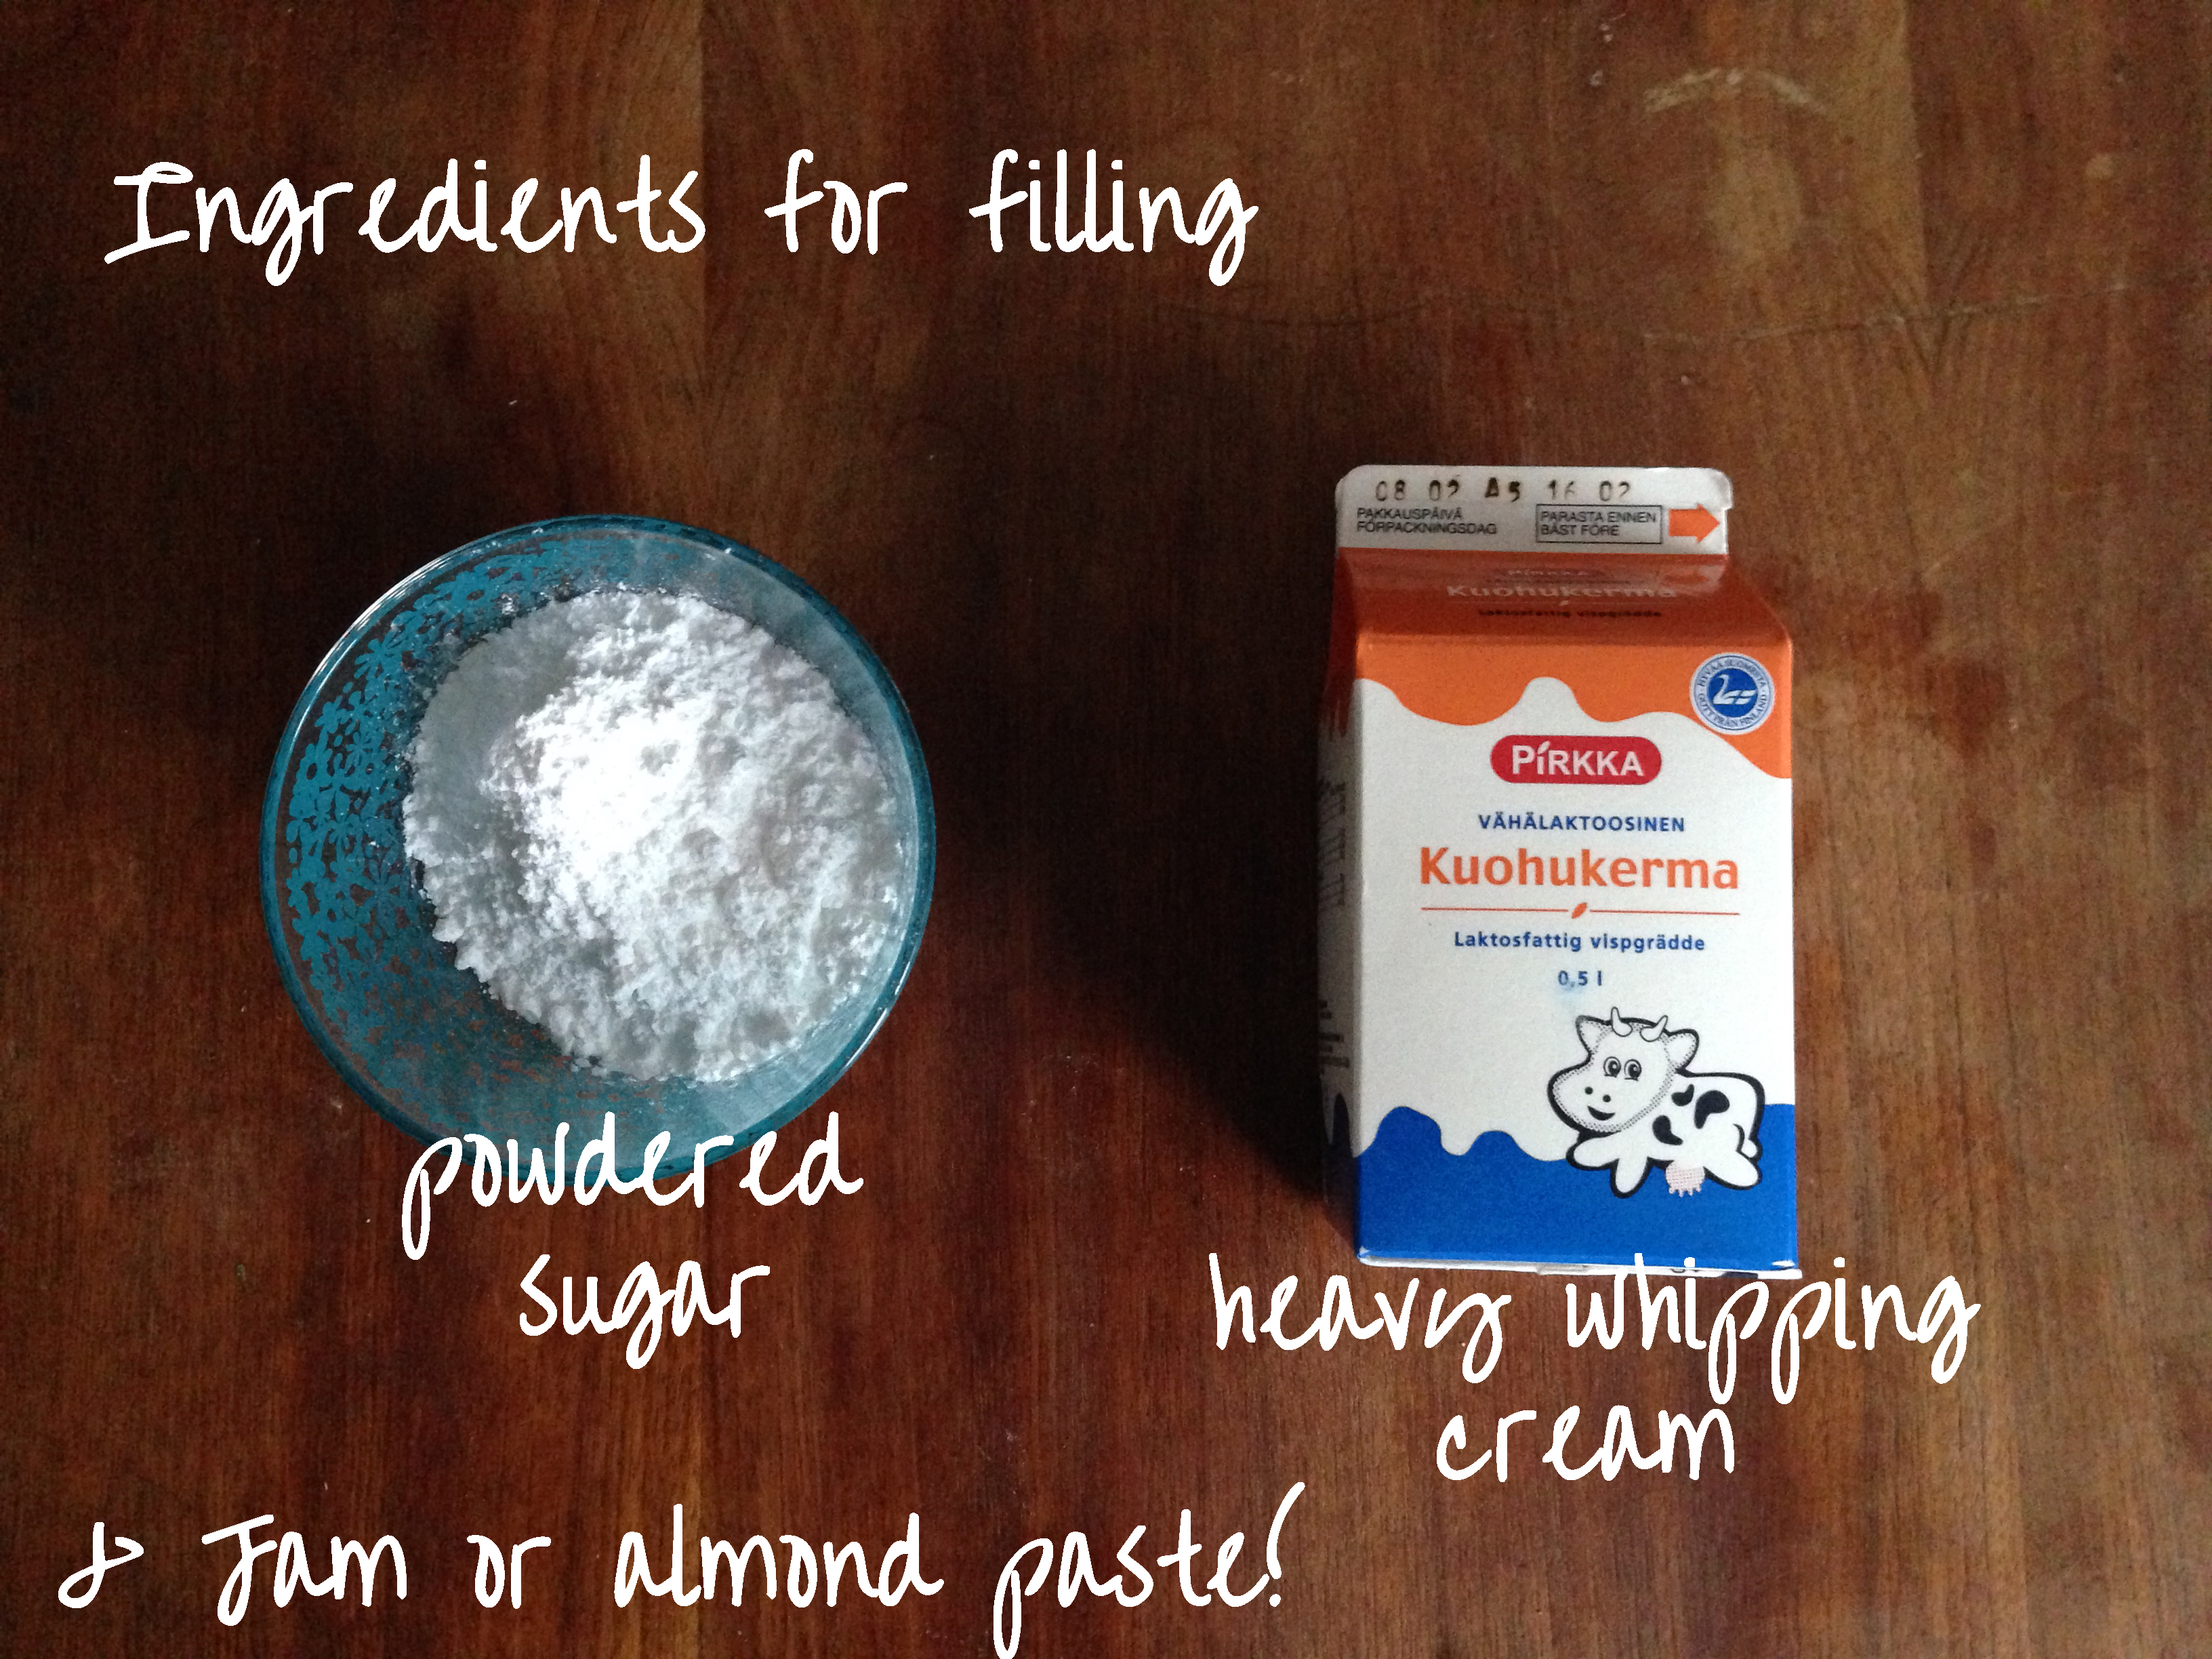
For the filling:
2 cups / 5 dl heavy cream (Kuohukerma)
1 cup / 2 dl powdered sugar
Jam (Raspberry would be nice, I used plum marmalade) or Almond Paste
To put on top:
Powdered sugar

—
1. In a small bowl, crack the egg and beat it using a fork. Divide this beaten egg in two equal parts and save 1 part for later (you will use this to brush the buns with, before you bake them).


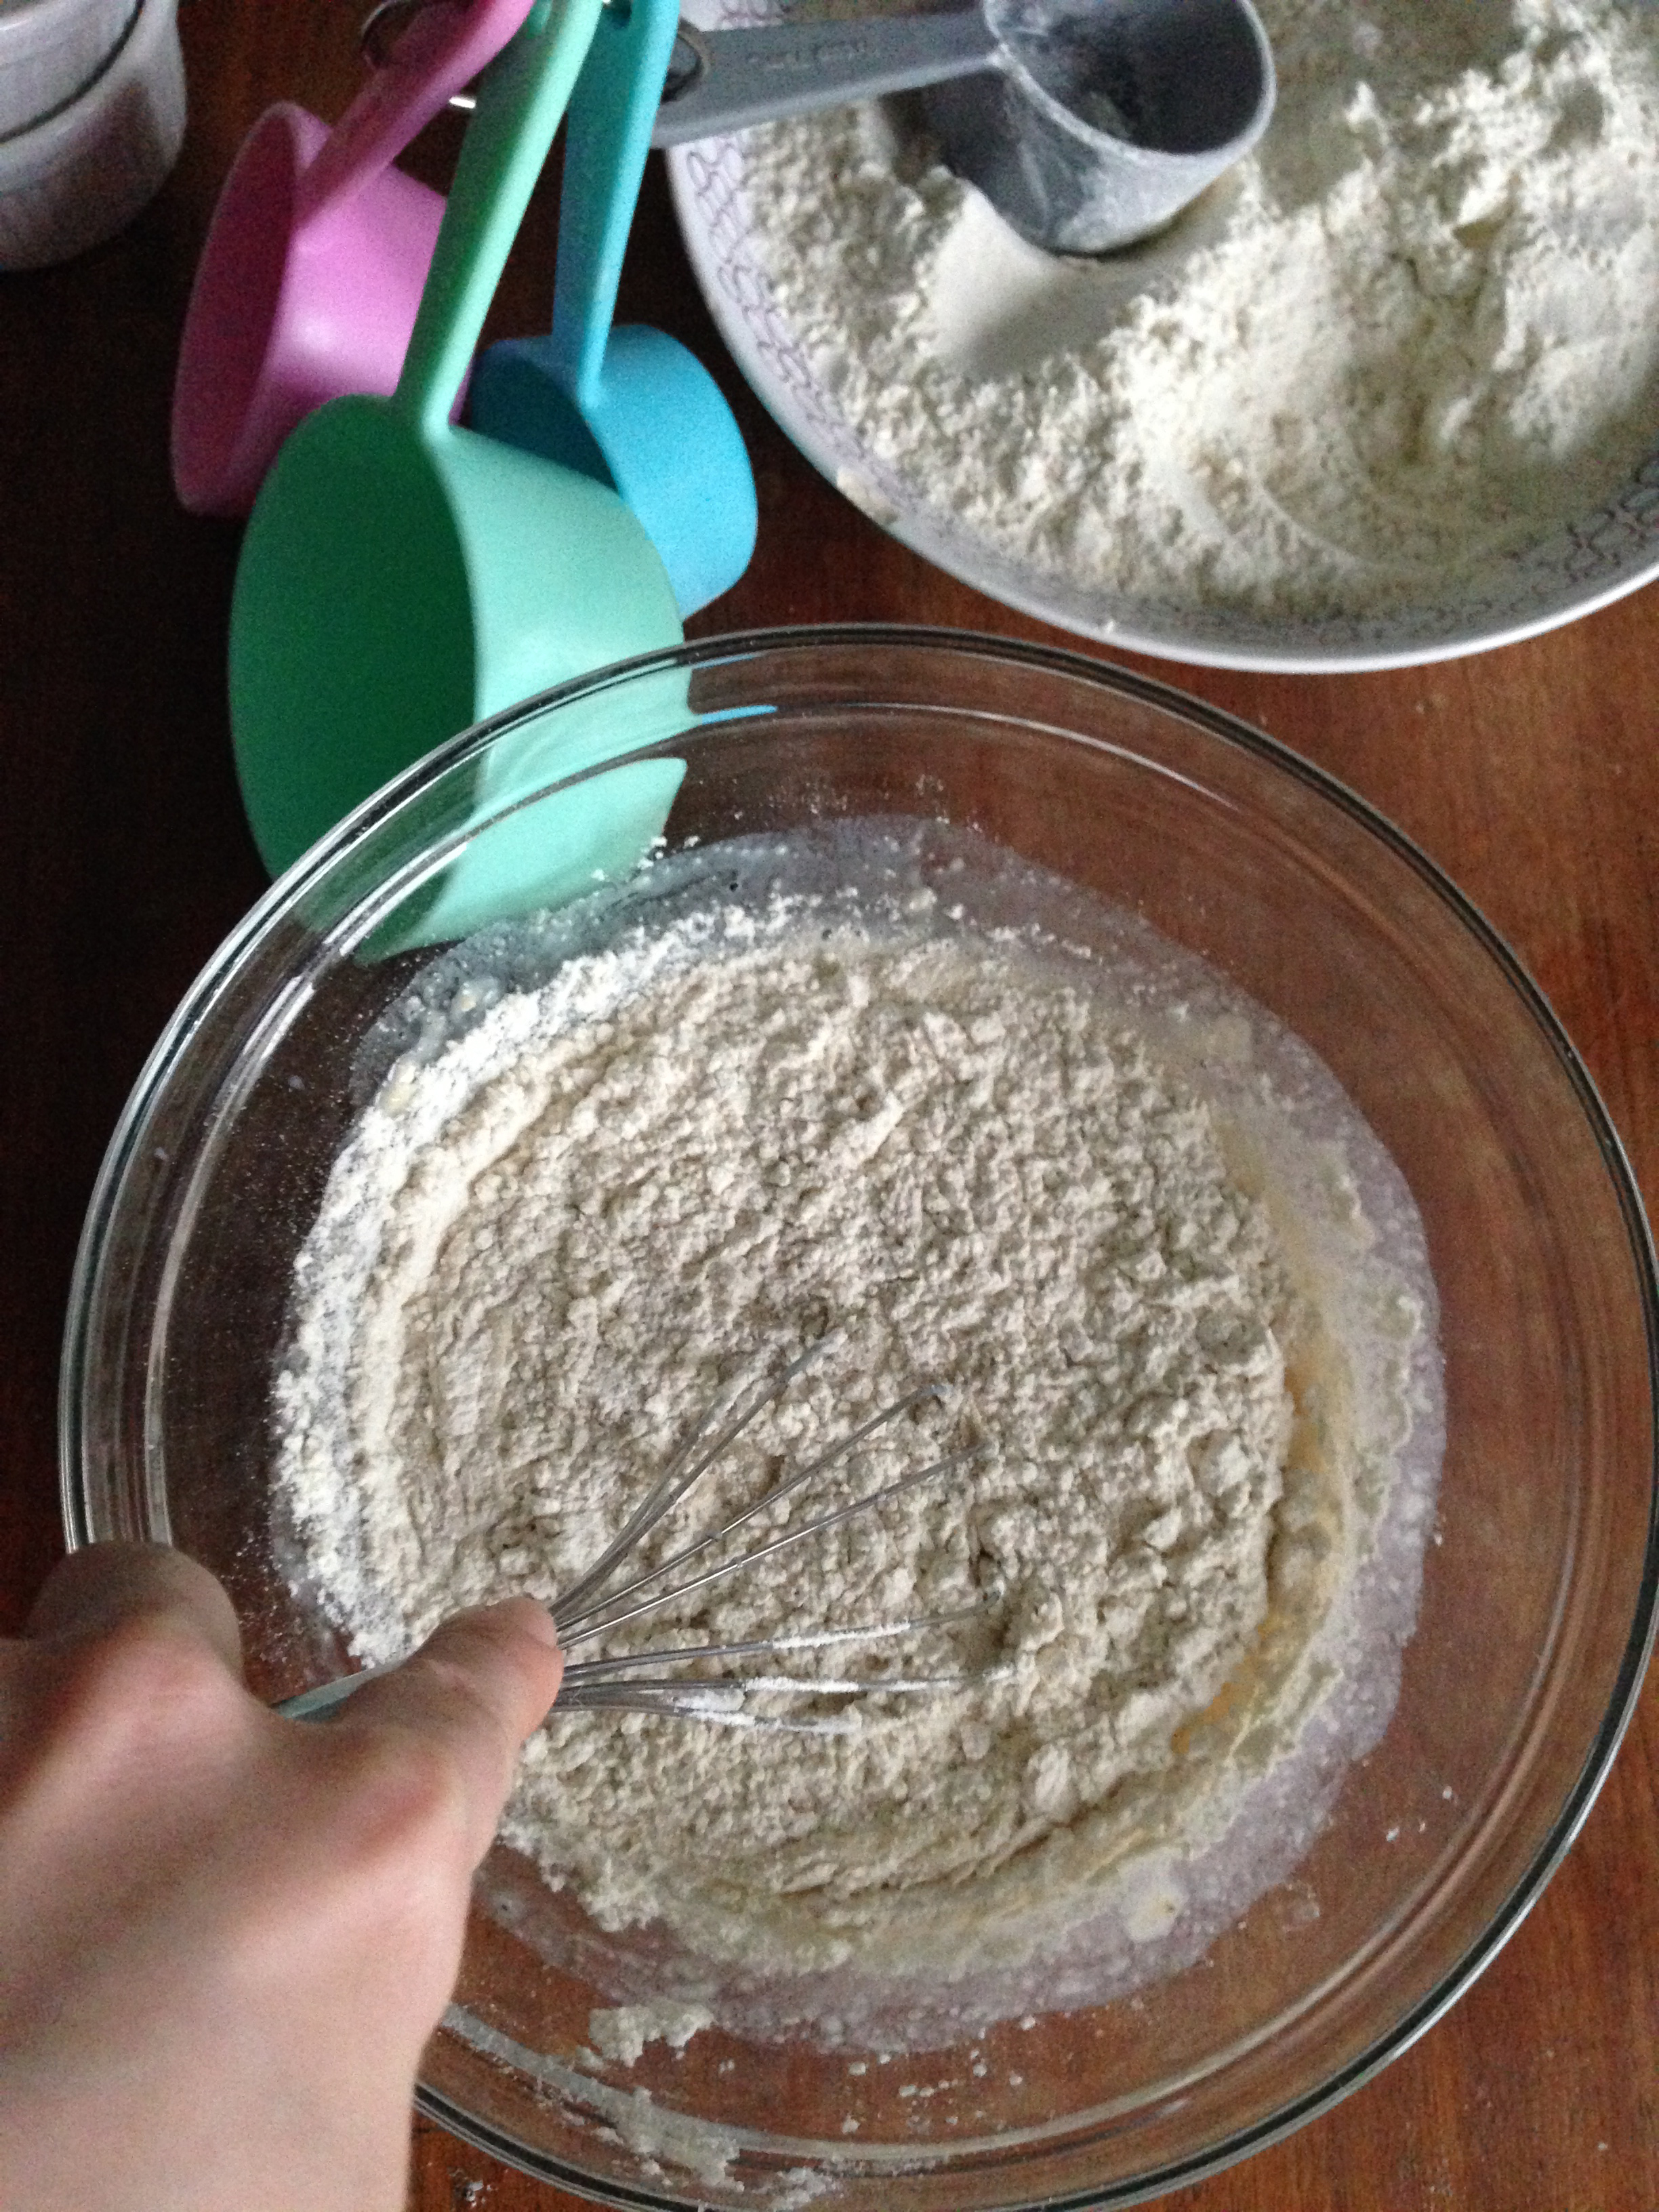
2. In a mixing bowl, put about 1.5 dl or 3/4 cup of flour, put aside.

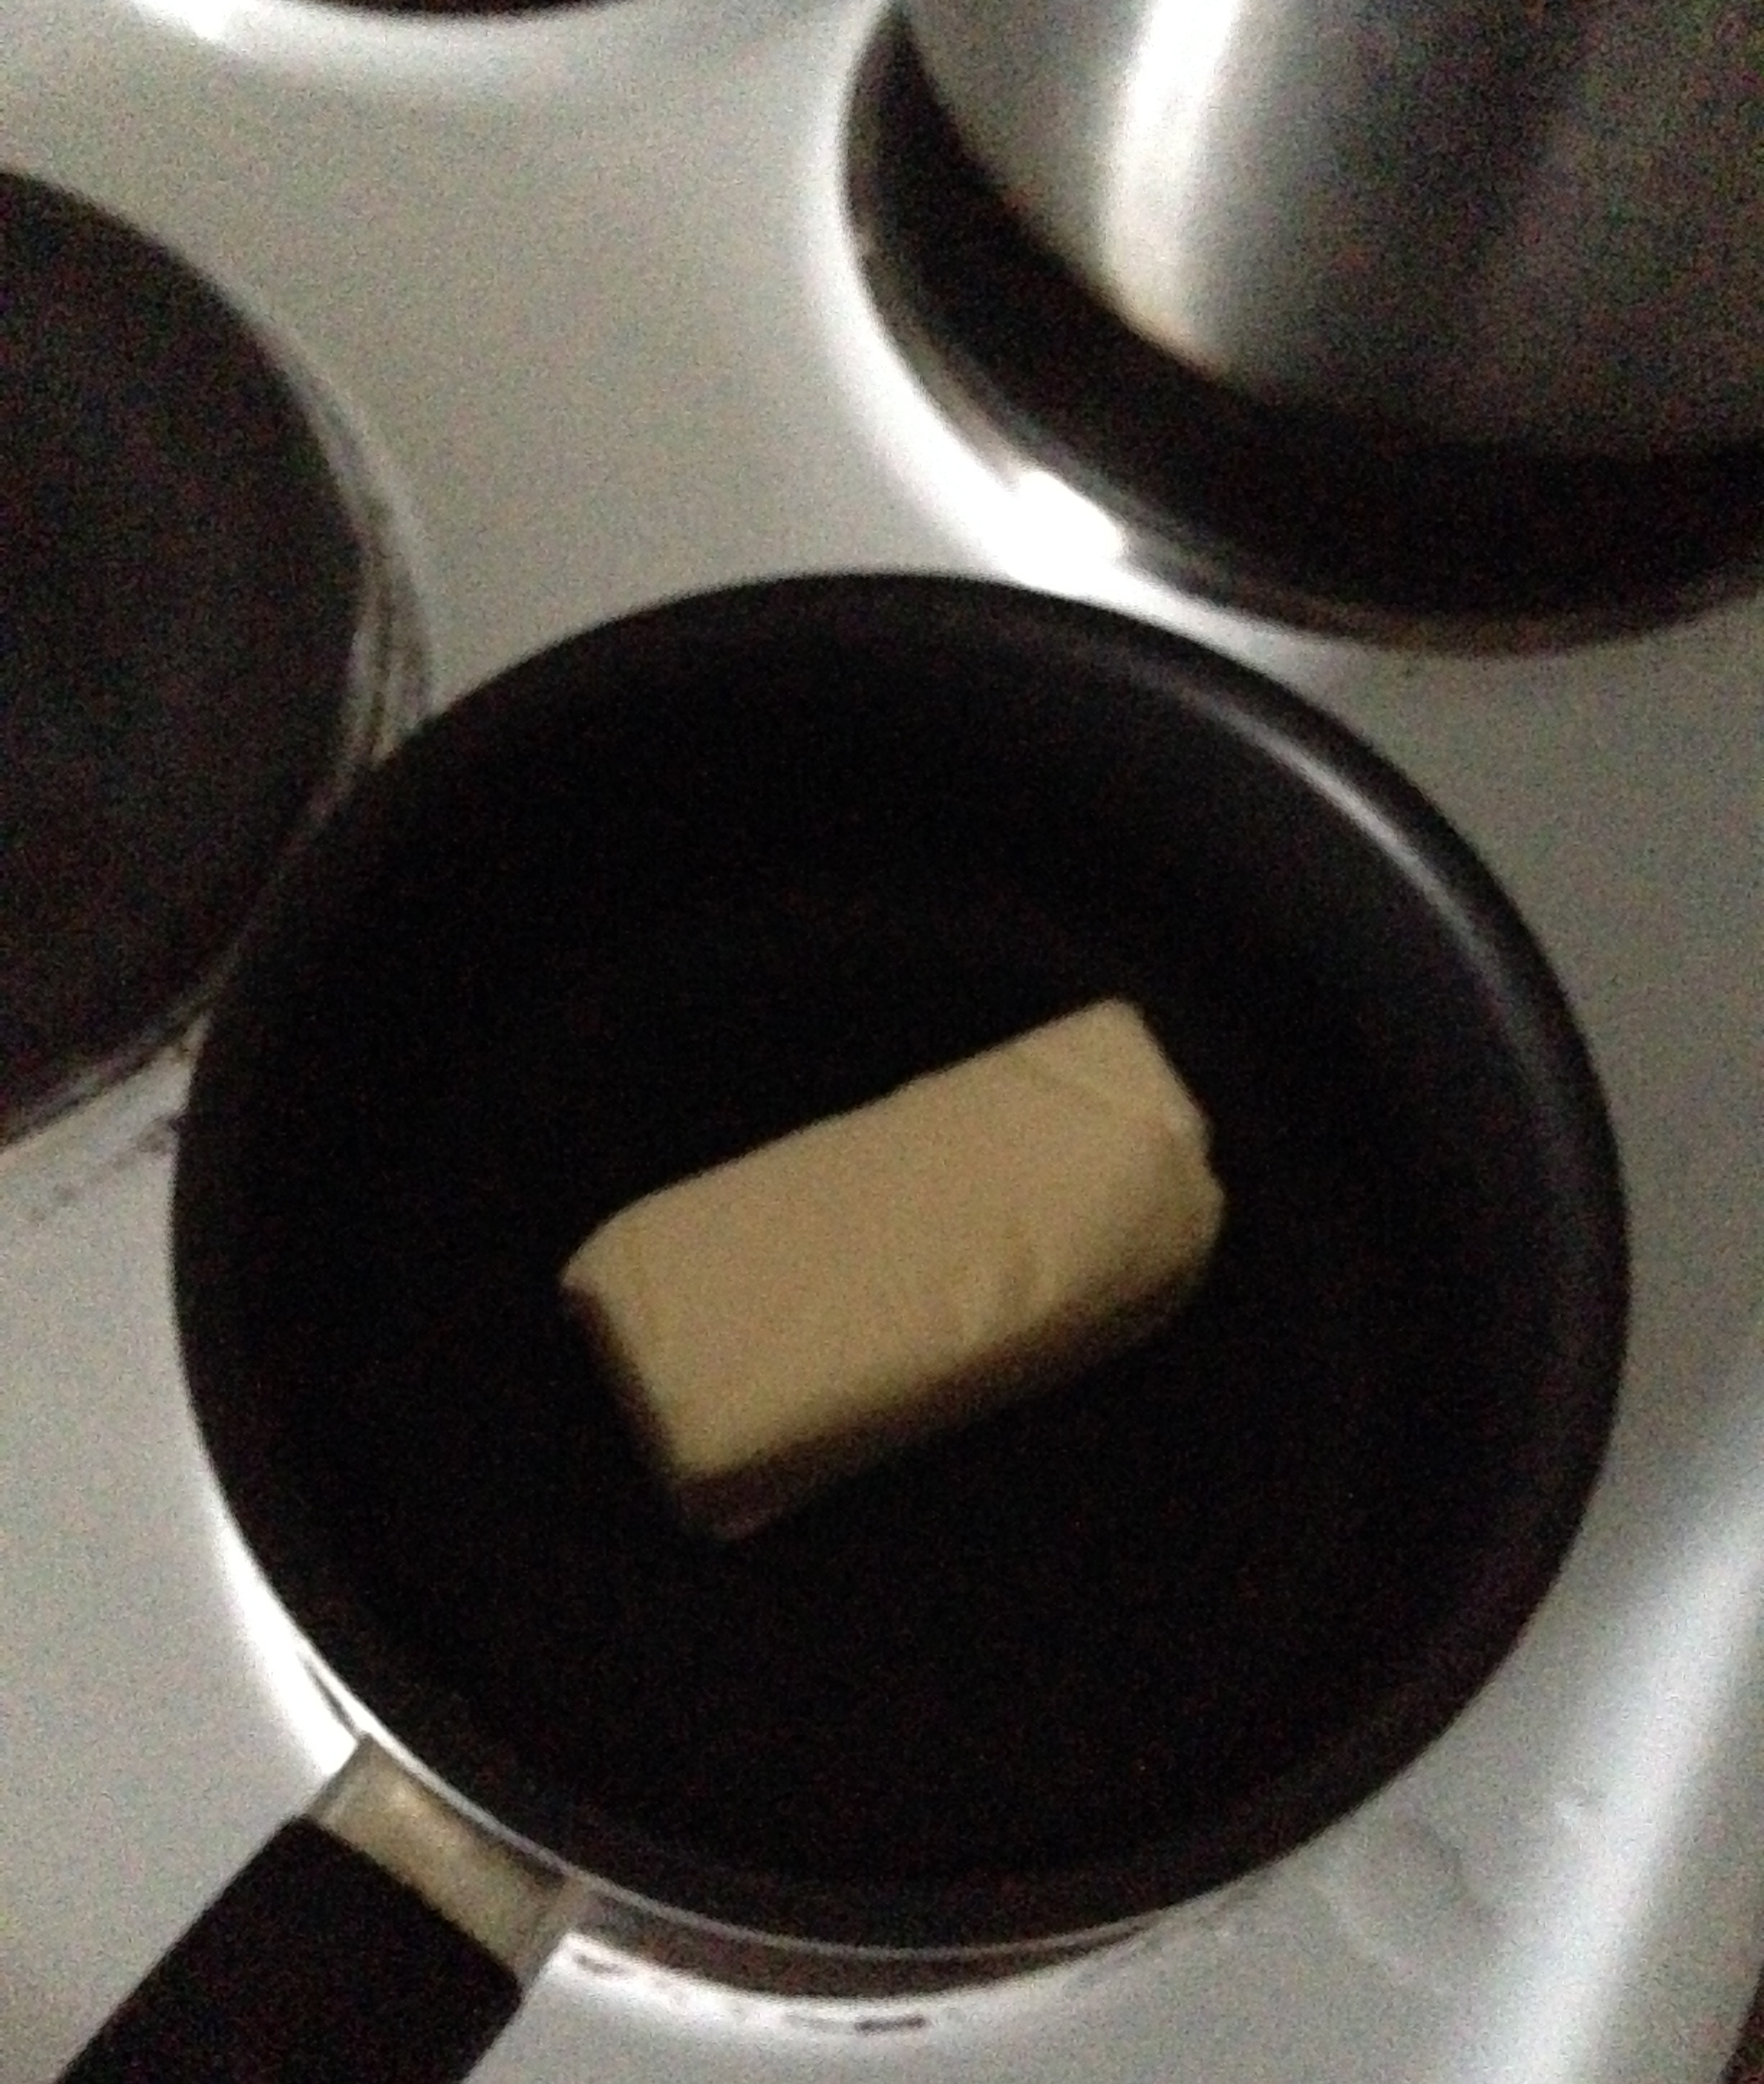
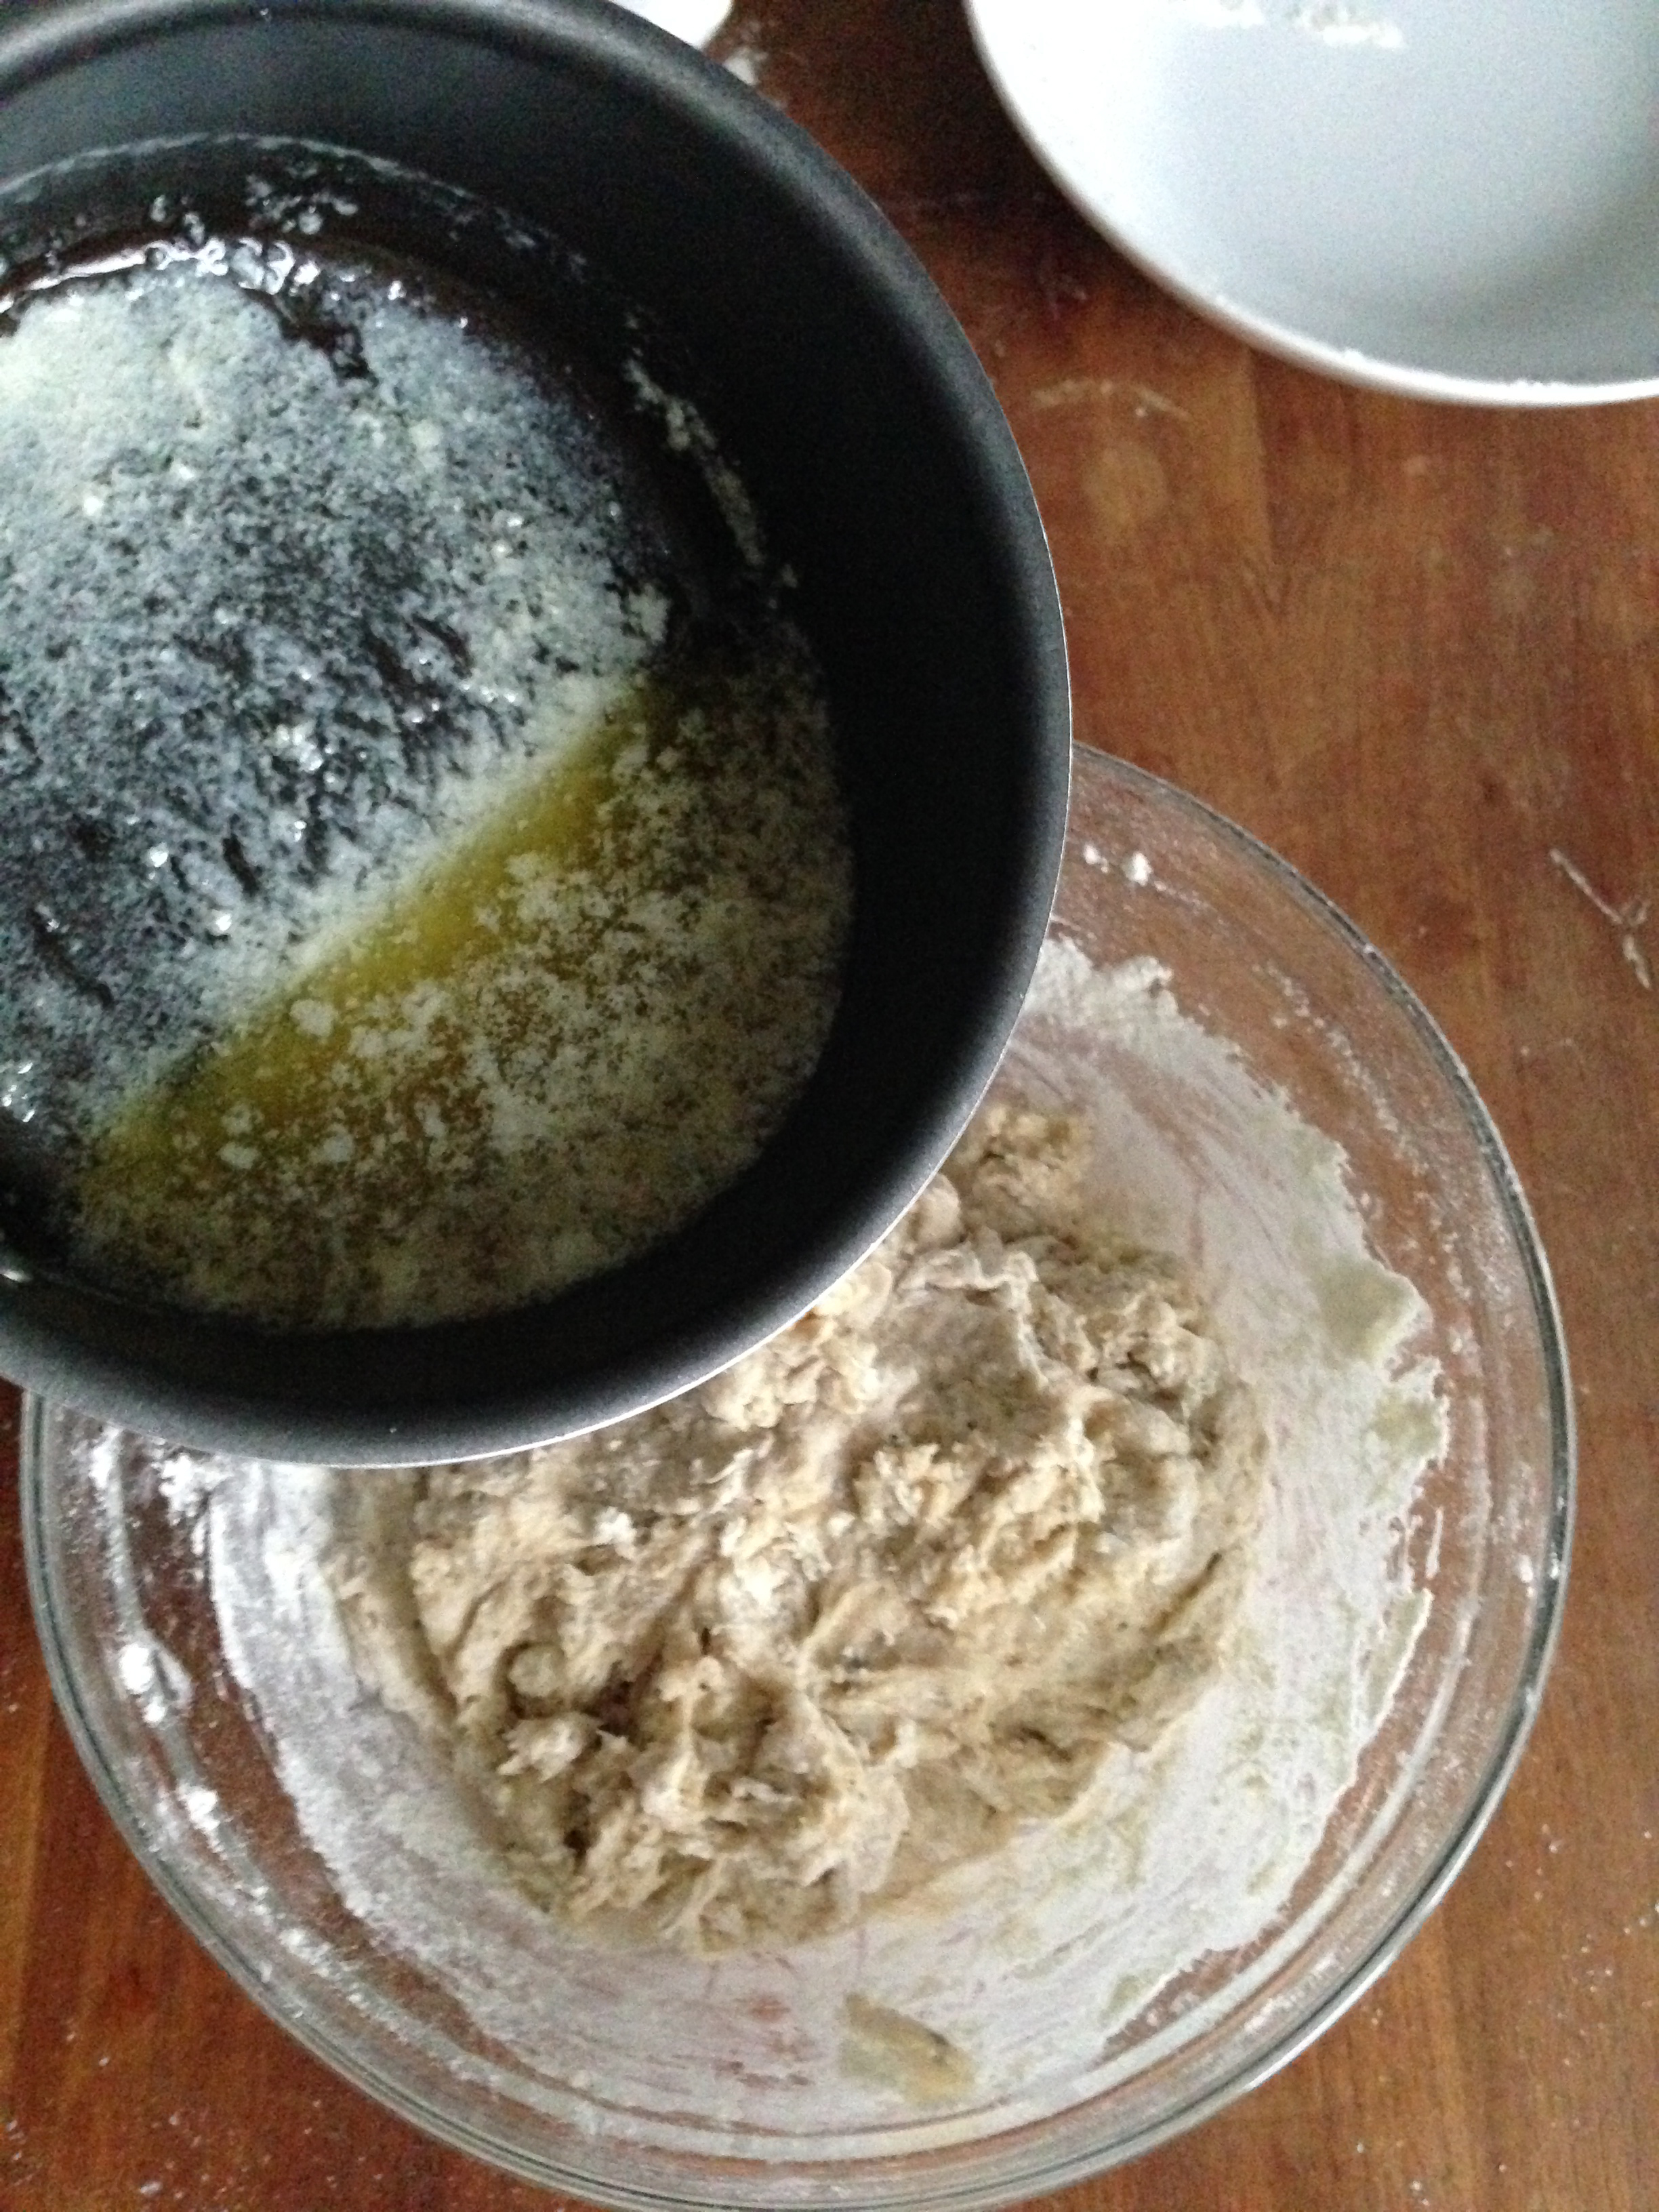
3. Put the butter in a pan and melt it. When it melts, put aside and cool to room temperature.
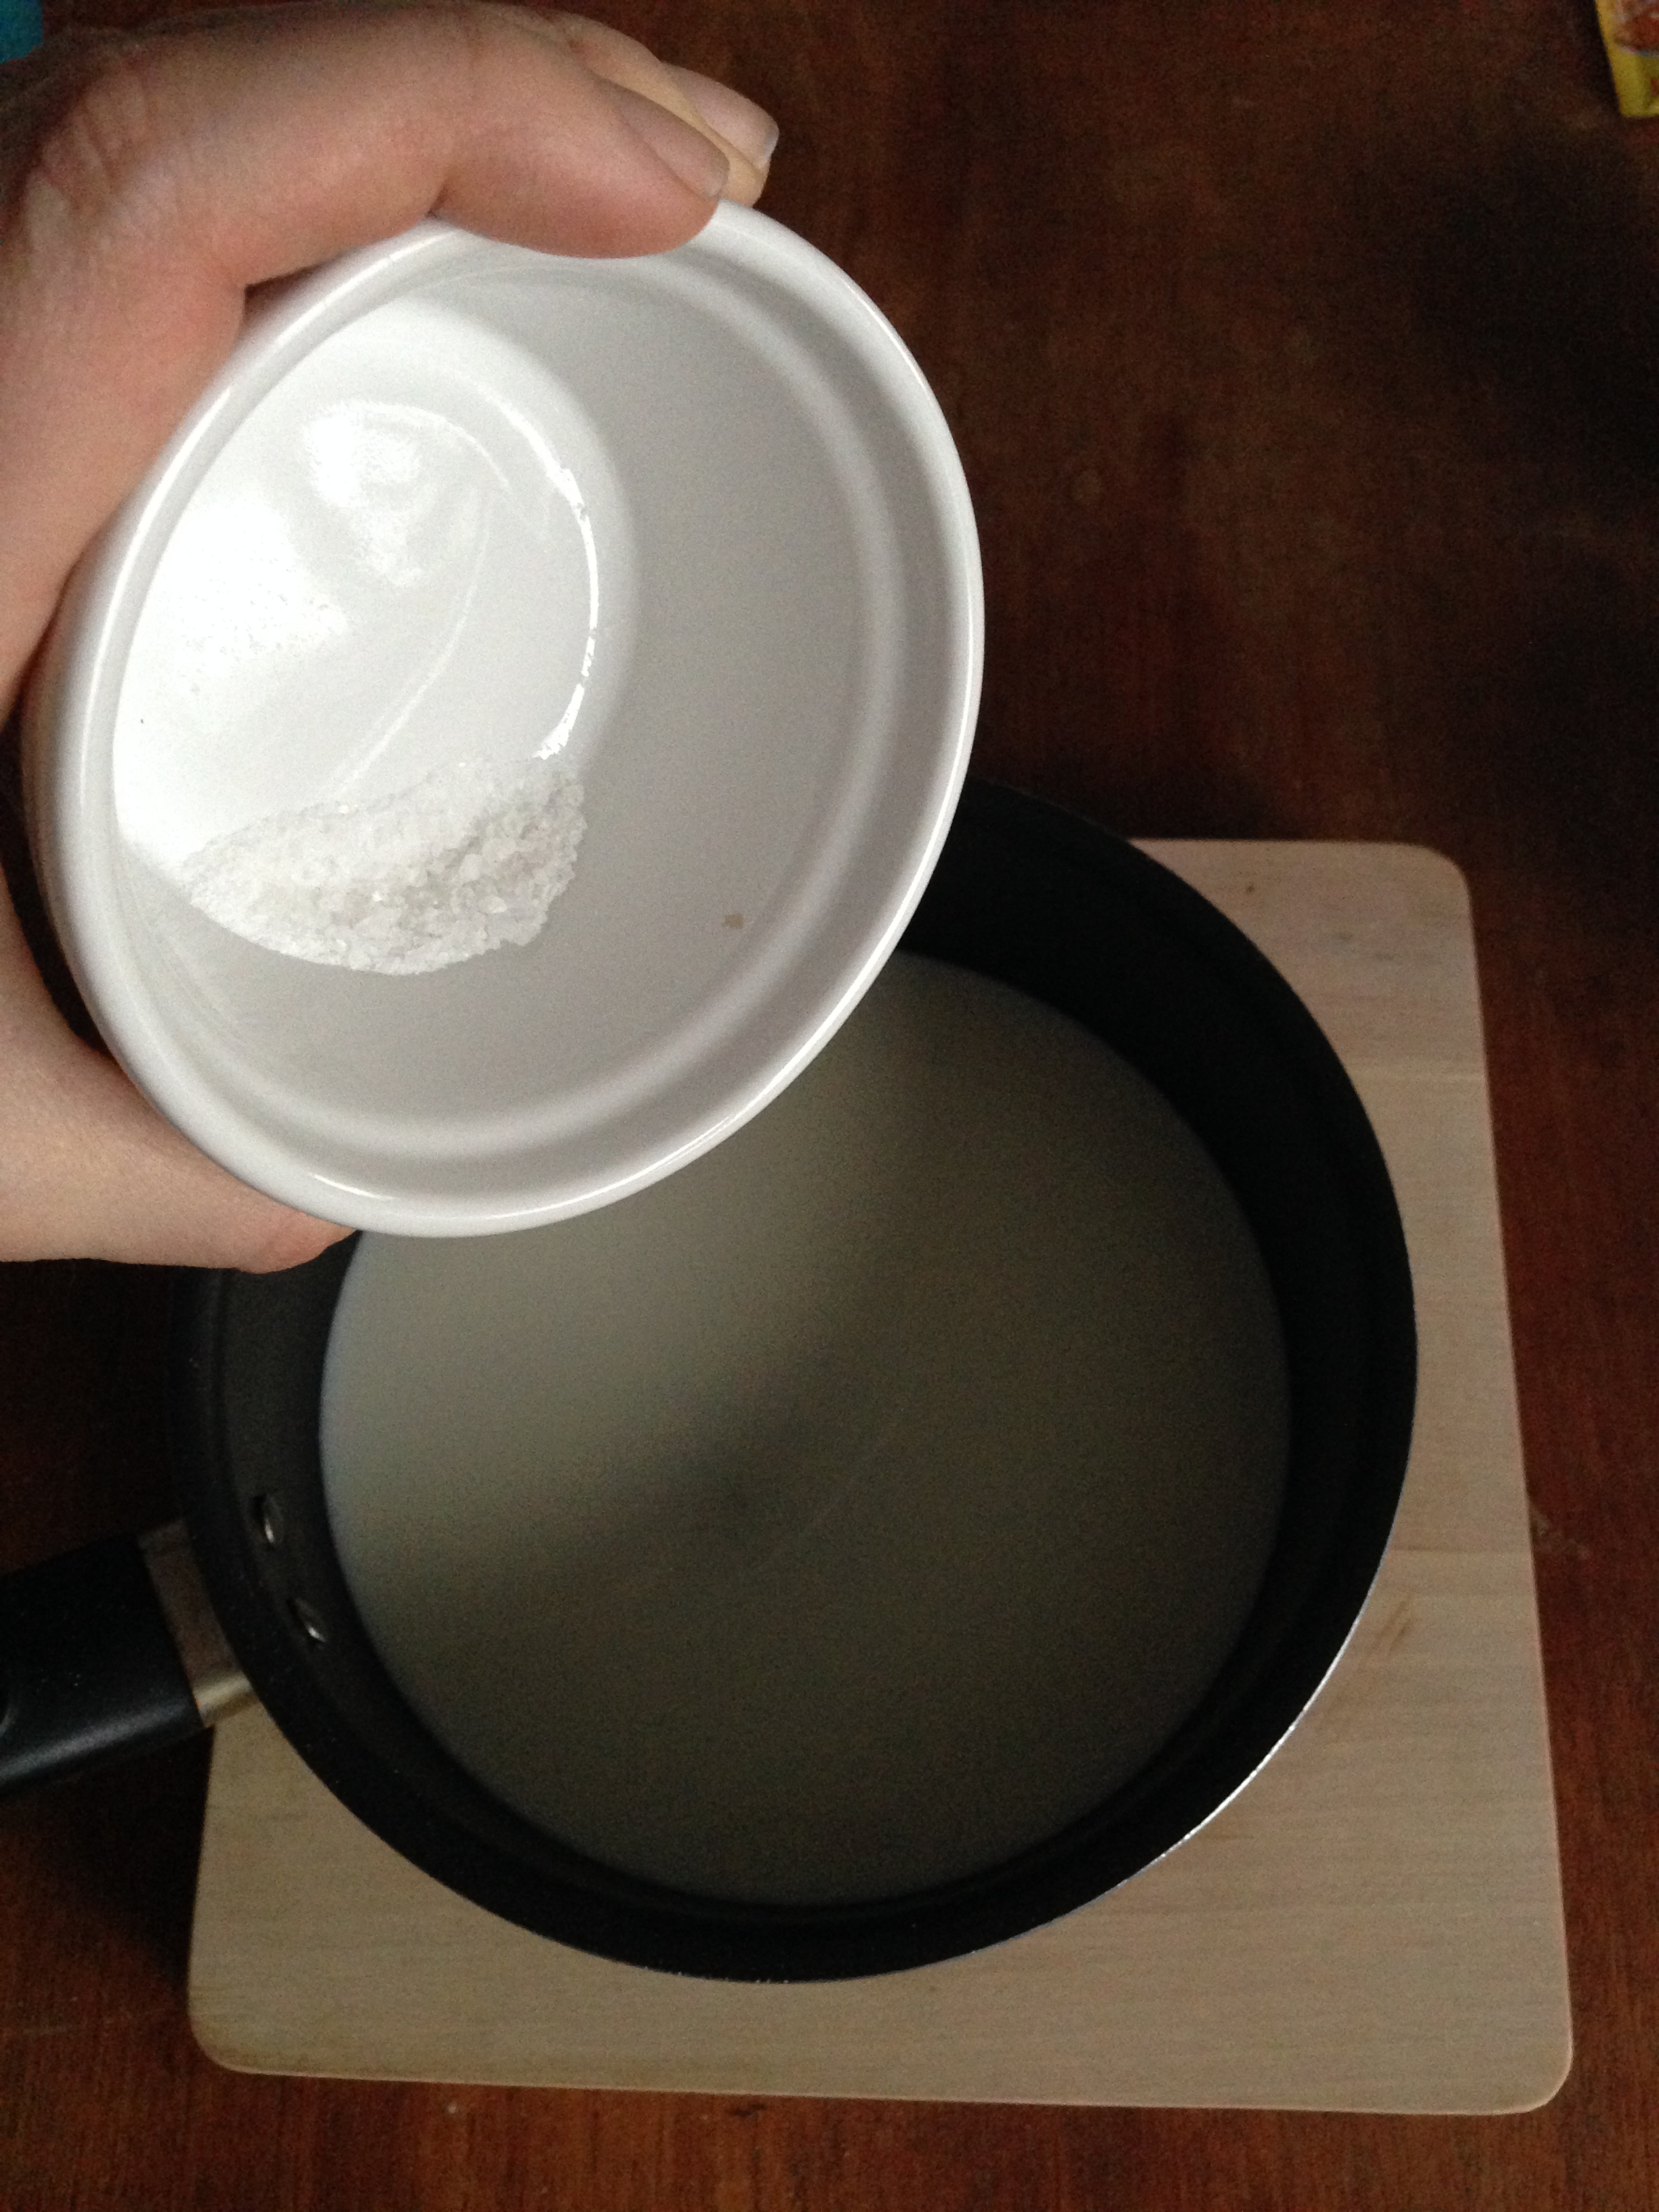
4. In another pan, put milk and heat it to 42C. If you do not have a thermometer, then heat it to a temperature that is warm but not boiling, it should feel warm if you just touch with the back of your finger but not burn it.


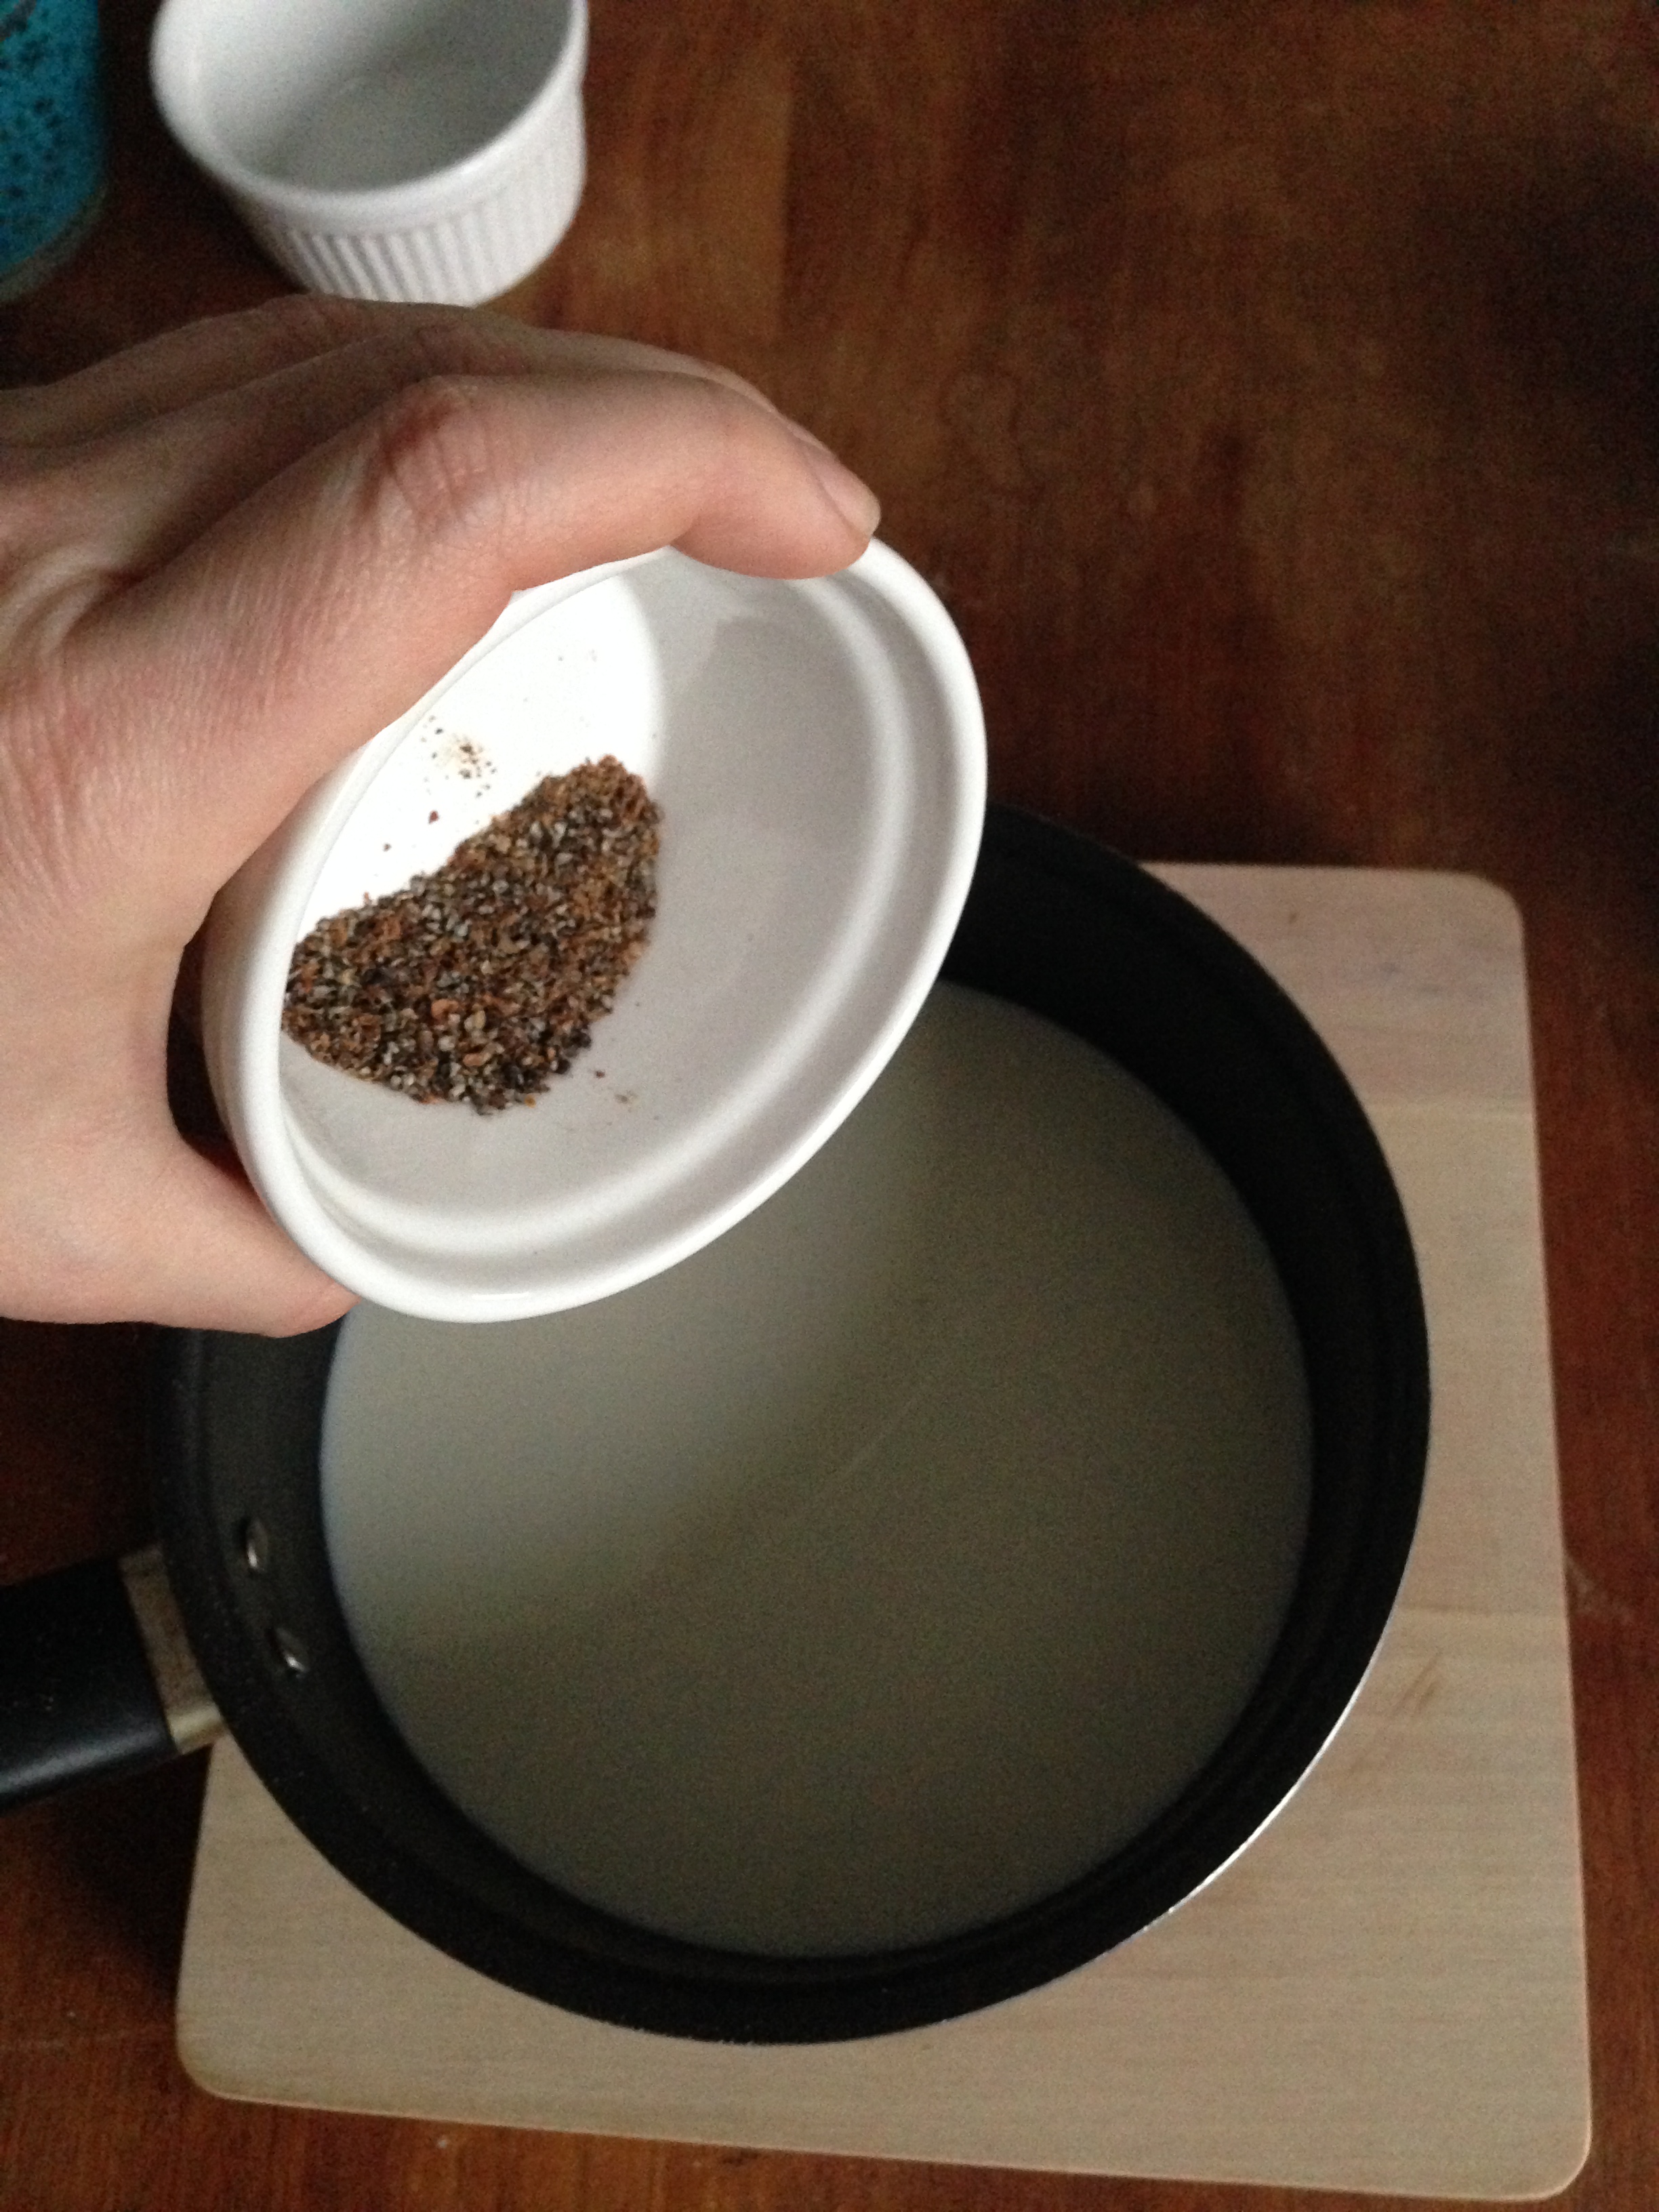
5. When the milk is warm, take it away from the heat. Add sugar, salt and cardamom and whisk it until the sugar dissolves.


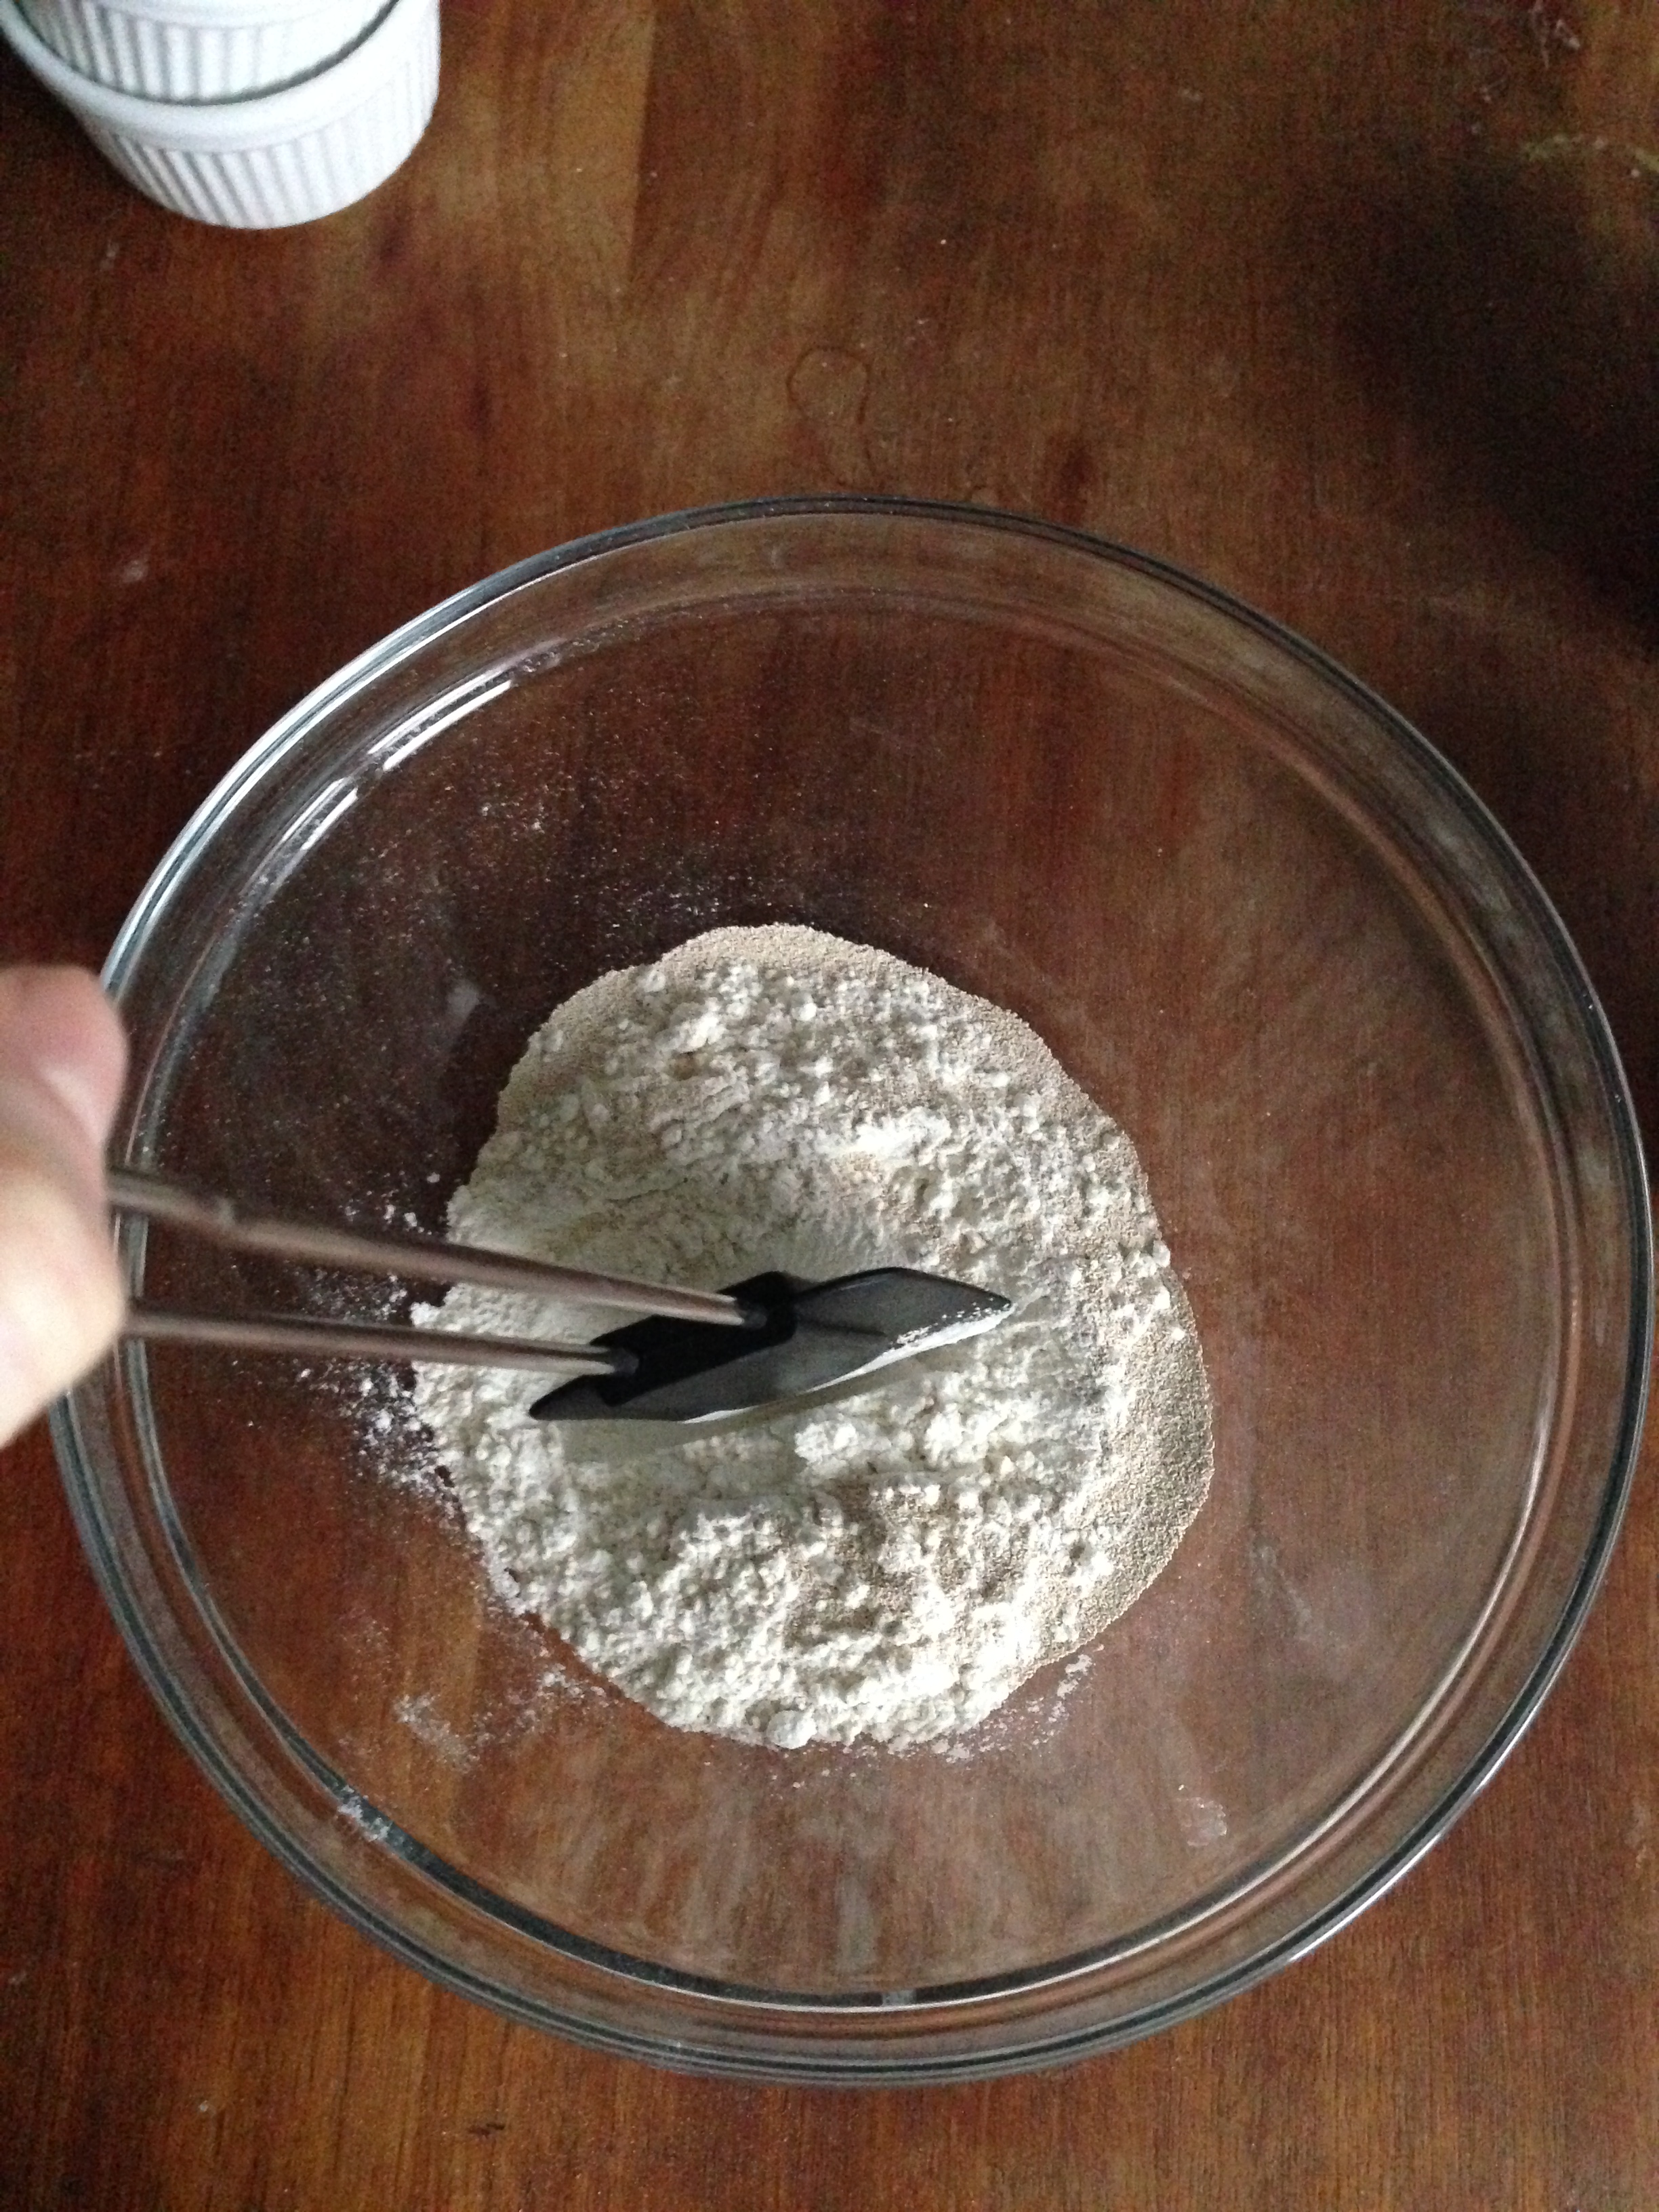
6. Go back to the 1.5 dl / 3/4 cup of flour that you put aside. Put all the yeast in it and mix a little.

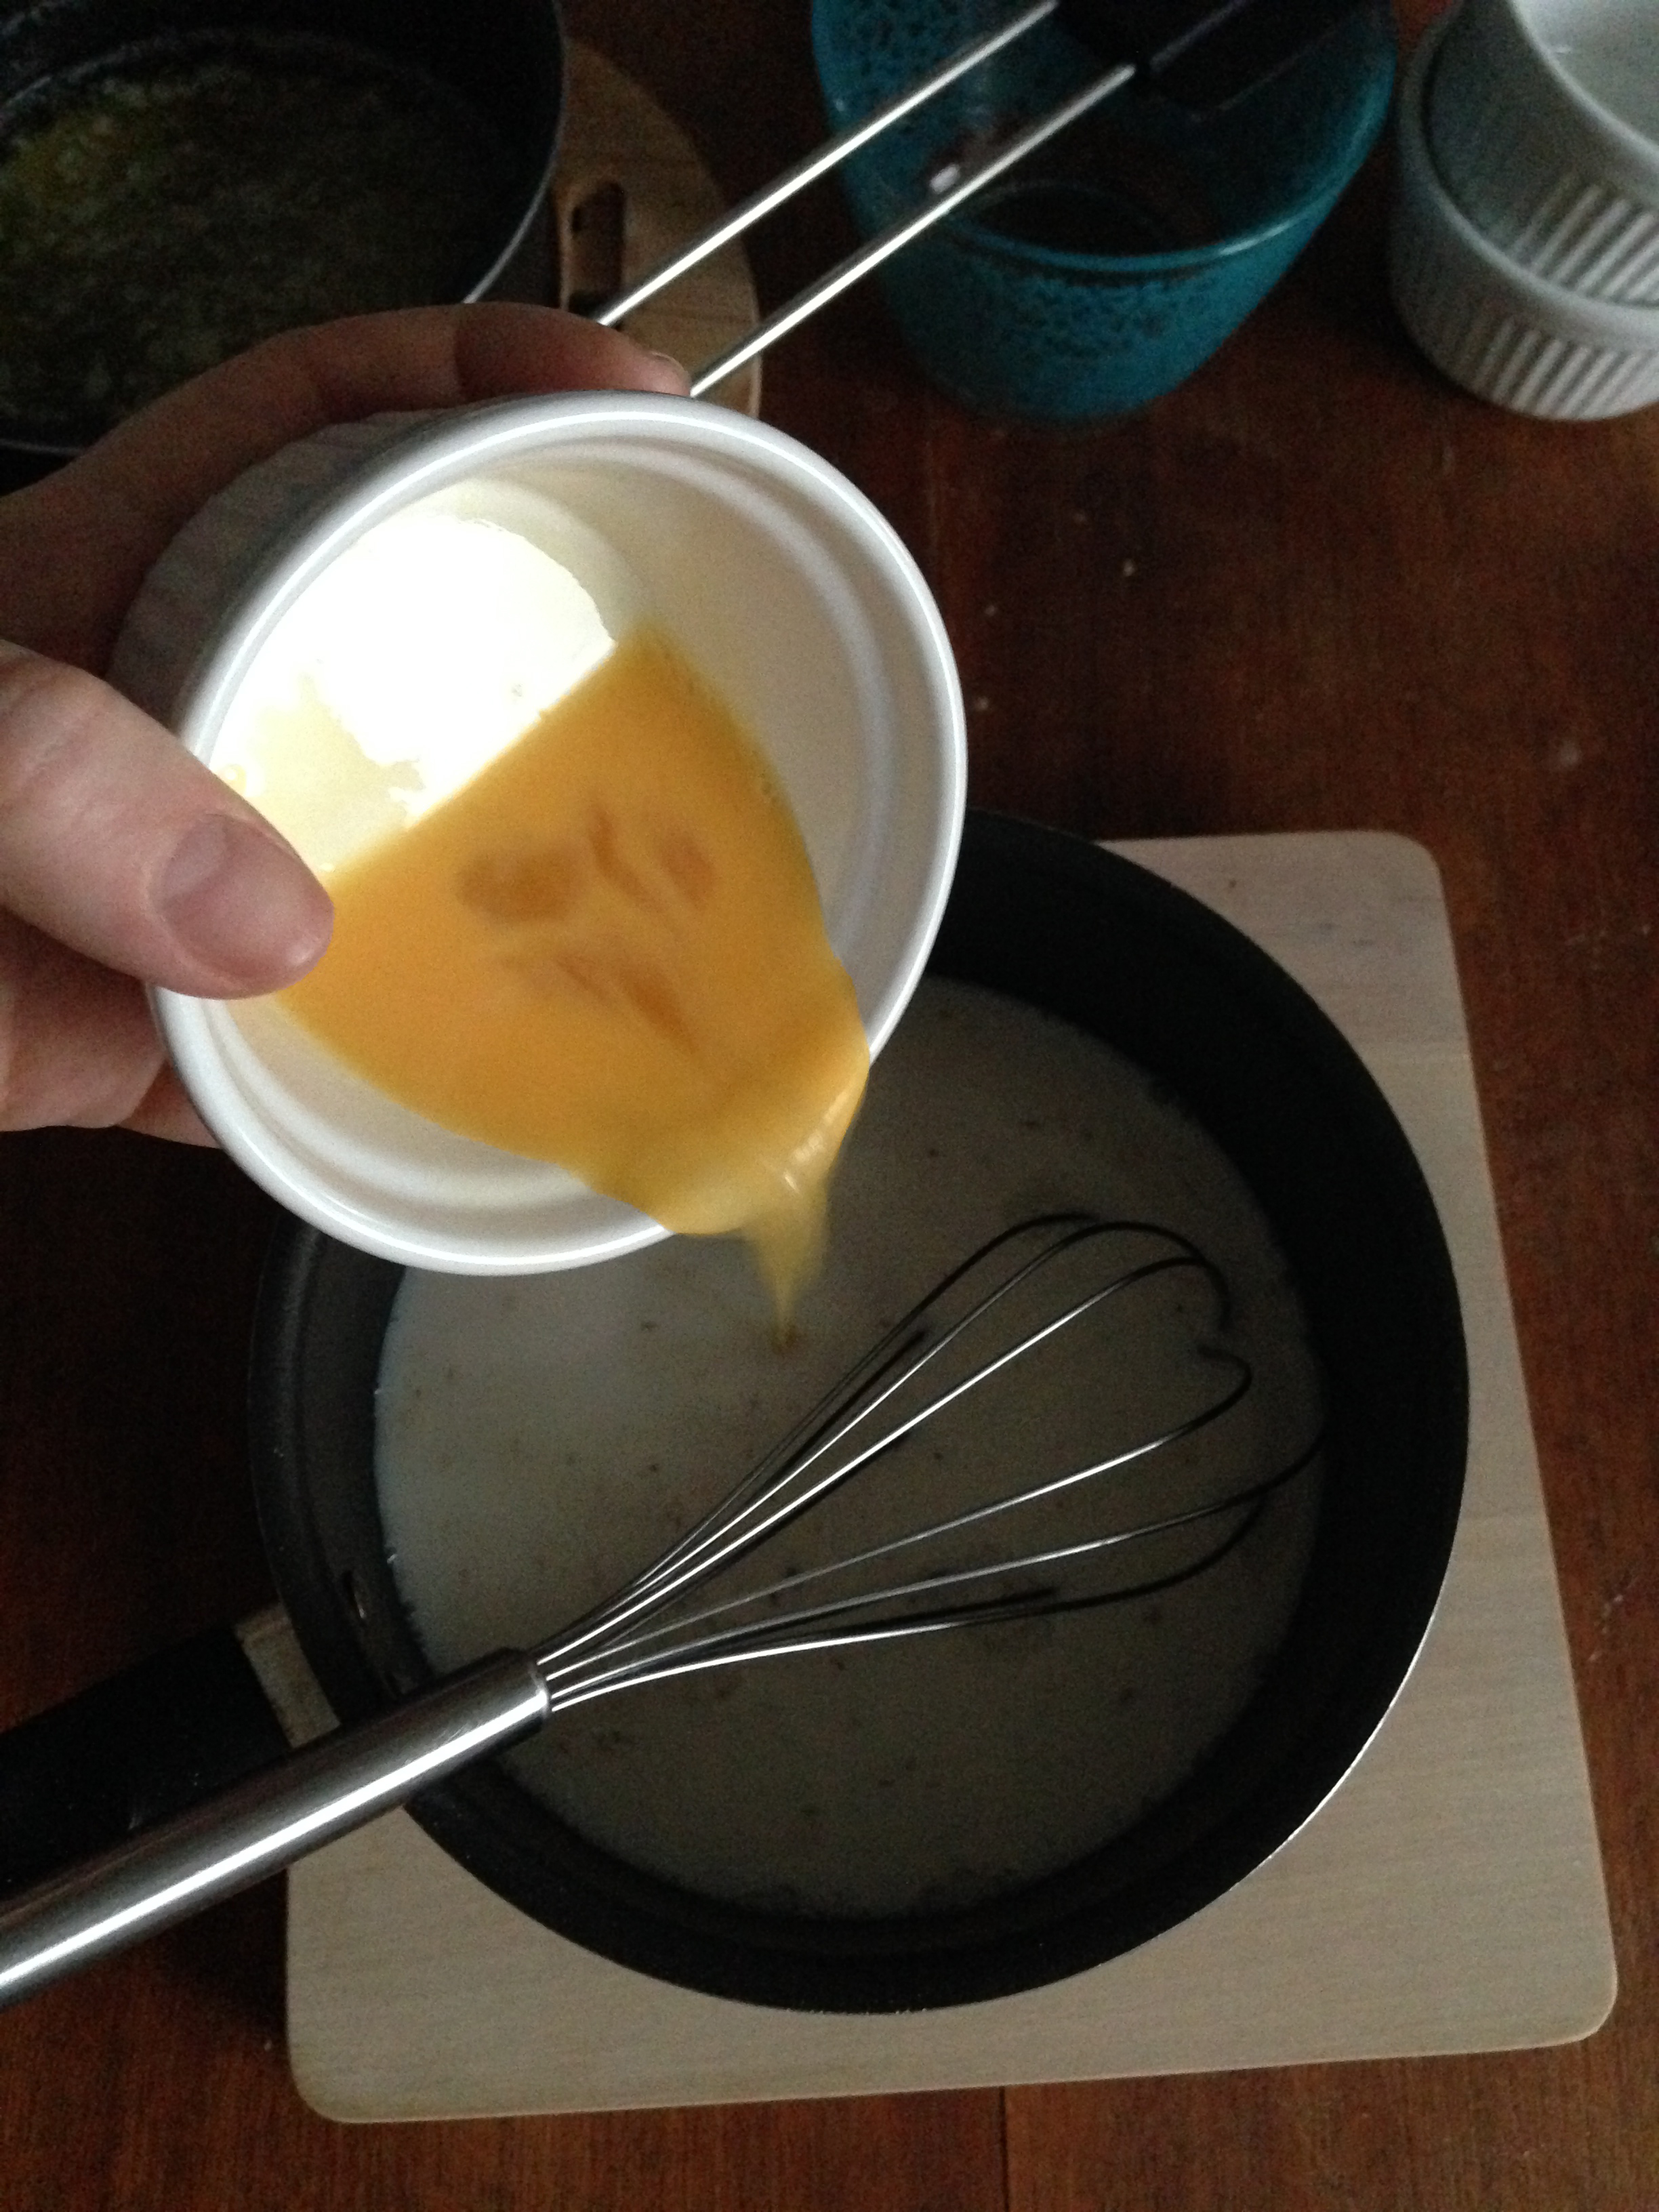
7. Put 1/2 egg that you prepared in step 1 in the milk mixture and whisk it until egg is partially incorporated.

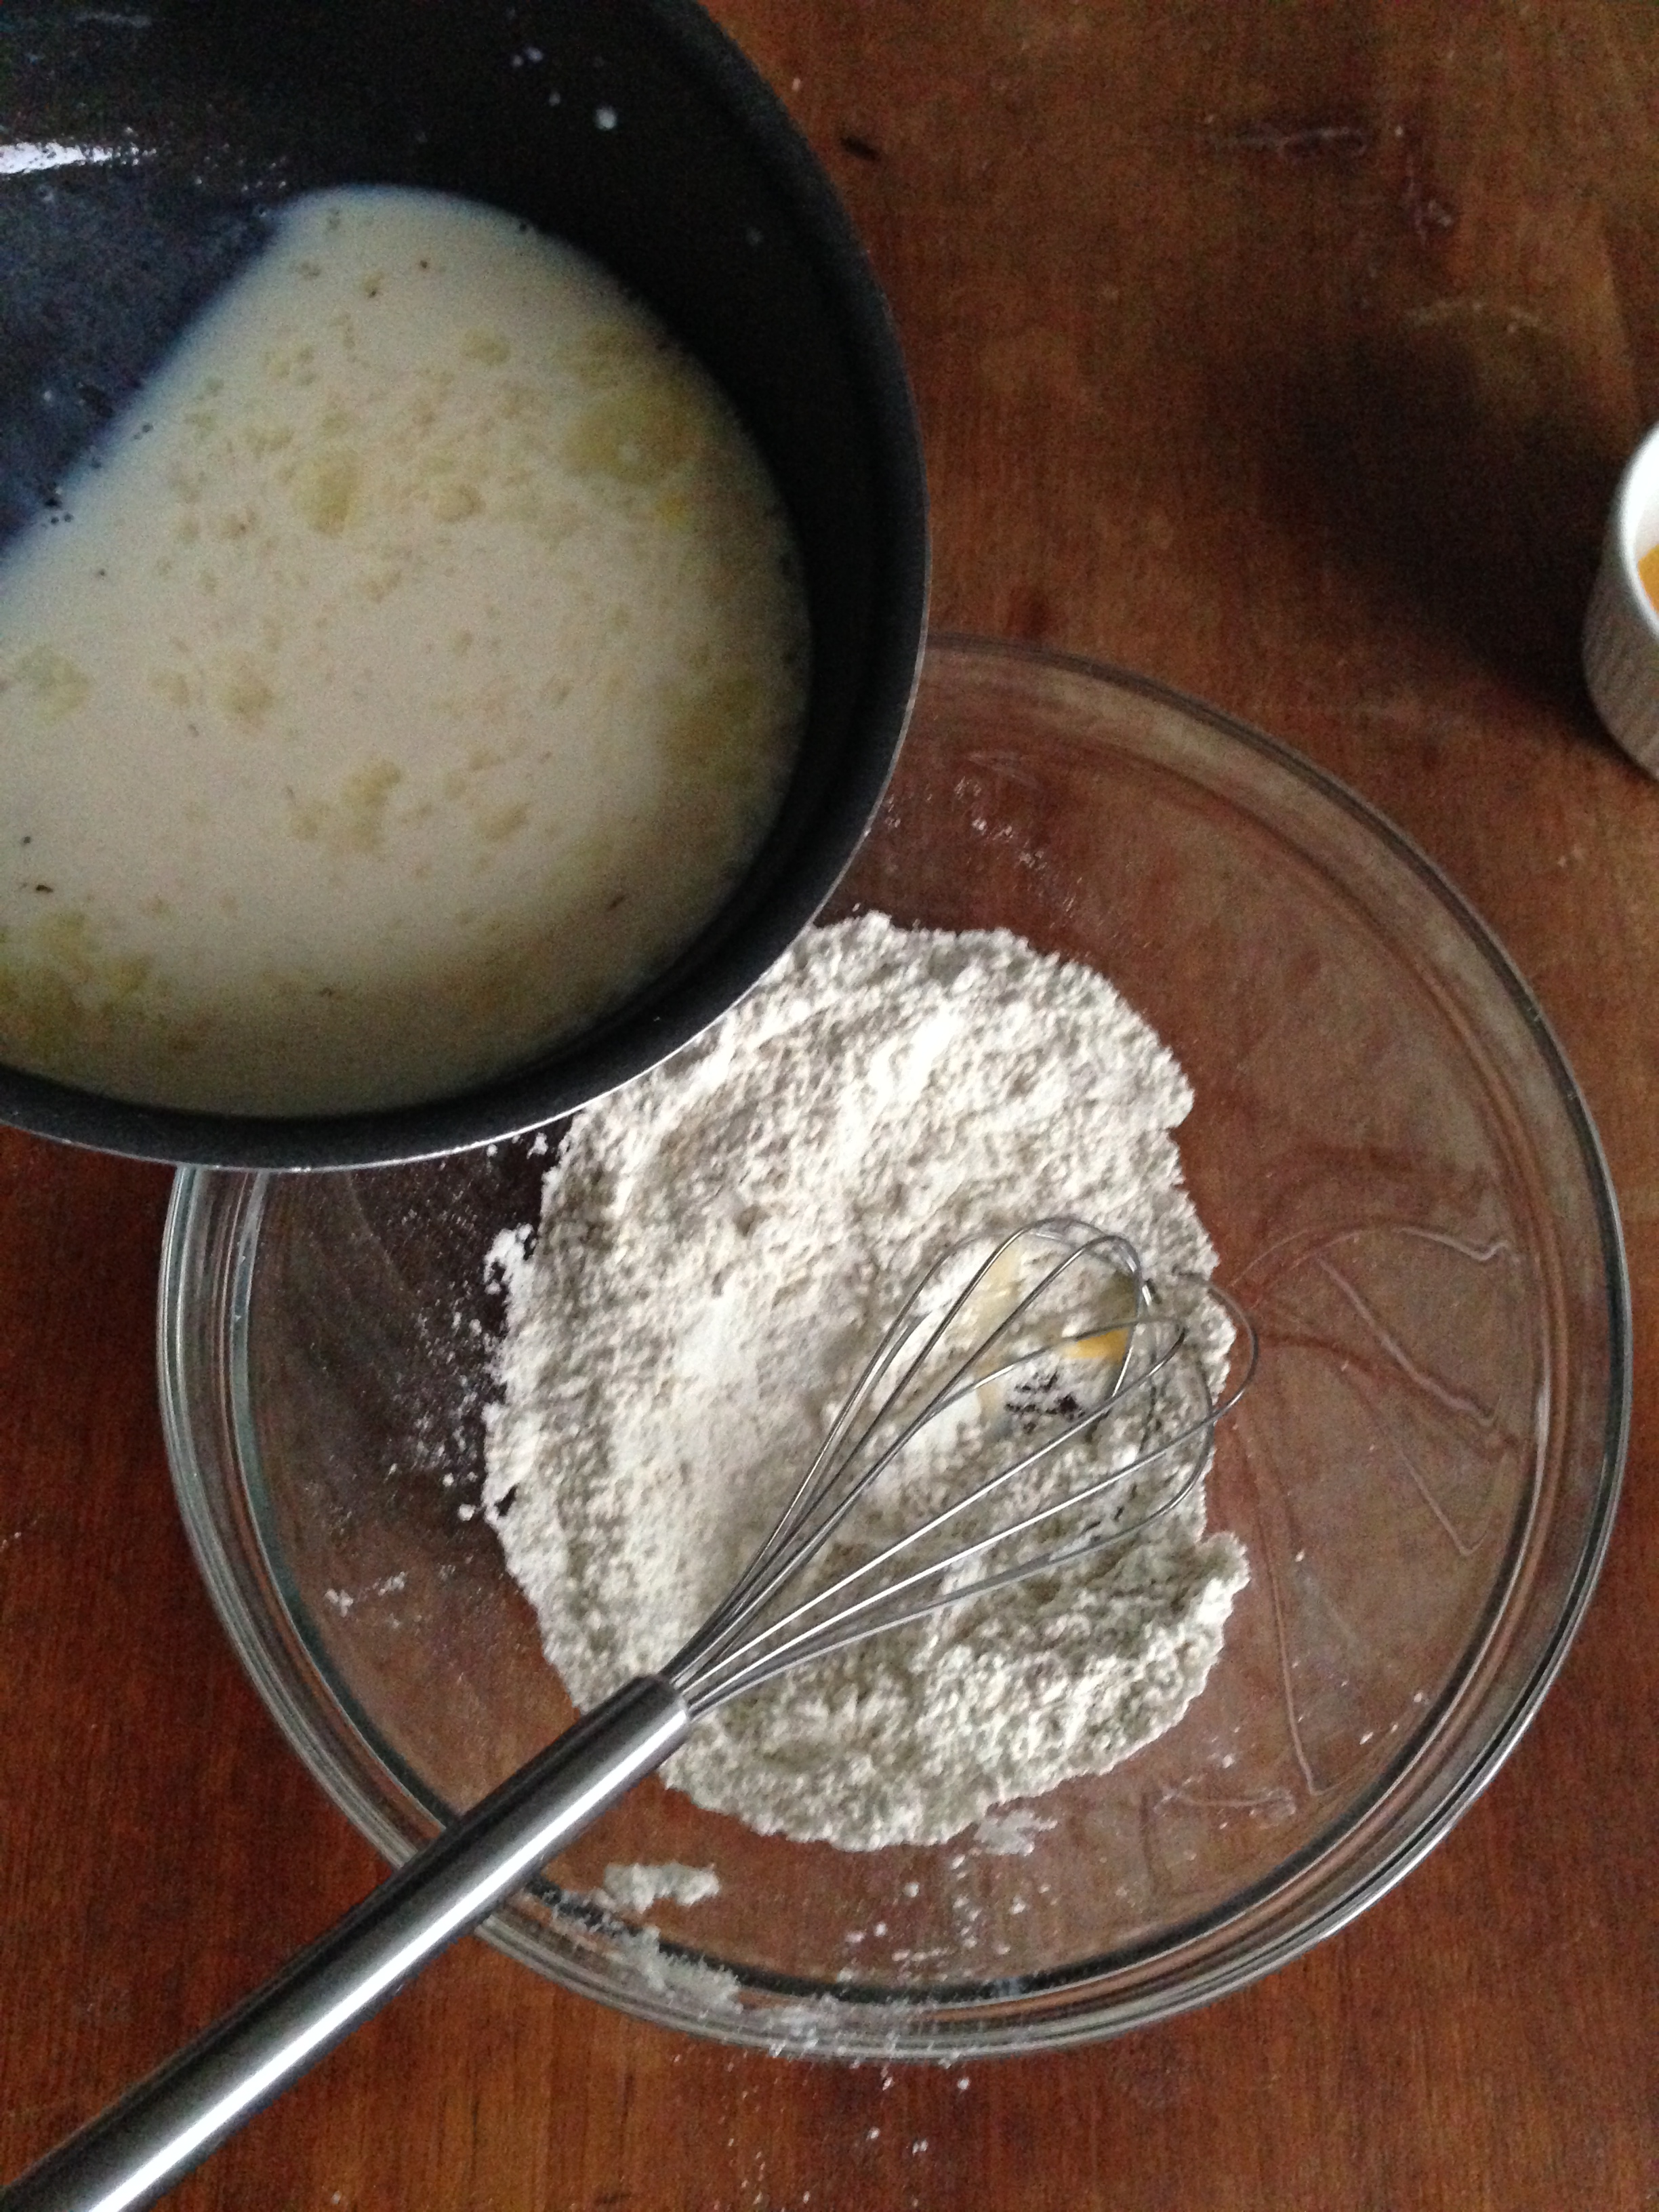
8. Pour the milk mixture into flour-yeast mixture and whisk until all the dry ingredients are wet with the milk mixture.

9. Now you will start adding the flour. The consistency of the dough that you should get is soft and smooth. If you put too much flour, it will get very hard when you bake. Since every flour is different than each other, I suggest you add flour bit by bit (for instance, I added 1/2 cup / 1.2 dl flour each time). After each time you add flour, either whisk it, or just use your hand to mix. When it has some consistency that is close to a soft dough, stop adding flour.


10. In the dough, pour melted butter and continue kneading to incorporate the butter.
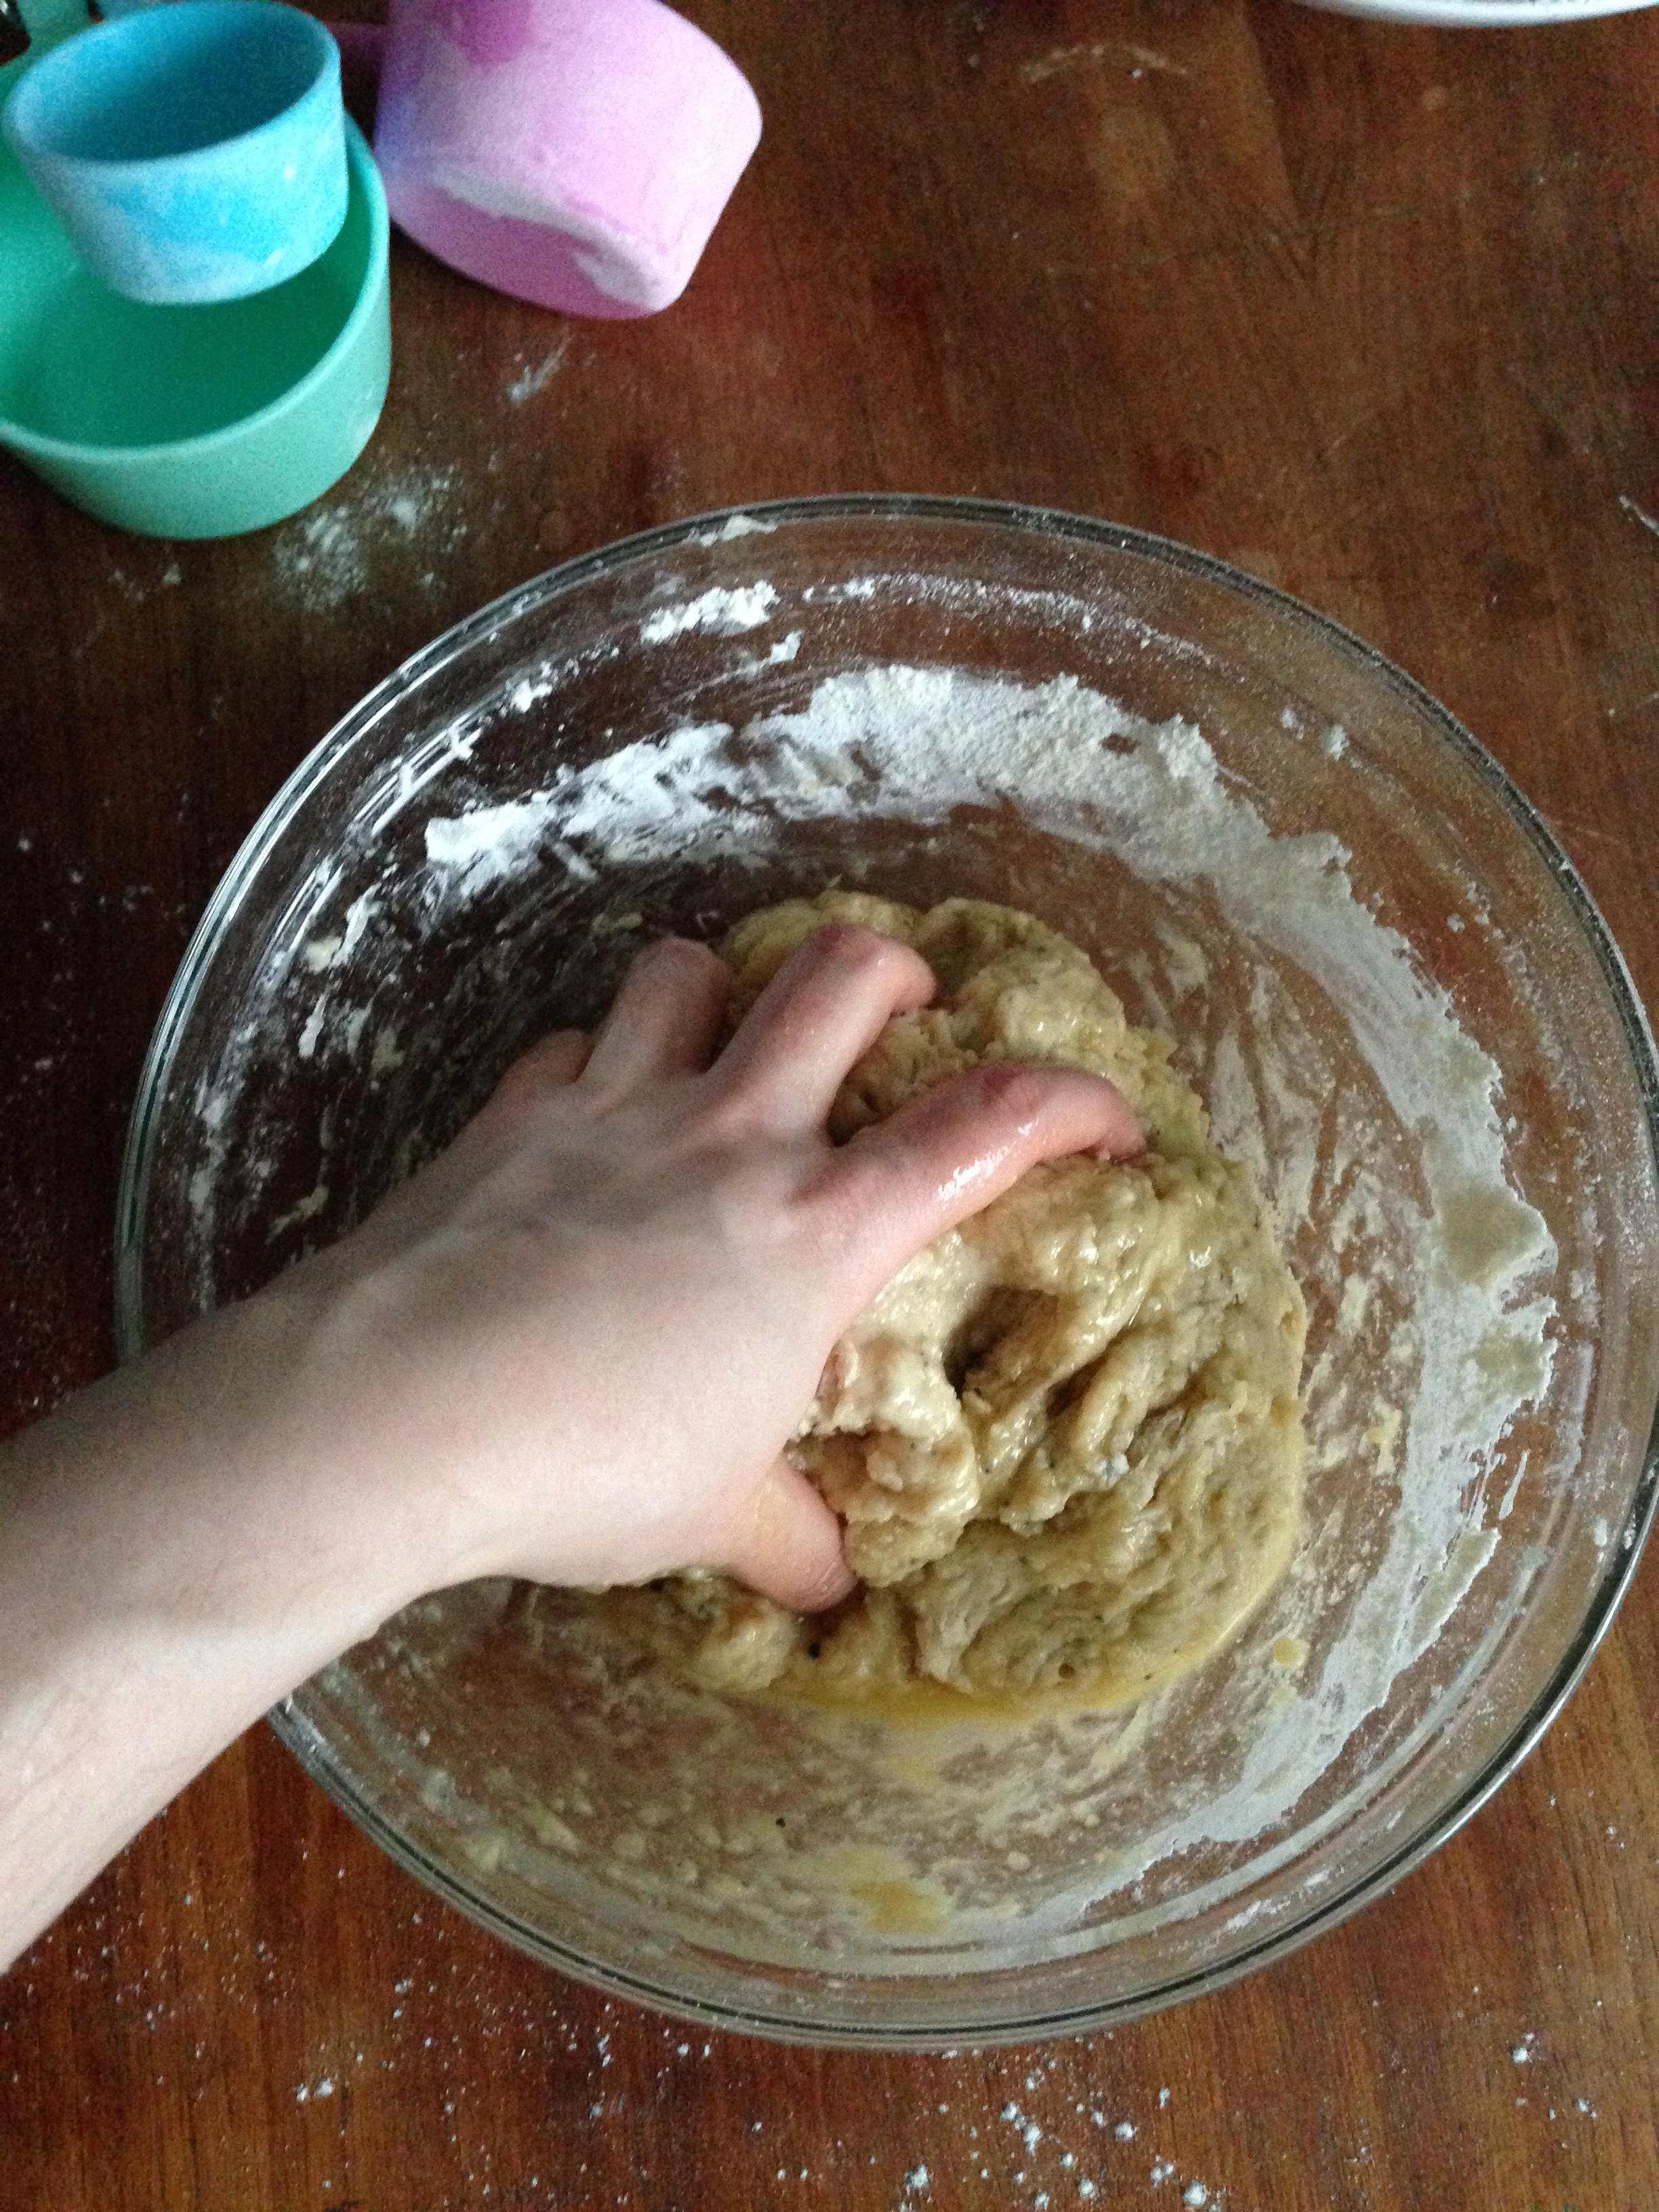
11. After butter is incorporated, I switched to kneading on the table since it was easier this way. If you are going to do the same, just flour the surface with a little flour (not too much), put your dough on it and knead the dough until you get a smooth and soft ball of dough. In my case, it took about 8 minutes of kneading.


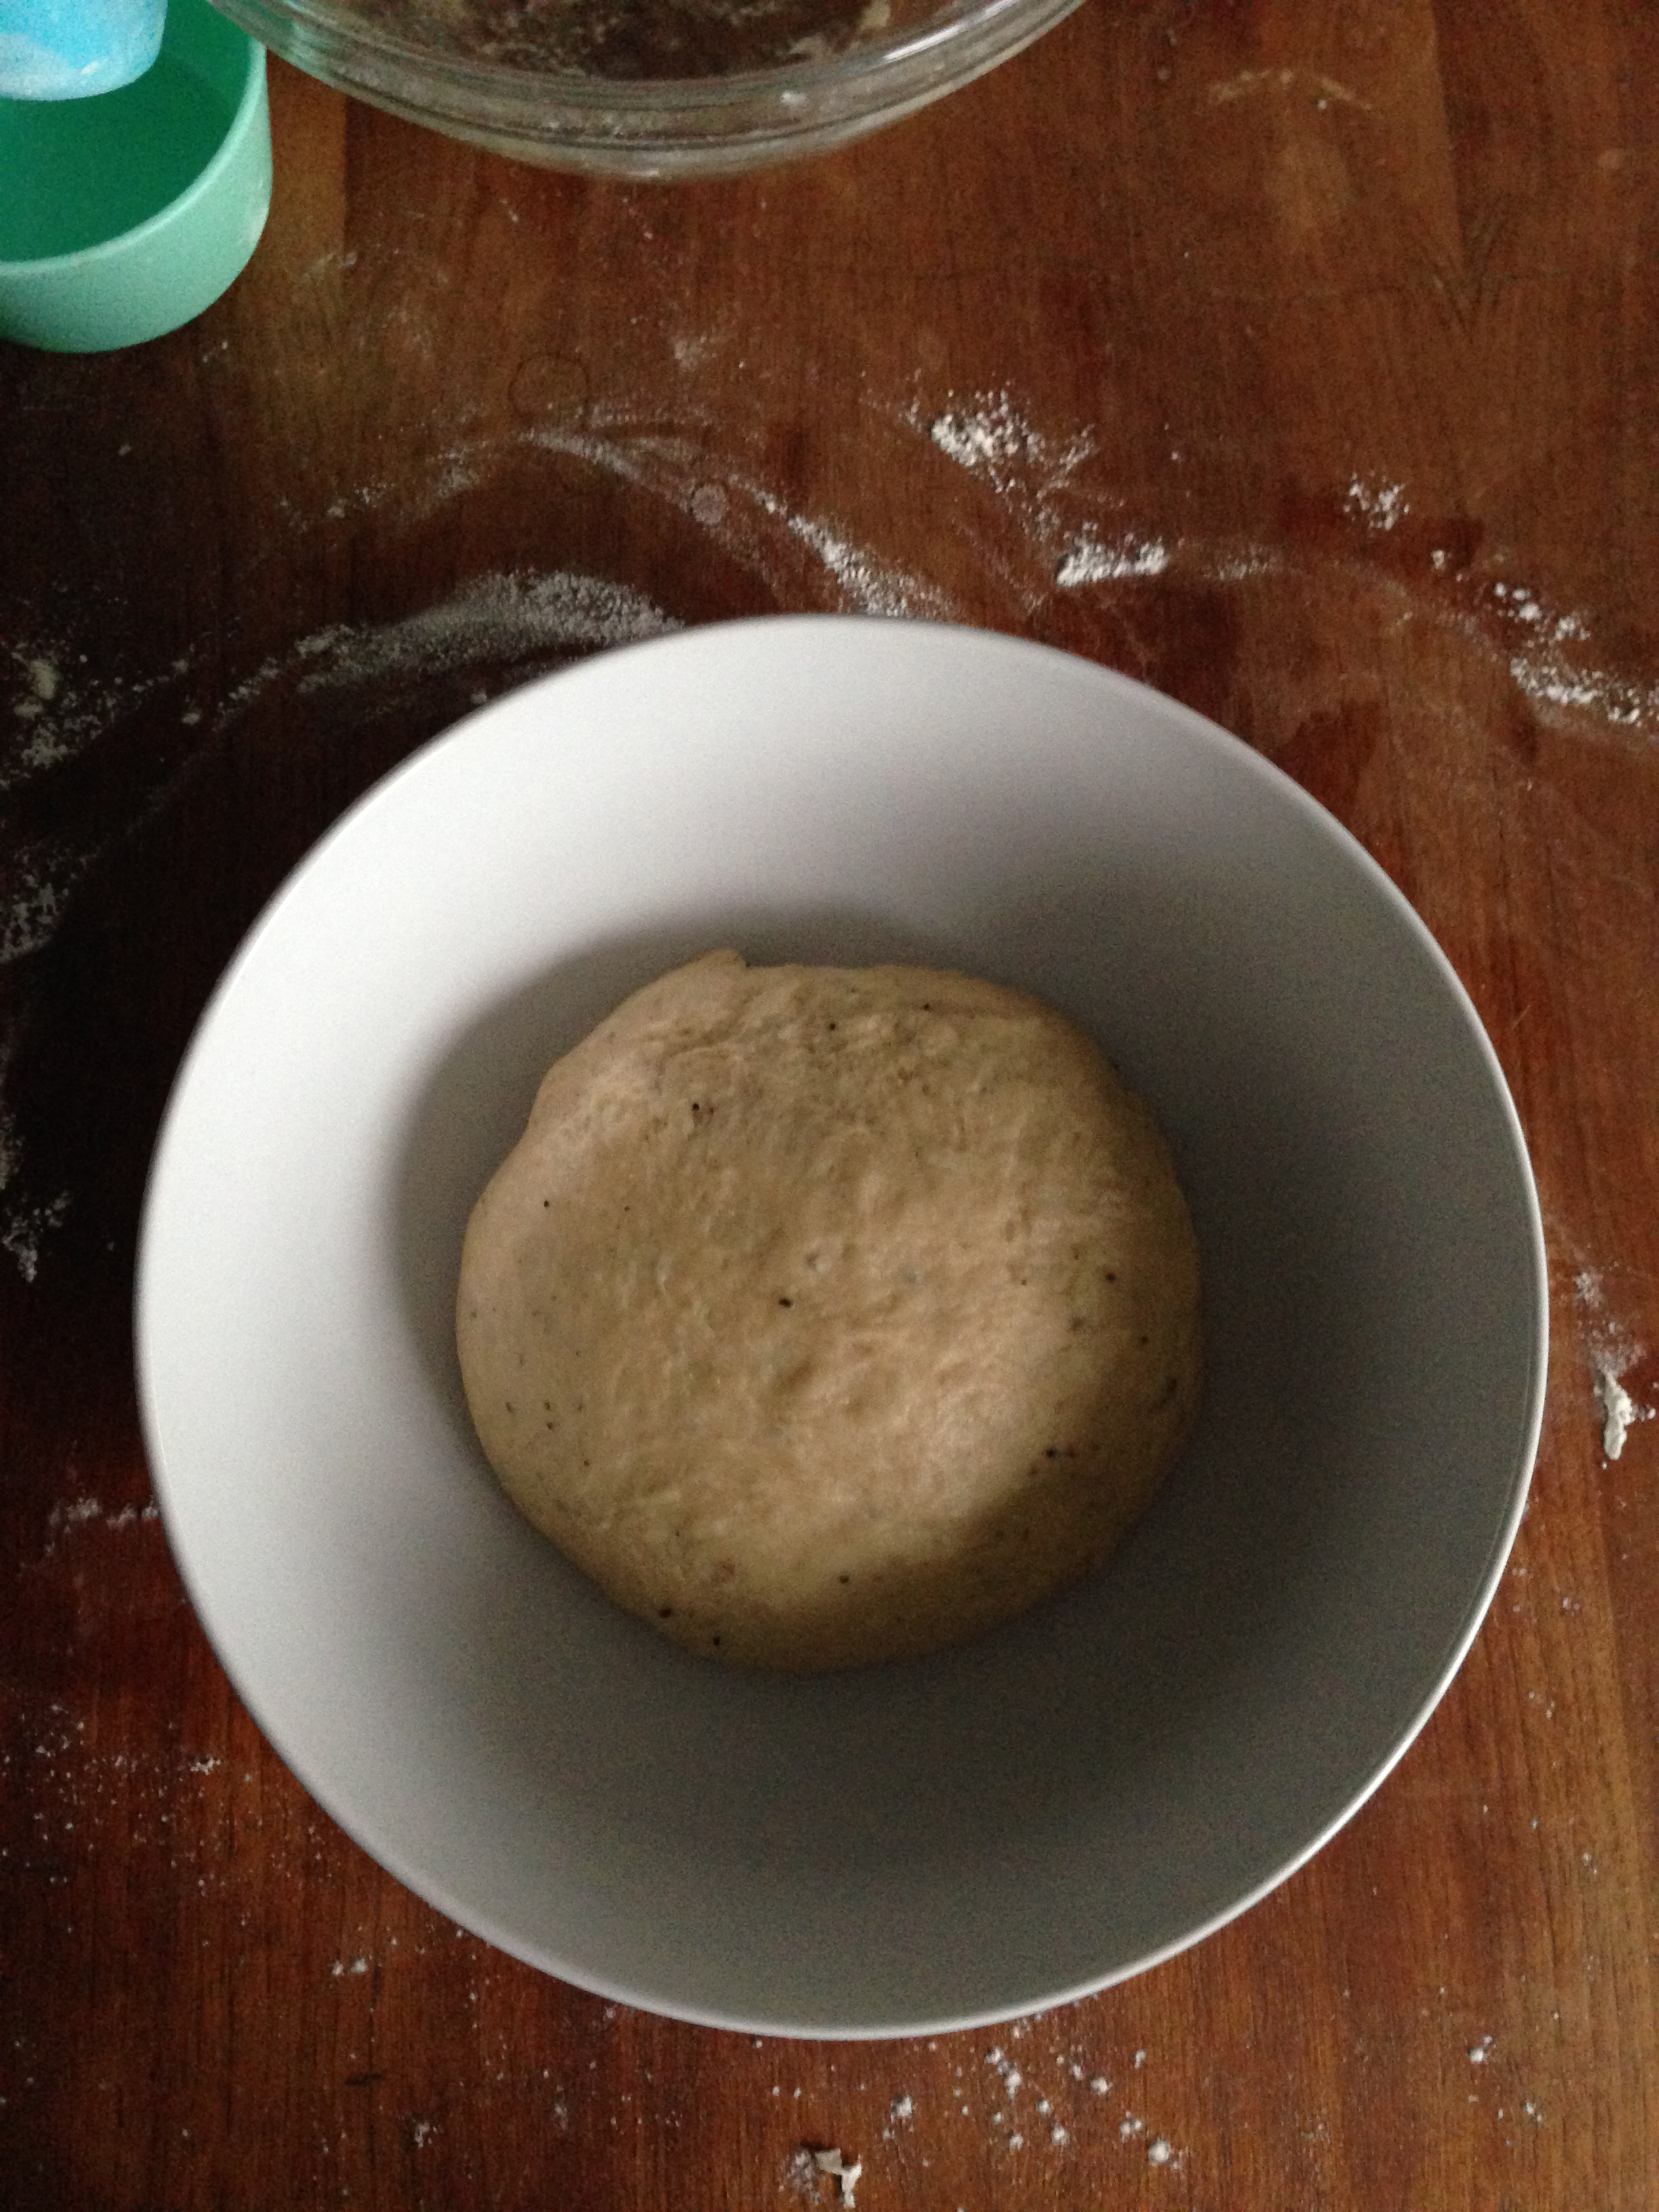
12. Put the ready ball of dough in a clean bowl, cover it with a damp cloth and leave it in a warm place to let it rise, until it gets doubled in size.

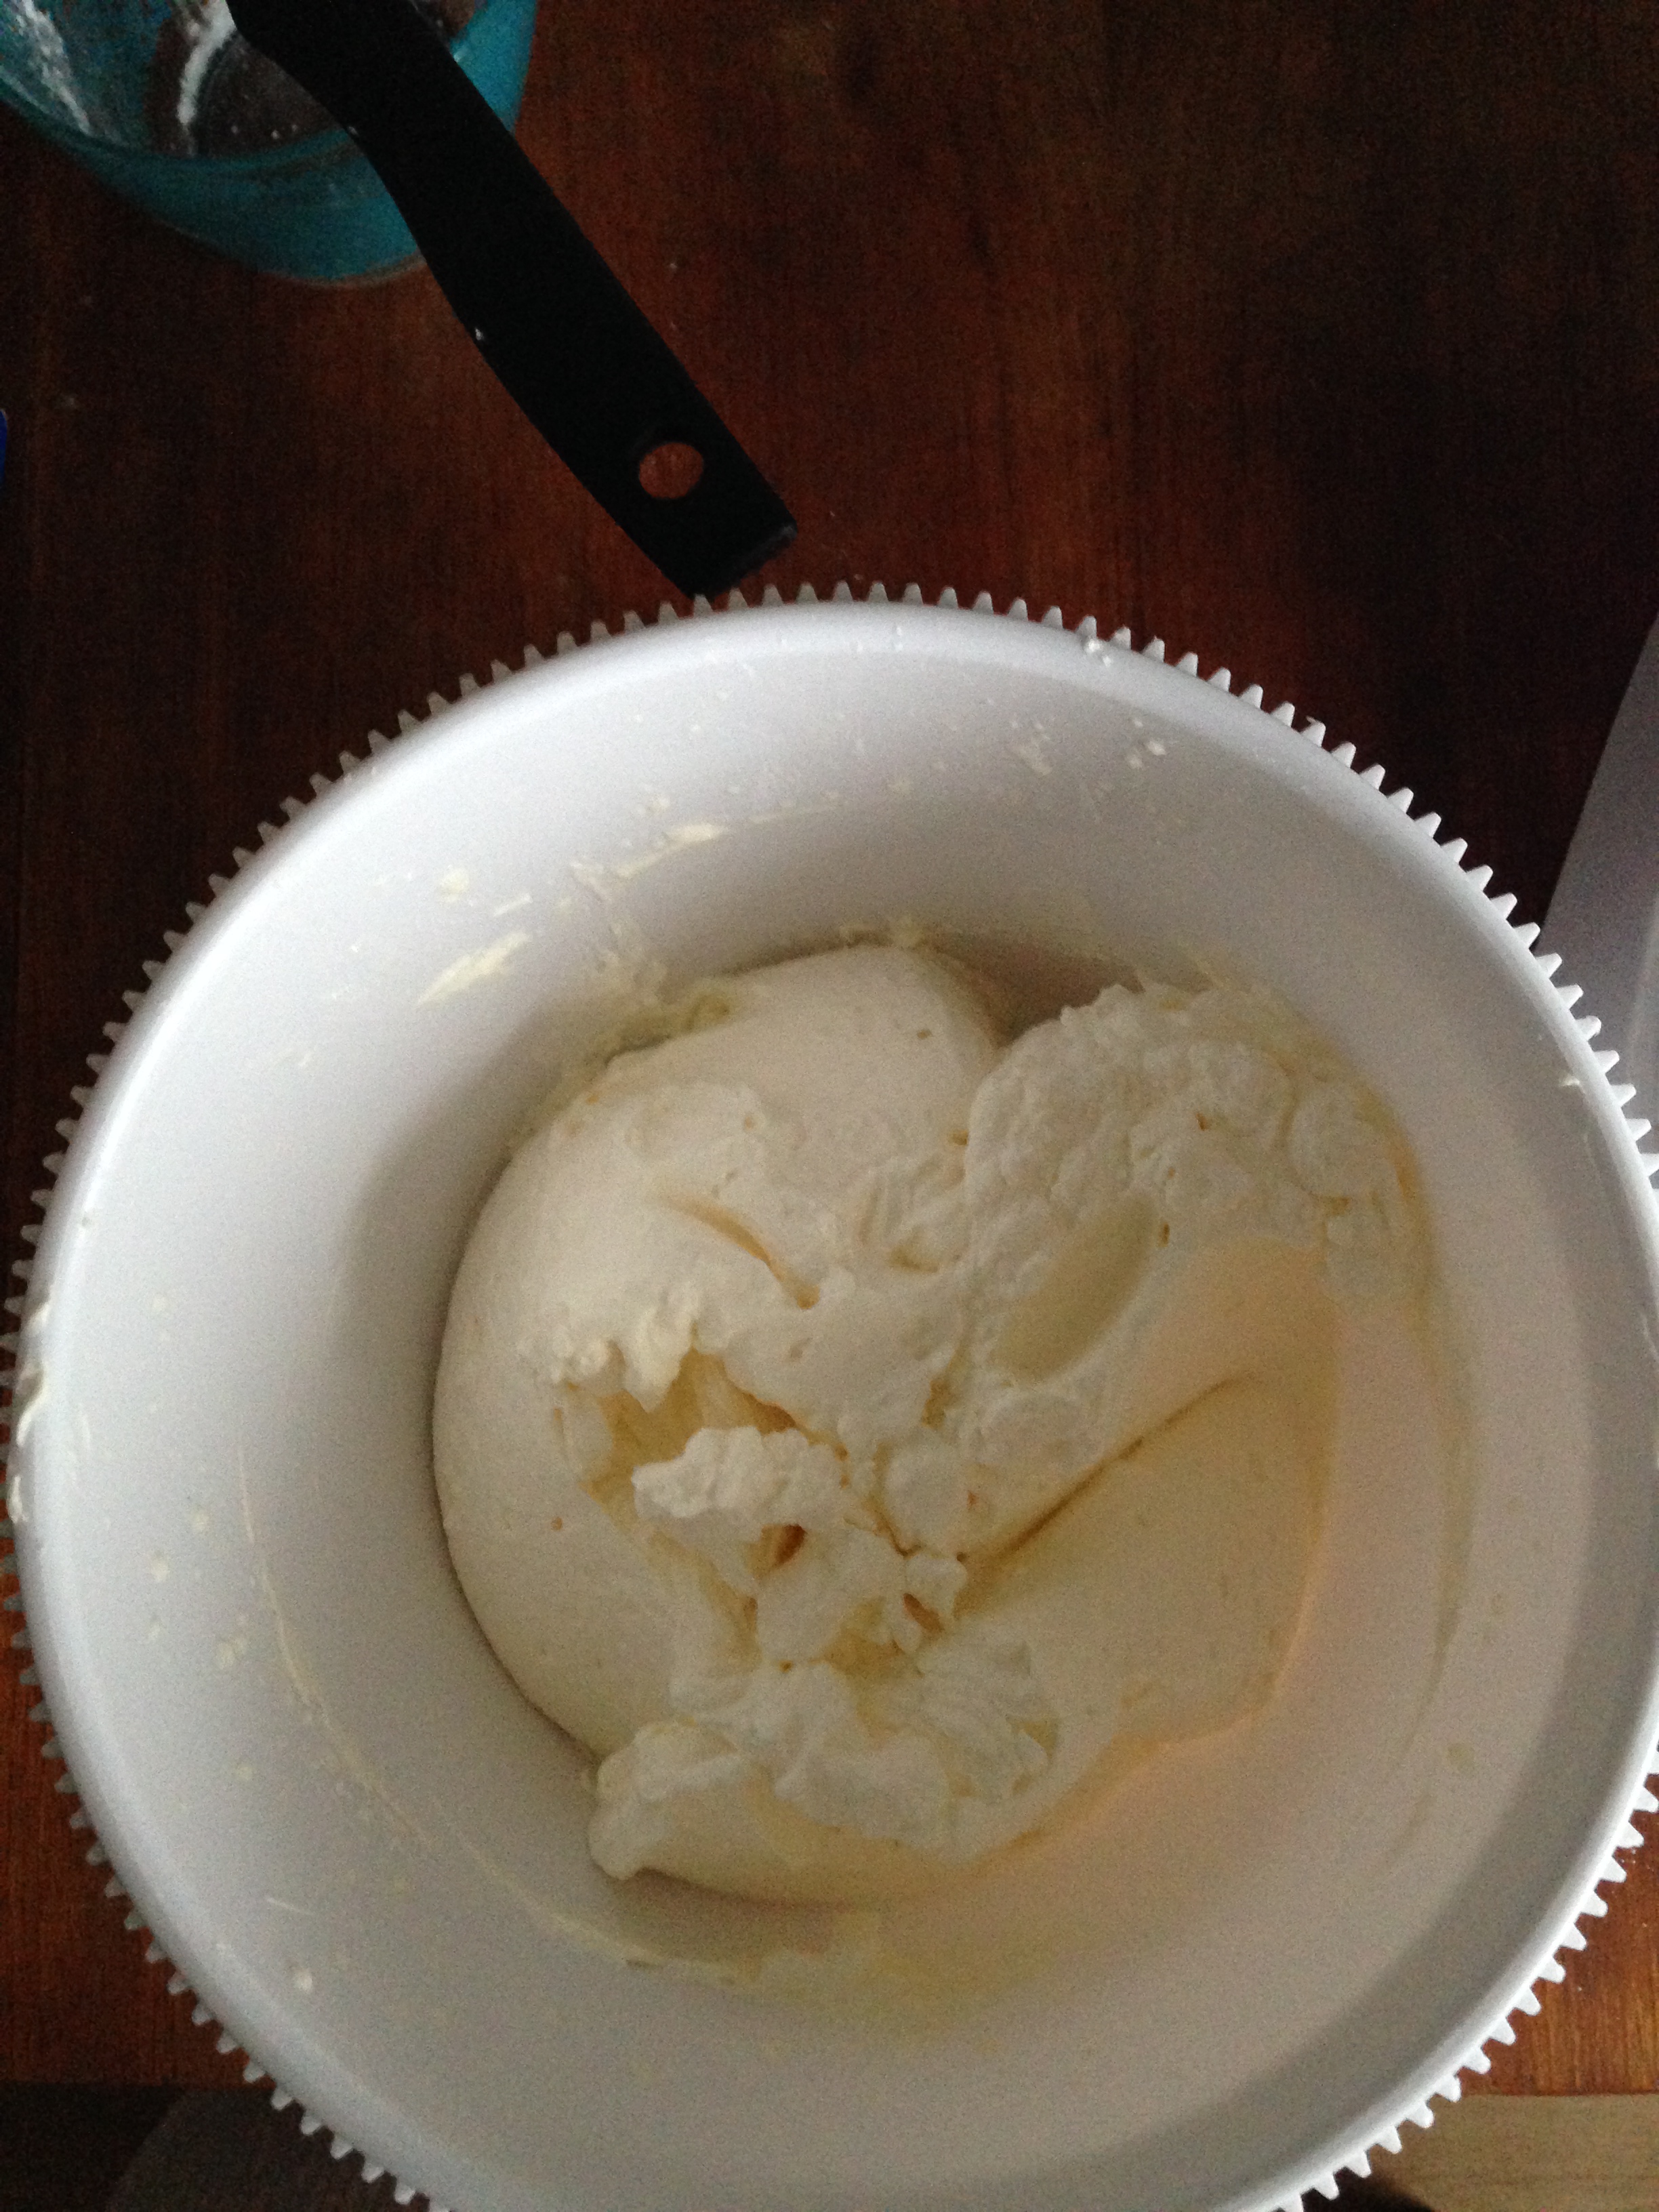
13. While waiting for the dough to rise, you can prepare the cream for filling. To do that, in a mixing bowl, pour heavy cream and powdered sugar and mix it until you get a hard cream. Put the cream in the fridge until the time comes to use it for filling.


14. When the dough is doubled in size, you are ready to continue. First, flour the kneading surface again. Then put away the cloth covering the dough and punch the dough a few times to get the air out of it.


15. Put the dough on the surface, knead for a minute or two to completely take out the air, then form it into a long sausage. Cut this sausage into 20 pieces.

16. Take each piece and form it into a ball.

17. Put a baking sheet on an oven tray (I used two oven trays and so two baking sheets), and put each small ball of dough on the sheet. Give a little space between each ball, about 2 cm, since each ball will rise and get bigger again. When one tray is covered with balls, cover the balls again with a cloth or another baking or anything that is not so sticky, and let the balls rise for 30 minutes in a warm place again. (Sorry but I forgot to take the picture of them like that!!). This second rise is very important, so please do not skip it!!
18. Preheat the oven to 220C.
19. Take the first tray of dough. Brush each bun with egg. Be generous. (If you want to use some sugar flakes, then this is the time to use them – on top of egg-brushed buns.) When all buns are brushed with egg, put them in the oven, in the middle rack. Bake them for about 10-15 minutes, until they are nicely browned (but not too browned or burned!!).

20. When the buns are brown enough, take them out and leave them to cool completely.


21. When the buns are cool, take out your whipping cream from the fridge and put it in a piping bag with 10 mm star nozzle. Take out also the jam from the fridge and have a small spoon ready. Have also some powdered sugar with a little strainer ready.

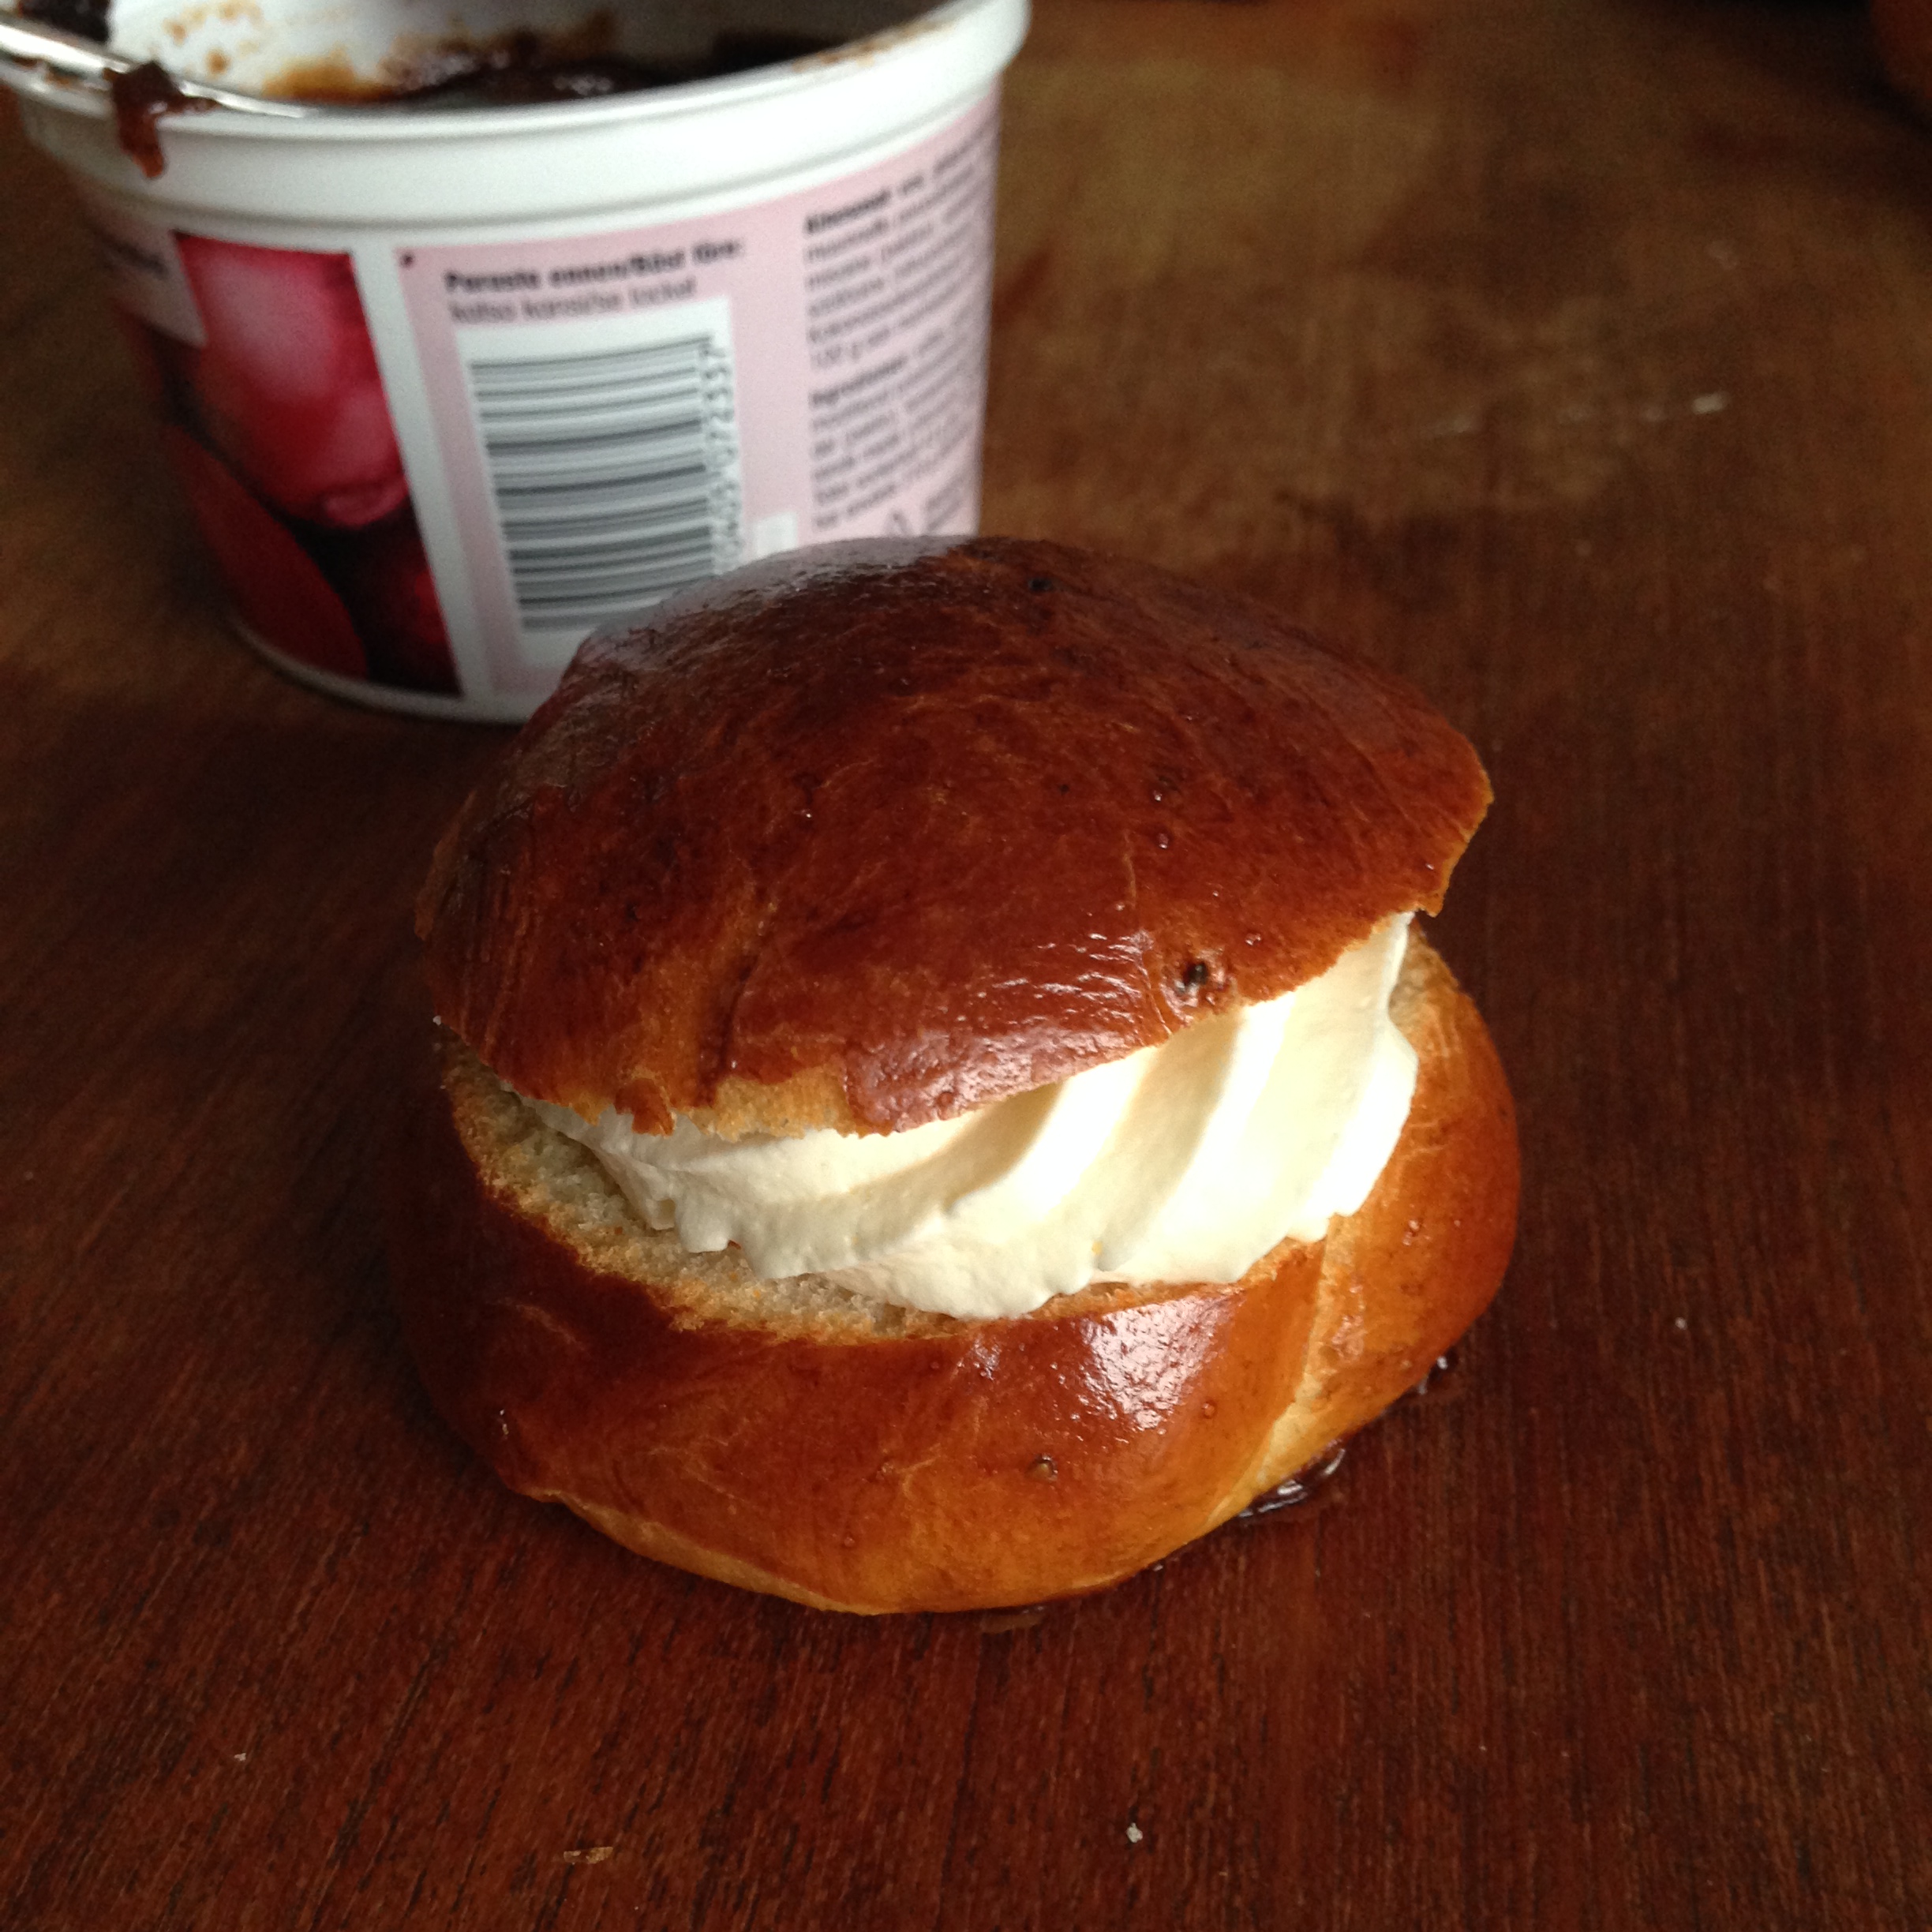
22. Now comes the assembly part: Take 1 bun and cut a bit of the top part as seen in the picture. You can cut it in two equal pieces or you can just cut a small piece to make it look like a little “hat”.


23. Take the lower piece of the bun, scoop out a small piece from the middle of it and put one small spoonful of jam in that little hole. Then take the cream and pipe cream on top of this piece with jam, and be generous as in the picture.


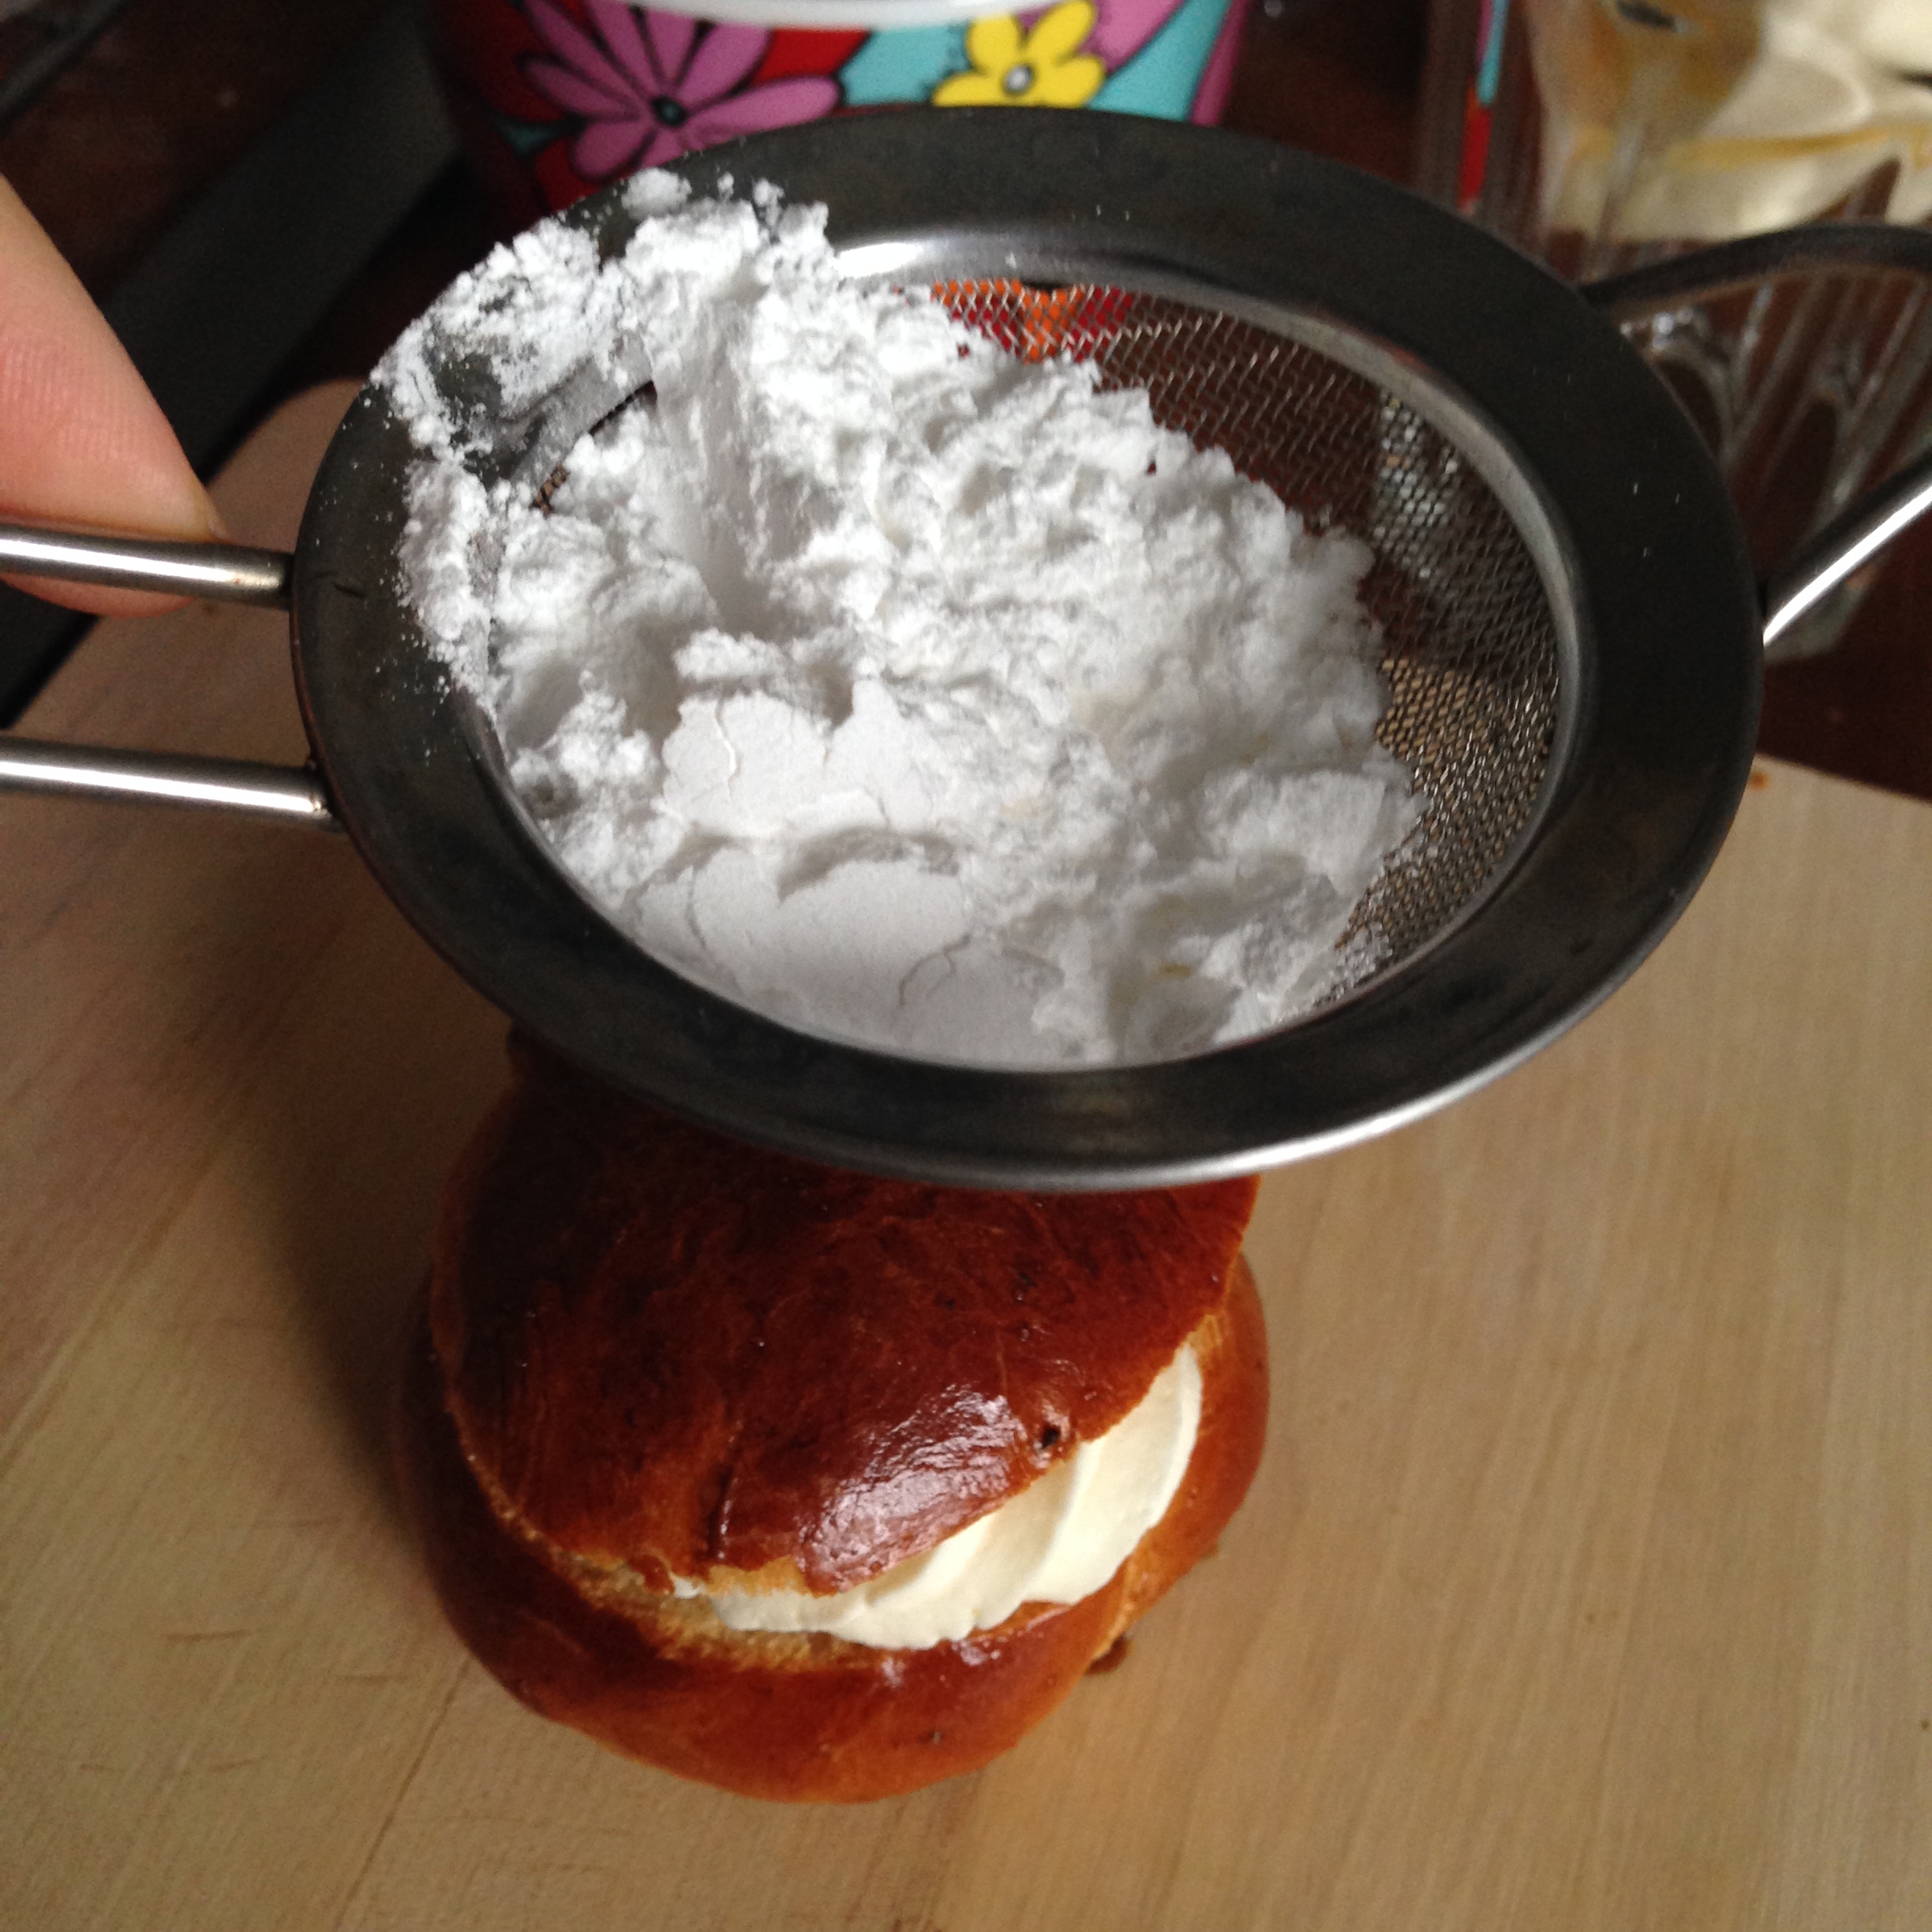
24. Put the upper piece of the bun, aka the “hat”, on the lower piece. Pour some powdered sugar on the bun to cover the head fully. There you go! You have your first bun ready!! Now do the same for others. Smile while you are assembling the buns since they are the happiest and cutest buns in the world!!


Lovely laskiaispulla pictures! :)
Thank you! :)
How long does it take for the first rise? I’m doing this recipe and would hate to uncover the dough too early!
hi, as it says in the recipe, when the dough is doubled in size, it is ready. the dough to rise depends on your room’s temperature, the humidity of your room etc. So for me it may take half an hour to rise that much, but for you it may take 1 hour. You can uncover and see its size for a moment, it does not cause you big trouble to do that.
I put my oven on 200 F, put the dough in a bowl and covered it with the cloth to then set the bowl on the back burner. The warmth of the oven helped it rise in an hour. These turned out wonderfully!!! I’m guilty for just eating the bread itself because I love pulla that much but it’s delicious all the red same with it all done up.
Thanks for the recipe!
Great! You’re welcome!
Oh Kiitos! I have been wanting to learn how to bake pulla. I love that you have given such clear step-by-step directions with photos. I look forward to trying it out.
I’m very happy to hear that you found my instructions so clear! Let me know how it turns out! Bon appetit! :)
Terve Asli, and kiitos for this recipe (and all the other finnish ones)… I find your blog very interesting, nice job! I’ll try to bake some finnish stuff soon! :)
Oh it’s lovely to hear that! Let me know when you make the recipes! Cheers!
Hello,
Thanks for sharing the recipe. I’d love to try this one. Can I know how long these can be stored and at room temperature or in the fridge?
Kiitos paljon!
Hei! You can store these in room temperature, in an airtight container for a day or two. They will be ok to eat in those days but I do recommend them as fresh as possible for the best taste. Cheers!
Hi Asli!
Am from India and am gonna try this bun first time and am very clear with the way you have explained the steps!Will let u know the result!
Hi! Have fun! ☺️
Pingback: Matcha Green Tea Laskiaispulla ~ Wandering Tanuki
I think these are a delightful little treat and so pretty. We are going to serve them at our Upper Michigan Chef’s Dinner featuring all sorts of wonderful Scandinavian specialties. What do you think about making the buns the day before and finishing them with the jam and whipped cream at the last moment?
Well, they get a bit stale the next day, their fluffiness and softness goes away a bit. So i would recommend to serve them fresh.
Kiitos !
You’re welcome! 🤗
Vypadají nádherně, chystám se je dělat do školy k prezentaci o Finsku a tak mám otázku, když je udělám den před prezentací budou na druhý den furt dobré a ještě bych se ráda zeptala kde kupujete kardamom, je k sehnání v normální supermarketu nebo ve zdravé výživě?